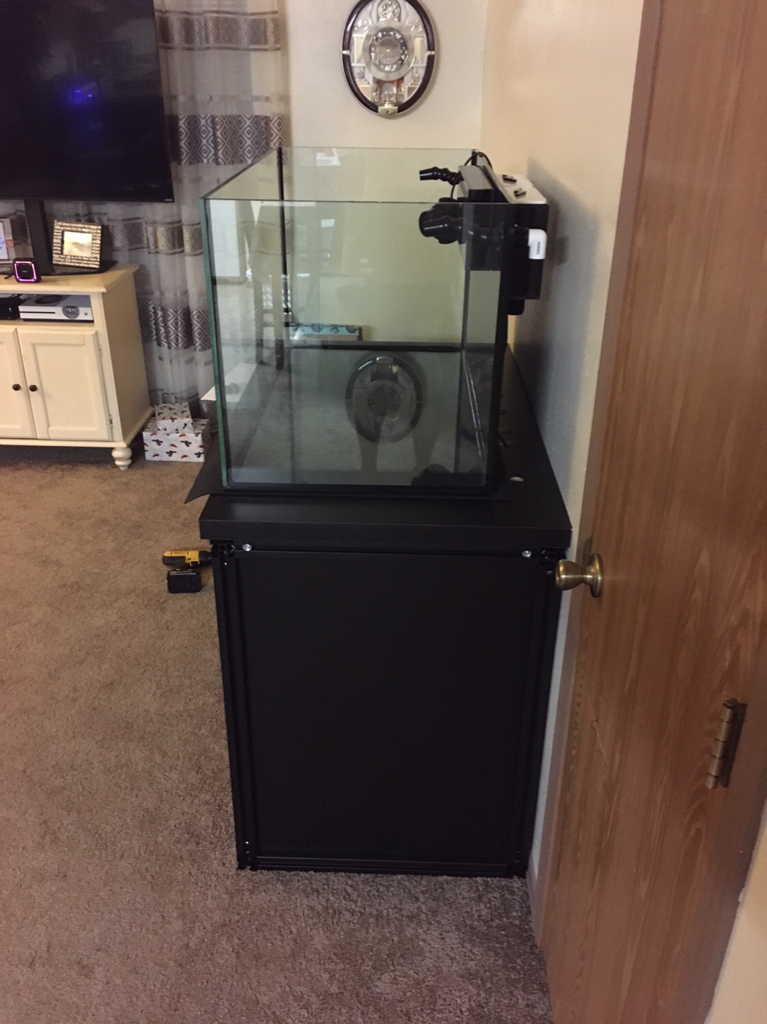
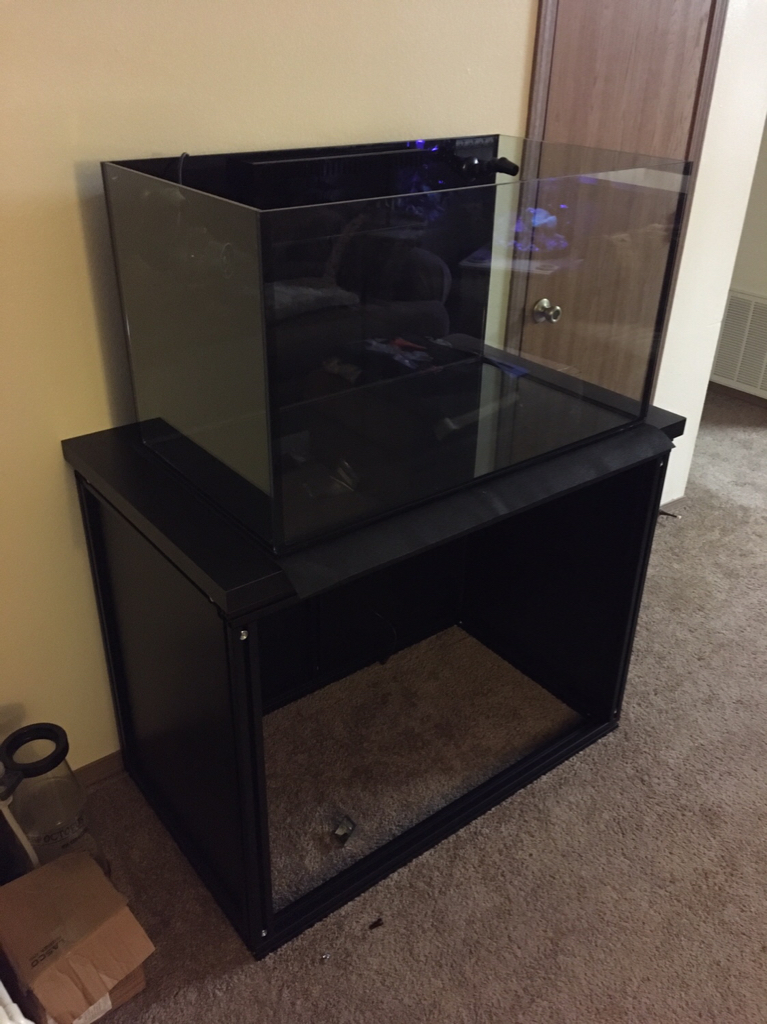
Stand is in!! Few more pieces to go for a finished look. Not trying to steal your thread, but if anyone is on the fence about 80/20...I’d highly recommend.
That's beautiful. I plan on just building a 3 sided box around the entire thing which just kindaa sits in front with limited attach points. At least that's the plan now. I can then build it out of MDF and use epoxy paint. We want a white cabinet, not sure of the design/style yet thought.
That's beautiful. I plan on just building a 3 sided box around the entire thing which just kindaa sits in front with limited attach points. At least that's the plan now. I can then build it out of MDF and use epoxy paint. We want a white cabinet, not sure of the design/style yet thought.
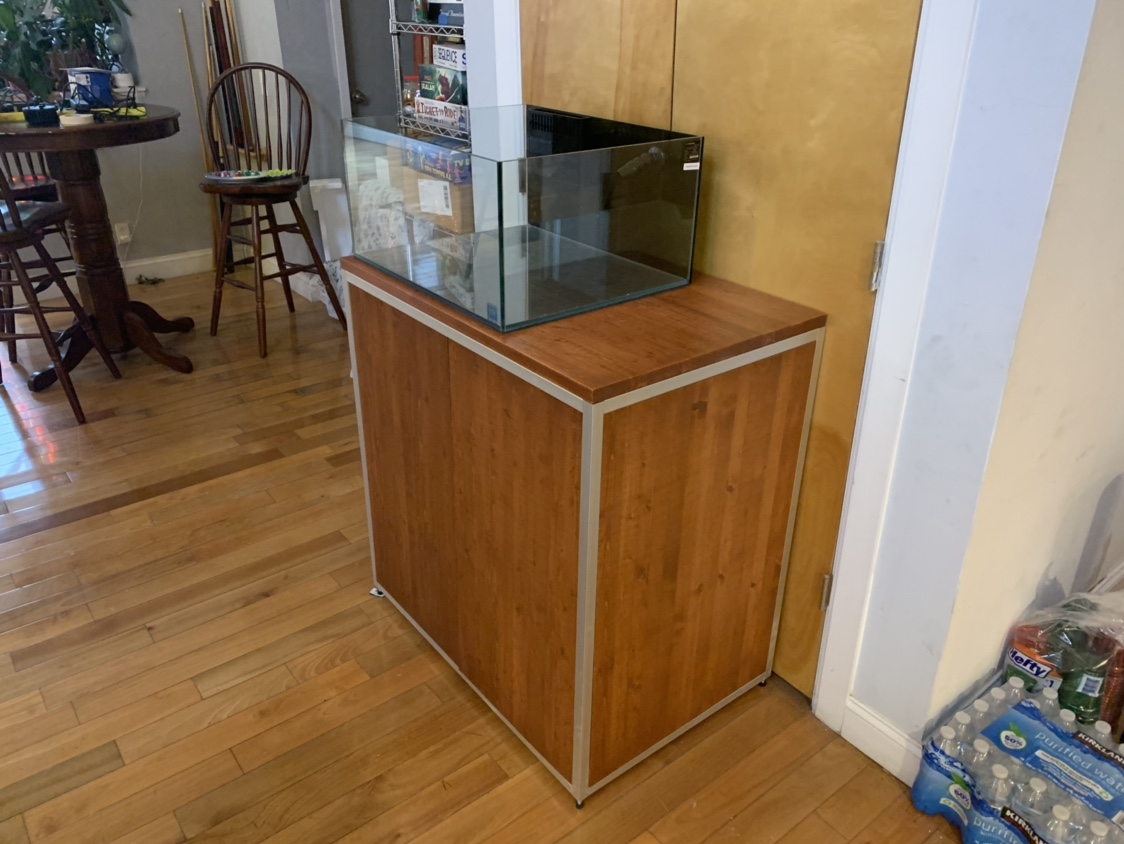
Thank you, it has worked out quite nicely. It will be in my living room so I wanted it to look like a piece of furniture. The silver with the pine panels really came out well. The 2 sides will be held I. Place with magnets and the front will have doors that can be removed. Still have to work out the hardware for all that.
Well, bought some more stuff for the build while the tank is being built. Some of it was purchased used, some new, trying to watch the money for sure! Getting exciting getting everything together.
Definitely overdue for some updates. First, the biggest news is we received our sump from @Crystal Reef Aquatics and it looks fantastic. I also had them do a matching ATO. It has turned out just great.
Started looking at how to put all the electronics in a limited space and still have room to reach calcium reactor, CO2 tank, and skimmer overflow. I think it can be done, but will be a bit of a challenge. probably will have to be on a slide out.
Started looking at how to put all the electronics in a limited space and still have room to reach calcium reactor, CO2 tank, and skimmer overflow. I think it can be done, but will be a bit of a challenge. probably will have to be on a slide out.
I’ve decided to build a cabinet out of 80/20 to hang on the wall next to the tank for the electronics. After a lot of consideration about mounting it inside the tank I figured a separate enclosure would be better due to moisture and space. I’m also going to make a small bench like enclosure to put my ato and my automatic water change containers.
Started building what we be the electronics cabinet. I decided to go with something either suspended or on rails that slides in and out. Going to stay away from traditional drawer slides, and look for something that just slides on aluminum rails or something similar. Will start playing with box and mounting very soon.
Got the box complete and started placing some components. The mock up has helped us. The wiring itself is going to be a challenge and we are going for a very clean, tracable, design. Fit and Form. It won't be the fanciest compared to some of the really elegant designs out there, but it will be efficient.
Using Velcro to hold the power supplies against the bulkhead. Just drilled a couple holes in a small piece of aluminum and screwed it down to hold the velcro in place.
Test fit of the power supplies so far. There are still a couple more we'll need to mount. Not sure if they're going to go on the bottom or to rebuild the box a tad larger. Argh...
Head from @Crystal Reef Aquatics the tank should be done soon, so figured I needed to get the top and bottom of the stand painted. A couple coats of primer going on first.
Since I know I'm going to have to do this soon, thought I'd take a look under the room where I'm going to place the tank. I'll probably just add a 4x6 and a couple supports and should be good to go. I'm lucky, as I built this room and know there is concrete where I'll be placing the floor supports!
Overdue for some updates. Installed the supports for under the house.
Painted the top and bottom of the stands with Marine paint. Turned out great, but ended up costing waaaay more than I anticipated. I won't be doing the wrap for the stand in that for sure!
And just this last weekend, drove up to @Crystal Reef Aquatics to pick up the tank. Loaded in the back of my friends truck, and drove it home - gingerly.
Even while loading the tank, you can see the build quality. Julian from @Crystal Reef Aquatics helped us get it in the truck and even met us after hours to coordinate the pick-up.
Got it home and moved it to the stand in the garage. I plan on finishing the build in the garage, at least plumbing, electronics and ensuring everything works before loading the whole mess into the house. That will be quite the ordeal since I'll have to move the other tank at the same time!