OP
OP

I mentioned the difficulty that I had in accessing my previous tank even though it was 1/2 the depth (front to back) of this one, mainly due to only being able to lean over the back side. Moving the lights out of the way on that one was also tedious. I decided that for this tank to be fun to work on, I needed to address these types of issues from the start and take measures to not have a repeat of last time. The solutions I came up with leverage some of my previous experiences with aluminum extrusions and motion control.
To deal with the difficulty of accessing the tank from above, the tank will have 2 aluminum rails running the length of the tank suspended above the euro bracing, with high density foam below each rail. These rails will serve a bunch of purposes. The main function is to allow me to have a 'creeper' that runs along the rails that I can lie on my stomach on and reach down into the tank from above. The creeper will be 2 extrusions on carriages that I can remove the platform from, and slide out of the way at the overflow end of the tank when I am not using them.
There will also be a 3rd extrusion, again running on carriages. This one will be able to position itself along the length of the tank (Y axis) and will have another carriage on the extrusion that can be positioned between the front and back of the tank (X axis). The carriage riding on the X axis will carry a camera. Probably an Raspberry Pi 8mp V2 camera. The RPI itself will be mounted off to the side on the Y axis carriage closest to the front of the tank. I plan to run the power and cabling through an energy chain mounted in a cableway on the extrusions at the front of the tank. The plan for this is to schedule daily time lapse photos from above, with the pumps off to capture growth over time. I know, I might be counting my chickens before they are hatched, or in this case my acros before they have grown, but I like to plan for optimism. My biggest concern with this idea, is keeping the motion control hardware both out of the way and dry.
Maybe some photos will help?
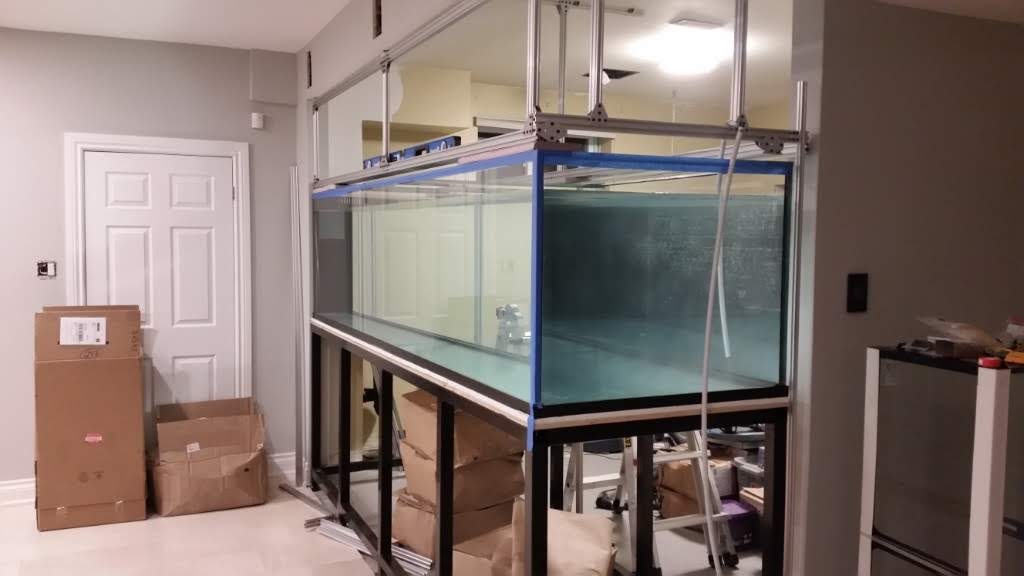
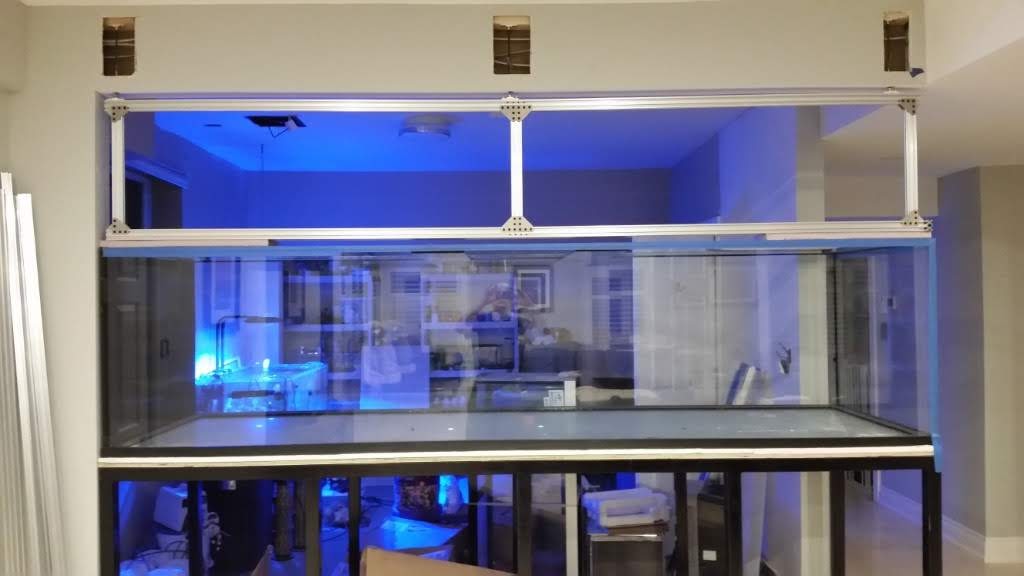
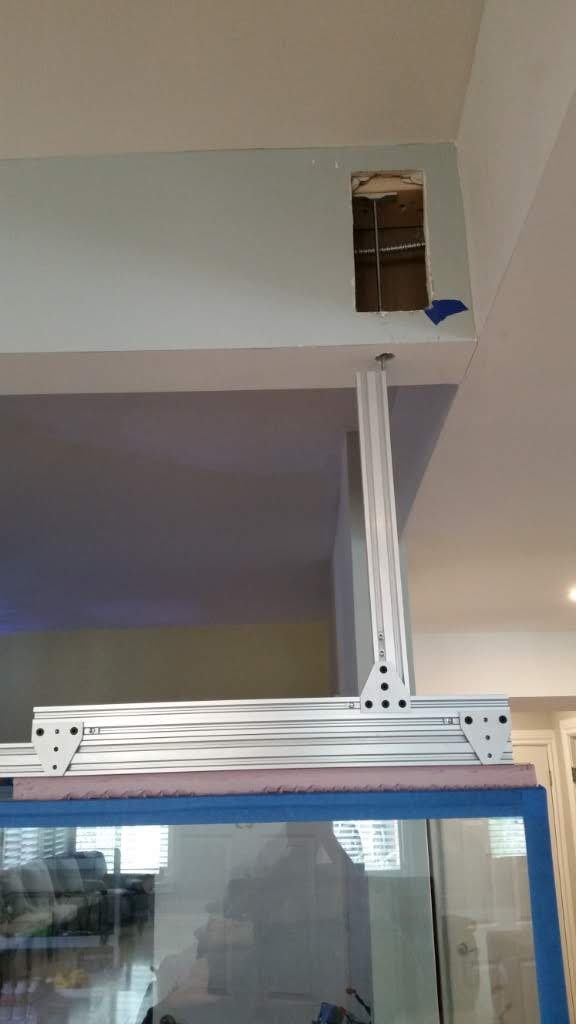
This is the first part of the rails and supporting structure going in. The 2x4's in the cutouts are screwed to the floor joist running above the bulkhead. The fittings attached to the 2x4 are aluminum, so I used brass 1/4" rod for suspension ties. The original plan was to have those front ties along with some rear supports that will be part of the walk platform to form the majority of the support. What became clear, is that 1/4" rods are pretty much like wet spaghetti when it comes to lateral force. So I altered the design so that they are not relied on as much (if at all).
When I was trying to position the fitting to make sure I lined up the top fitting for screwing, I found that a jig came in really handy.
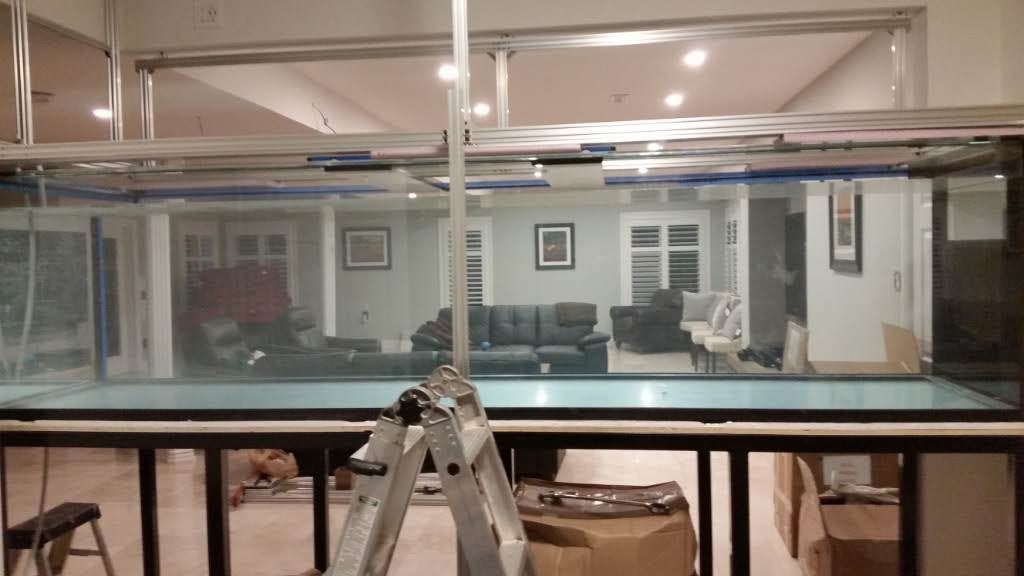
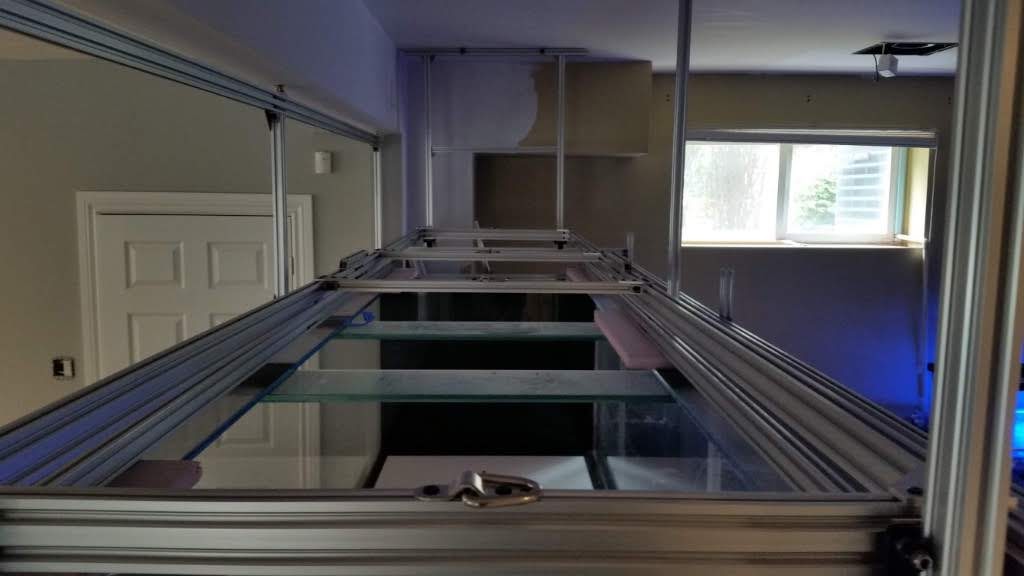
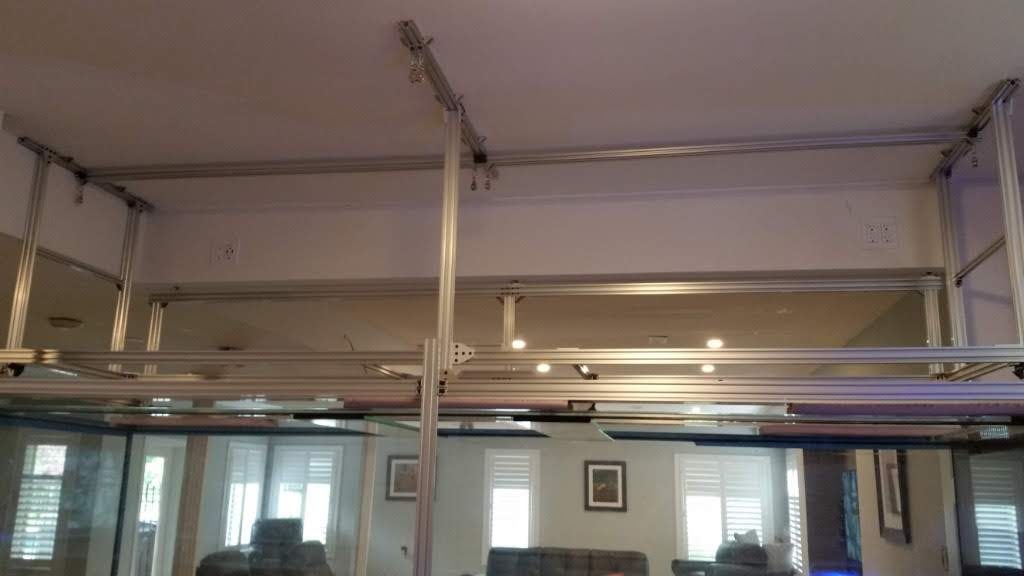
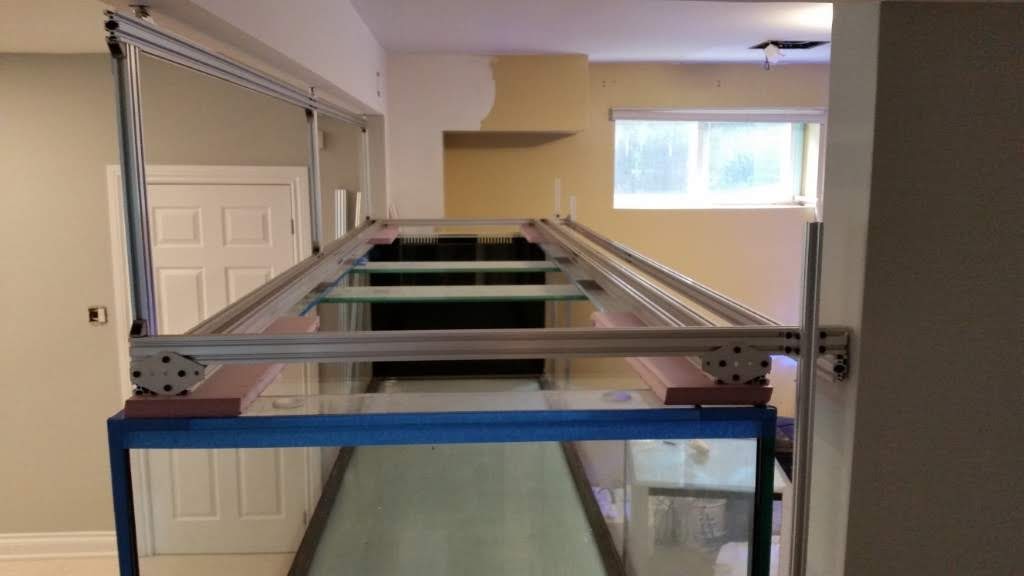
This view with some of the extrusions in place will help visualize what the structure entails.
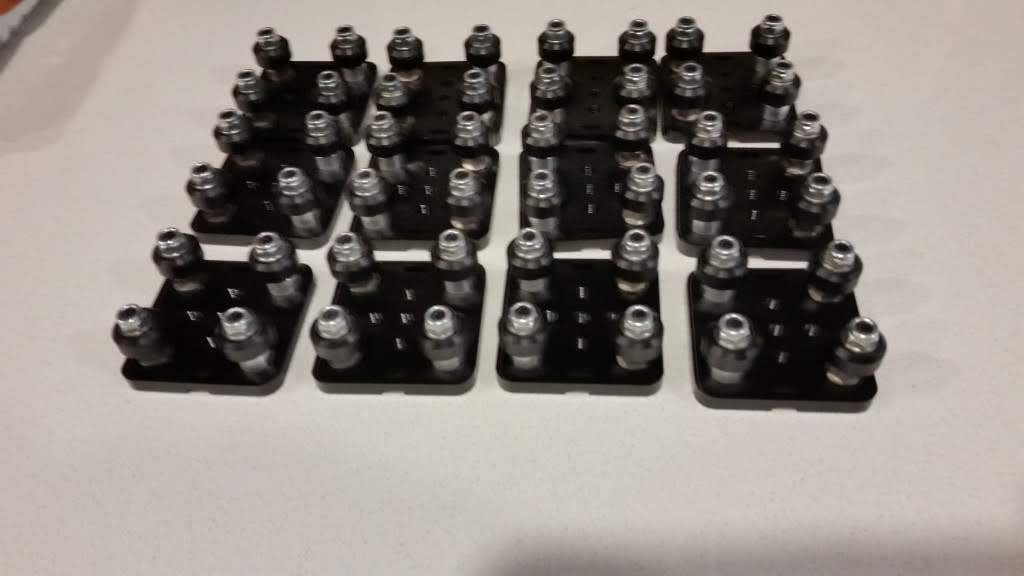
These are the carriages that will be used for all the movable fixtures (platform, camera. lights, etc).
Dennis
To deal with the difficulty of accessing the tank from above, the tank will have 2 aluminum rails running the length of the tank suspended above the euro bracing, with high density foam below each rail. These rails will serve a bunch of purposes. The main function is to allow me to have a 'creeper' that runs along the rails that I can lie on my stomach on and reach down into the tank from above. The creeper will be 2 extrusions on carriages that I can remove the platform from, and slide out of the way at the overflow end of the tank when I am not using them.
There will also be a 3rd extrusion, again running on carriages. This one will be able to position itself along the length of the tank (Y axis) and will have another carriage on the extrusion that can be positioned between the front and back of the tank (X axis). The carriage riding on the X axis will carry a camera. Probably an Raspberry Pi 8mp V2 camera. The RPI itself will be mounted off to the side on the Y axis carriage closest to the front of the tank. I plan to run the power and cabling through an energy chain mounted in a cableway on the extrusions at the front of the tank. The plan for this is to schedule daily time lapse photos from above, with the pumps off to capture growth over time. I know, I might be counting my chickens before they are hatched, or in this case my acros before they have grown, but I like to plan for optimism. My biggest concern with this idea, is keeping the motion control hardware both out of the way and dry.
Maybe some photos will help?
This is the first part of the rails and supporting structure going in. The 2x4's in the cutouts are screwed to the floor joist running above the bulkhead. The fittings attached to the 2x4 are aluminum, so I used brass 1/4" rod for suspension ties. The original plan was to have those front ties along with some rear supports that will be part of the walk platform to form the majority of the support. What became clear, is that 1/4" rods are pretty much like wet spaghetti when it comes to lateral force. So I altered the design so that they are not relied on as much (if at all).
When I was trying to position the fitting to make sure I lined up the top fitting for screwing, I found that a jig came in really handy.
This view with some of the extrusions in place will help visualize what the structure entails.
These are the carriages that will be used for all the movable fixtures (platform, camera. lights, etc).
Dennis