Below is the story of how this build evolved into my dream tank and became the ultimate BioCube build.
I’ve always been attracted to nano’s. Historically, I have moved every 2-5 years so the thought of moving a large setup discouraged me from ever going big.
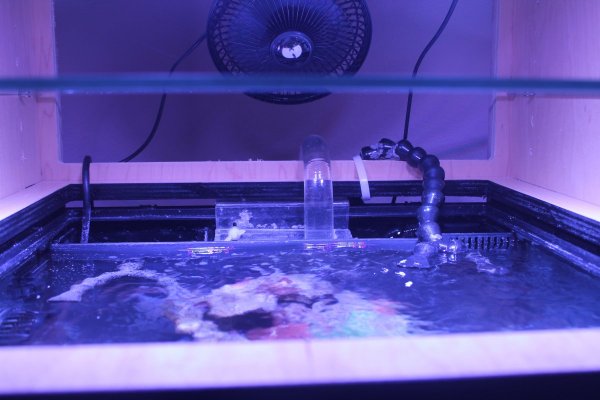
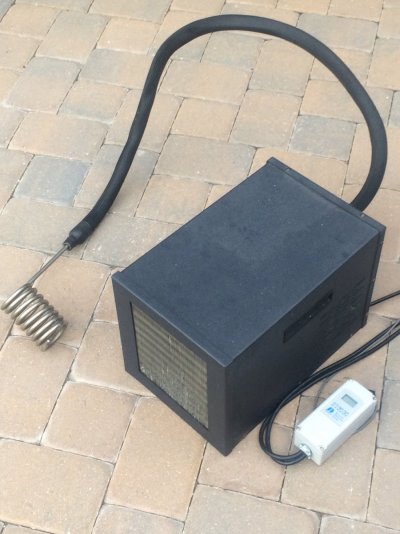
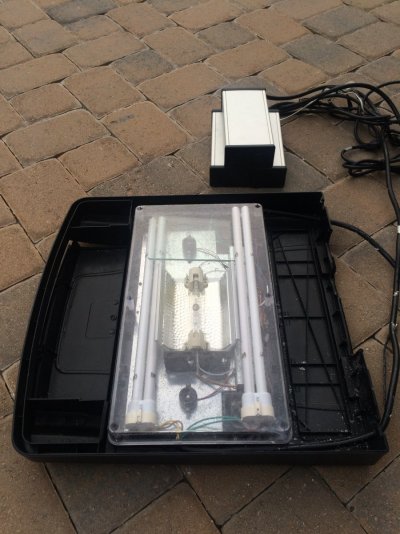
I purchased the BioCube 29 gallon roughly 10 years ago. Once I was bored with it (months later) I bought a Halide upgrade lid kit. The lighting upgrade was pretty significant. I cut the back of the factory lid and installed an overflow box and added an acrylic sump. The halide light was awesome but heated the water too much so I decided to buy a chiller.
This setup lasted perfectly for six plus years. Fish and corals were thriving! About five years ago I moved again. This time I decided to place the tank in my bedroom. There wasn’t another ideal spot in our new home. Having the tank next to my side of the bed was pretty cool. I adjusted the returns for the perfect amount of water noise which made a tranquil sleeping environment. Unfortunately the chiller exhaust made my bedroom too warm for comfort and the wife started to complain. It was time to ditch the chiller and halide.
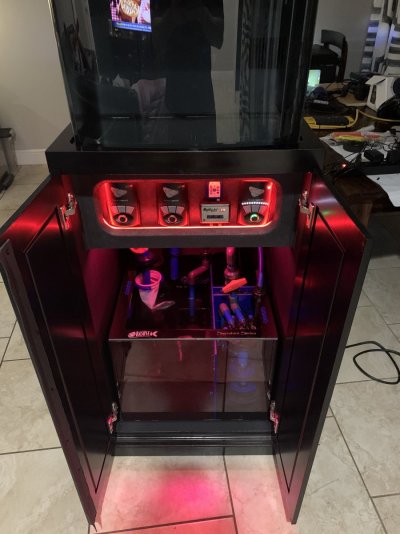
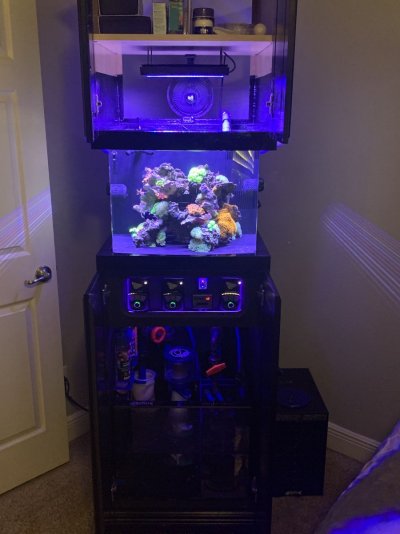
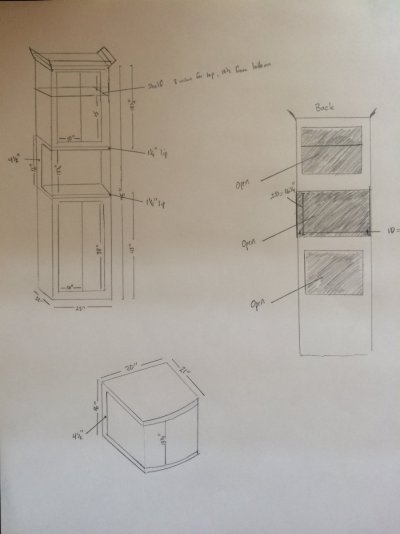
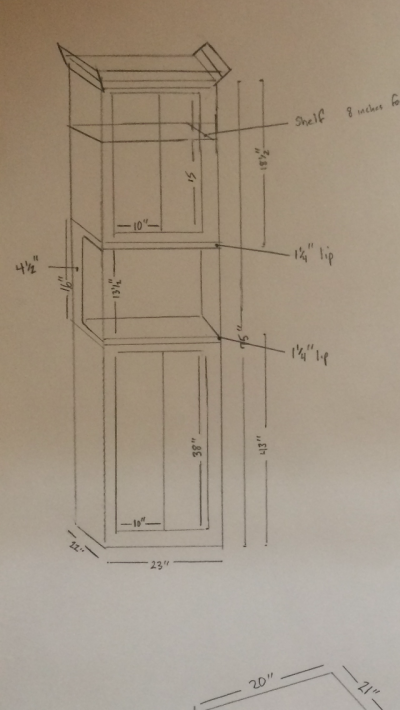
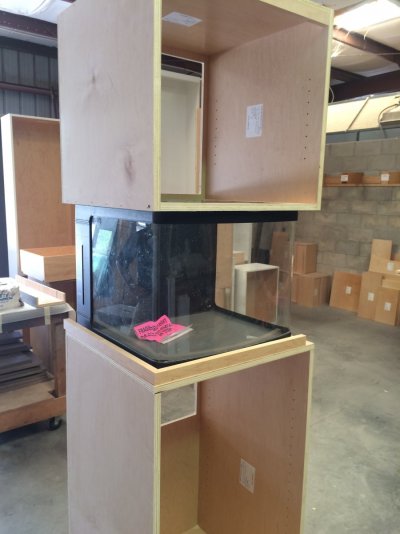
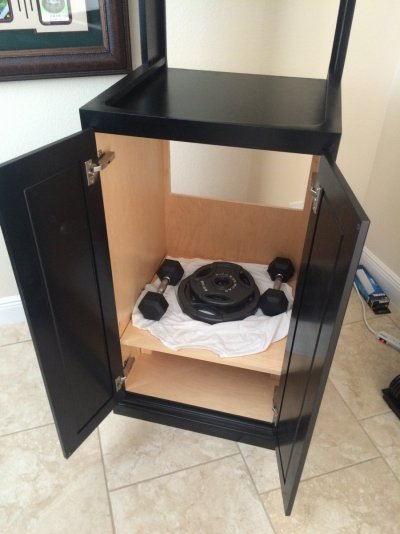
I was once again looking to upgrade. At the time the Radion xr30 g4 Pro was about the best lighting option I could find. With the Radion addition, I had to lose the BioCube lid. I decided to have a cabinet built so I went to a local custom cabinet place and gave them my drawing. In order for a perfect fit, they needed the actual tank. Fortunately I found one used for $75.
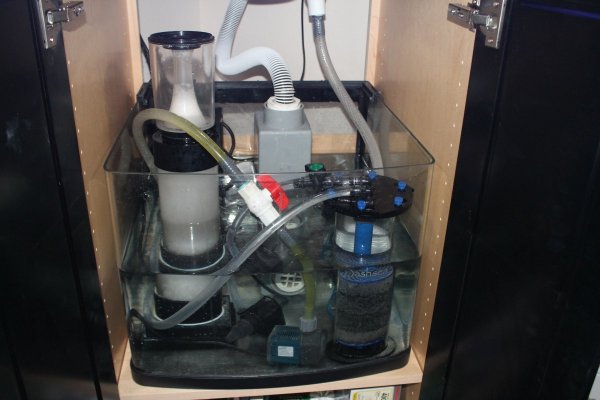
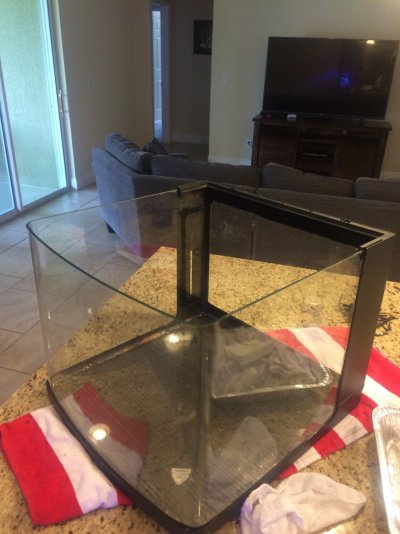
After my cabinet was built, I decided to use the second BioCube tank as a sump. I removed the plastic rim and the rear chamber. I pretty much left it glass only.
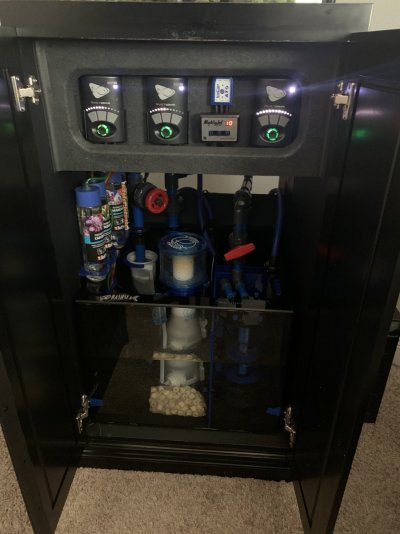
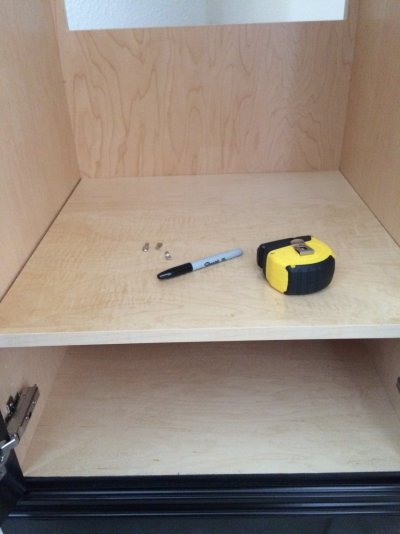
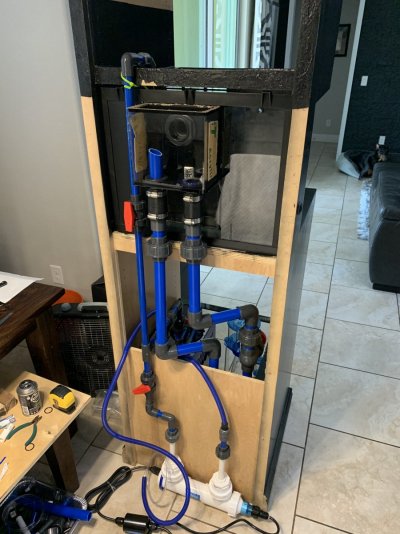
Once again, it was time to upgrade. I wanted to add an ATO and clean up the sump configuration and ditch the siphon overflow. This meant I would have to drill the back if the Biocube. Also, it was time for a dosing system and add hard plumbing. Lastly, I needed to make a few corrections. The top portion of the cabinet had some moisture damage. I dried it out sanded it down and fiberglassed the top area. I bought new hinges and coated them with dielectric grease (rust). Finally, I put weather strip in between the cabinet doors so light wouldn't permeate.
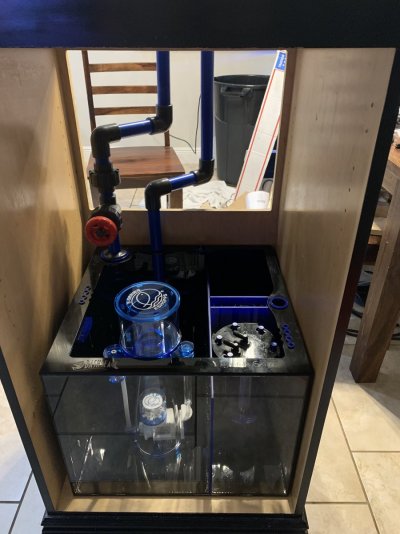
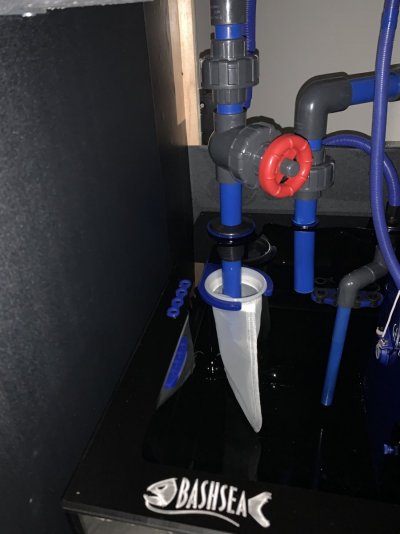
Initially, I was going to keep the second BioCube sump but once I found the Bashsea Cube sump, I fell in love. I designed the entire system around the blue Bashsea theme.
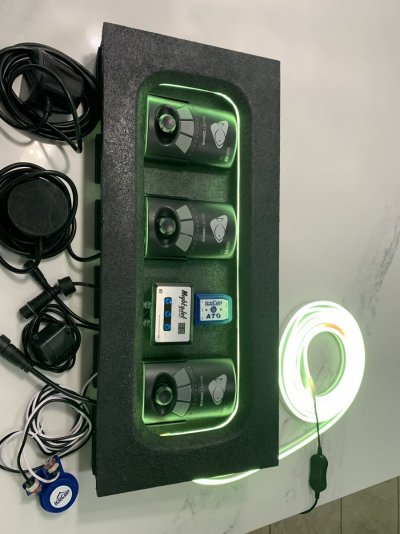
I gathered a few ideas for the control panel from the car audio world!
Here are the details of version 5.0 of my BioCube 29 -
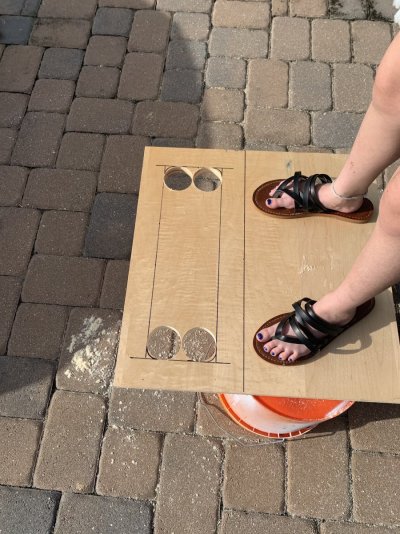
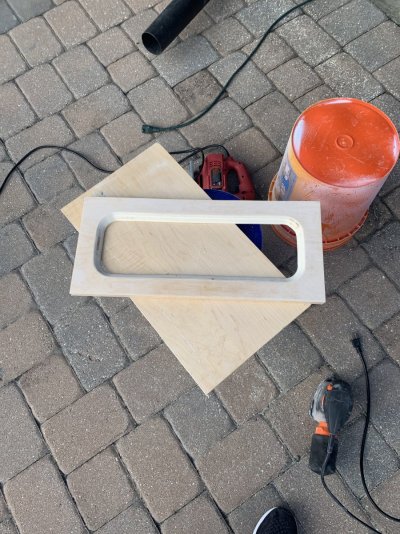
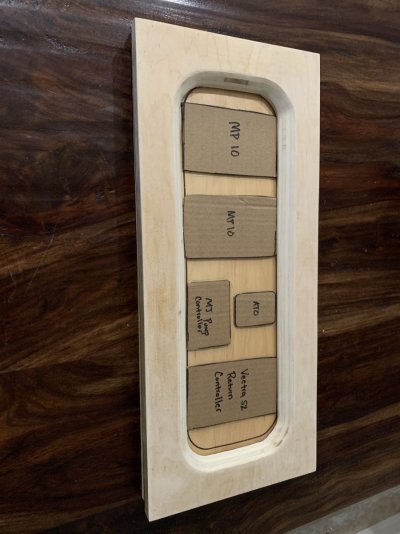
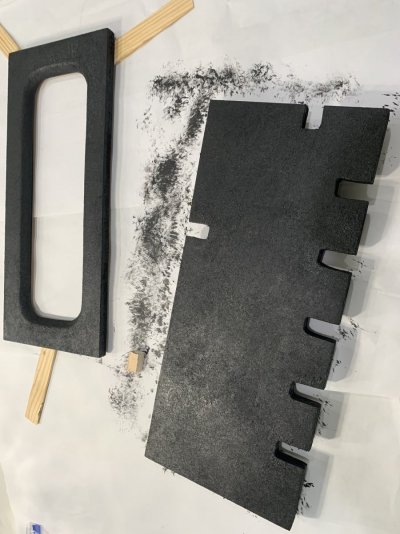
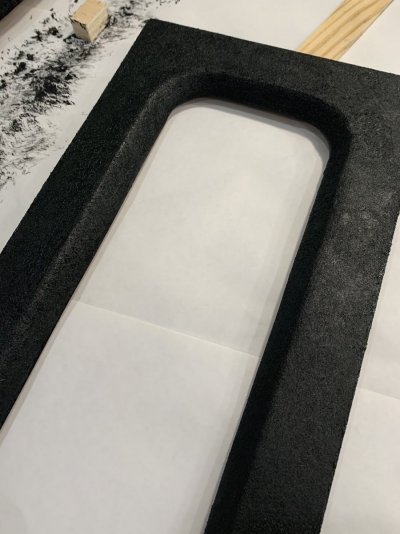
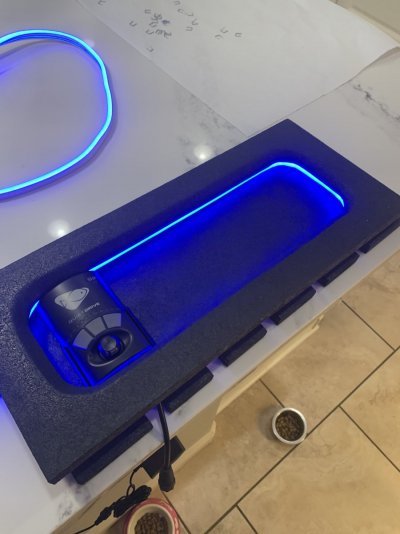
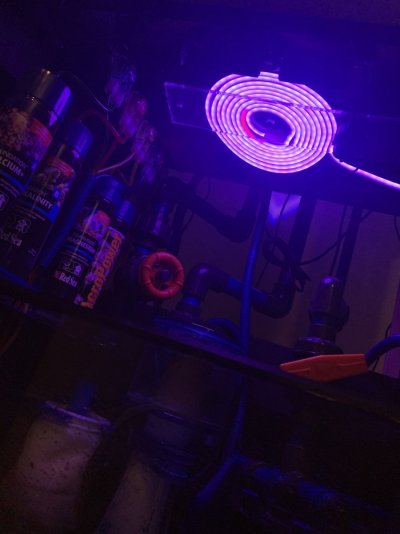
a. Custom control panel backlit LED - I used a chamfered routing bit. Painted the wood black then coated with black acrylic caulk. I used my wife's makeup brush and created a tap pattern texture. This sealed the wood pretty well and gave it a cool look. The LED was from Monster. It cost $30 at Walmart and I stapled it in place on the backside of the control panel face. I coiled the excess LED and used that to light the sump area. I purchased three EcoTech MP mounts and made a custom mount for the ATO and Mighty Jet controller.
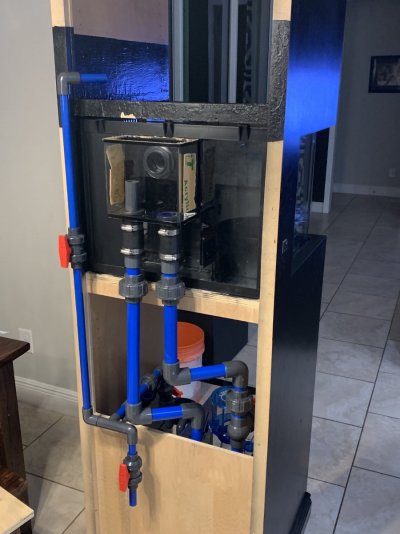
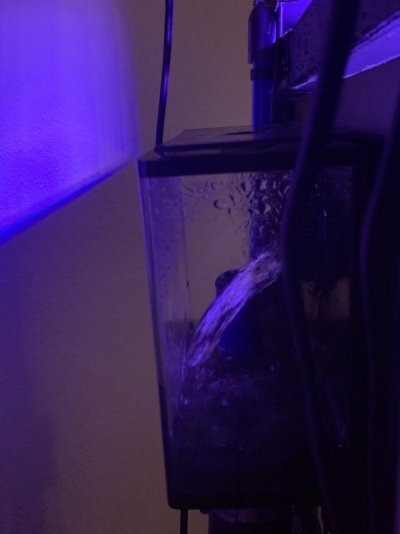
b. Fiji Cube drilled overflow system. Yes, I was nervous to drill it but it was simple. Also, I had to cut some of the plastic dividers in the back portion of the BioCube. This allowed more water flow.
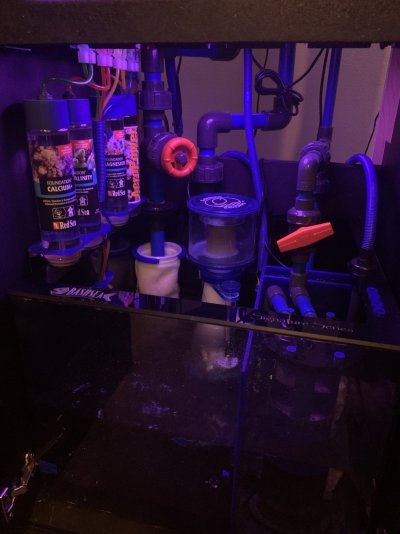
c. Bashsea Cube sump, Bashsea 10 gallon ATO tank and Bashsea reactor. - I'm running a small amount of carbon in the reactor
d. Aqua Ultraviolet 15 watt UV sterilizer (white model)
e. Ice Cap ATO system - The tubing coming from the 10 gal ATO tank is wrapped with the blue flex pipe. I found them in the sprinkler section at Lowes. I bought a ton! The threads matched the bulkhead of the Bashsea sump. So the ATO return and the UV return were threaded into the sump rim. This gave everything a really clean look.
f. Eshopps 120 protein skimmer with a Co2 scrubber on the air intake. - Honestly, I selected this unit based on the color. I wanted to keep everything blue.
g. EcoTech MP10 x2. I bought the Mobius chips and the aftermarket plastic guards. They snap on. I've lost a cleaner shrimp in the past and didn't want to make that mistake again.
h. EcoTech Vectra S2 pump - I love this thing! I've plumbed it to the reactor, UV sterilizer and obviously the return.
i. Mighty Jet DC pump - This is located where the stock BioCube pump was. Again, I cut some of the plastic to make it fix properly. I placed a heater in the same chamber as this return pump.
j. EcoTech Radion XR30 G5 Pro LED - I didn't plan on upgrading however during the tear down process XR30 G4 quit working. I checked the power supply and that was good. I took it to my LFS and they said it appeared to have a hardware issue. This gave me an excuse for the upgrade. The folks at EcoTech are awesome. I shipped the G4 out the following week and it is being repaired.
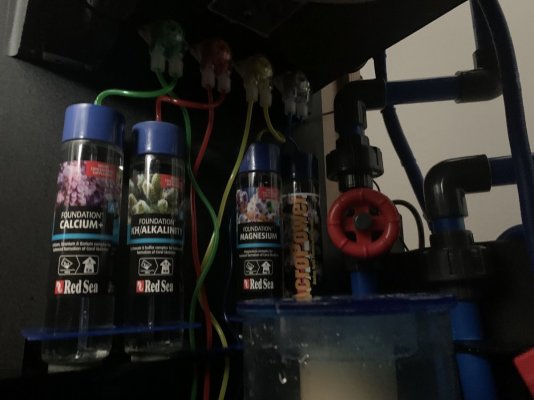
k. Kamoer F4 pro dosing system - I went back and forth on what to get but finally went with this one. I couldn't be happier. I am dosing Red Sea A, B, C (calcium, alkalinity, magnesium) and amino acids. The dosing containers are Voss water bottles. There are several YouTube videos on how to make them. I painted the caps blue the bulkheads charcoal and used the original RedSea sticker labels. I glued a 1.5" rubber washer to the bottom of each bottle so they would sit softly. I crafted two custom cradles out of blue acrylic to hold the dosing bottles. I put one on each side of the dosing port holes located in the sump rim. Finally, I used more of that sprinkler blue flex hose to clean up the dosing tubes.
l. Black Starboad bottom - I had the guys at Boat Outfitters laser cut to fit. - If I had to do it again, I would have caulked it in place. It fits well but stuff like sand and fish waste gets in between the glass and the Starboard. I have to use a turkey baster or siphon tube to clean it up.
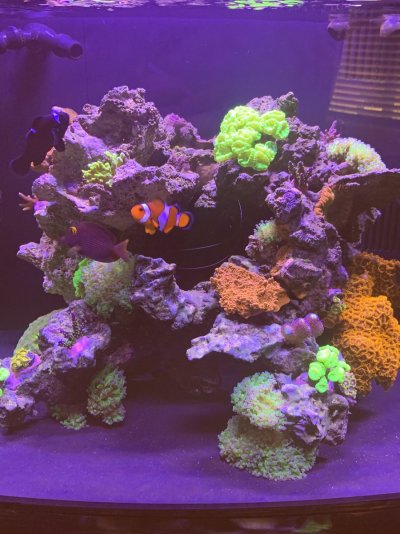
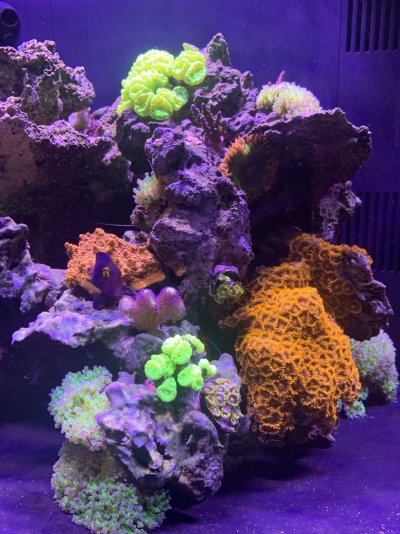
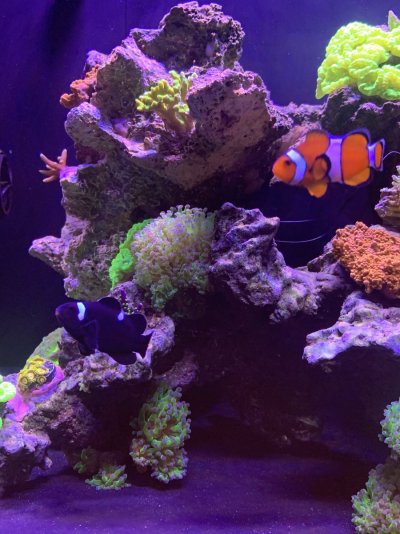
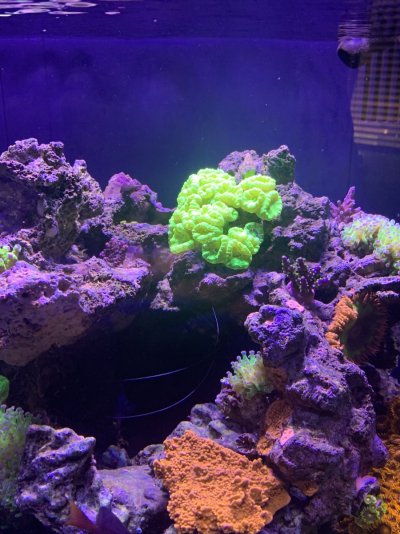
The tank has two clowns, one Engineer Goby, one Kole Tang, one Fire Shrimp and a Coral banded shrimp. Corals consist of several SPS frags, polyps, trumpet, frogspawn, monti, brain. I'm planning on going heavy SPS in the near future.
I hope you enjoy it. Please feel free to comment and I welcome any and all suggestions.


Last edited:


