30x30x30 acrylic

OP
OP
G

Gowyn

Community Member
View Badges
Joined
Dec 8, 2018
Messages
51
Reaction score
79
Rating - 0%
0   0   0
So stand built today, not much to look at yet, I don’t need frequent access to underneath. Anyway once tank is up and running I’ll skin with white acrylic and trim with walnut

64f10b086ad5685d6bfb47950a75e9ed.jpg


Back of tank repainted

9309bab82949830d66e264c8cb0c71d2.jpg


Tomorrow is all the plumbing and partition in sump for Fuge

Big bucket of dry rock ready to go in too....
ef8cb6c21305dbcd014795c90cb501aa.jpg


Sent from my iPhone using Tapatalk
 

cracker

5000 Club Member
View Badges
Joined
Dec 11, 2014
Messages
7,164
Reaction score
16,238
Location
north east Fl
Rating - 0%
0   0   0
Nice tank ! it's looks like it's going together well.
Also welcome to R2R !
 
Last edited:

dante411x

Active Member
View Badges
Joined
Apr 23, 2014
Messages
100
Reaction score
63
Location
Charlottesville, VA
Rating - 0%
0   0   0
That’s a pretty cube. Very interesting on that slight bow front, don’t see that often.

Personally I would have built a lower stand.. especially since the sump is remote. That’s mostly coming from an experience of a tall tank on a tall stand and having to figure out a way to reach all the way down to the bottom (which happened more frequently than I’d like to admit) without just jumping in.
 
OP
OP
G

Gowyn

Community Member
View Badges
Joined
Dec 8, 2018
Messages
51
Reaction score
79
Rating - 0%
0   0   0
That’s a pretty cube. Very interesting on that slight bow front, don’t see that often.

Personally I would have built a lower stand.. especially since the sump is remote. That’s mostly coming from an experience of a tall tank on a tall stand and having to figure out a way to reach all the way down to the bottom (which happened more frequently than I’d like to admit) without just jumping in.
Yes was torn about the height. Original stand was 24”, wife wanted a taller one so I just added 6”.
 
OP
OP
G

Gowyn

Community Member
View Badges
Joined
Dec 8, 2018
Messages
51
Reaction score
79
Rating - 0%
0   0   0
Wednesday update!

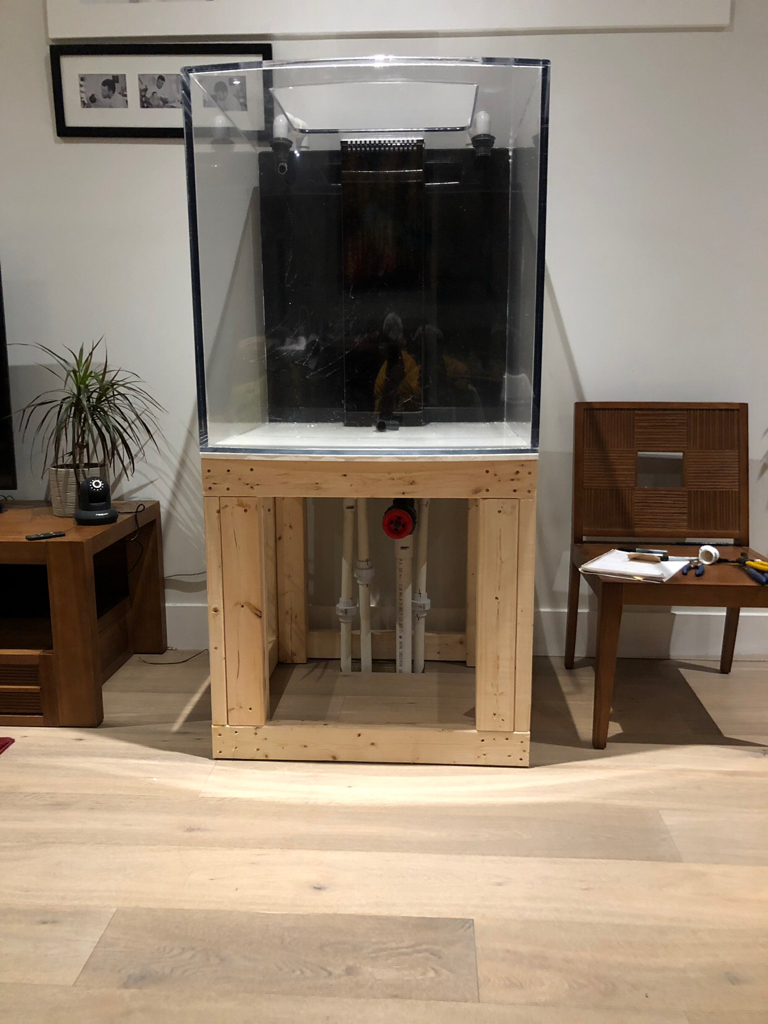
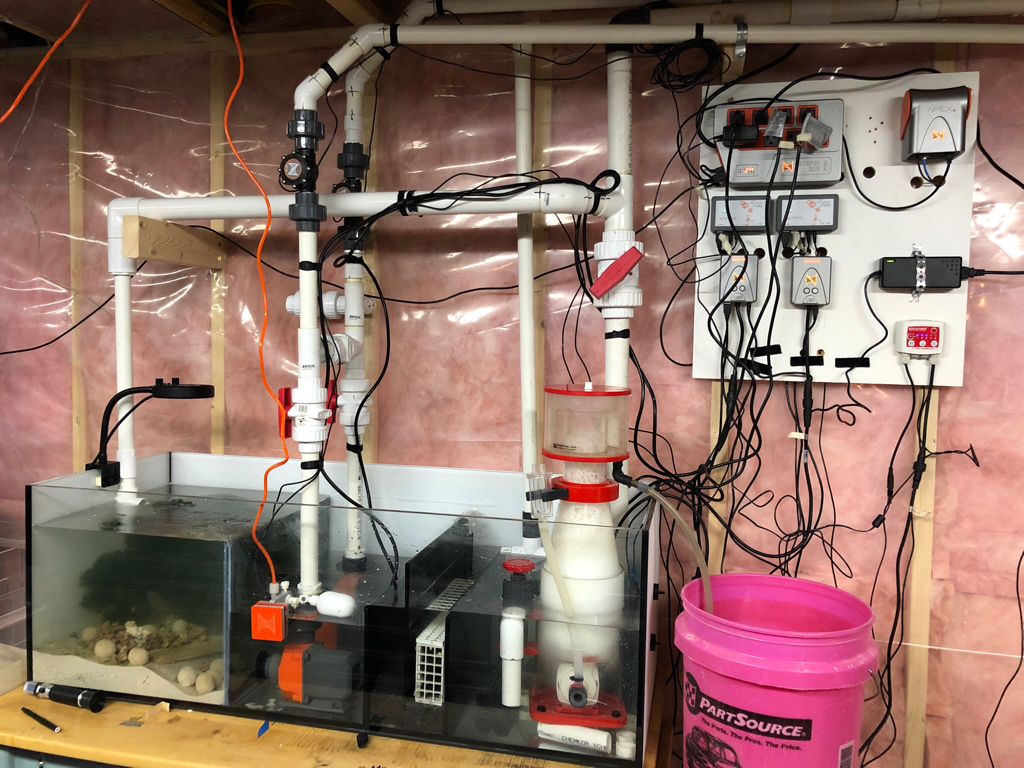
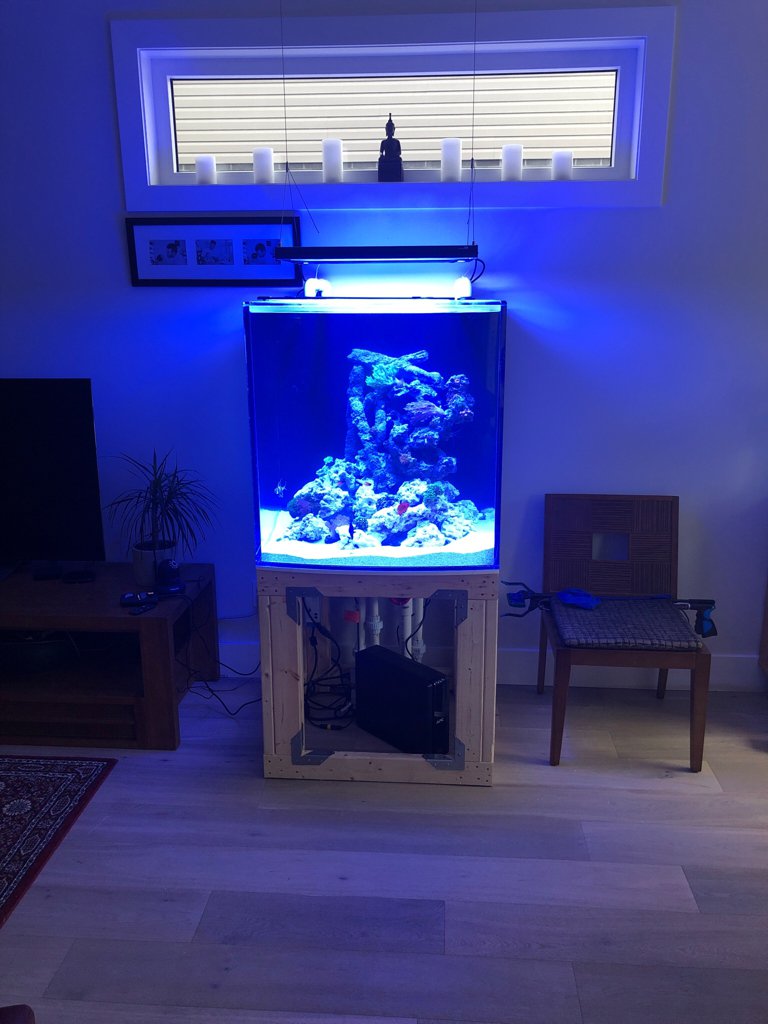
So plumbing is pretty well done. Took two days of course. Just have to plumb the manifold which can wait.

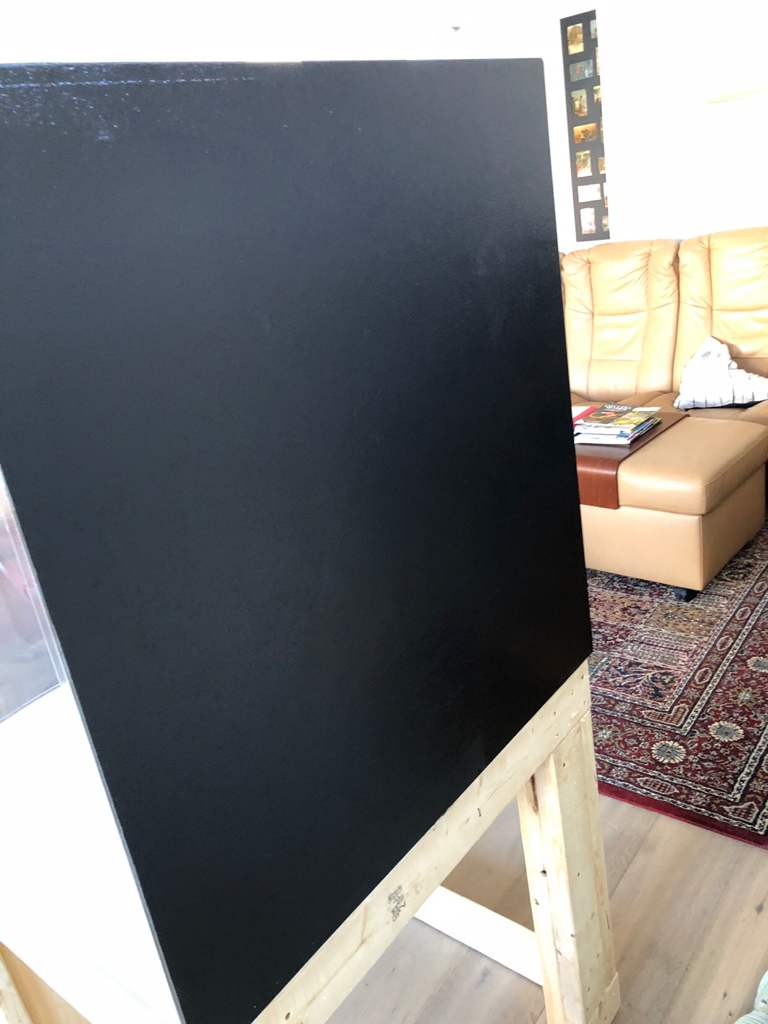
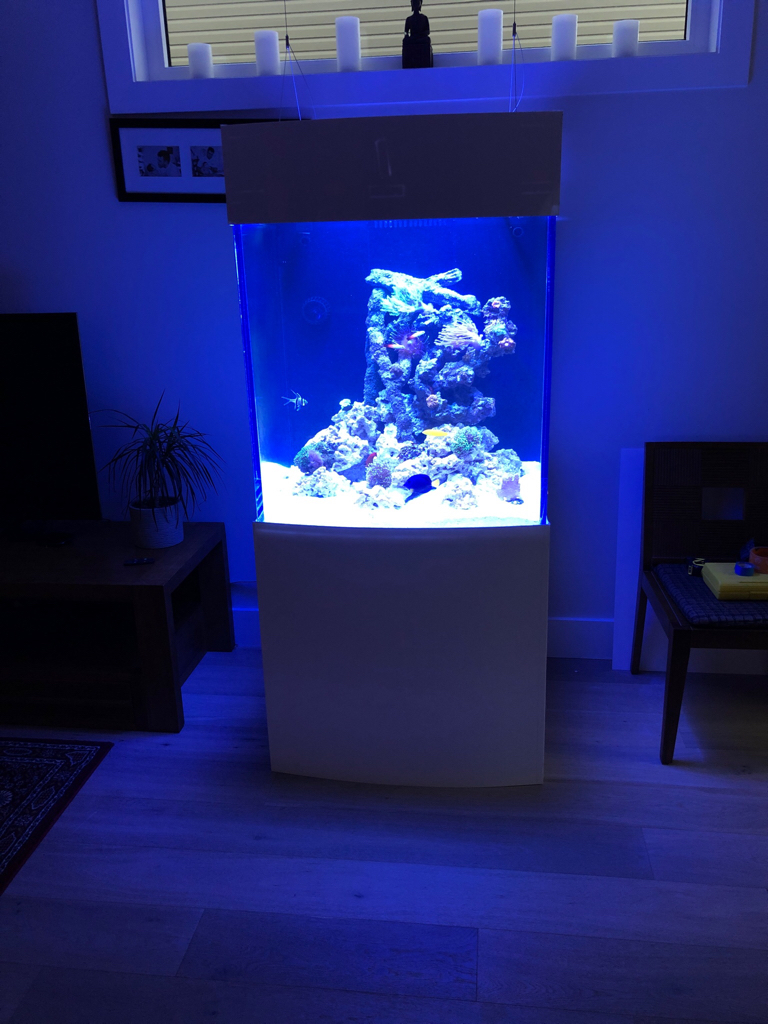
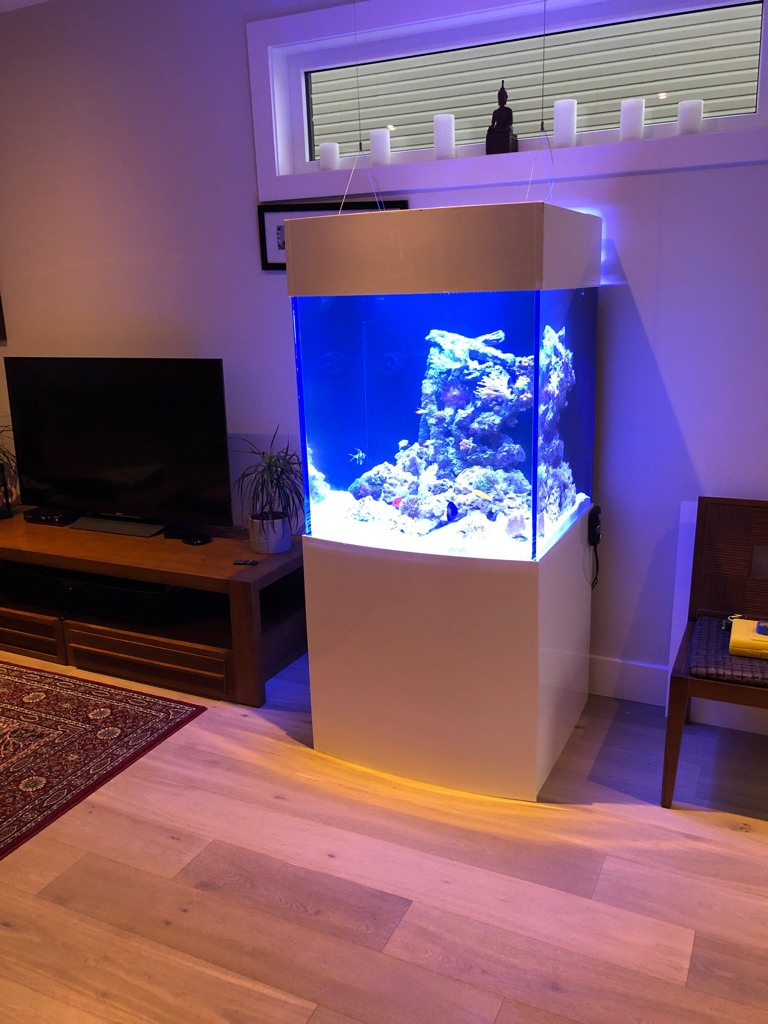
Today’s project is clean everything, make sure it’s all level, mount the Apex temporarily and water leak test.

I’m dreading the water test! I can see how people miss gluing joints, only screwed up on one, marked each piece but of course glued one small section backwards....d’oh! Oh well fixed now I hope.

Some advice please.

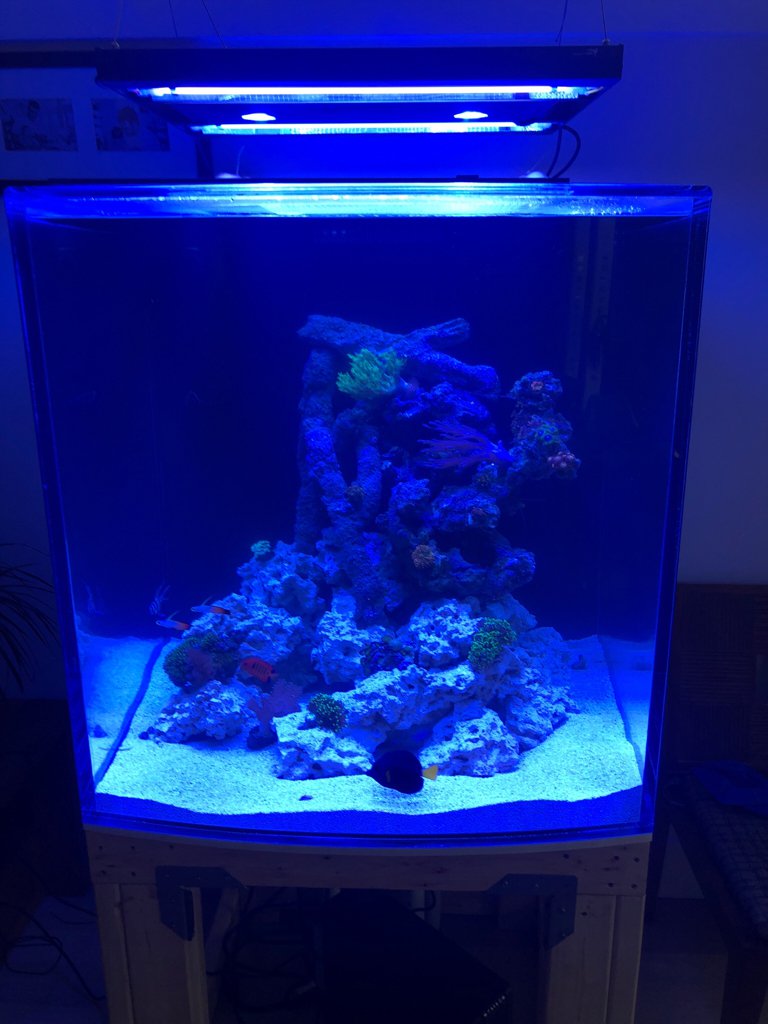
I’m going to start filling the sump, once it checks out I’ll fill the DT using one return pump at a time checking for leaks. What I’m unsure about is I have to move stock from the 32 cube and Fuge from the 14 cube into the new DT.

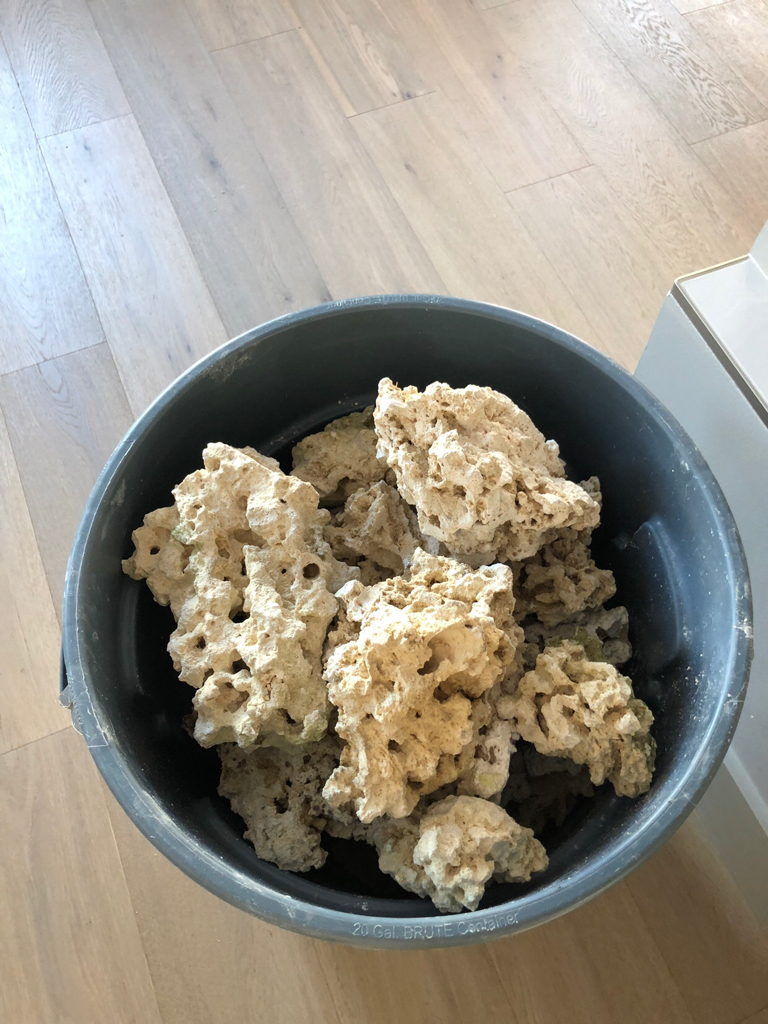
What I’m thinking is start putting the dry rock in the new tank with some sand in between the pieces where it’ll be hard to reach later, scape as the tank fills. Have the full system up and running before transferring rock, sand, Fuge and livestock. That way the new system will be up to temp and hopefully any bugs will be worked out.

Putting the sand in a running tank will be a pain. I’m thinking getting a pipe and pouring it down hopefully not creating too much of a sand storm.

Anyway, I’ll post pictures later, working tomorrow thank God, need a rest. Not sure if I want it running while I’m not here though....haha
 
OP
OP
G

Gowyn

Community Member
View Badges
Joined
Dec 8, 2018
Messages
51
Reaction score
79
Rating - 0%
0   0   0
Up and running

Only two minor leaks, one missed glued fitting....haha

One union needing tightening

1f0db88dd640001cc4bba0cd8d802cc3.jpg


Decided to fill tank, took all my rodi and salt water made up, 100 gallons plus...

Here’s the sump

1083aaf54f99a0b3bf99c163a5ccdb8e.jpg


Apex location is temporary so just thrown up there

Tank is cloudy so pic to follow later

Might have to reinforce the frame, ever so slight bit of movement, nothing to worry about but easily fixed
 

Captain Quint

Plank Owner of the Orca
View Badges
Joined
May 5, 2018
Messages
4,000
Reaction score
17,228
Location
Carolina
Rating - 0%
0   0   0
@Gowyn I have been thoroughly been enjoying this build from the start.

You've come a long way and it is awesome.

Please keep the pics and updates coming.
 
OP
OP
G

Gowyn

Community Member
View Badges
Joined
Dec 8, 2018
Messages
51
Reaction score
79
Rating - 0%
0   0   0
Scaping done, I think

Like lots of caves and tunnels for my fish

Aquaticlife retro T5 done, piece of cake

Water a little cloudy but you get the idea

3f5d2bc47d5145c0f46a0e587c506d21.jpg

4a0d6fd7d4ceea154c894ecd96f04513.jpg


Sent from my iPhone using Tapatalk
 
OP
OP
G

Gowyn

Community Member
View Badges
Joined
Dec 8, 2018
Messages
51
Reaction score
79
Rating - 0%
0   0   0
Looking good!

Going to pay close attention to your tank

What type of lighting are you going to do?

Already have the Kessil A700 and now supplimenting it with the AquaticLife T5 retro kit
 
OP
OP
G

Gowyn

Community Member
View Badges
Joined
Dec 8, 2018
Messages
51
Reaction score
79
Rating - 0%
0   0   0
So latest

Stand skinned, top built and skinned

Auto water change hooked up

ATO hooked up

Scaping done, not perfect but it never is

Just a couple cleanup chores to go now

Water parameters are all good, fish a corals are doing well

Lights on timers, happy with retro T5 and Kessil

My Diamond Back Goby is doing his own scaping, too funny

c1b16b9939c034e5d6c28cca3c54382c.jpg
a3459dc24ff54b0d770c39980a604e7c.jpg
 

Form or function: Do you consider your rock work to be art or the platform for your coral?

  • Primarily art focused.

    Votes: 20 8.3%
  • Primarily a platform for coral.

    Votes: 42 17.4%
  • A bit of each - both art and a platform.

    Votes: 161 66.8%
  • Neither.

    Votes: 12 5.0%
  • Other.

    Votes: 6 2.5%
Back
Top