40G Breeder AIO Custom Build

NeonRabbit221B

2500 Club Member
View Badges
Joined
Jun 21, 2019
Messages
3,037
Reaction score
5,610
Location
Richmond, Va
Rating - 0%
0   0   0
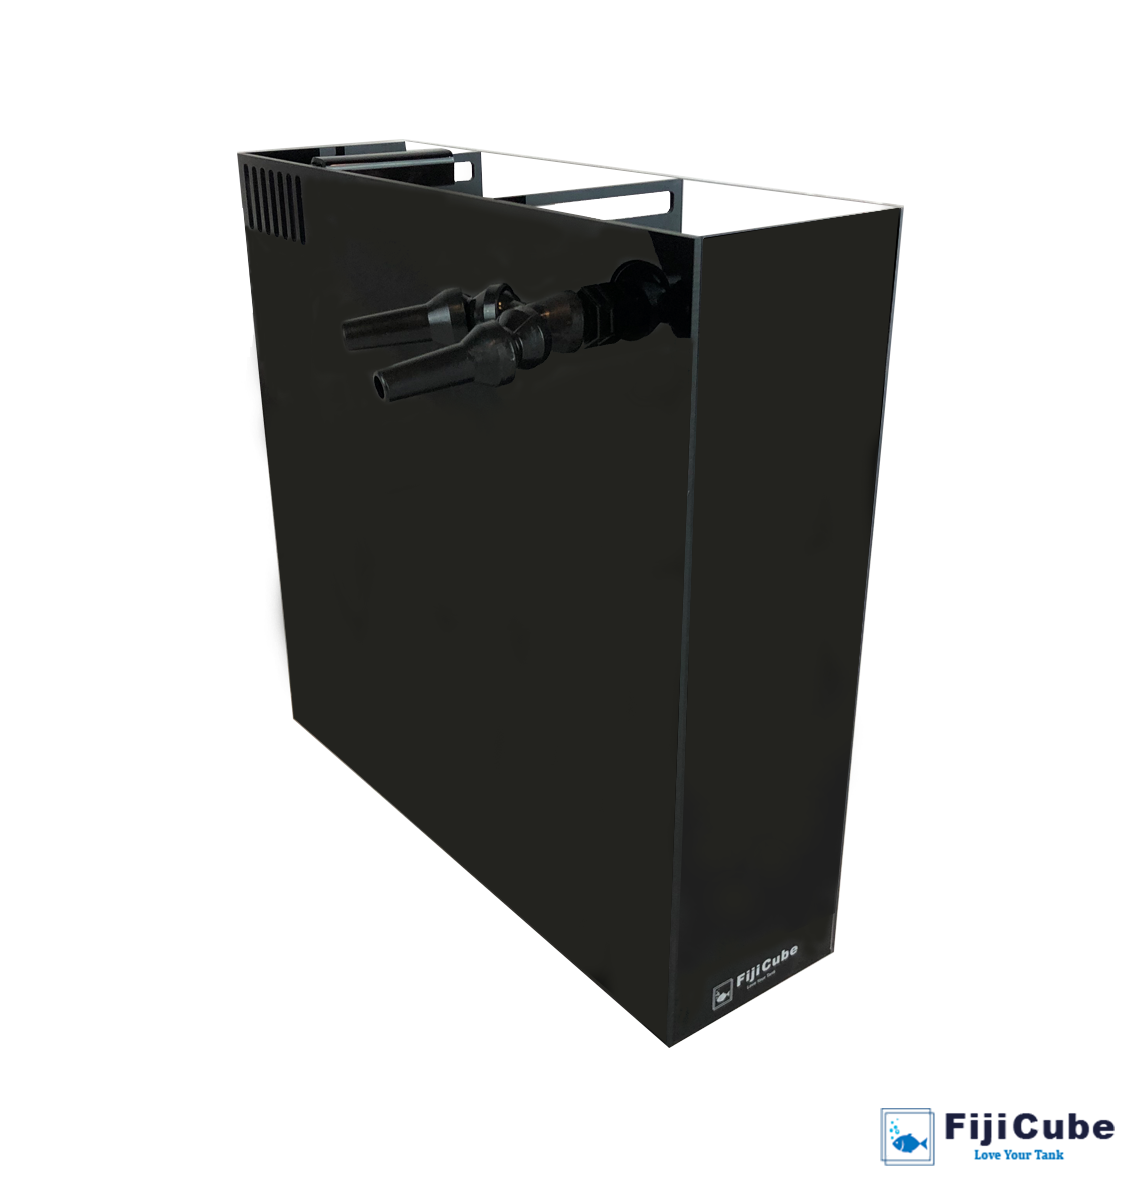
I currently have a 30 gallon with some softies and LPS that I have been looking at rehoming into a larger tank. After running the tank for 3 months I decided that I hate the look of it. HOB equipment is ugly and I have been too nervous to go the sump route (and girlfriend is fairly against the idea as well). I have some tentative plans to construct an AIO with a 40G similar to https://www.reef2reef.com/threads/33-long-build.366016/. I really like the idea of having my equipment higher up but hidden and have started doing some final plans on the design.

I was hoping to do two overflow compartments (3 chambers each) to house filter floss, heater, skimmer, a small refugium and pumps. Is there any reason why I would have to have these compartments be the full height of the tank? I like the idea of having the full 48" of length for a DSB and have the chambers float above the sandbed instead of sealing it to the bottom of the tank. Right now the plan is to put the chambers in the far back corners along the back instead of on the sides as is in the 33 Long build.

Have anyone had any success in a 40G AIO? I plan to update with with 3D models and sketches as I work them out. Any tips would be appreciated!

Edit: After reading several threads about how 55G are difficult due to the width, I returned the 55 and went with a 40.
 
Last edited:
OP
OP
NeonRabbit221B

NeonRabbit221B

2500 Club Member
View Badges
Joined
Jun 21, 2019
Messages
3,037
Reaction score
5,610
Location
Richmond, Va
Rating - 0%
0   0   0
Finished the design of my overflows. My goal is the standardize my tanks so the overflow cambers are designed after the evo 13.5. The height of the first baffle is 1.5 " up and the gap between the top of the overflow to the last baffle is 2". Should give me sufficient water flow.. Plan to use two MJ1200 with a 1/2" loc line with dual outputs. The missing gap with be replaced with a 3D printed slotted overflow I will just slip over the acrylic.


Filter v1.png
IMG_1822 copy.jpg


Instead of reconstructing the wheel, I 3D printed my media baskets. I may play around with the second filtering system and have a small fuge.
 

lpsouth1978

Valuable Member
View Badges
Joined
Aug 7, 2019
Messages
1,425
Reaction score
2,045
Location
Queen Creek
Rating - 0%
0   0   0
Finished the design of my overflows. My goal is the standardize my tanks so the overflow cambers are designed after the evo 13.5. The height of the first baffle is 1.5 " up and the gap between the top of the overflow to the last baffle is 2". Should give me sufficient water flow.. Plan to use two MJ1200 with a 1/2" loc line with dual outputs. The missing gap with be replaced with a 3D printed slotted overflow I will just slip over the acrylic.


Filter v1.png
IMG_1822 copy.jpg


Instead of reconstructing the wheel, I 3D printed my media baskets. I may play around with the second filtering system and have a small fuge.

I would skip the fuge. A fuge that small would provide little to no benefit for your system. I would use one for filter floss and the other for whatever chemical media you may need (i.e. Carbon, GFO, Chemipure, etc).

Looking forward to seeing how this progresses.
 
OP
OP
NeonRabbit221B

NeonRabbit221B

2500 Club Member
View Badges
Joined
Jun 21, 2019
Messages
3,037
Reaction score
5,610
Location
Richmond, Va
Rating - 0%
0   0   0
Noted on the fuge. Was hoping to have some pods grow but we will see!
65C9F041-7256-4E8C-8008-584B7AF84EC5.jpeg

Took a break at work today and broke some rules. Cut out my acrylic. Only screwed up twice... overflow cut out dimensions got switched so I had to do a larger cut which I will fill in with a larger 3D printed overflow. Buggered up the bottom panels bad enough to require a new cut which will be done at home.

Went ahead and ordered my egg crates, new sand and a new 150W finnex heater. Still very much undecided on the stand situation.
 
OP
OP
NeonRabbit221B

NeonRabbit221B

2500 Club Member
View Badges
Joined
Jun 21, 2019
Messages
3,037
Reaction score
5,610
Location
Richmond, Va
Rating - 0%
0   0   0
After assembling the overflows I realized two issues that will result in a delay and design change...

The rim of the tank sticks out for where a lid was going to go by about 3/8". I would rather not just make the overflow wider as the filter section would be by passed. I ended up getting a 3/8" sheet as a buffer.

I was also not a fan of the very rough and uneven edges. Two of the panels were cut at a slight angle making a seal impossible. I am thinking about 3D printing in Black ABS and gluing the edges together for a cleaner look. Its that or get new acrylic and try cutting it with a different type of saw (or just get it laser printed). Had to replace the PEI sheet on my heatbed (MK2S user) so it will be Monday before I can start printing out the different pieces to construct it.

Got all of my plumbing, media baskets, heater, flow directors, AI prime (for supplemental lighting) and have been monitoring my additional dry rock which is cycling in a 10 gallon. Getting anxious that this is taking so long to put together because I know I will need to let it settle for atleast a week.
 
OP
OP
NeonRabbit221B

NeonRabbit221B

2500 Club Member
View Badges
Joined
Jun 21, 2019
Messages
3,037
Reaction score
5,610
Location
Richmond, Va
Rating - 0%
0   0   0
Just an update for anyone following.

My printer decided to have a complete meltdown. PEI I ordered was far too thick and I think caused a thermal runaway in the hotend thermistor. I replaced the thermistor and I havn't gotten a single good print out of any ABS material. I think it has something to do with the firmware update but I am too dam frustrated to work on this thing anymore. I went back to the drawing board and found the Foam Wall instructional using egg crates. Using my printing design I was able to make some quick work out of the setup I wanted and decided to have the AIO sections go all the way to the bottom of the glass.

Of course I didn't communicate my ideas to my girlfriend who was helping me foam so we foamed over the spots where the overflow is going. Some shots of the first pass of coating
Pic 1.jpg

Pic 2.jpg
Pic 3.jpg


Took some time last night to add some additional rock and build the overflows. I am stuffing in pipets into the slots where the overflow is supposed to go and will cut around them. I plan on reusing my original acrylic cut outs for baffles to keep the three chamber design.


...How does it look so far?
 

SDK

Reef Diver
View Badges
Joined
Nov 2, 2016
Messages
1,495
Reaction score
3,165
Location
Shrewsbury
Rating - 0%
0   0   0
Looks good but hard to tell from the pics with regards to structural integrity and internal layout. DI’d you see the foam tutorial on this forum, and are you sure that will work in a marine aquarium? I’ve seen the done with vivariums and FW water aquariums, but never a reef tank.

If all else fails you can look at a premade AIO insert from Fiji Cube

 
OP
OP
NeonRabbit221B

NeonRabbit221B

2500 Club Member
View Badges
Joined
Jun 21, 2019
Messages
3,037
Reaction score
5,610
Location
Richmond, Va
Rating - 0%
0   0   0
Looks good but hard to tell from the pics with regards to structural integrity and internal layout. DI’d you see the foam tutorial on this forum, and are you sure that will work in a marine aquarium? I’ve seen the done with vivariums and FW water aquariums, but never a reef tank.

If all else fails you can look at a premade AIO insert from Fiji Cube


Wait wait....

That instructable on this forum is clearly for a reef tank... right? Is this not feasible with a reef tank?
Right now I have the foam about 1" thick at its thinnest and it seems pretty sturdy. Reenforced the foam with the additional layer of epoxy/glue and sand. If anyone can chine in on possible issues before I waste more time...

But thanks, I did see the FIJI which I considered (and will possibly) but I wanted to eliminate/limit equipment from being in the tank such as powerheads and such. By having two I can atleast create a good flow pattern and supplement with maybe 1 powerhead.
 

Retro Reefer

Slow and steady wins the race!
View Badges
Joined
Dec 15, 2015
Messages
8,048
Reaction score
46,924
Location
Manassas Va
Rating - 0%
0   0   0
Just an update for anyone following.

My printer decided to have a complete meltdown. PEI I ordered was far too thick and I think caused a thermal runaway in the hotend thermistor. I replaced the thermistor and I havn't gotten a single good print out of any ABS material. I think it has something to do with the firmware update but I am too dam frustrated to work on this thing anymore. I went back to the drawing board and found the Foam Wall instructional using egg crates. Using my printing design I was able to make some quick work out of the setup I wanted and decided to have the AIO sections go all the way to the bottom of the glass.

Of course I didn't communicate my ideas to my girlfriend who was helping me foam so we foamed over the spots where the overflow is going. Some shots of the first pass of coating
Pic 1.jpg

Pic 2.jpg
Pic 3.jpg


Took some time last night to add some additional rock and build the overflows. I am stuffing in pipets into the slots where the overflow is supposed to go and will cut around them. I plan on reusing my original acrylic cut outs for baffles to keep the three chamber design.


...How does it look so far?

looks fantastic!
 

SDK

Reef Diver
View Badges
Joined
Nov 2, 2016
Messages
1,495
Reaction score
3,165
Location
Shrewsbury
Rating - 0%
0   0   0
Wait wait....

That instructable on this forum is clearly for a reef tank... right? Is this not feasible with a reef tank?

If you saw it on R2R then hopefully yes. I would personally have some concerns about how it would hold up over time, and what it could possibly/eventually leach into a reef tank.
 
OP
OP
NeonRabbit221B

NeonRabbit221B

2500 Club Member
View Badges
Joined
Jun 21, 2019
Messages
3,037
Reaction score
5,610
Location
Richmond, Va
Rating - 0%
0   0   0
The good news is that this would be a quasi-temporary tank (2-4 years) to hold me over until I settle into a house with more space. I am slightly worried about the back side where the filters are stored and anywhere where I am cutting away at the foam. Saturday I will post another set of pictures of the final inserts. So close now, looking forward to how it will look.
 

Malifry97

Valuable Member
View Badges
Joined
Oct 7, 2019
Messages
2,015
Reaction score
2,067
Location
Duncannon,PA
Rating - 0%
0   0   0
If you want to get better at working with foam, watch some of serpadesigns YouTube videos. He is a reptile and terrarium and freshwater tank builder I know, but he has some great tips on working with that foam and he makes some beautiful stuff. Check Him Out!
 
OP
OP
NeonRabbit221B

NeonRabbit221B

2500 Club Member
View Badges
Joined
Jun 21, 2019
Messages
3,037
Reaction score
5,610
Location
Richmond, Va
Rating - 0%
0   0   0
So after a few attempts to get this thing leveled out I finally got it close enough for a good seal on a dry fit. I recently made a trade of 35 cichlid fry for around $1500 in old SW equipment which left me with a few decisions to make. Skimmers and pumps were all rated for 800 gph or more. I spent a few days tossing around the idea of just getting a bigger tank but considering the fact that 1-2 years from now I would be moving I am sticking to my guns and finishing this up.

The two overflows consumed so much swimming area that I decided to use the 400 gph powerheads that I obtained and cut a few more holes out through the wall for the additional flow for a single overflow. I used the two part epoxy to touch up on certain areas for a good sand/crushed coral coating. I used my previous baffles and acrylic backing plate to provide a good seal on all the chambers. The pump return outlet into the tank was also a piece of acrylic that I set in there to provide a better seal on the NPT connection. I sealed it up with epoxy and 24 hours later I did an additional seal on it with epoxy putty. I think there was an additional "oh crap" which required more foam.

This has been a long process but I am happy with the result so far. Just a tip if anyone tries to attempt a foam wall: right angles are key. If you need to refoam or add a layer ontop the foam will force the egg crate so you need to make sure that it is zip tied in a way the prevent it from moving both up and down..

Next is securing it to the glass...
Wall.jpg
 

Adamantium

Valuable Member
View Badges
Joined
Sep 10, 2018
Messages
1,533
Reaction score
1,039
Rating - 0%
0   0   0
Looks good but hard to tell from the pics with regards to structural integrity and internal layout. DI’d you see the foam tutorial on this forum, and are you sure that will work in a marine aquarium? I’ve seen the done with vivariums and FW water aquariums, but never a reef tank.

If all else fails you can look at a premade AIO insert from Fiji Cube

I just bought one of these, but have had trouble with the pump. Even at a lower than 320 gph output, the water drains out of the AIO faster than it goes in. I just ordered a smaller pump, and we'll see what happens.
 
OP
OP
NeonRabbit221B

NeonRabbit221B

2500 Club Member
View Badges
Joined
Jun 21, 2019
Messages
3,037
Reaction score
5,610
Location
Richmond, Va
Rating - 0%
0   0   0
I lied in my last post as I wrote it after I did it several days ago. I actually seal it up last night but didn't have the pictures to attach. I used some clamps for the top portion and jammed some sharpies to keep the bottom sealed up. I hope I got enough of a seal for it to be water tight. I felt ridiculous stacking all those books to have a brace. Also a shot of my gf who helped seal it with he small hands.

Seal1.jpg
seal2.jpg
 

SDK

Reef Diver
View Badges
Joined
Nov 2, 2016
Messages
1,495
Reaction score
3,165
Location
Shrewsbury
Rating - 0%
0   0   0
I just bought one of these, but have had trouble with the pump. Even at a lower than 320 gph output, the water drains out of the AIO faster than it goes in. I just ordered a smaller pump, and we'll see what happens.

Interesting. What pump did you order? I have a Sicce .5 powering my Nuvo 20 at 185 GPH and it's plenty for two overflows.

I've learned after going through a couple of AIO tanks that you don't need or want too much flow through the chambers. The Sicce .5 for instance made it impossible to use an InTank refugium in my Nuvo 10. The flow pinned the chaeto into a compressed mat that could not get enough light.

Now I go for just enough flow to keep water moving and use wavemakers to get appropriate current in the display...
 

Adamantium

Valuable Member
View Badges
Joined
Sep 10, 2018
Messages
1,533
Reaction score
1,039
Rating - 0%
0   0   0
Interesting. What pump did you order? I have a Sicce .5 powering my Nuvo 20 at 185 GPH and it's plenty for two overflows.

I've learned after going through a couple of AIO tanks that you don't need or want too much flow through the chambers. The Sicce .5 for instance made it impossible to use an InTank refugium in my Nuvo 10. The flow pinned the chaeto into a compressed mat that could not get enough light.

Now I go for just enough flow to keep water moving and use wavemakers to get appropriate current in the display...
Exactly my plan now. I got the upettols ts2000, but just exchanged it for a ts1000. Seems like this is perfect (even though it's less than the 320GPH they suggest), and I love that it does varied flow, as well.
 

Caring for your picky eaters: What do you feed your finicky fish?

  • Live foods

    Votes: 4 20.0%
  • Frozen meaty foods

    Votes: 16 80.0%
  • Soft pellets

    Votes: 4 20.0%
  • Masstick (or comparable)

    Votes: 1 5.0%
  • Other

    Votes: 2 10.0%
Back
Top