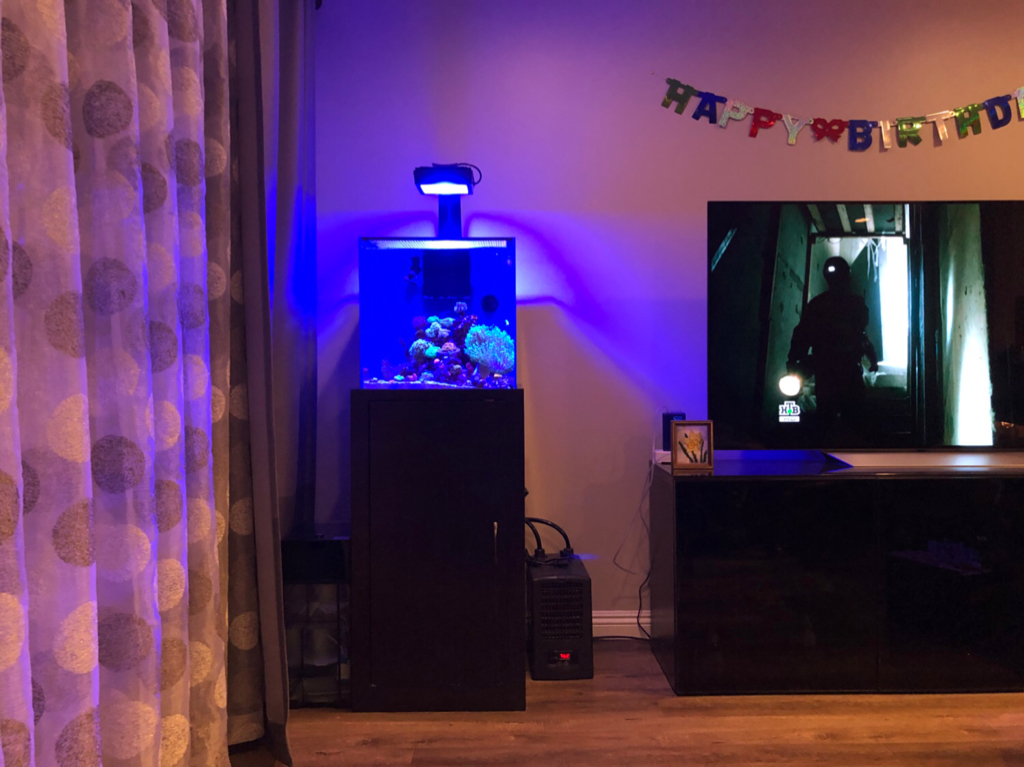
Most Recent FTS (Previous versions below equipment list)
.JPEG")
~~~~~~~~~~~~~~~~~~~~~~~~~~~~~~~~~~~~~~~
Current Equipment
Aquarium: 75 gallon Crystal Dynamic tank, 36x24x20 inches, 3 sides low iron glass, rimless, reinforced bottom and starboard, reinforced corners, external overflow.
Overflow: Modular Marine 1600gph low profile
Plumbing: 1 inch blue PVC and gray Sch. 80 fittings
Sump: Trigger Systems 26in Sapphire
Skimmer: Nyos Quantum 120
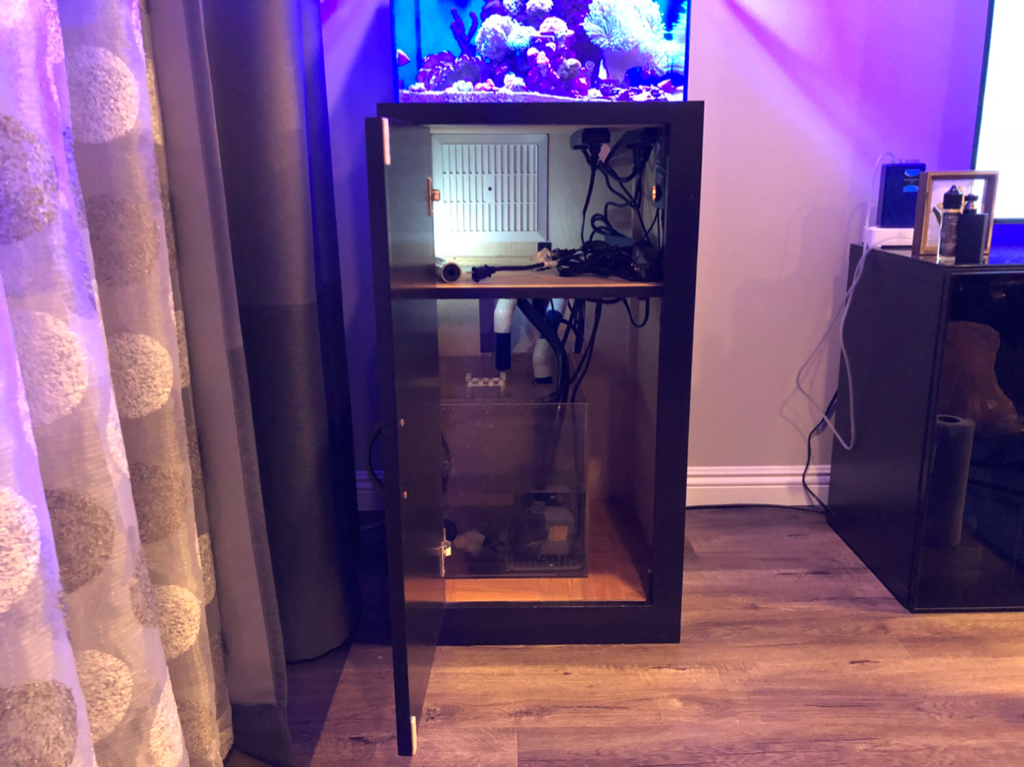
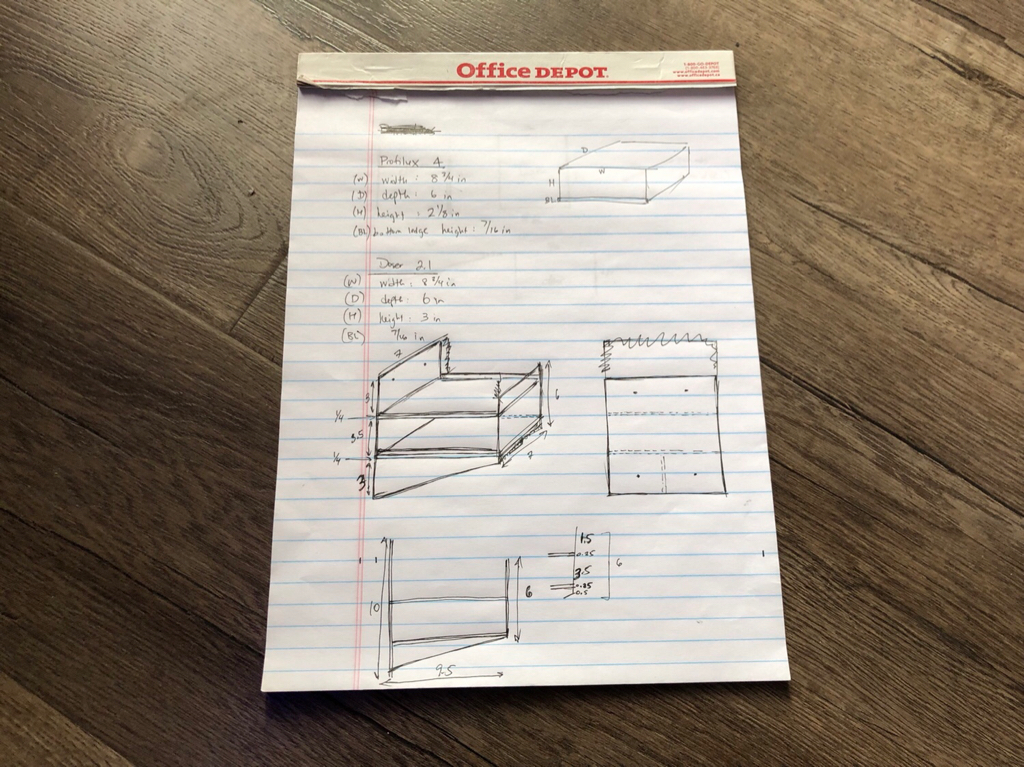
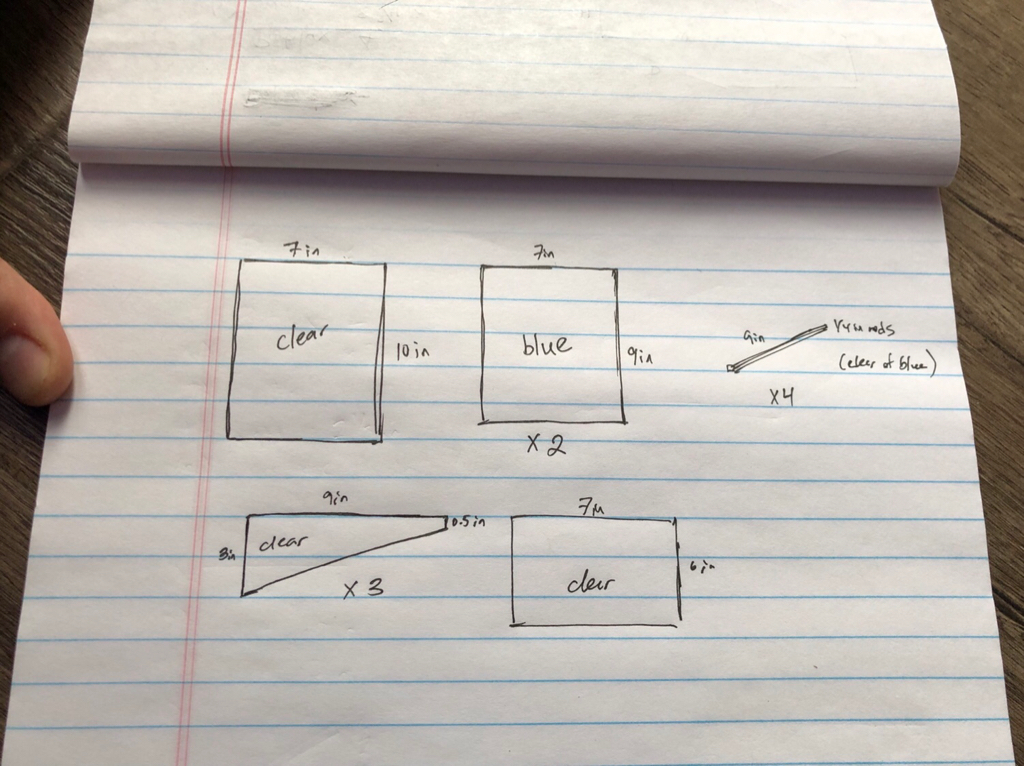
Controller Cabinet: DIY in-stand cabinet with Acrylic shelving (made locally at Plastics shop)
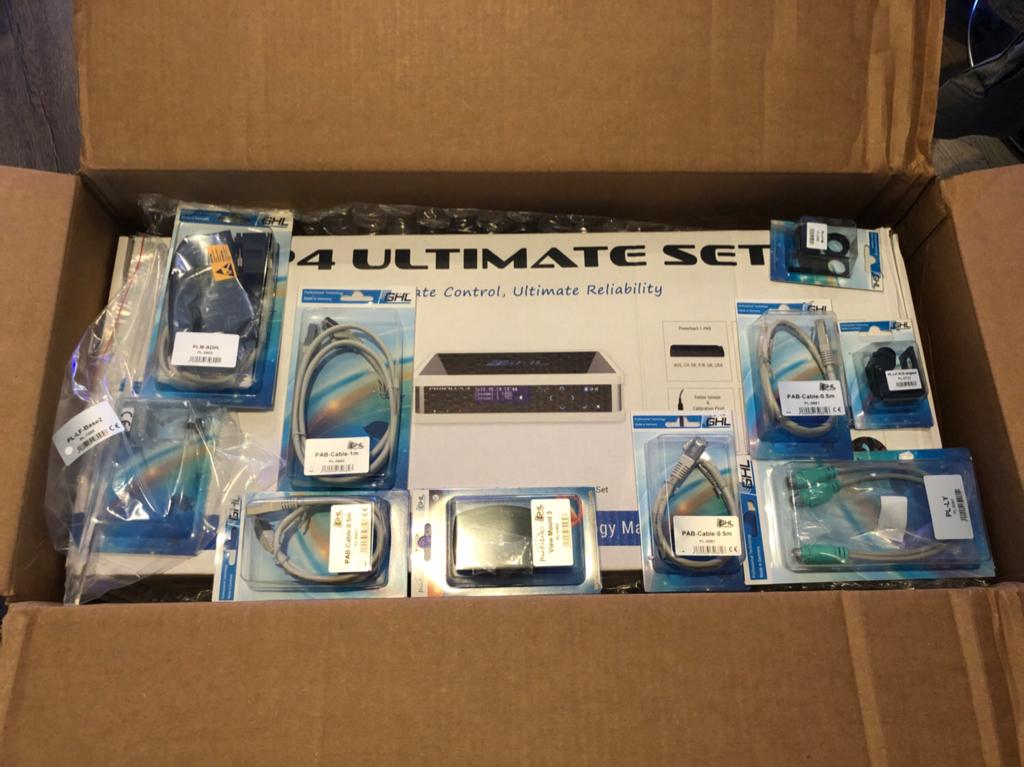
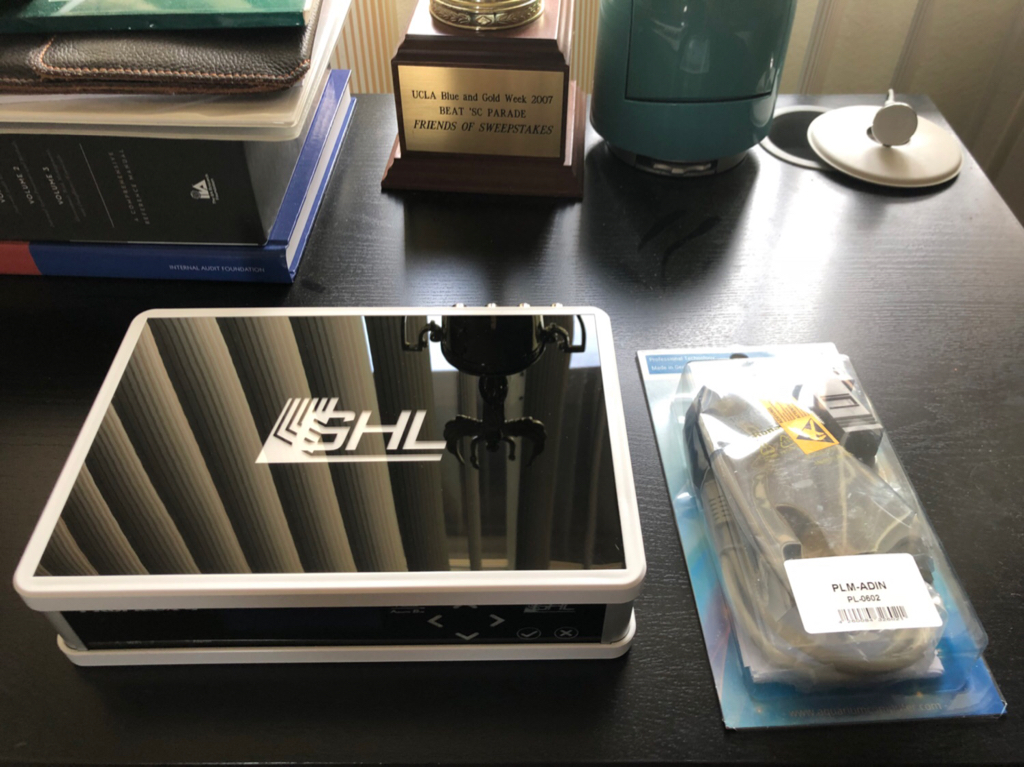
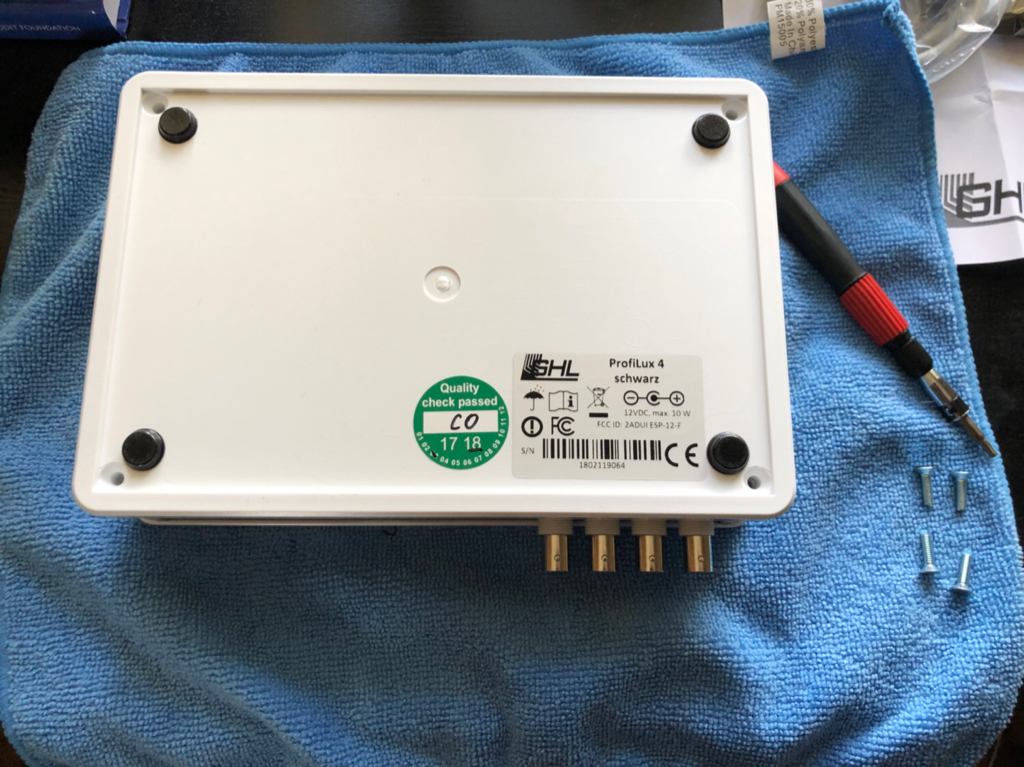
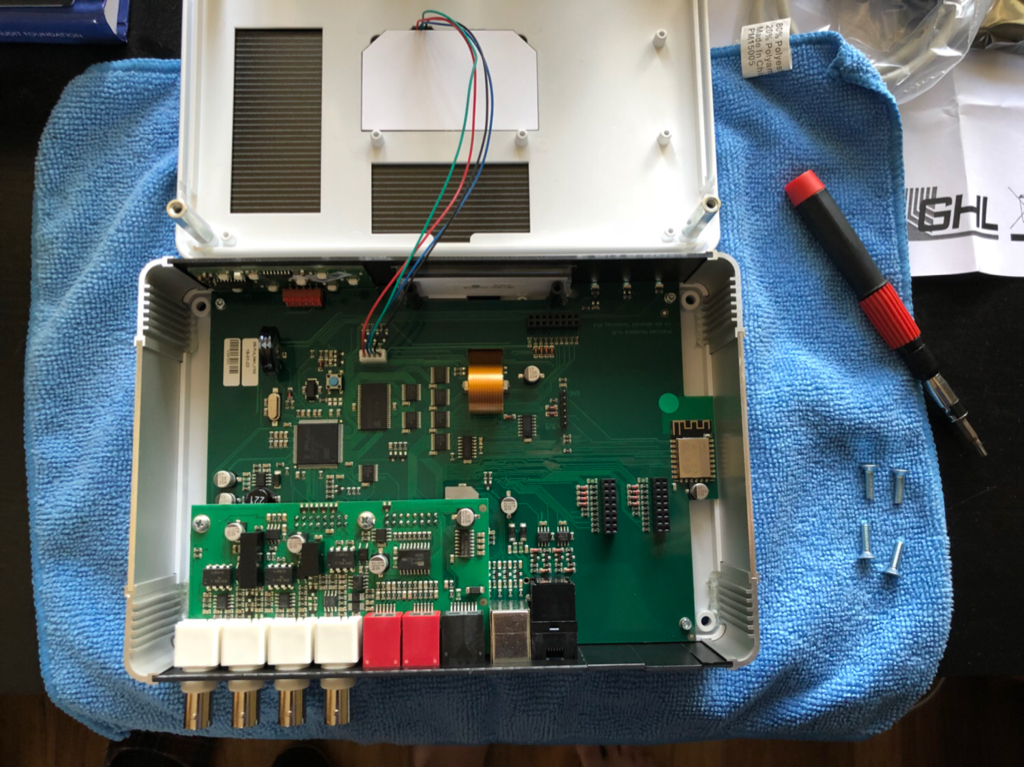
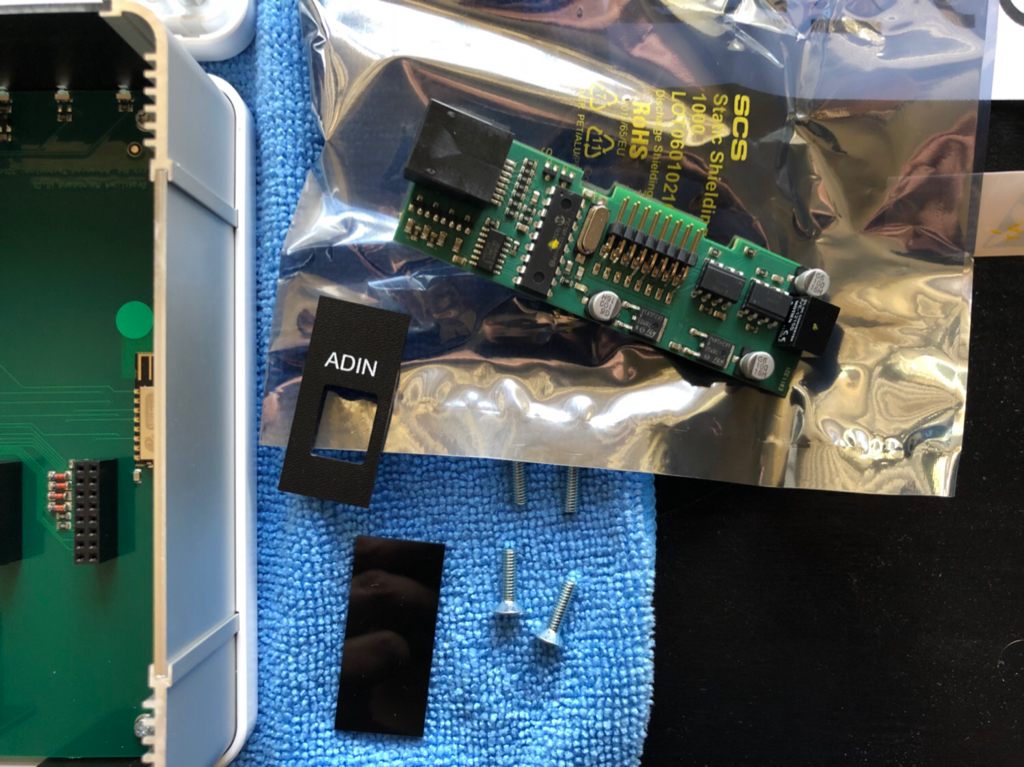
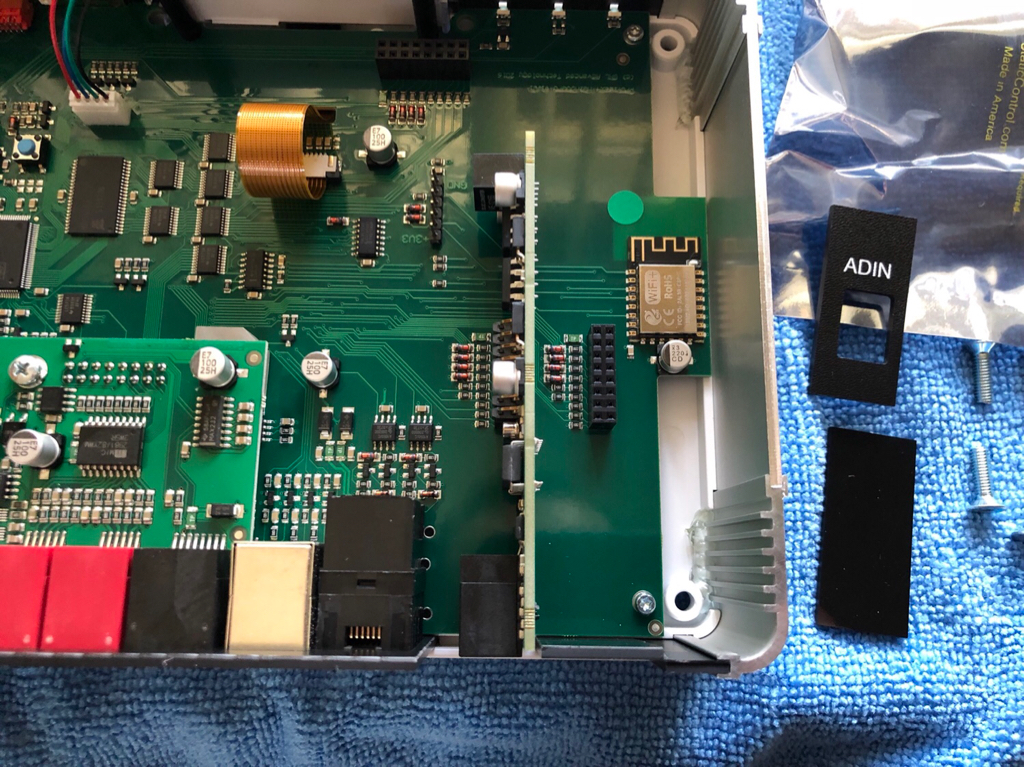
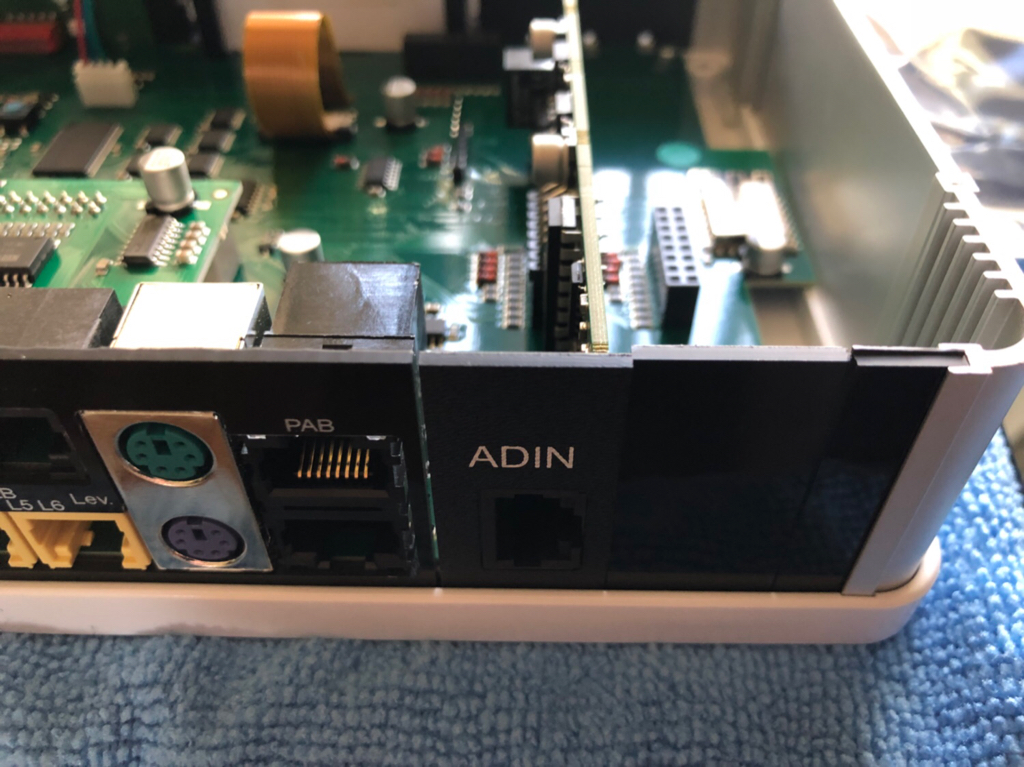
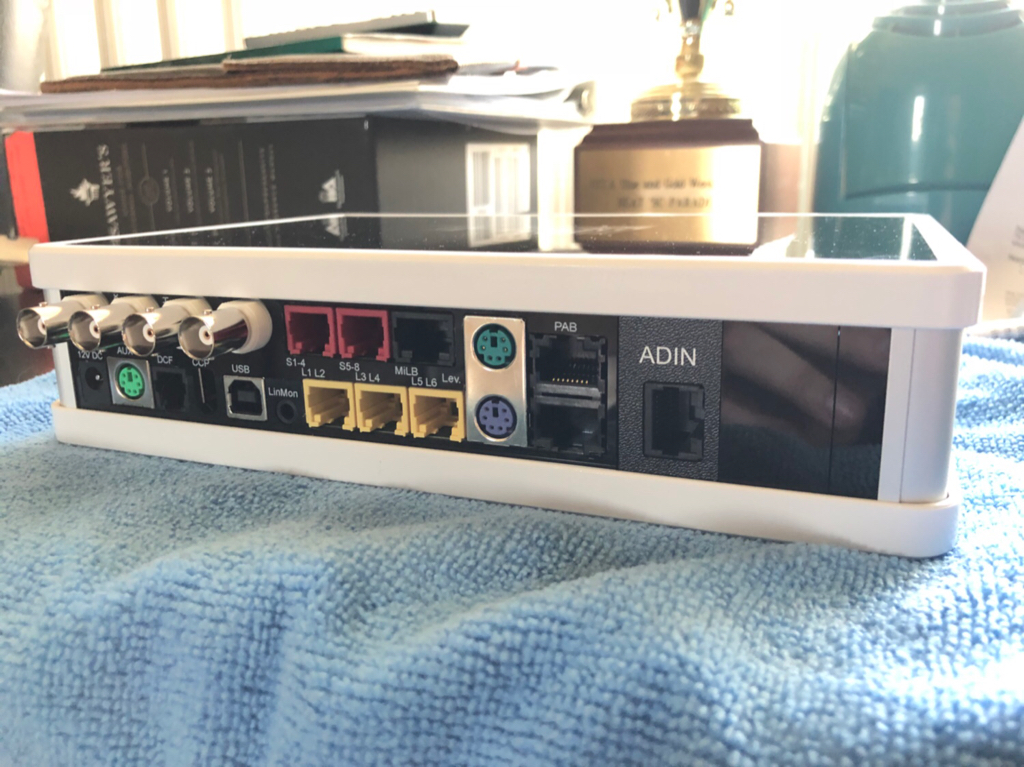
Brain: GHL Profilux 4 with Pofilux Touch
Sensors: GHL Ph, GHL Temp, GHL Salinity, GHL Flow (on return)
Doser: GHL Doser 2.1, 4 head
Dosing Containers: 3x Bubble Magus 1.5L Liquid Storage Containers
UV: Aqua Ultraviolet 25 watt classic
Heating: 300 watt Finnex TX Deluxe controlled by Profilux
Cooling: GHL 6 fan Propeller Breeze 3 with PropellerControl 2.1
Return: EcoTech Marine Vectra M2
Flow: 2x EcoTech Marine MP40 with 3d printed guards
ATO: GHL Doser 2.1 using float and optical level sensors
ATO Reservoir: IM Auqa Gadget 15gal
Media Reactor: BRS Deluxe Carbon Reactor
Canopy/Light: DIY canopy wall mounted using projector mount
Main Light: 2x EcoTech Marine Radion G6 XR15 Pro with diffusers
Supplemental Light: LET Lighting 2ft T5 HO Miro-4 Retrofit Kit
T5 Bulbs: 2x ATI Blue+
Stand Lighting: MOSTON 3 watt Super Bright Rechargeable Closet Lights 78 LED (Amazon)
Lid: Custom Octo Aquatics Octo Lid with feeding door
Rock: CeramEco's VidaRock (unfortunately company no longer exists)
Sand: 40lbs CaribSea Special Grage Arag-Alive
Media List
Dosing Liquids: ESV B-Ionic Alk, Ca, and Mag
Supplemental Dosing Liquids: Seachem Reef Plus and Reef Trace
Mechanical Filtration: Filter floss
Reactor Media: ESV Granular Activated Carbon
~~~~~~~~~~~~~~~~~~~~~~~~~~~~~~~~~~~~~~~
Previous FTS
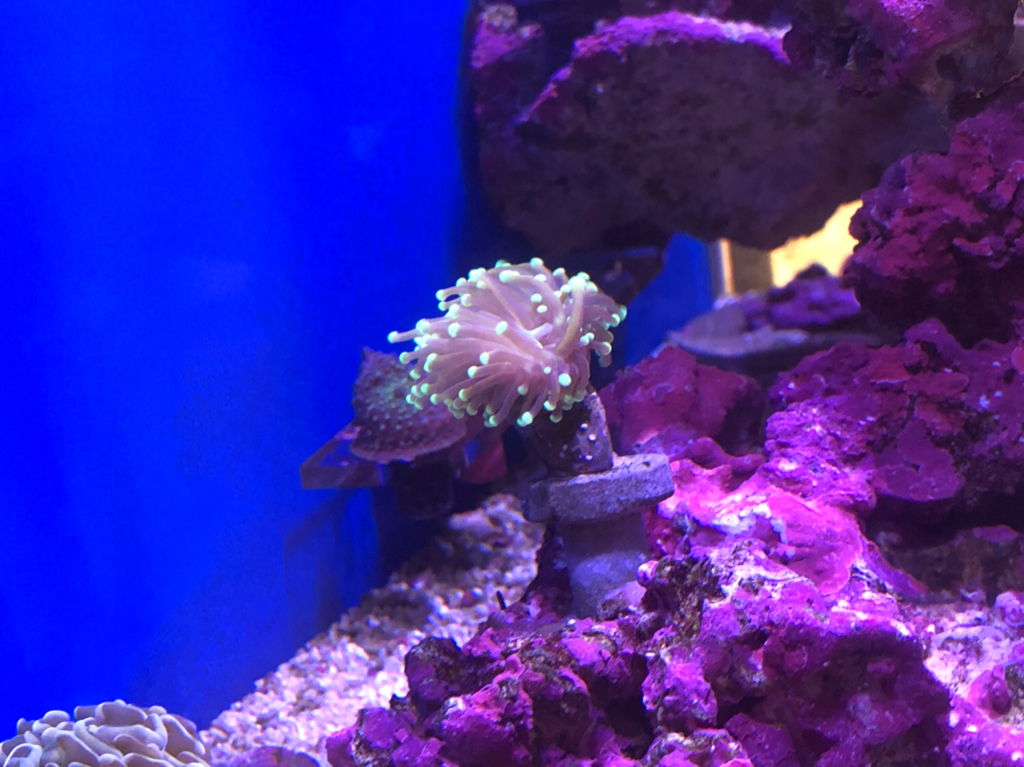
October 2022
September 2022
.JPEG")
August 2022

February 2022

December 2021

April 2020

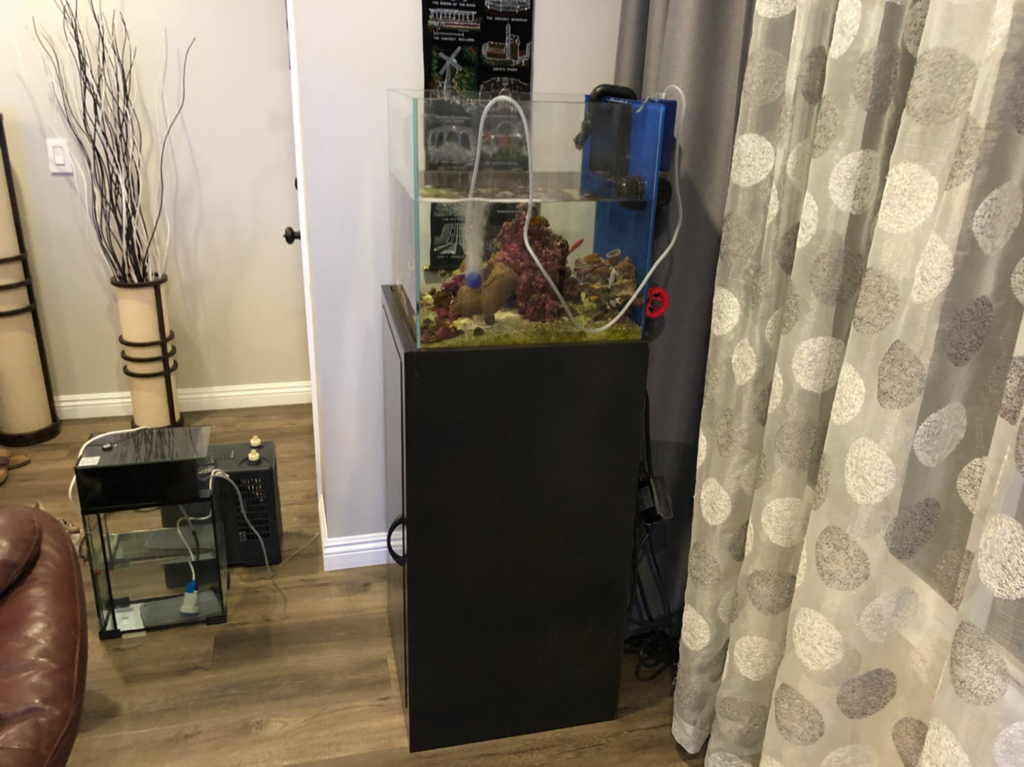
Late December 2019

December 2019

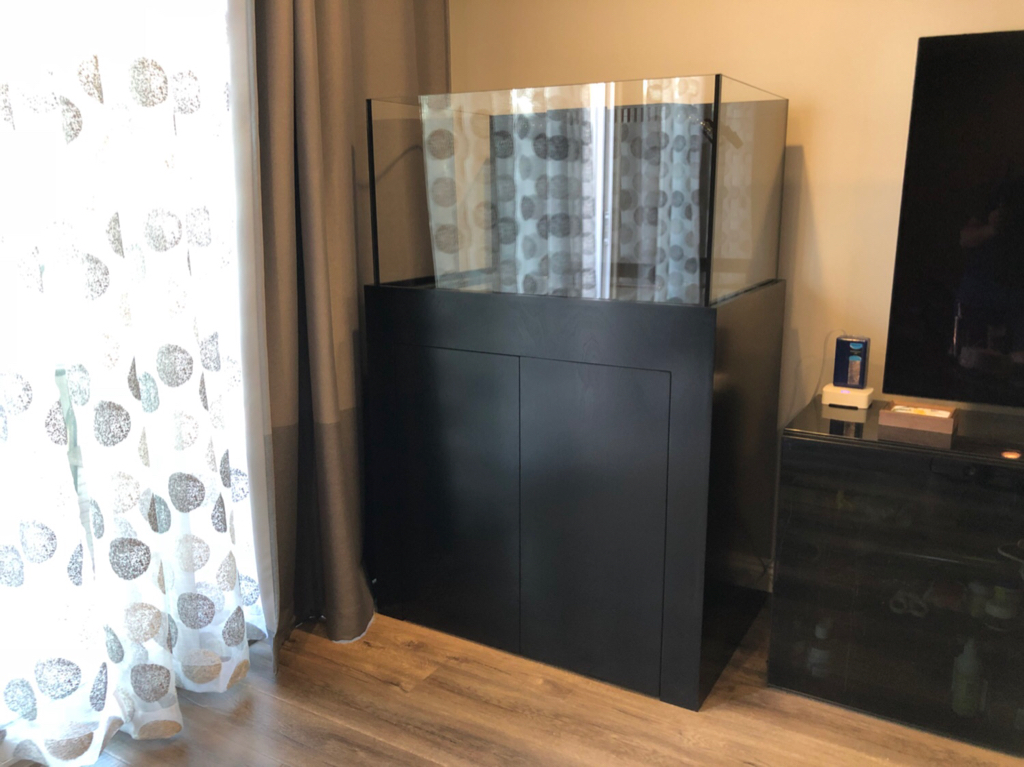
October 2019

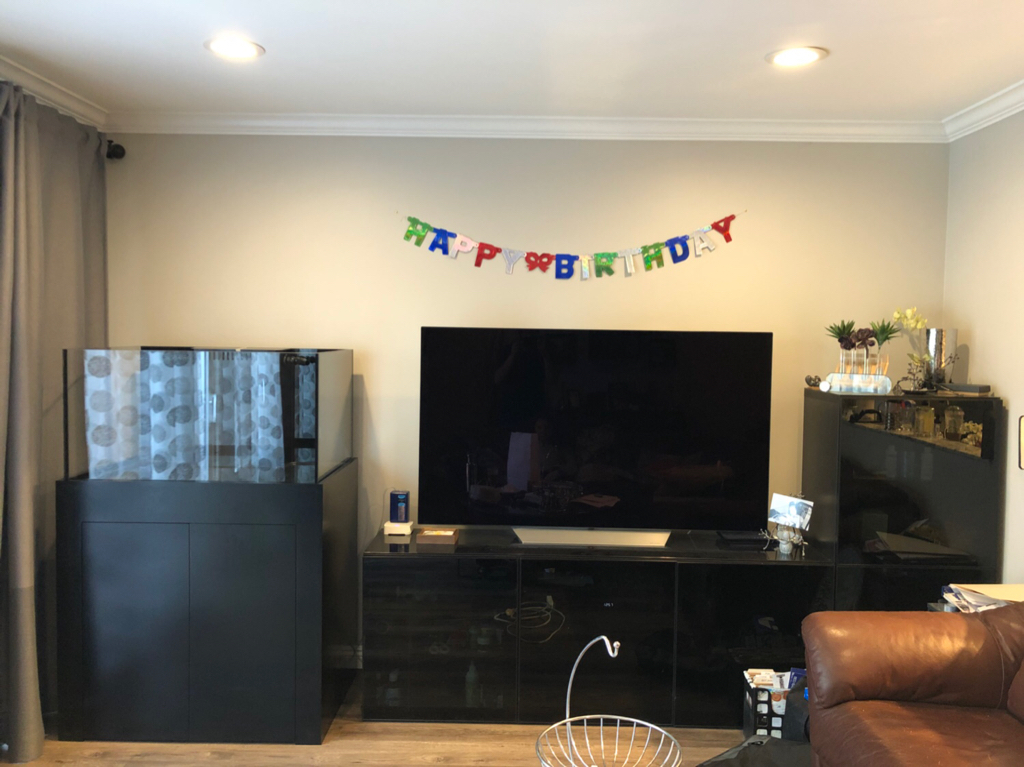
August 2019

~~~~~~~~~~~~~~~~~~~~~~~~~~~~~~~~~~~~~~~
Current Equipment
Aquarium: 75 gallon Crystal Dynamic tank, 36x24x20 inches, 3 sides low iron glass, rimless, reinforced bottom and starboard, reinforced corners, external overflow.
Overflow: Modular Marine 1600gph low profile
Plumbing: 1 inch blue PVC and gray Sch. 80 fittings
Sump: Trigger Systems 26in Sapphire
Skimmer: Nyos Quantum 120
Controller Cabinet: DIY in-stand cabinet with Acrylic shelving (made locally at Plastics shop)
Brain: GHL Profilux 4 with Pofilux Touch
Sensors: GHL Ph, GHL Temp, GHL Salinity, GHL Flow (on return)
Doser: GHL Doser 2.1, 4 head
Dosing Containers: 3x Bubble Magus 1.5L Liquid Storage Containers
UV: Aqua Ultraviolet 25 watt classic
Heating: 300 watt Finnex TX Deluxe controlled by Profilux
Cooling: GHL 6 fan Propeller Breeze 3 with PropellerControl 2.1
Return: EcoTech Marine Vectra M2
Flow: 2x EcoTech Marine MP40 with 3d printed guards
ATO: GHL Doser 2.1 using float and optical level sensors
ATO Reservoir: IM Auqa Gadget 15gal
Media Reactor: BRS Deluxe Carbon Reactor
Canopy/Light: DIY canopy wall mounted using projector mount
Main Light: 2x EcoTech Marine Radion G6 XR15 Pro with diffusers
Supplemental Light: LET Lighting 2ft T5 HO Miro-4 Retrofit Kit
T5 Bulbs: 2x ATI Blue+
Stand Lighting: MOSTON 3 watt Super Bright Rechargeable Closet Lights 78 LED (Amazon)
Lid: Custom Octo Aquatics Octo Lid with feeding door
Rock: CeramEco's VidaRock (unfortunately company no longer exists)
Sand: 40lbs CaribSea Special Grage Arag-Alive
Media List
Dosing Liquids: ESV B-Ionic Alk, Ca, and Mag
Supplemental Dosing Liquids: Seachem Reef Plus and Reef Trace
Mechanical Filtration: Filter floss
Reactor Media: ESV Granular Activated Carbon
~~~~~~~~~~~~~~~~~~~~~~~~~~~~~~~~~~~~~~~
Previous FTS
October 2022
September 2022
August 2022
February 2022
December 2021
April 2020
Late December 2019
December 2019
October 2019
August 2019
Last edited: