


Picked up one of these
 Didnt put the cross members in and just used the framing. Had some 2'x4' project board at 3/4" but any MDF/plywood probably would work. I could have tried to frame it out myself, but honestly didnt want to and the organizer was $25.
So I got my controllers (smart power supply, jebao DCP, Icecap and BRS ink bird) lined up and marked the holes for the screws. Then used a 2" holesaw for the wires under each one. Also drilled a hole in an open spot for anticipation of other items (DC skimmer, maybe lights, etc.) Took it outside and painted it white. After it dried I mounted everything to the board and then mounted it inside the frame of the cabinet using some simple right angel brackets, 1 in each corner. Got some mounting pads and mountable zip ties (basically a wide zip tie with holes allowing you to screw it in.) for the wire management and power bricks for the back side. Was gonna get the cable grommets at lowes but they wanted $5 a piece, got a 5 pack on amazon for $8. So I didnt finalize the wiring but you get an idea.
Also got some battery powered LED lights for under the stand so I threw one in the cabinet, they come with a remote so I can do mood lighting as well.


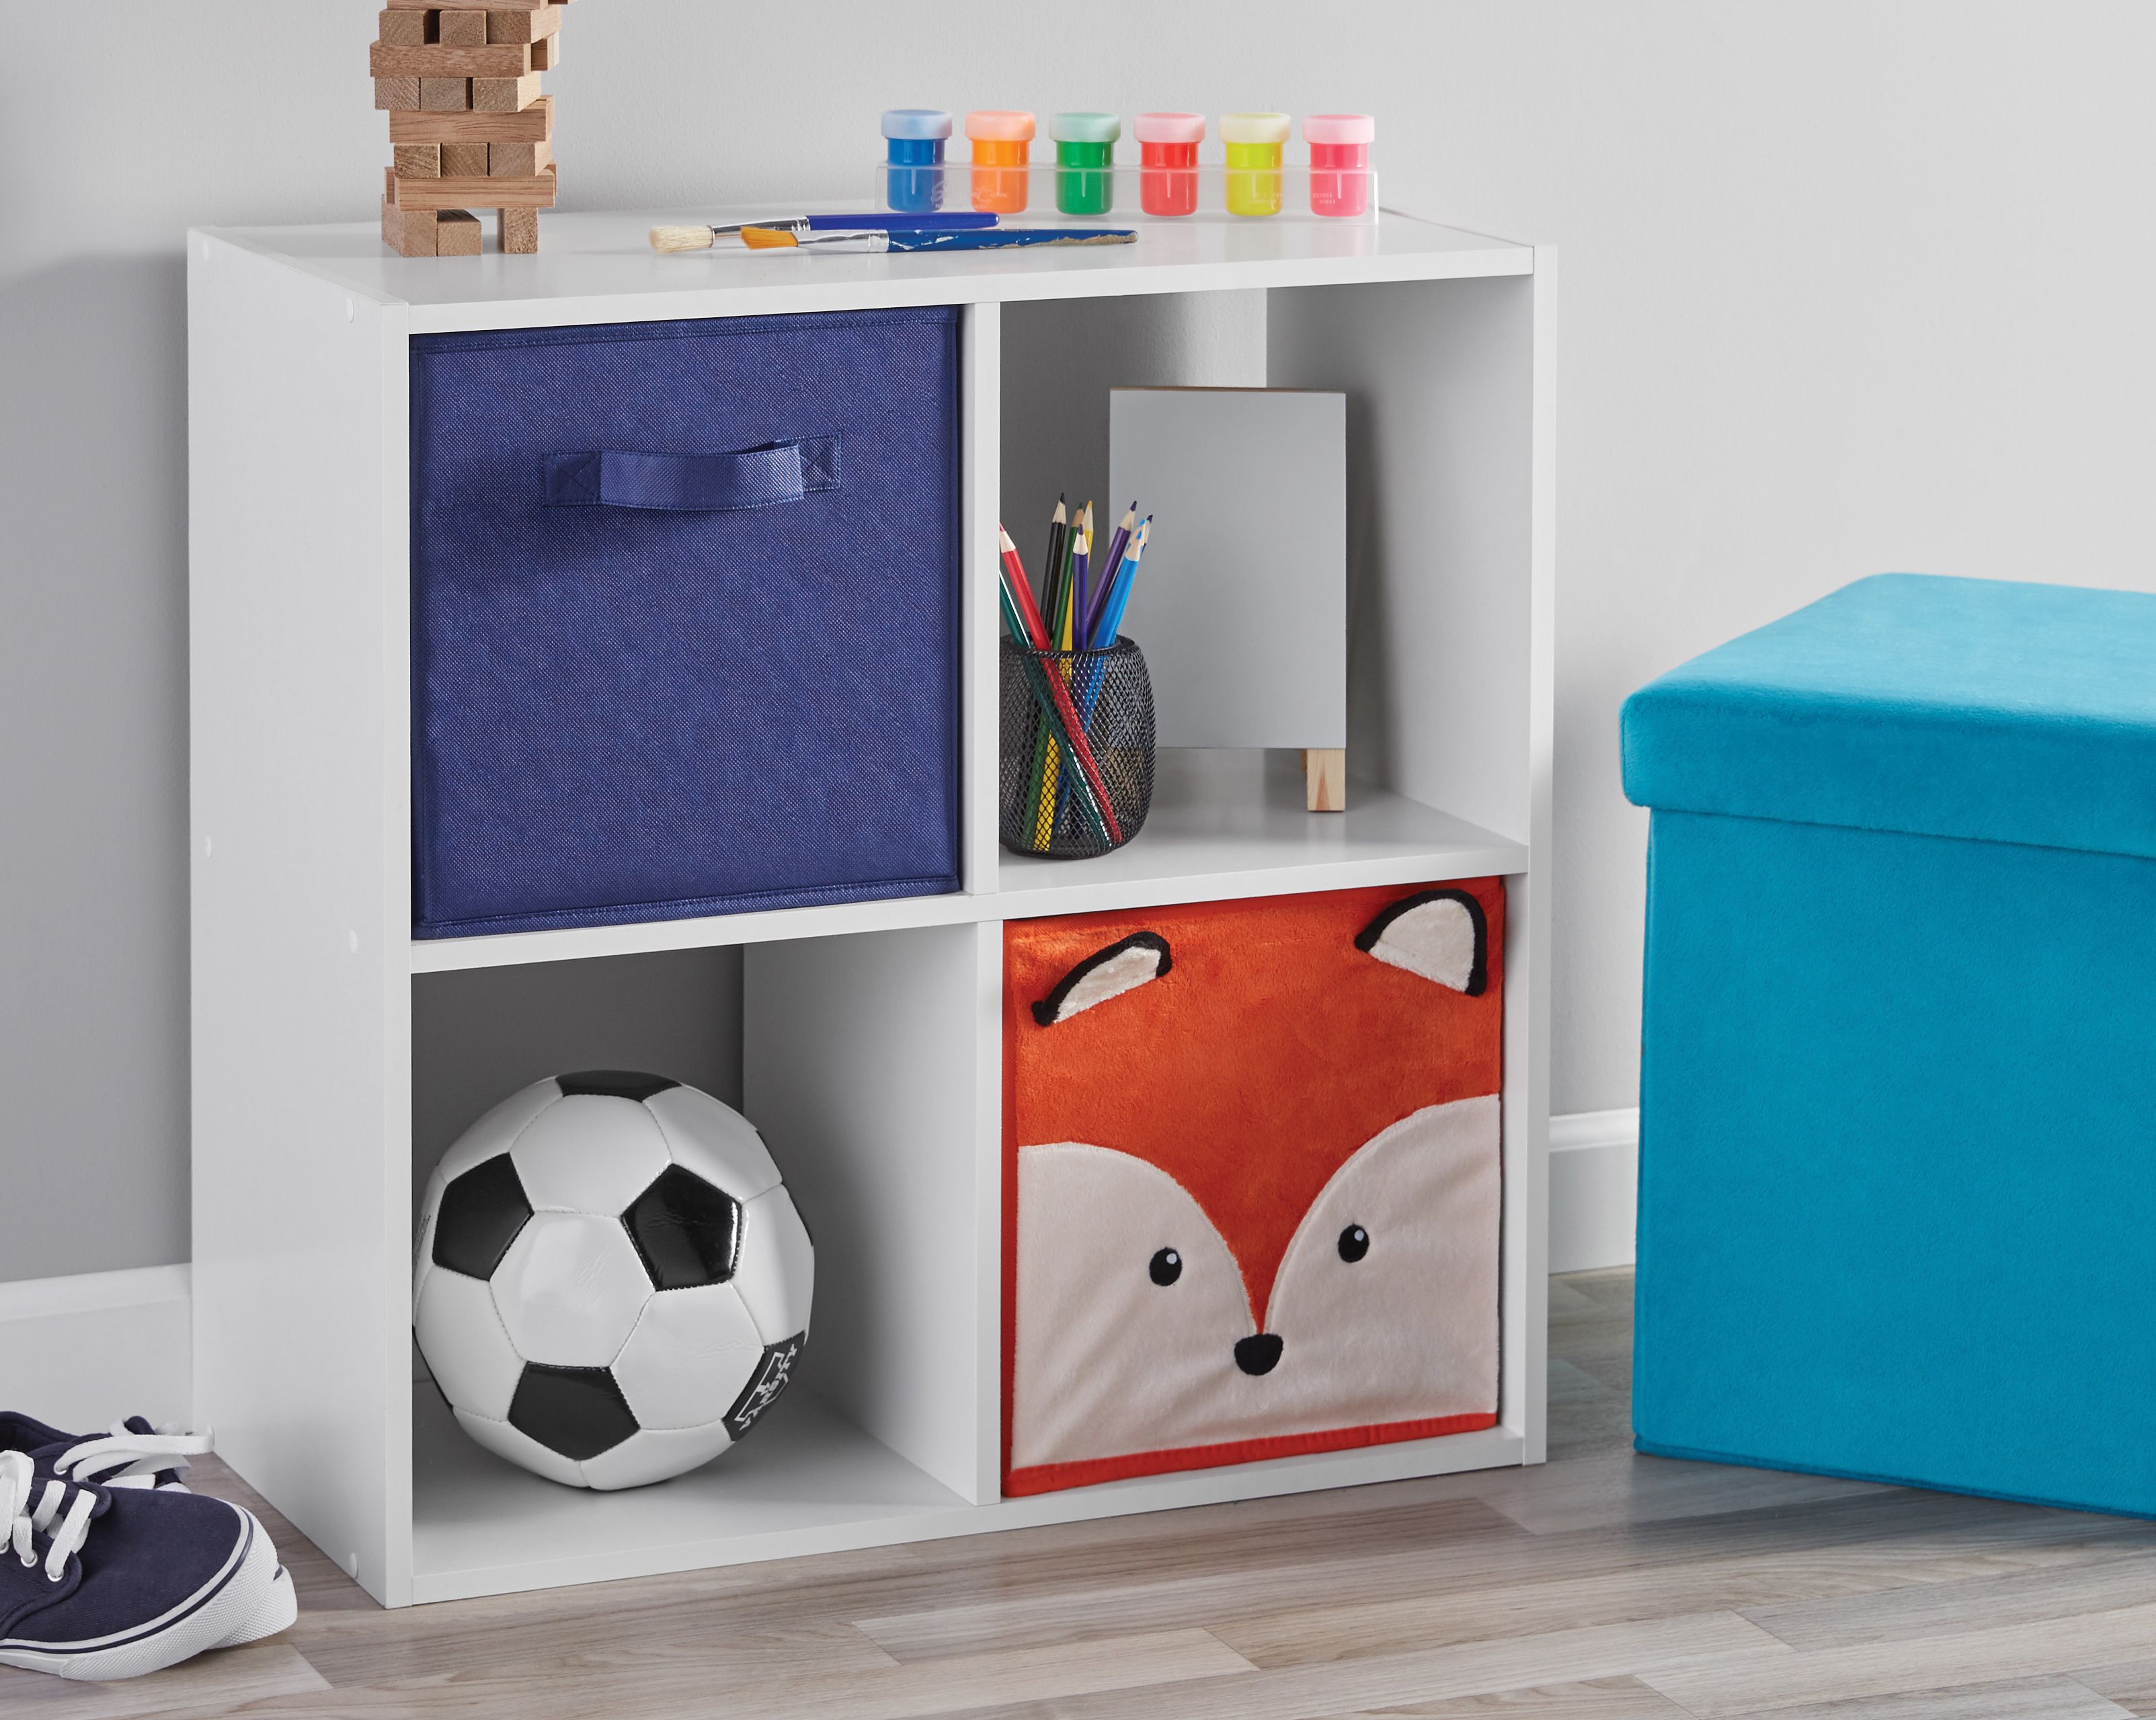
Your Zone 4 Cube Storage Organizer, White - Walmart.com
Free 2-day shipping. Buy Your Zone 4 Cube Storage Organizer, White at Walmart.com
www.walmart.com
So I got my controllers (smart power supply, jebao DCP, Icecap and BRS ink bird) lined up and marked the holes for the screws. Then used a 2" holesaw for the wires under each one. Also drilled a hole in an open spot for anticipation of other items (DC skimmer, maybe lights, etc.) Took it outside and painted it white. After it dried I mounted everything to the board and then mounted it inside the frame of the cabinet using some simple right angel brackets, 1 in each corner. Got some mounting pads and mountable zip ties (basically a wide zip tie with holes allowing you to screw it in.) for the wire management and power bricks for the back side. Was gonna get the cable grommets at lowes but they wanted $5 a piece, got a 5 pack on amazon for $8. So I didnt finalize the wiring but you get an idea.
Also got some battery powered LED lights for under the stand so I threw one in the cabinet, they come with a remote so I can do mood lighting as well.


