First tank build. (In progress)

Stonycorals

Community Member
View Badges
Joined
Apr 21, 2020
Messages
32
Reaction score
34
Location
Minnesota
Rating - 0%
0   0   0
Hello everyone,
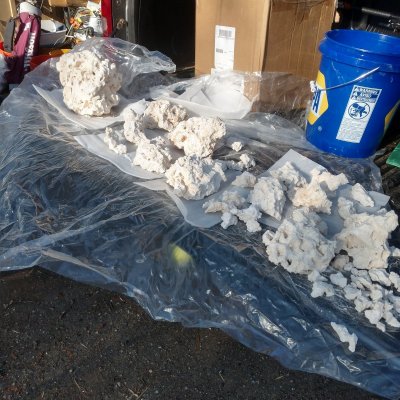
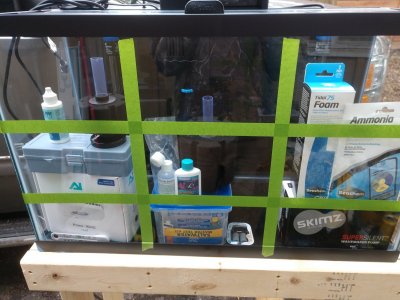
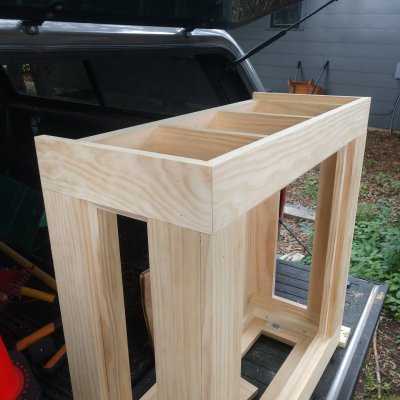
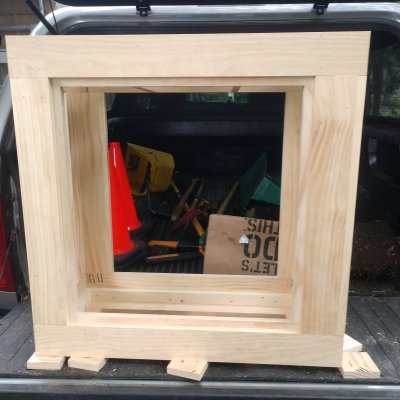
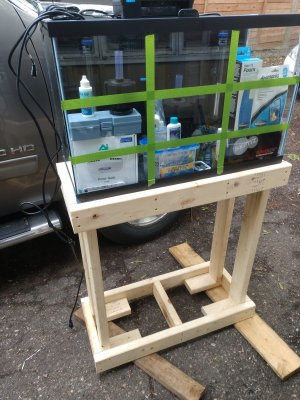
This is my progress so far on my first tank build. I've been collecting pieces since the beginning of the year. It's getting so close to the point where I can finally add water.
Hopefully in the next few weeks I'll be able the get the last few things I need, and figure out what to do with my aquascaping.
Thank you to anyone who took the time to look or add your $0.02.
IMG_20200510_142236183.jpg IMG_20200420_162907737.jpg IMG_20200417_181442_518.jpg IMG_20200510_142249068.jpg
 

Sailfin11

Well-Known Member
View Badges
Joined
Nov 4, 2019
Messages
527
Reaction score
778
Location
Chicago, IL
Rating - 0%
0   0   0
Exciting new build! On the stand, you may want to put wood in the corners to help with holding the weight. Otherwise, everything looks great.
 

andrewey

2500 Club Member
View Badges
Joined
Apr 9, 2016
Messages
2,659
Reaction score
6,114
Location
Virginia
Rating - 0%
0   0   0
Looking good! Here are my notes in no particular order
1) Love that you mapped out the rule of thirds
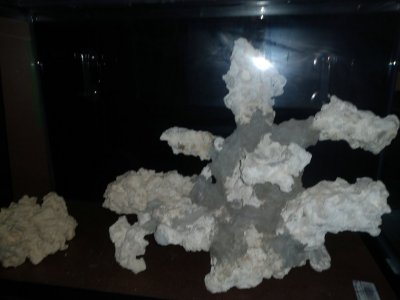
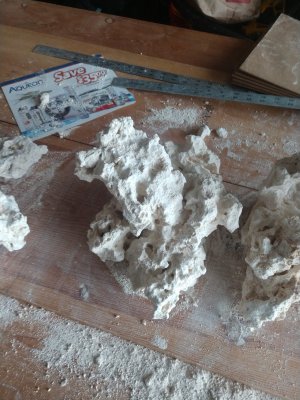
2) If you aren't already, I would throw that rock in a bin so you can start cycling/curing it.
3) Personally, I would add another 4 vertical members in the corner directly connecting the two "squares" of your stand and attached to the other 4 vertical members. It's not strictly necessary, but it will give piece of mind and only costs $5.
4) What wattage are those eheim heaters?
5) If you're running that blue foam in your HOB, I would consider buying a large roll of the stuff and cutting it yourself. You'll save a fortune, have a ton so it doesn't develop into a detritus trap, and can wait a few weeks before either a) tossing them or b) throwing them all in the wash with some bleach and reusing.
 
OP
OP
Stonycorals

Stonycorals

Community Member
View Badges
Joined
Apr 21, 2020
Messages
32
Reaction score
34
Location
Minnesota
Rating - 0%
0   0   0
Exciting new build! On the stand, you may want to put wood in the corners to help with holding the weight. Otherwise, everything looks great.
Thanks.
The stand like the tank is still a work in progress. Plan is to make it 1.5 inches taller and 3.5 inches wider around the bottom and add more support at the corners like you mentioned. It's already over built I tested it with 10 x 70lbs sand bags from my truck. I figured strong enough for double what I estimate It'll weigh should be good enough for a the year or two until I upgrade.
 

hyprc

Well-Known Member
View Badges
Joined
Oct 26, 2017
Messages
852
Reaction score
652
Location
Cali
Rating - 0%
0   0   0
Thanks.
The stand like the tank is still a work in progress. Plan is to make it 1.5 inches taller and 3.5 inches wider around the bottom and add more support at the corners like you mentioned. It's already over built I tested it with 10 x 70lbs sand bags from my truck. I figured strong enough for double what I estimate It'll weigh should be good enough for a the year or two until I upgrade.
Stands usually fail due to lateral stresses. Put that weight on and push it side to side. Just holding static weight doesn't promise much. Also, screws shear EASY. Drywall screws SNAP.
 

andrewey

2500 Club Member
View Badges
Joined
Apr 9, 2016
Messages
2,659
Reaction score
6,114
Location
Virginia
Rating - 0%
0   0   0
One more I thought of- this is completely optional, but if you want another project, I'm a big fan of building "overflow/skimmer boxes" for these all in one tanks. SInce it's internal, you can get away with 1/8" black acrlyic and put it in the corner. I usually make mine 3 chambers and drill a hole in the corner and place a small 150 gph pump ($8) back there to circulate the water. It allows you to surface skim the water, hide your equipment, and maintain a section for your ATO if you go that route. I think they dress the tank up (on my all in one tanks, I put all my heaters, pumps, and skimmer there so the tank has a clean look) and usually cost between 10-20 dollars to build.
 
OP
OP
Stonycorals

Stonycorals

Community Member
View Badges
Joined
Apr 21, 2020
Messages
32
Reaction score
34
Location
Minnesota
Rating - 0%
0   0   0
Looking good! Here are my notes in no particular order
1) Love that you mapped out the rule of thirds
2) If you aren't already, I would throw that rock in a bin so you can start cycling/curing it.
3) Personally, I would add another 4 vertical members in the corner directly connecting the two "squares" of your stand and attached to the other 4 vertical members. It's not strictly necessary, but it will give piece of mind and only costs $5.
4) What wattage are those eheim heaters?
5) If you're running that blue foam in your HOB, I would consider buying a large roll of the stuff and cutting it yourself. You'll save a fortune, have a ton so it doesn't develop into a detritus trap, and can wait a few weeks before either a) tossing them or b) throwing them all in the wash with some bleach and reusing.

Thanks. I saw a brs video on YouTube that mentioned rule of thirds. It was great advice for planning the aesthetics.
I'm still trying to finalize the scape before cement. Most likely will be cycling in the tank when I get to that point.
Heaters are both 100w
Hob foam came with not sure exactly what media I'm using yet. If I use foam I'll definitely cut it myself. I'd like to convert the filter to a refugium but I need to do more research on that to find out if it's even possible.
Thanks for the tips
 

andrewey

2500 Club Member
View Badges
Joined
Apr 9, 2016
Messages
2,659
Reaction score
6,114
Location
Virginia
Rating - 0%
0   0   0
Converting that filter to a refugium is doable, but difficult. The aquaclear 110 is an easier HOB filter to modify, other options include the finnex acclimation box, or lastly building one out of 3/16 or 1/4" clear acrlyic.
 
OP
OP
Stonycorals

Stonycorals

Community Member
View Badges
Joined
Apr 21, 2020
Messages
32
Reaction score
34
Location
Minnesota
Rating - 0%
0   0   0
Stands usually fail due to lateral stresses. Put that weight on and push it side to side. Just holding static weight doesn't promise much. Also, screws shear EASY. Drywall screws SNAP.
Thank you! finally someone else that knows drywall screws are only for drywall.
With the sand bags on it. it's a little tippy front to back so I'm hoping making it 7 inches wider at the base will help that.
 
OP
OP
Stonycorals

Stonycorals

Community Member
View Badges
Joined
Apr 21, 2020
Messages
32
Reaction score
34
Location
Minnesota
Rating - 0%
0   0   0
Converting that filter to a refugium is doable, but difficult. The aquaclear 110 is an easier HOB filter to modify, other options include the finnex acclimation box, or lastly building one out of 3/16 or 1/4" clear acrlyic.
Just a thought for now. I'm learning as I go and really just need to prioritize only the things I need before I can add and cycle the water.
 
OP
OP
Stonycorals

Stonycorals

Community Member
View Badges
Joined
Apr 21, 2020
Messages
32
Reaction score
34
Location
Minnesota
Rating - 0%
0   0   0
One more I thought of- this is completely optional, but if you want another project, I'm a big fan of building "overflow/skimmer boxes" for these all in one tanks. SInce it's internal, you can get away with 1/8" black acrlyic and put it in the corner. I usually make mine 3 chambers and drill a hole in the corner and place a small 150 gph pump ($8) back there to circulate the water. It allows you to surface skim the water, hide your equipment, and maintain a section for your ATO if you go that route. I think they dress the tank up (on my all in one tanks, I put all my heaters, pumps, and skimmer there so the tank has a clean look) and usually cost between 10-20 dollars to build.
This is just cheapo PetSmart 29 gallon I got when the had the for $1 a gallon. I plan to upgrade to something nicer in a couple years. This is my attempt at a budget build, that quickly went over the planned budget.
 
OP
OP
Stonycorals

Stonycorals

Community Member
View Badges
Joined
Apr 21, 2020
Messages
32
Reaction score
34
Location
Minnesota
Rating - 0%
0   0   0
One more I thought of- this is completely optional, but if you want another project, I'm a big fan of building "overflow/skimmer boxes" for these all in one tanks. SInce it's internal, you can get away with 1/8" black acrlyic and put it in the corner. I usually make mine 3 chambers and drill a hole in the corner and place a small 150 gph pump ($8) back there to circulate the water. It allows you to surface skim the water, hide your equipment, and maintain a section for your ATO if you go that route. I think they dress the tank up (on my all in one tanks, I put all my heaters, pumps, and skimmer there so the tank has a clean look) and usually cost between 10-20 dollars to build.
Do you have pictures or a link to pictures of this?
 

andrewey

2500 Club Member
View Badges
Joined
Apr 9, 2016
Messages
2,659
Reaction score
6,114
Location
Virginia
Rating - 0%
0   0   0
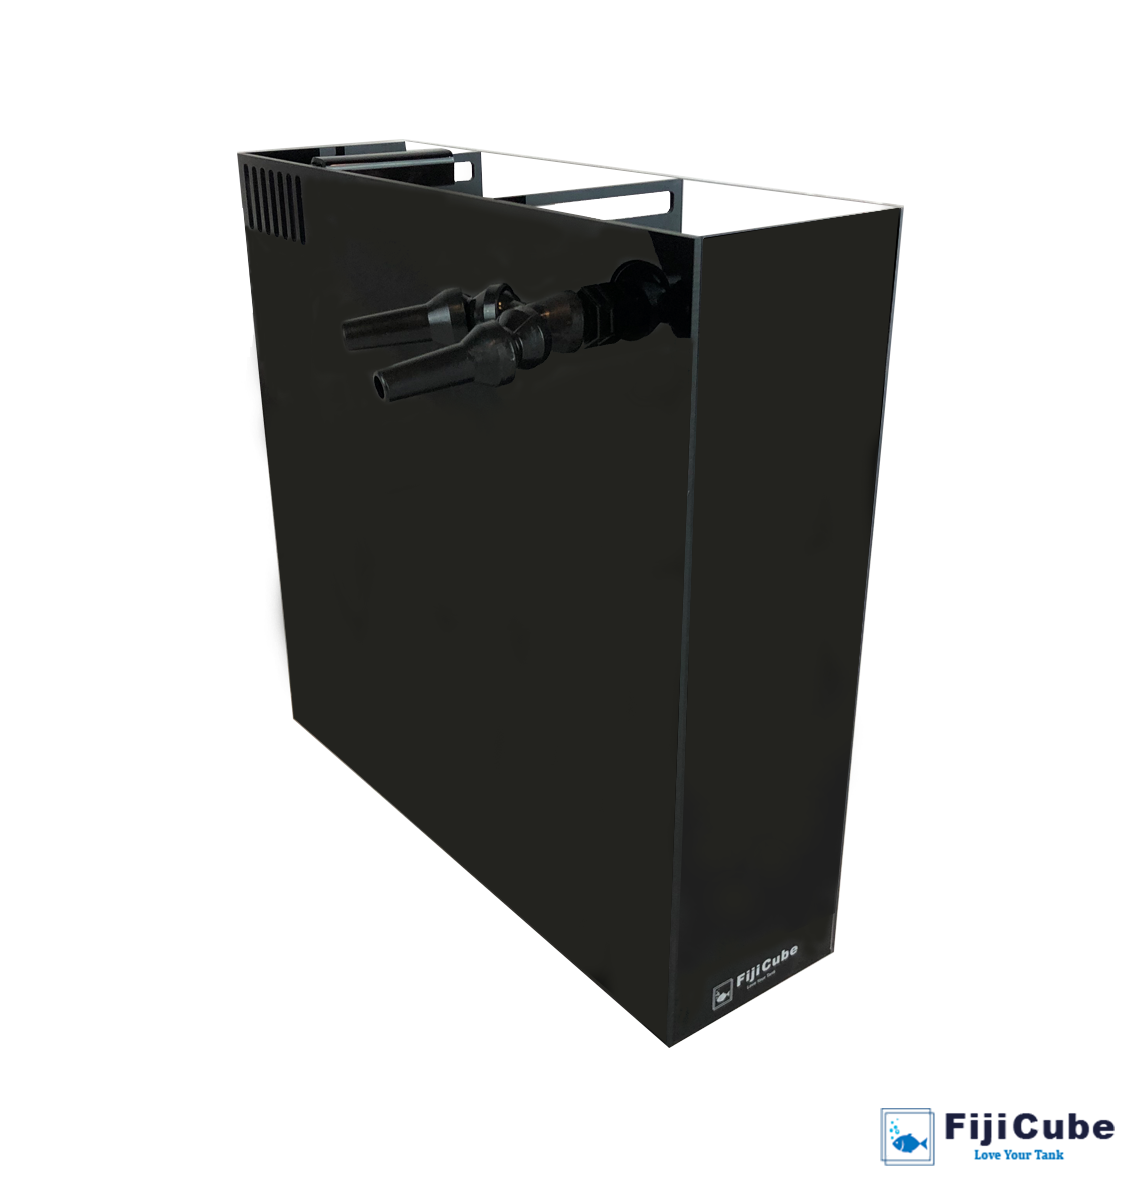
I pretty much make something just like this:


You can either do the entire width of the tank or build a smaller box to fit your exact equipment and put it in the corner. Mine have never been permanent, I've just used magnets to attach them to the sides of the tank, but you can always silicone it in if you wish.
 
OP
OP
Stonycorals

Stonycorals

Community Member
View Badges
Joined
Apr 21, 2020
Messages
32
Reaction score
34
Location
Minnesota
Rating - 0%
0   0   0
I pretty much make something just like this:


You can either do the entire width of the tank or build a smaller box to fit your exact equipment and put it in the corner. Mine have never been permanent, I've just used magnets to attach them to the sides of the tank, but you can always silicone it in if you wish.
Thank you! i was having a hard time visualizing what you were talking about.
 
OP
OP
Stonycorals

Stonycorals

Community Member
View Badges
Joined
Apr 21, 2020
Messages
32
Reaction score
34
Location
Minnesota
Rating - 0%
0   0   0
It's been a long time since I've posted here, but I finally got some time. Here are a few glimpses of my progress.

IMG_20200621_154425_030.jpg IMG_20200621_154352_326.jpg IMG_20200627_095602140.jpg
 

Attachments

  • VID_20200617_153654981.mp4
    74.6 MB
OP
OP
Stonycorals

Stonycorals

Community Member
View Badges
Joined
Apr 21, 2020
Messages
32
Reaction score
34
Location
Minnesota
Rating - 0%
0   0   0
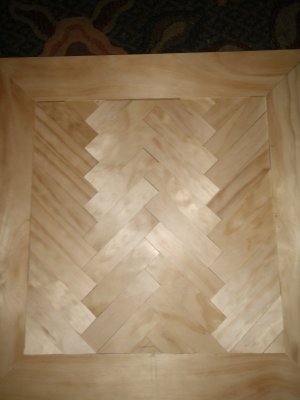
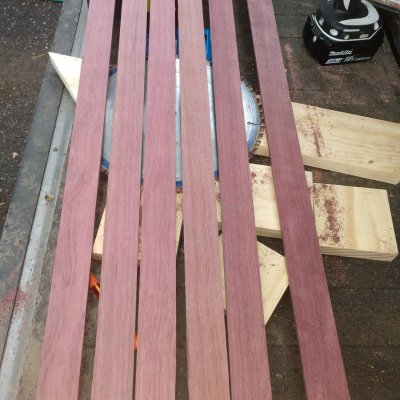
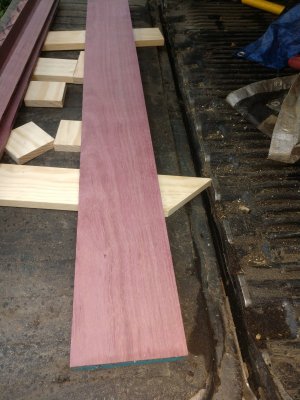
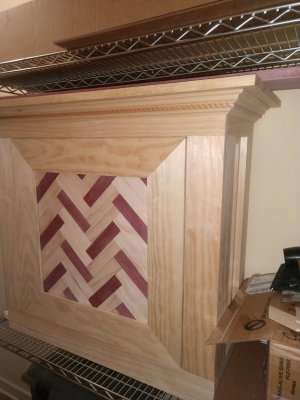
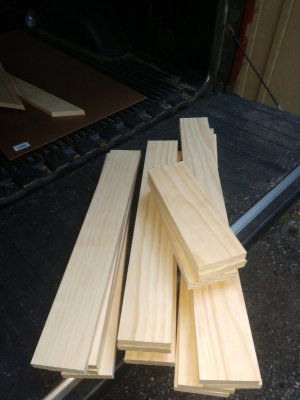
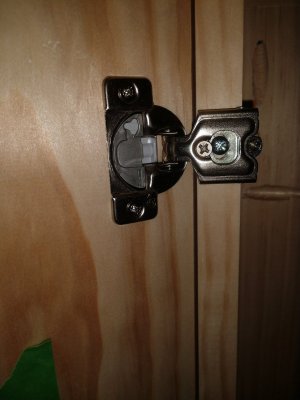
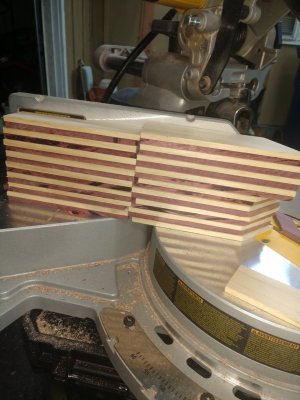
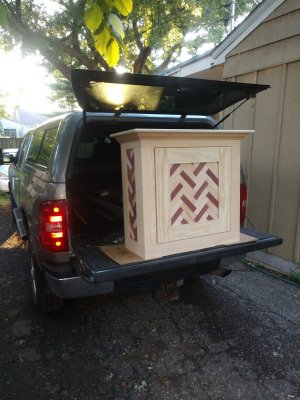
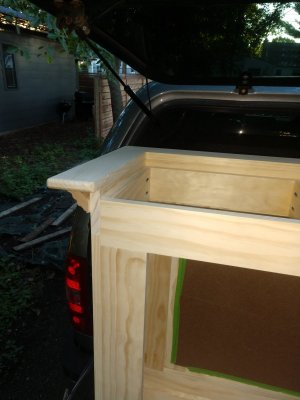
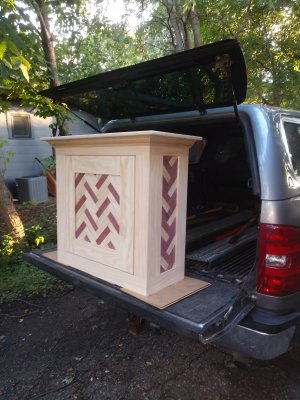
Rebuilt my stand after noticing I made a mistake. Took the time to rip some purpleheart to add some contrasting color. Never thought I'd be able to make something like this. I copied a design and made a couple changes to fit my tank. I owe a ton to jgirardnrg for his help.

IMG_20200706_174529_105.jpg IMG_20200629_191638759.jpg IMG_20200705_204041393.jpg IMG_20200704_194053666.jpg IMG_20200706_173750297.jpg IMG_20200701_163635957.jpg
 

High pressure shells: Do you look for signs of stress in the invertebrates in your reef tank?

  • I regularly look for signs of invertebrate stress in my reef tank.

    Votes: 39 32.5%
  • I occasionally look for signs of invertebrate stress in my reef tank.

    Votes: 28 23.3%
  • I rarely look for signs of invertebrate stress in my reef tank.

    Votes: 23 19.2%
  • I never look for signs of invertebrate stress in my reef tank.

    Votes: 30 25.0%
  • Other.

    Votes: 0 0.0%
Back
Top