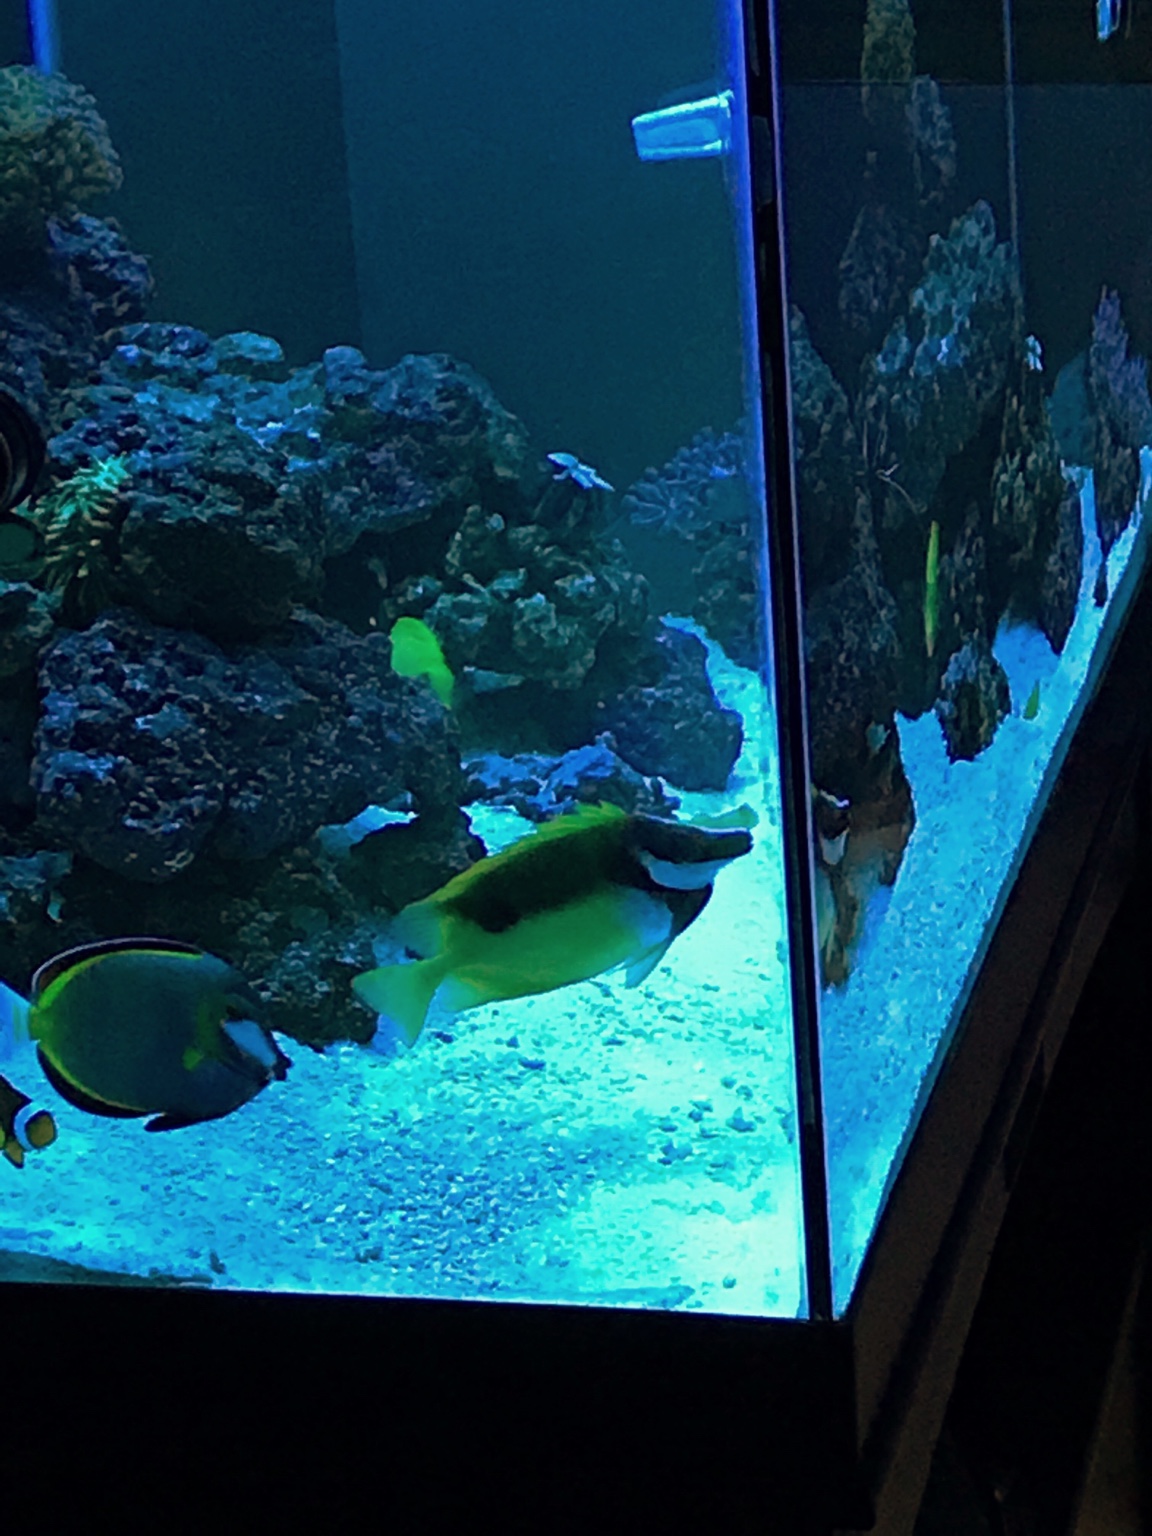
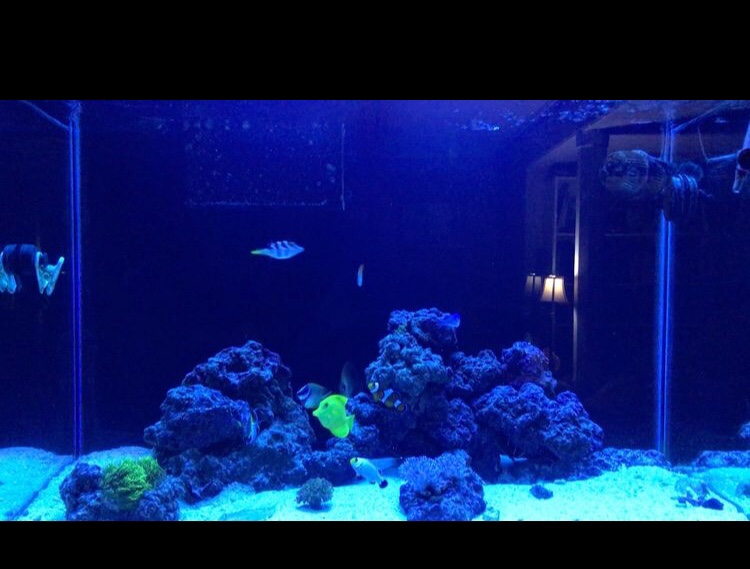
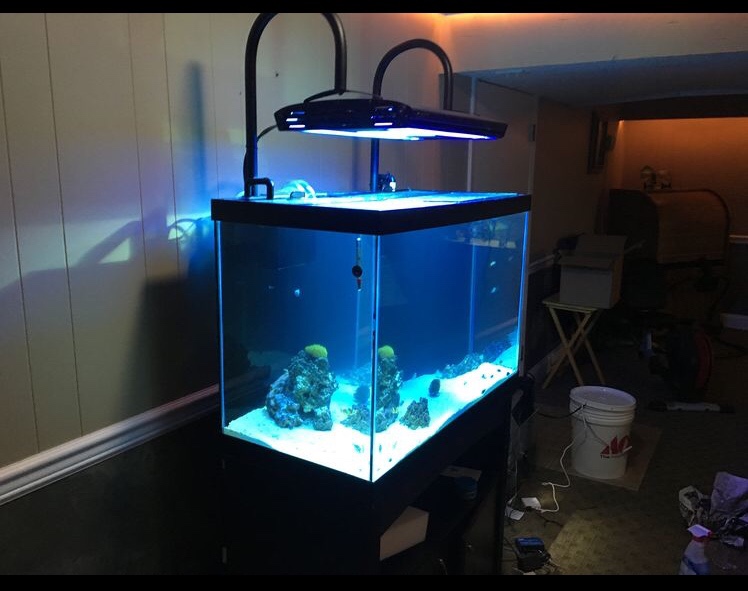
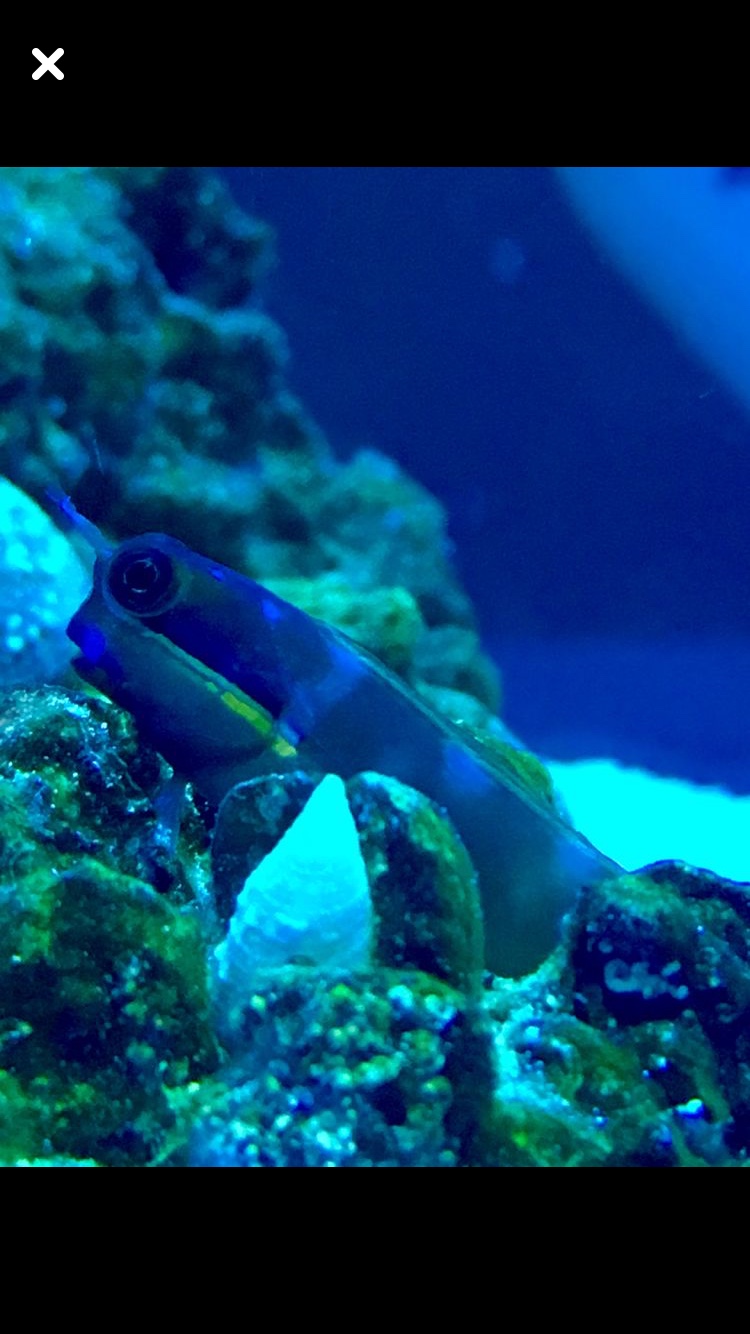
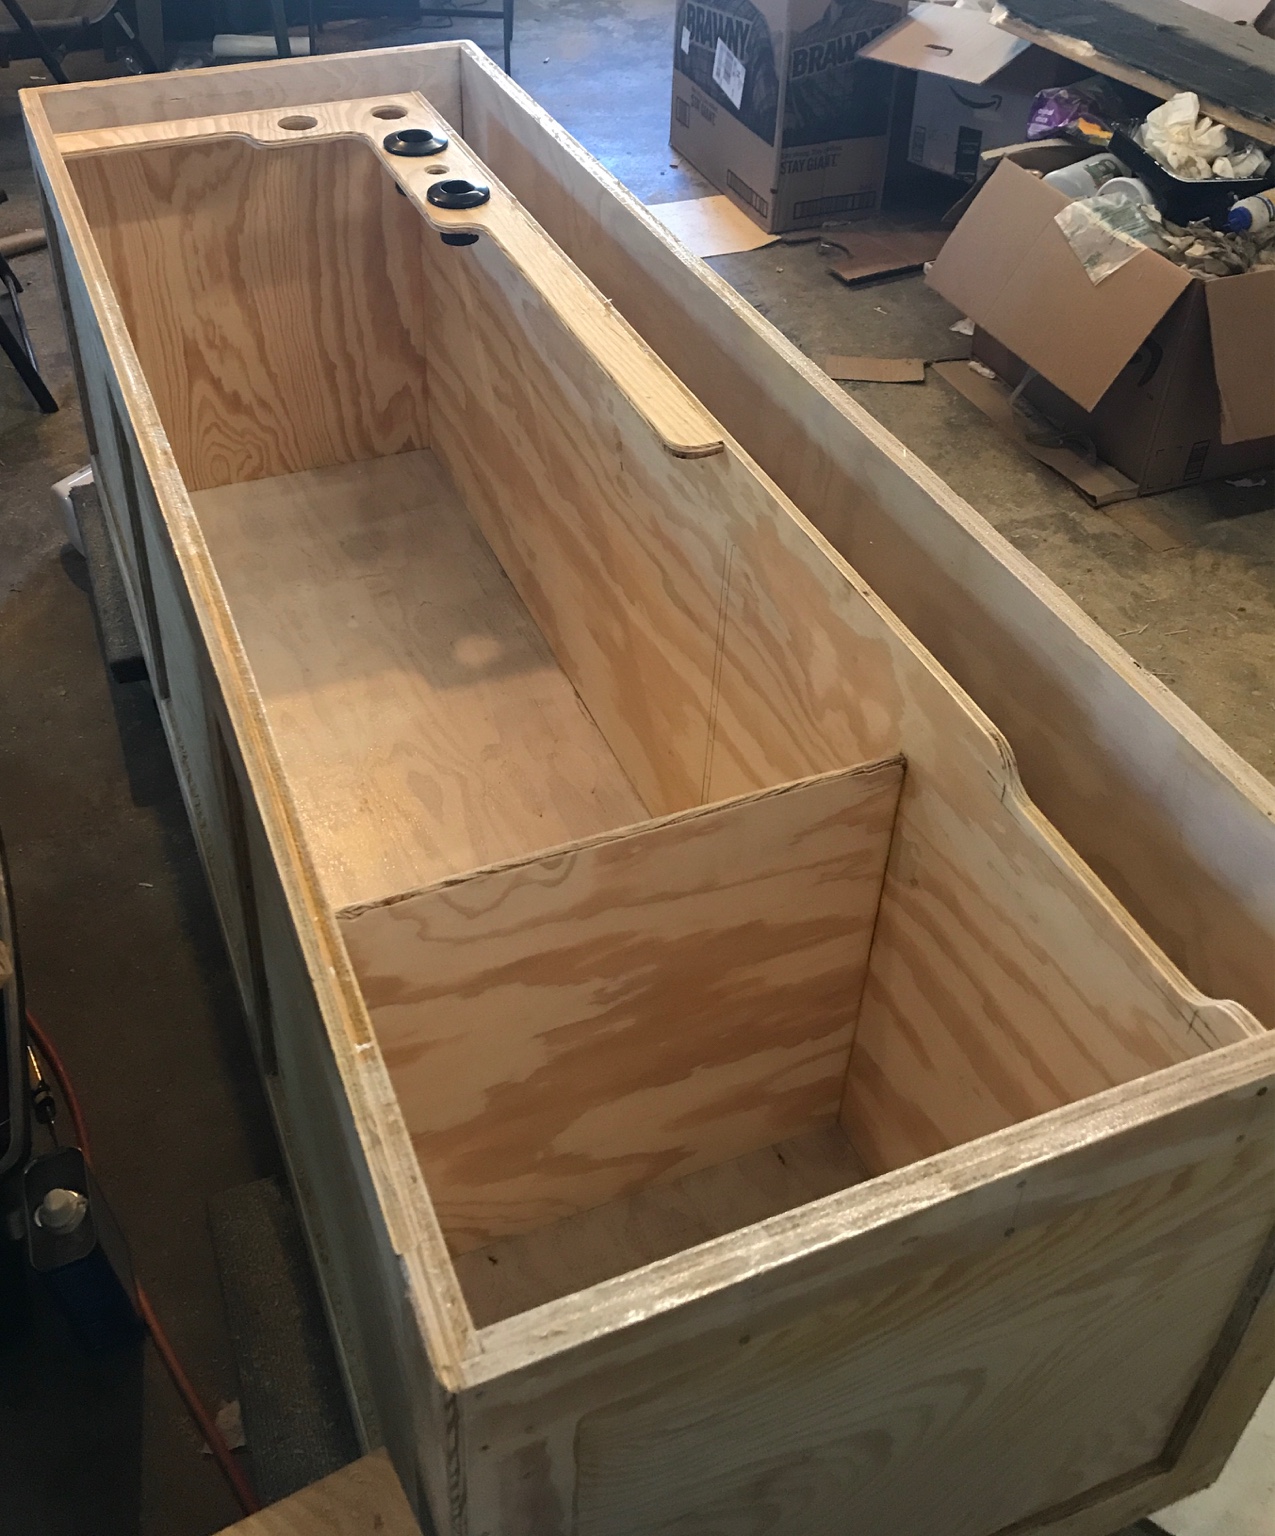
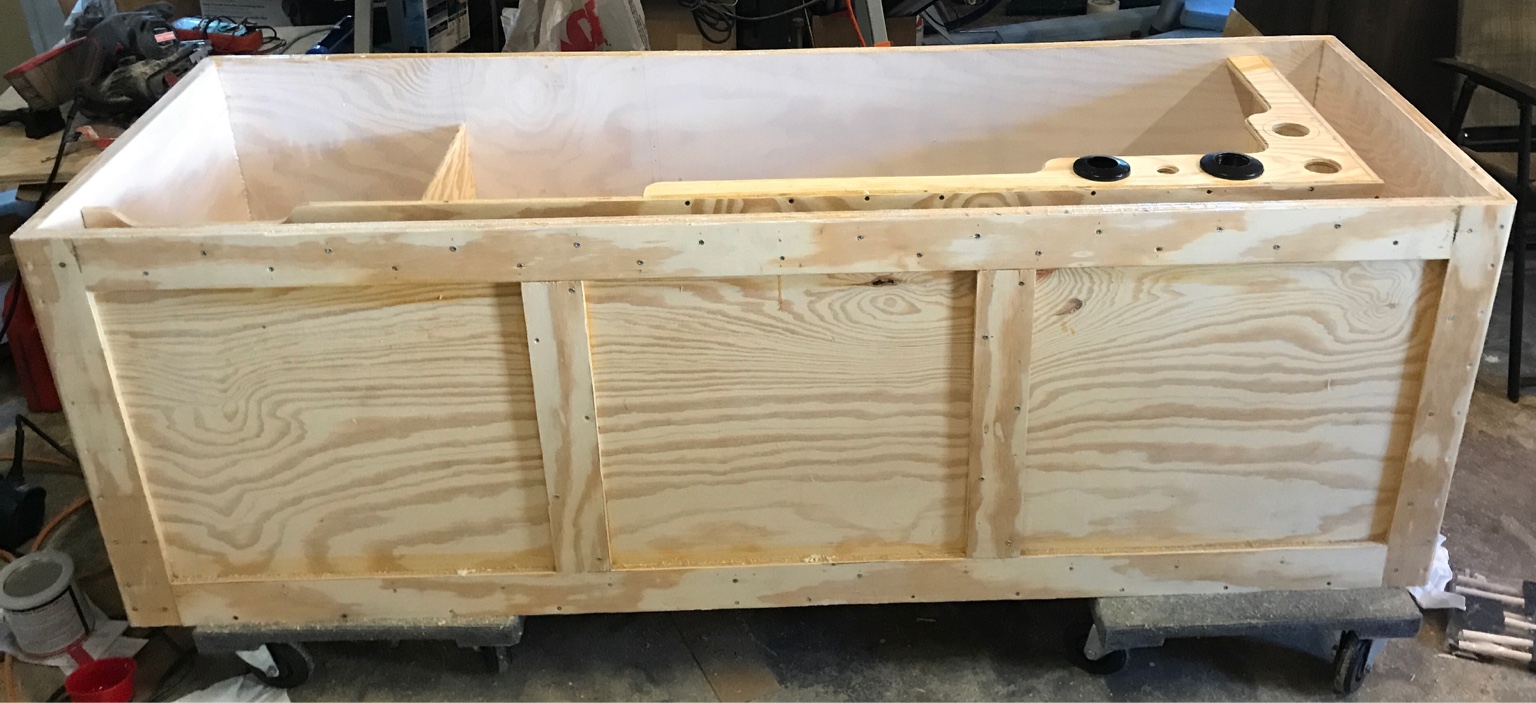
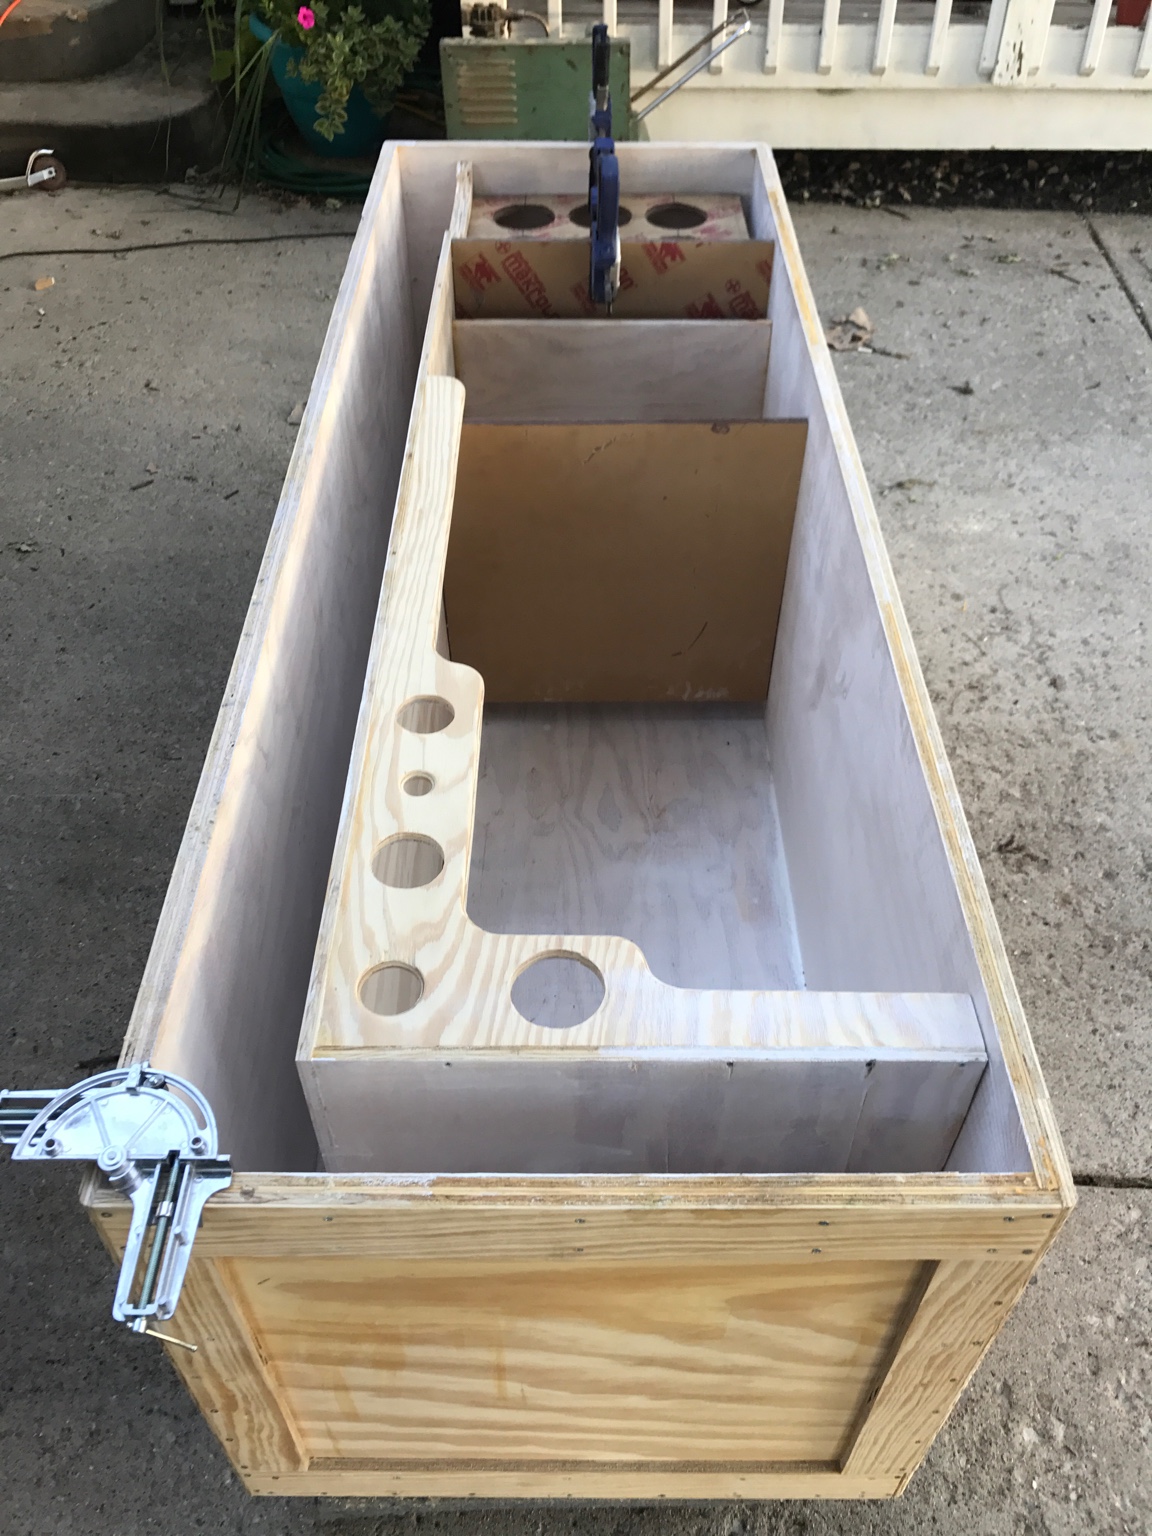
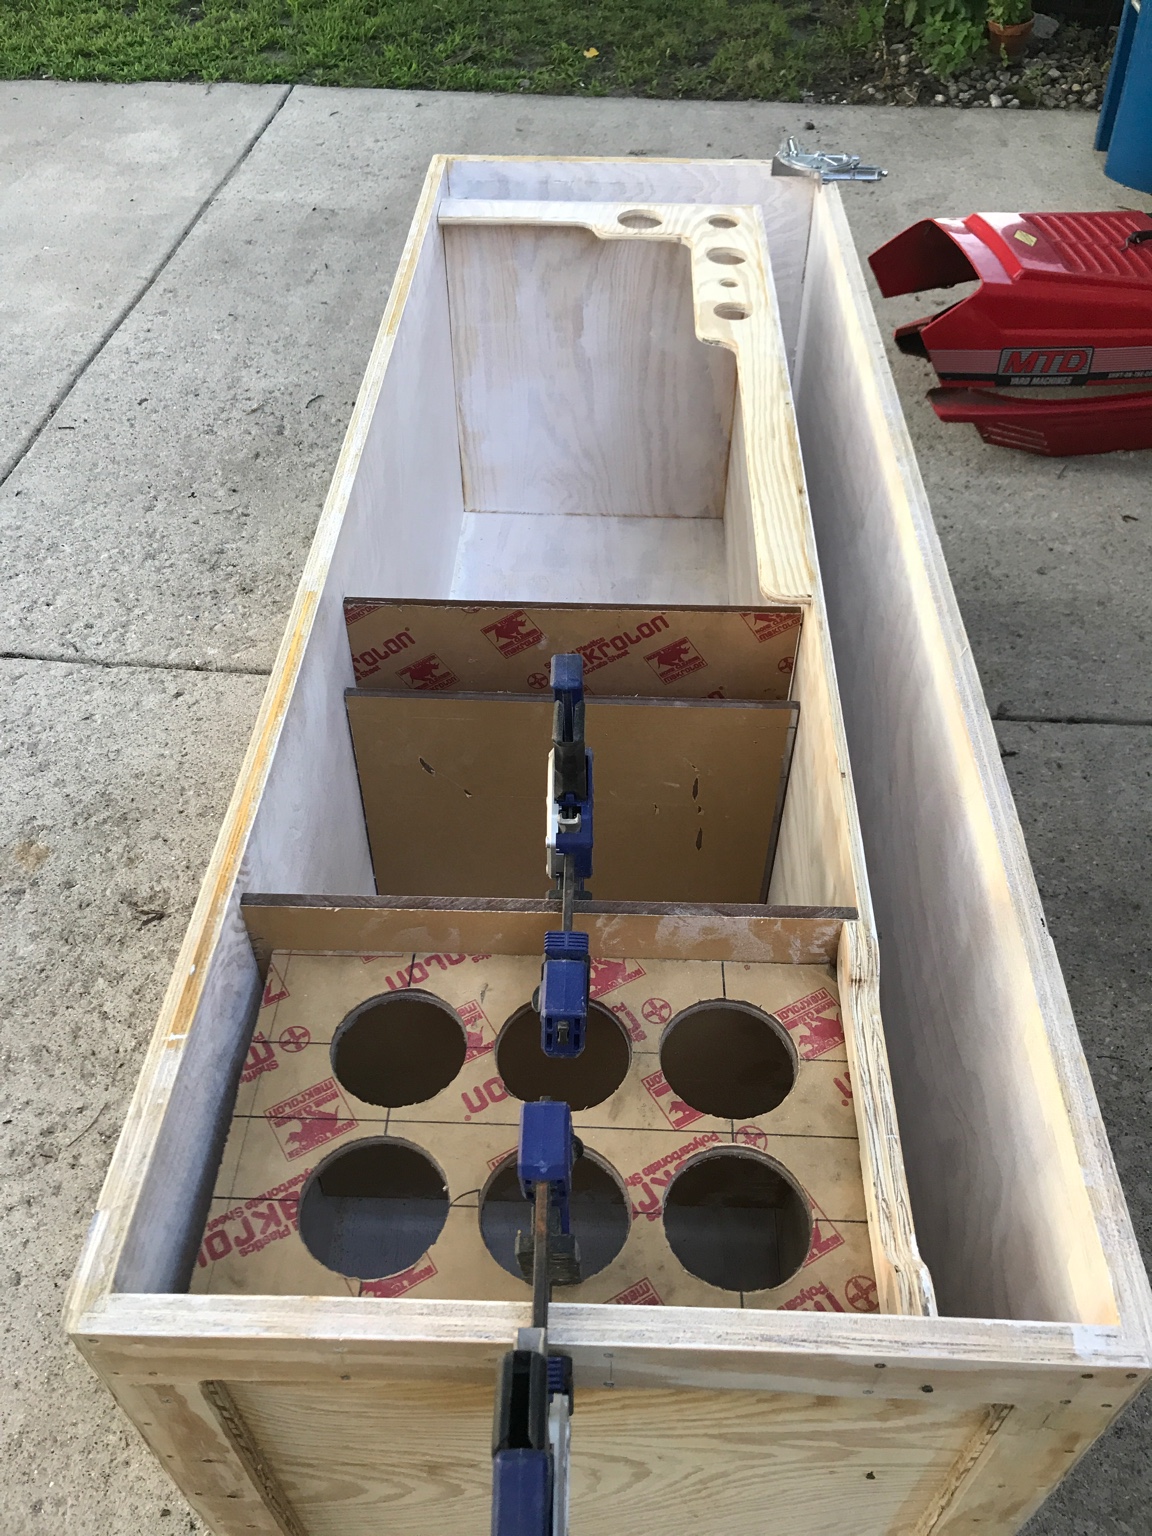
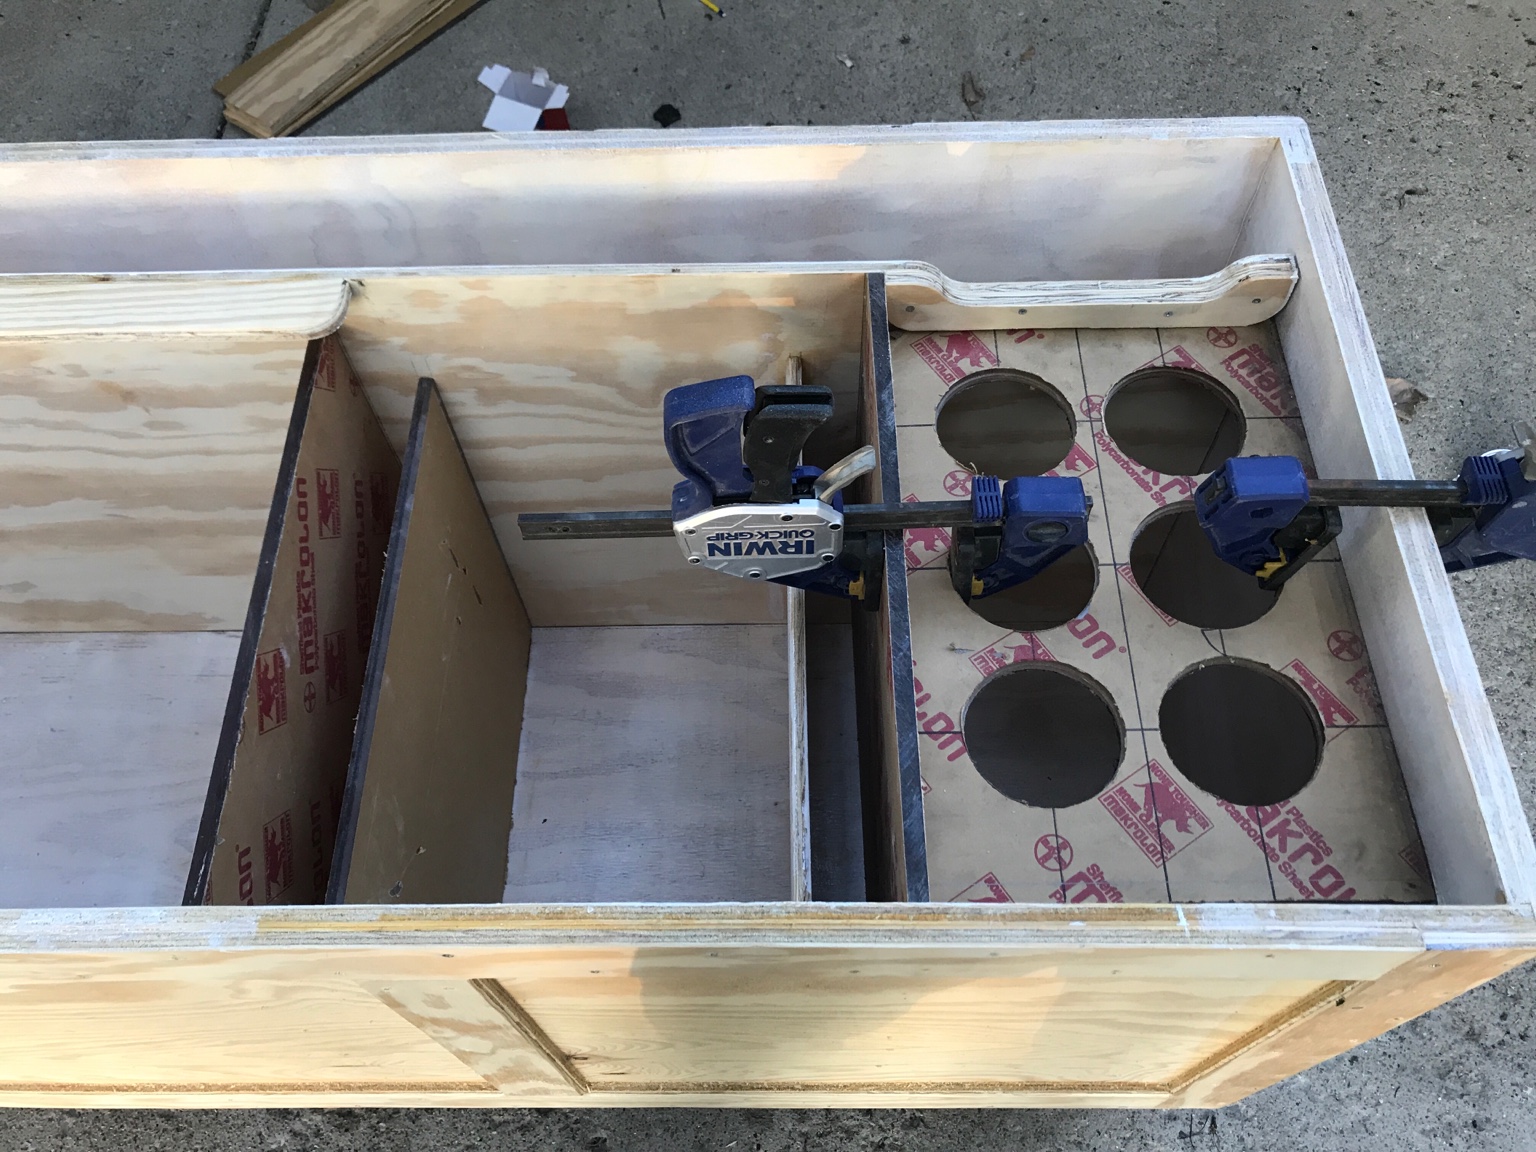
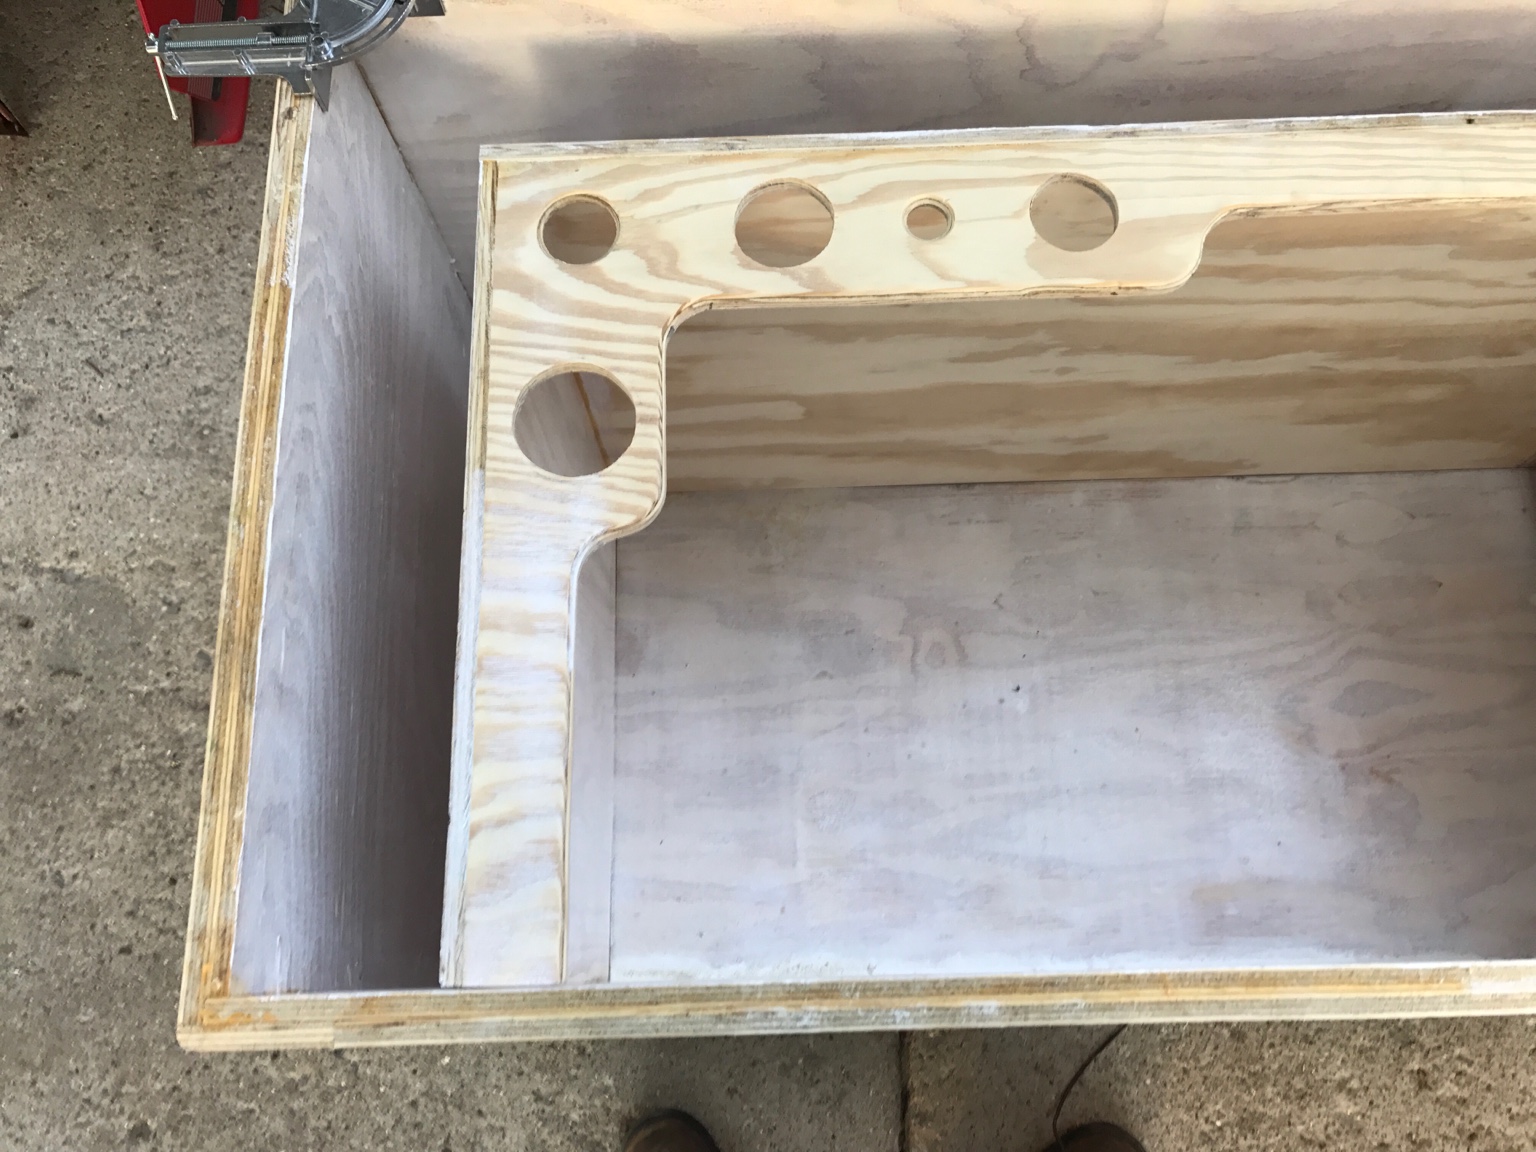
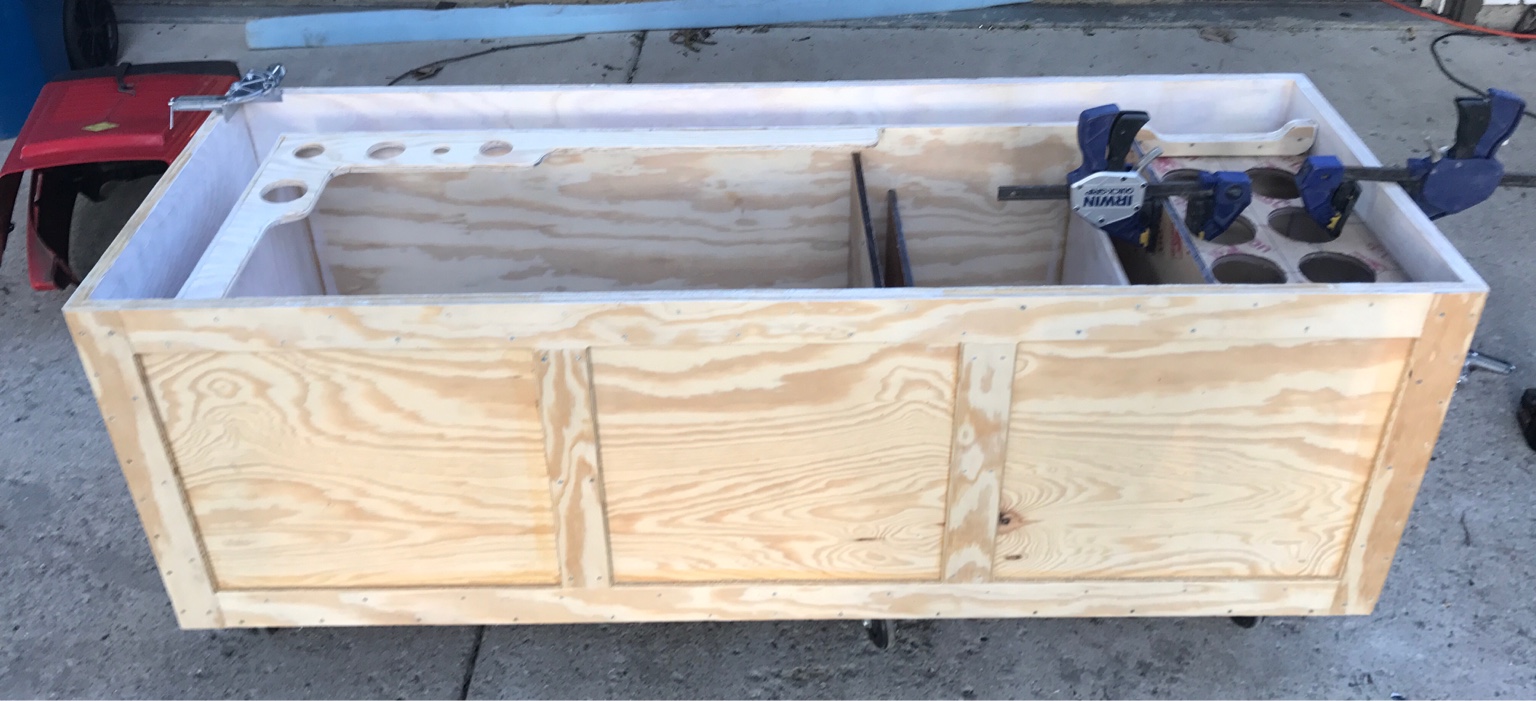
What substrate do you prefer


  • Total voters
    73
OP
OP
haanstang

haanstang

Well-Known Member
View Badges
Joined
Jan 16, 2017
Messages
361
Reaction score
228
Location
DeMotte IN
Rating - 0%
0   0   0
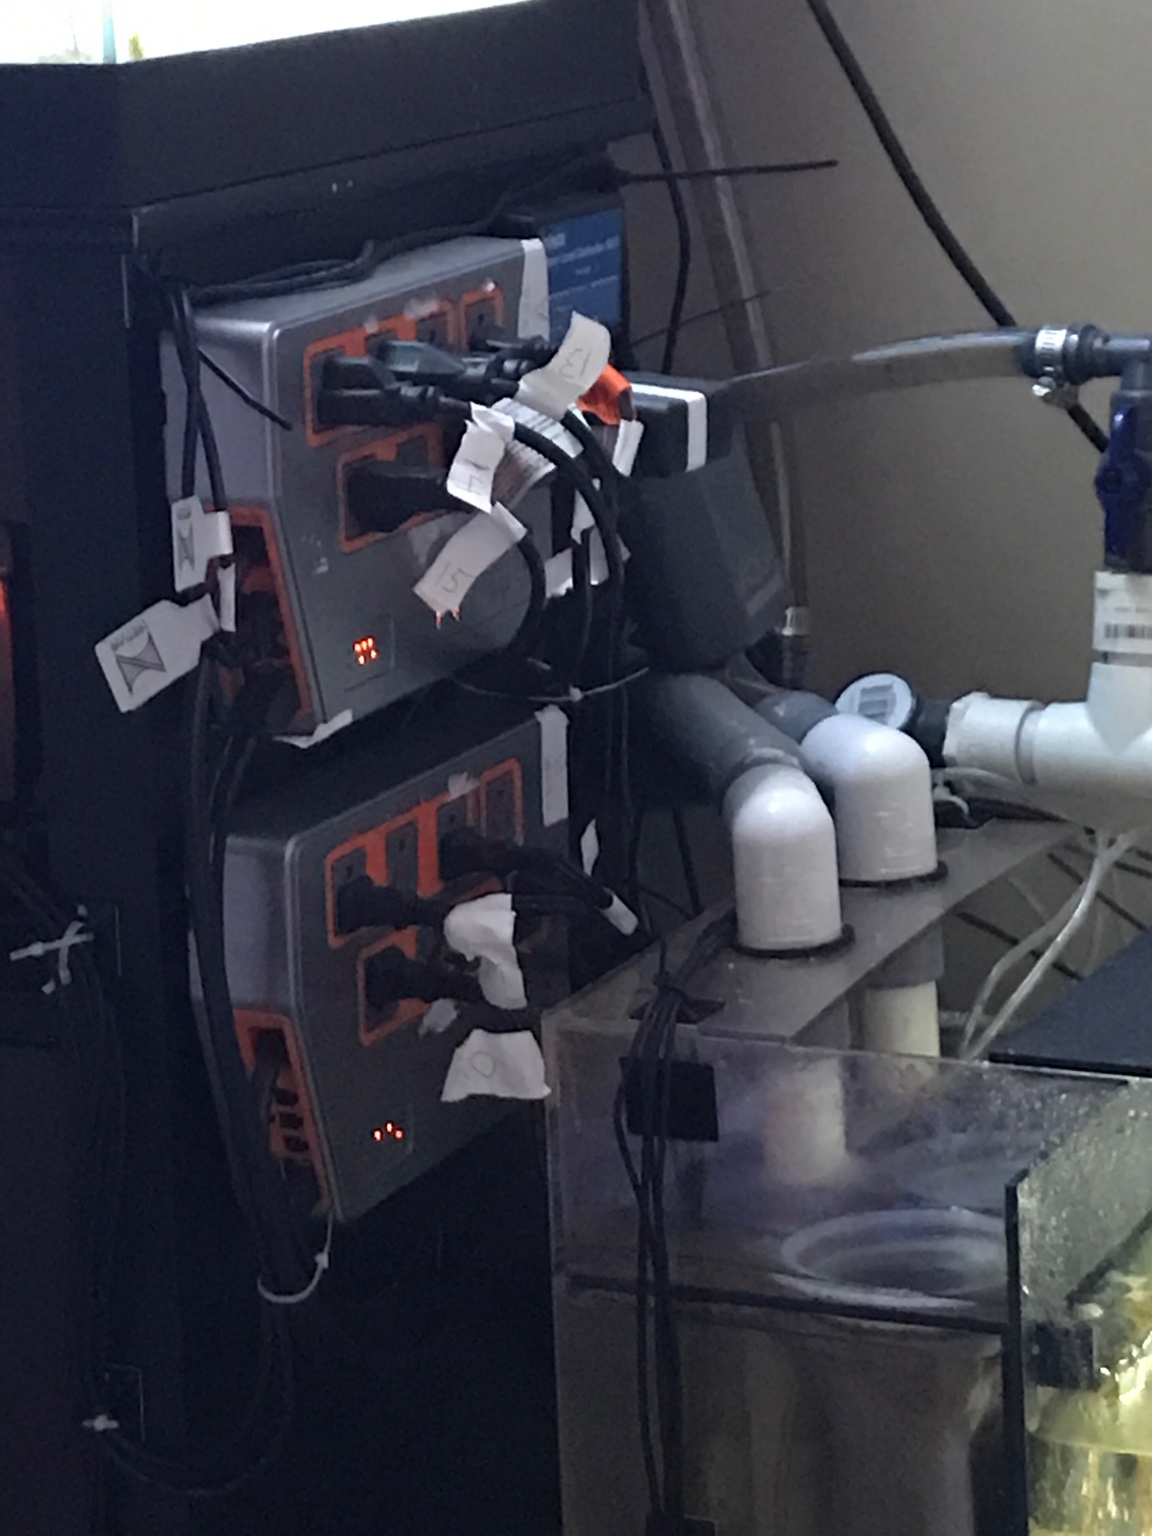
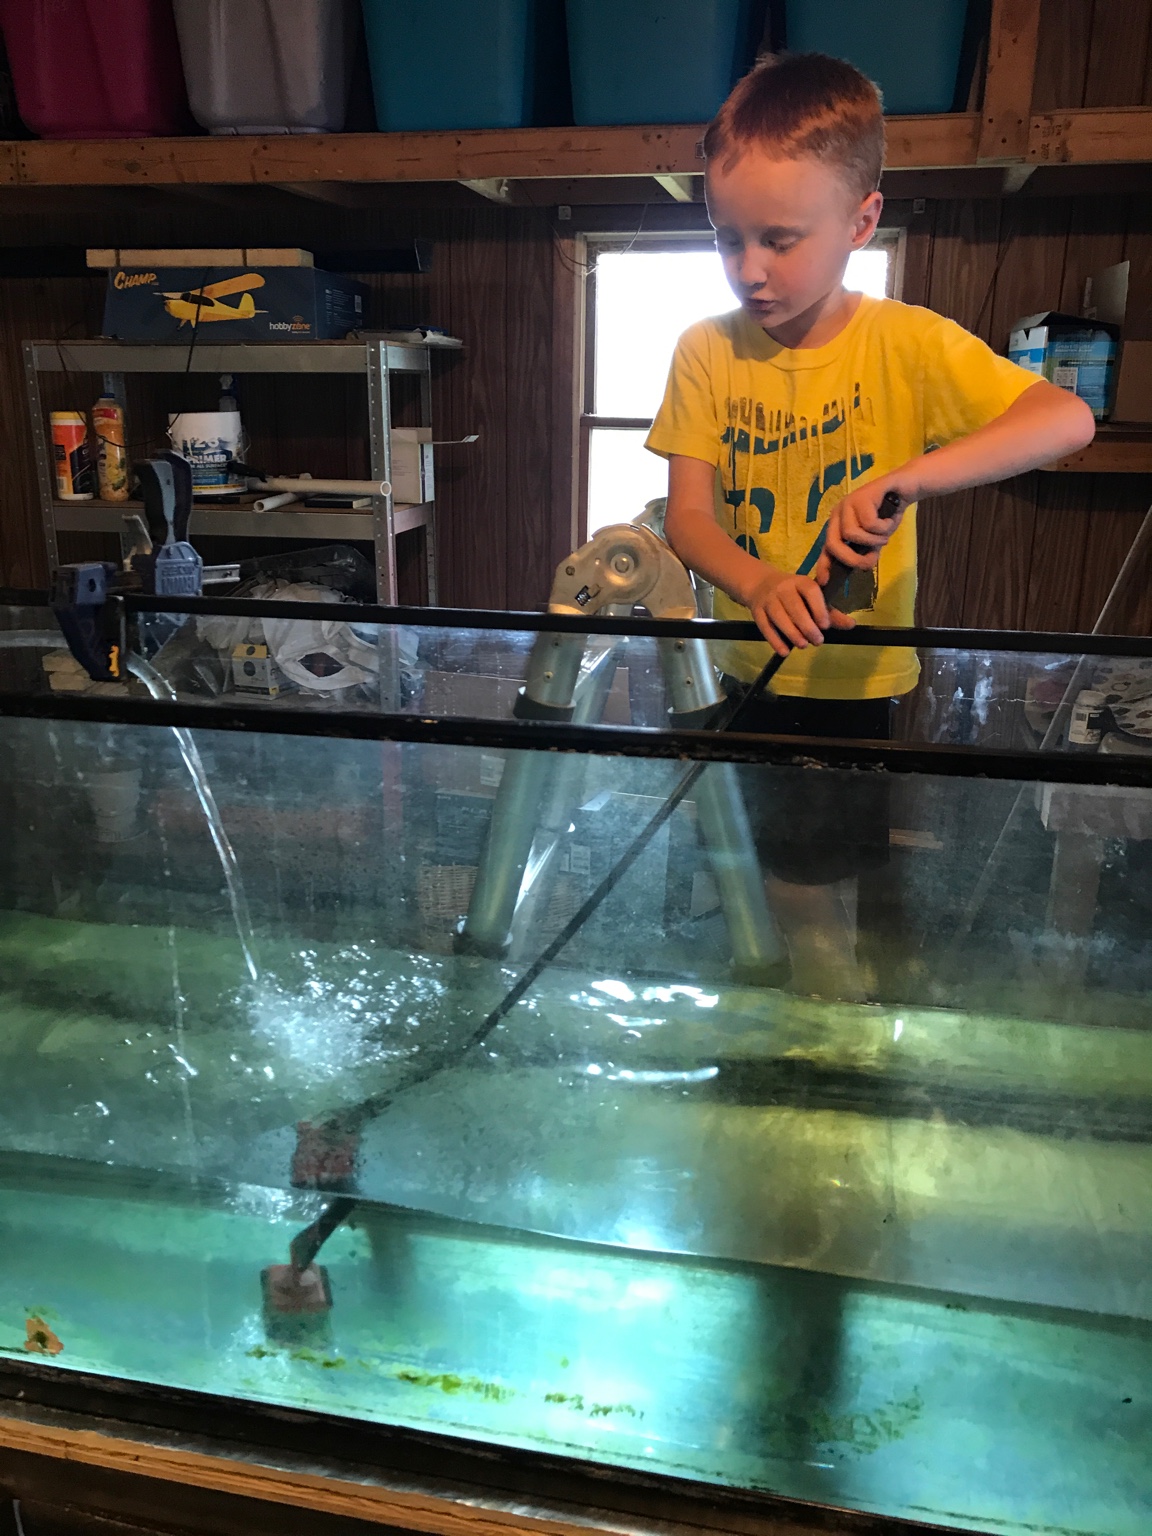
Probably but I don't have the best water to start with. And this way the expensive ones last longer. I need to do some calculations tomorrow if I have time. I know I am getting over 100 gpd with a 75 gpd membrane but I want to find out what my number actually is. With my booster pump I'm get 100-105 psi. BRS did a video on rodi gpd and the effects of different psi. I'll see if I can find it. If I were to guess I would say I'm close to 150 gpd out of a 75 gpd membrane. Another thing that is different with this smart buddy booster pump is that the sediment and carbon cartridges don't have the high pressure running through them like others pumps say to do. I don't know if that is a major help or difference over the other brands or not.

 
OP
OP
haanstang

haanstang

Well-Known Member
View Badges
Joined
Jan 16, 2017
Messages
361
Reaction score
228
Location
DeMotte IN
Rating - 0%
0   0   0
1db6e8646cf7864657b9f1d5a8e4e1c6.jpg
 
OP
OP
haanstang

haanstang

Well-Known Member
View Badges
Joined
Jan 16, 2017
Messages
361
Reaction score
228
Location
DeMotte IN
Rating - 0%
0   0   0
No new updates. I have to work 14 12 hour days in a row but hopefully get the rapping done and wood filler applied and sanded next weekend. Hopefully with some paint.
I decided to go with a white stand and paint the plastic trim on the tank white or a dark gray.
 
OP
OP
haanstang

haanstang

Well-Known Member
View Badges
Joined
Jan 16, 2017
Messages
361
Reaction score
228
Location
DeMotte IN
Rating - 0%
0   0   0
I hate work days. Not enough time to accomplish anything on the build before work and to tired when I get home.
Here are some older pics to hopefully help this thread while I'm not getting anything done on the tank
7df40a3b2544149b93e094514f664ec3.png
9abb507440afb48c98f08b3703c73ddc.png
5a1b86c1e098eb3f67a6164e5028f9bc.png
ee6987945b71492af0fb3068a7ccac48.png
d43ca3150e937fd57b82ffccef4df8d2.png
3eab425432333c5eb758e2ec3f13dcc9.png
1a83b22a5c354354de290fac815ad9c2.png
0a2d855df666f3e69db6116bdadb00eb.png
d83894d21764f66ade6e2198423c4ef0.png
21a2118c29539f8d818ae46828dbfab1.png
b5ed01a4b4fa0a166fb9be372f9f7f08.png
929d1a6f564e1e4983cbb6d14426b13a.jpg
bd36995c5ba4e3b00c9792289a262014.jpg
1a4c98578376afc1fd546dde2d05c48e.jpg
b918544d5e95798fc9019c039814d6c2.jpg

It will be nice to have cord management on this next bulid
 
OP
OP
haanstang

haanstang

Well-Known Member
View Badges
Joined
Jan 16, 2017
Messages
361
Reaction score
228
Location
DeMotte IN
Rating - 0%
0   0   0
So I haven't posted in a while. Still making progress but it's been slow progress. Stand is done except for final coat of paint and glass doors for the sump area for the 40b that's going on the bottom
db49d3ab5910253528a6ab0deadb0959.jpg
that half wall behind the stand is coming out and putting new floor in the living room and entryway. I was given a 125g tank that I had to tear down and move. This is going into the fishroom and will be a softy tank most likely.
66cafc9734c544cd3992b2d66b1f71d8.jpg
(my son cleaning it for me) because of the new to me tank I have 4 more fish that I wasn't expecting. Two more clowns 10y+ a fox 8y and a yellow tail damsel 11y old. I had to treat the female clown because it had Popeye when I got it home. I couldn't tell when I was moving the tank because of the lack of maintenance that had been done on the tank. I've had them a couple months and all is well. This is what the tank looked like before I broke it down. Salinity was through roof because of evaporation
84b3006b0da01a30664c068649941435.jpg
I started building my sump that will be in the fishroom 2'x2'x6' not done yet but working on it today. It has a 4 inch wide by 6 feet long by the height of the sump rock rubble canal is what I'm calling it that all three tanks will drain into before it makes its way to the 6, 4 inch filter socks. Don't know if I will have any benefits using rock rubble for filter and filter socks but the main reason is just for extra water capacity as the water level will be to the top of the sump almost in the section. I will have three return pumps. One for the 210g main display, One for the most likely softy tank. And one for the refugium tank/ carbon, gfo or whatever else I may want. The inlet for the refugium Will be picking up the water from underneath the filter socks but before the skimmer. It's a work in progress in itself.
7ea74d3842bdc9cd06c3a42d5dd83fee.jpg
11fd0bf971b8dee7f4a50935d09a28d7.jpg
60b0b33fd2c0f127e5ffa3ae3b19f25c.jpg
6d769d038895a474730ca9e5f72e1295.jpg
5ed9777834b45111c92a721a43842cd3.jpg
.
110 gallons operating water level 180 full to the top.
Questions comments and input are appreciated. Sorry for the lack of posting but I'll try to do a better job from now on
 
Last edited:

Husker

Well-Known Member
View Badges
Joined
Aug 31, 2016
Messages
542
Reaction score
419
Rating - 0%
0   0   0
That is quite the sump. Are you really making it completely out of plywood? I have seen some plywood tanks and have always been intrigued about longevity. How do you intend to seal it?
 
OP
OP
haanstang

haanstang

Well-Known Member
View Badges
Joined
Jan 16, 2017
Messages
361
Reaction score
228
Location
DeMotte IN
Rating - 0%
0   0   0
It's called pond shield. Made by a company called pond armor. Greats product. There's a couple reasons why I chose wood over glass or acrylic. Any tank made with silicone eventually fails acrylic is too expensive for me because of all the other money I'm spending on this project. Plywood tanks and sumps built the right way and using pond shield theoretically will last forever. And an added bonus is wood makes a better insulator then glass or acrylic. So the temperature will stay more consistent. But the main reason why I did it was because of price. I have to put a couple more coats on before I actually secure the interior baffles. there are bubble traps that are not pictured that are still going in and I have to make an open top brace yet but I can't put that on until everything is finished in the interior. The baffles that you do not see I'm going to use poly carbonate which is like acrylic but is harder to warp. The filter sock holder section is also made out of the same. Once all of my coats of pond shield are done I can then epoxy in my baffles and sock section
 
OP
OP
haanstang

haanstang

Well-Known Member
View Badges
Joined
Jan 16, 2017
Messages
361
Reaction score
228
Location
DeMotte IN
Rating - 0%
0   0   0
Joey " the king of DIY" has several videos of wooden tank builds using the pond armor on YouTube


This one has wood bottom with pond shield using to 6' tanks for the glass. 6'x6' 540 gallons with euro bracing.
 
Last edited:

revhtree

Owner Administrator
View Badges
Joined
May 8, 2006
Messages
47,898
Reaction score
88,400
Rating - 100%
1   0   0
Nice job! About how much will you have into your sump once complete?
 
OP
OP
haanstang

haanstang

Well-Known Member
View Badges
Joined
Jan 16, 2017
Messages
361
Reaction score
228
Location
DeMotte IN
Rating - 0%
0   0   0
Thank you @revhtree
$120 for pond armor, about $100 in "A" grade plywood. + screws and wood glue so roughly $250 in a 180 gallon sump. The poly carbonate I got for free. But I didn't have to use it I could have used wood for all the baffles and still been in it for about 250. I'll have better pictures once it's all done showing all the plumbing that will be built into the sump.
 
Last edited:

melypr1985

totally addicted
View Badges
Joined
May 4, 2014
Messages
15,113
Reaction score
23,543
Location
Dallas area
Rating - 0%
0   0   0
I was thinking about it awhile back, it's pretty cool that my sump is the same size as @melypr1985 in wall happy place. [emoji51]

That's a pretty darn impressive sump you have there! I love your stand as well :)
 
OP
OP
haanstang

haanstang

Well-Known Member
View Badges
Joined
Jan 16, 2017
Messages
361
Reaction score
228
Location
DeMotte IN
Rating - 0%
0   0   0
This is a amazing build I absolutely love the DIY sump out of plywood and pond armor..;) I think I love this build and all the DIY into this !!!

Thank you for you kind words, they really mean a lot.
I wanted to get into this hobby long before I actually did just because of the price factor. So because of that I tried thinking of ways to save money and still be able to have the big peninsula tank that I've always wanted.
The stand was a no brainer "DIY" but I didn't think about making my own sump until I decided to have a filtration room. After that it was just looking at every type of sump I could think of to get ideas. And since it's not going under a tank really opened up the size possibly. The sump is far from done, lots of things to do on it yet before I can start pluming the internals of the sump but it's getting there. I wouldn't have built one if I hadn't found out about pond armor. Sure I could have used fiberglass or just epoxy but there is the possibility of something in those that might not agree with a reef system long term. Pond armor was made specially for fish. It is non toxic uncured and cured.
I'm hoping the the live "rock ruble canal" (trade mark pending [emoji6]) plus filter socks is a benefit. in theory it should work well. All the overflow water from all three tanks will have to pass through the rock to get to the socks. marine pure block are great but pricey rock ruble is cheap and I have the room to do the canal.
Hopefully I have steady progress from here on out.
 
Last edited:

Form or function: Do you consider your rock work to be art or the platform for your coral?

  • Primarily art focused.

    Votes: 20 8.1%
  • Primarily a platform for coral.

    Votes: 44 17.9%
  • A bit of each - both art and a platform.

    Votes: 164 66.7%
  • Neither.

    Votes: 12 4.9%
  • Other.

    Votes: 6 2.4%
Back
Top