


Jimmys 40 breeder

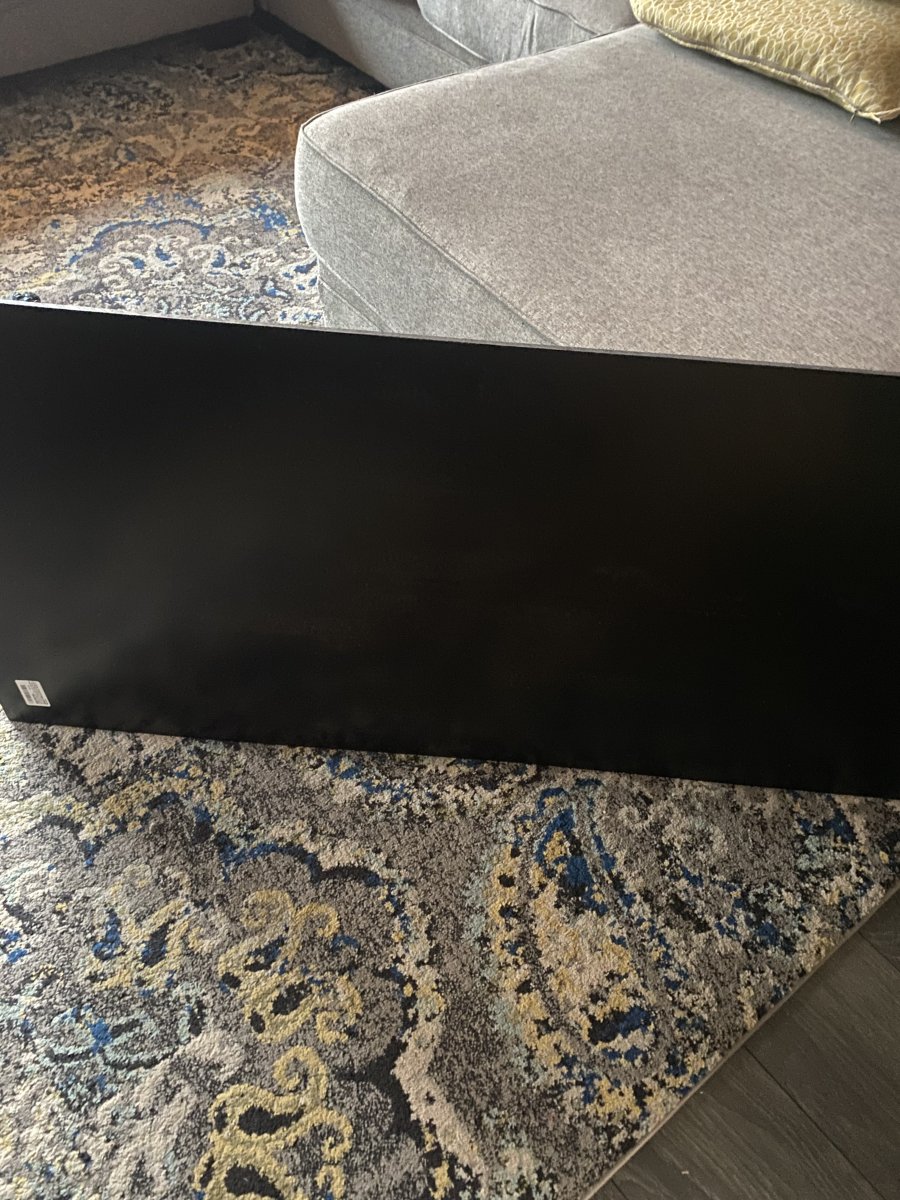
Next step was applying the HDPE board to the tank. I knew from the beginning of this build I was going barebottom. I drive for a living and when I come home I don’t want to see a dirty sand bed. I know the BB can be a hurdle for awhile in means of stability but I’m willing to stick it out. I also didn’t want a shiny bottom or to see through the glass to a painted bottom. I landed on 1/4 thick starboard or HDPE. It’s typically what plastic cutting boards are made out of .
IMG_9971.jpeg

Amazon has a slew of options and it was rather affordable, like 66 bucks for the sheet.
IMG_9972.jpeg

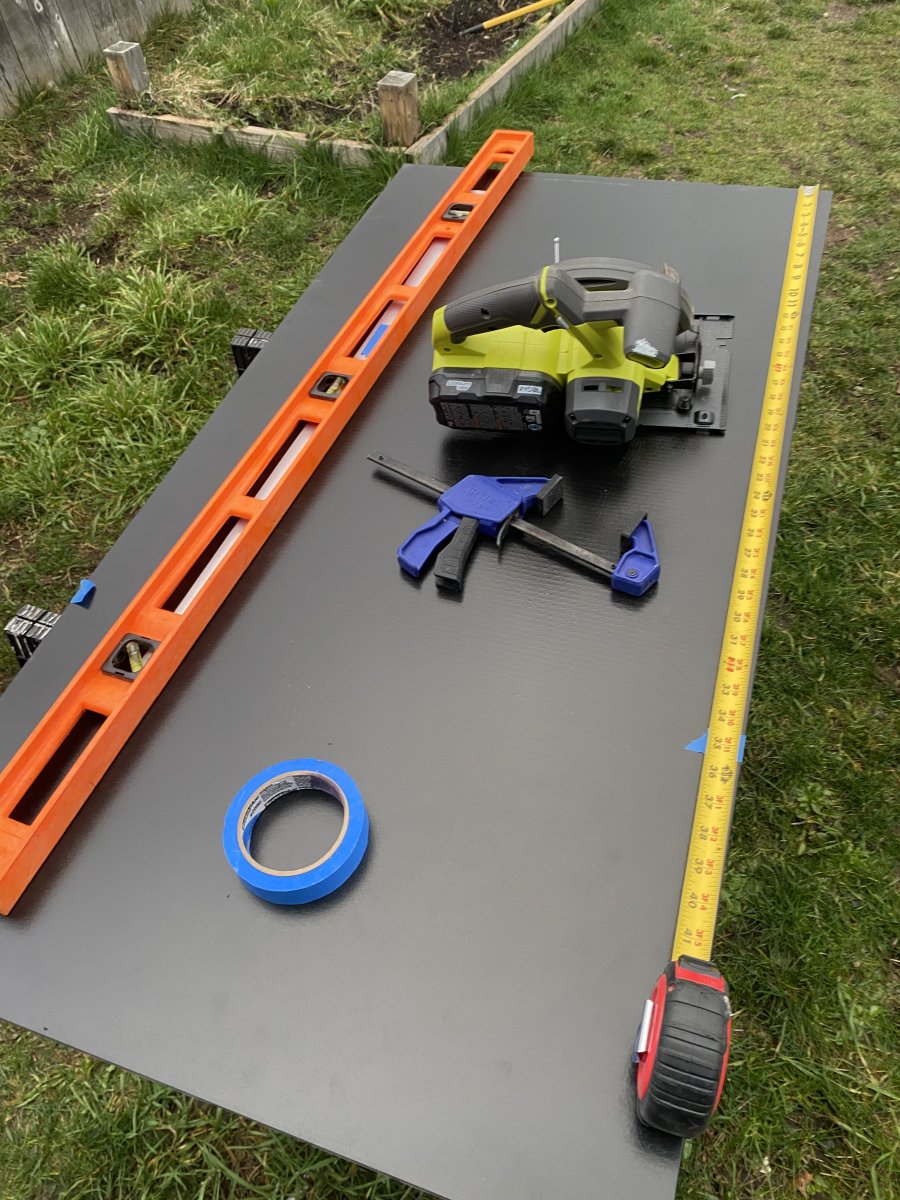
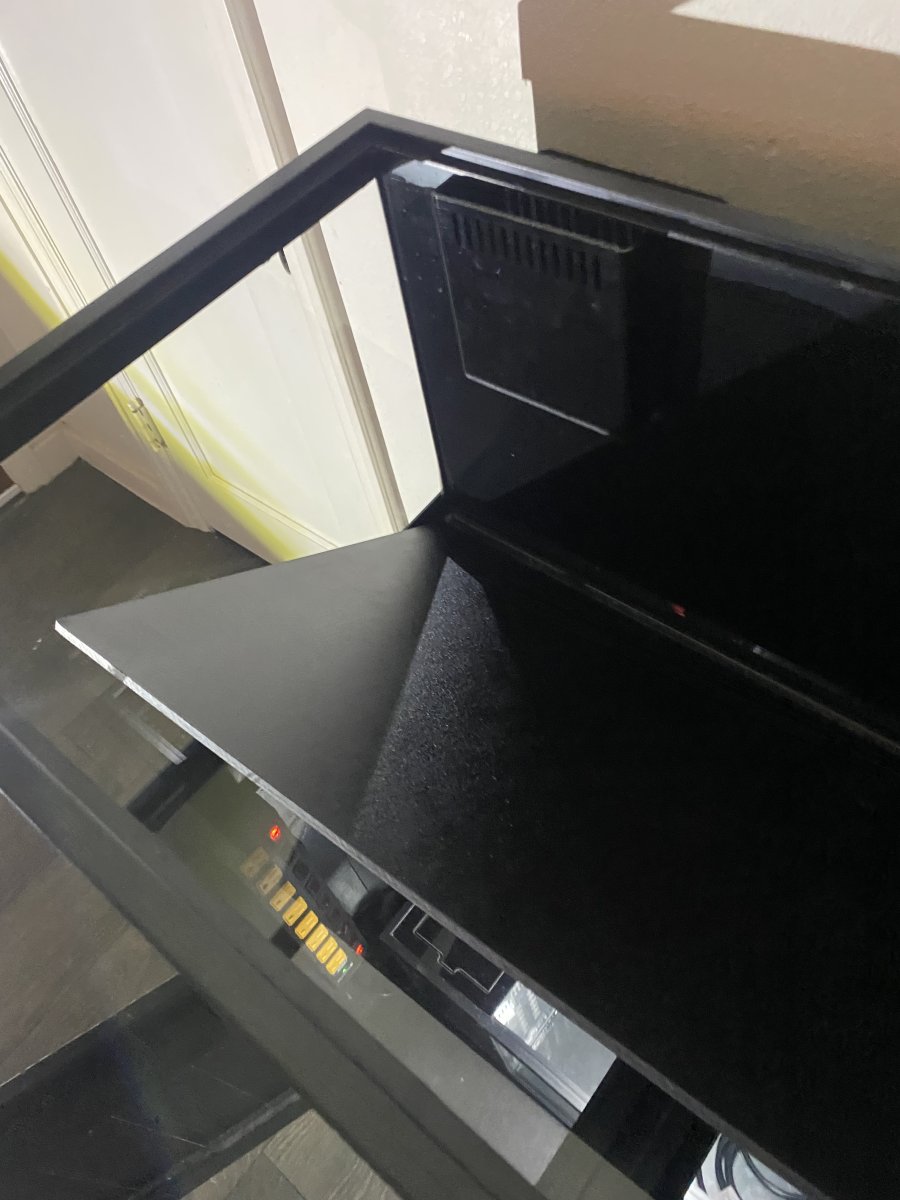
A lot of the resources I used for this portion said to use a blade specifically for plastic as to not melt it when cutting it but I did a test cut with a standard circular saw and knew immediately it wasn’t an issue. I don’t currently have a table saw but it was easy enough to clamp down a level for a straight line. I made sure to carefully measure it so it wasn’t sitting directly on the silicone seam but not enough to leave a huge gap in the aquarium.
IMG_9973.jpeg


IMG_9976.jpeg
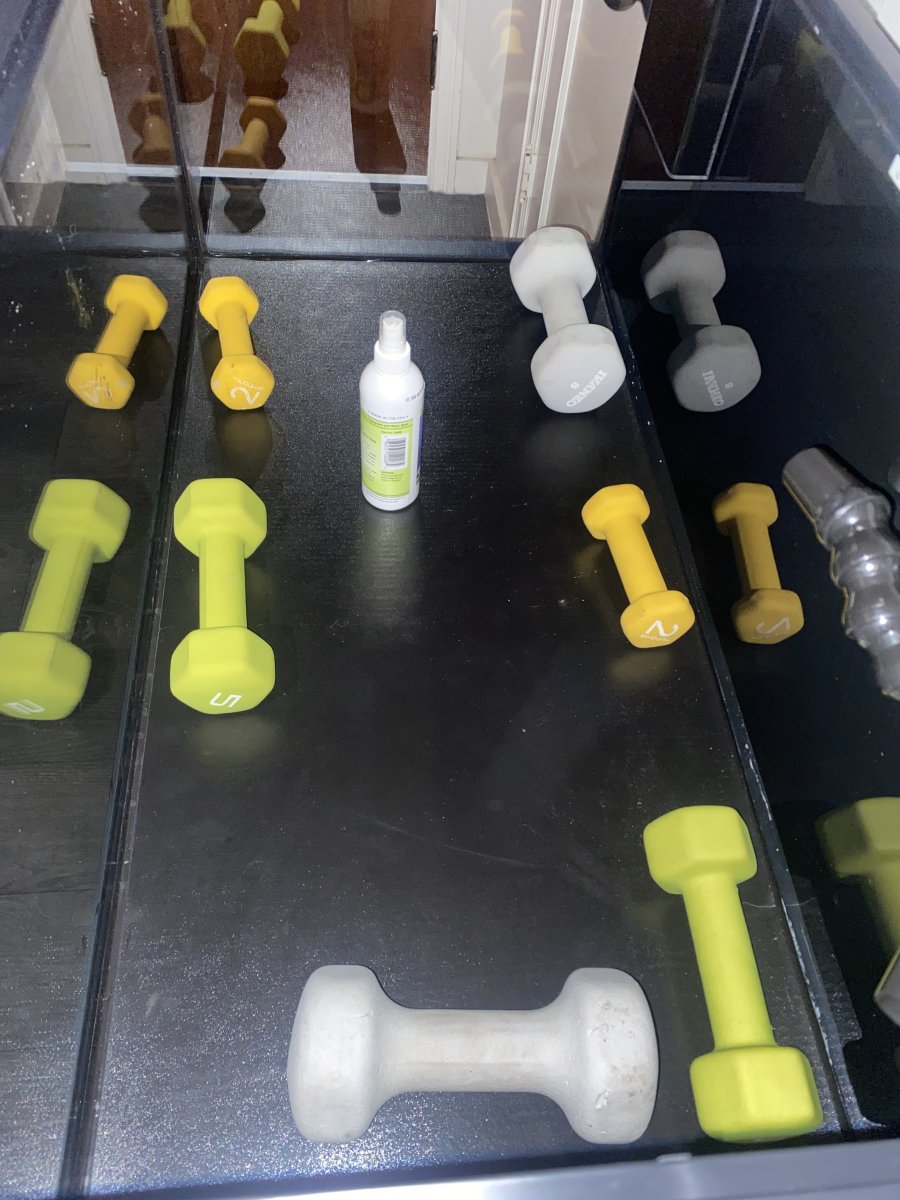
There are a few concerns with using this long term specifically with warping, bowing and detritus getting trapped. After getting my hands on it I know that picking 1/4 was more than sufficient. I think on a tank this small 1/8 would have likely been fine long term, but we will see. I took the time and applied silicone before laying down, not as an adhesive but as a method to stop detritus from getting built up. That was pretty straight forward and satisfying.
 
For rock I chose the purple Marco rock, being dead and bare bottom i know that my uglies might be really bad. I feel like this is a great option and worth the few extra bucks. I also understand that the aesthetic I’m going for is far from natural and may not fit everyone’s fancy but for this build it’s exactly what I want. I obsessed over it and it’s starting to feel like it’s manifesting finally. My last set up had many flaws and the aquascape was one of them, so it’s nice to have a shot at it differently this time.

I ordered 40 pounds of the small size from AquaCave. I was very impressed with the dye job and how well Marco rocks had packaged it. Every piece was individually wrapped and nearly nothing was broke.
Here’s one example in front of my foggy 2.5 gallon bedside terrarium lol
IMG_9982.jpeg

IMG_9985.jpeg

I made a work station at the kitchen table with a 18x36 piece of cardboard so I could start to build my aquascape.
IMG_9998.jpeg

Then I got overwhelmed when I started pulling out rock. I wasn’t exactly sure how it would look ultimately at the end but I knew I wanted the scape off the back wall a bit and that it would be largely a pile of rocks. I wasn’t interested in NSA or whatever was all the rage right now. I kinda visioned 2 islands or a swim through connecting the 2 structures.
IMG_0001.jpeg

Here’s the preliminary stages, I used a combo of 2 little fishies putty and thick super glue for the perfect hold. A little bit of a learning curve but I was careful to hide as much of the putty as possible and be mindful that I wanted to be able to safely take the structures out in the future if need be.
IMG_0005.jpeg
IMG_0011.jpeg
IMG_0012.jpeg

IMG_0015.jpeg


It was quite the process and honestly the first time I had fun on this build. I made huge hard scape mistakes on my first build and I wanted more functionality out of this. Again I’m no aquascaper and never intend on being one. I was careful to make sure I could get my hands in the tank and be able to clean and maintain the glass.
IMG_0020.jpeg

IMG_0021.jpeg


IMG_0023.jpeg

IMG_0025.jpeg

IMG_0026.jpeg


Pictures aren’t the best I’m not known for my photography. I didn’t totally land the scape this time, the first portion is a little to steep on the front doesn’t give me the best surface for mounting corals so it will take a lot of consideration on what will go there. Additionally i thought I nailed it but its slightly to tall but it’s nothing I can’t work with. I cleverly created a swim through connecting the two structures but blended them together rather seamlessly. I can actually pull either side out individually which I like.
 

Attachments

  • IMG_9999.jpeg
    IMG_9999.jpeg
    188.9 KB · Views: 43
For rock I chose the purple Marco rock, being dead and bare bottom i know that my uglies might be really bad. I feel like this is a great option and worth the few extra bucks. I also understand that the aesthetic I’m going for is far from natural and may not fit everyone’s fancy but for this build it’s exactly what I want. I obsessed over it and it’s starting to feel like it’s manifesting finally. My last set up had many flaws and the aquascape was one of them, so it’s nice to have a shot at it differently this time.

I ordered 40 pounds of the small size from AquaCave. I was very impressed with the dye job and how well Marco rocks had packaged it. Every piece was individually wrapped and nearly nothing was broke.
Here’s one example in front of my foggy 2.5 gallon bedside terrarium lol
IMG_9982.jpeg

IMG_9985.jpeg

I made a work station at the kitchen table with a 18x36 piece of cardboard so I could start to build my aquascape.
IMG_9998.jpeg

Then I got overwhelmed when I started pulling out rock. I wasn’t exactly sure how it would look ultimately at the end but I knew I wanted the scape off the back wall a bit and that it would be largely a pile of rocks. I wasn’t interested in NSA or whatever was all the rage right now. I kinda visioned 2 islands or a swim through connecting the 2 structures.
IMG_0001.jpeg

Here’s the preliminary stages, I used a combo of 2 little fishies putty and thick super glue for the perfect hold. A little bit of a learning curve but I was careful to hide as much of the putty as possible and be mindful that I wanted to be able to safely take the structures out in the future if need be.
IMG_0005.jpeg
IMG_0011.jpeg
IMG_0012.jpeg

IMG_0015.jpeg


It was quite the process and honestly the first time I had fun on this build. I made huge hard scape mistakes on my first build and I wanted more functionality out of this. Again I’m no aquascaper and never intend on being one. I was careful to make sure I could get my hands in the tank and be able to clean and maintain the glass.
IMG_0020.jpeg

IMG_0021.jpeg


IMG_0023.jpeg

IMG_0025.jpeg

IMG_0026.jpeg


Pictures aren’t the best I’m not known for my photography. I didn’t totally land the scape this time, the first portion is a little to steep on the front doesn’t give me the best surface for mounting corals so it will take a lot of consideration on what will go there. Additionally i thought I nailed it but its slightly to tall but it’s nothing I can’t work with. I cleverly created a swim through connecting the two structures but blended them together rather seamlessly. I can actually pull either side out individually which I like.
That rock scape looks gorgeous!
 
So after finishing my rock scape the next step was rather basic, fill the tank with water. I had to bring the old rodi set up out of retirement and re educate myself on using maintaining one. I have exceptionally low TDS water sub 60 tds so my 4 stage technically didn’t need new replacements but I thought for good measure I’d go ahead and replace. I used to have it set up under the kitchen sink but a few kids later and years of acquiring crap there’s no longer room. I’m gonna show you some ugly on this post but I just have to use the sink adapter until I get the fitting for splitting my washer machine hook up.

It was a dang mess lol.
IMG_0057.jpeg


Filling the tank was exciting and nerve racking. I elected to not leak test the main display or sump. My logic being I’ve set up about 50 aquariums in the last 12~ years and only had 1 leak. I really played the odds here lol. I also have limited time, many kids and travel for work so I didn’t put the time in to leak test my plumbing. Fortunately luck has been on my side, I only had to tighten the return bulkhead otherwise everything is water tight. Don’t do as I do on this, I beg you.
IMG_0068.jpeg


I enjoy the side profile views but not totally committed yet to at which depth I will set my rock work in regards to the raceway behind. I want it off the back glass and ample room to be able to scrape and clean algae. Loving the blue pipe and black fittings
IMG_0071.jpeg


I couldn’t quite plot out in my head about the ATO reservoir, the cabinet of a 40 breeder is incredibly cramped so I landed on a reef can from Red Sea. Pretty basic it gets the job done, I like the slim and tall profile and it allows me to stow it between the wall and stand. I’m currently evaporating about 4.5 gallons a week, I’d hope to go through less but having to refill once a week isn’t the worst.
IMG_0036.jpeg


So far the XP Aqua Duetto 2 Dual Sensor is working well for top off. It was a good price point and currently I would recommend. Sensor wise seems to be great, I will hold my judgement on the tiny pump til I get further down the road.
 
After running for about a week I had to make many flow adjustments. I’m grateful for all the many resources that suggested using a gate valve. For return I’m running a Sicce Syncra SDC6 and at this point I’m thinking it’s absolutely overkill for my system. I absolutely love the build of the pump, the app is seamless and easy to use. I had that bad boy cranked up to 50 percent and realized that the turn over was far too much.
My biggest gripe for this system was one I wasn’t expecting but i basically loathe the overflow box by Eshopps. Build quality is great, came with template and a bit. All that is fine but the internal weir side of the overflow has a major design flaw, it’s incredibly loud. Between my controllable pump and gate valve I can tune the system to basically have little to no noise on the exterior side of the over flow and in the splash box but internally the water has to drop so far that it sounds like a river.

Currently I have my pump cranked up only to 30 percent but now I’m contemplating on trying to have even less flow and turnover through the sump. I temporarily put coarse filter pad inside the interior which greatly reduced the noise but through the discretion of other R2R members decided that it would increase my risk flooding my living room. Now I’m wondering if that is actually a risk. Maybe if I regularly clean it and use very coarse pad could that work? Additionally none of the pad would be covering the hole that runs to the exterior, it’s just merely reducing the height the water has to drop.

This was me learning the ropes to a gate valve
IMG_0082.jpeg
 
Huge day for me, adding my first livestock. My fish list isn’t fully developed yet but it’s mostly going to be utilitarian but regardless I intend getting that ammonia cycle started with some hearty clowns. I utilized Brightwell Start XLM and MB7.
IMG_0040.jpeg


After a week I tested and ammonia and nitrite tested at 0 and nitrate was at 5ppm. I didn’t bother testing daily and fed the clowns very sparingly.

Always love getting boxes like this.
IMG_0114.jpeg


I purchased these clowns through WWC but if I’m correct it looks like they are just a middle man for live fish. Either way came packed beautifully and fish arrived very healthy. Maybe not the best bags, a more delicate fish could get pinched in these corners. Clowns are so hearty and personable.


IMG_0116.jpeg


Started to label my outlets. Also cable management is not my thing especially in a smaller system cabinet. I still envision creating a box out of maybe acrylic or hdpe that can slip over the 8 way outlet for further protect. My cabinet had child locks and it’s on a GFCI circuit.
IMG_0155.jpeg


Once i got testable nitrates I felt comfortable to make an order from TSA. I got a handful of hermits, live copepods, live phytoplankton and some cycled media. I feel that I stand better chance for success by these additions and I want to increase my overall biodiversity. I felt the order was very well packed and everything looked great but the package was rather cold. Coming from hot Florida to a cooler PNW is a tough one for managing packs.
IMG_0156.jpeg
IMG_0159.jpeg


IMG_0160.jpeg


appreciate the cycled media from TSA. Price was a little steep but the small portion I got seemed to pretty full of biological life. Bag also was a bit dirty or mulmy which I loved. I made sure to dump all of it into my tank to get more life into my system.
IMG_0161.jpeg
 
So after finishing my rock scape the next step was rather basic, fill the tank with water. I had to bring the old rodi set up out of retirement and re educate myself on using maintaining one. I have exceptionally low TDS water sub 60 tds so my 4 stage technically didn’t need new replacements but I thought for good measure I’d go ahead and replace. I used to have it set up under the kitchen sink but a few kids later and years of acquiring crap there’s no longer room. I’m gonna show you some ugly on this post but I just have to use the sink adapter until I get the fitting for splitting my washer machine hook up.

It was a dang mess lol.
IMG_0057.jpeg


Filling the tank was exciting and nerve racking. I elected to not leak test the main display or sump. My logic being I’ve set up about 50 aquariums in the last 12~ years and only had 1 leak. I really played the odds here lol. I also have limited time, many kids and travel for work so I didn’t put the time in to leak test my plumbing. Fortunately luck has been on my side, I only had to tighten the return bulkhead otherwise everything is water tight. Don’t do as I do on this, I beg you.
IMG_0068.jpeg


I enjoy the side profile views but not totally committed yet to at which depth I will set my rock work in regards to the raceway behind. I want it off the back glass and ample room to be able to scrape and clean algae. Loving the blue pipe and black fittings
IMG_0071.jpeg


I couldn’t quite plot out in my head about the ATO reservoir, the cabinet of a 40 breeder is incredibly cramped so I landed on a reef can from Red Sea. Pretty basic it gets the job done, I like the slim and tall profile and it allows me to stow it between the wall and stand. I’m currently evaporating about 4.5 gallons a week, I’d hope to go through less but having to refill once a week isn’t the worst.
IMG_0036.jpeg


So far the XP Aqua Duetto 2 Dual Sensor is working well for top off. It was a good price point and currently I would recommend. Sensor wise seems to be great, I will hold my judgement on the tiny pump til I get further down the road.
The rock work in the tank looks amazing!!!
 
Huge day for me, adding my first livestock. My fish list isn’t fully developed yet but it’s mostly going to be utilitarian but regardless I intend getting that ammonia cycle started with some hearty clowns. I utilized Brightwell Start XLM and MB7.
IMG_0040.jpeg


After a week I tested and ammonia and nitrite tested at 0 and nitrate was at 5ppm. I didn’t bother testing daily and fed the clowns very sparingly.

Always love getting boxes like this.
IMG_0114.jpeg


I purchased these clowns through WWC but if I’m correct it looks like they are just a middle man for live fish. Either way came packed beautifully and fish arrived very healthy. Maybe not the best bags, a more delicate fish could get pinched in these corners. Clowns are so hearty and personable.


IMG_0116.jpeg


Started to label my outlets. Also cable management is not my thing especially in a smaller system cabinet. I still envision creating a box out of maybe acrylic or hdpe that can slip over the 8 way outlet for further protect. My cabinet had child locks and it’s on a GFCI circuit.
IMG_0155.jpeg


Once i got testable nitrates I felt comfortable to make an order from TSA. I got a handful of hermits, live copepods, live phytoplankton and some cycled media. I feel that I stand better chance for success by these additions and I want to increase my overall biodiversity. I felt the order was very well packed and everything looked great but the package was rather cold. Coming from hot Florida to a cooler PNW is a tough one for managing packs.
IMG_0156.jpeg
IMG_0159.jpeg


IMG_0160.jpeg


appreciate the cycled media from TSA. Price was a little steep but the small portion I got seemed to pretty full of biological life. Bag also was a bit dirty or mulmy which I loved. I made sure to dump all of it into my tank to get more life into my system.
IMG_0161.jpeg
Adding the first fish is always so exciting!!!

What are their names? :beaming-face-with-smiling-eyes:
 
The rock work in the tank looks amazing!!!
I had fun doing it, it’s not exactly perfect to my eye but I learned a ton. I like that it’s two separate islands so I can remove if need be.
Adding the first fish is always so exciting!!!

What are their names? :beaming-face-with-smiling-eyes:
My kids quickly overwhelmed me with name ideas lol, I’m gonna wait to see who becomes the female I think. Im not typically into naming fish but I want my children to be excited and engaged.

My wife was like why purple rock? I tried explaining how it will hide unsightly uglies early but I’m not sure if it fully made sense.

Thank you for engaging this build thread. I will have better photos and updates soon as I have mad more progress but need to do a few things first.
 
My wife was like why purple rock? I tried explaining how it will hide unsightly uglies early but I’m not sure if it fully made sense.

Lol You definitely wanna start with purple rock! I started one of my tanks with dry stock the was white…..they looked ugly for a long time.
 
My kids quickly overwhelmed me with name ideas lol, I’m gonna wait to see who becomes the female I think. Im not typically into naming fish but I want my children to be excited and engaged.
That’s smart….so you know exactly which ones the boy and the girl…I remember many years ago, I found two turtles. I named one Cynthia, and the other Tony. When some “turtle expert” saw them, she was able to identify which was the boy and which was the girl, And Tony ended up being the girl, Cynthia the boy…then I immediately switched their names.
 
Huge day for me, adding my first livestock. My fish list isn’t fully developed yet but it’s mostly going to be utilitarian but regardless I intend getting that ammonia cycle started with some hearty clowns. I utilized Brightwell Start XLM and MB7.
IMG_0040.jpeg


After a week I tested and ammonia and nitrite tested at 0 and nitrate was at 5ppm. I didn’t bother testing daily and fed the clowns very sparingly.

Always love getting boxes like this.
IMG_0114.jpeg


I purchased these clowns through WWC but if I’m correct it looks like they are just a middle man for live fish. Either way came packed beautifully and fish arrived very healthy. Maybe not the best bags, a more delicate fish could get pinched in these corners. Clowns are so hearty and personable.


IMG_0116.jpeg


Started to label my outlets. Also cable management is not my thing especially in a smaller system cabinet. I still envision creating a box out of maybe acrylic or hdpe that can slip over the 8 way outlet for further protect. My cabinet had child locks and it’s on a GFCI circuit.
IMG_0155.jpeg


Once i got testable nitrates I felt comfortable to make an order from TSA. I got a handful of hermits, live copepods, live phytoplankton and some cycled media. I feel that I stand better chance for success by these additions and I want to increase my overall biodiversity. I felt the order was very well packed and everything looked great but the package was rather cold. Coming from hot Florida to a cooler PNW is a tough one for managing packs.
IMG_0156.jpeg
IMG_0159.jpeg


IMG_0160.jpeg


appreciate the cycled media from TSA. Price was a little steep but the small portion I got seemed to pretty full of biological life. Bag also was a bit dirty or mulmy which I loved. I made sure to dump all of it into my tank to get more life into my system.
IMG_0161.jpeg
Nice looking clowns! I forgot that WWC carried fish!
 
Great write up. I've been kicking around the idea of upgrading from my Nuvo 25 to a breeder. Good to see that if I don't have a lot of DIY skills (or gumption to learn), then I'd be better off just buying a ready-made tank.
 
Great write up. I've been kicking around the idea of upgrading from my Nuvo 25 to a breeder. Good to see that if I don't have a lot of DIY skills (or gumption to learn), then I'd be better off just buying a ready-made tank.
I think there’s a few different schools of thought on this. What I have learned in the process is of tremendous value. Long term I want a large in wall system with Frankenstein fish room supporting it in a room behind the display. Current restraint is I don’t have that space in my home.
@jdpeters any updates? :beaming-face-with-smiling-eyes:
Thanks for asking. I have several updates but with little to no response to the initial post I lost motivation. I will try working on it. Short summary though is I’m letting the tank simmer and lights have been on a low intensity and duration for over a month now. Stay tuned!
 
Looking forward to your progress! I really should start a build thread for our 40g, but haven't yet . Probably after the 2nd batch of tbs rock arrives
Keep up the updates
 
Looking forward to your progress! I really should start a build thread for our 40g, but haven't yet . Probably after the 2nd batch of tbs rock arrives
Keep up the updates
I will have more updates coming.

We were gone a week in Hawai’i and when I came back I believe my tank went through diatoms while I was gone and went away before I was back lol. There was quite a bit of brown residue all trapped in the sump.
 

TOP 10 Trending Threads

Back
Top
Home
Post thread…
Market
What's new







