- Joined
- Nov 23, 2008
- Messages
- 1,266
- Reaction score
- 1,642
Since some of you guys ask for a LED thread here in R2R and I had my parts coming to me. I decide to make a DIY LED thread
Parts
8 Cree XR-E Royal Blue LED from Cree LEDs - Led Driver - Led Fixtures - Led Optics - Luxeon LEDs - LED Supply.com
2 3023-D-N-700 Wired Buckpuck from Cree LEDs - Led Driver - Led Fixtures - Led Optics - Luxeon LEDs - LED Supply.com
1 Aluminum Flat bar 2"x 1/8 x 4'
1 Plastic Project box 2" x 3" x 1" Radio Shack
2 Rolls of solid wire #22 gauge Red/Black
2 per each led 4-40 SS screw withe tap and drill bit
1 Arctic silver thermal compound
1 Power supply (will depend of the quantity of leds)
Tools
Drill
Measuring tape
Sharpie marker
Wire stripper
Screw driver

This is what you will get when you order

Im using an aluminum flat bar cause Im limited of space and a heatsink wont fit
The flat bar will do the same work as a heatsink .It will spread the heat emittedd by the LED all away across


First I spaced all my LEDs to 5" one an other and mark them to the flat bar with a sharpie

Then I started to drill and tap each hole,Once done i started to mount the LEDs to see how they look


After that is done I start to put a drop of the artic silver to assure that every LED transfers it heat to the aluminum bar and start tighting down all my LEDs be very carfull not to over tighten them they could break
Also make sure that the head of the screw is not touching the negative or positive soldering point


At this point I have all the LEDs mounted its time to wire them up this is a drawing i made so you could understand how the wireing goes from one LED to the other and the buckpuck
Each buckpuck holds up to 6 LEDs


As I didnt want my cable to see what I did is drill some holes near by were I was going to attach the wires
Then they will all be tied with black tie raps
I like to have my wiring colored cause then I will know wich is Positive (RED) and wich is Negative (BLACK) going to my Buckpuck

After all that is done Its time to attach my plastic project box
I did 2 more holes and tap them and put 2 screw to hold the box in place


Then I run all my wire thru a piece of heat shrink and in the box
with the 2 buckpucks
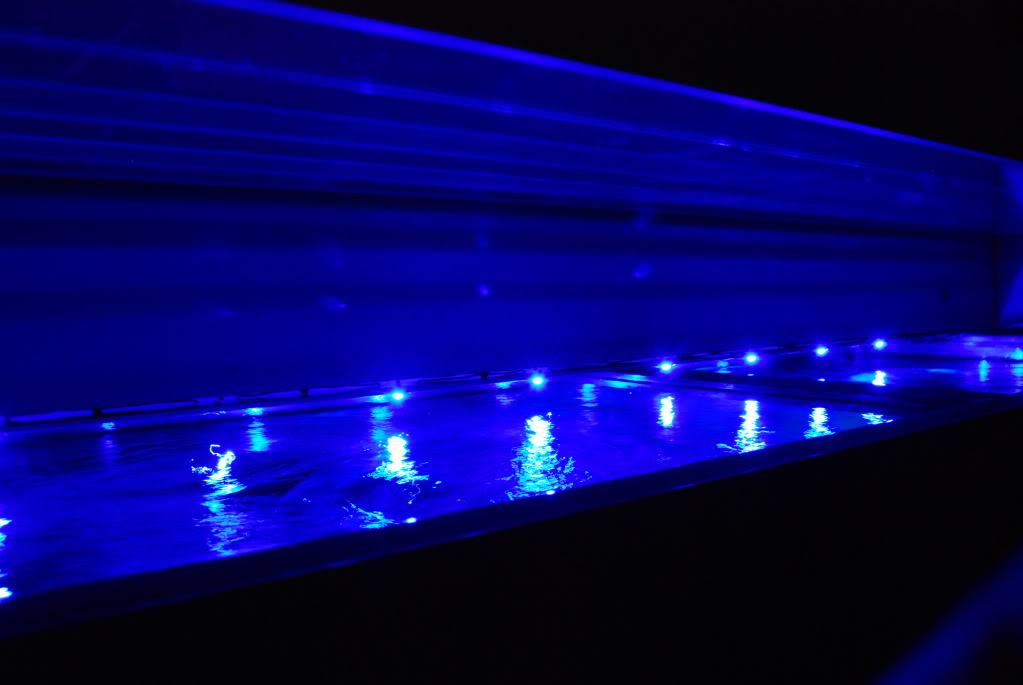
After all is done its just a matter to hook up the power supply
wich Iv done already but only temporary
Parts
8 Cree XR-E Royal Blue LED from Cree LEDs - Led Driver - Led Fixtures - Led Optics - Luxeon LEDs - LED Supply.com
2 3023-D-N-700 Wired Buckpuck from Cree LEDs - Led Driver - Led Fixtures - Led Optics - Luxeon LEDs - LED Supply.com
1 Aluminum Flat bar 2"x 1/8 x 4'
1 Plastic Project box 2" x 3" x 1" Radio Shack
2 Rolls of solid wire #22 gauge Red/Black
2 per each led 4-40 SS screw withe tap and drill bit
1 Arctic silver thermal compound
1 Power supply (will depend of the quantity of leds)
Tools
Drill
Measuring tape
Sharpie marker
Wire stripper
Screw driver
This is what you will get when you order
Im using an aluminum flat bar cause Im limited of space and a heatsink wont fit
The flat bar will do the same work as a heatsink .It will spread the heat emittedd by the LED all away across
First I spaced all my LEDs to 5" one an other and mark them to the flat bar with a sharpie
Then I started to drill and tap each hole,Once done i started to mount the LEDs to see how they look
After that is done I start to put a drop of the artic silver to assure that every LED transfers it heat to the aluminum bar and start tighting down all my LEDs be very carfull not to over tighten them they could break
Also make sure that the head of the screw is not touching the negative or positive soldering point
At this point I have all the LEDs mounted its time to wire them up this is a drawing i made so you could understand how the wireing goes from one LED to the other and the buckpuck
Each buckpuck holds up to 6 LEDs
As I didnt want my cable to see what I did is drill some holes near by were I was going to attach the wires
Then they will all be tied with black tie raps
I like to have my wiring colored cause then I will know wich is Positive (RED) and wich is Negative (BLACK) going to my Buckpuck
After all that is done Its time to attach my plastic project box
I did 2 more holes and tap them and put 2 screw to hold the box in place
Then I run all my wire thru a piece of heat shrink and in the box
with the 2 buckpucks
After all is done its just a matter to hook up the power supply
wich Iv done already but only temporary