Hello folks!
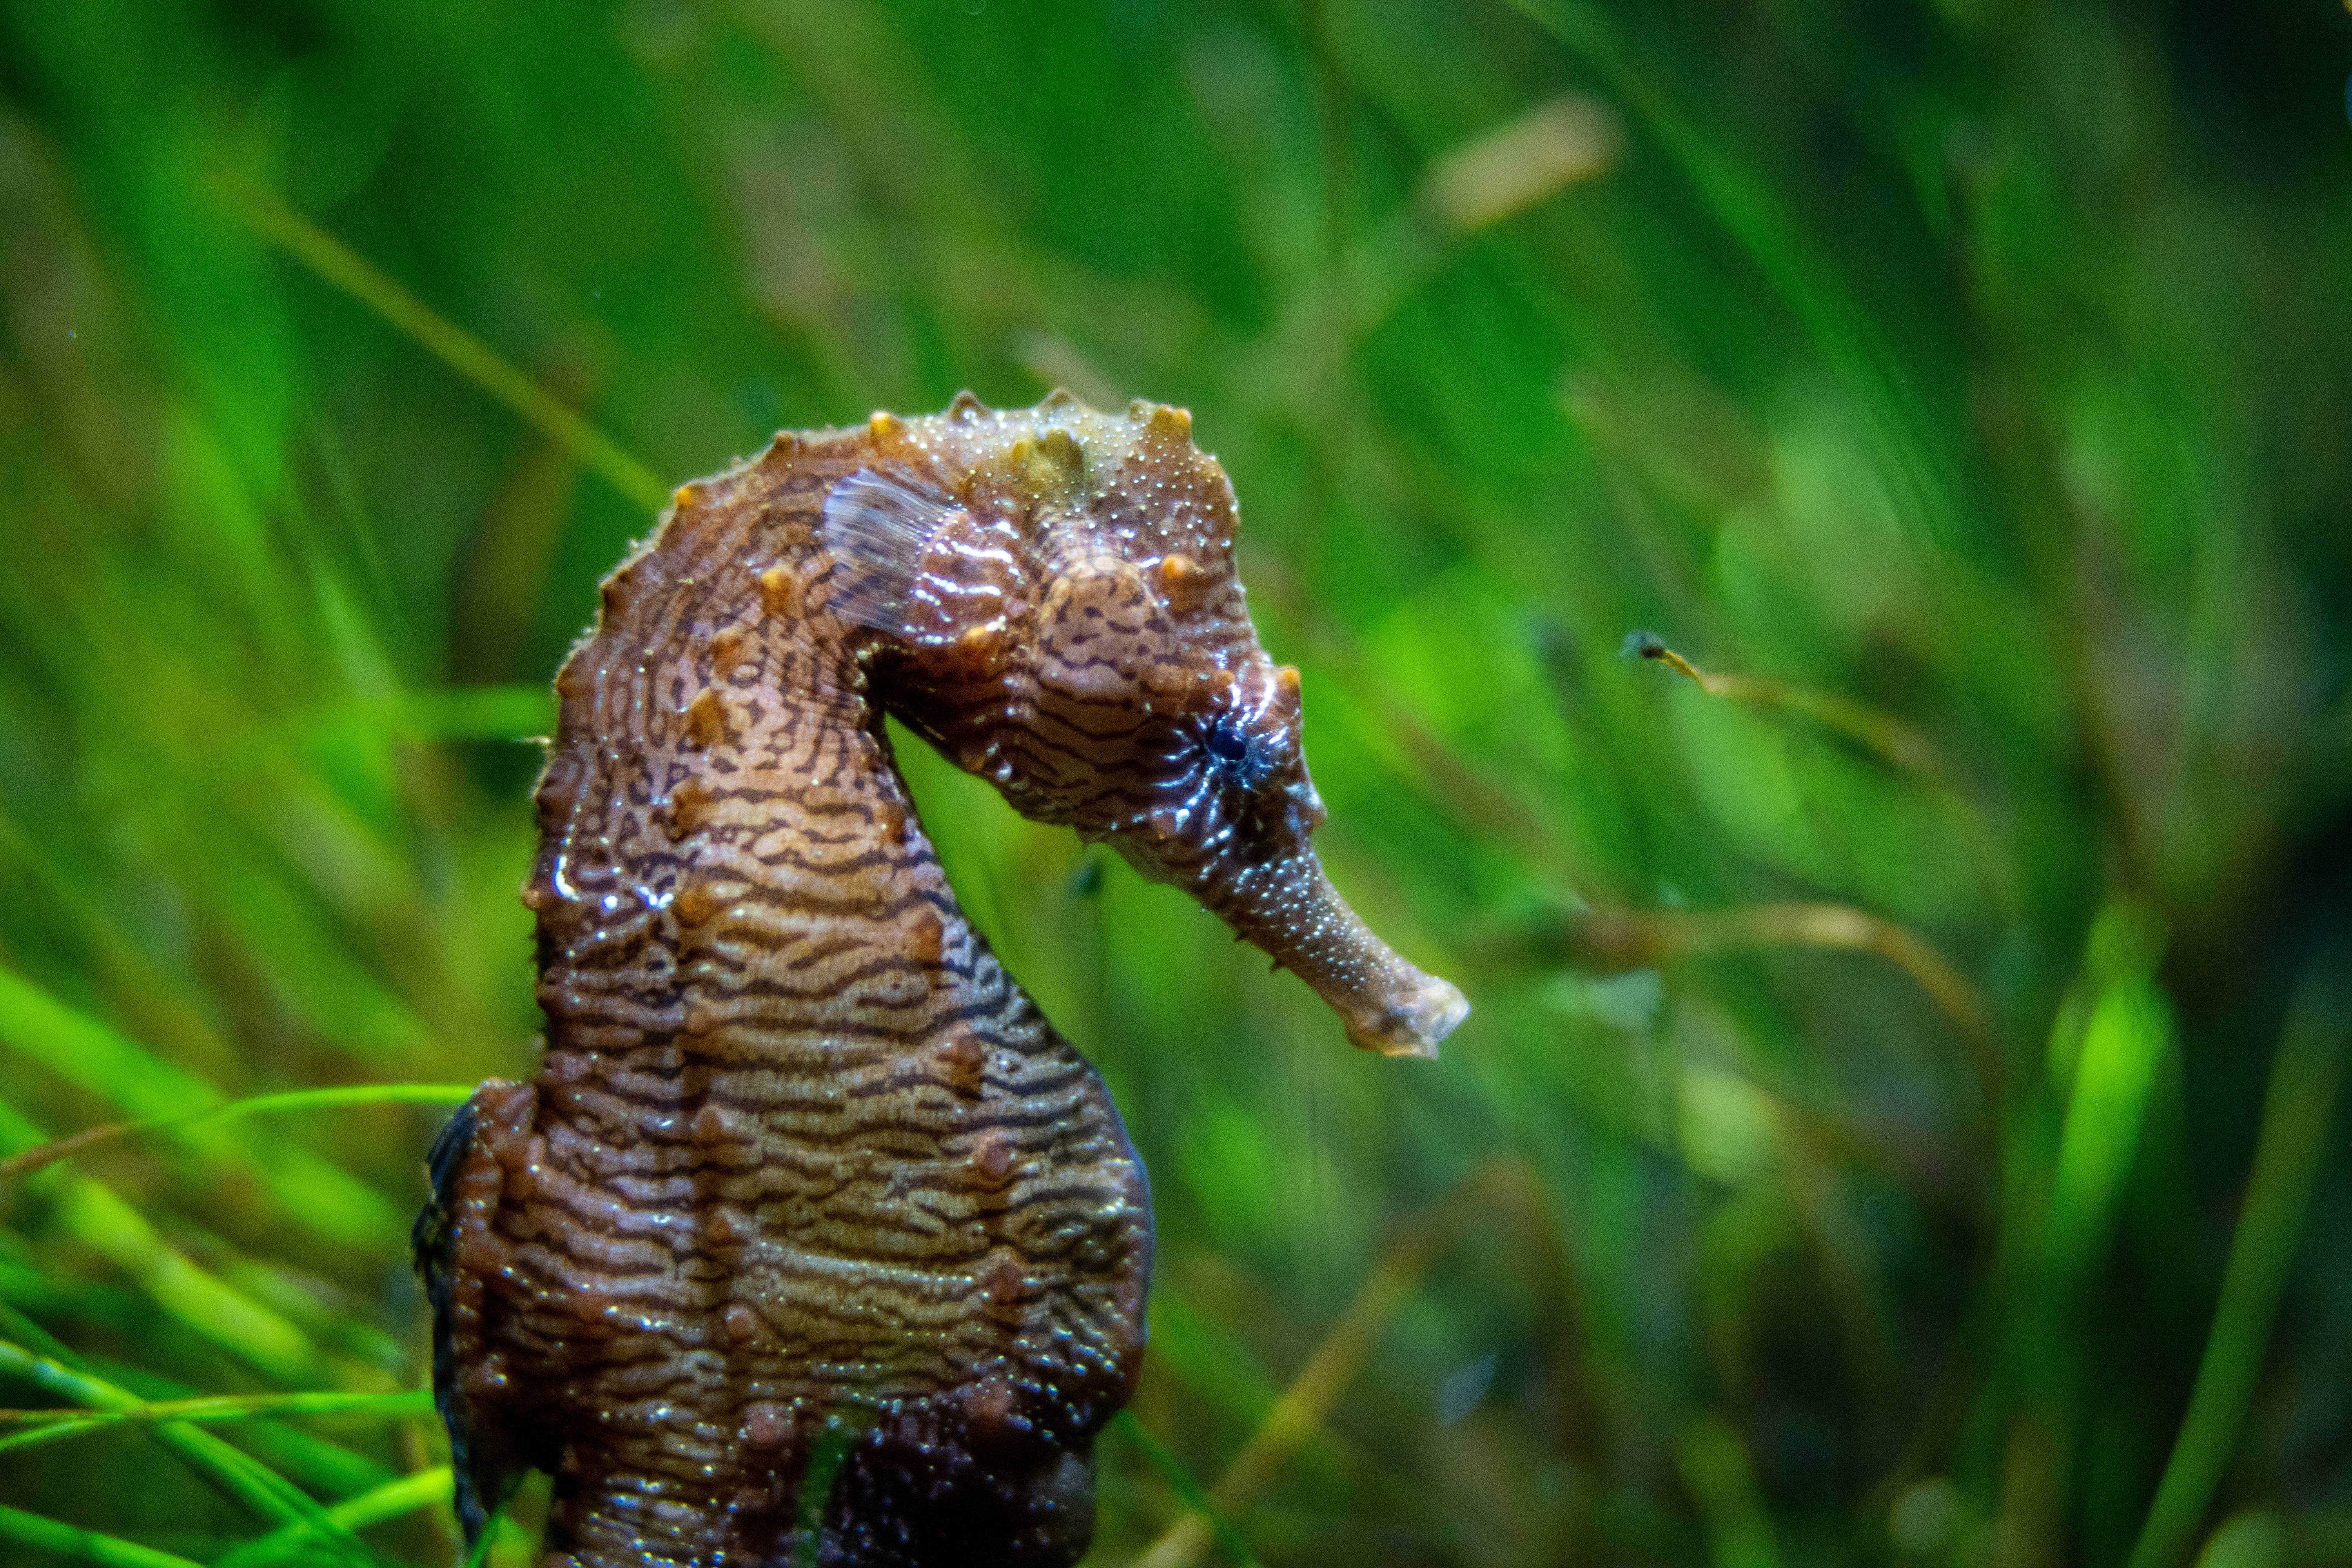
This is going to be a bit different from most of the saltwater tanks on here and elsewhere because when I say it's a planted tank, I do not mean macro algae. This will be a true planted tank with Manatee Grass (Syringodium filiforme), Shoal Grass (Halodule wrightii), and Red Mangroves (Rhizophora mangle). The livestock will be a pair of seahorses (Hippocampus erectus) plus a pretty extensive clean up crew.
I have been waiting on doing this thread until I got my tank situation resolved. Originally I planned to literally make the tank myself. And in fact I did just that. The results however are horrific ;P I thought I could do a good job with the silicone but... not so much. So yesterday I ordered the tank from Glass Cages. The tank will be rimless and 24"x18"x24"H with black silicone. I went with Glass Cages mostly because of all the positive recent reviews with their changes in quality control and customer service. So with the tank situation sorted it was time to start this build journal.
As a bit about me, I have decades of experience with freshwater tanks but zero experience with saltwater. So this whole thing will be an adventure for me. I have always admired saltwater tanks but the idea of actually taking care of the corals has not (and still does not) appeal to me. Freshwater planted tanks on the other hand have been a passion of mine for the last few years.
So when I was at the Baltimore Aquarium last year and saw an exhibit consisting of seahorses with live seagrass, I was completely entranced. I took a few pictures, but you can't really see the seagrass other then a field of green in the background:
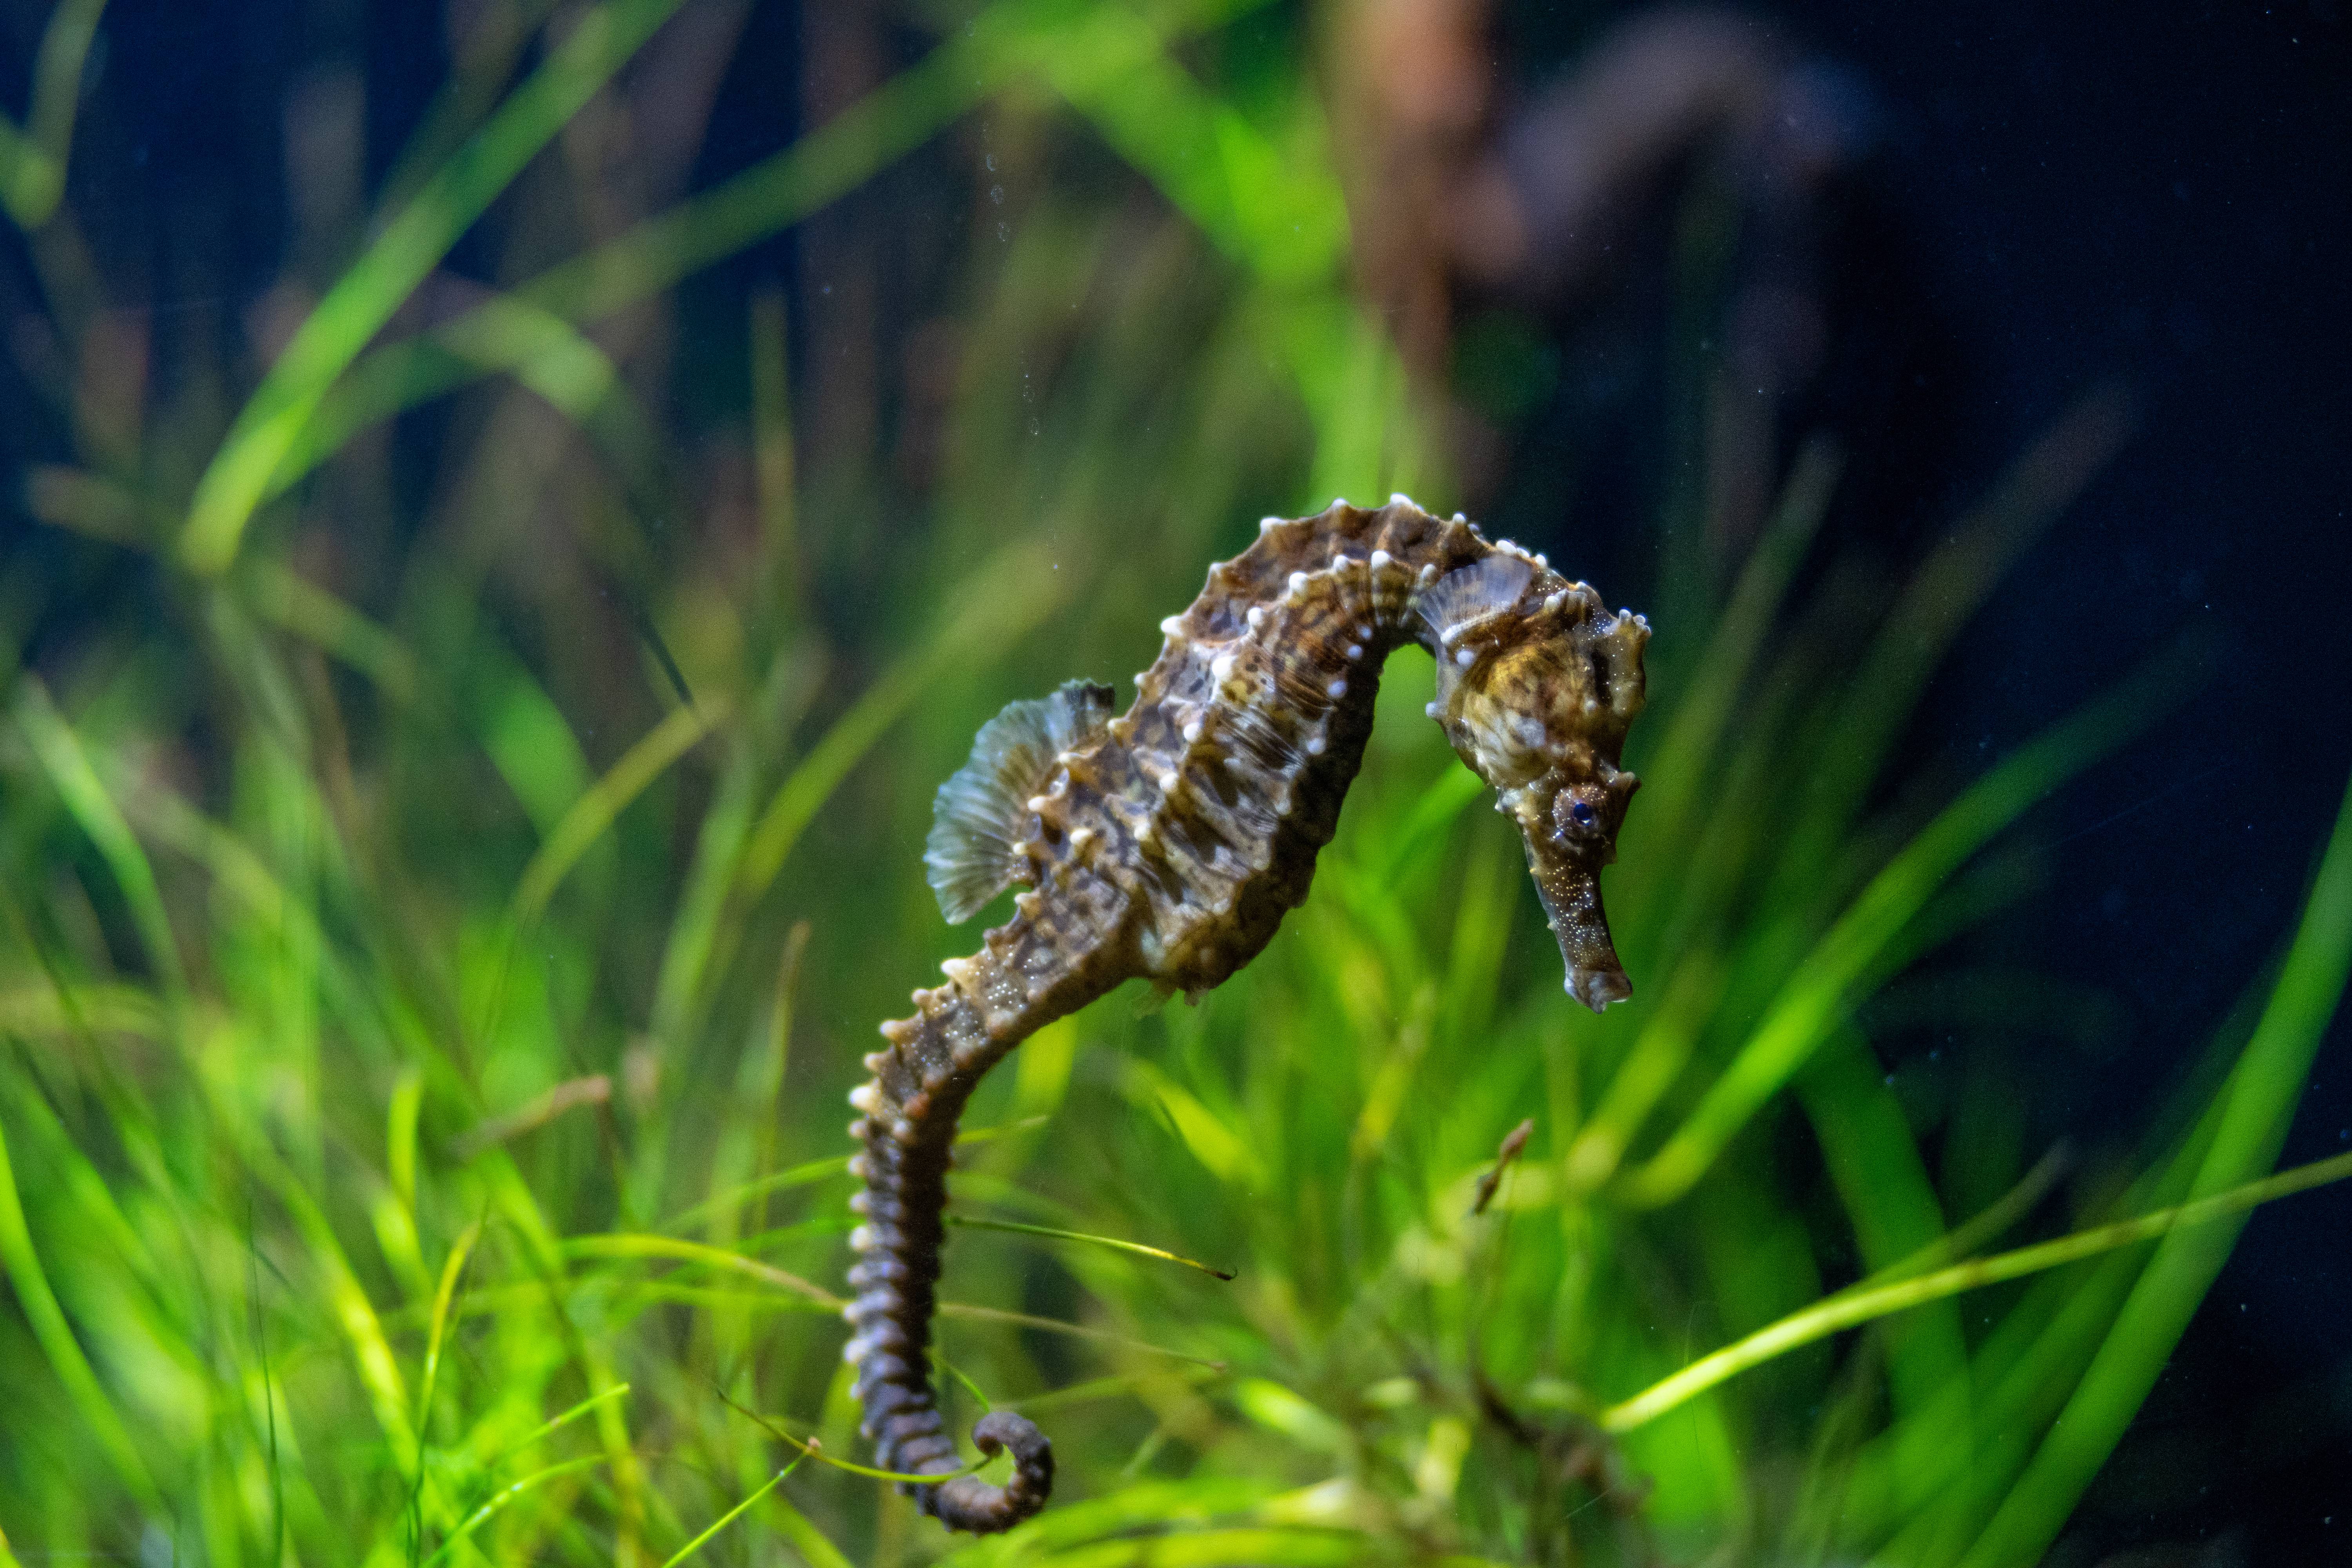
The exhibit really stuck in my mind, and after some research, I decided I wanted to replicate the idea, but make it even better.
First thing to consider was placement. I wanted the tank to go into my office next to my Freshwater High Tech Newt Tank. This is why the Seahorse tank has the 24x18x24 dimensions. I wanted it to match the footprint of the Newt Tank but with more vertical space for the Seahorses (since they are apparently one of those weird fish that actually prefer vertical space over horizontal). The Newt Tank is sitting on a 40 gallon petco metal stand that I heavily modified. In order for the Seahorse tank to match I needed to replicate the stand.
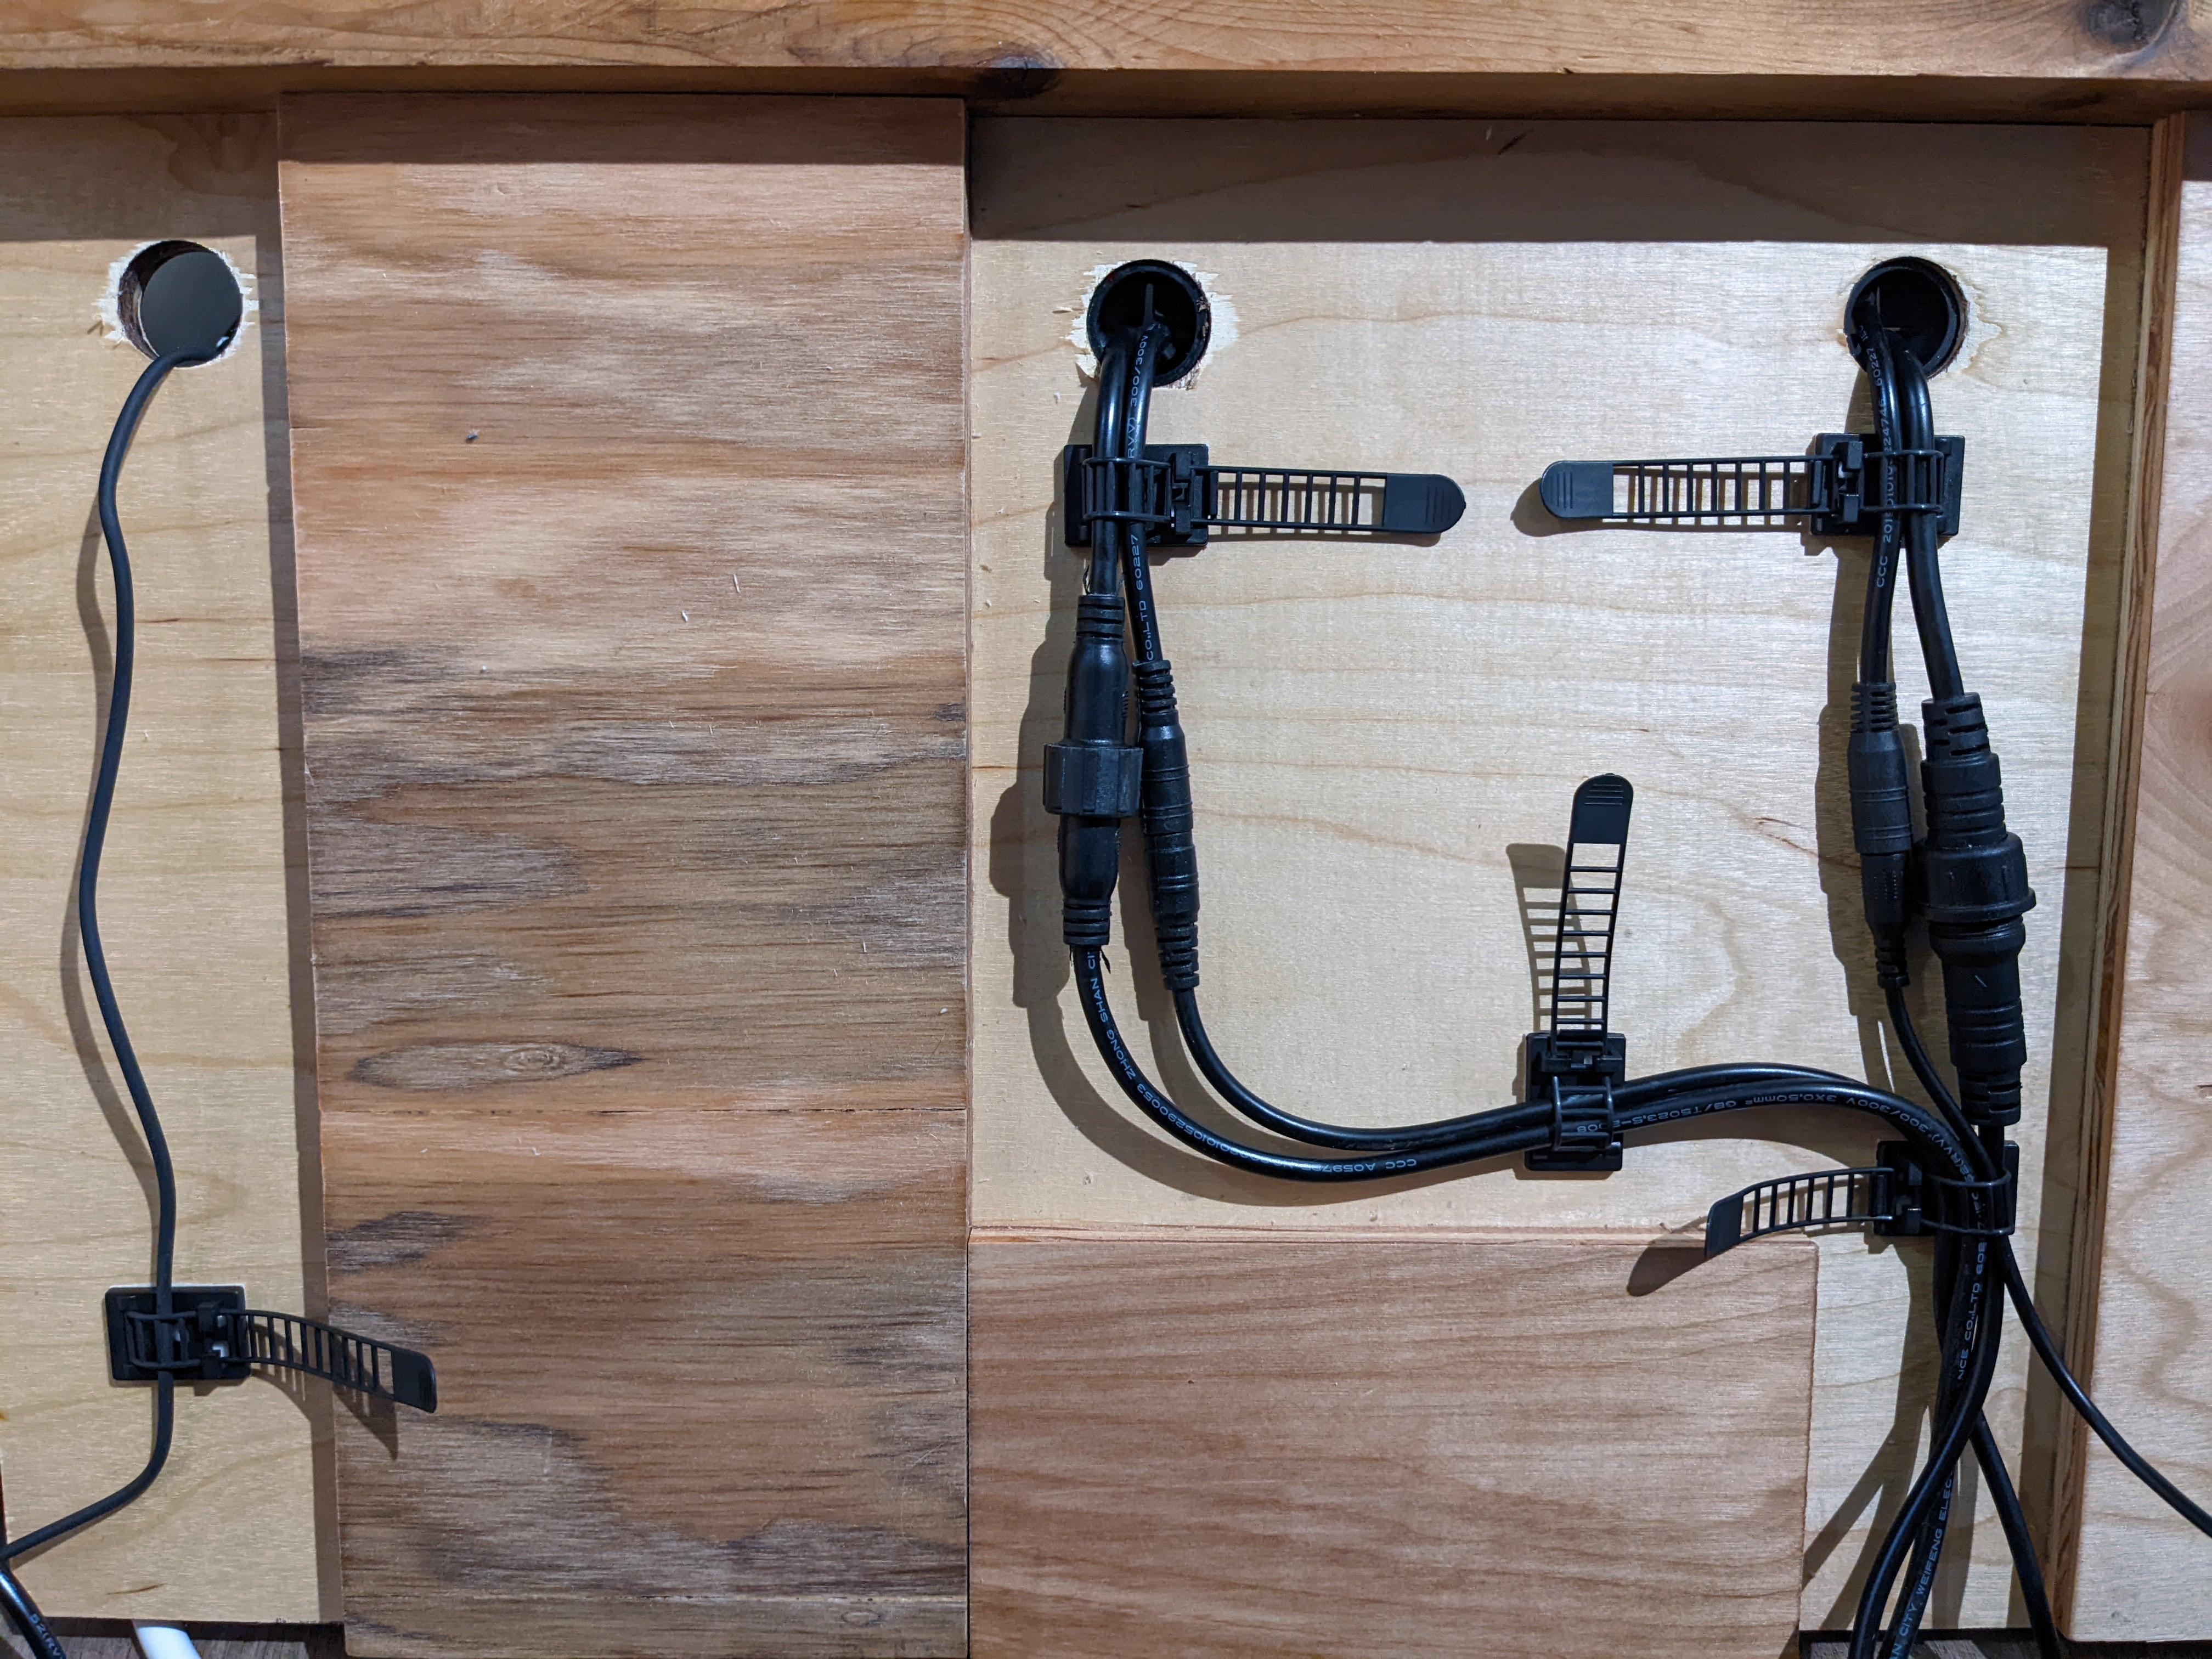
After purchasing the stand and assembly, I drilled and tapped holes in the bottom of the stand and used grade 8 bolts and steel brackets to attach steel C channel to run the width of the stand. This will be the support for a shelf that will hold the sump. I also attached plywood to the sides for both aesthetic and subsequent plumbing attachment purposes. The door I made is held on with magnets so its pretty easy to remove.
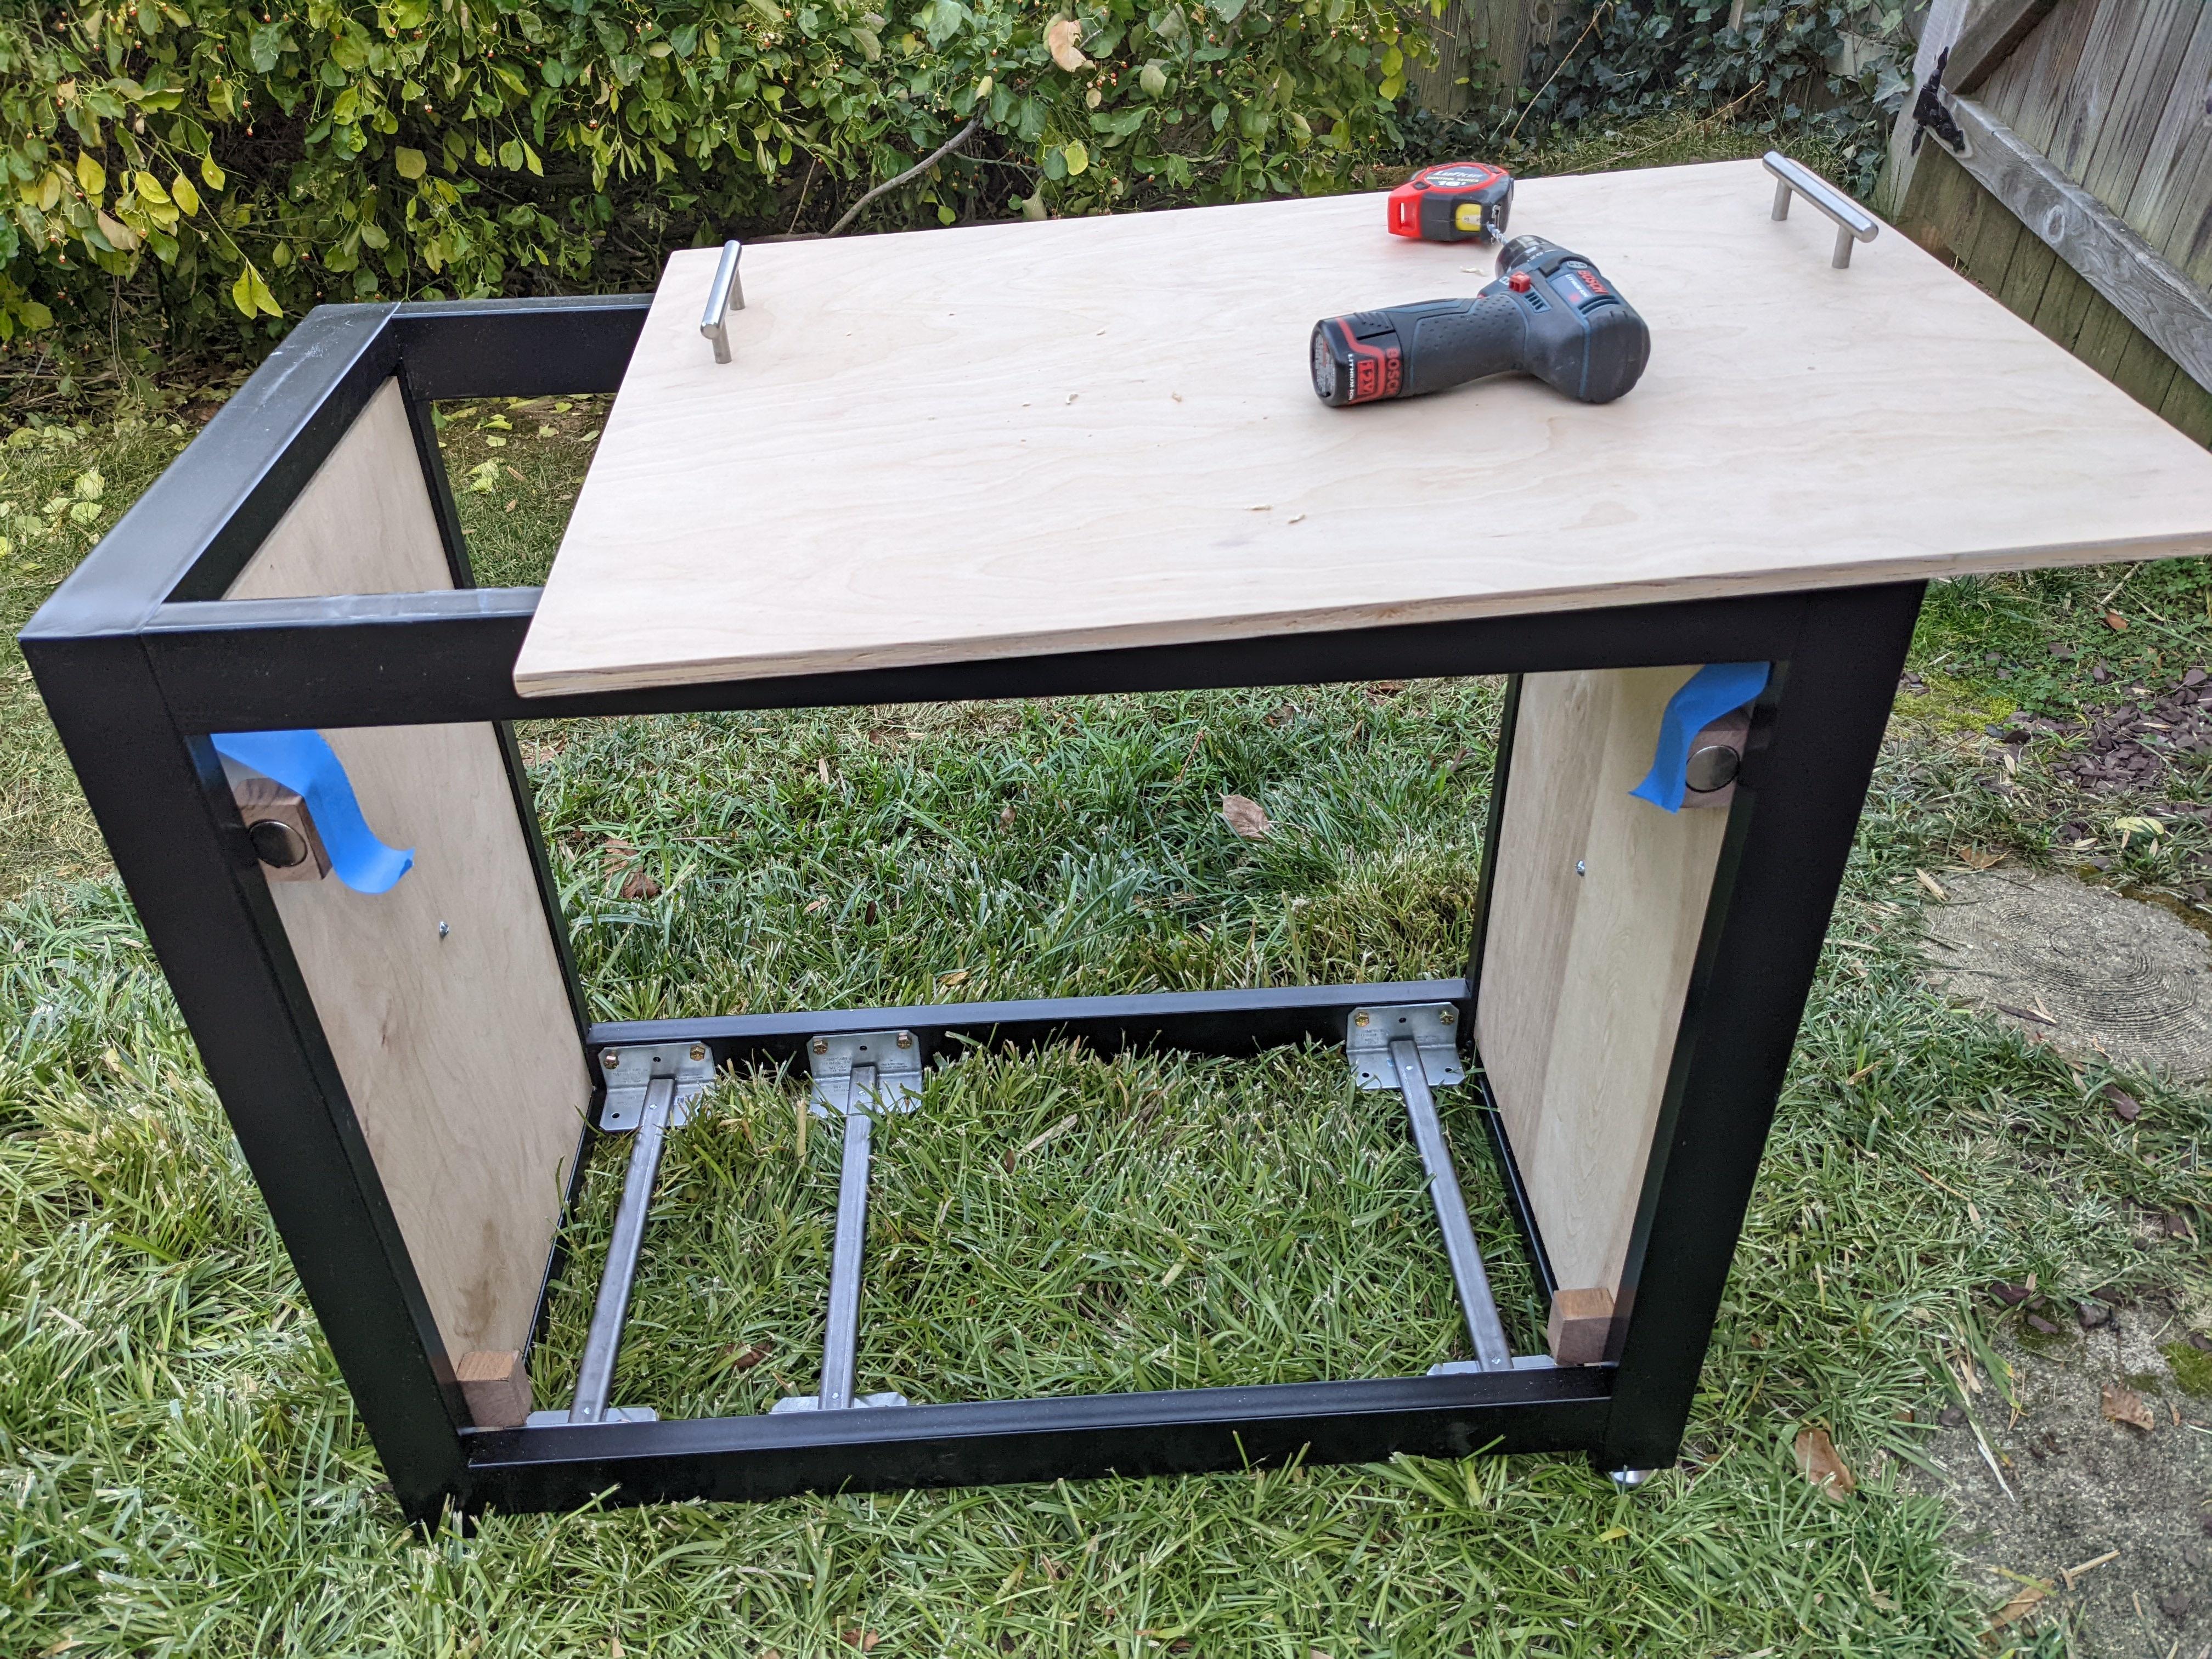
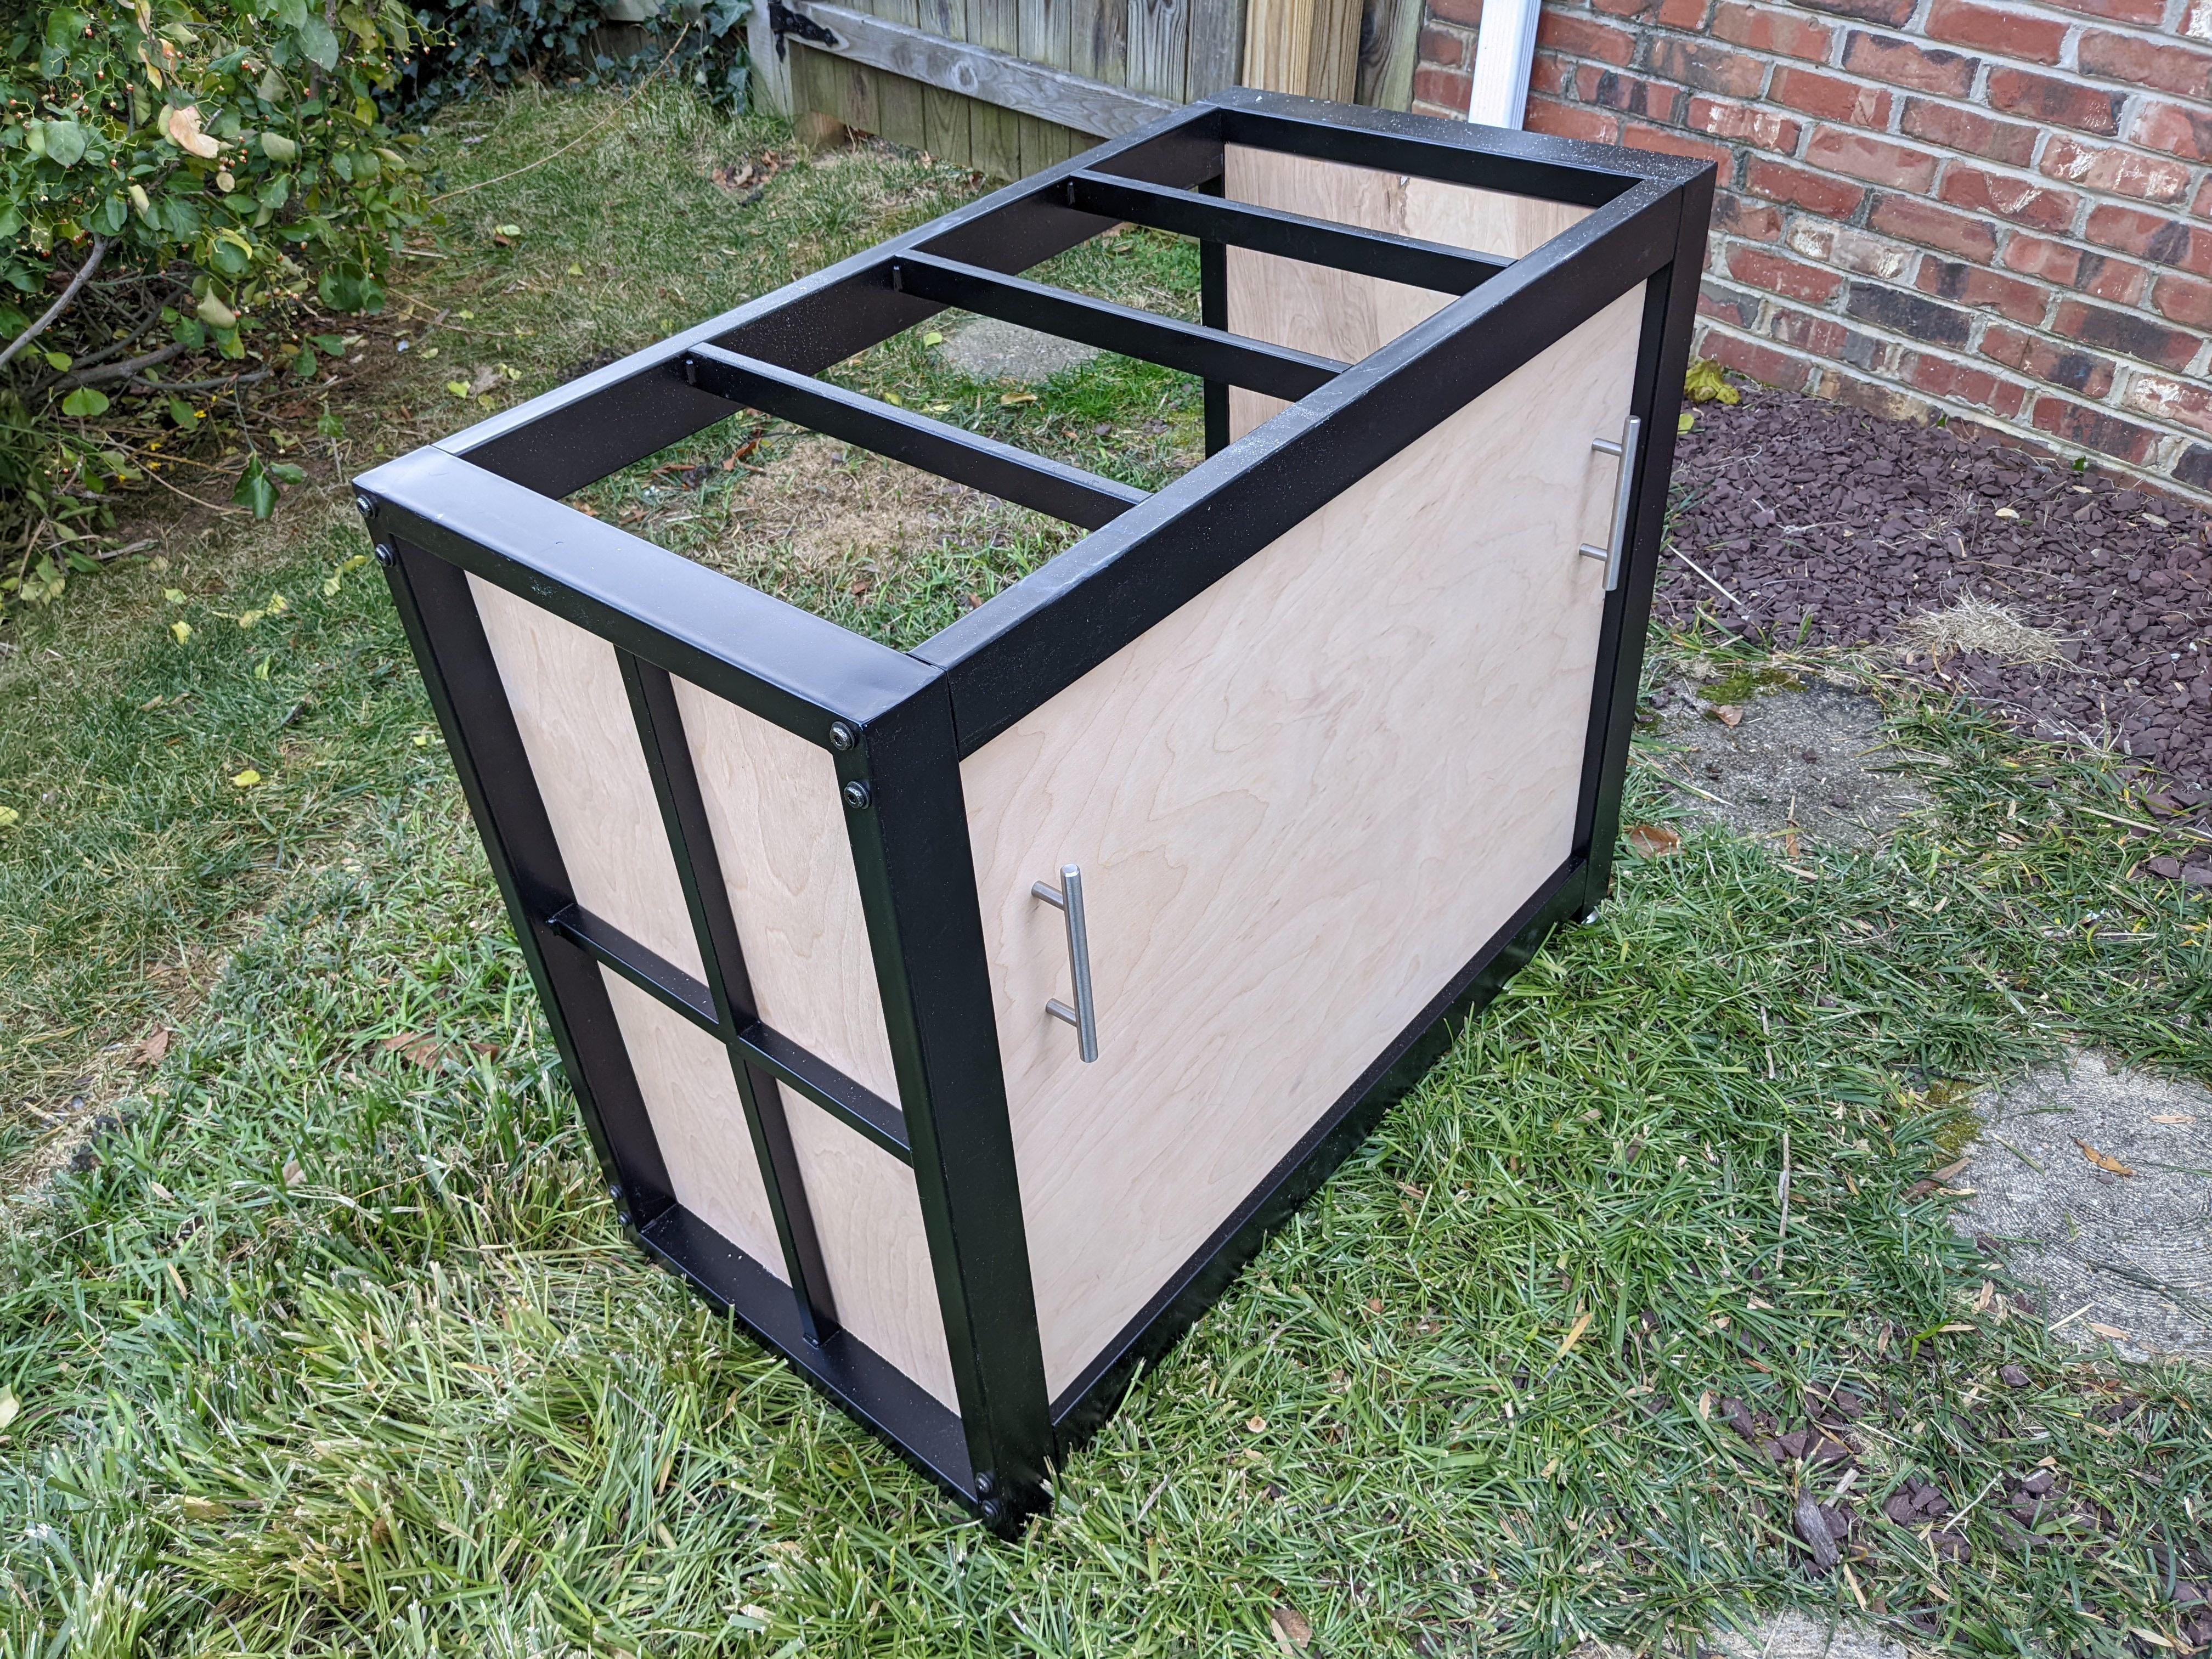
The stand is designed for a rimmed 40 breeder to sit directly on top. But the Seahorse tank, like the Newt Tank, is a rimless tank and has a smaller footprint. So I needed to make a top for it.
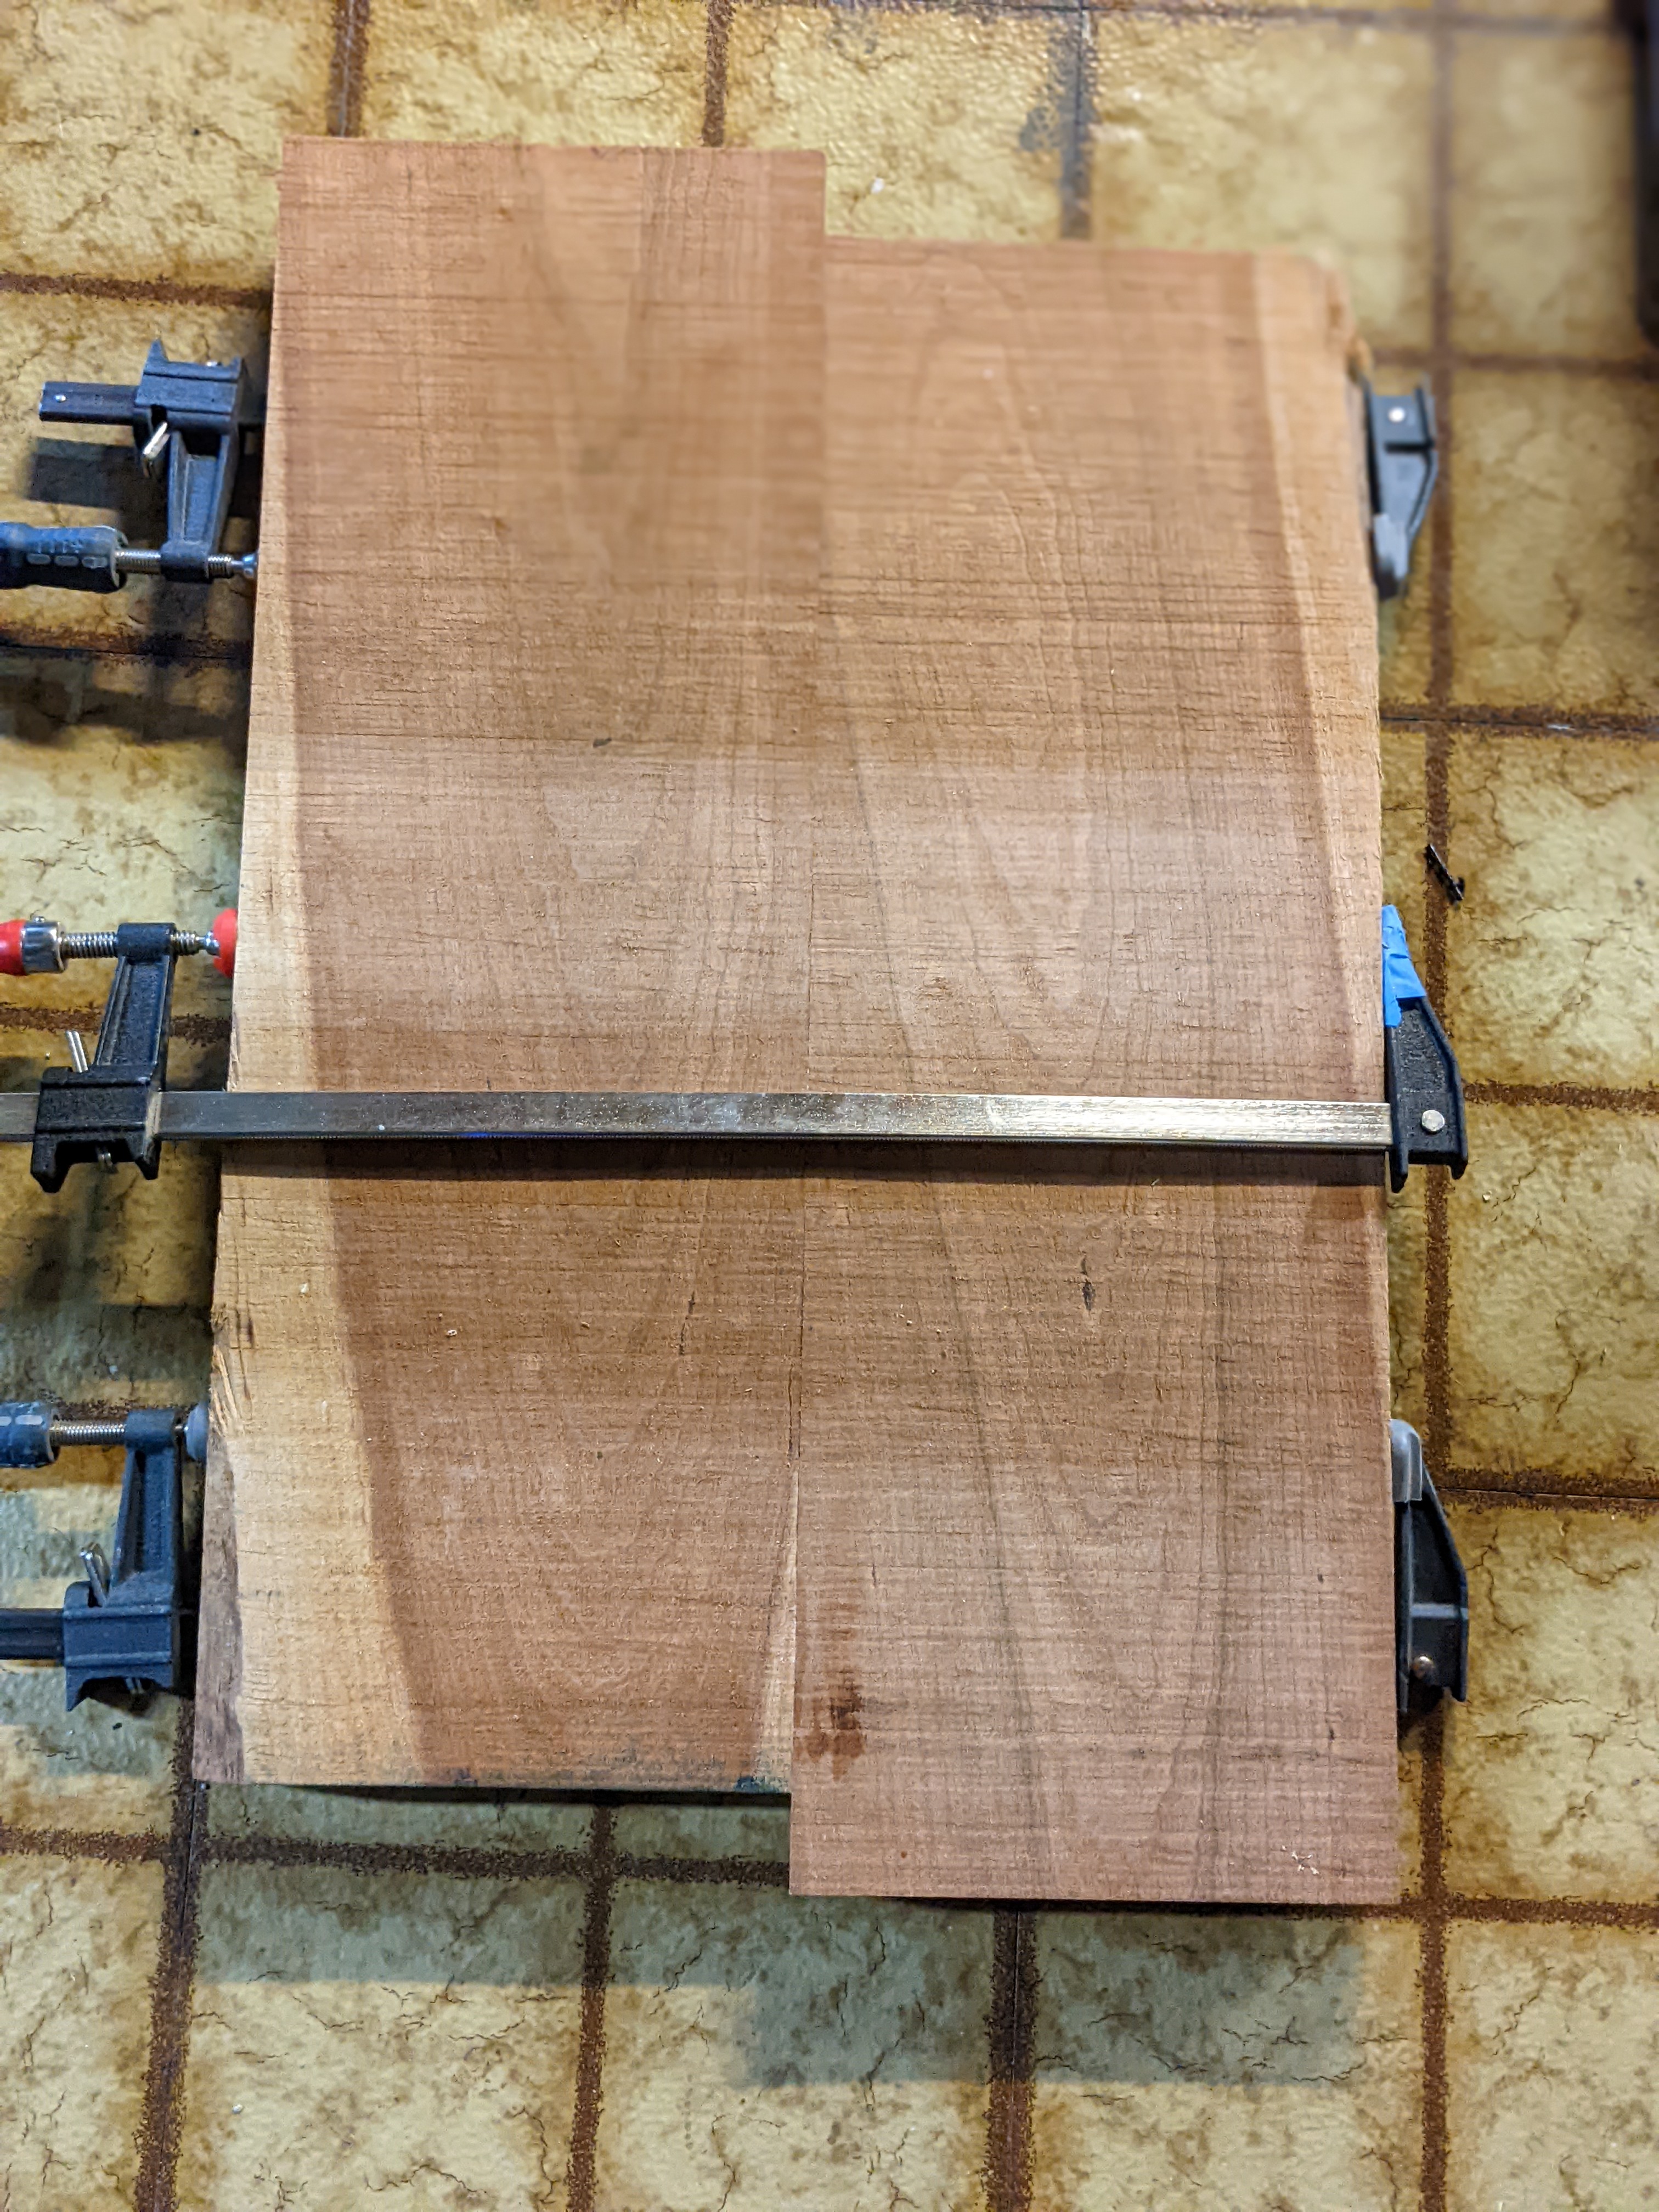
For the Newt Tank I made a poured concrete top, and that's what I did for the Seahorse tank as well. First thing to do was make the form out of 3/4 melamine.

Then I mixed up a batch of Rapidset Mortar Mix, added some color, and poured it.
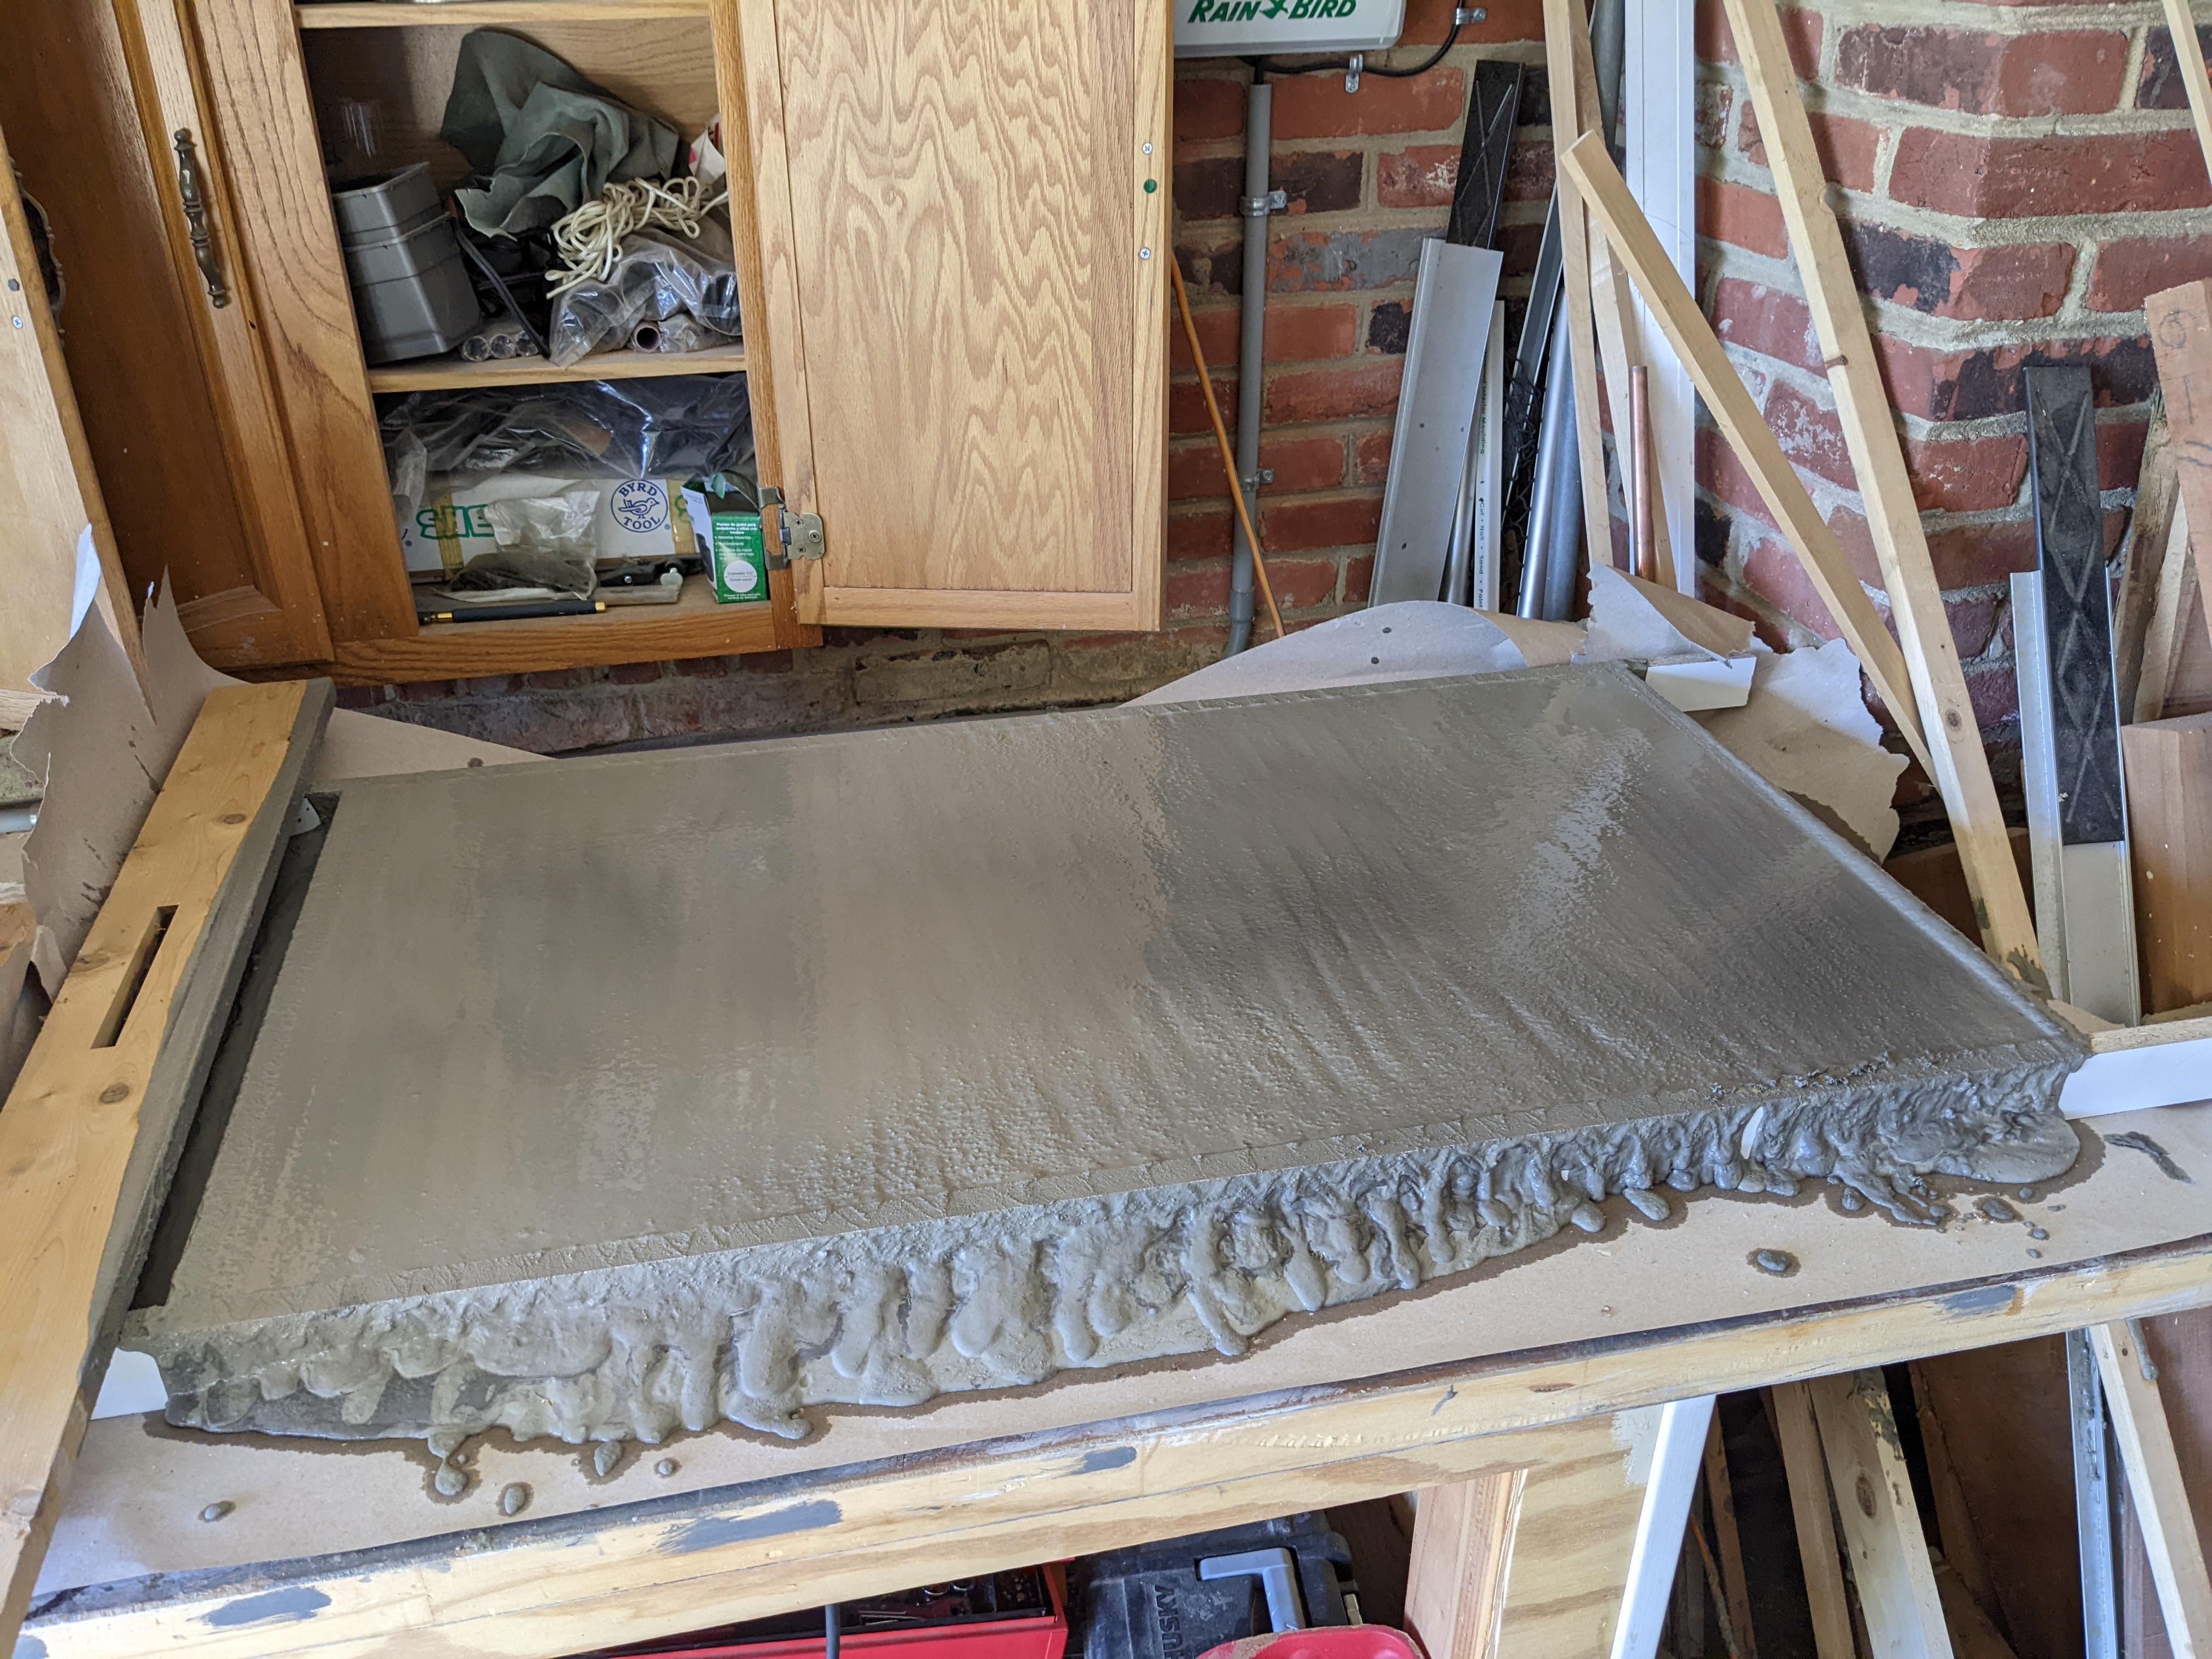
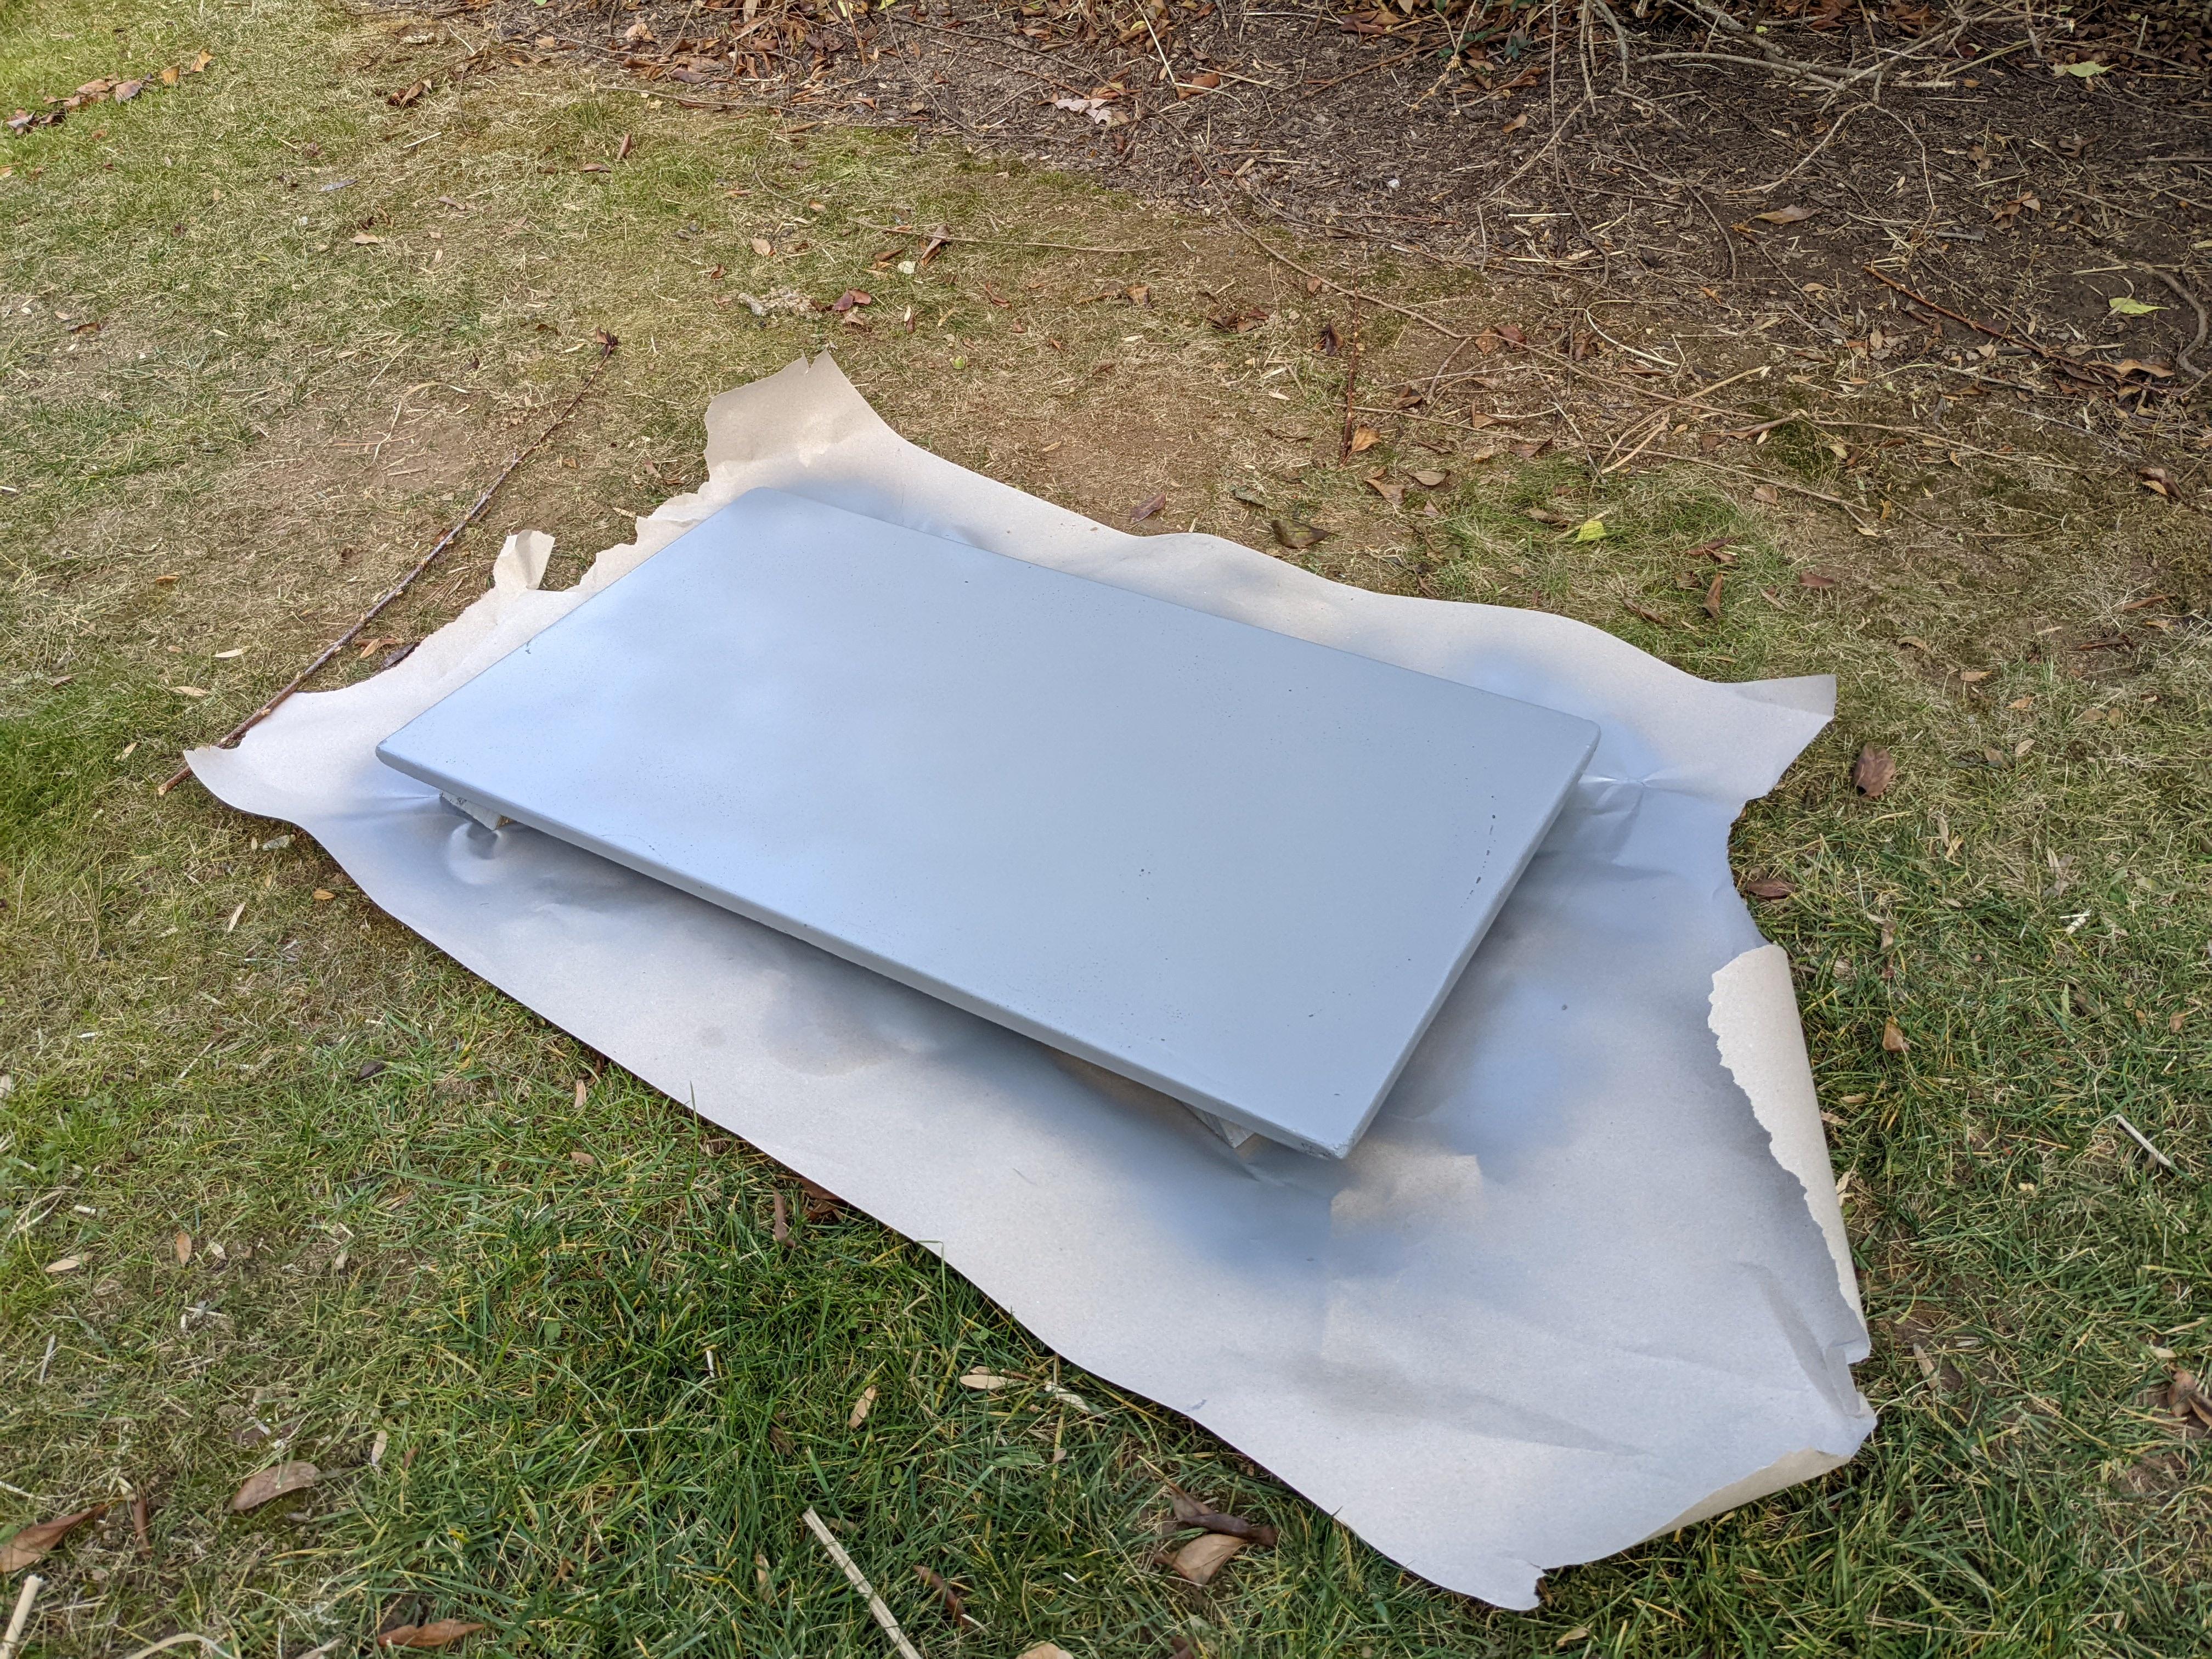
Somewhere along the way my maths were all messed up. I thought 3/4 of a bag of mortar would be enough for the whole thing but it was a bit short. So I needed to very quickly mix up another partial bag and pour that as well (the stuff sets up in like 20 minutes). In my rush I did not mix in enough coloring agent so the result was a very ugly top ;P I decided to fix the issue by painting it.
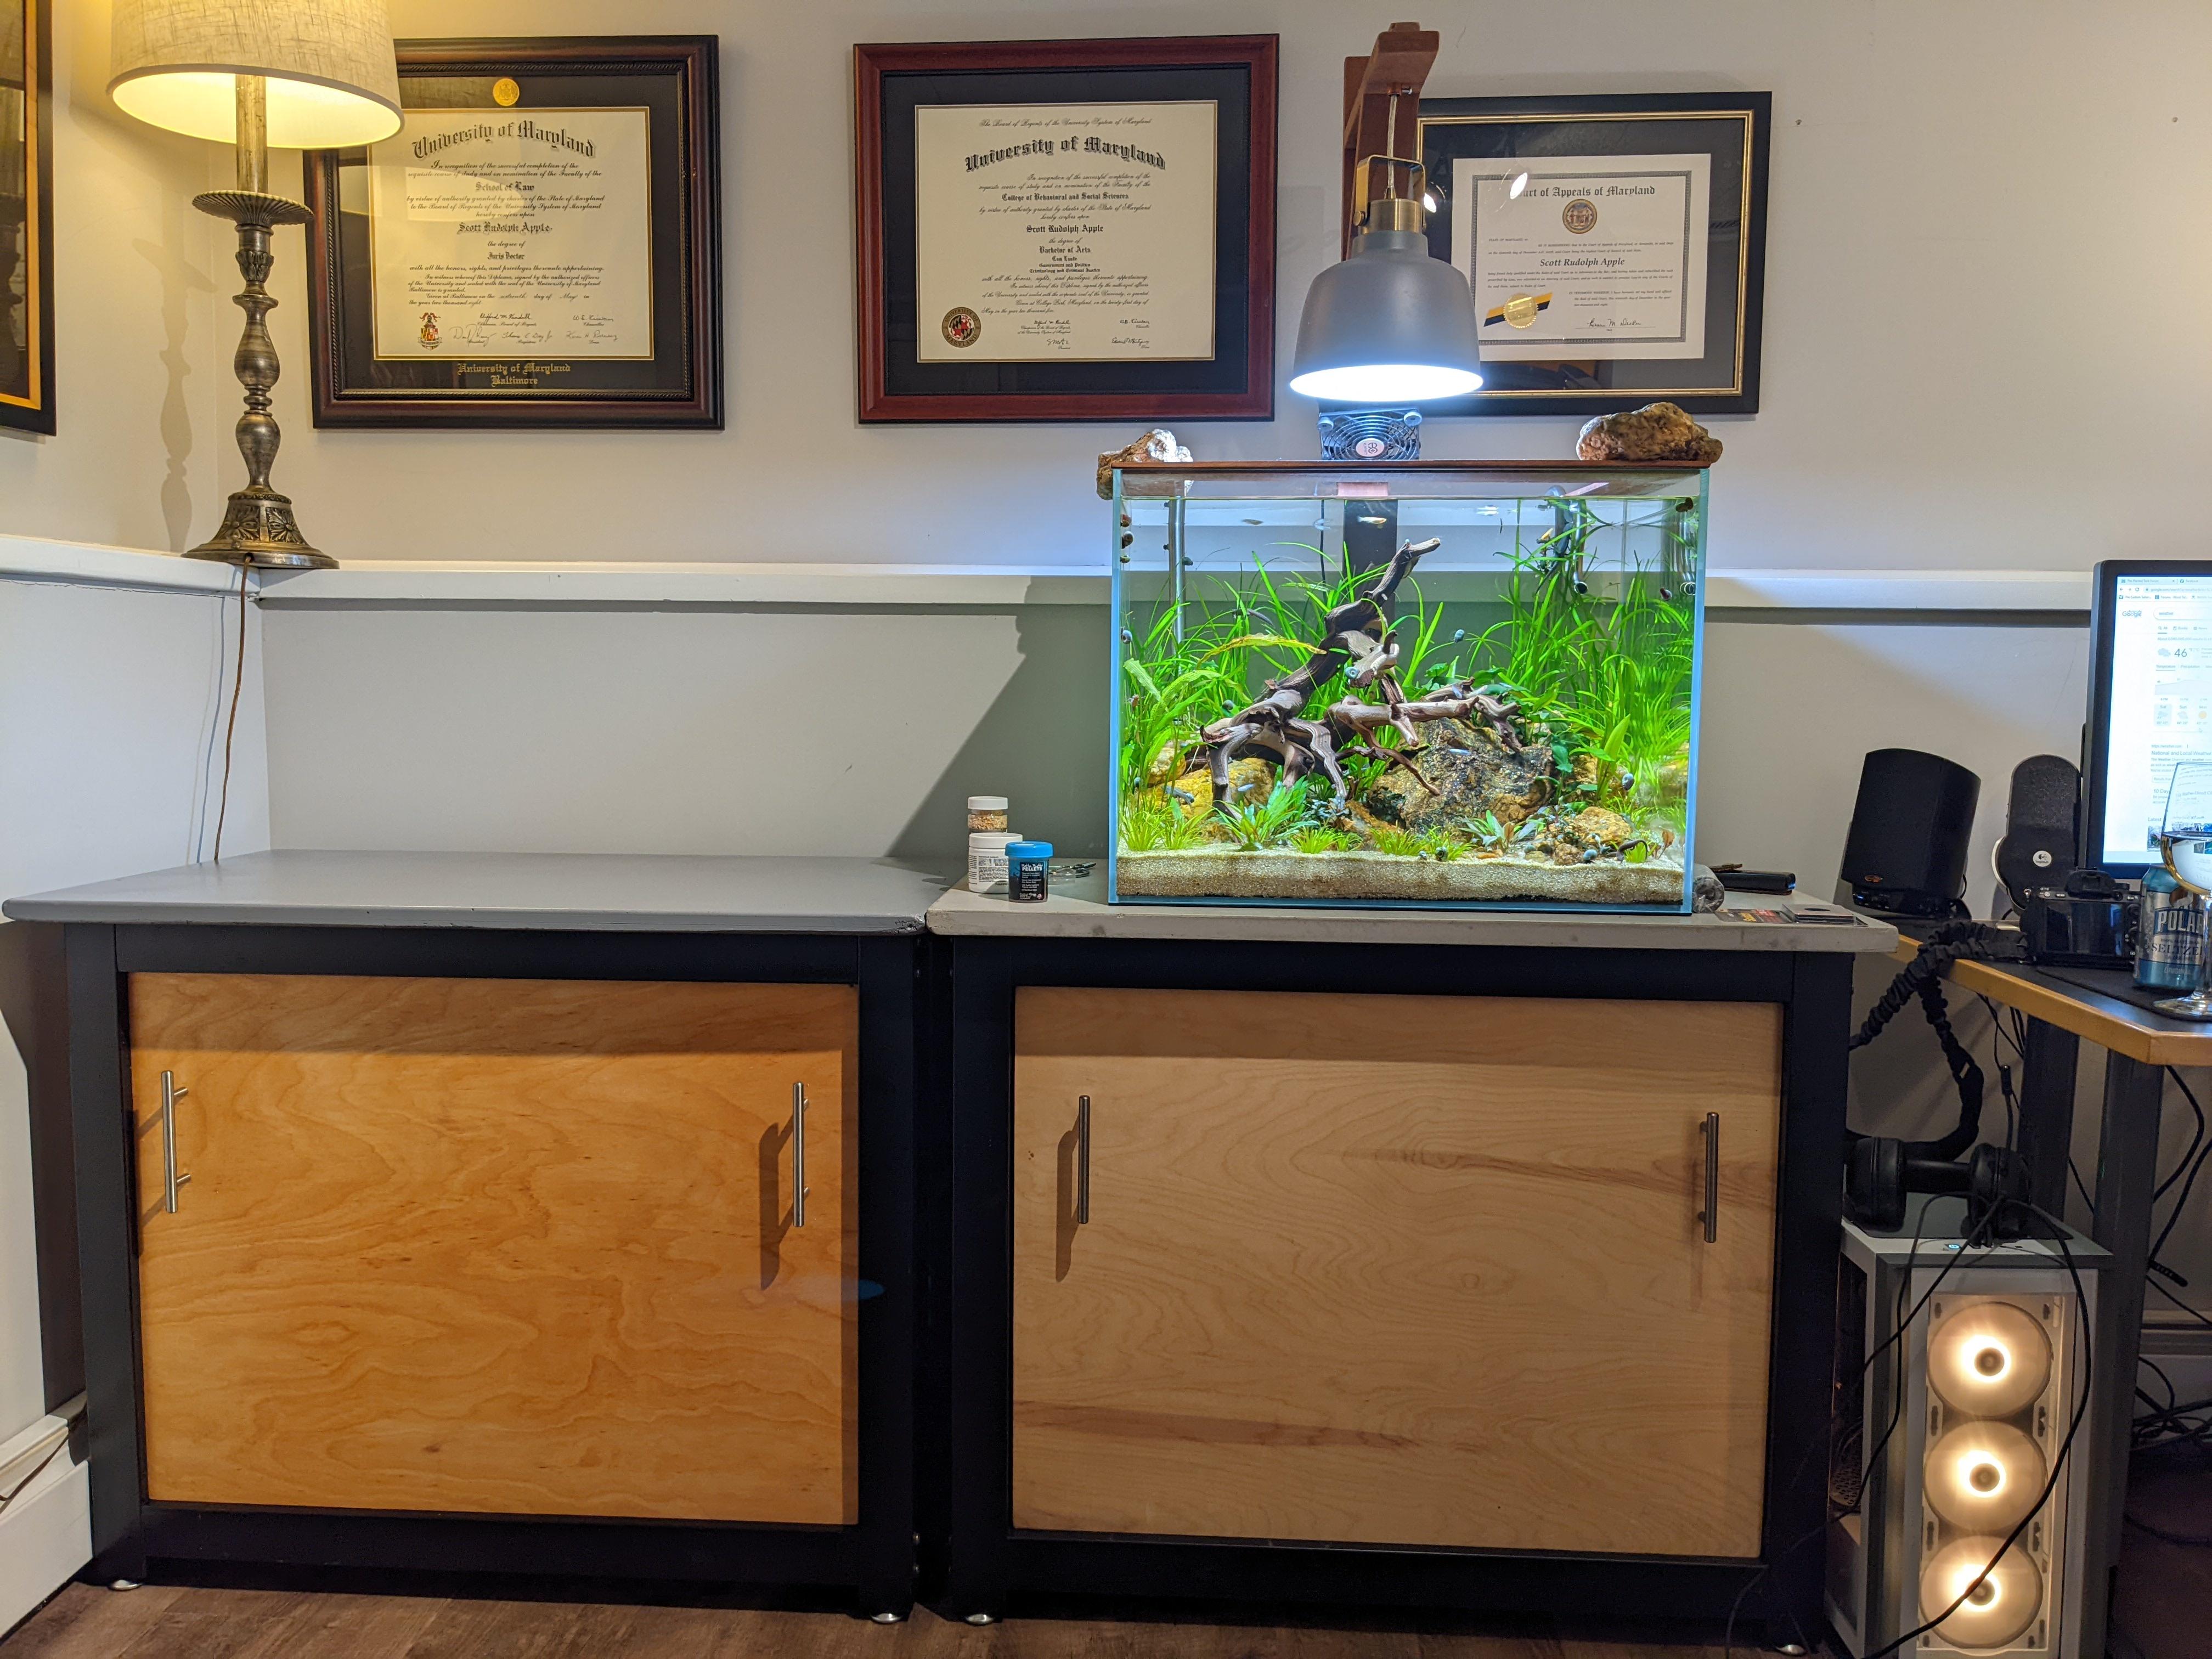
And here is the whole stand next to the Newt Tank.
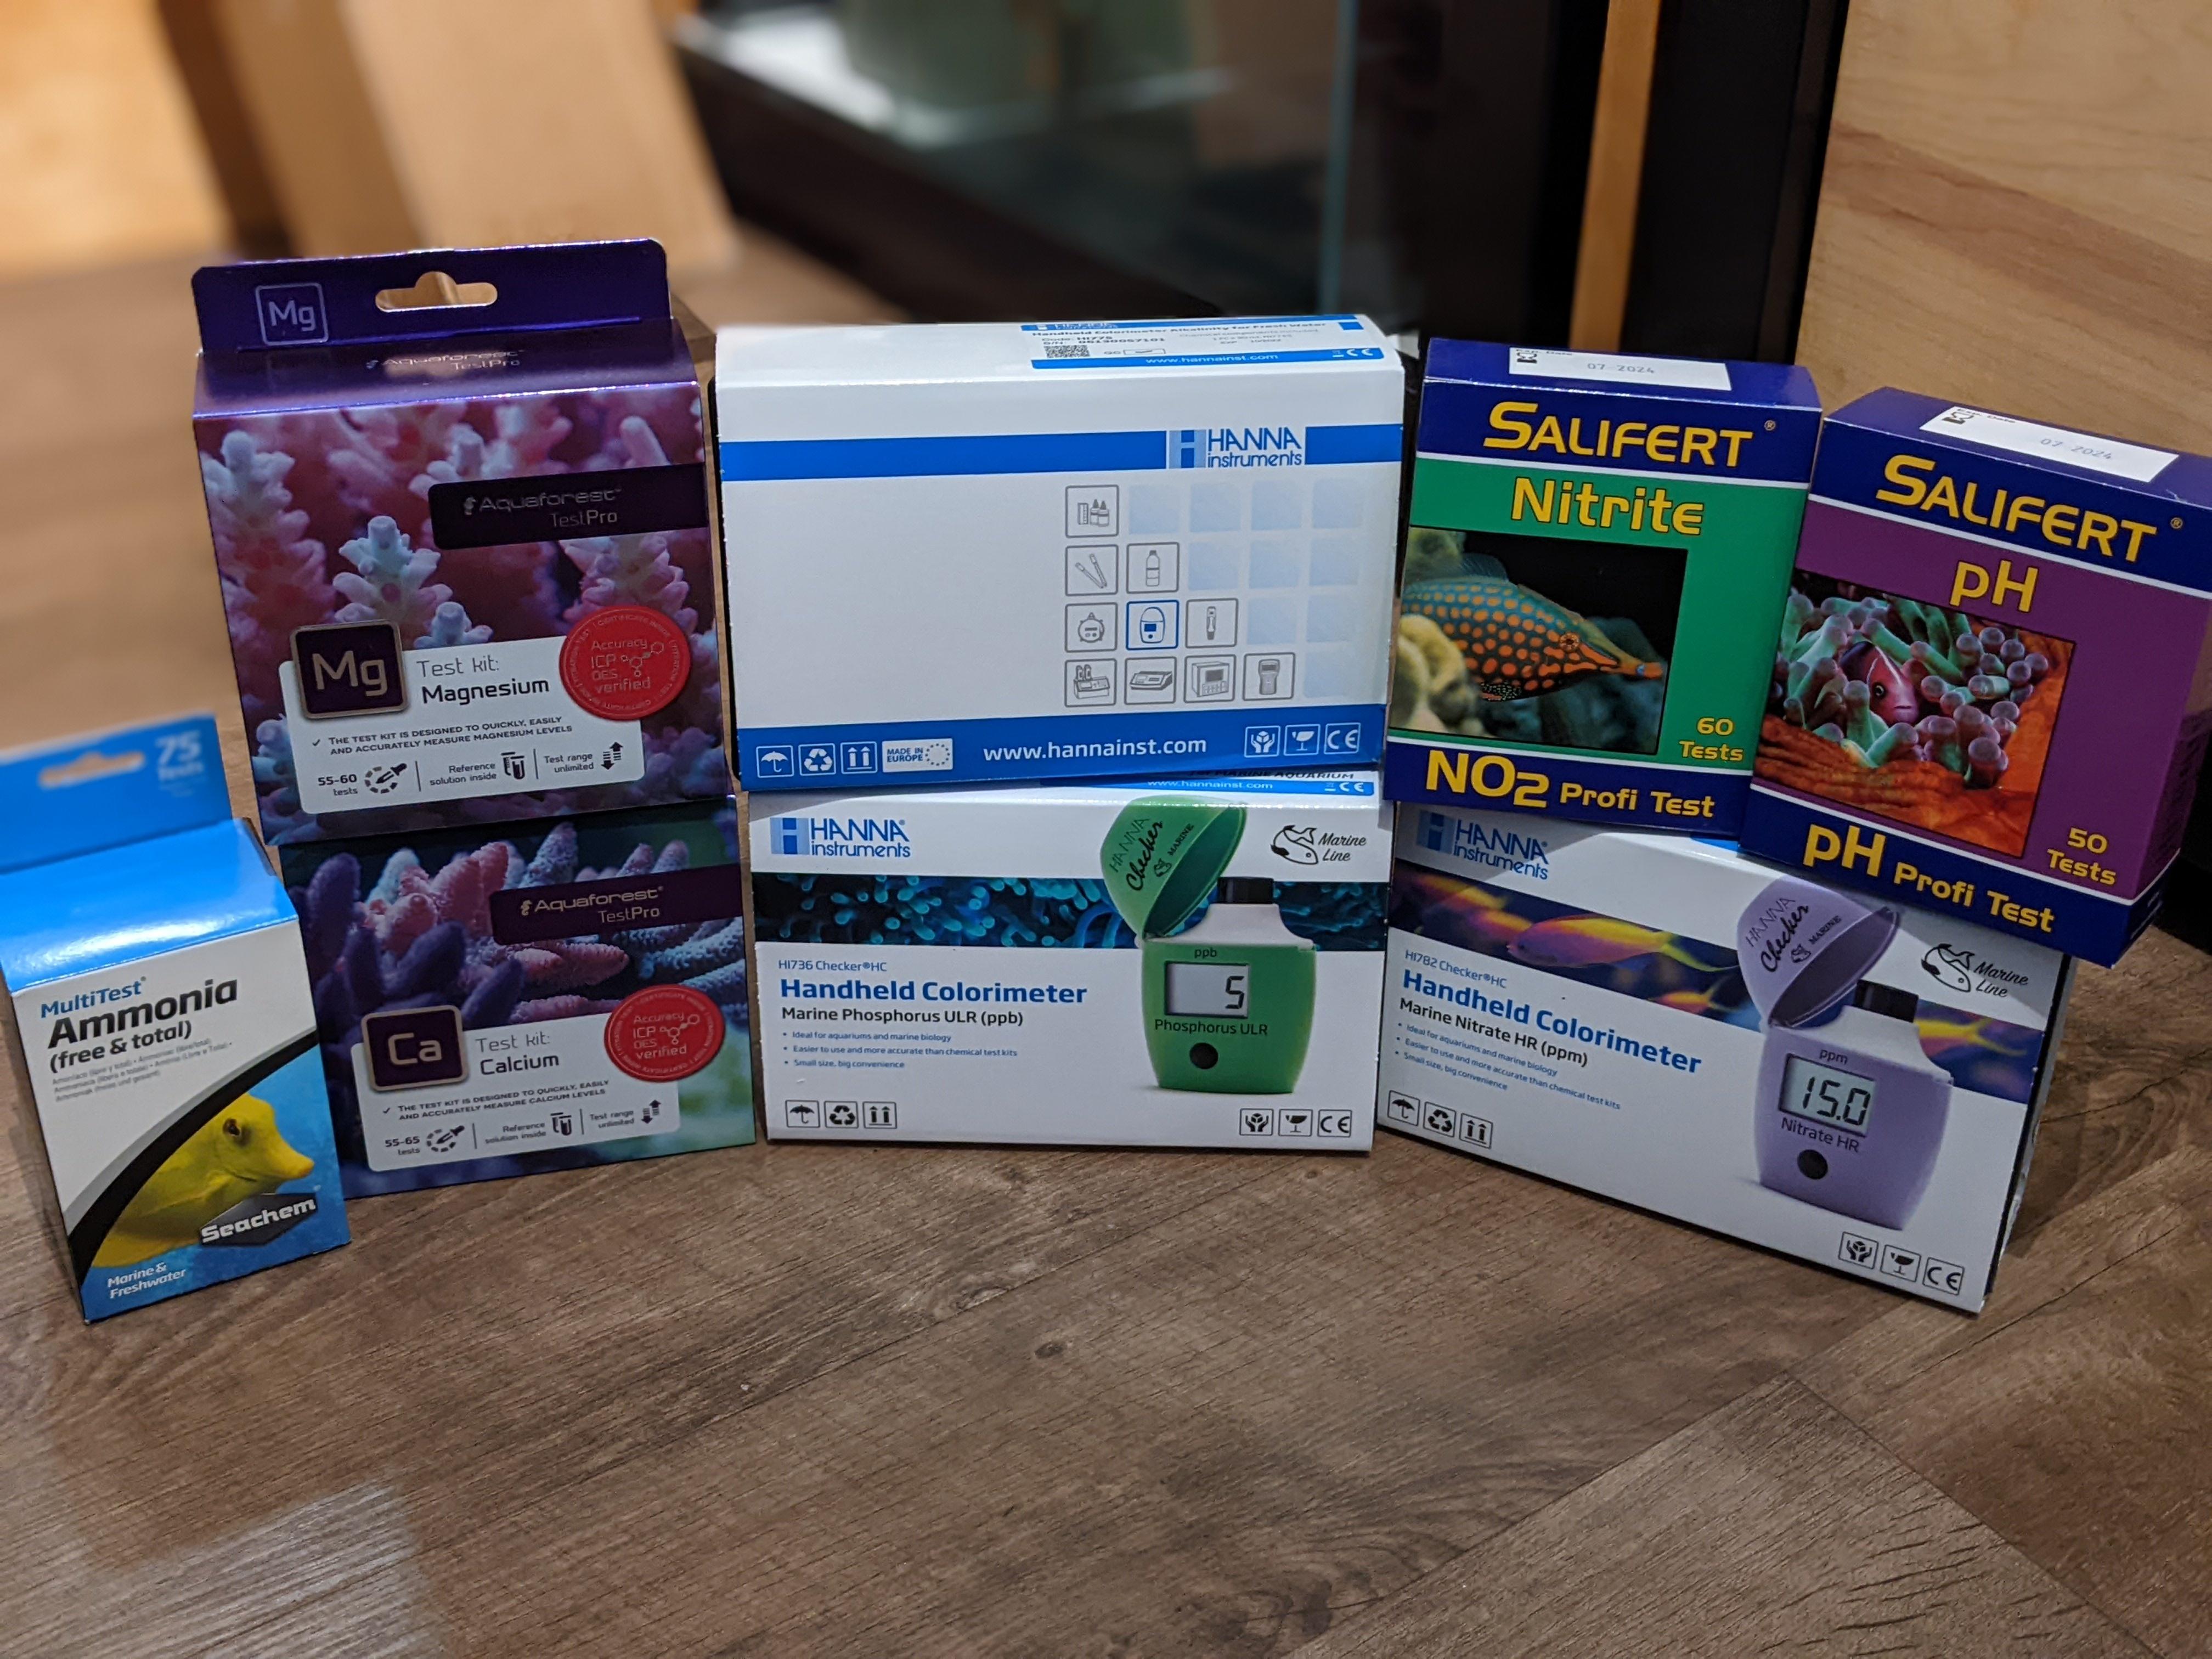
As far as the rest of the equipment plan. Well I have ordered a LOT of stuff and its trickling in now:

The plan for the filtration will be a diy sump which will just be a regular Aqueon 20H. It will have a roller filter (hopefully the new Red Sea ReefMat when it is released) and 2 return pumps. One return pump will go directly to the tank. The other will have a bypass which will include a CO2 Reactor (for all the plants) and a 15w Aqua Ultraviolet UV Sterilizer. I'll have a ball valve on the bypass and the main line to control flow through the reactor/uv.
When I get the tank from Glass Cages I will drill it for use with a 1200 g/h Modular Marine overflow as well as two 3/4" returns. The overflow will have bean animal style plumbing. For the returns I purchased a pair of random flow generators.
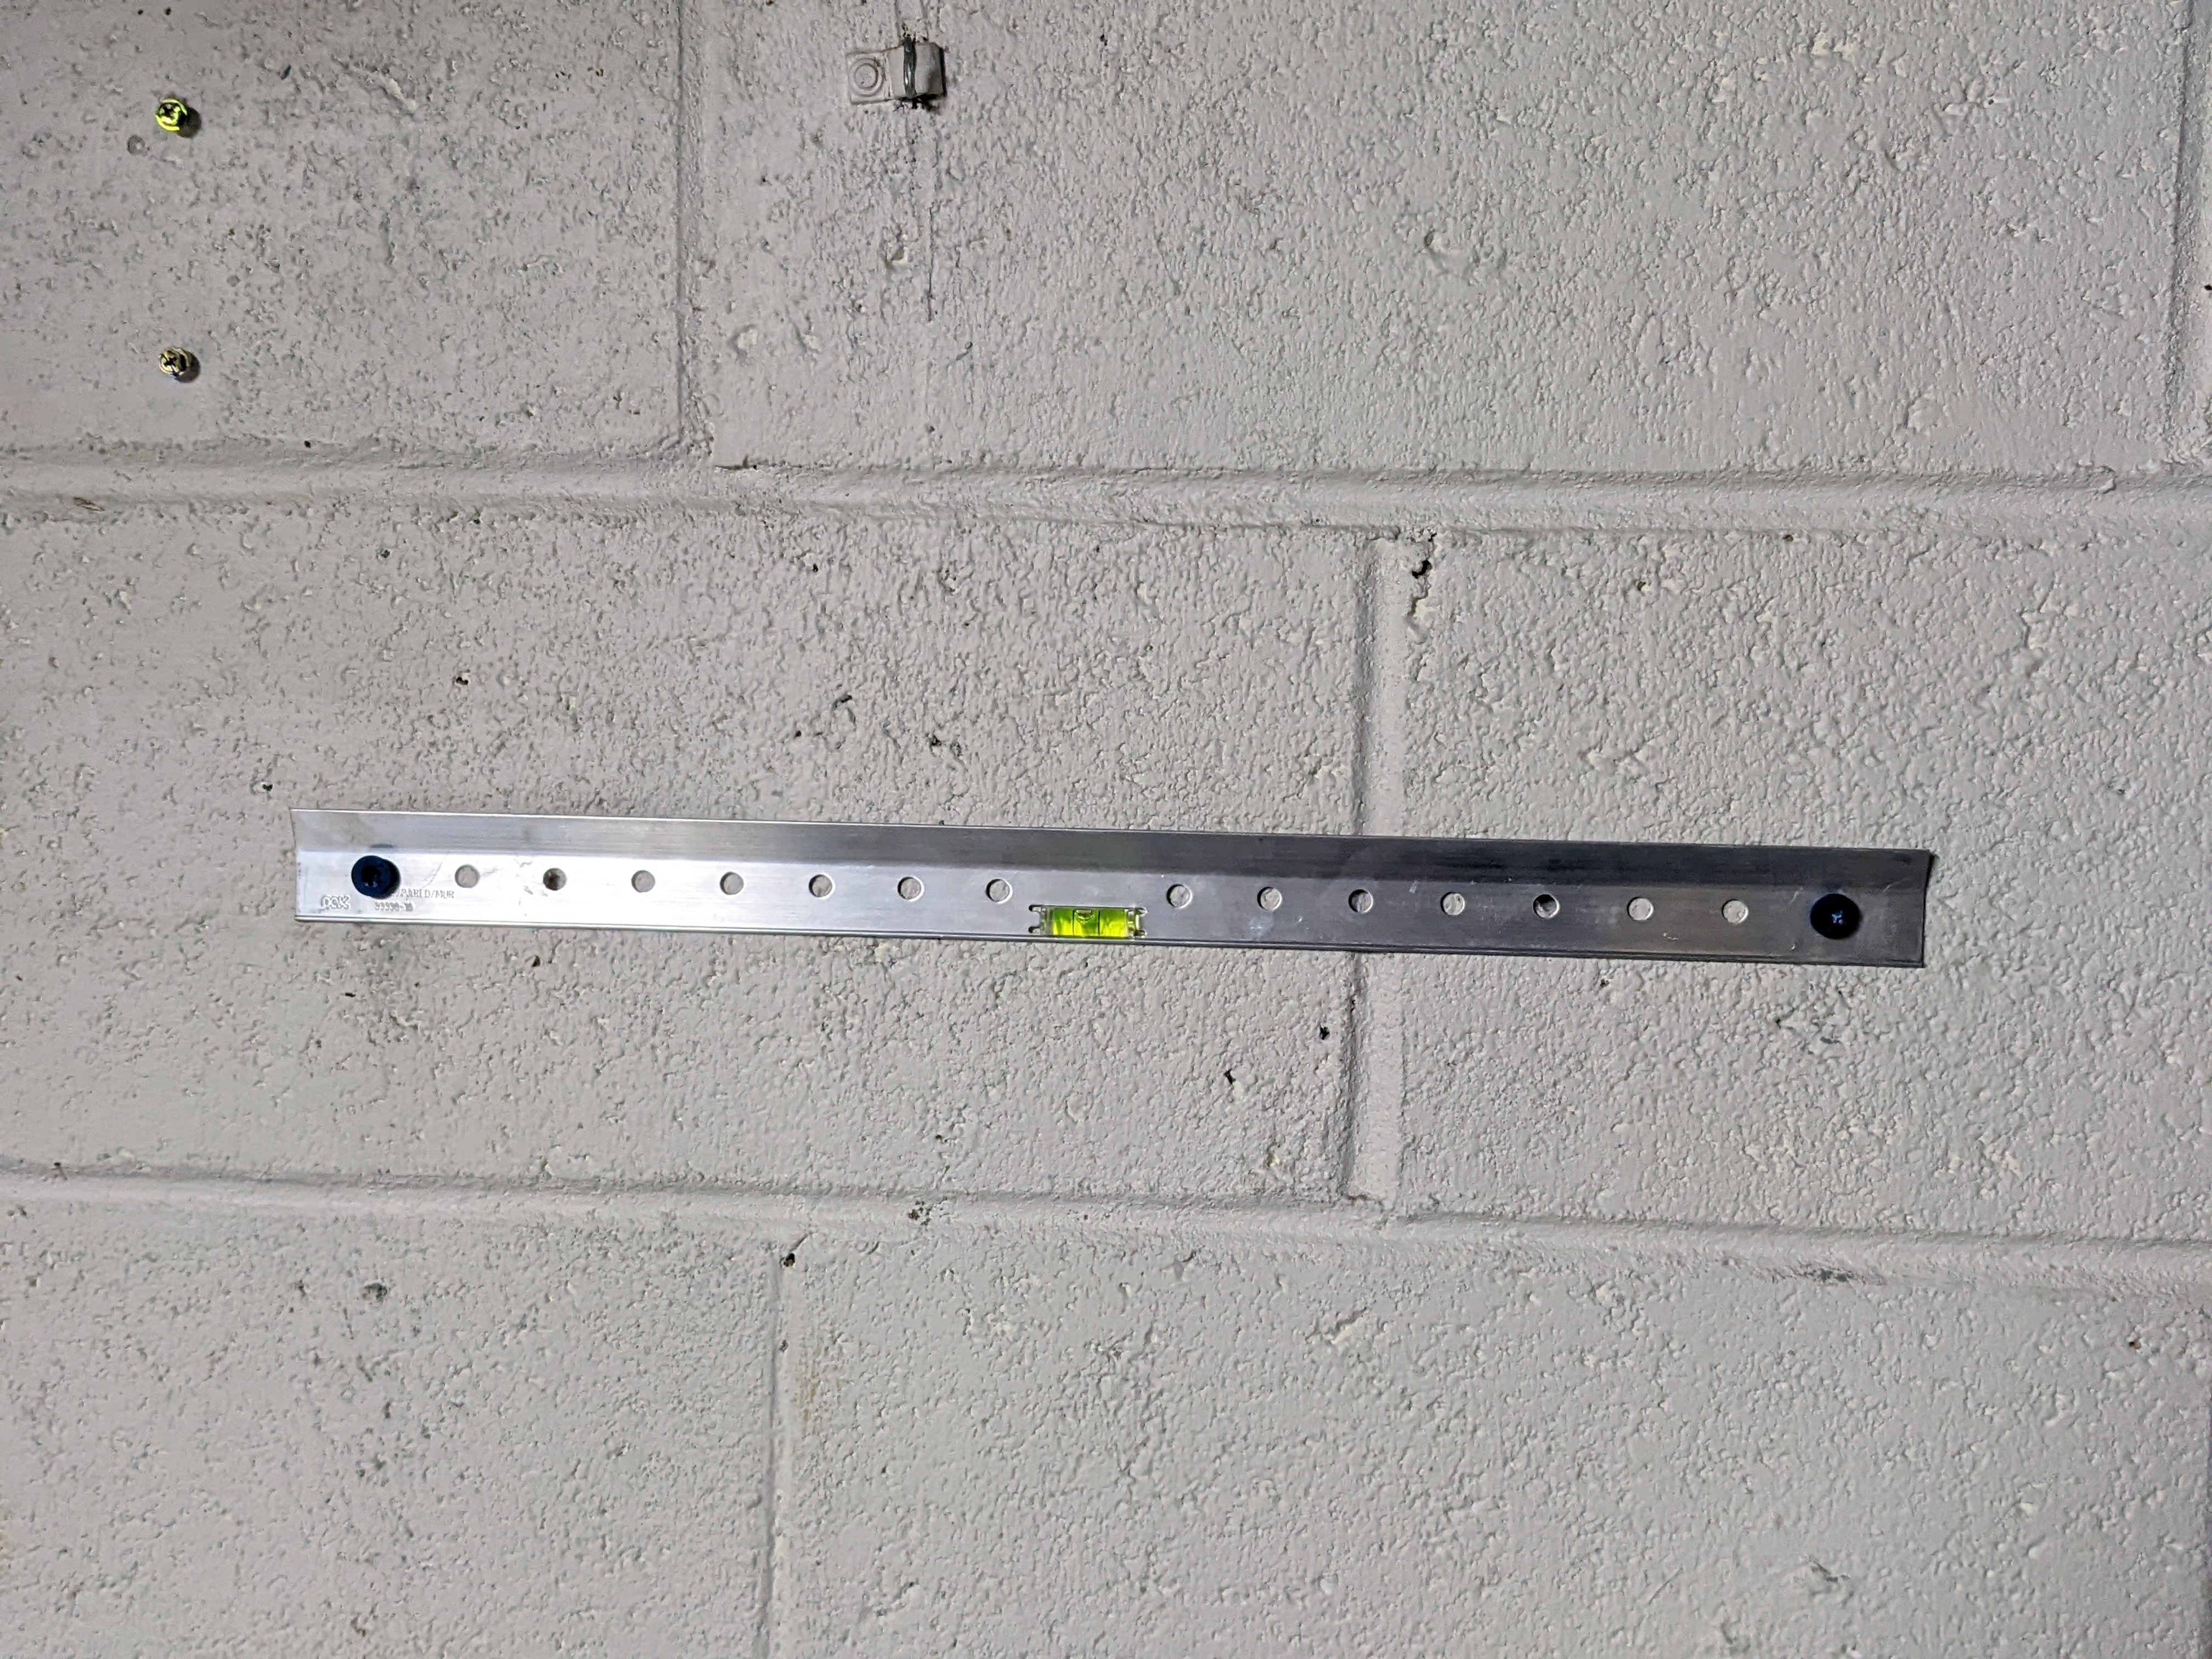
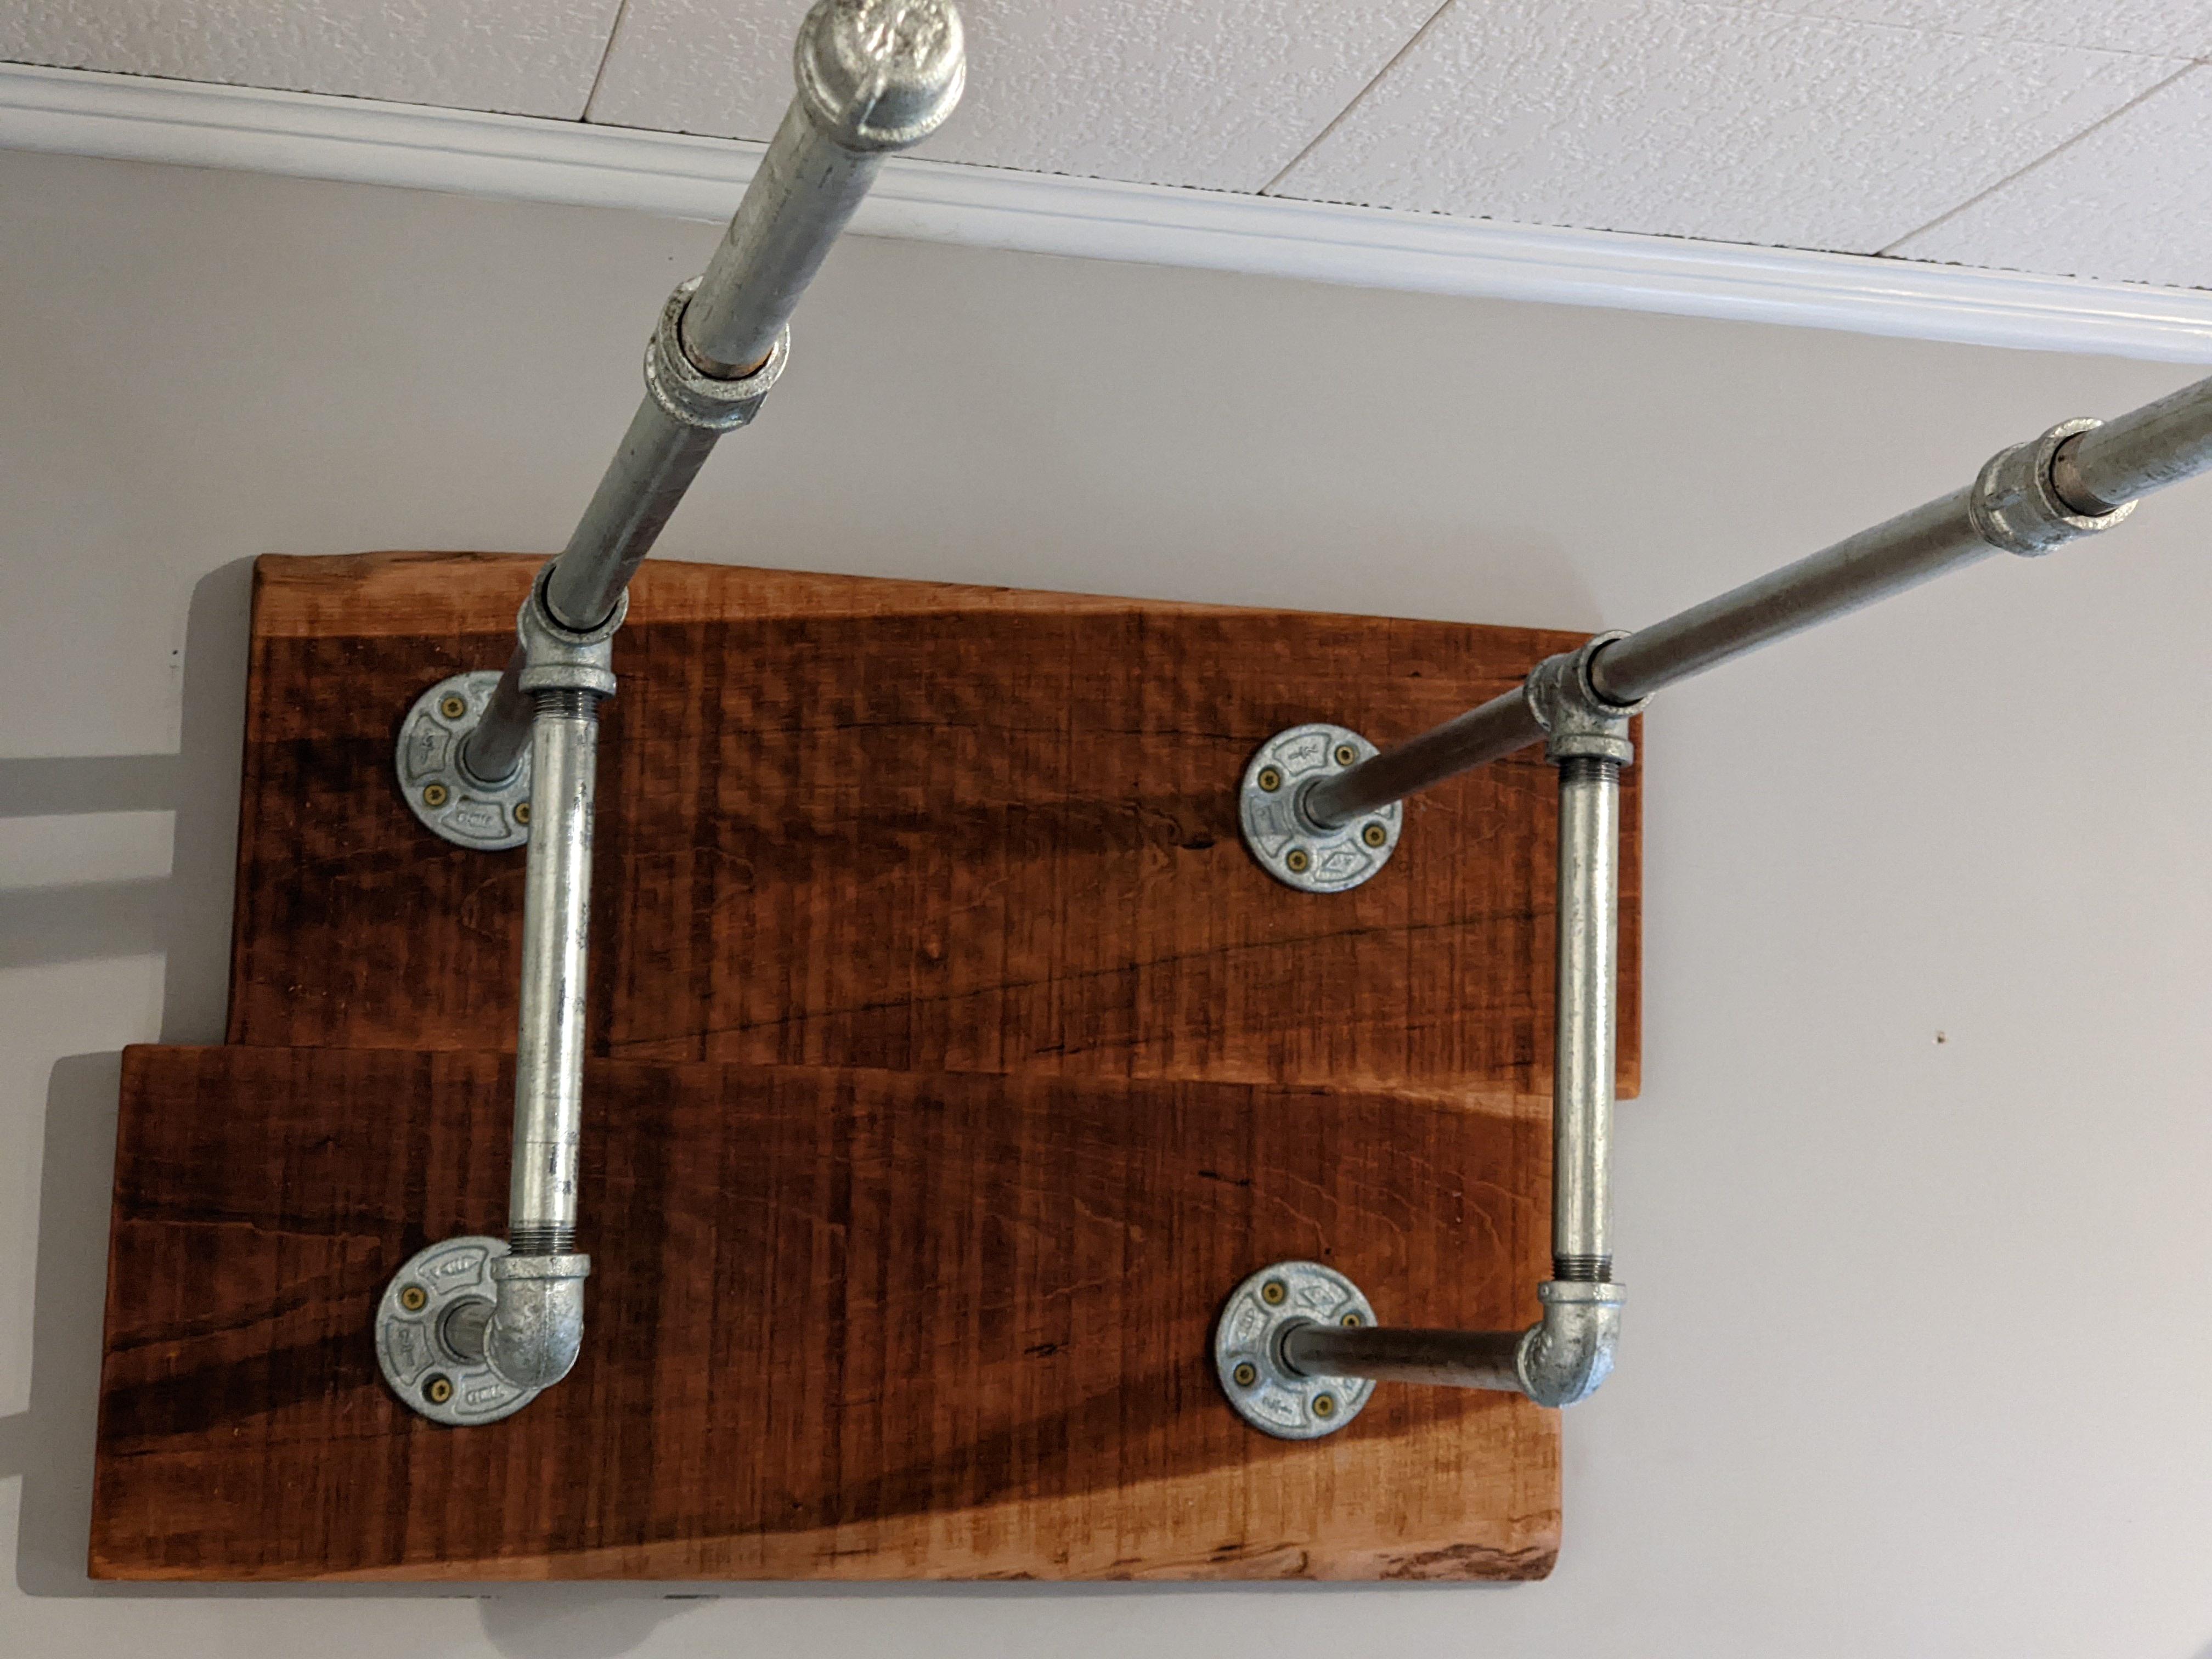
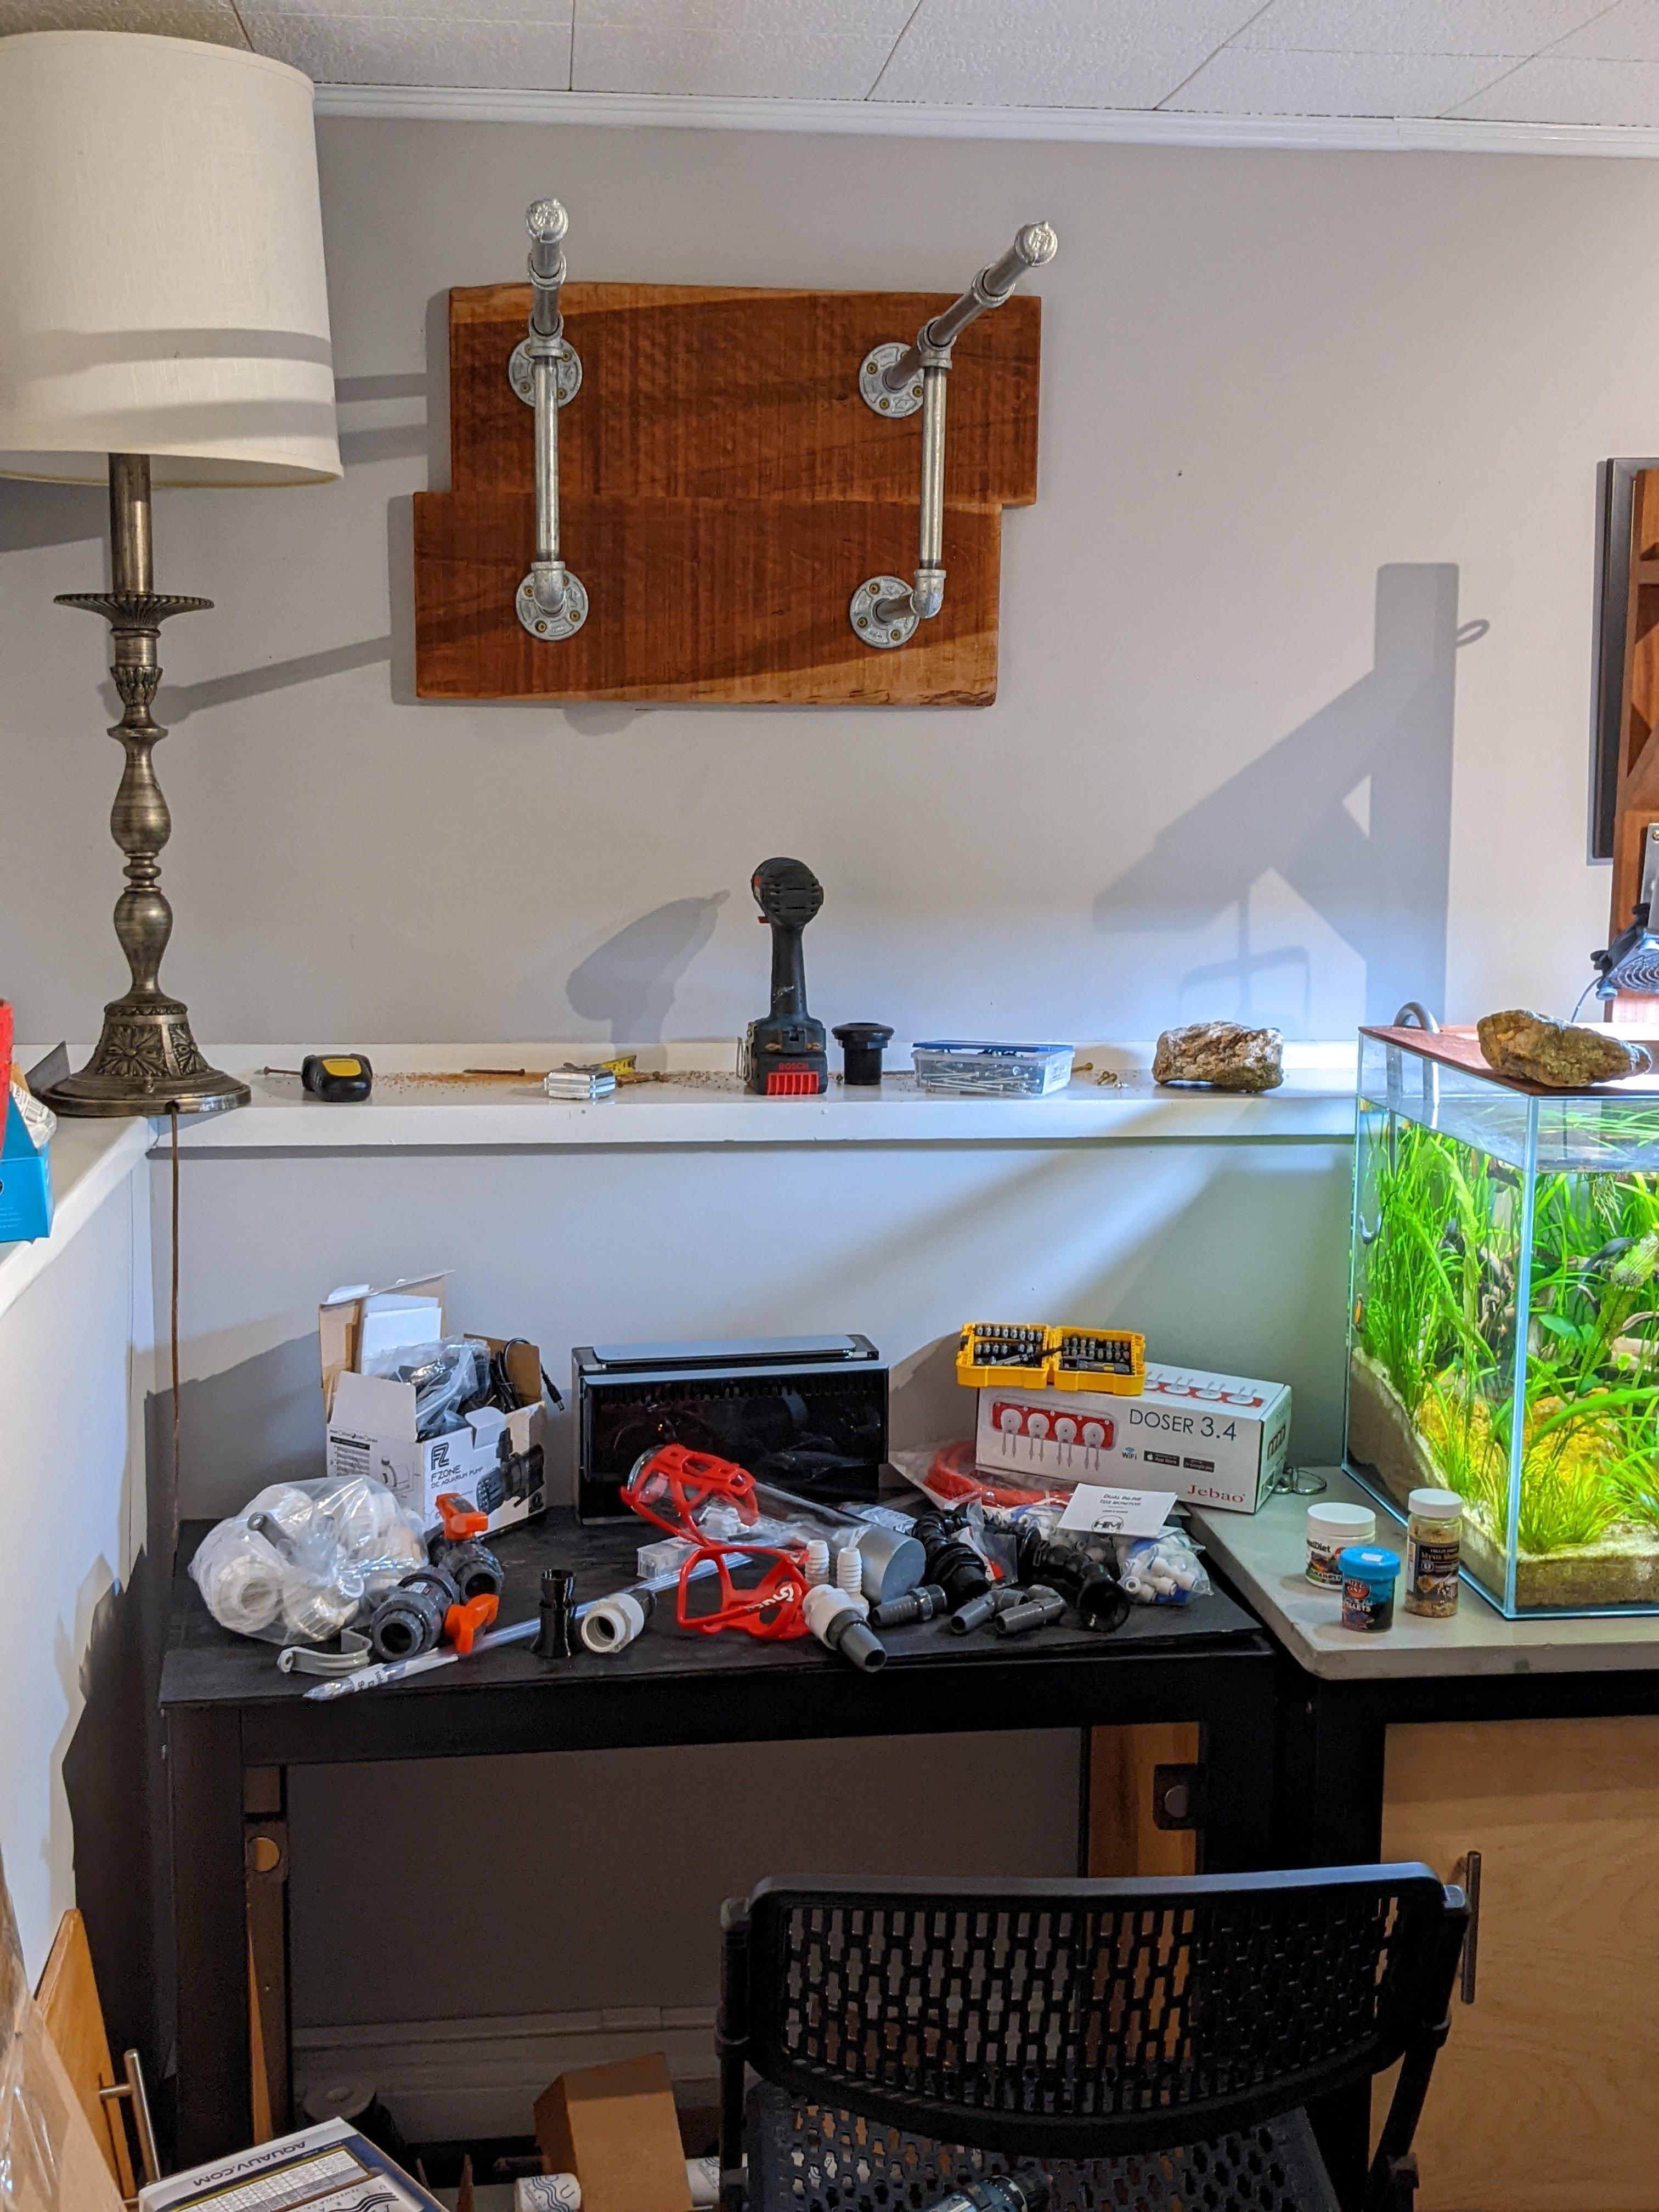
In order to light the tank I will be building a bracket on the wall that will overhang the tank out of 3/8" galvanized steel pipe. The light itself will be a used Viparspectra I will be buying from an acquaintance.
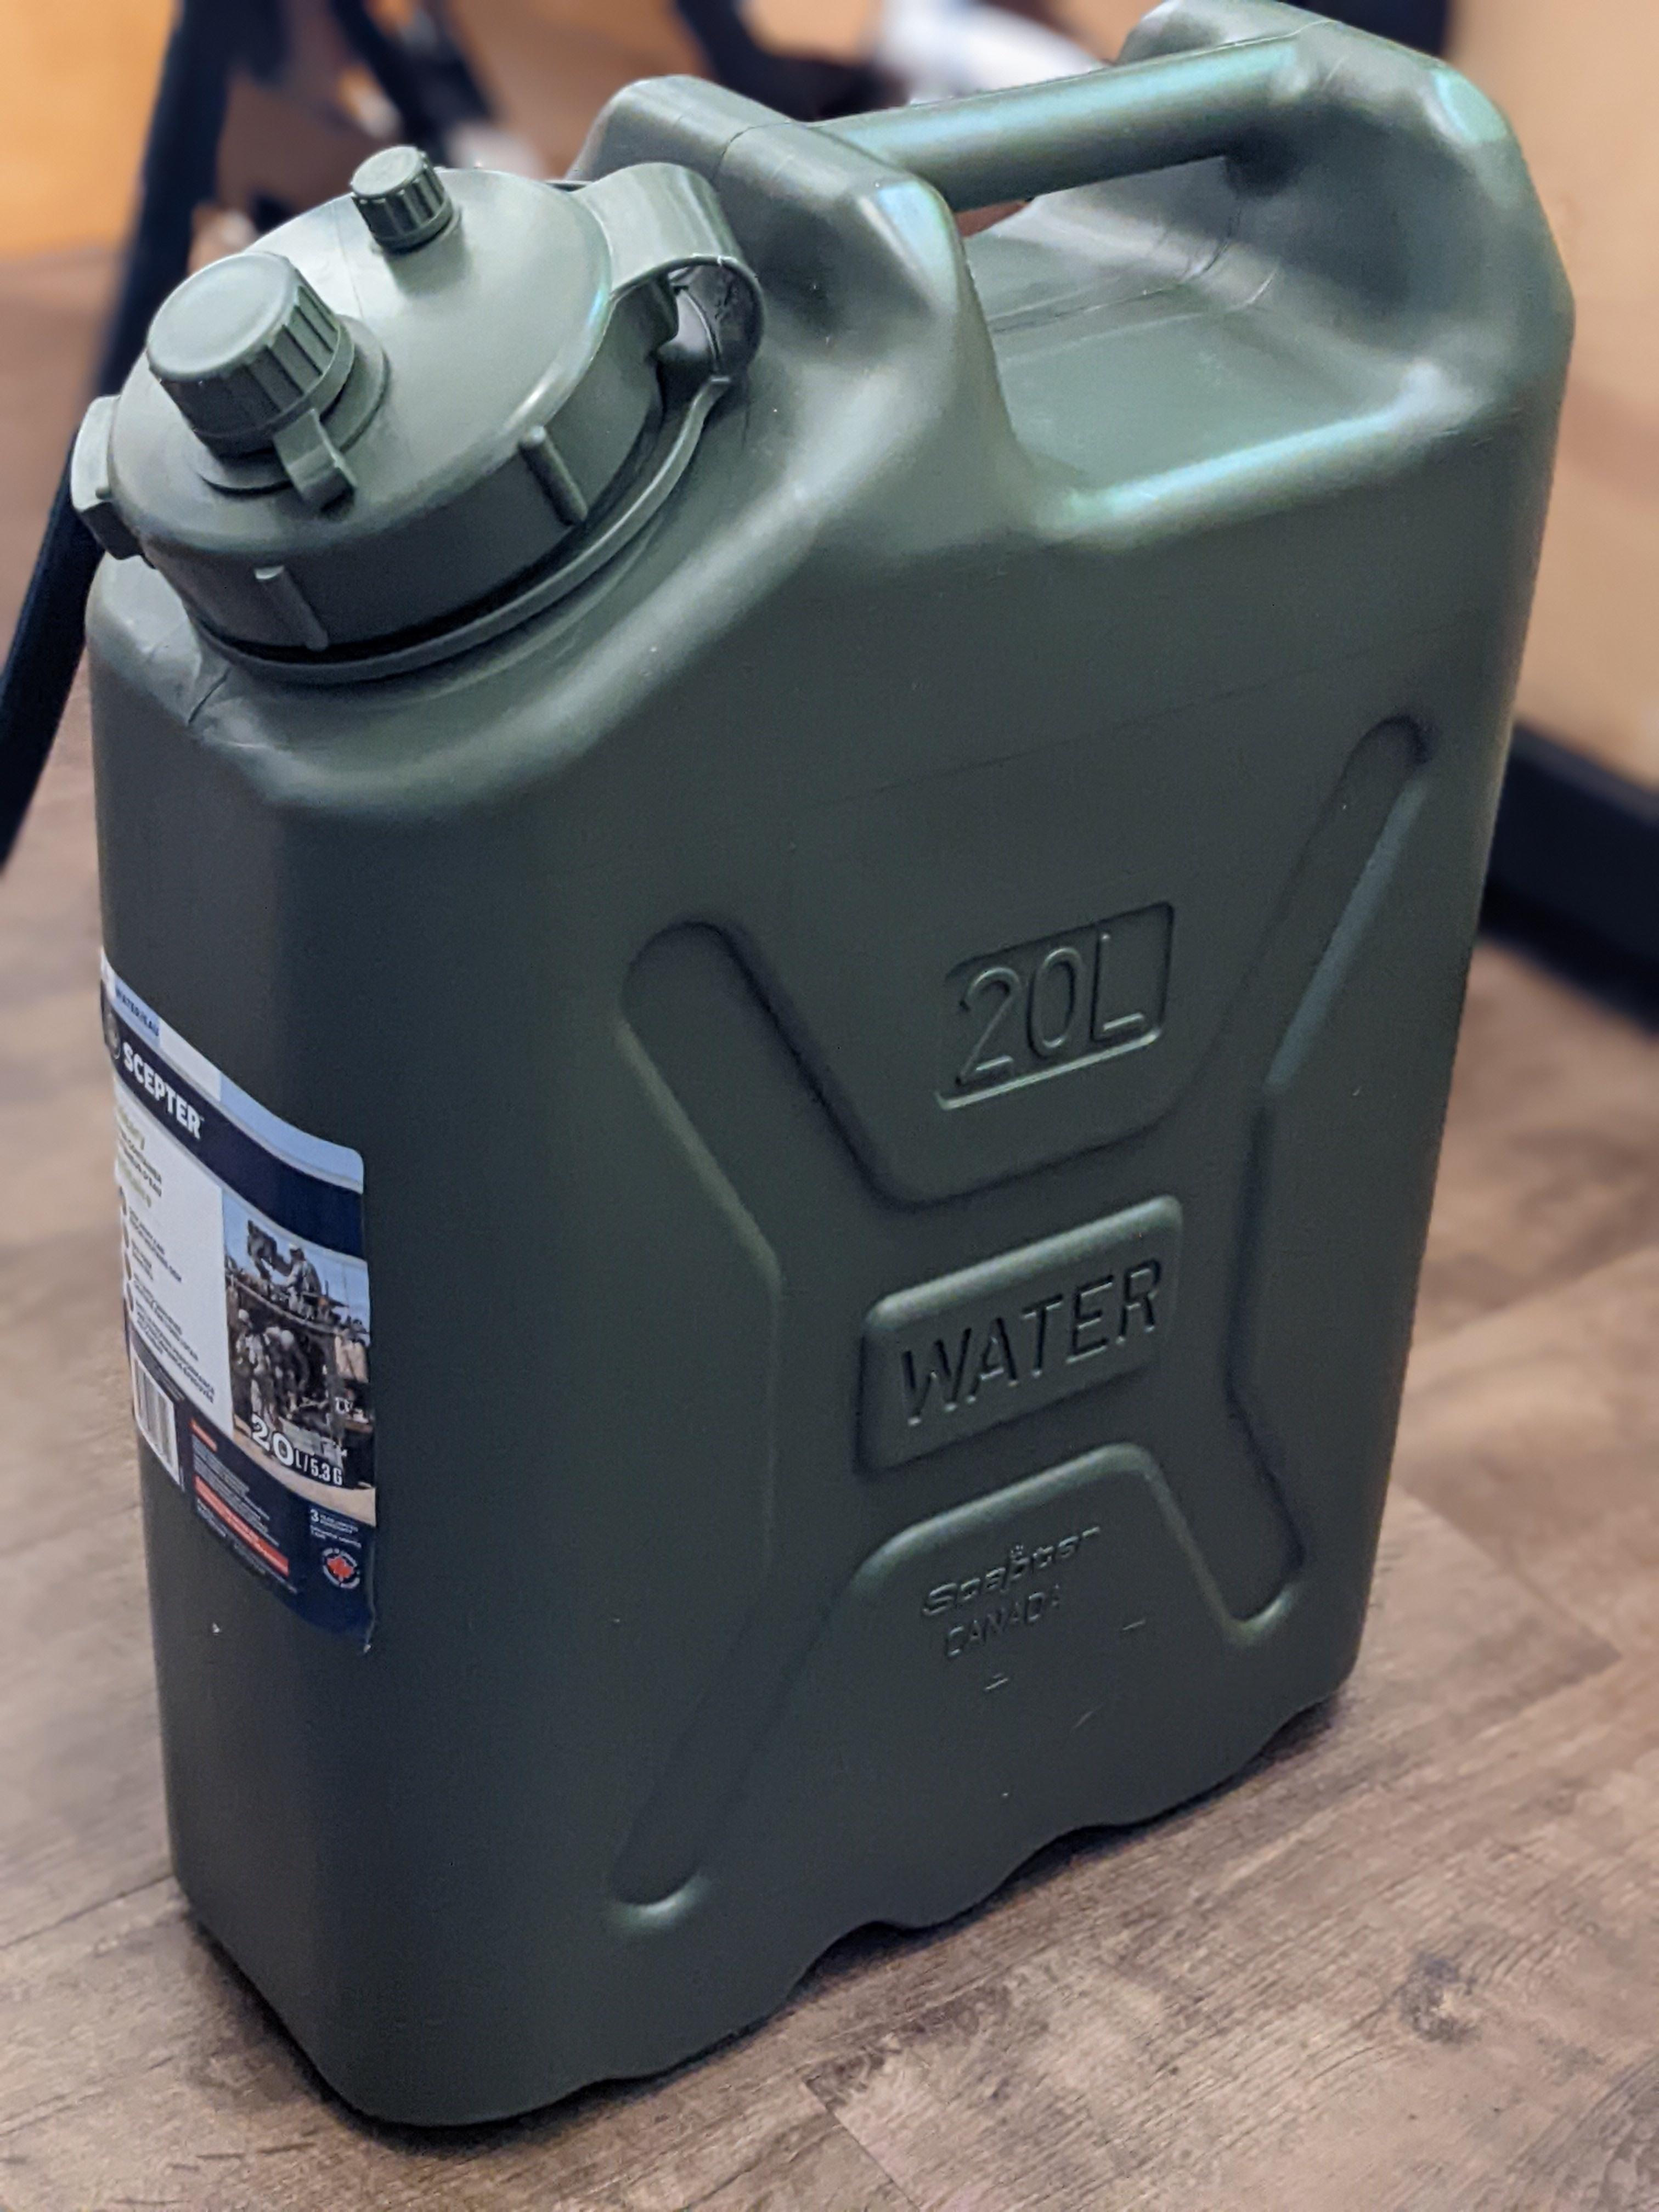
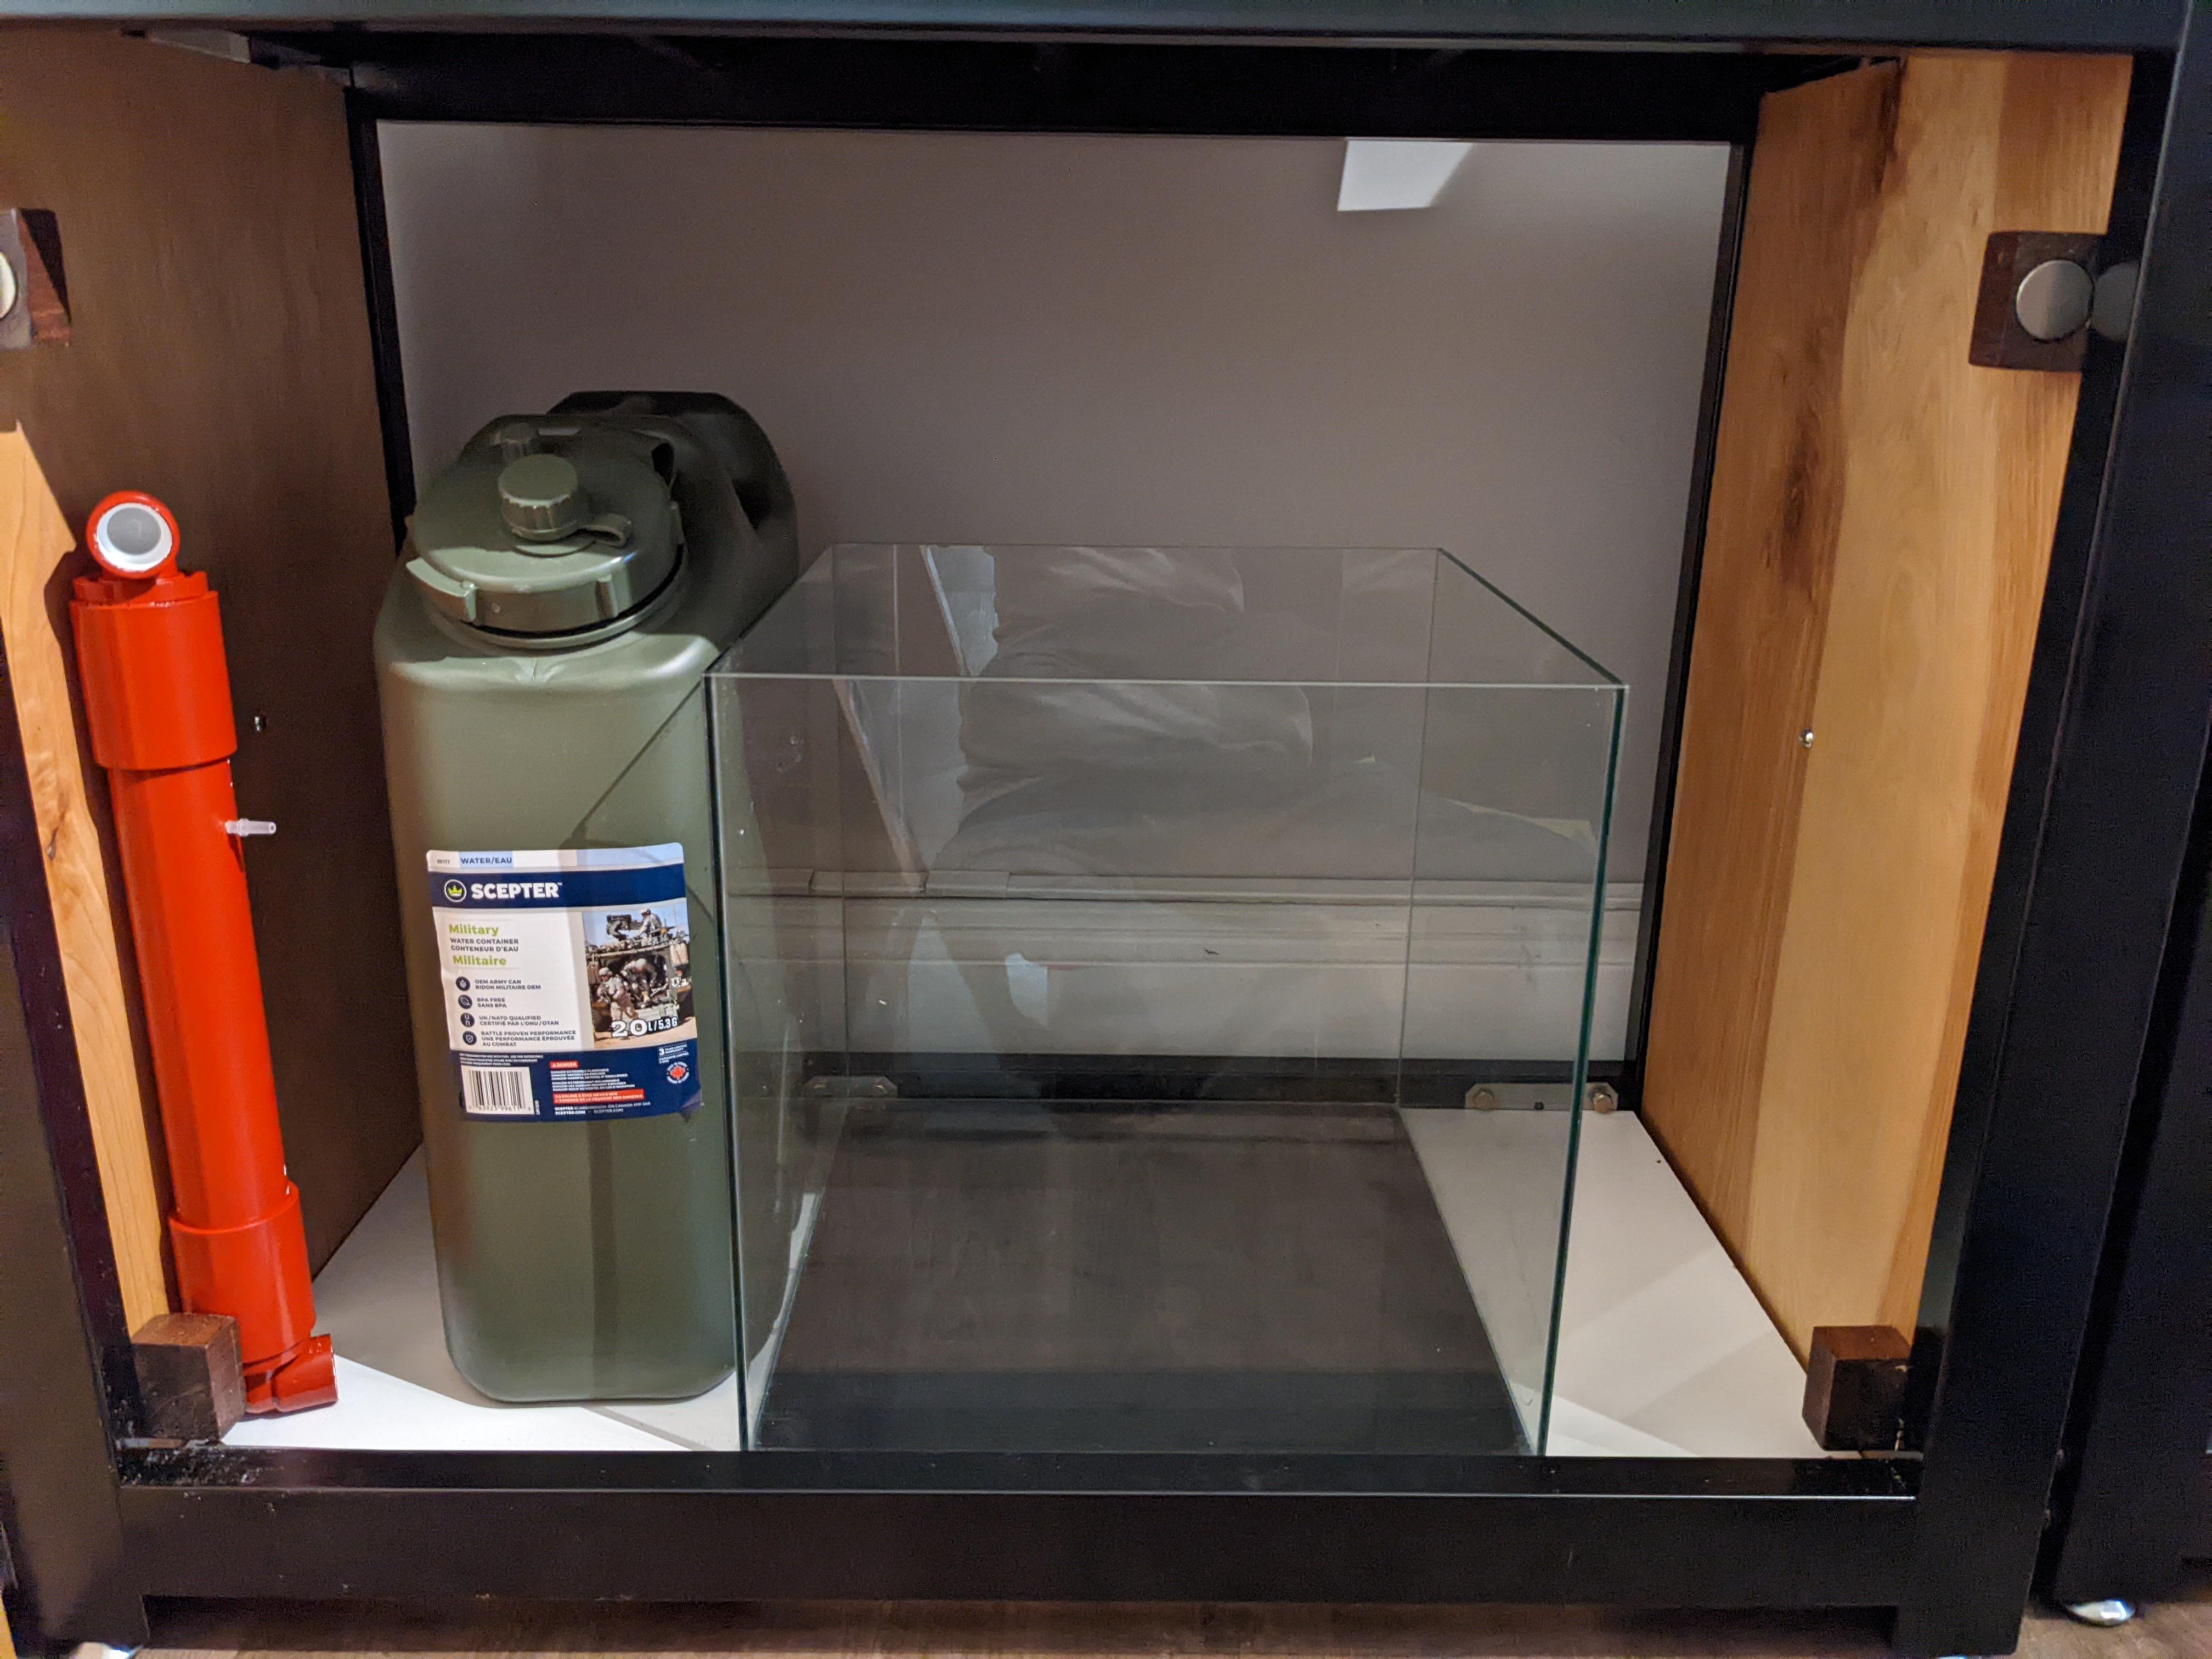
The ATO will be a 5 gallon plastic jerry can (I am going to have space issues) and a gravity fed float valve installed with an over the rim hanging bracket.
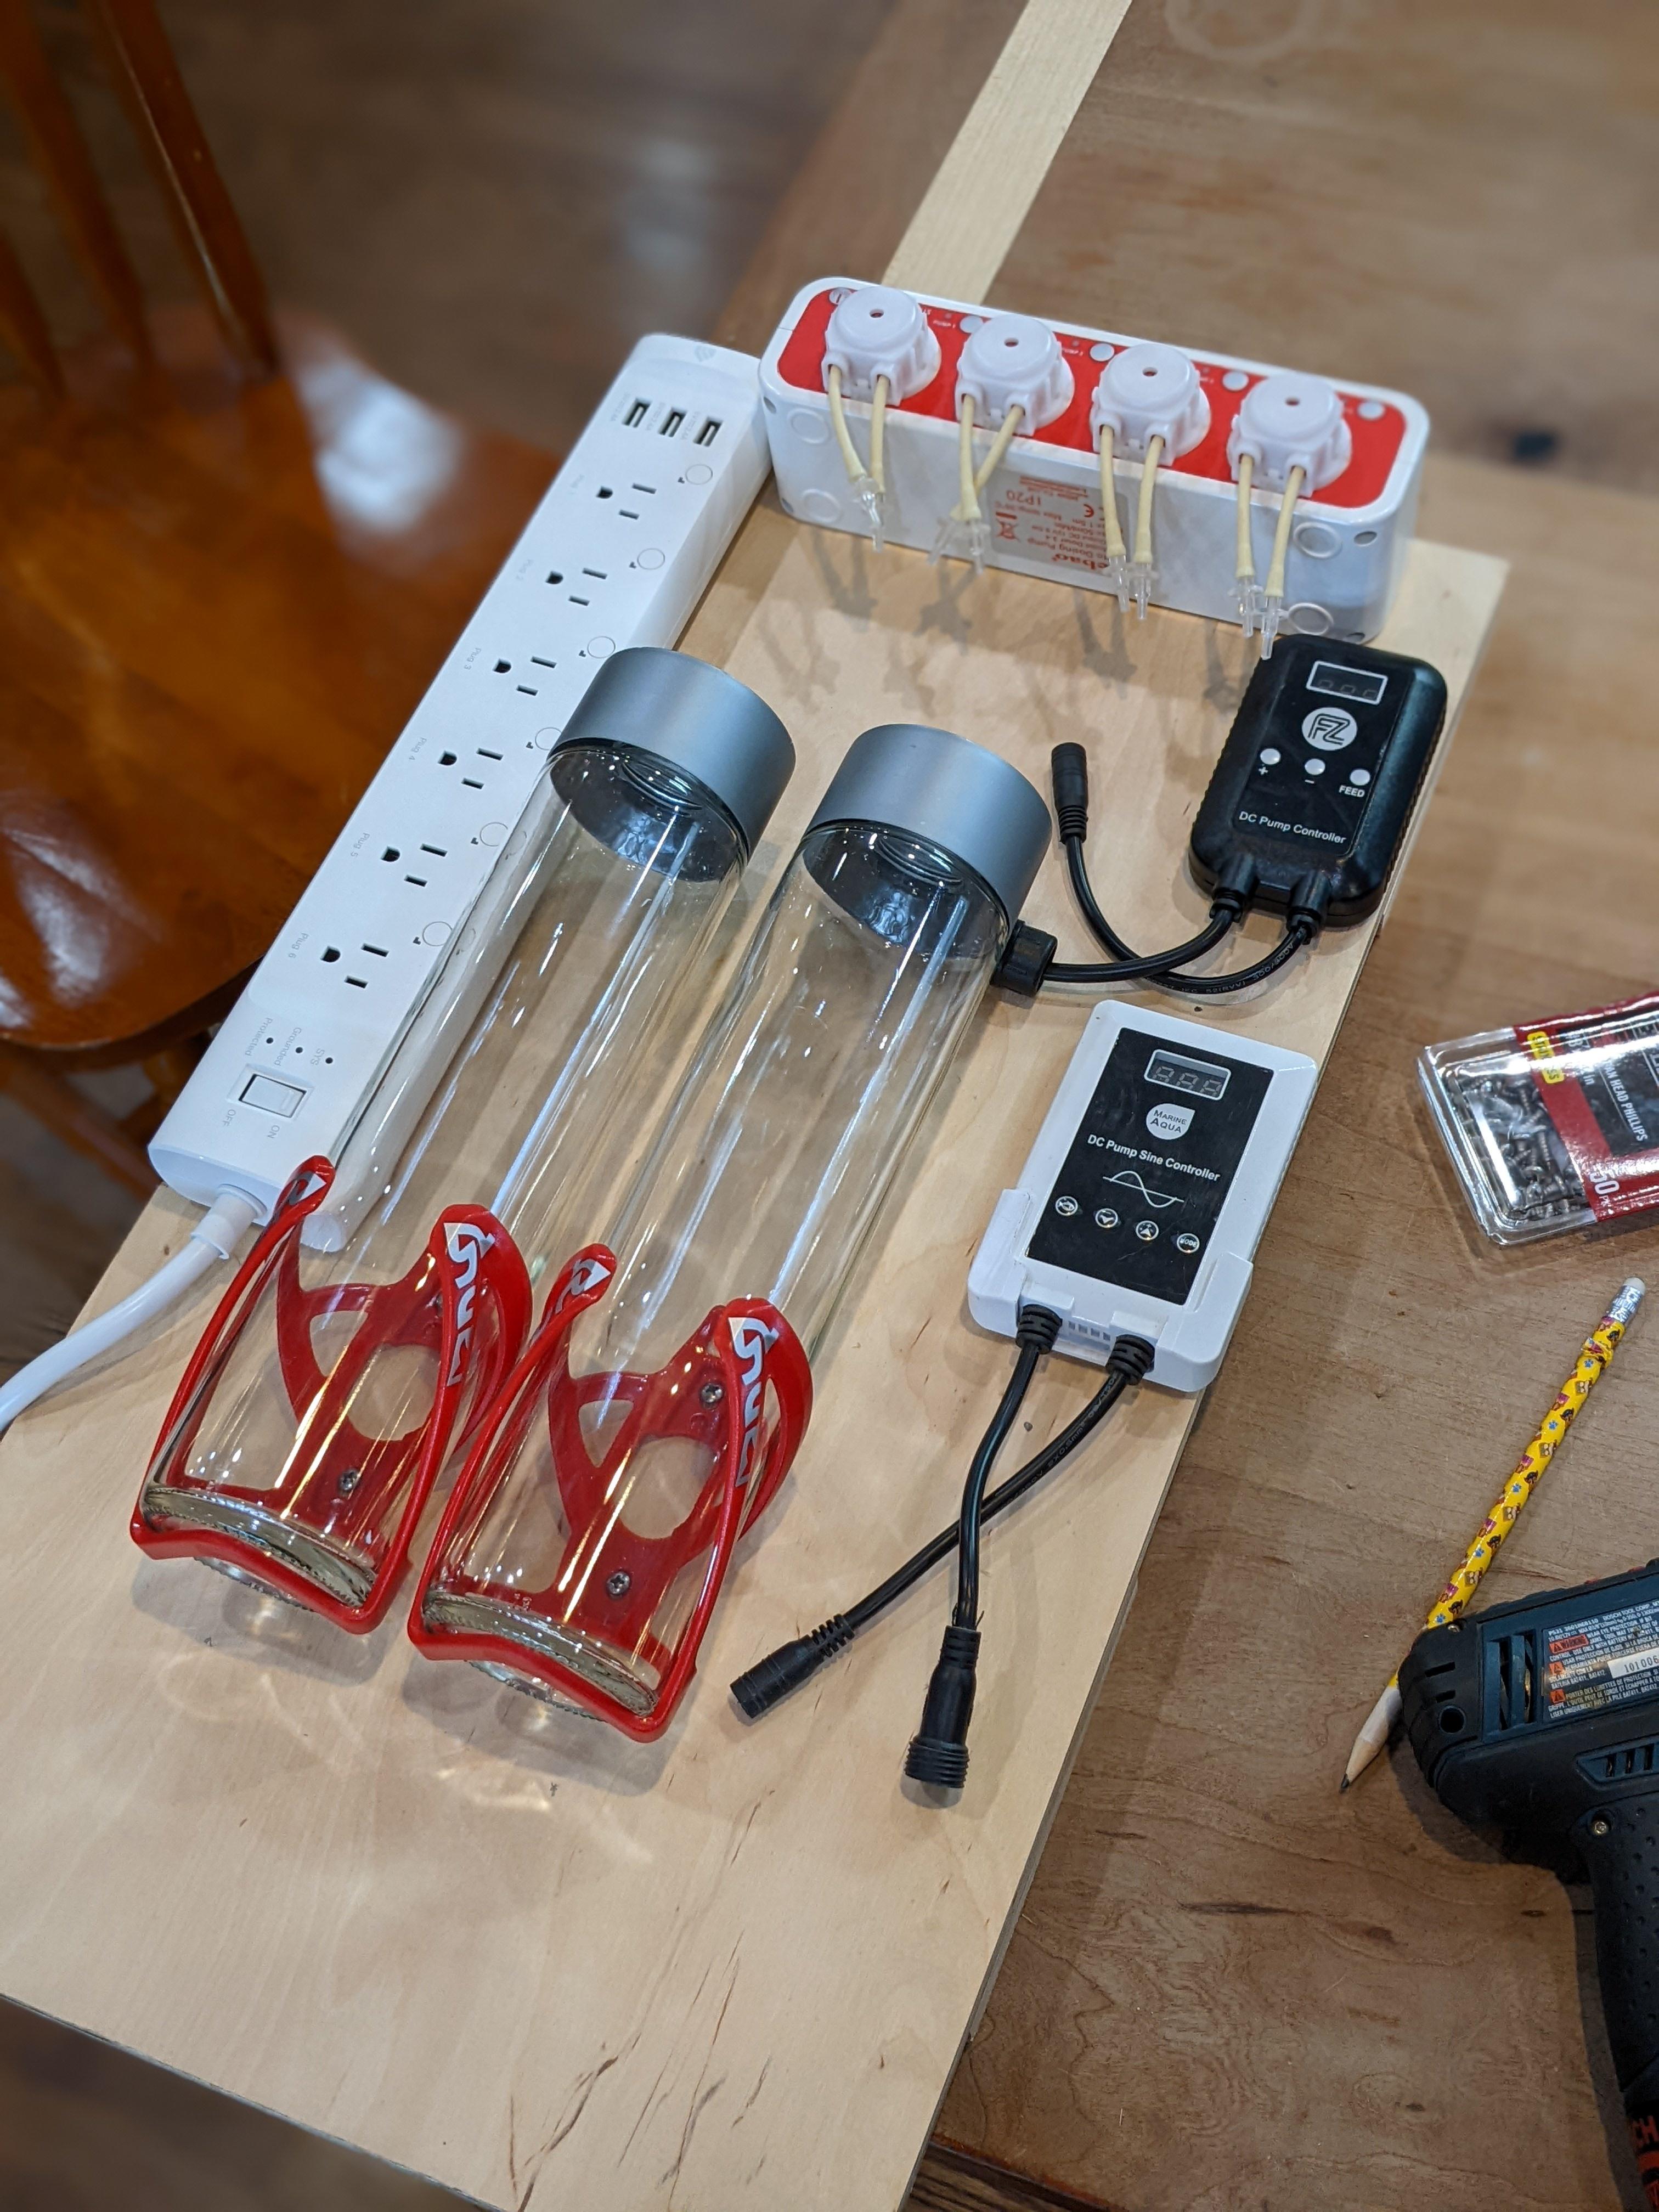
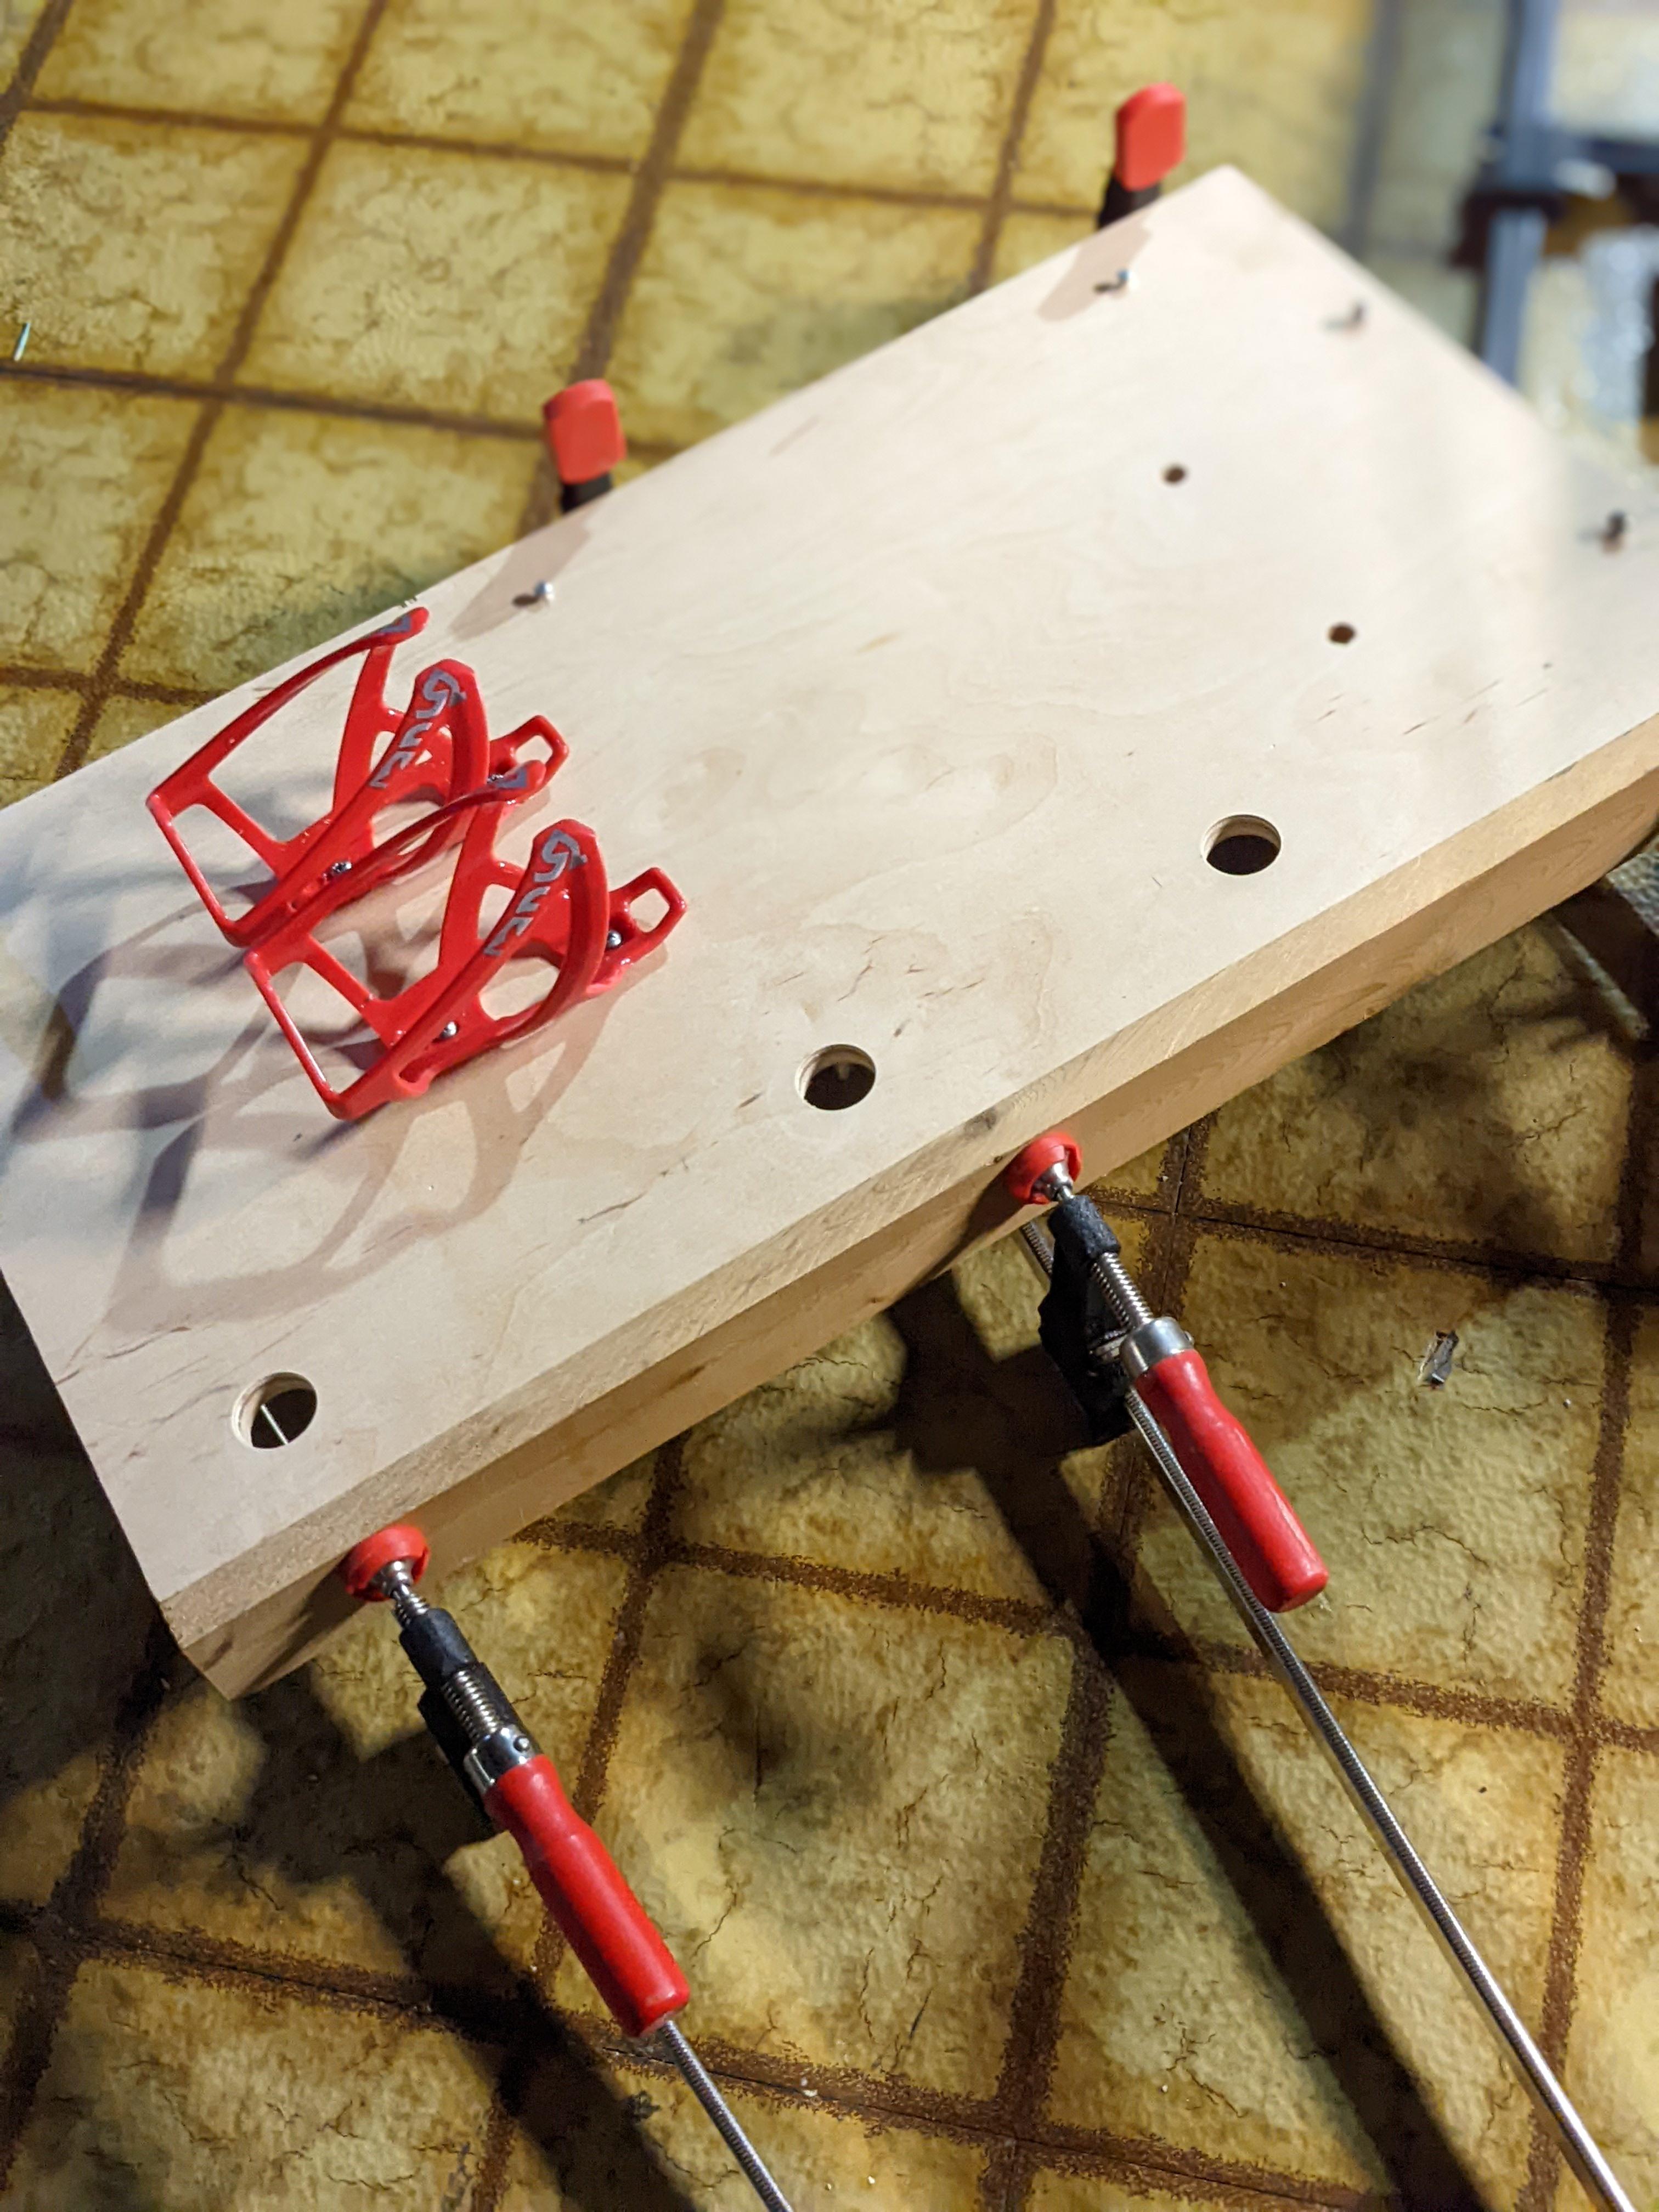
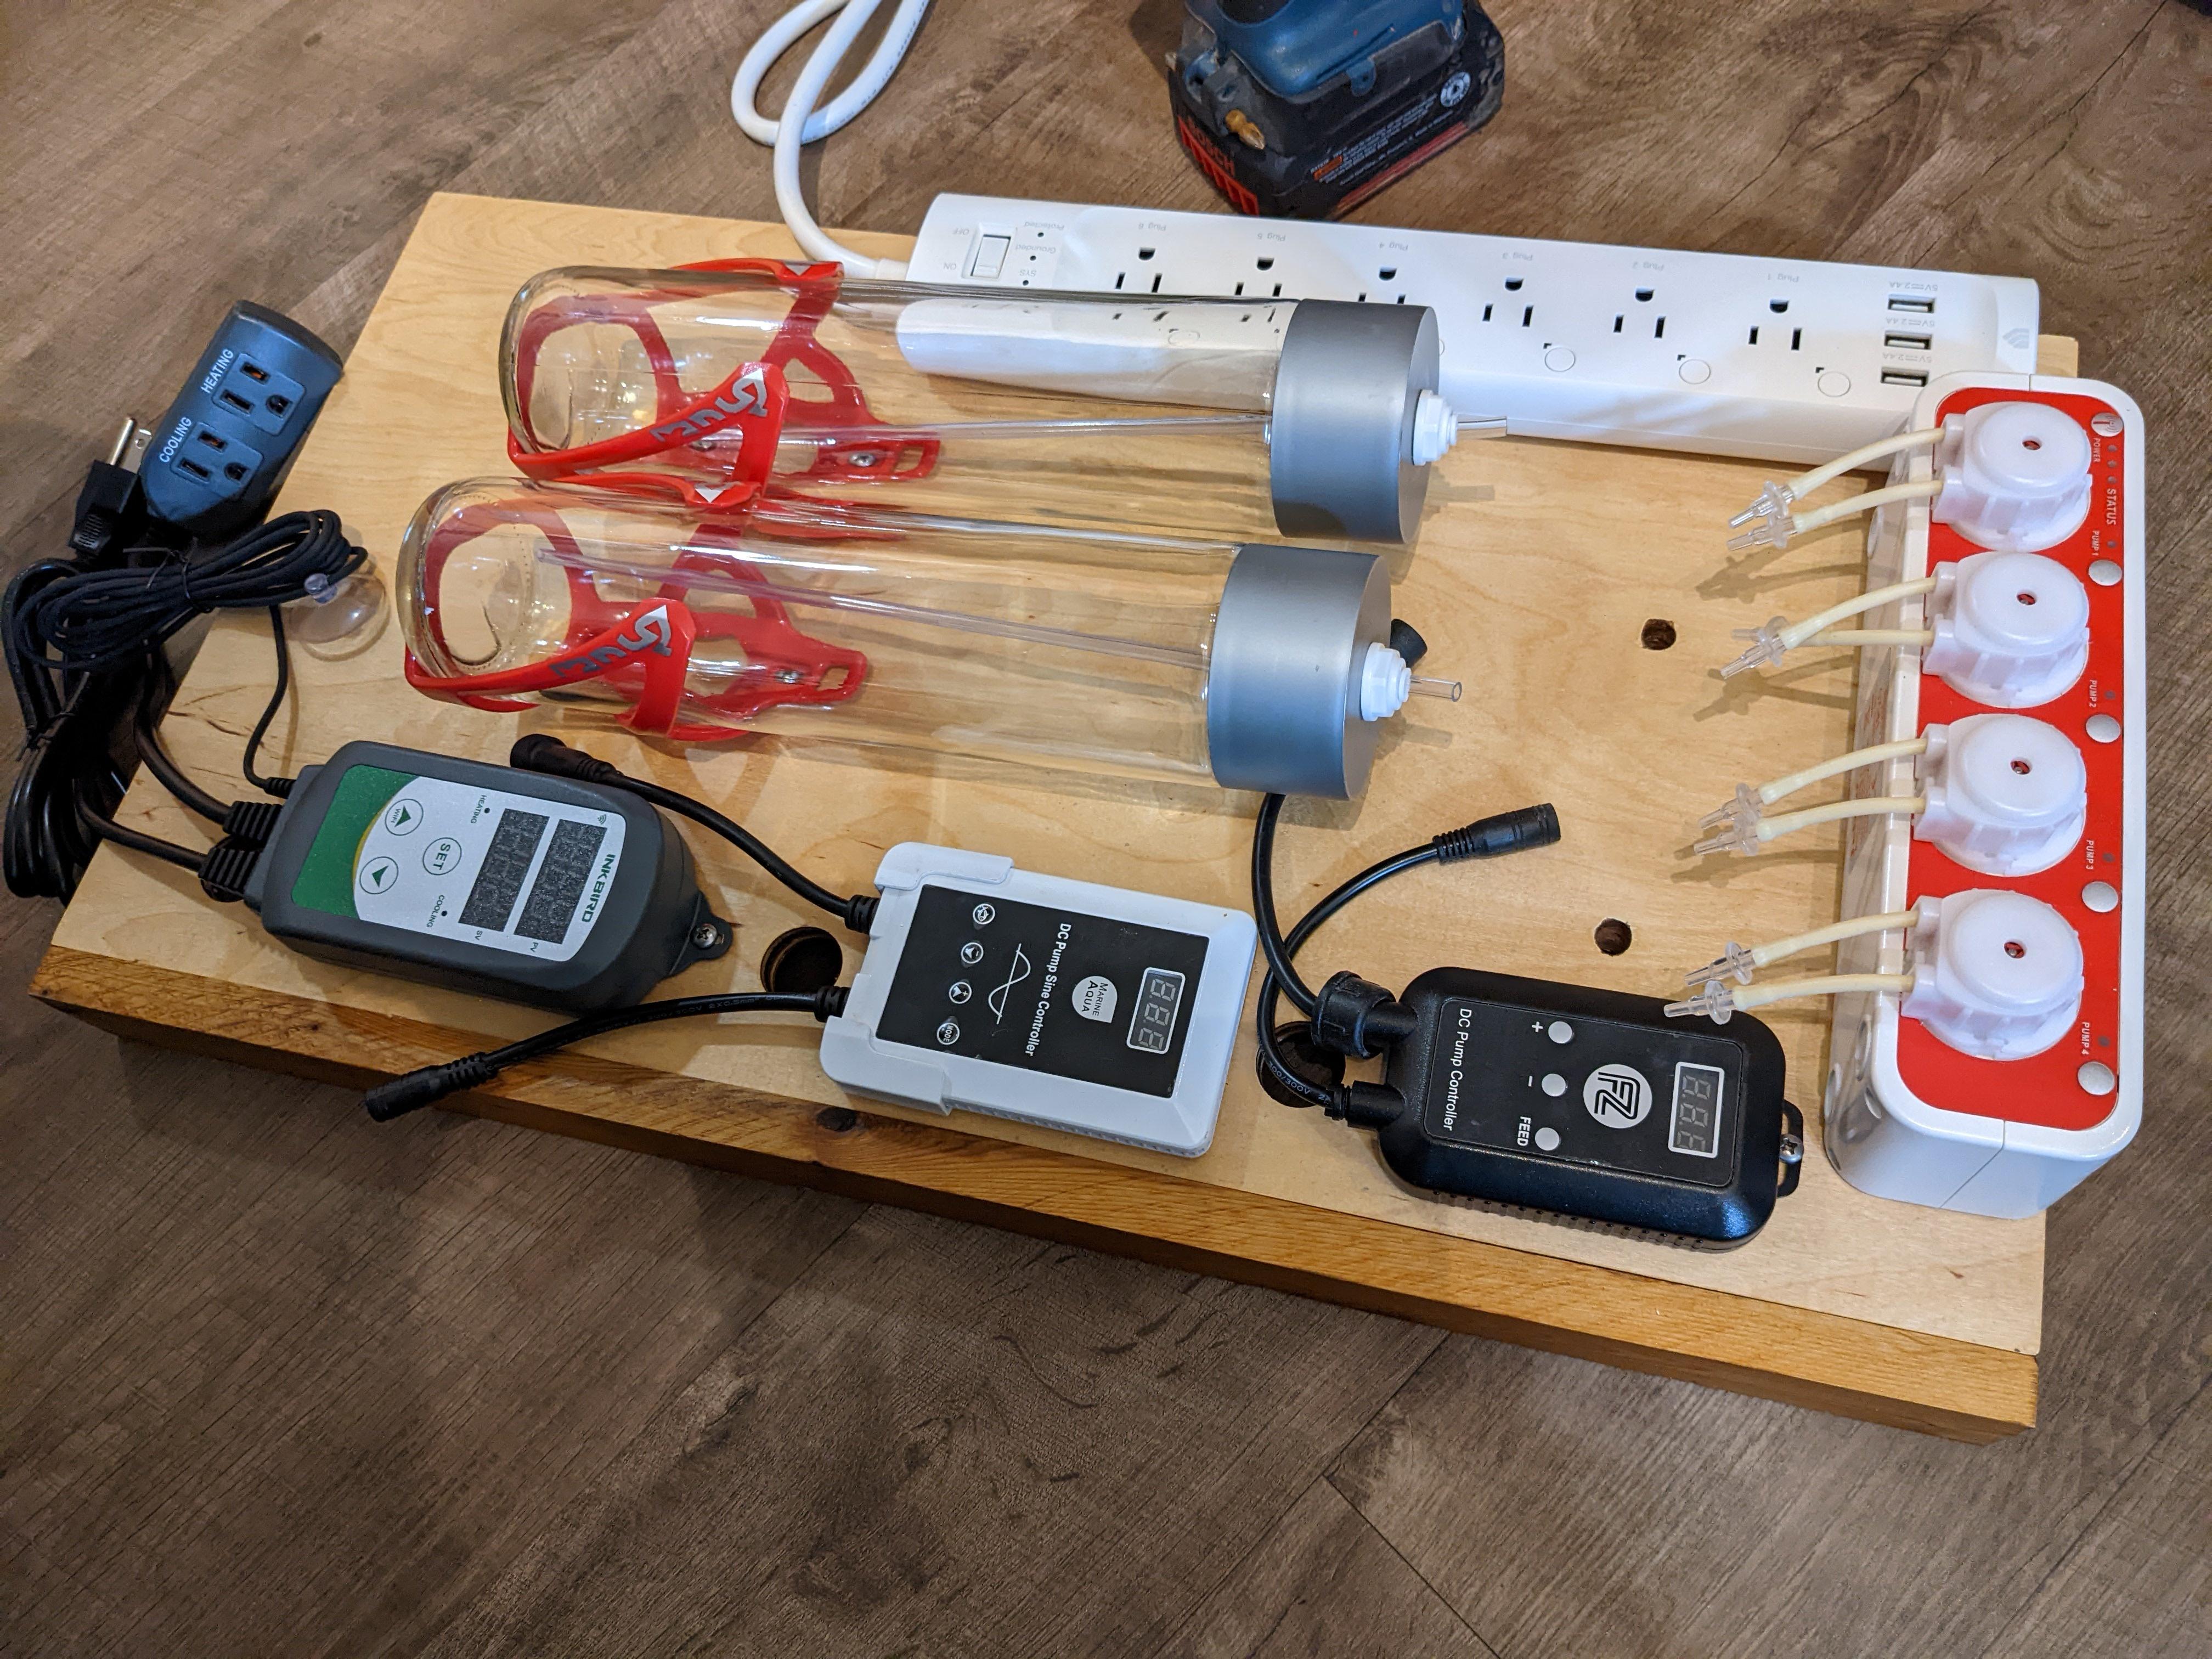
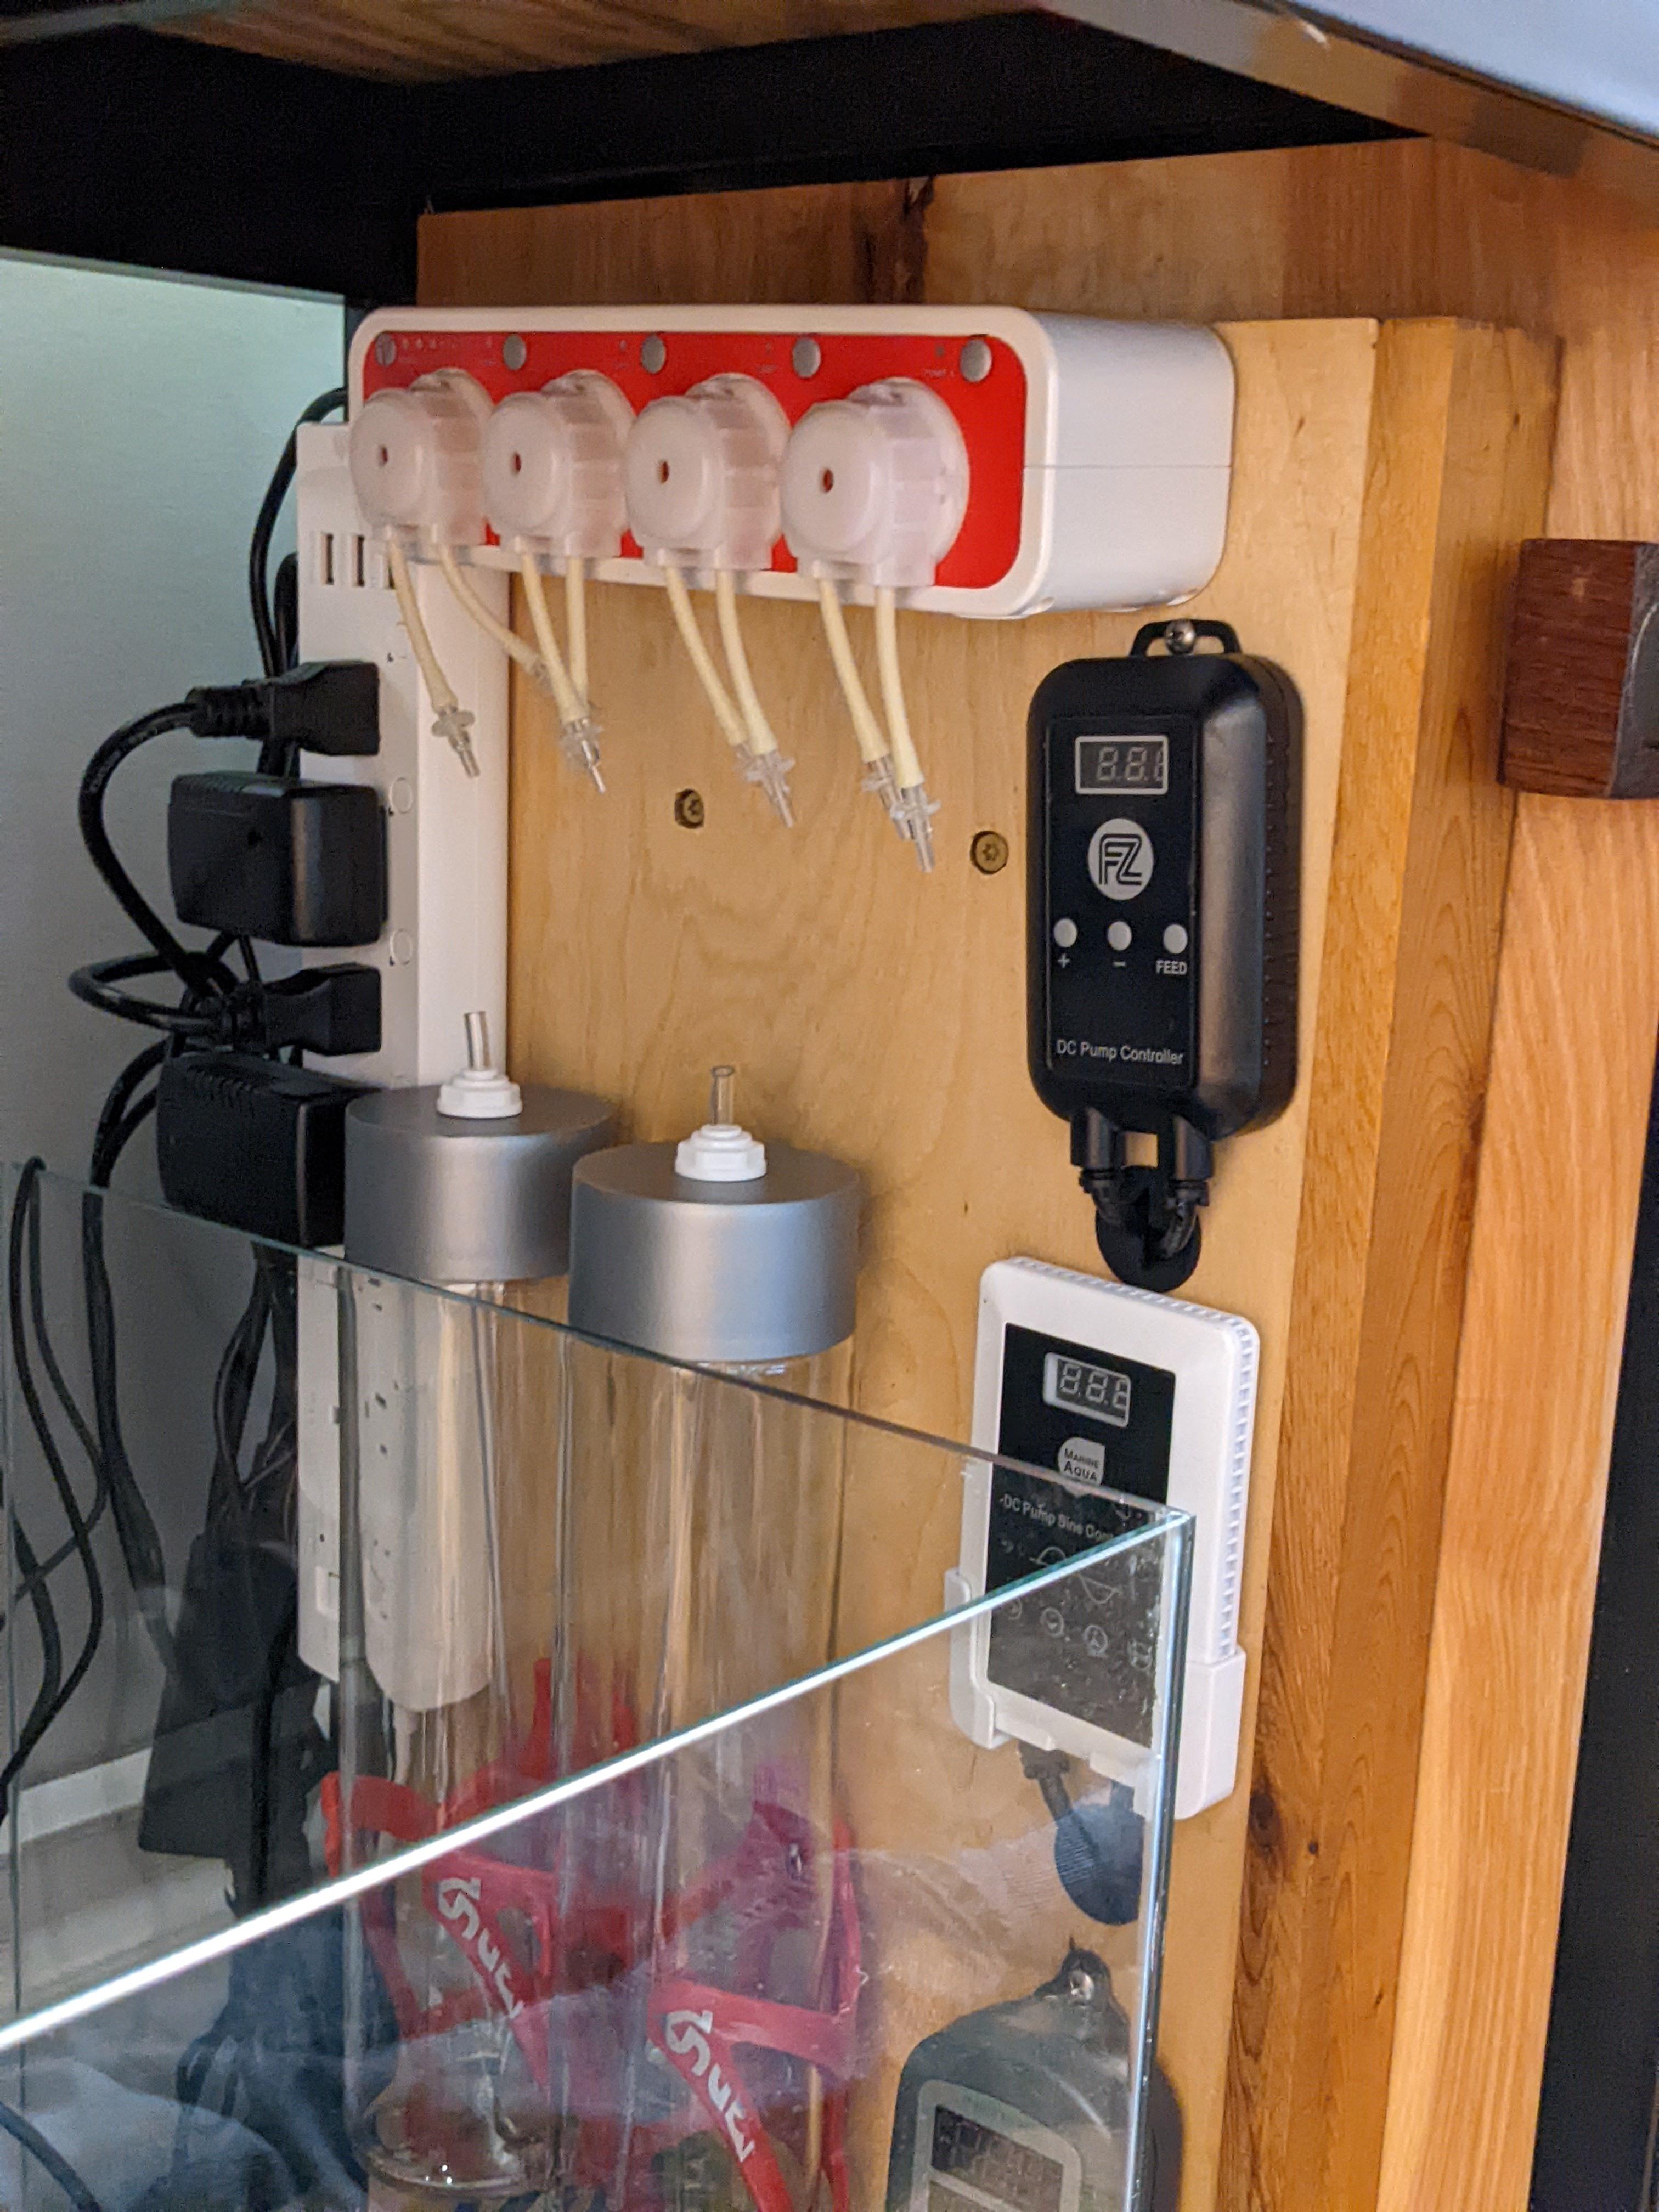
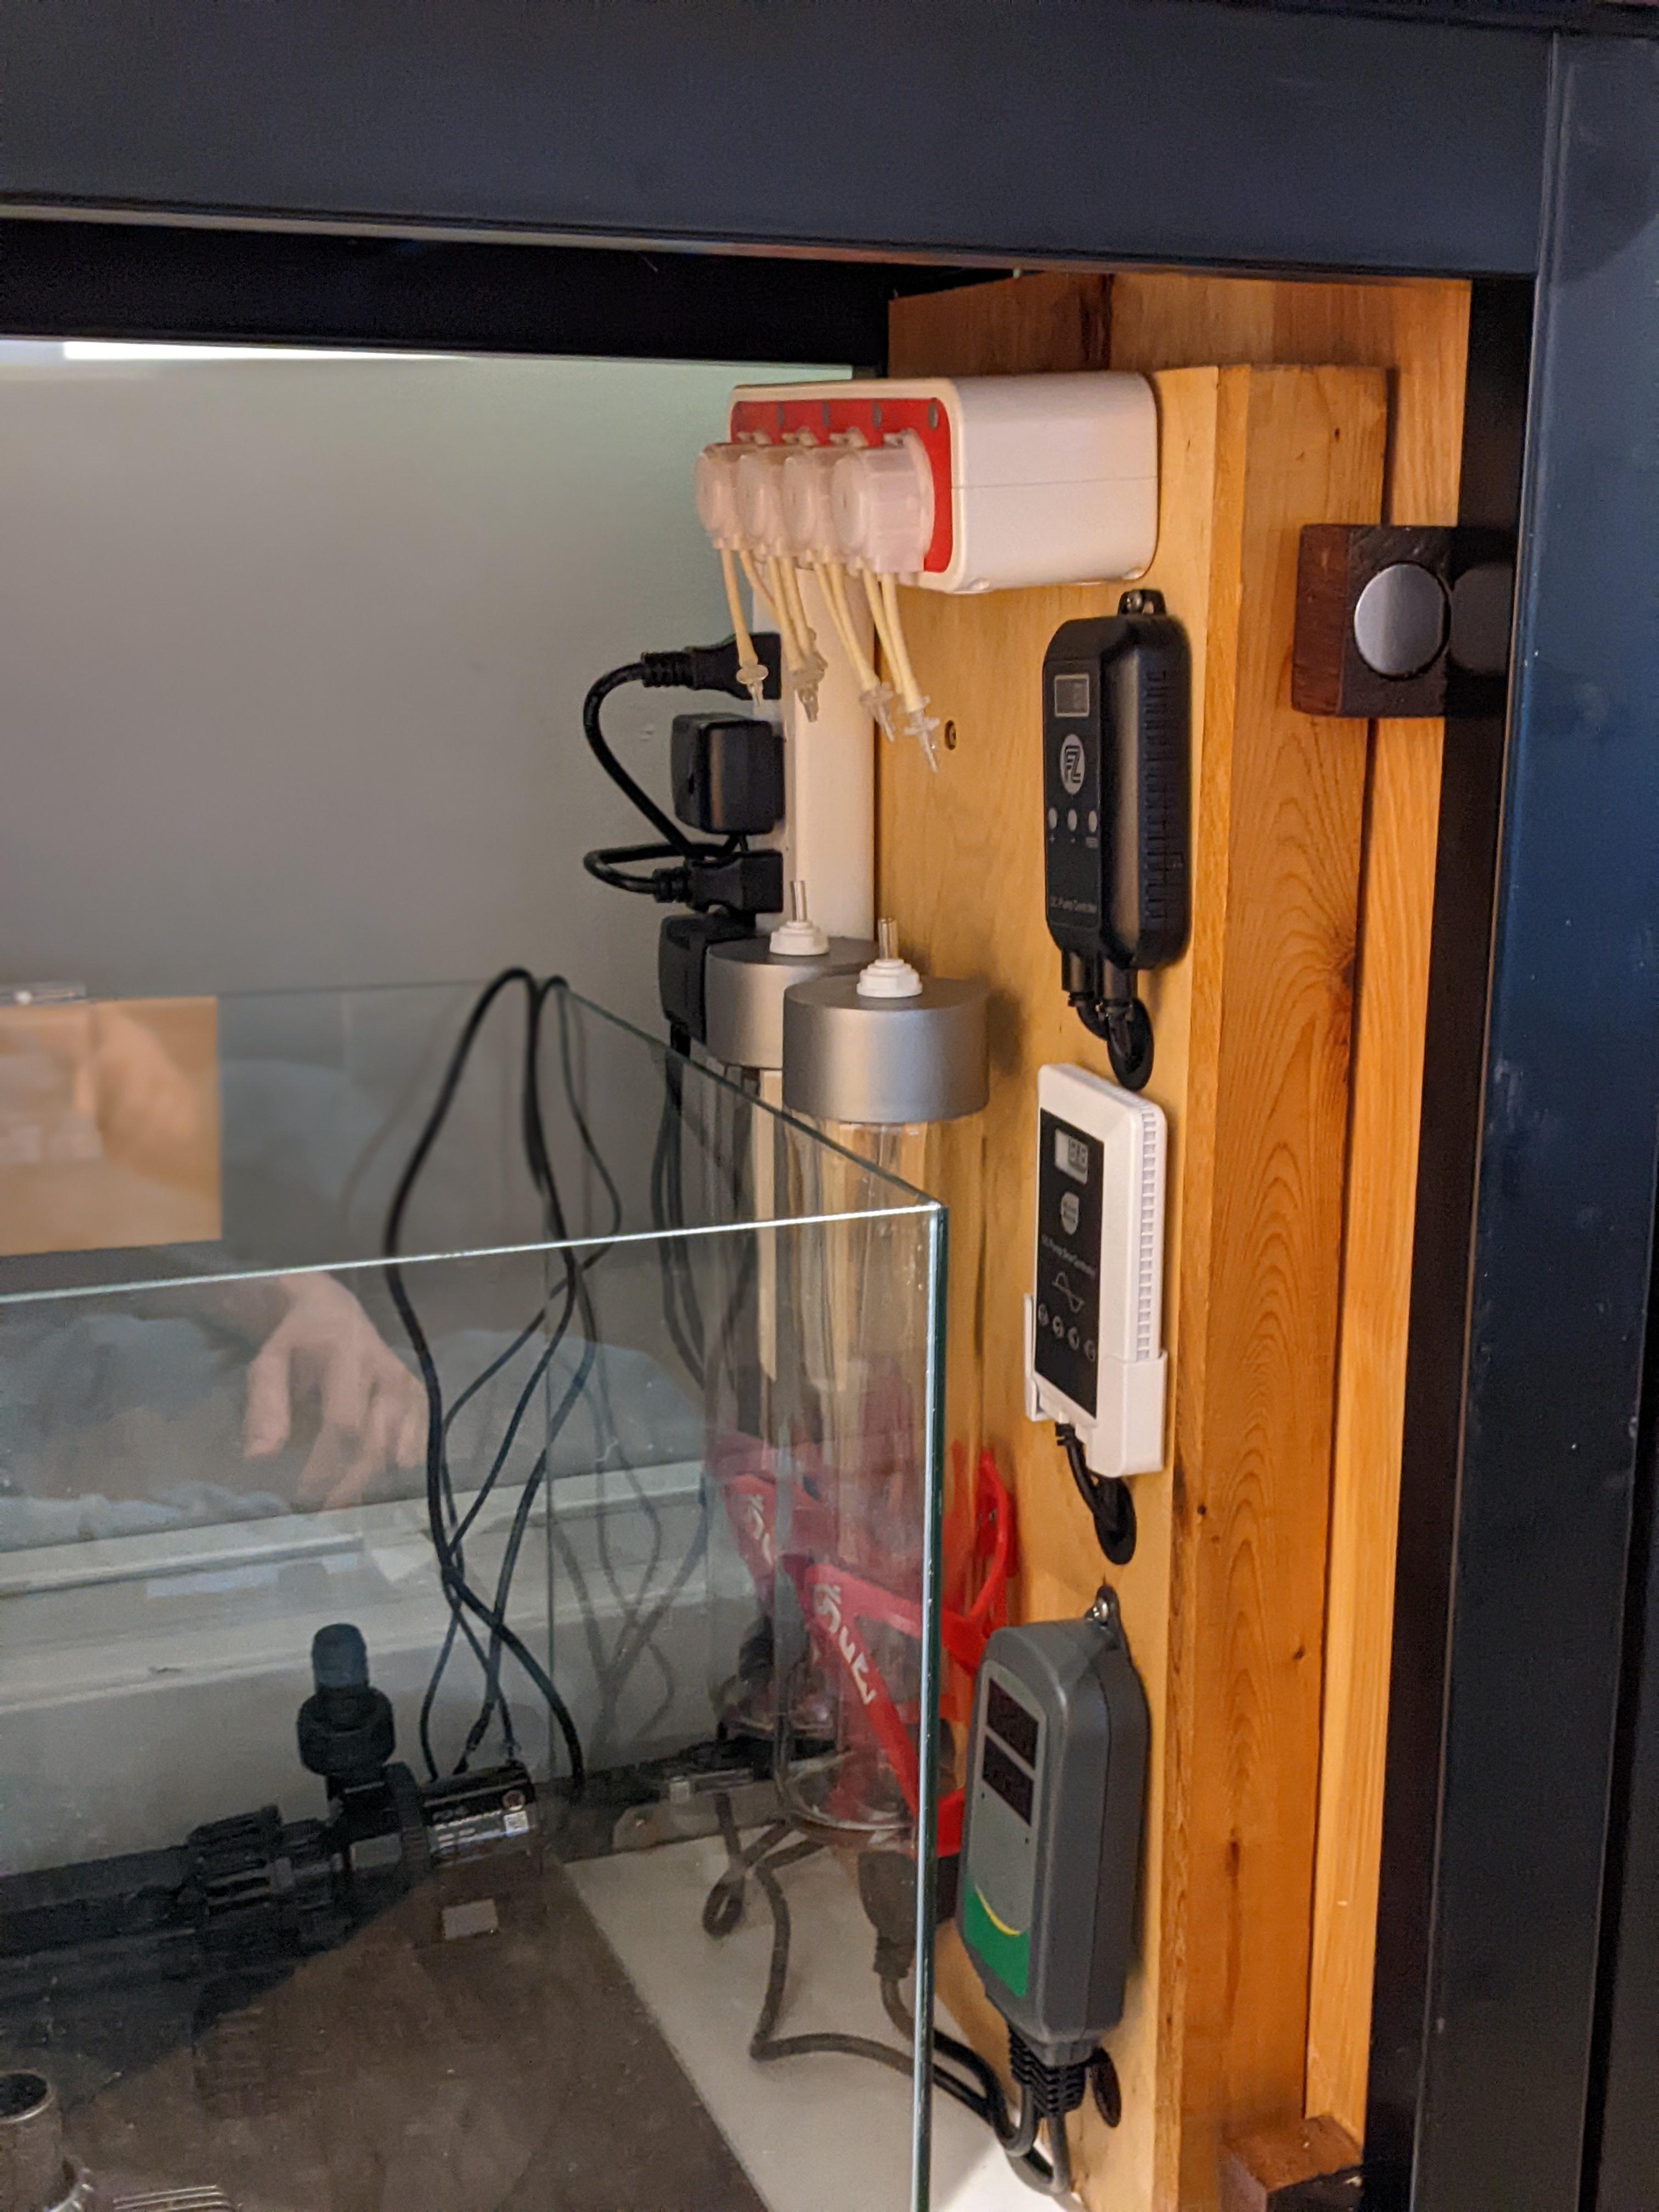
Another weird thing about this tank, I am going to be dosing fertilizer. The plants need a good mix of macro and micro nutrients to stay healthy. Most historical threads I have found using seagrass have solved this issue through fish poop, deep sand beds, and sometimes mud. The freshwater community used to solve their plant food issues this way as well. But more modern methods in freshwater has led to the formulation of fertilizers which have proved more successful and significantly cleaner. I am going to be dosing those fertilizers here. Specifically I will be using Nicolg Thrive dry salts and dosed according to the PPS-PRO method. My dosing bottles are Voss Water Bottles. I found that bike water bottle holders will hold these Voss bottles really well and will be using a pair to hold the dosing bottles on the side of the stand. The doser is a Jebao 3.4 WIFI Doser. I have this model doser on a freshwater tank and have found it to do a great job. The only problem is the wifi setup is truly atrocious. I had to create (and still keep) a guest 2.4ghz wifi in my house named.. WIFI, just to make it work. It's pretty annoying but once it was setup, its run without issue for more then 2 years now.
For heating... nothing. Seahorses apparently do better in the cold. Ideal temperature range is 68 to 72 degrees F. The room they are in runs in that same range year round. If anything I will be worried about my 2 dc pumps heating the water too much. If I can't keep it under 72 I will install a small fan over the sump to turn on when the temperature gets too hot. I use a small fan over the newt tank currently and let it run 24/7. It reduces the newt tank temperature to the mid 60s year round.
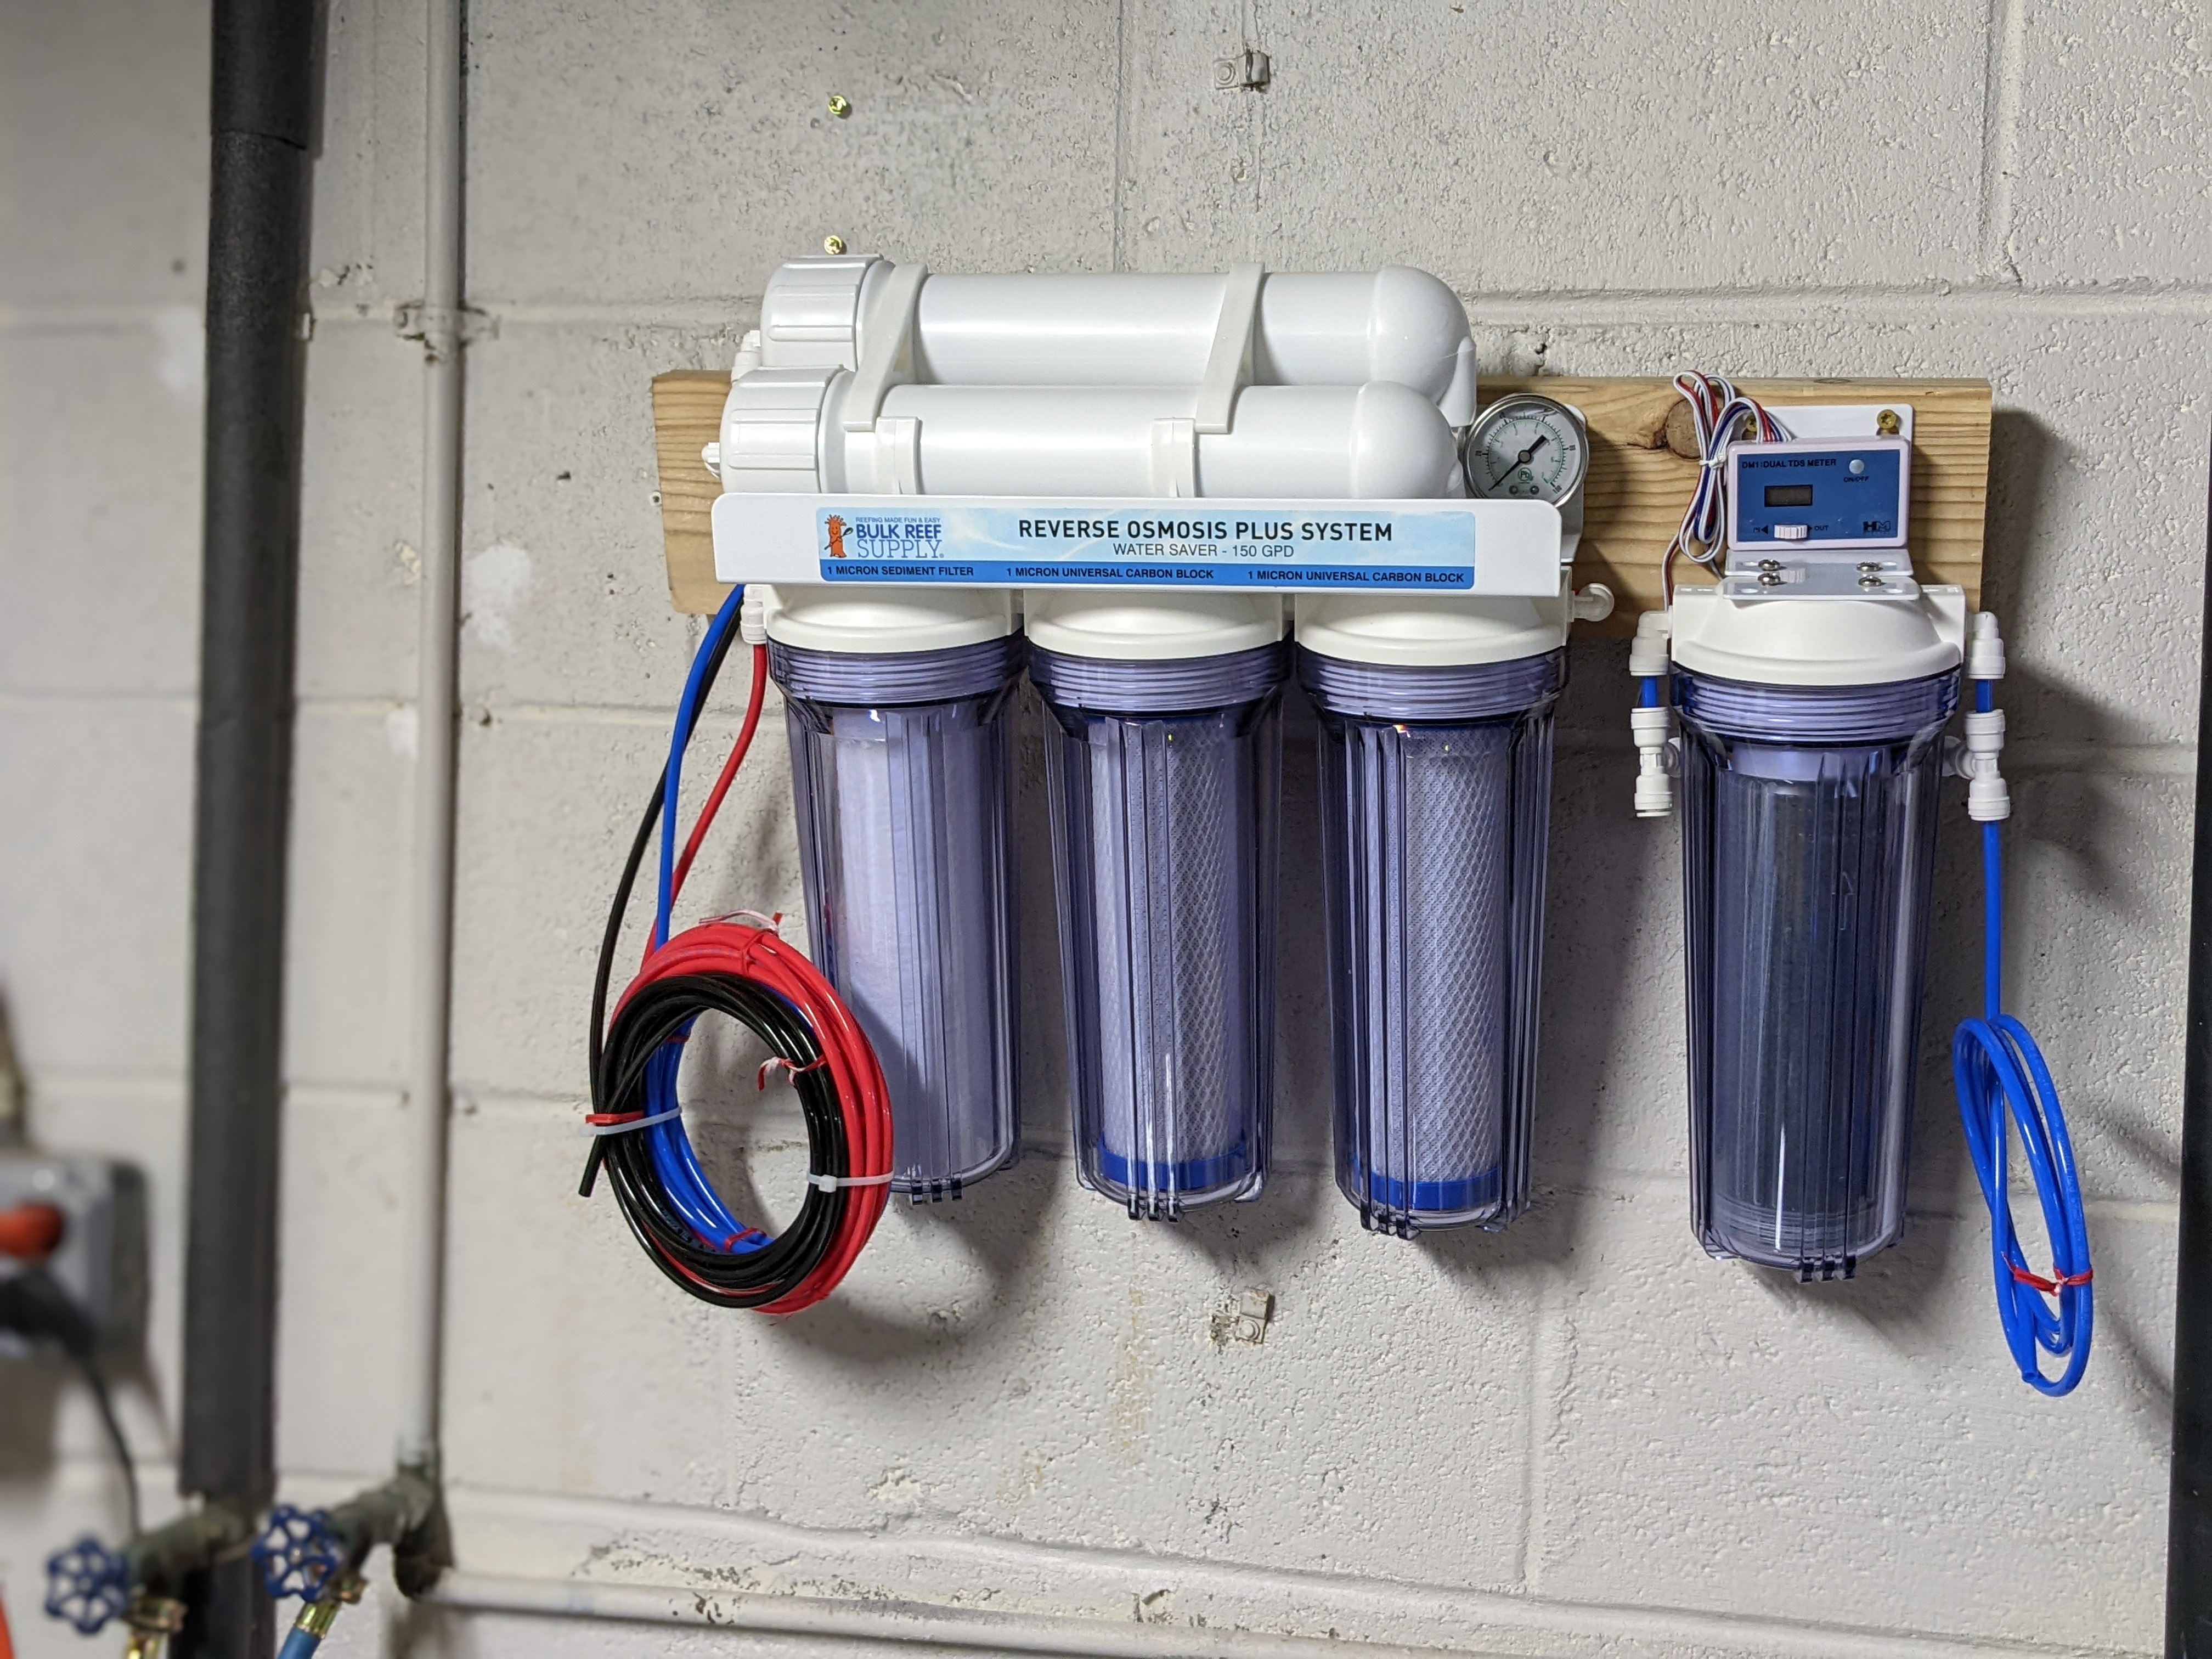
For water, I originally was going to just use tap water. But after a lot of thinking, and a bit of research, I decided to bite the bullet and get a RODI system. I bought the 5 stage water saver on BRS. I am on the Baltimore water system despite being 30 minutes outside of the city, and my water is surface water from a reservoir. My water is relatively soft with a TDS of 80-120 but its constantly changing with the seasons. So I figured better to be safe and just get a RODI.
My storage tanks are two 32 gallon BRUTE trash cans on wheels. I actually think my RODI is coming today so I'll take pictures of the setup once I get it installed.
And... I think that brings this up to current. I am pretty excited about this build and looking forward to learning more about saltwater as I go. I won't be rushing to add the seahorses either. After I get the tank up and running I will bring in the clean-up crew and get the hang of saltwater for a bit. After a few months of running the tank nice and stable, then I will bring in the seahorses.
This is going to be a bit different from most of the saltwater tanks on here and elsewhere because when I say it's a planted tank, I do not mean macro algae. This will be a true planted tank with Manatee Grass (Syringodium filiforme), Shoal Grass (Halodule wrightii), and Red Mangroves (Rhizophora mangle). The livestock will be a pair of seahorses (Hippocampus erectus) plus a pretty extensive clean up crew.
I have been waiting on doing this thread until I got my tank situation resolved. Originally I planned to literally make the tank myself. And in fact I did just that. The results however are horrific ;P I thought I could do a good job with the silicone but... not so much. So yesterday I ordered the tank from Glass Cages. The tank will be rimless and 24"x18"x24"H with black silicone. I went with Glass Cages mostly because of all the positive recent reviews with their changes in quality control and customer service. So with the tank situation sorted it was time to start this build journal.
As a bit about me, I have decades of experience with freshwater tanks but zero experience with saltwater. So this whole thing will be an adventure for me. I have always admired saltwater tanks but the idea of actually taking care of the corals has not (and still does not) appeal to me. Freshwater planted tanks on the other hand have been a passion of mine for the last few years.
So when I was at the Baltimore Aquarium last year and saw an exhibit consisting of seahorses with live seagrass, I was completely entranced. I took a few pictures, but you can't really see the seagrass other then a field of green in the background:
The exhibit really stuck in my mind, and after some research, I decided I wanted to replicate the idea, but make it even better.
First thing to consider was placement. I wanted the tank to go into my office next to my Freshwater High Tech Newt Tank. This is why the Seahorse tank has the 24x18x24 dimensions. I wanted it to match the footprint of the Newt Tank but with more vertical space for the Seahorses (since they are apparently one of those weird fish that actually prefer vertical space over horizontal). The Newt Tank is sitting on a 40 gallon petco metal stand that I heavily modified. In order for the Seahorse tank to match I needed to replicate the stand.
After purchasing the stand and assembly, I drilled and tapped holes in the bottom of the stand and used grade 8 bolts and steel brackets to attach steel C channel to run the width of the stand. This will be the support for a shelf that will hold the sump. I also attached plywood to the sides for both aesthetic and subsequent plumbing attachment purposes. The door I made is held on with magnets so its pretty easy to remove.
The stand is designed for a rimmed 40 breeder to sit directly on top. But the Seahorse tank, like the Newt Tank, is a rimless tank and has a smaller footprint. So I needed to make a top for it.
For the Newt Tank I made a poured concrete top, and that's what I did for the Seahorse tank as well. First thing to do was make the form out of 3/4 melamine.
Then I mixed up a batch of Rapidset Mortar Mix, added some color, and poured it.
Somewhere along the way my maths were all messed up. I thought 3/4 of a bag of mortar would be enough for the whole thing but it was a bit short. So I needed to very quickly mix up another partial bag and pour that as well (the stuff sets up in like 20 minutes). In my rush I did not mix in enough coloring agent so the result was a very ugly top ;P I decided to fix the issue by painting it.
And here is the whole stand next to the Newt Tank.
As far as the rest of the equipment plan. Well I have ordered a LOT of stuff and its trickling in now:
The plan for the filtration will be a diy sump which will just be a regular Aqueon 20H. It will have a roller filter (hopefully the new Red Sea ReefMat when it is released) and 2 return pumps. One return pump will go directly to the tank. The other will have a bypass which will include a CO2 Reactor (for all the plants) and a 15w Aqua Ultraviolet UV Sterilizer. I'll have a ball valve on the bypass and the main line to control flow through the reactor/uv.
When I get the tank from Glass Cages I will drill it for use with a 1200 g/h Modular Marine overflow as well as two 3/4" returns. The overflow will have bean animal style plumbing. For the returns I purchased a pair of random flow generators.
In order to light the tank I will be building a bracket on the wall that will overhang the tank out of 3/8" galvanized steel pipe. The light itself will be a used Viparspectra I will be buying from an acquaintance.
The ATO will be a 5 gallon plastic jerry can (I am going to have space issues) and a gravity fed float valve installed with an over the rim hanging bracket.
Another weird thing about this tank, I am going to be dosing fertilizer. The plants need a good mix of macro and micro nutrients to stay healthy. Most historical threads I have found using seagrass have solved this issue through fish poop, deep sand beds, and sometimes mud. The freshwater community used to solve their plant food issues this way as well. But more modern methods in freshwater has led to the formulation of fertilizers which have proved more successful and significantly cleaner. I am going to be dosing those fertilizers here. Specifically I will be using Nicolg Thrive dry salts and dosed according to the PPS-PRO method. My dosing bottles are Voss Water Bottles. I found that bike water bottle holders will hold these Voss bottles really well and will be using a pair to hold the dosing bottles on the side of the stand. The doser is a Jebao 3.4 WIFI Doser. I have this model doser on a freshwater tank and have found it to do a great job. The only problem is the wifi setup is truly atrocious. I had to create (and still keep) a guest 2.4ghz wifi in my house named.. WIFI, just to make it work. It's pretty annoying but once it was setup, its run without issue for more then 2 years now.
For heating... nothing. Seahorses apparently do better in the cold. Ideal temperature range is 68 to 72 degrees F. The room they are in runs in that same range year round. If anything I will be worried about my 2 dc pumps heating the water too much. If I can't keep it under 72 I will install a small fan over the sump to turn on when the temperature gets too hot. I use a small fan over the newt tank currently and let it run 24/7. It reduces the newt tank temperature to the mid 60s year round.
For water, I originally was going to just use tap water. But after a lot of thinking, and a bit of research, I decided to bite the bullet and get a RODI system. I bought the 5 stage water saver on BRS. I am on the Baltimore water system despite being 30 minutes outside of the city, and my water is surface water from a reservoir. My water is relatively soft with a TDS of 80-120 but its constantly changing with the seasons. So I figured better to be safe and just get a RODI.
My storage tanks are two 32 gallon BRUTE trash cans on wheels. I actually think my RODI is coming today so I'll take pictures of the setup once I get it installed.
And... I think that brings this up to current. I am pretty excited about this build and looking forward to learning more about saltwater as I go. I won't be rushing to add the seahorses either. After I get the tank up and running I will bring in the clean-up crew and get the hang of saltwater for a bit. After a few months of running the tank nice and stable, then I will bring in the seahorses.