OP
OP
Update!
Its been a few months since I last updated. Most of this was a misunderstanding on my part for when the tank would be ready.
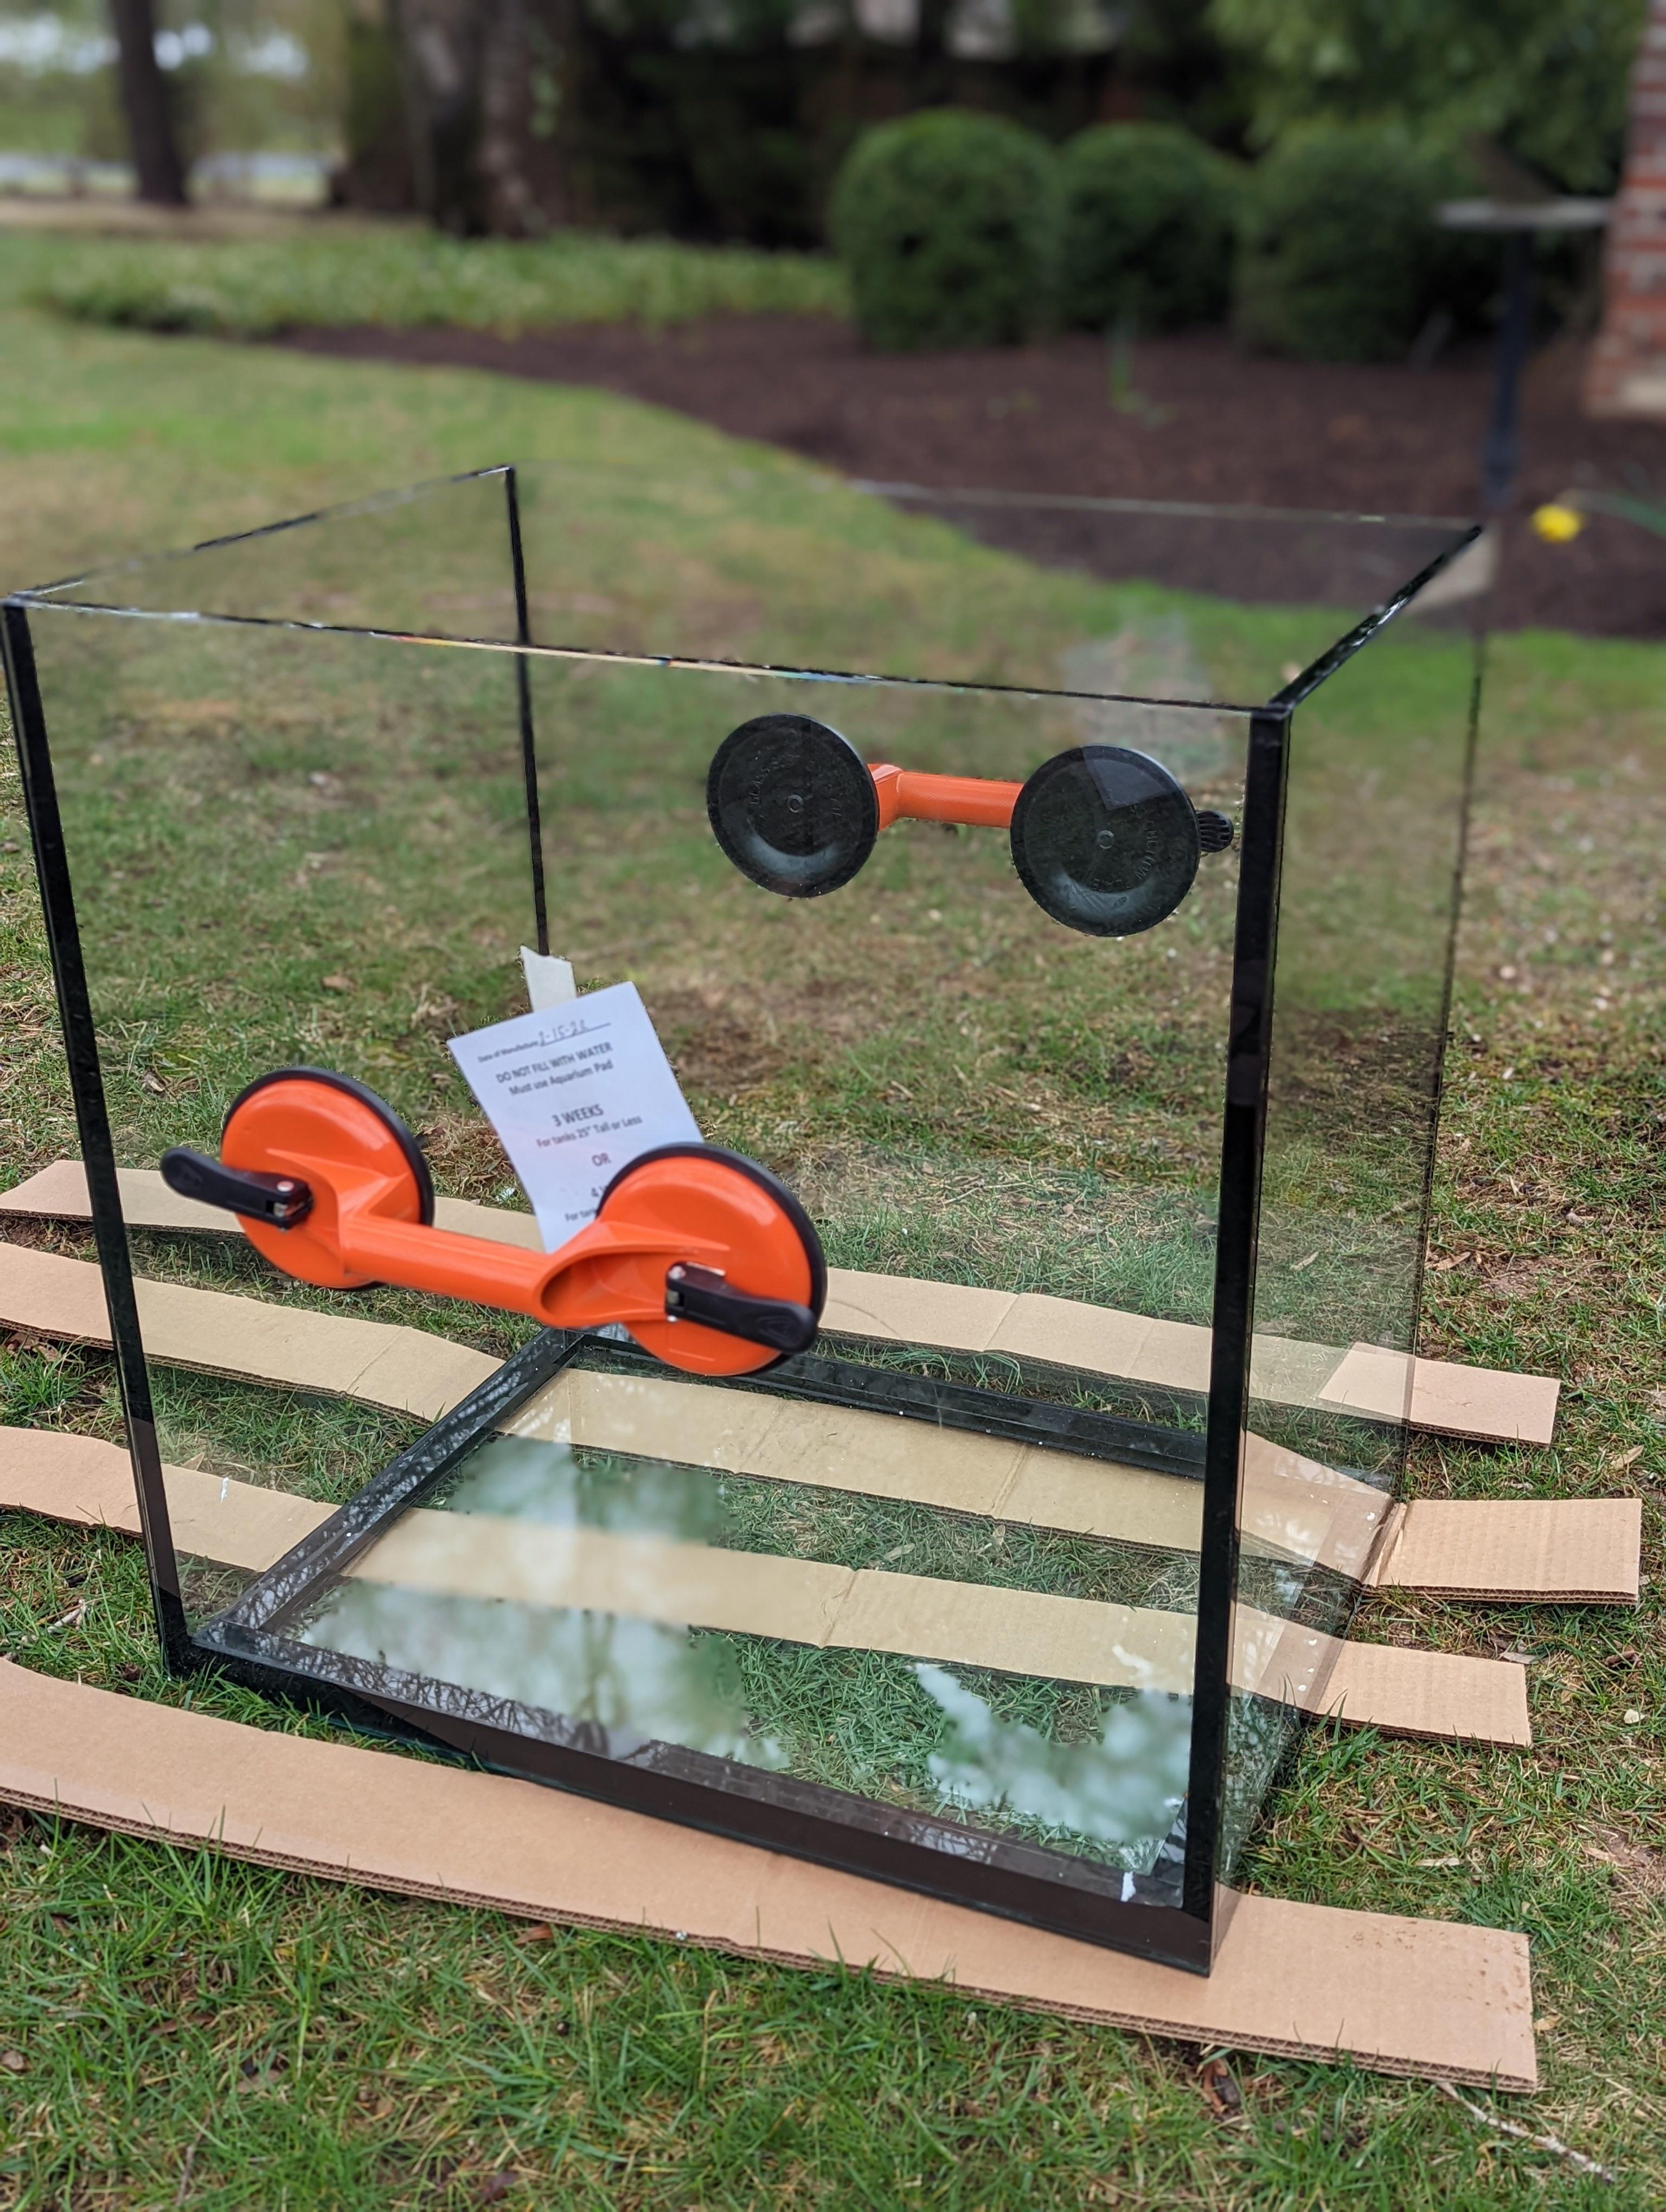
But the wait is over, the tank is in! I got it a week or so ago actually. I had it delivered to the nearest terminal. I had never picked up something at a freight terminal before but it was essentially no big deal. I just showed up, and asked the lady in the office where to go and a nice man with a fork lift came out with the tank strapped to a pallet. I came prepared to remove it from the pallet with some tin snips and glad I did. After it was disconnected I used some handled glass suction cups to lift the tank off and into my car. Once home this is how it looked:
The silicone was definitely not perfect, but it wasn't terrible. The corners all had oopsies in them like this:
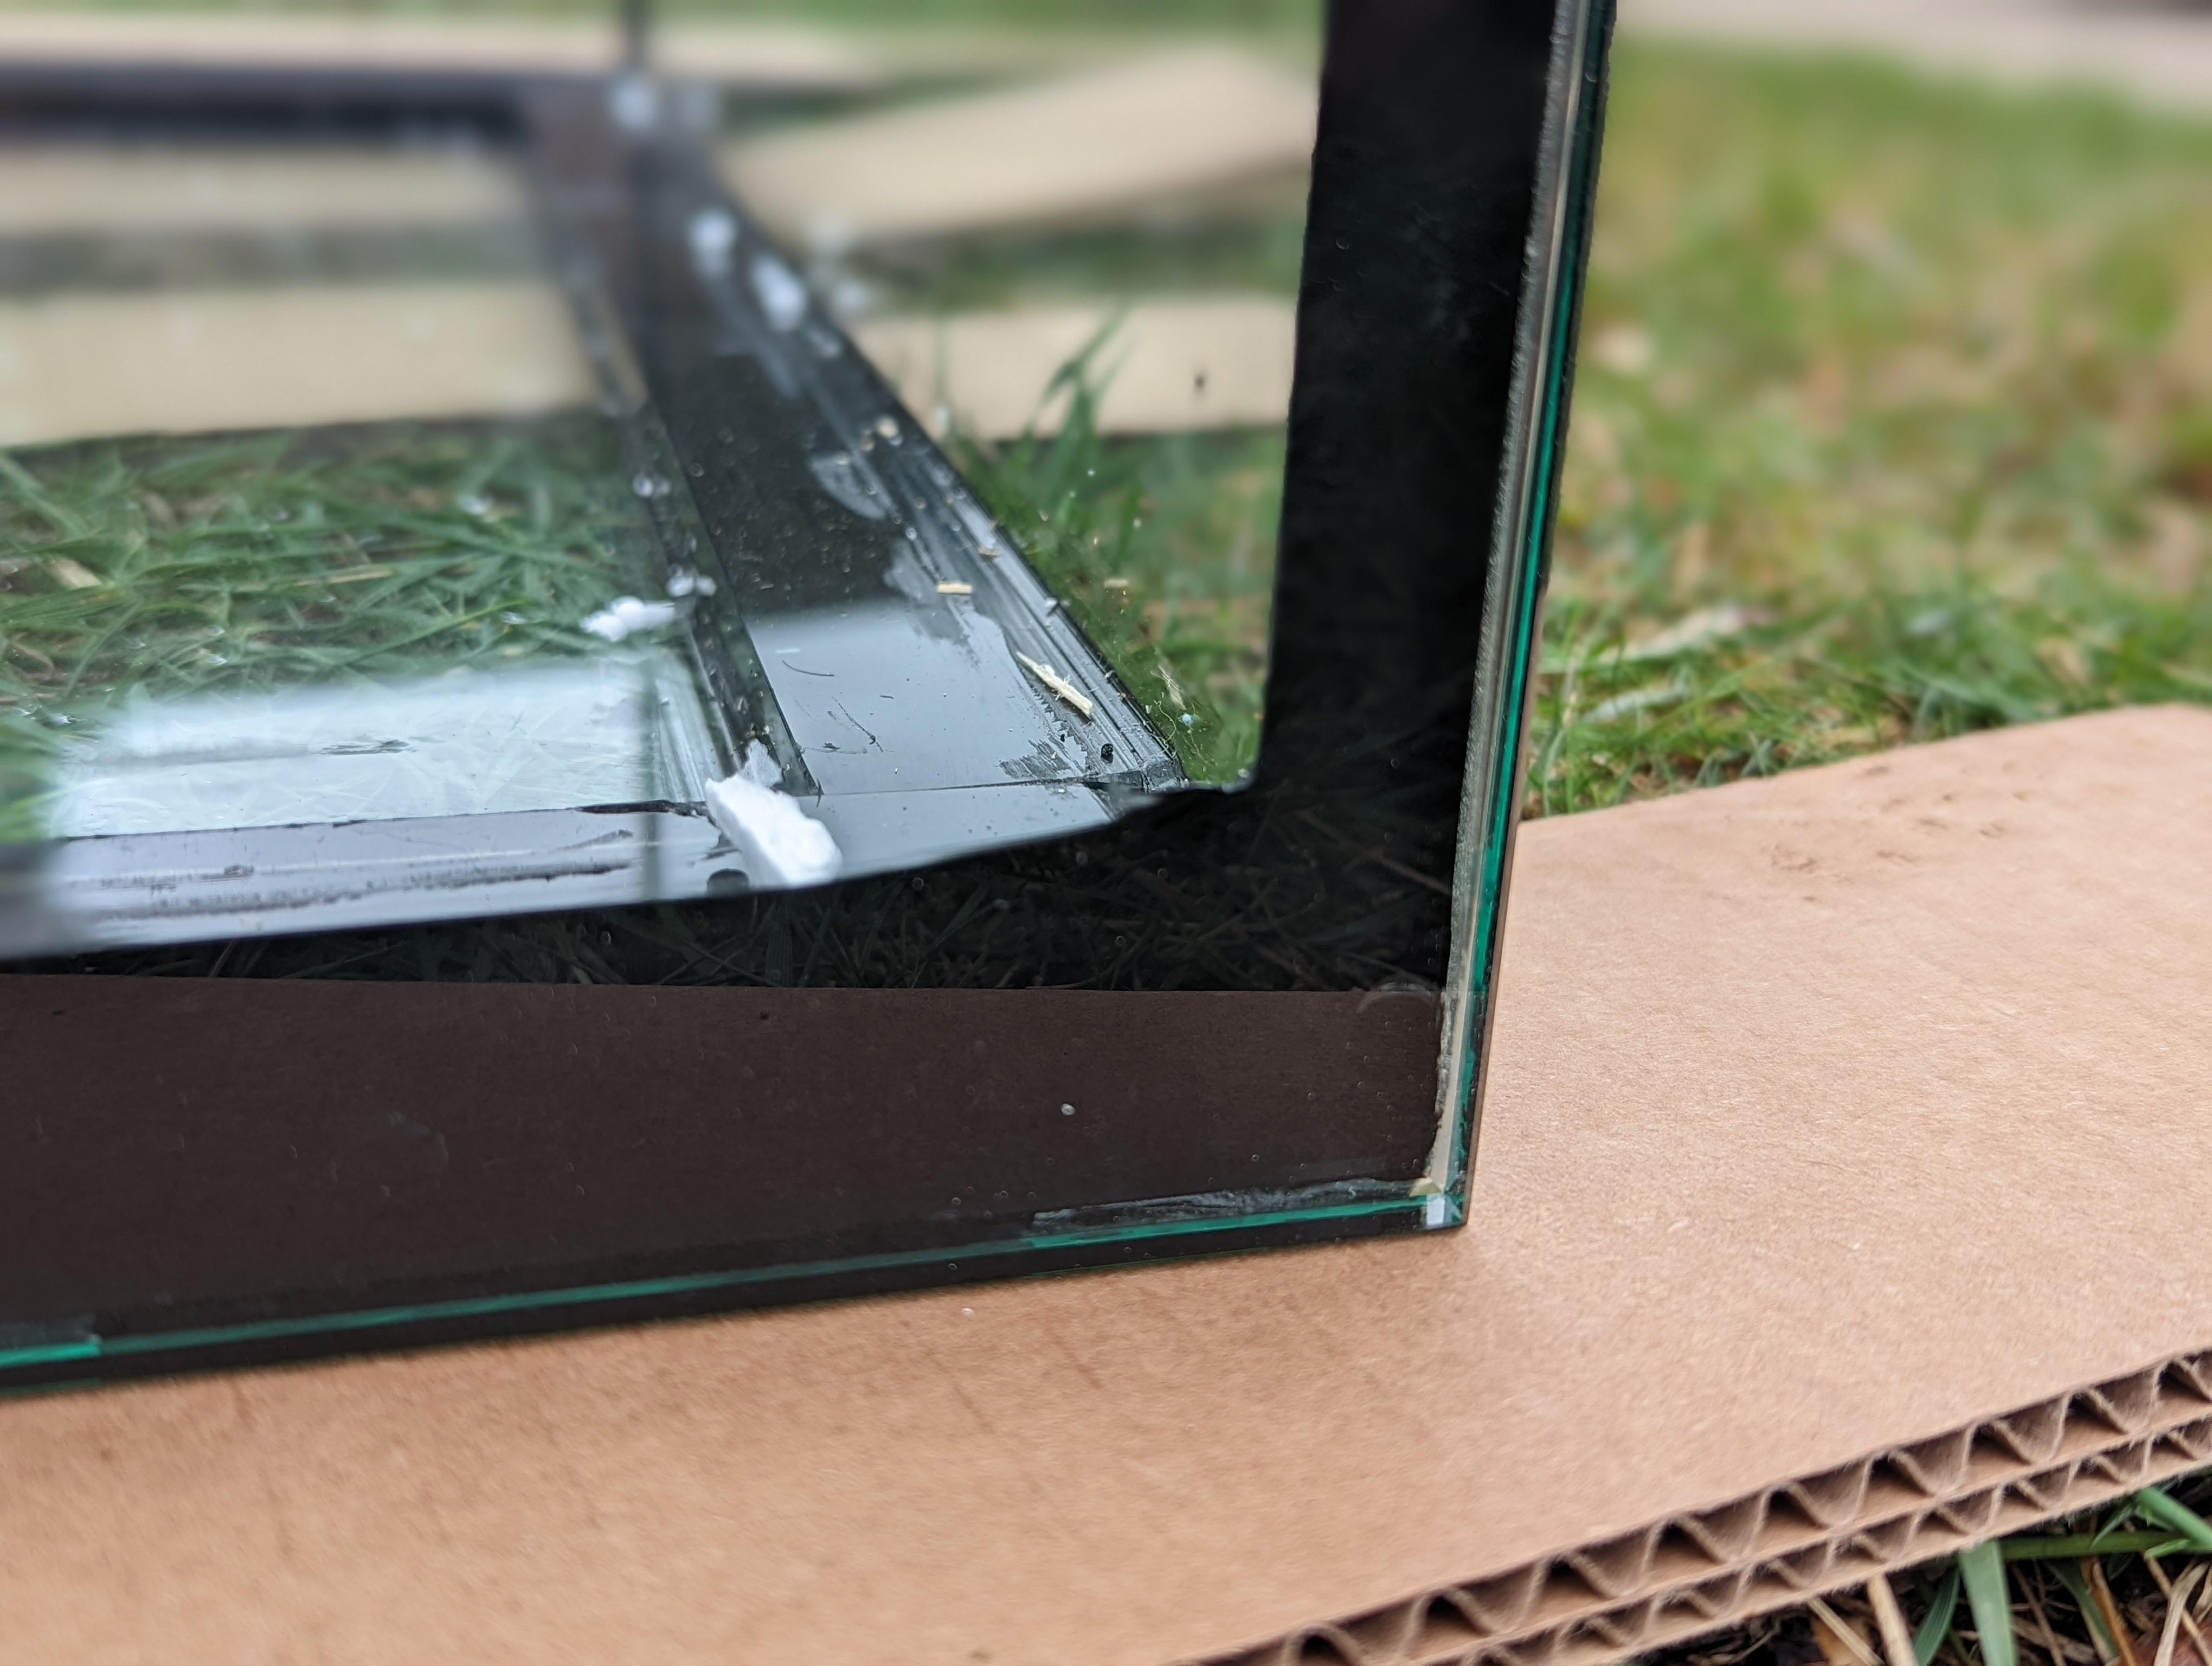
In some places the silicone filled out the outside chamfer, and in other places it did not. Overall, I would say the silicone work was markedly better then an aqueon black framed aquarium but not quite as nice as the new aqueon frameless aquariums if that gives people an idea of what we are talking about. The tank however was quite sturdy and delivered without scratches, so it was time to accept it and move on.
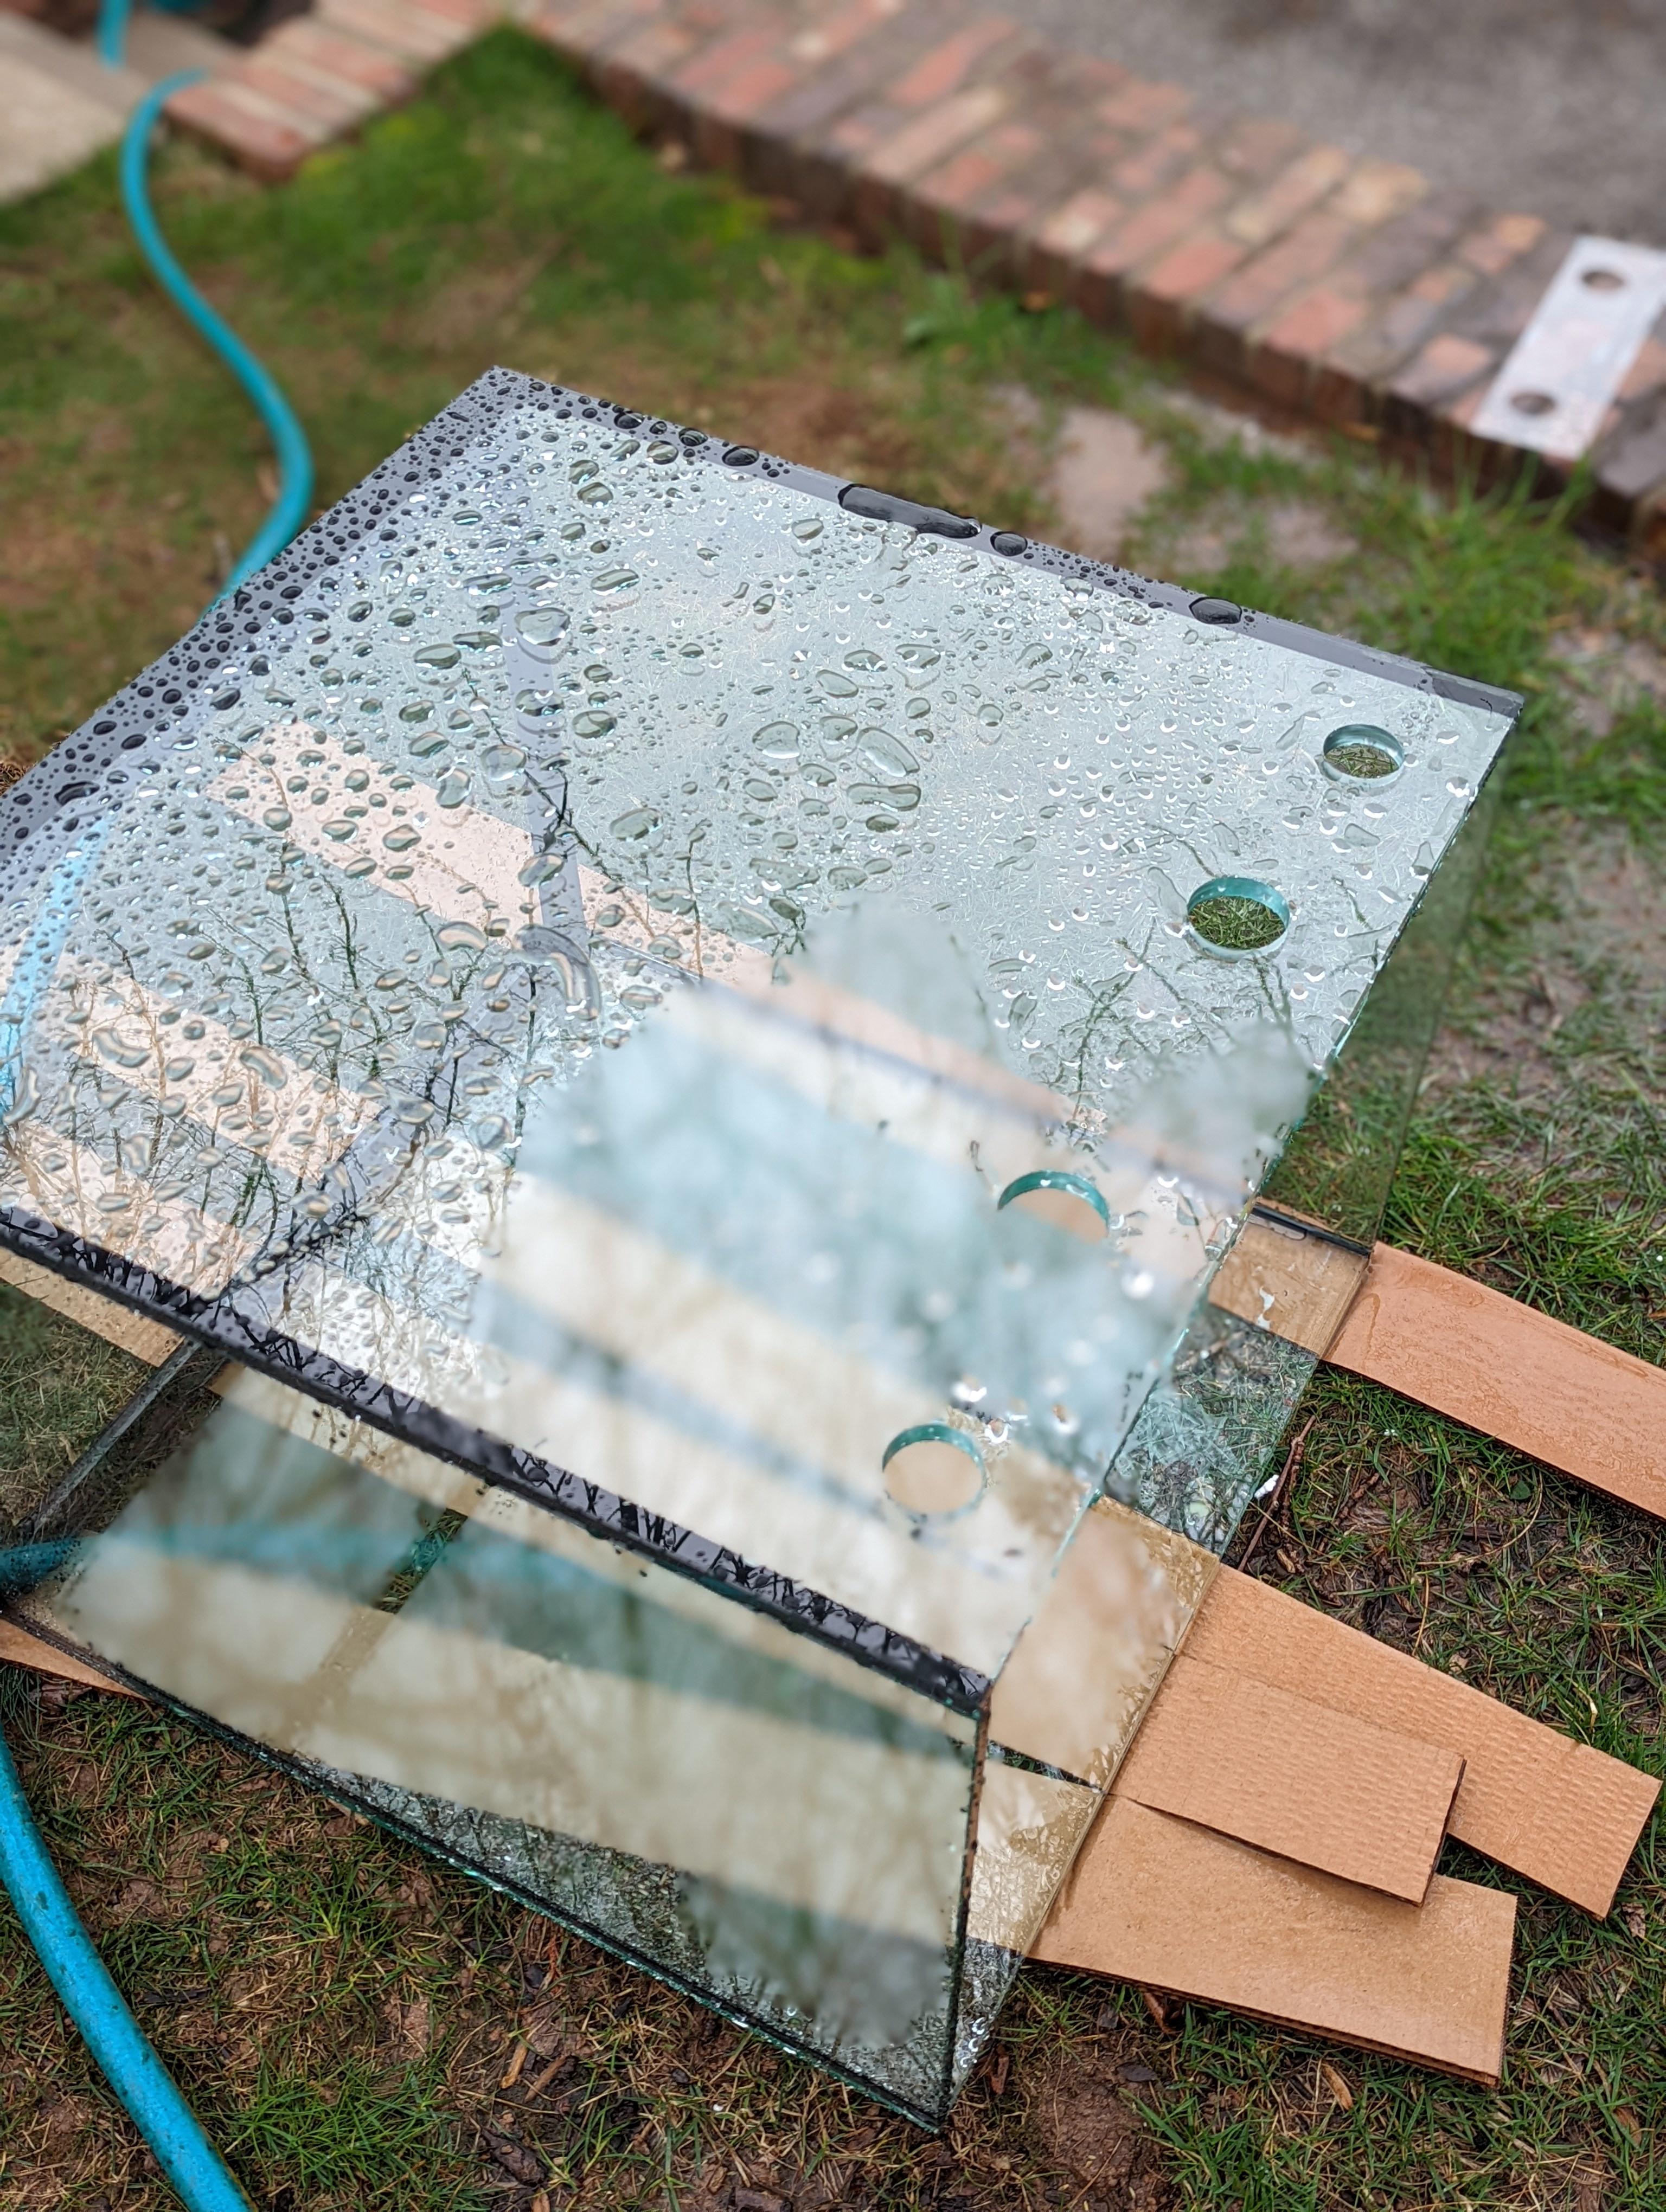
First step was to drill holes for the overflow and return. I am using a modular marine overflow and it came with its own template. The drilled proceeded relatively ok with only one incident of decent chipout but not enough to effect a bulkhead seal.
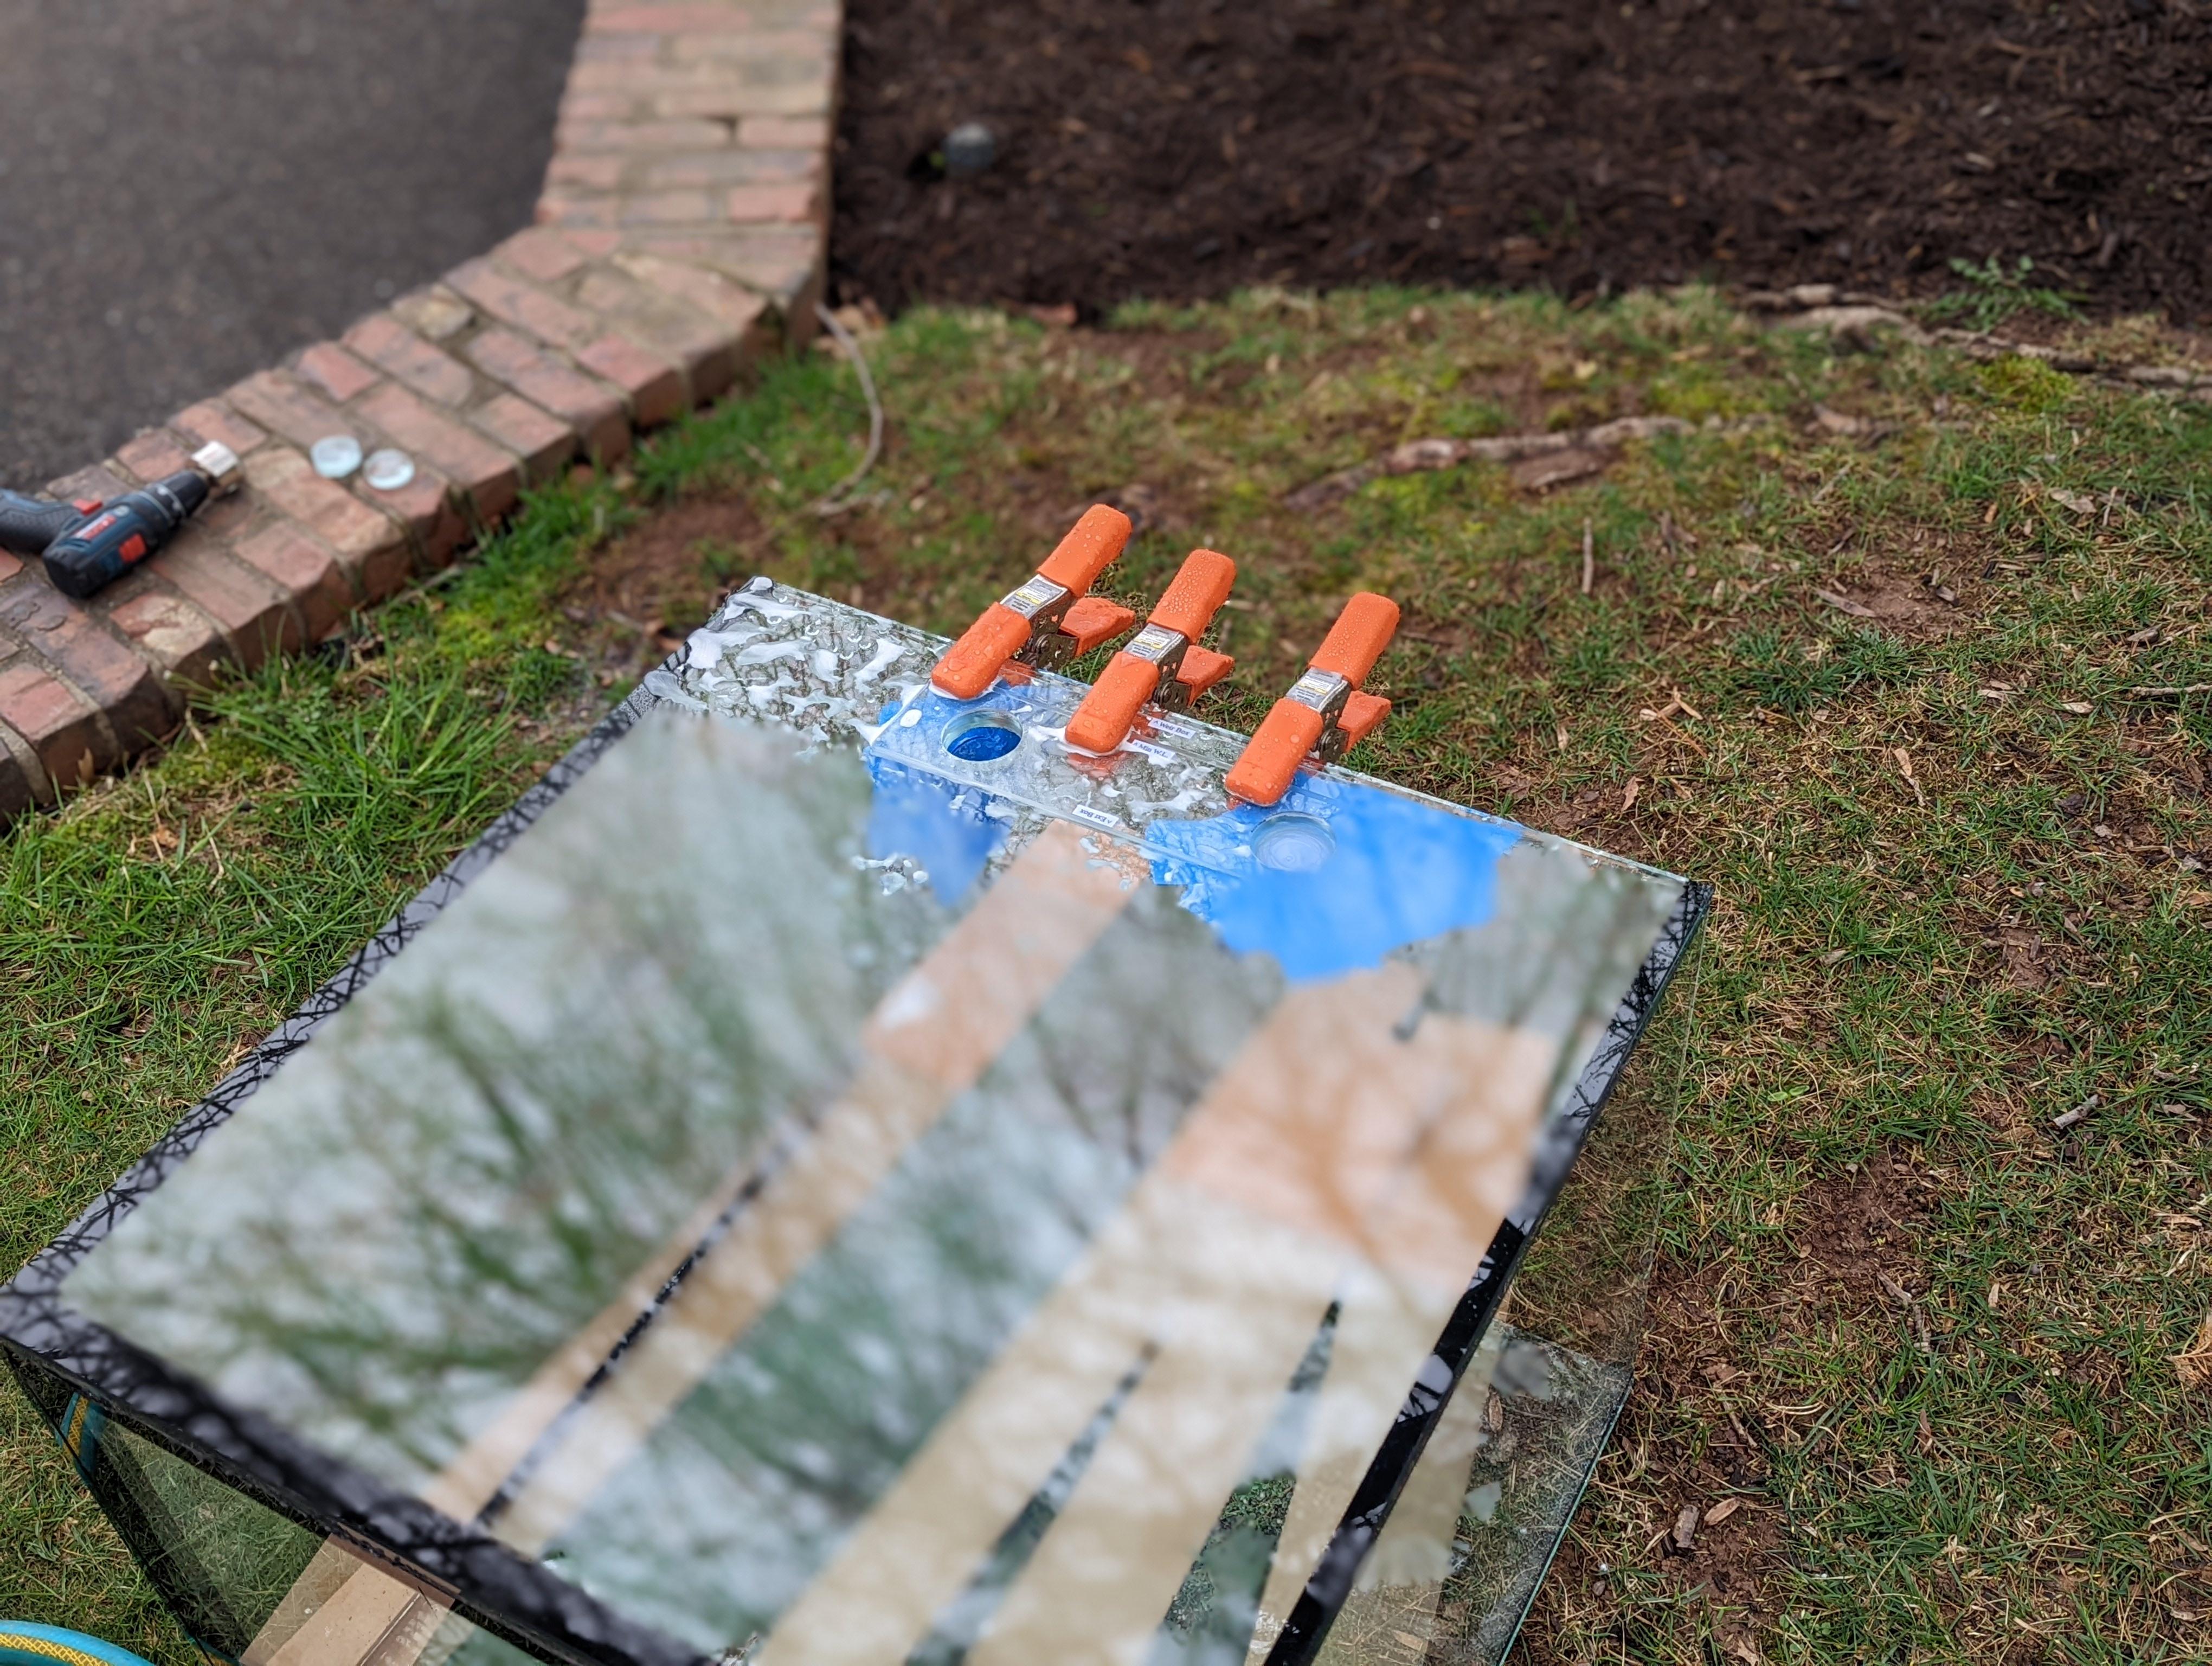
After that I drilled the return holes:
Next I wanted to paint the back of the tank black. I previously did a test of chalkboard paint and flat black and could not honestly tell any marked difference between the two. So I proceeded to paint the back with rustoleum flat black paint. Here is how the first coat looked:
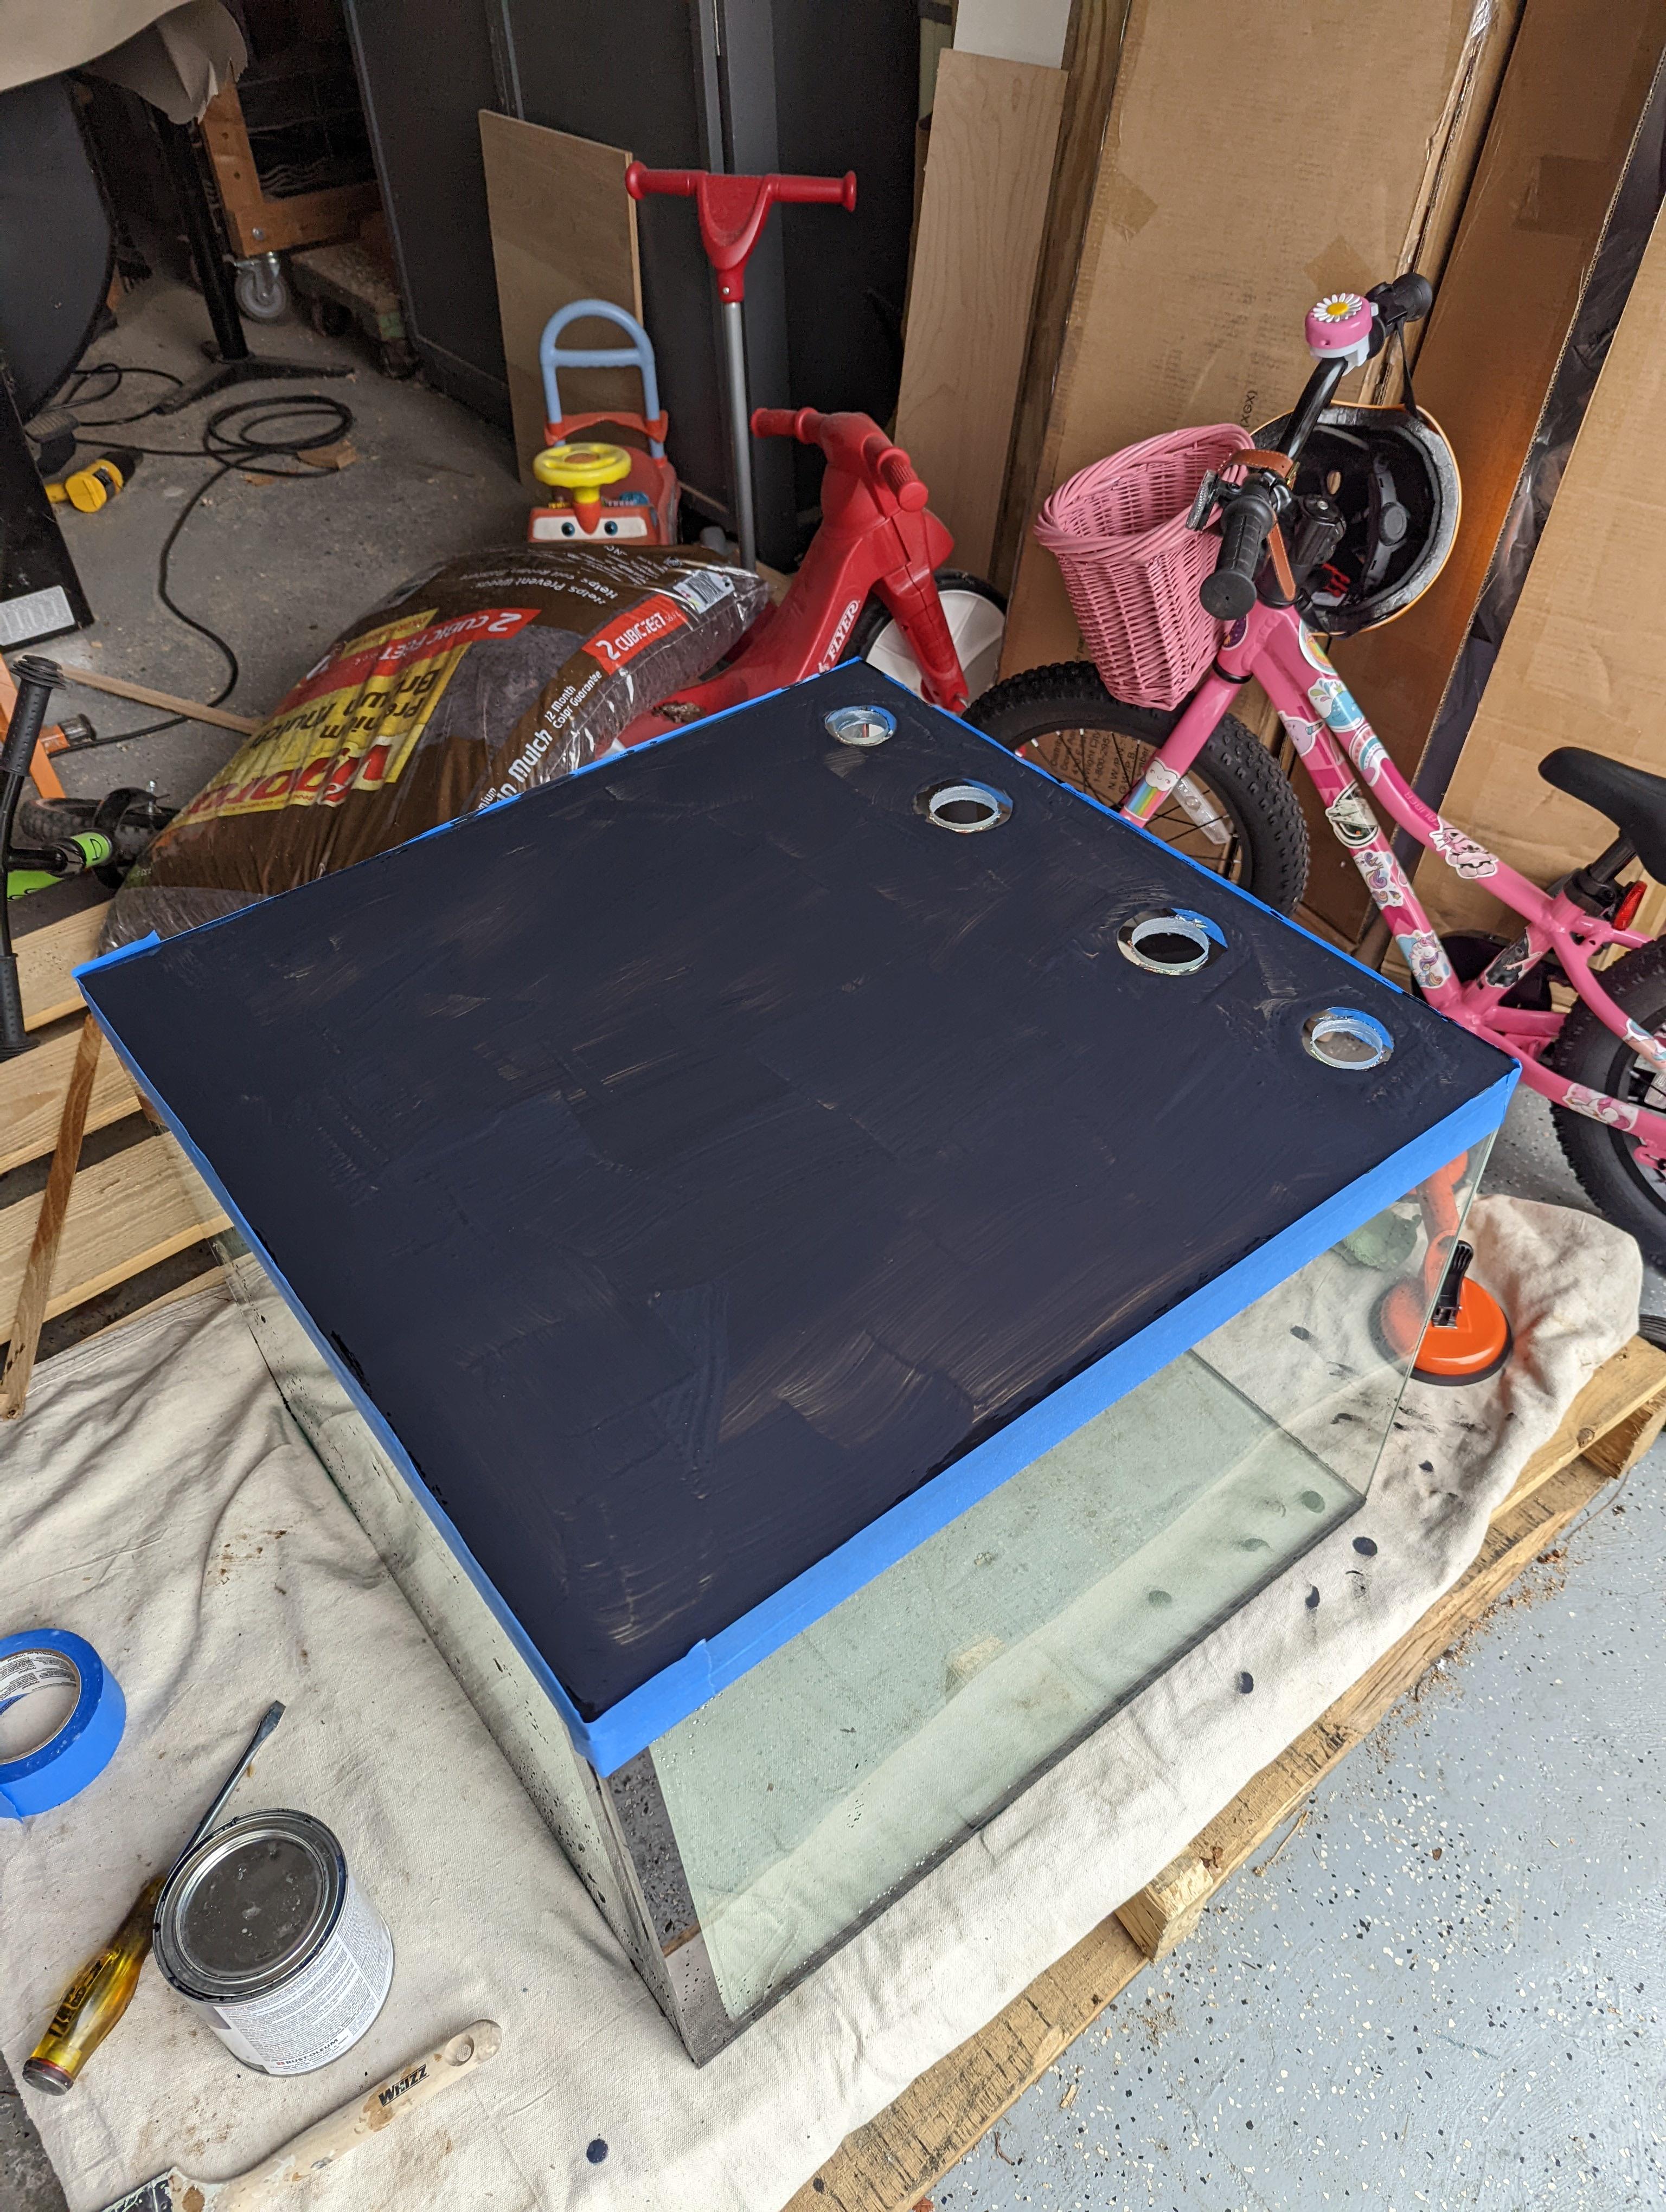
It ended up taking 3 coats plus some touchups before I was done.
Once painted I moved the tank into my house and onto the stand. A yoga mat purchased for this purpose was sacrificed to the tank gods for the benefit of all.
Plumbing has been something I have been thinking about a lot of the last couple of months. I originally wanted all hard pvc connections but the realities of trying to squeeze a bean animal overflow, a decent sized sump, two return lines, a co2 reactor, an ATO reservoir, and a UV sterilizer all into the space provided by this modified petco stand were a bit too much for me. Honestly the UV sterilizer is definitely the hefty straw that broke this camels back. Getting it to fit using only hard pvc connections while also allowing for servicing was just too much. Once I came to grips with this I decided to use a hybrid approach with some hard pvc lines and the rest vinyl tubing or spiral pond tubing. After that, plumbing was easy.
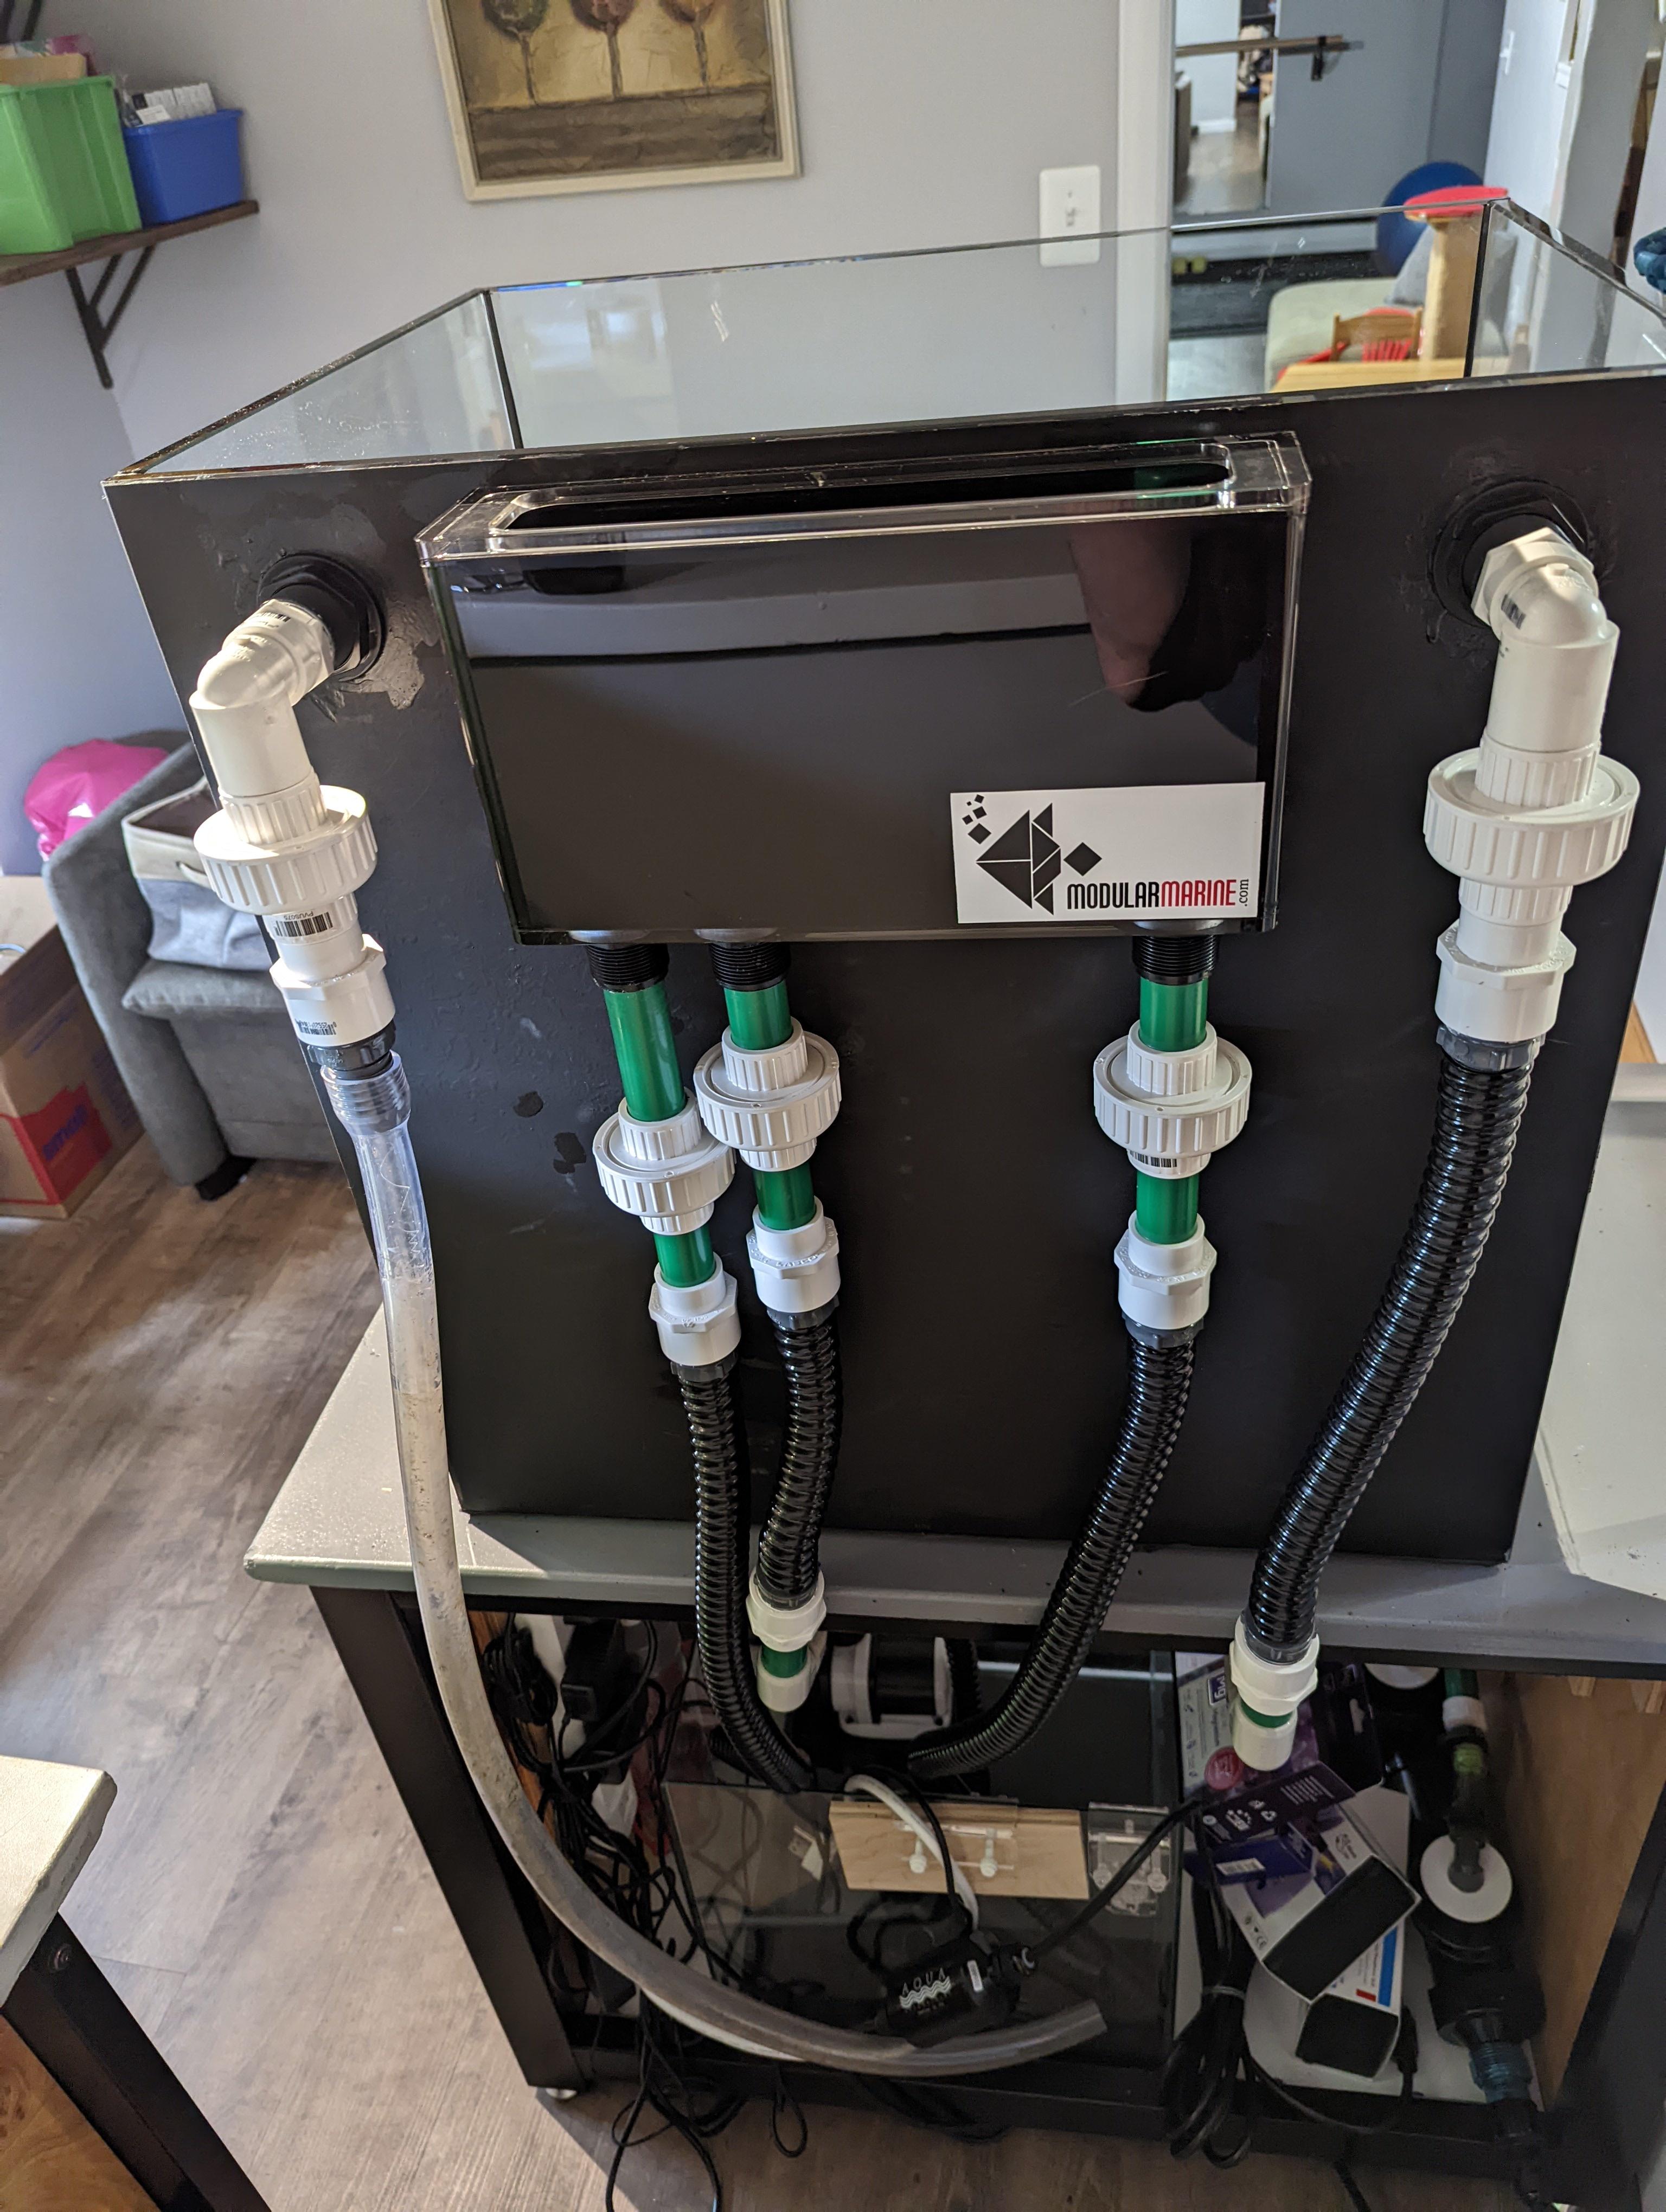
Once the plumbing was in place I did my fill and plumbing test at the same time.
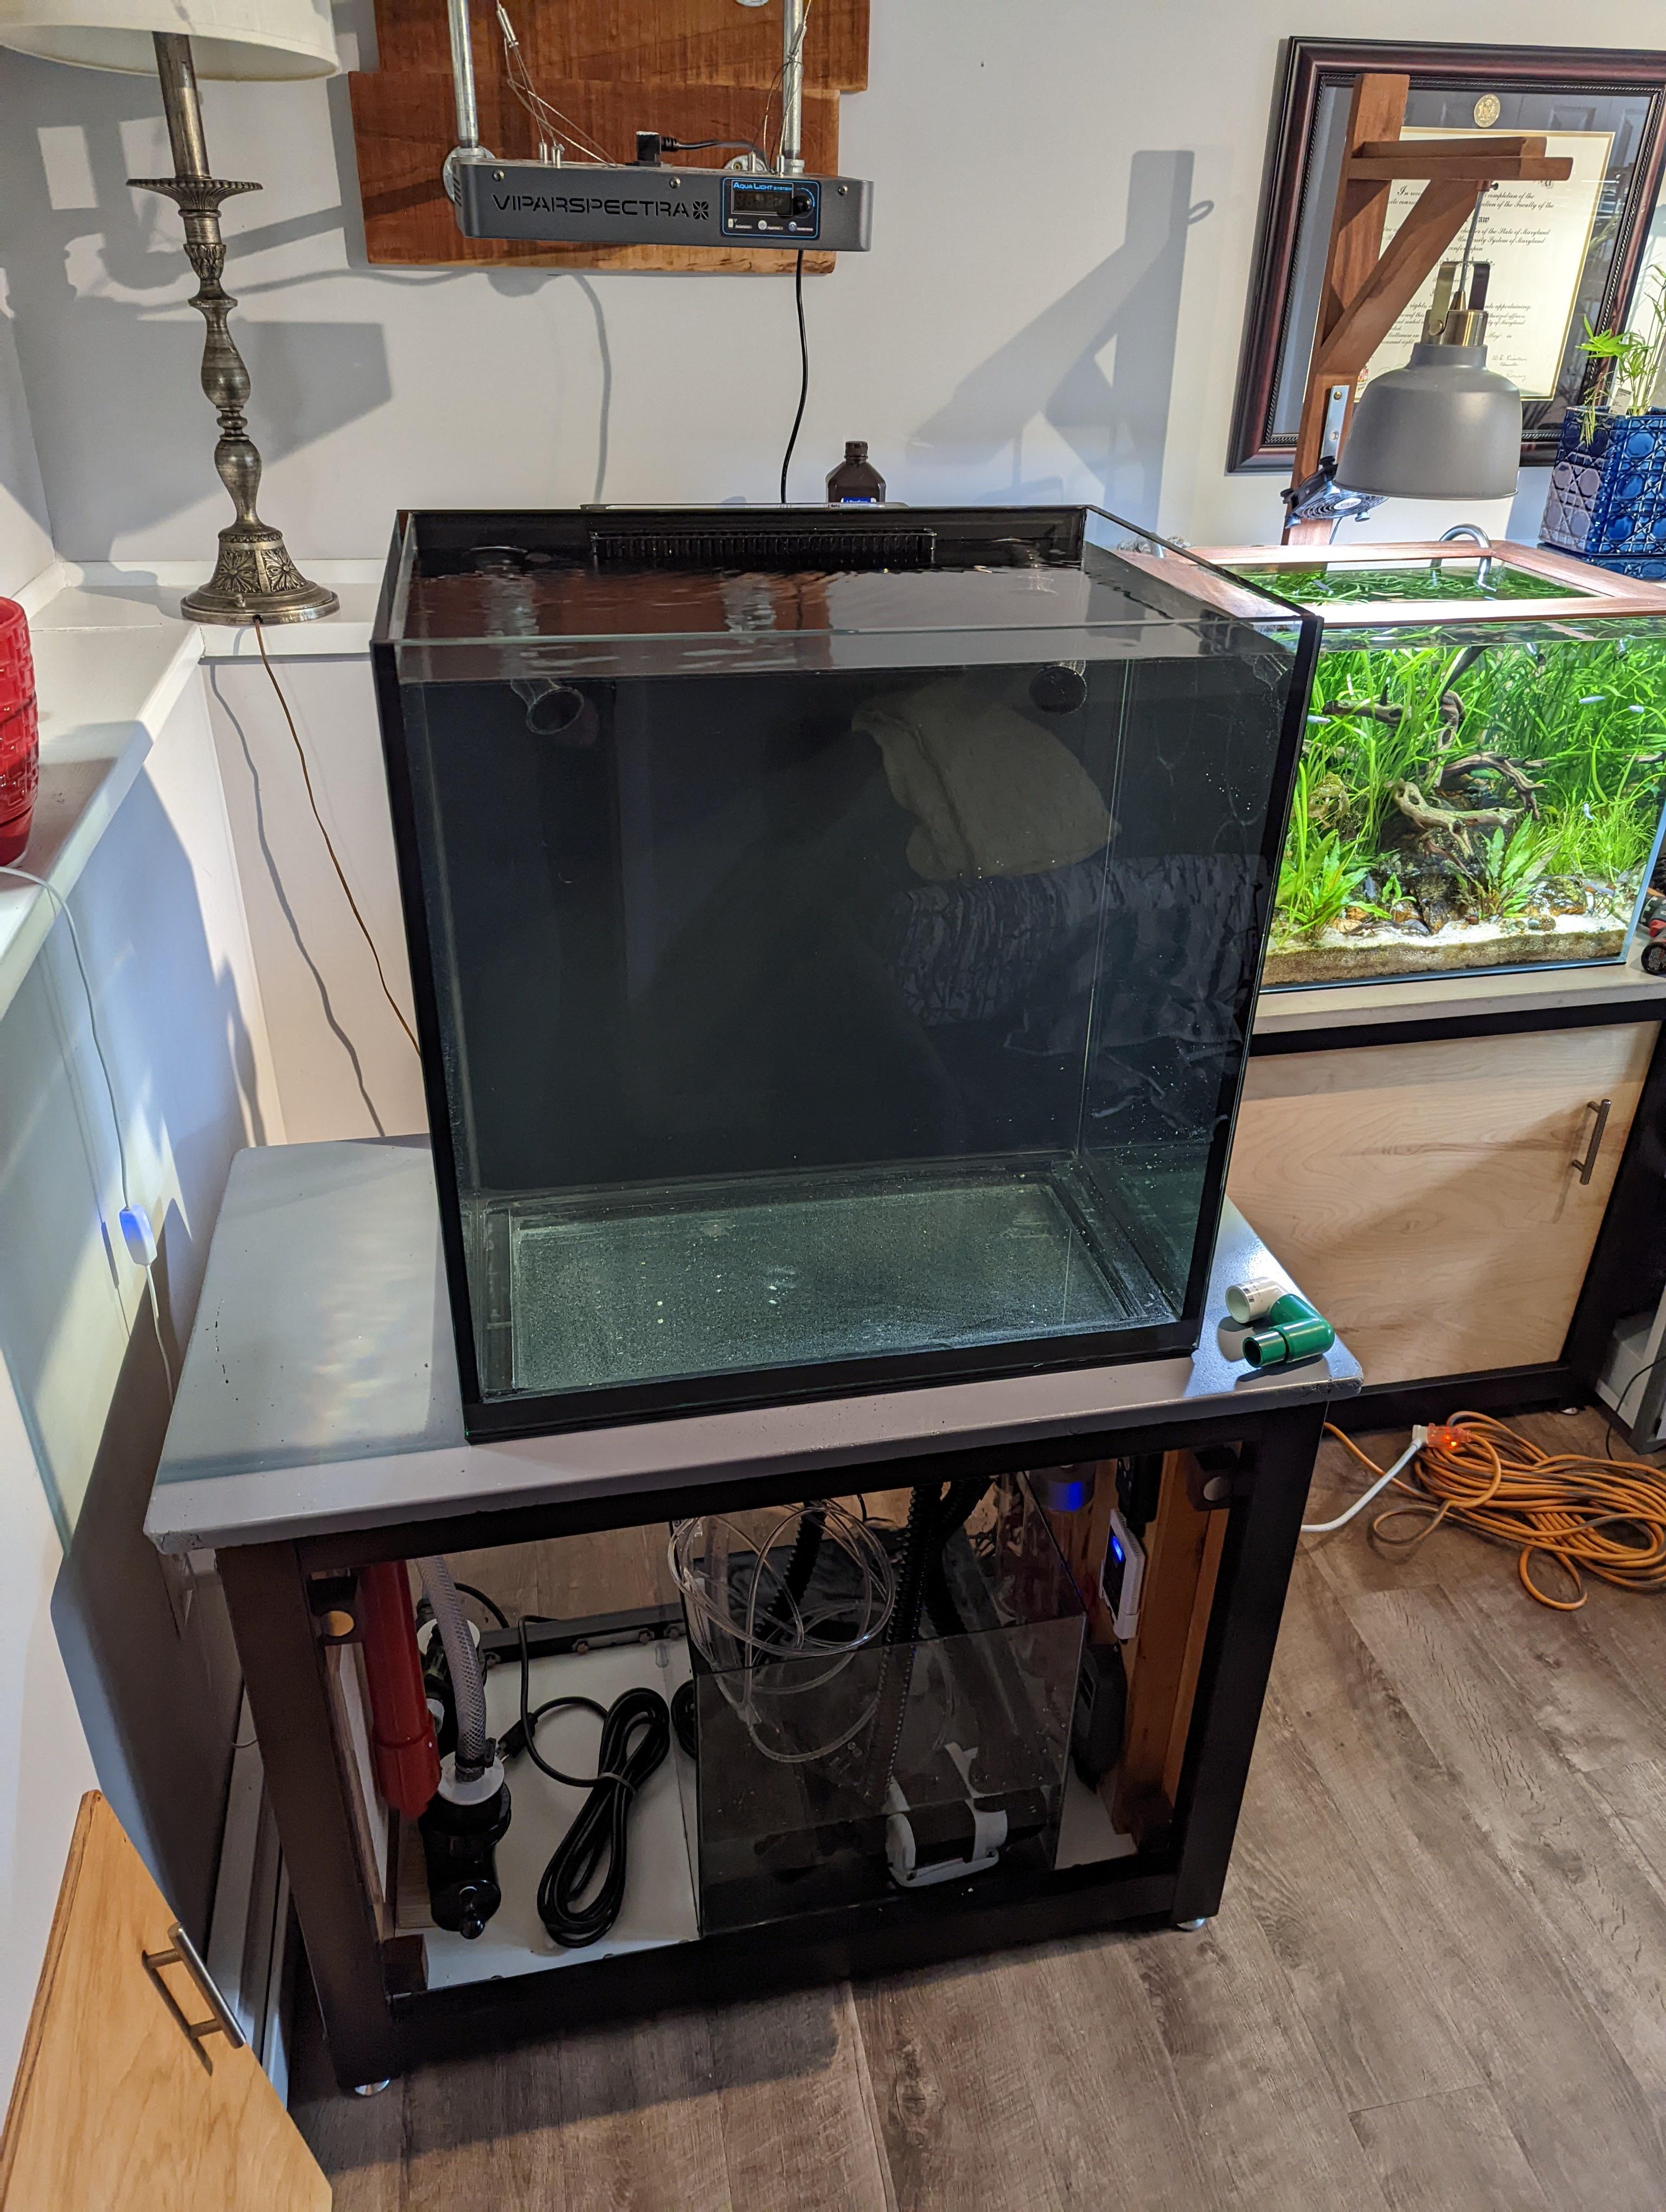
Total success! Dialing in the bean animal was as simple as I always hoped it would be.
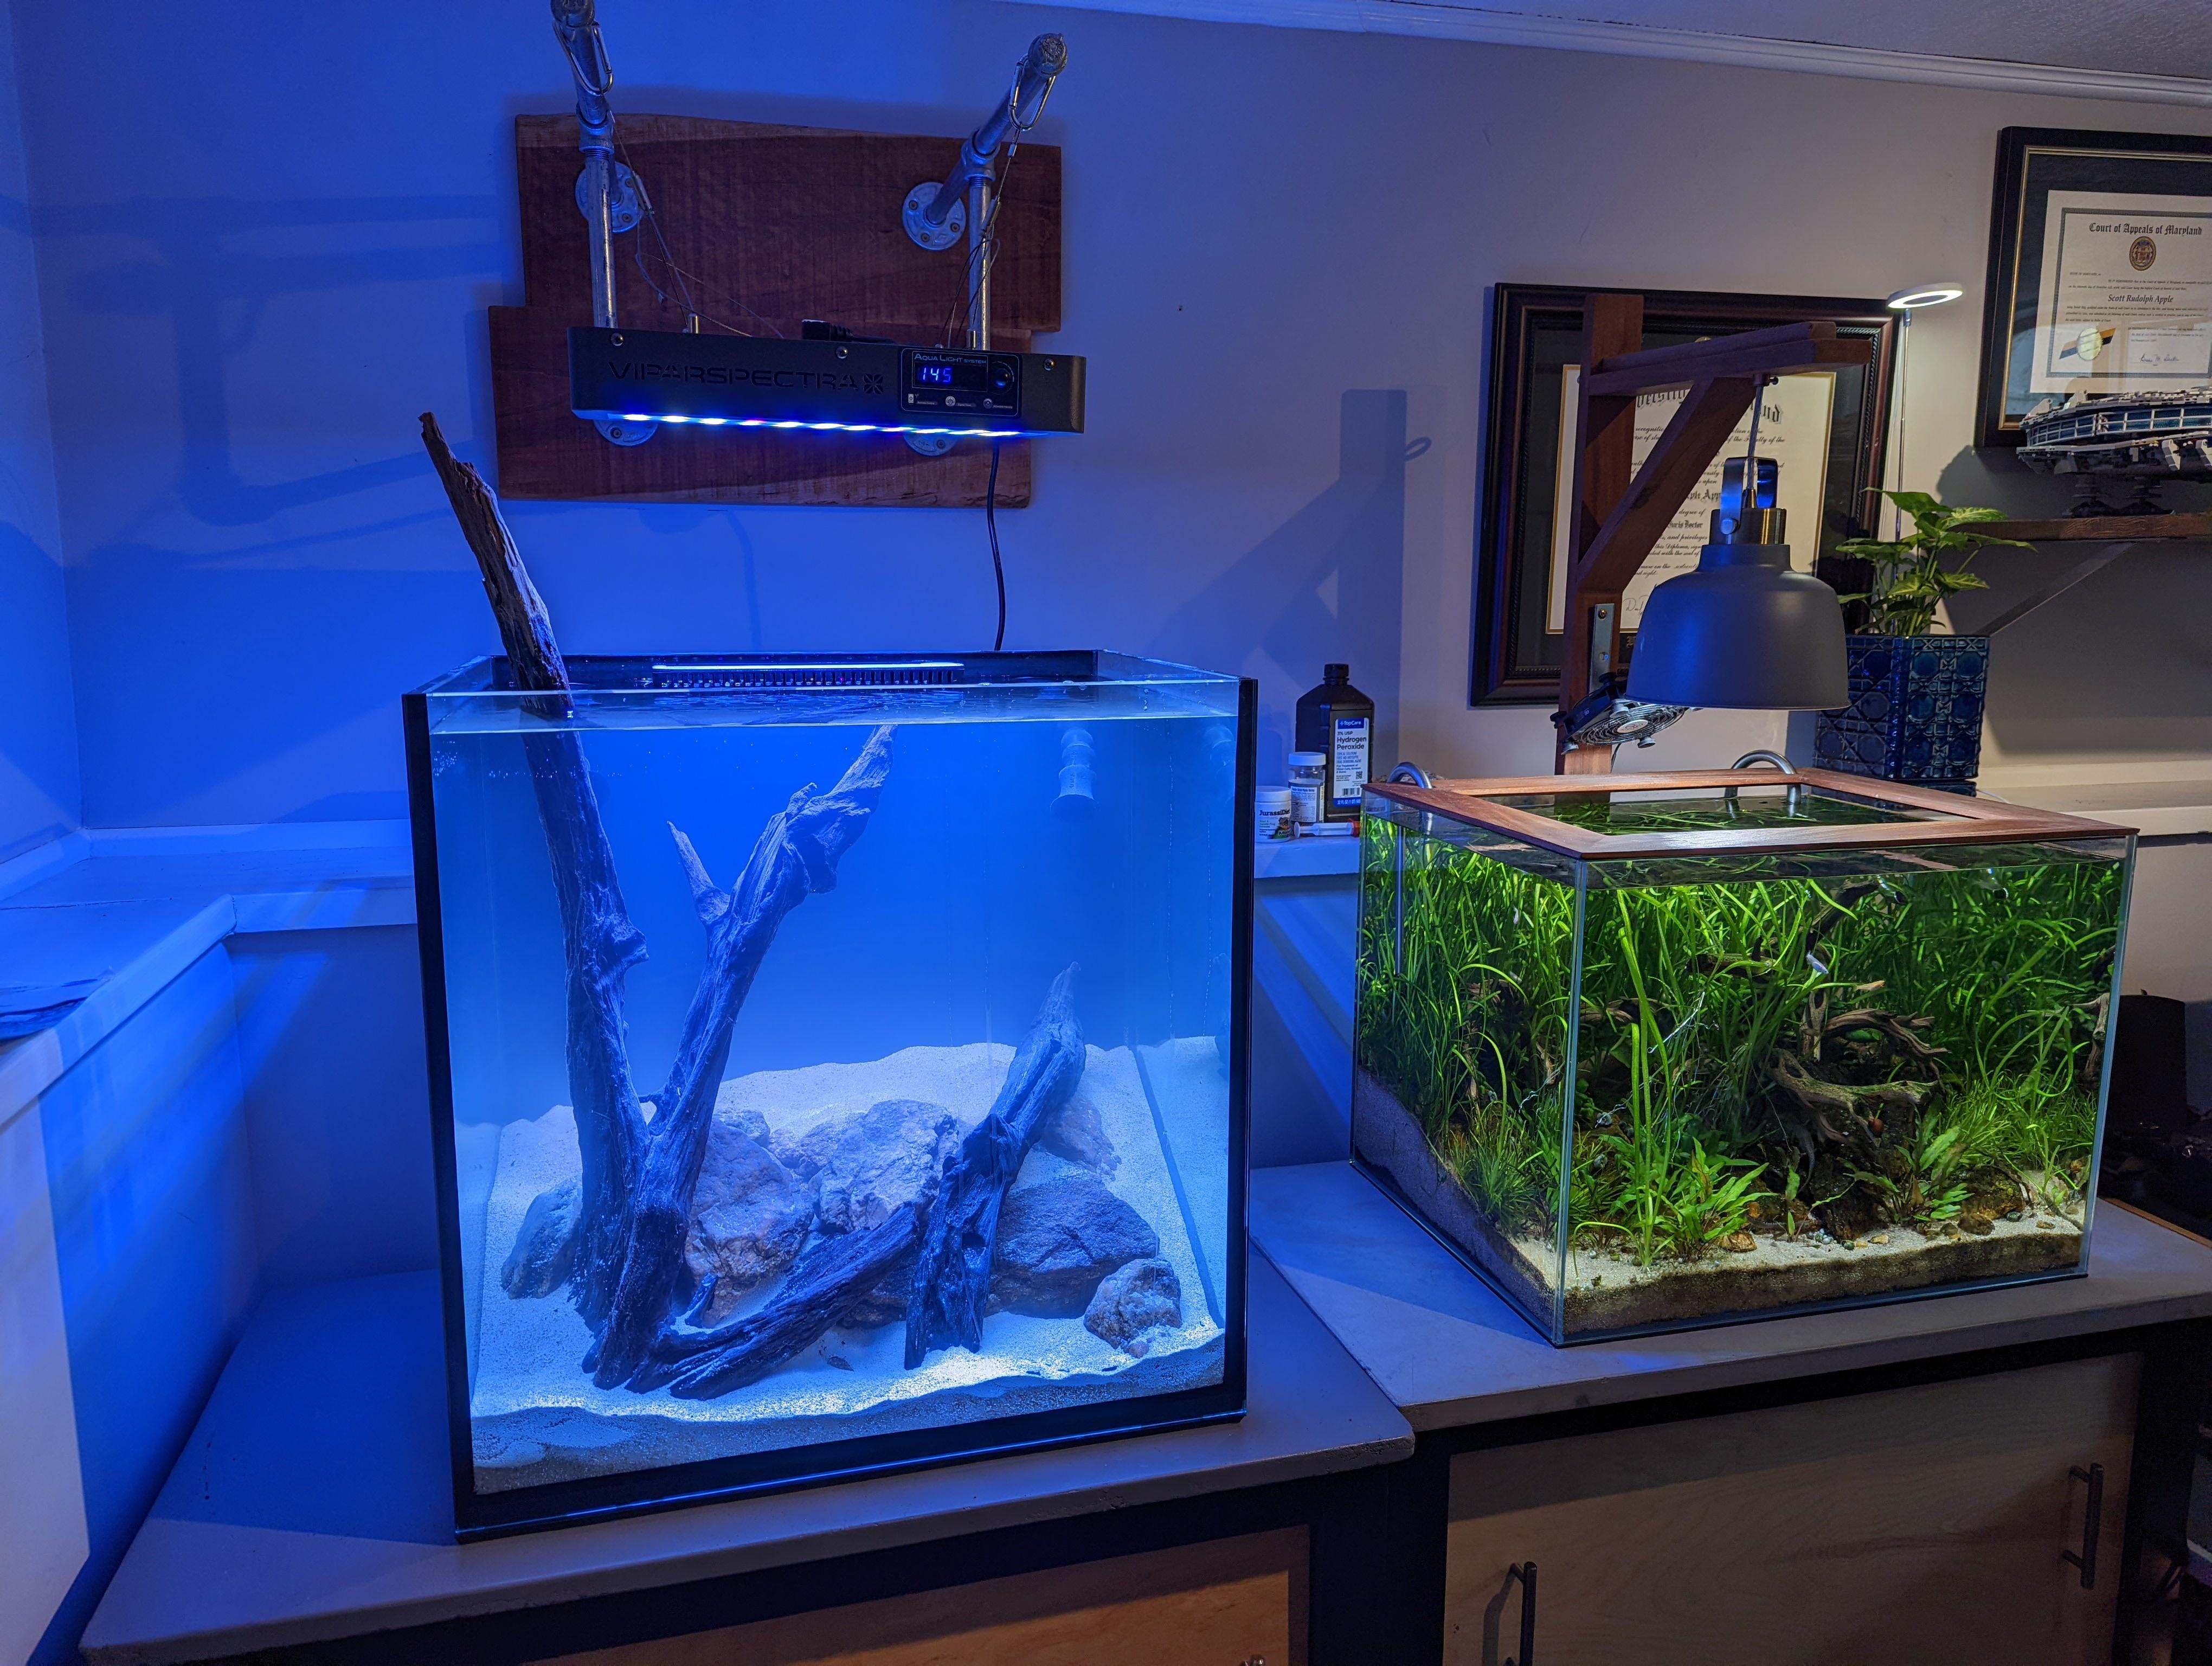
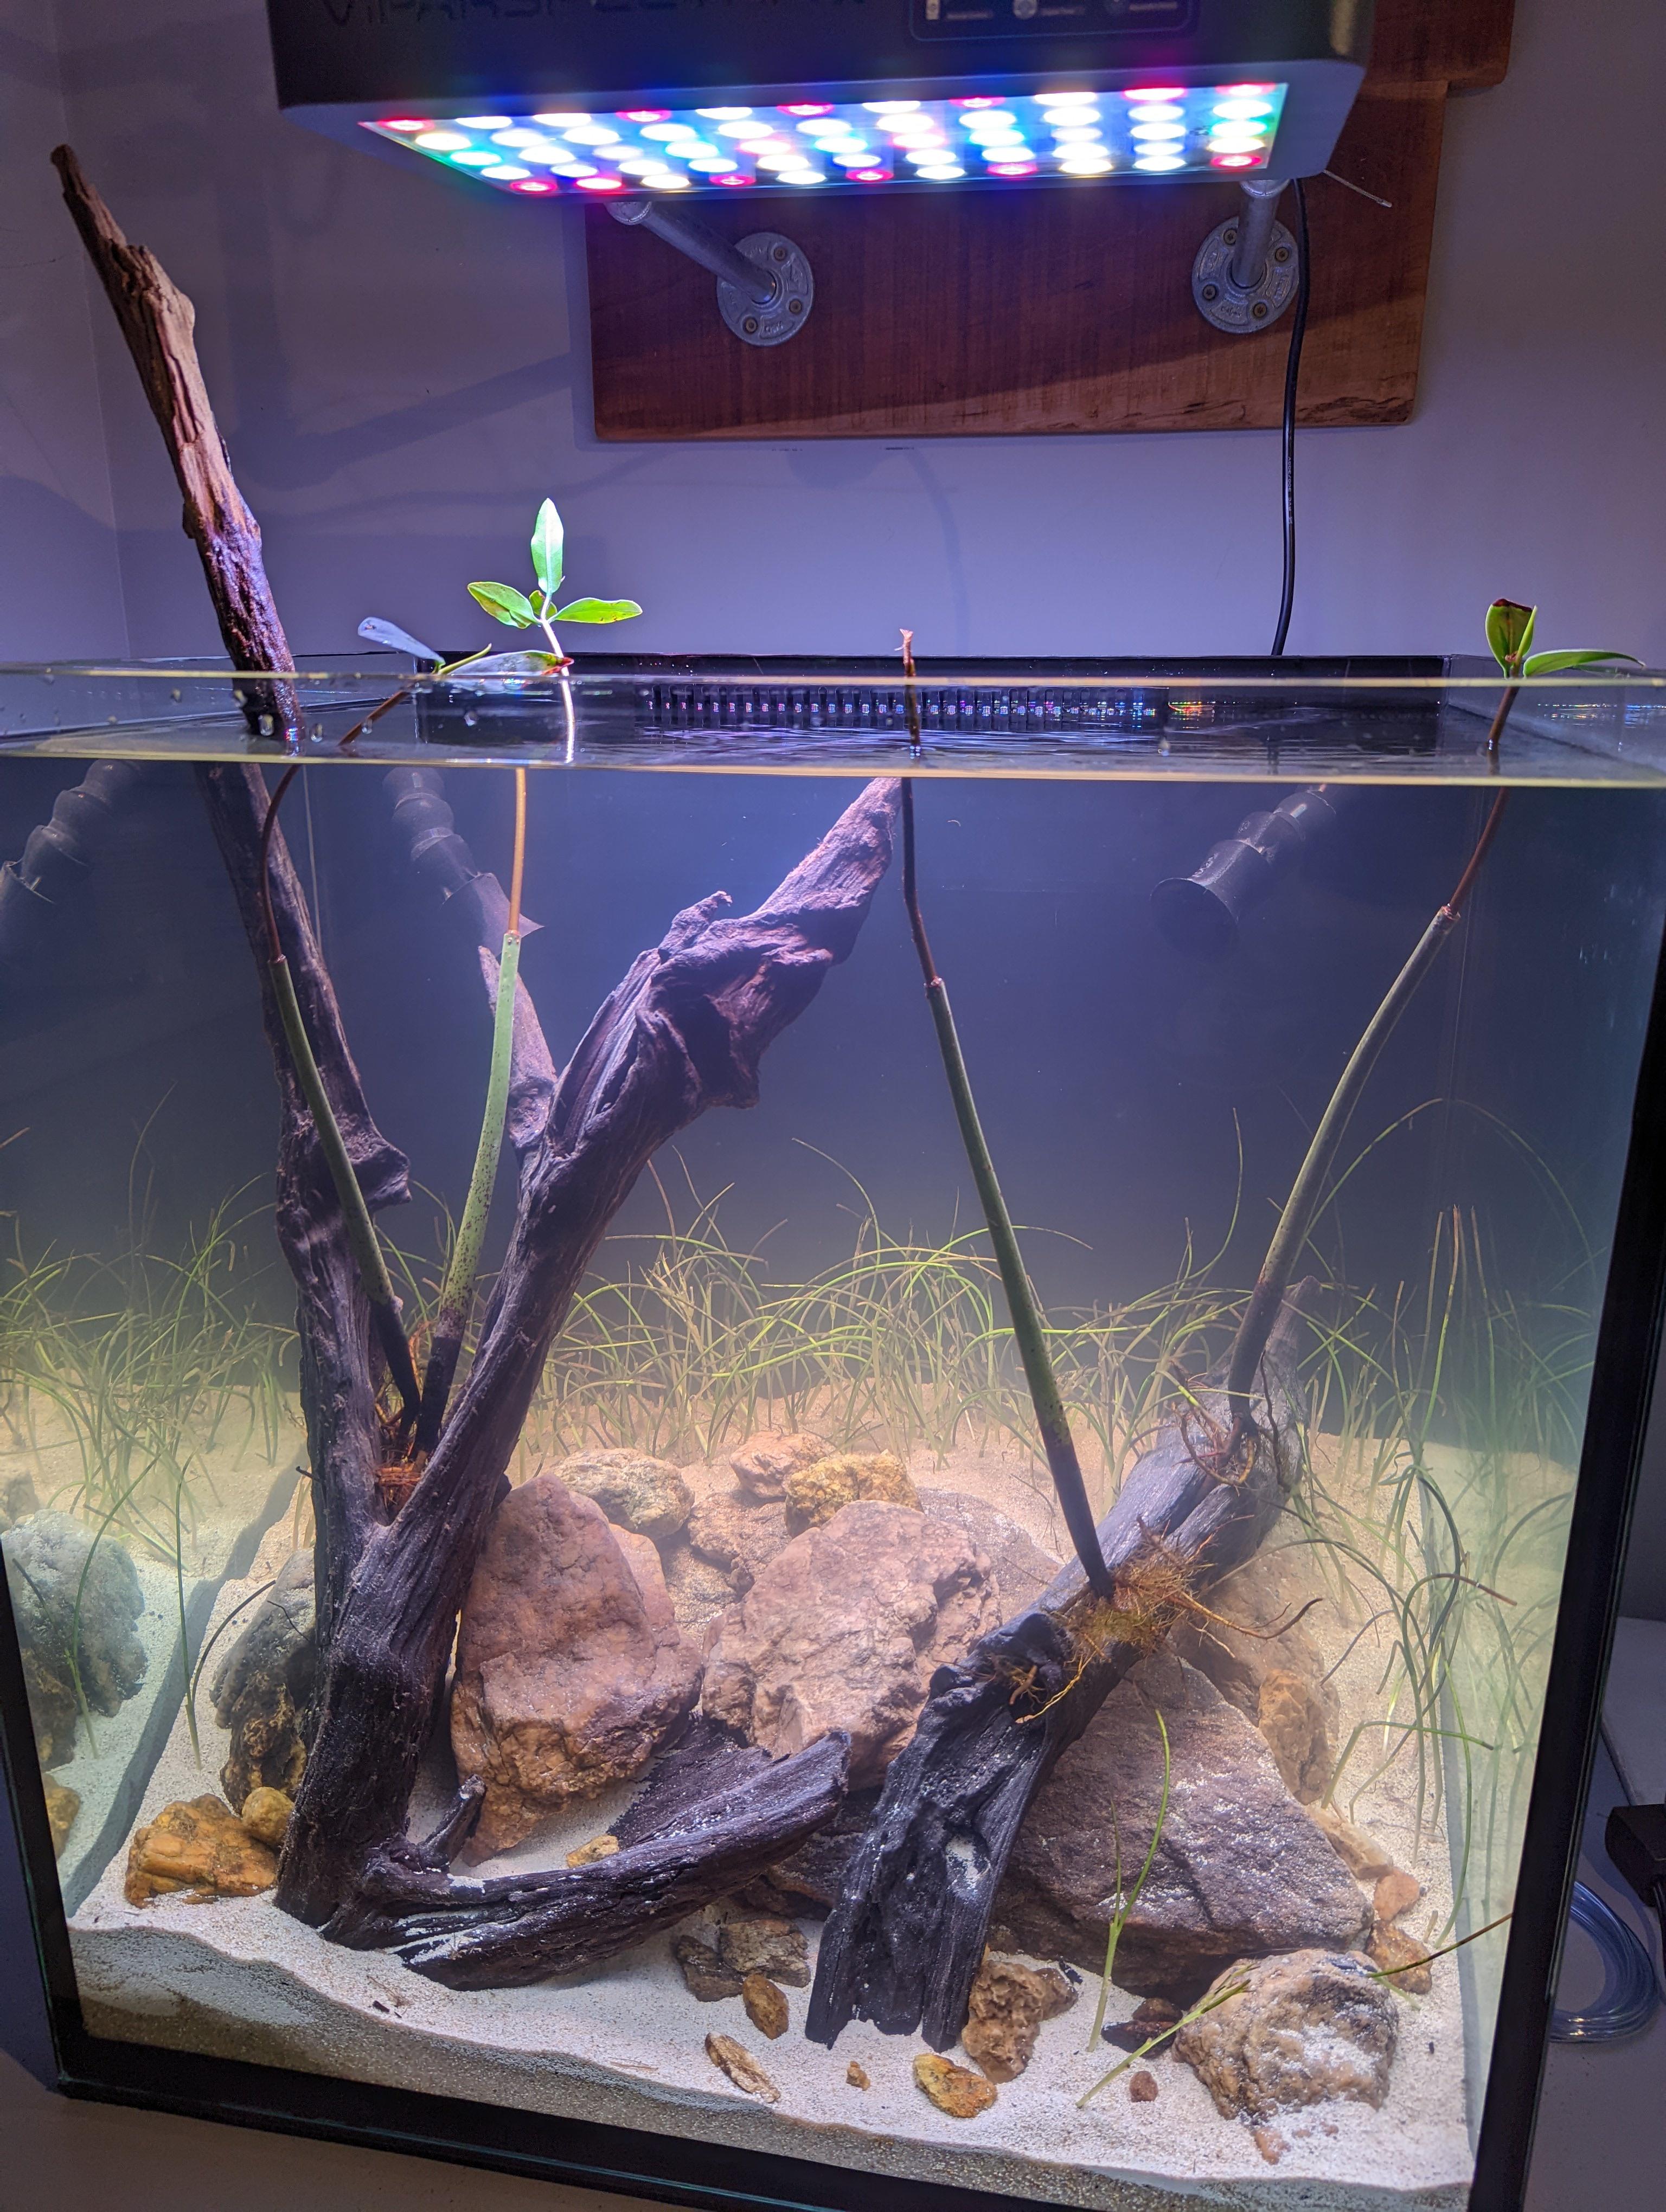
Meanwhile I had been preparing for this moment with additional supplies. An acquaintance from another forum traded me his old viparspectra 165w reef light and two boxes of salt for one of my old rimless tanks. Specifically a DOOA H23. Since he was no longer into the saltwater side of the hobby, it was a great deal for both of us.
The light would probably work as is, but I wanted a better spectrum for this tank. I will not be using much in the way of blues to grow the seagrass and instead need a more natural color. So I contacted SBreef Lights and asked them to make a freshwater spectrum retrofit board for the tank which they did and shipped out from hong kong a couple of days ago. Not sure about an ETA but I would guess anywhere from a few weeks to a month or so.
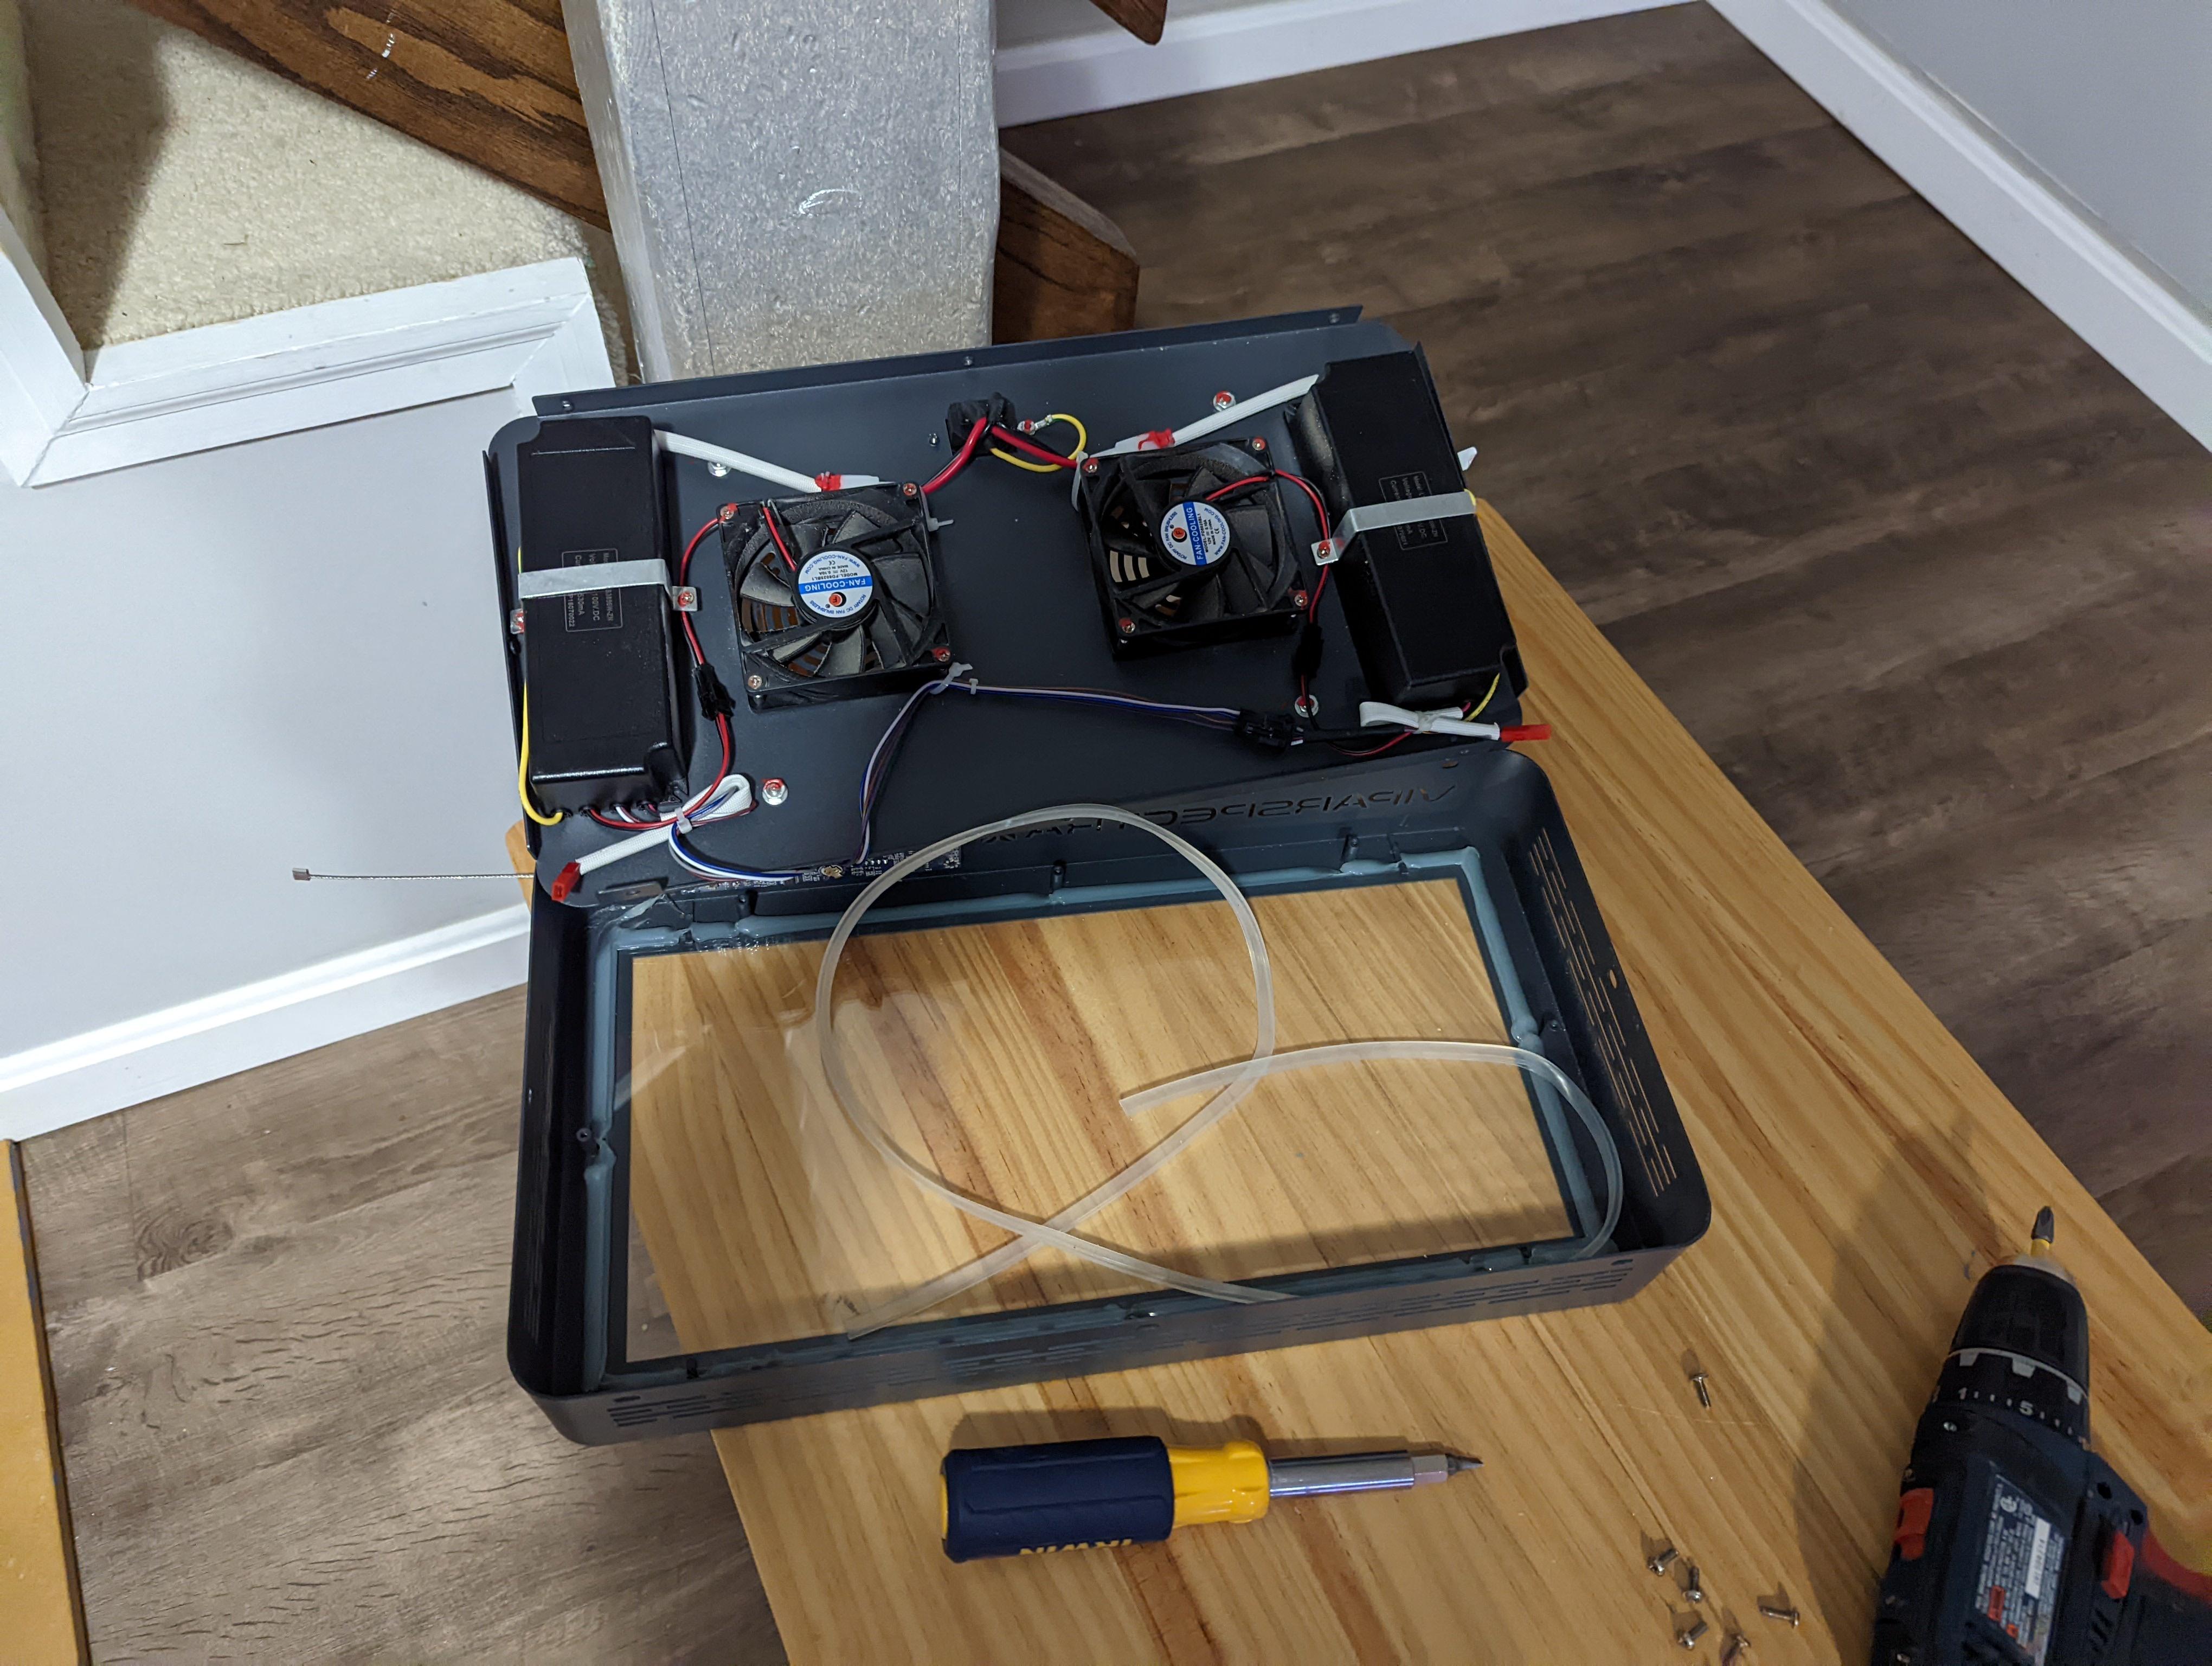
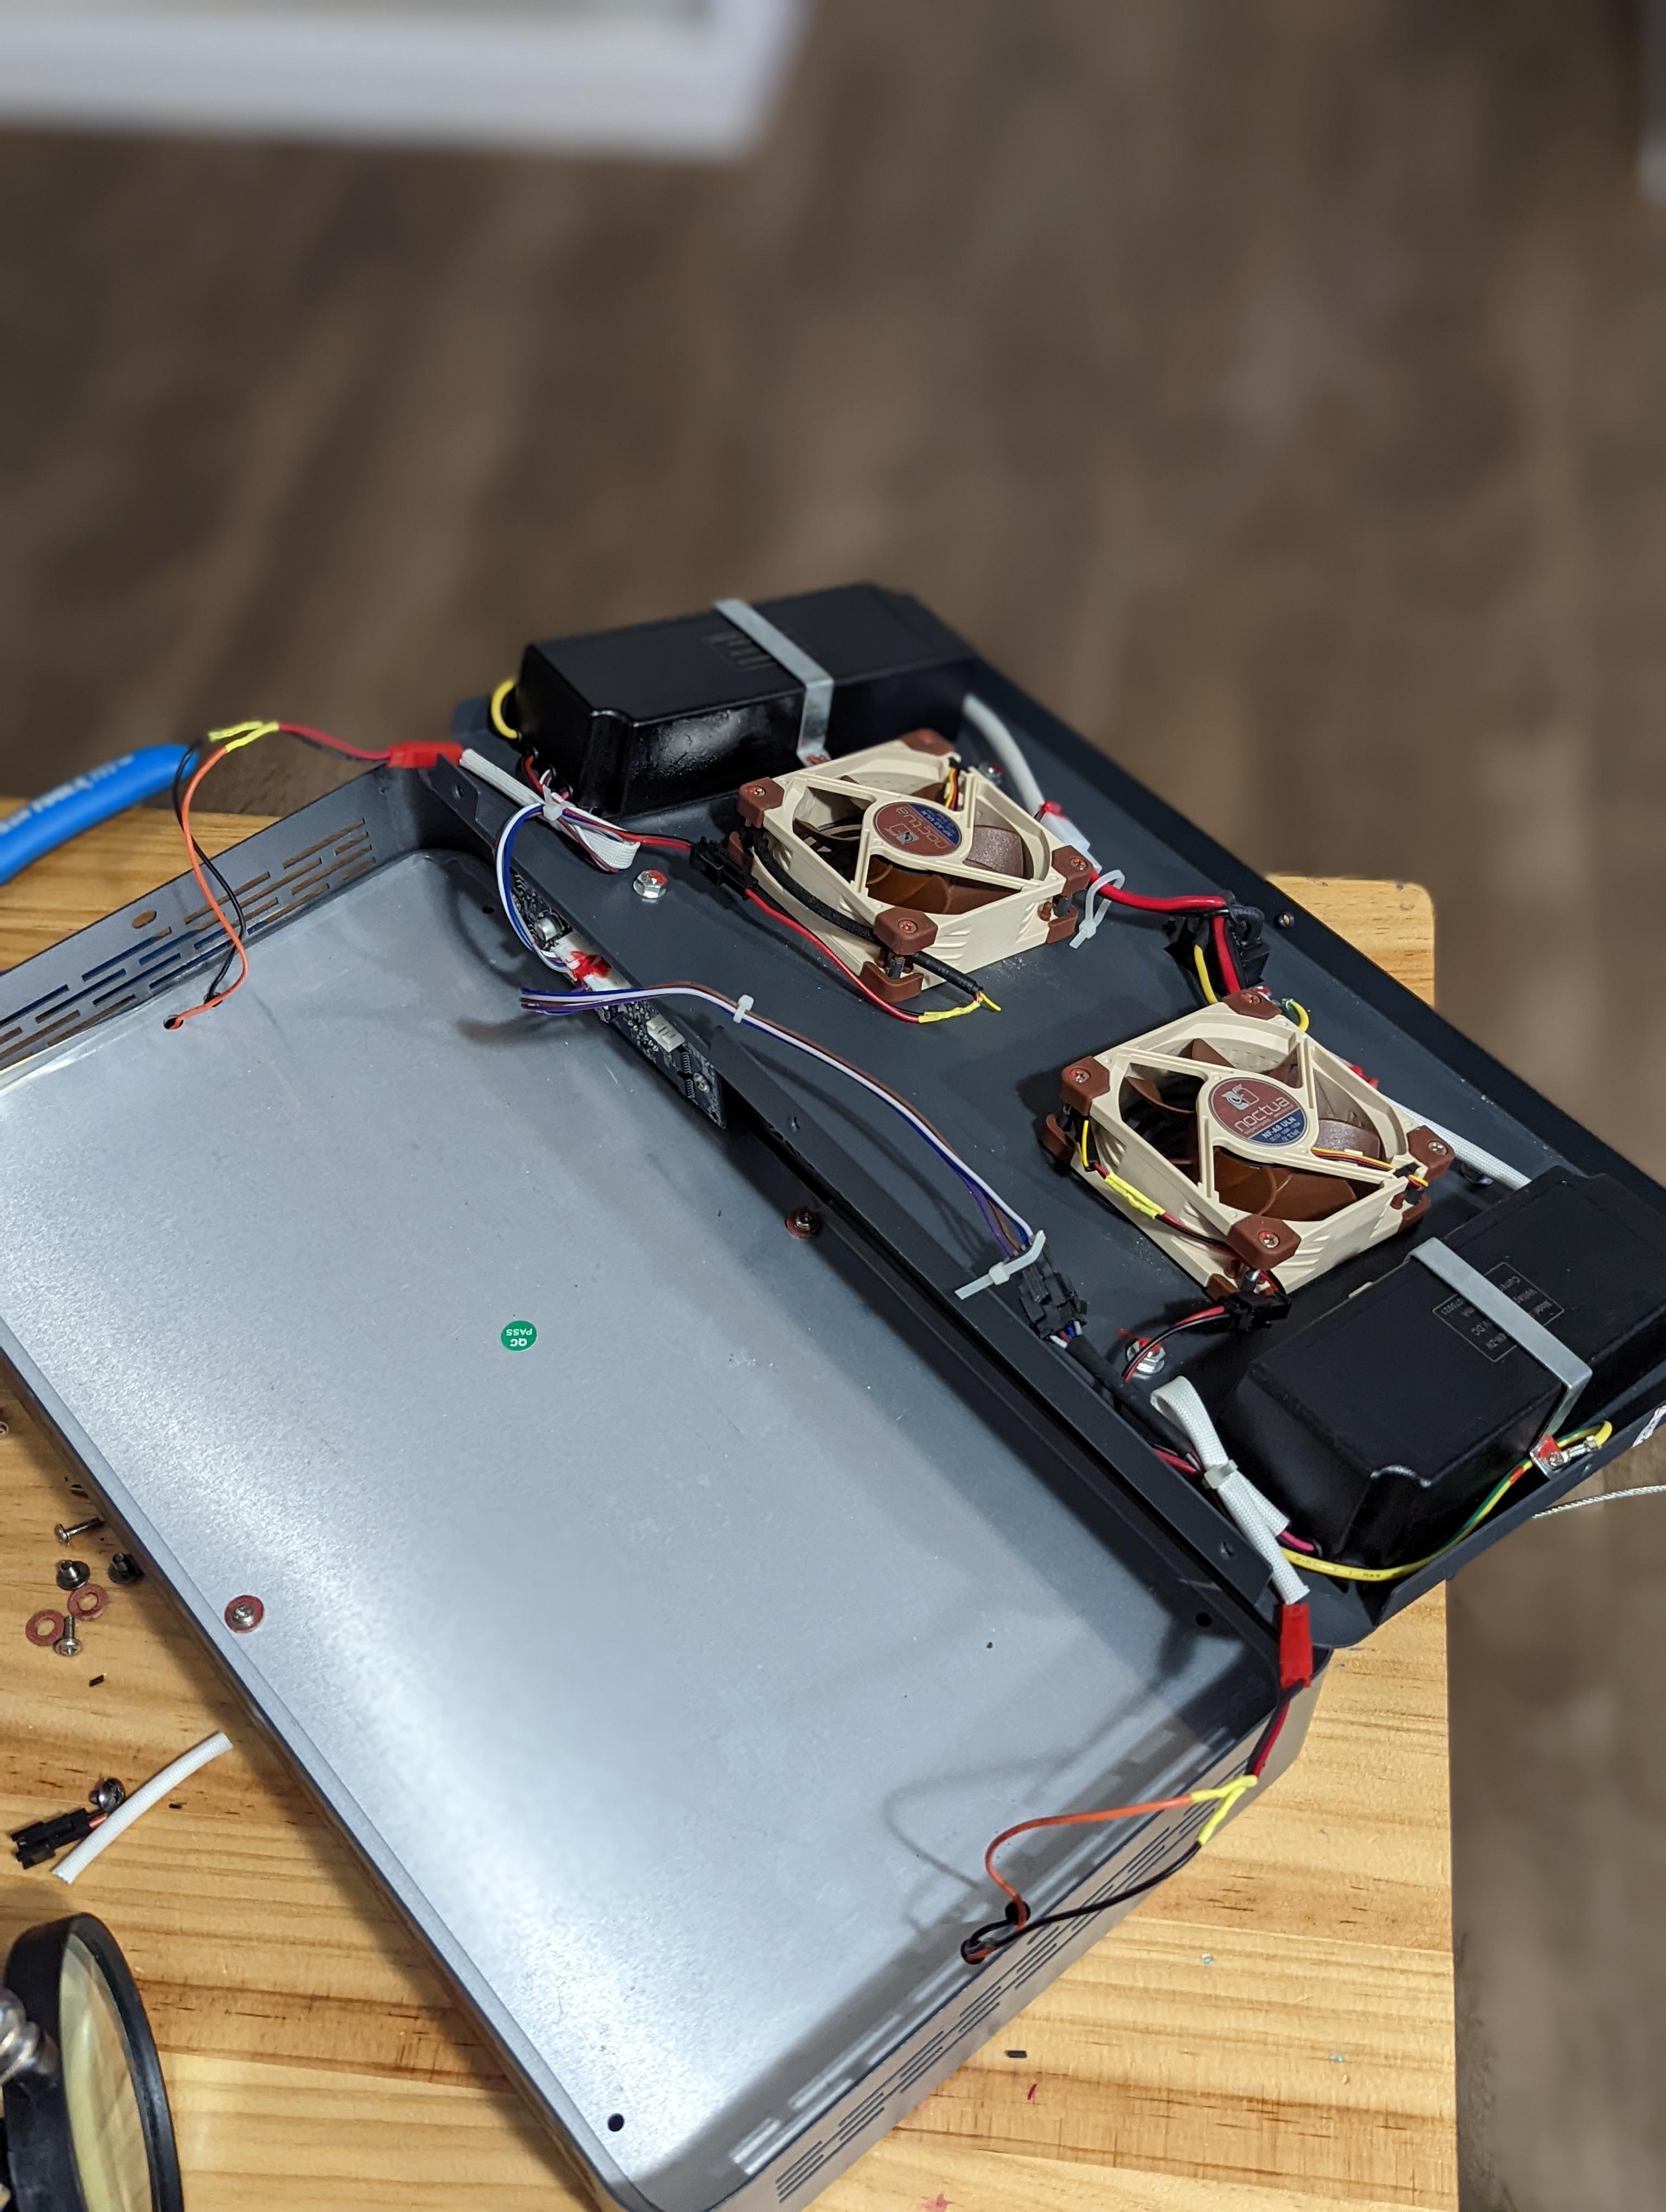
Since I already would be opening the light to swap out the board, I also purchased two much quieter fans that I will install at the same time.
For hardscape I am going to be using rocks I found locally and rescued from the wild. These are not rocks I pulled from the ocean, but rather ones I pulled from a friend's stream in his backyard. I use these types of rocks in my freshwater tanks all the time. I believe (but am not sure) that they are granite. It seems most saltwater tanks use either real or artificial reef rocks because they want something porous for bacterial surface area. I am going to have a very deep sand bed in this tank, so I definitely don't need more porosity in my rocks.
I also purchased a nice piece of malaysian driftwood the last time my local fish store had some in stock. In order to get out as many tannins as possible before submersing, I went ahead and boiled as much of it as could fit in my largest pot.
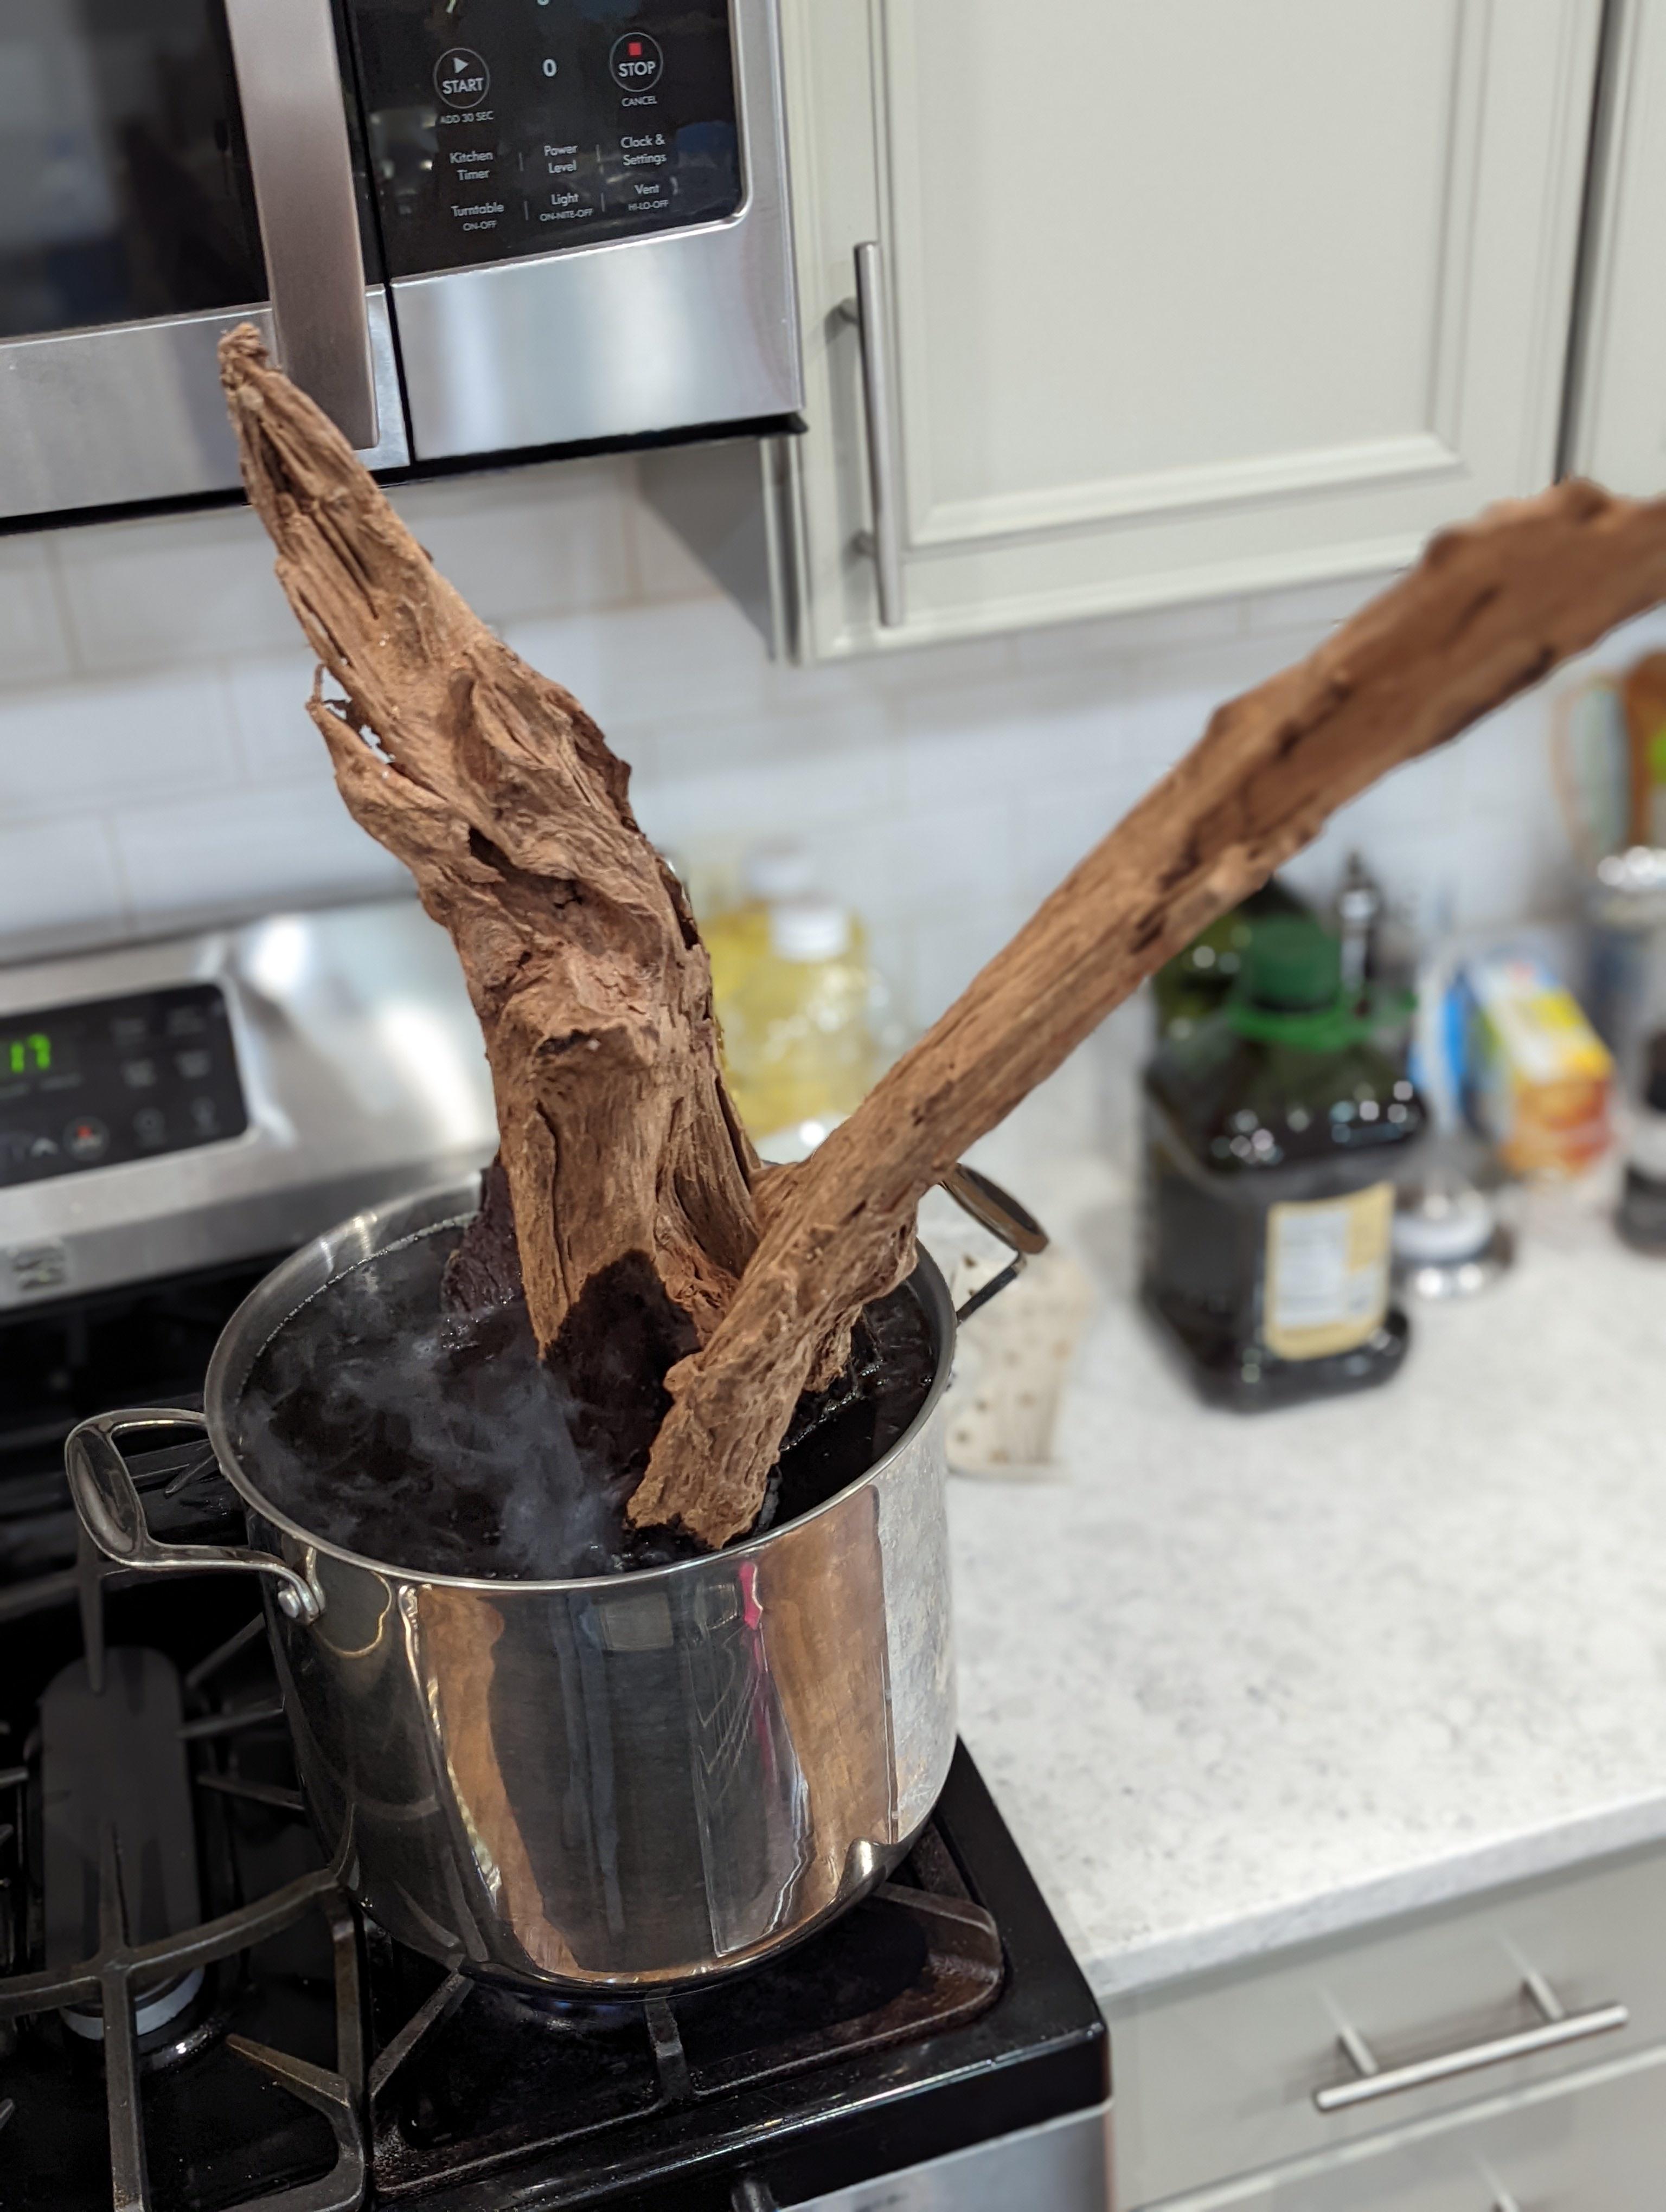
It might not look like it, but that pot is actually pretty big. Specifically its 15 quarts (3.75 gallons) and when I'm not using it boil bits of wood, I use it to brew beer.
To protect the glass from the rocks I was about to use, I first put down some eggcrate (light diffuser) to disperse the weight of the rocks. I then forgot to take a picture of it and put in some sand. The Wife's new cat (the one I traded favors for to get this tank) took an interest in what I was doing.
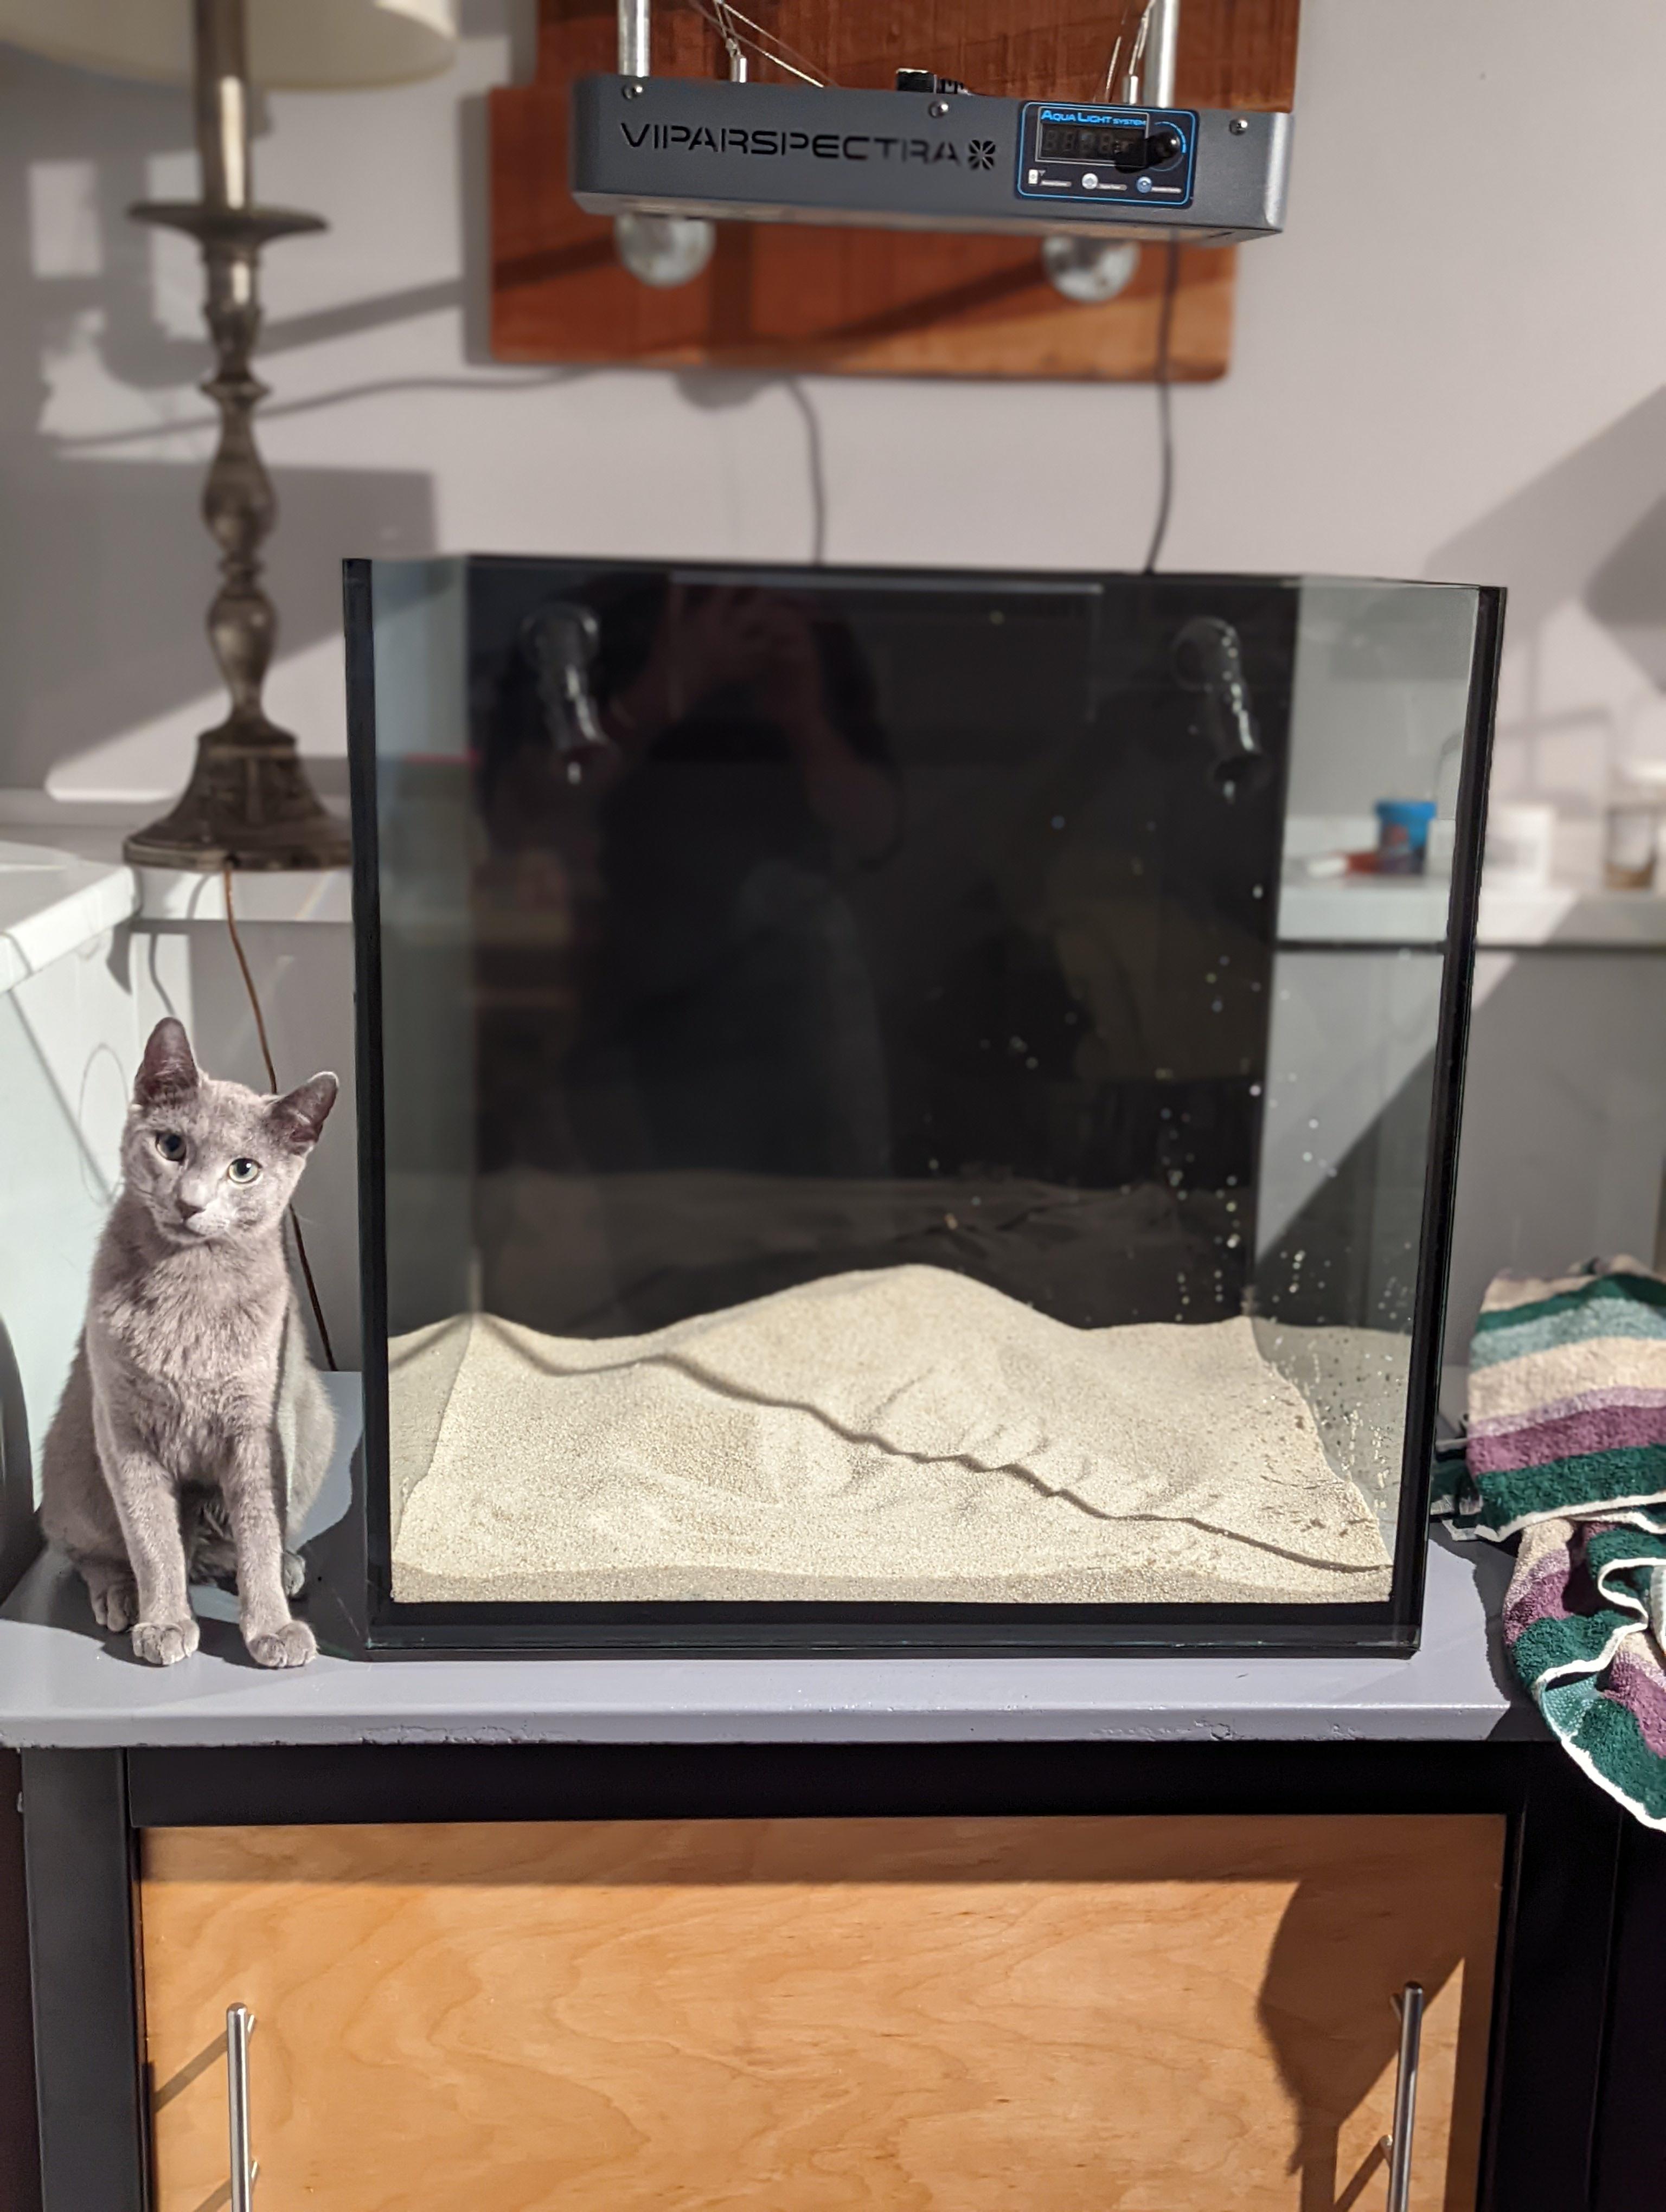
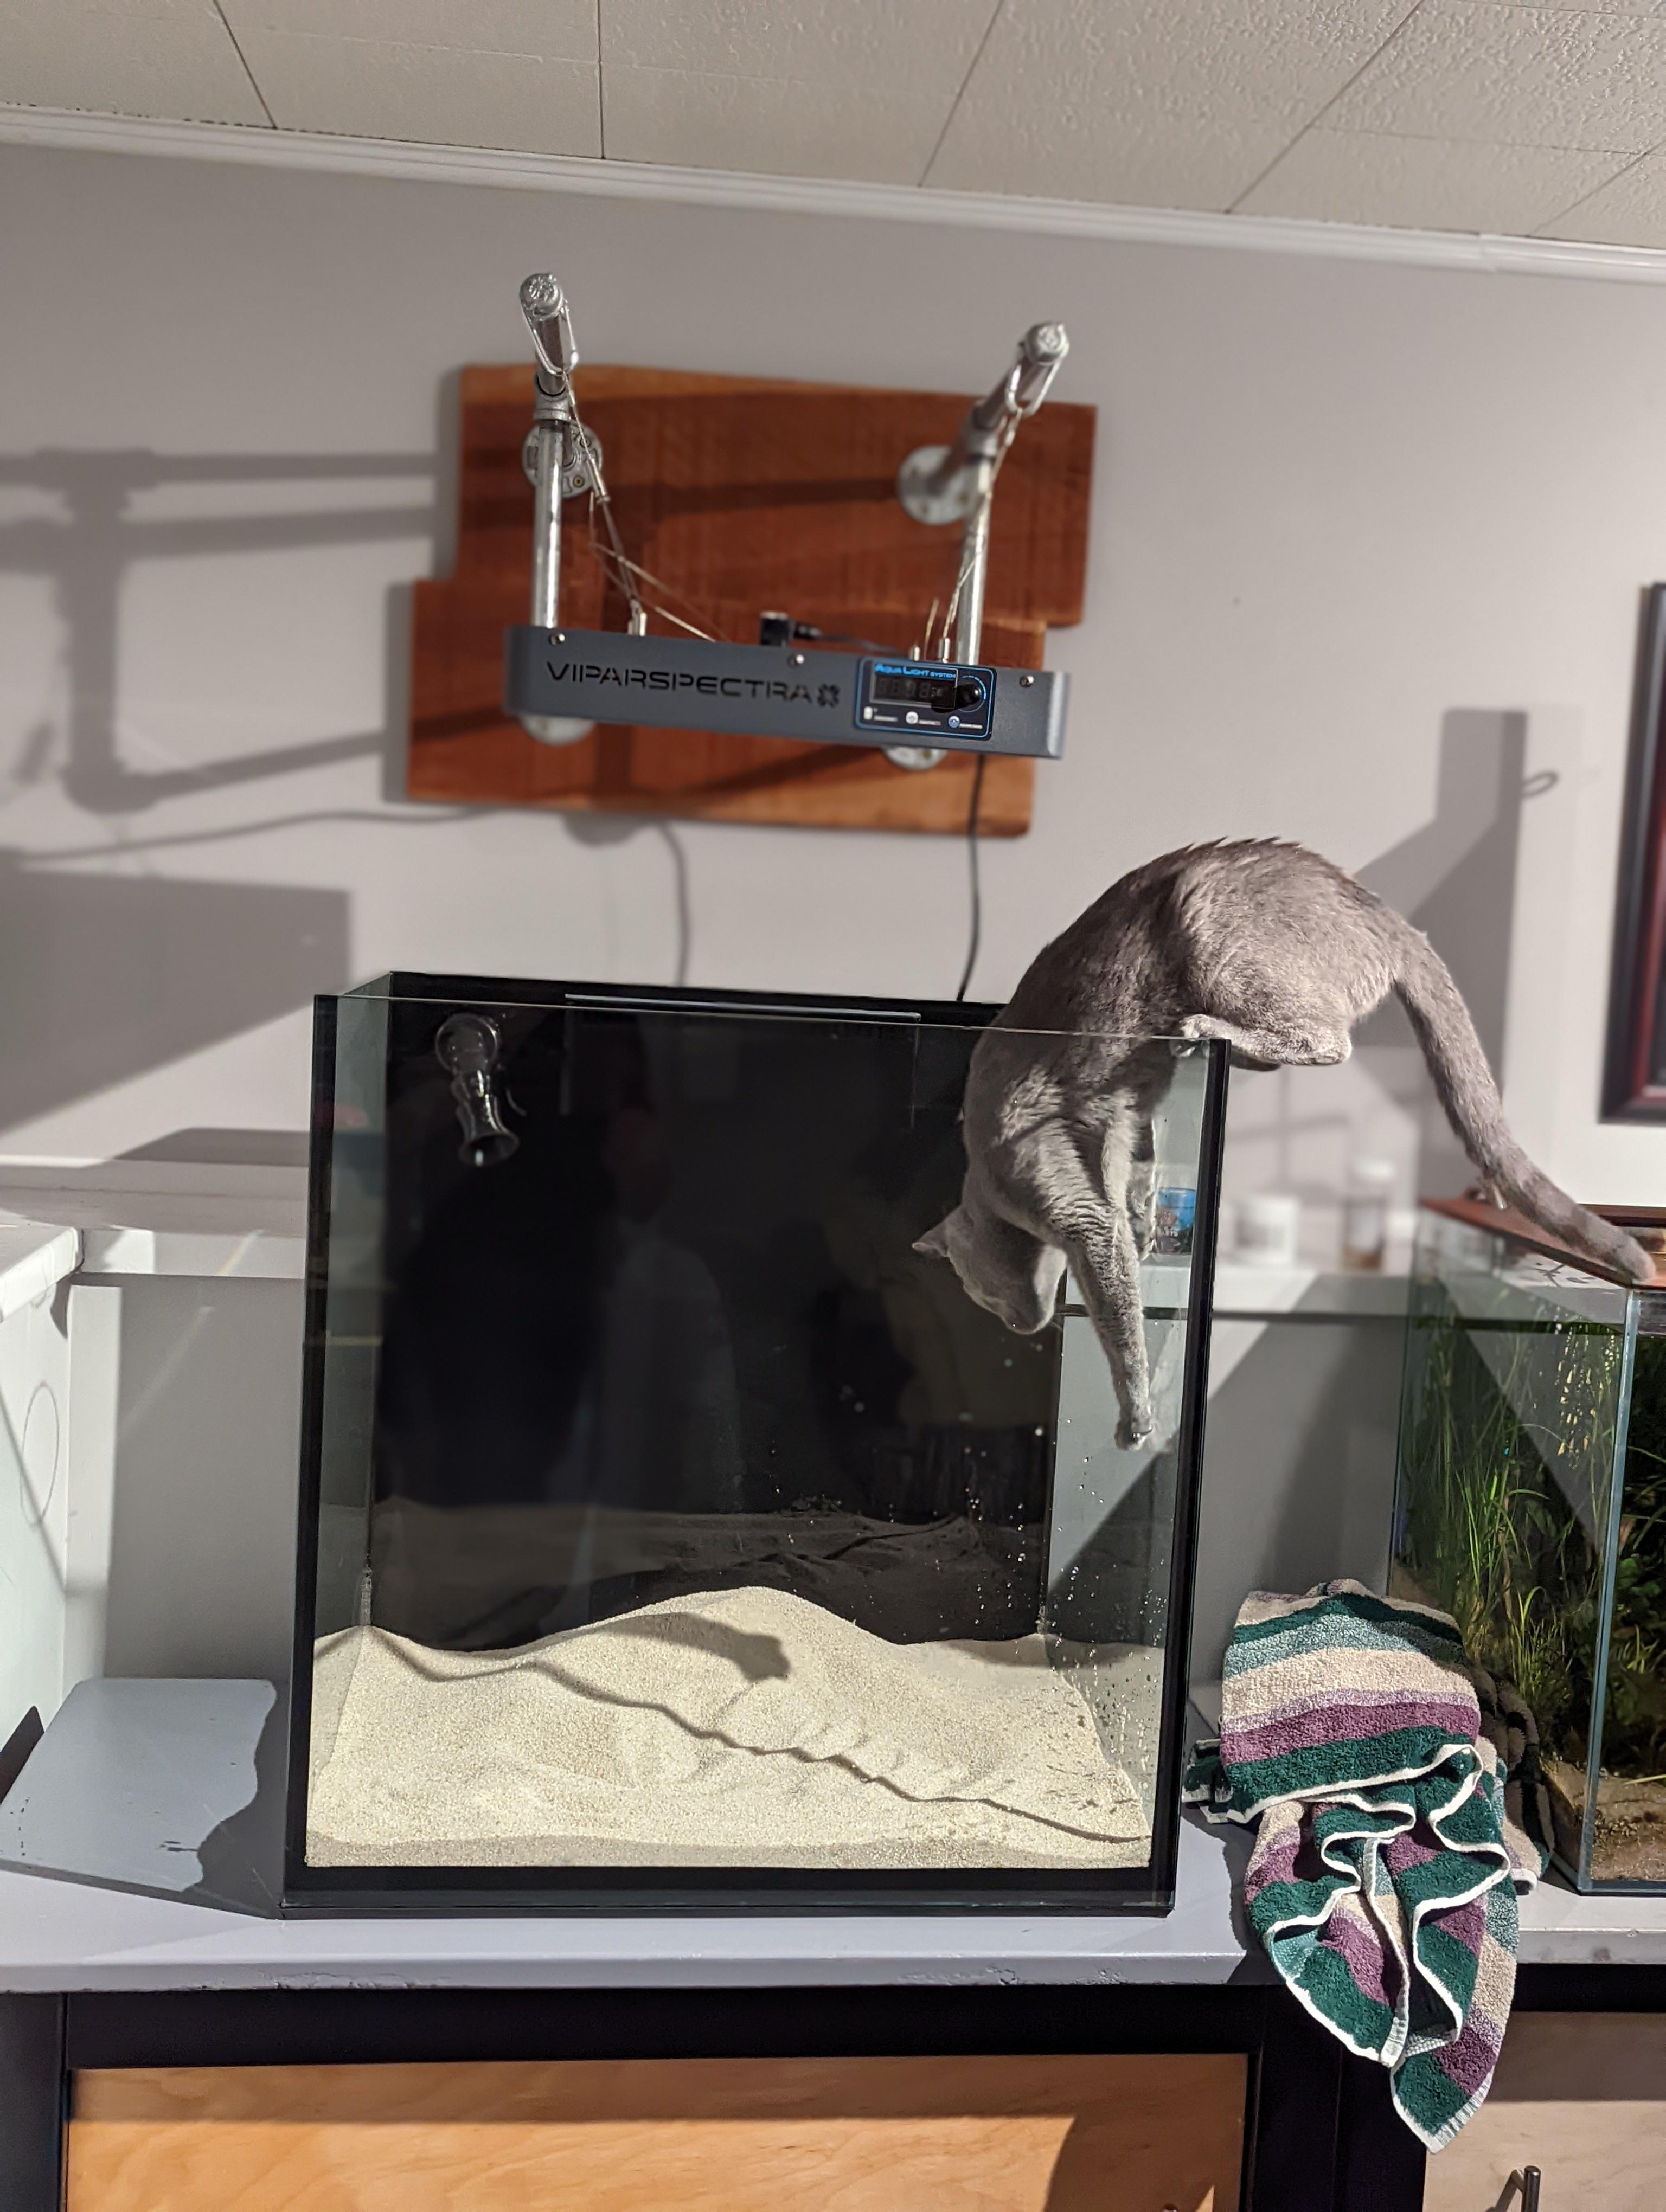
It was about this point that it dawned on me that sitting back idly taking pictures of a cat in a box of sand...... was not something I should be doing.
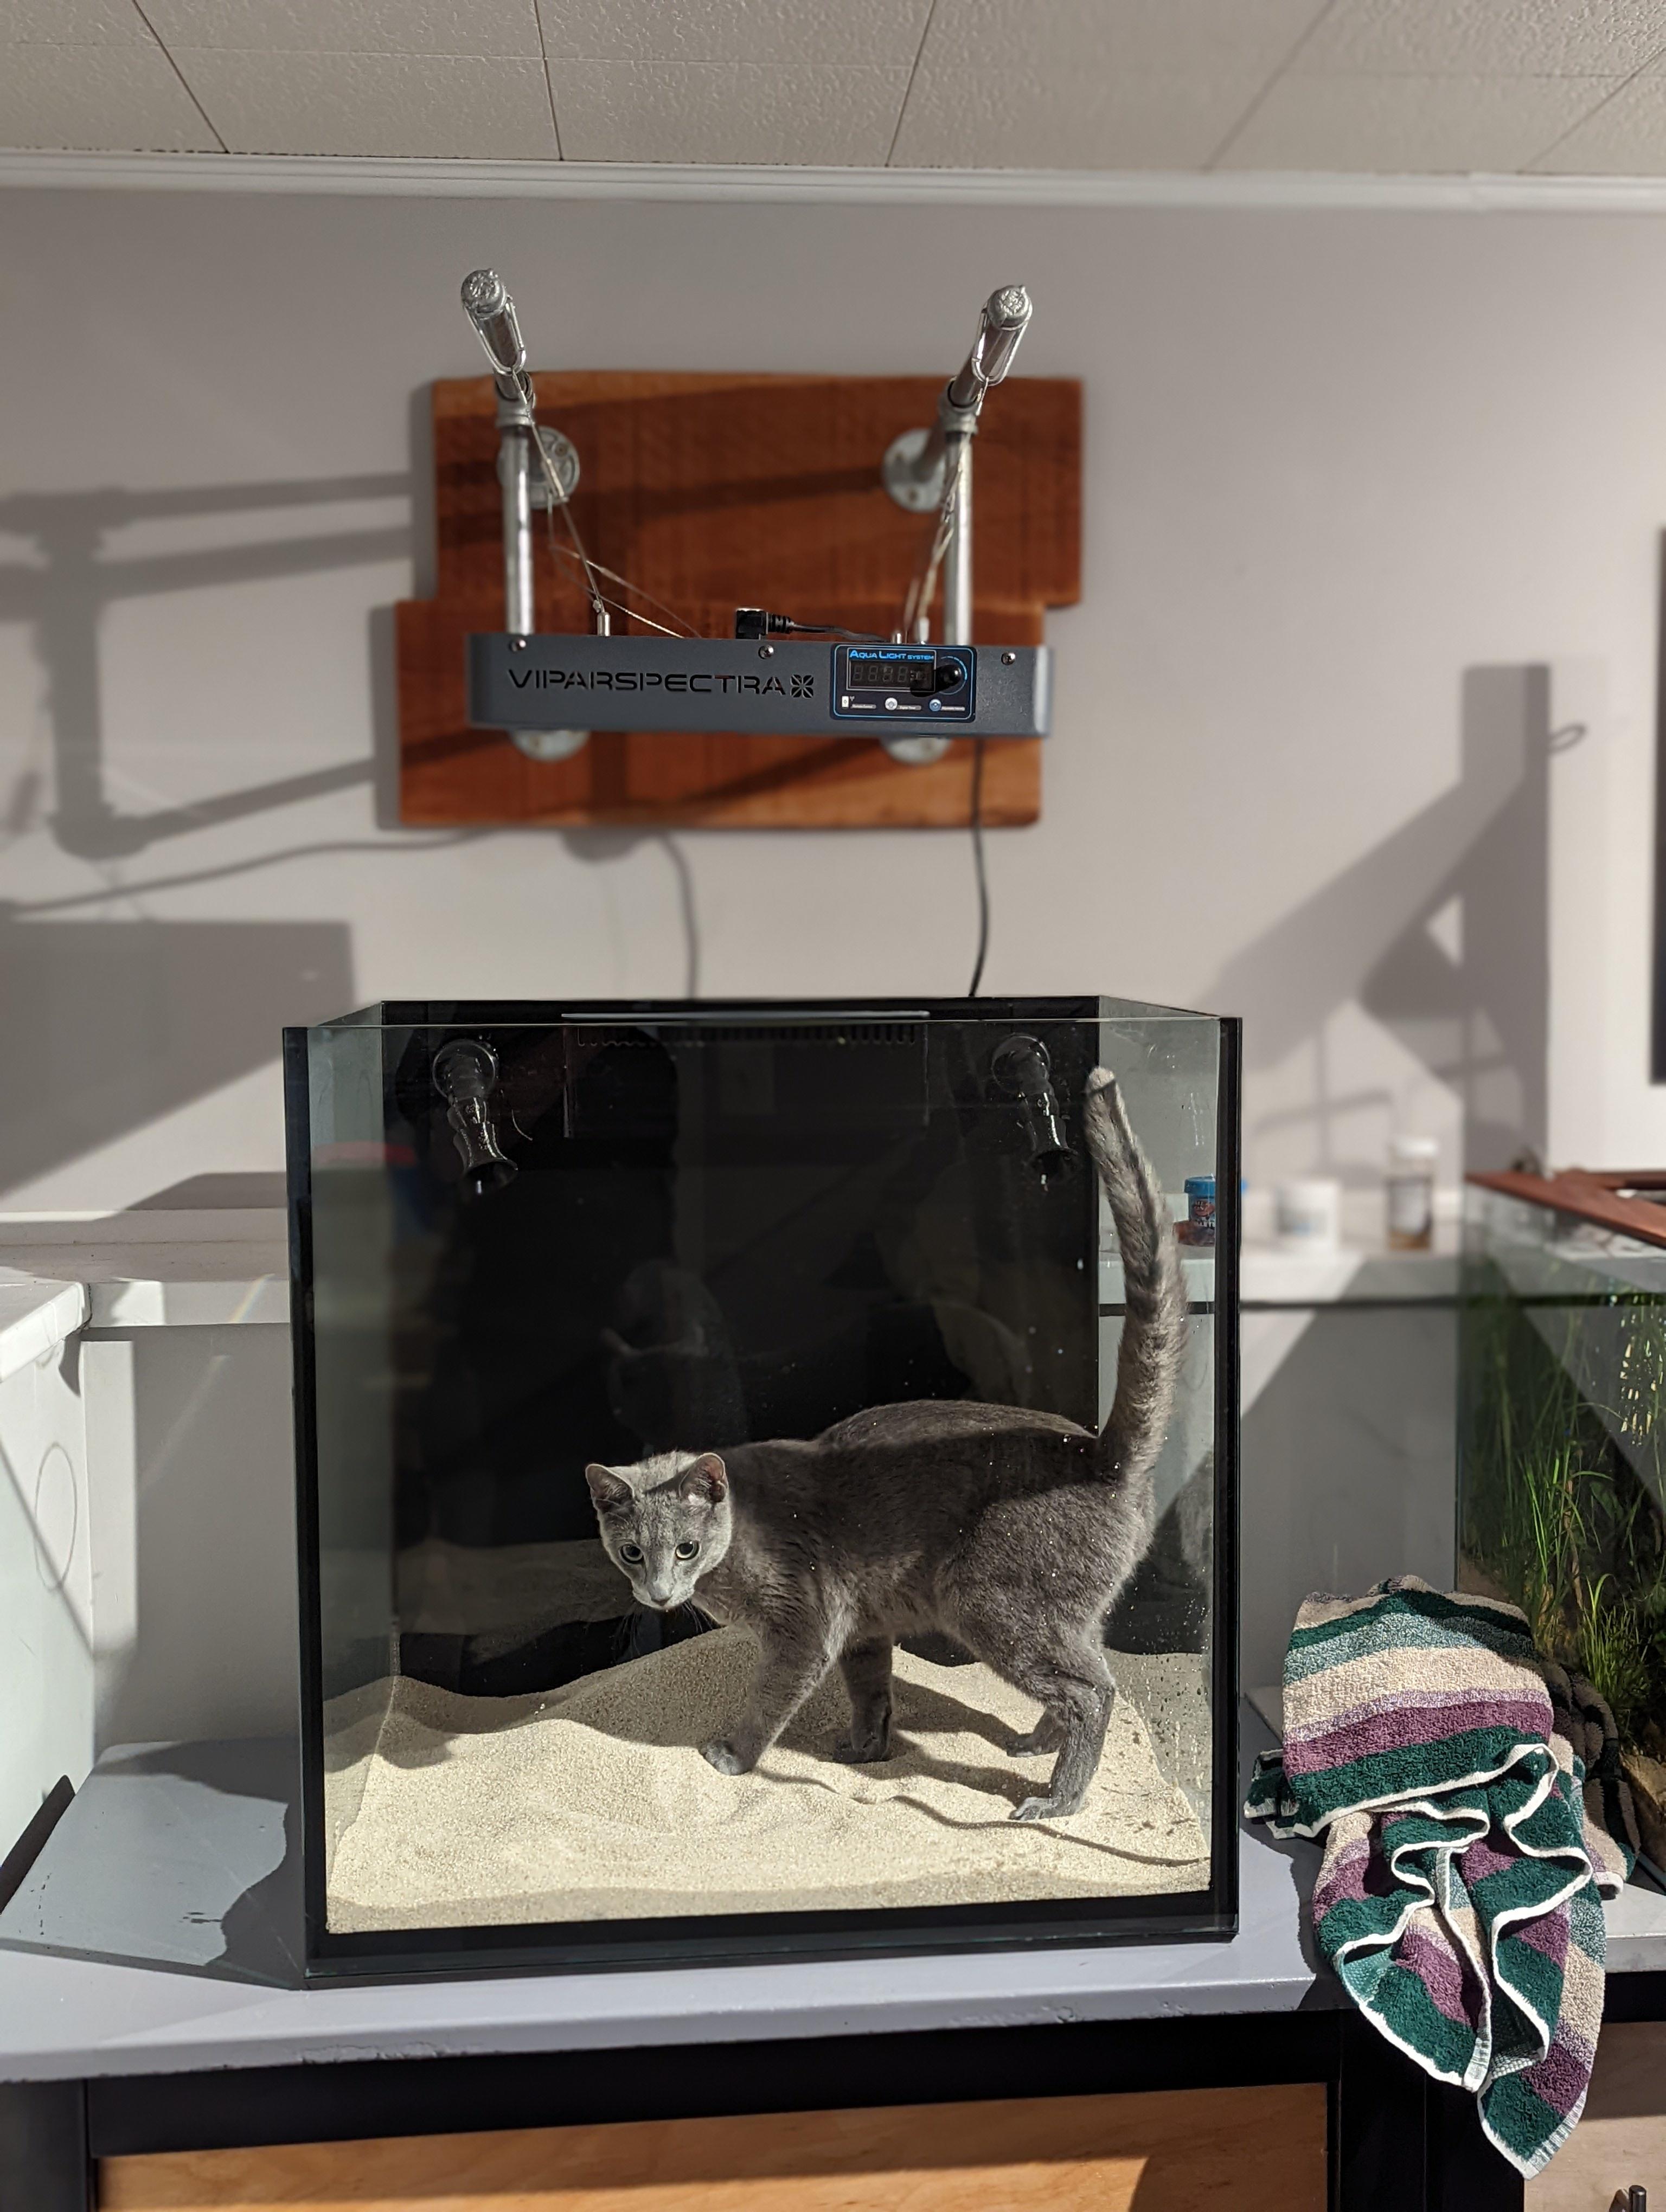
Fortunately I was able to get him out of there before the obvious happened.
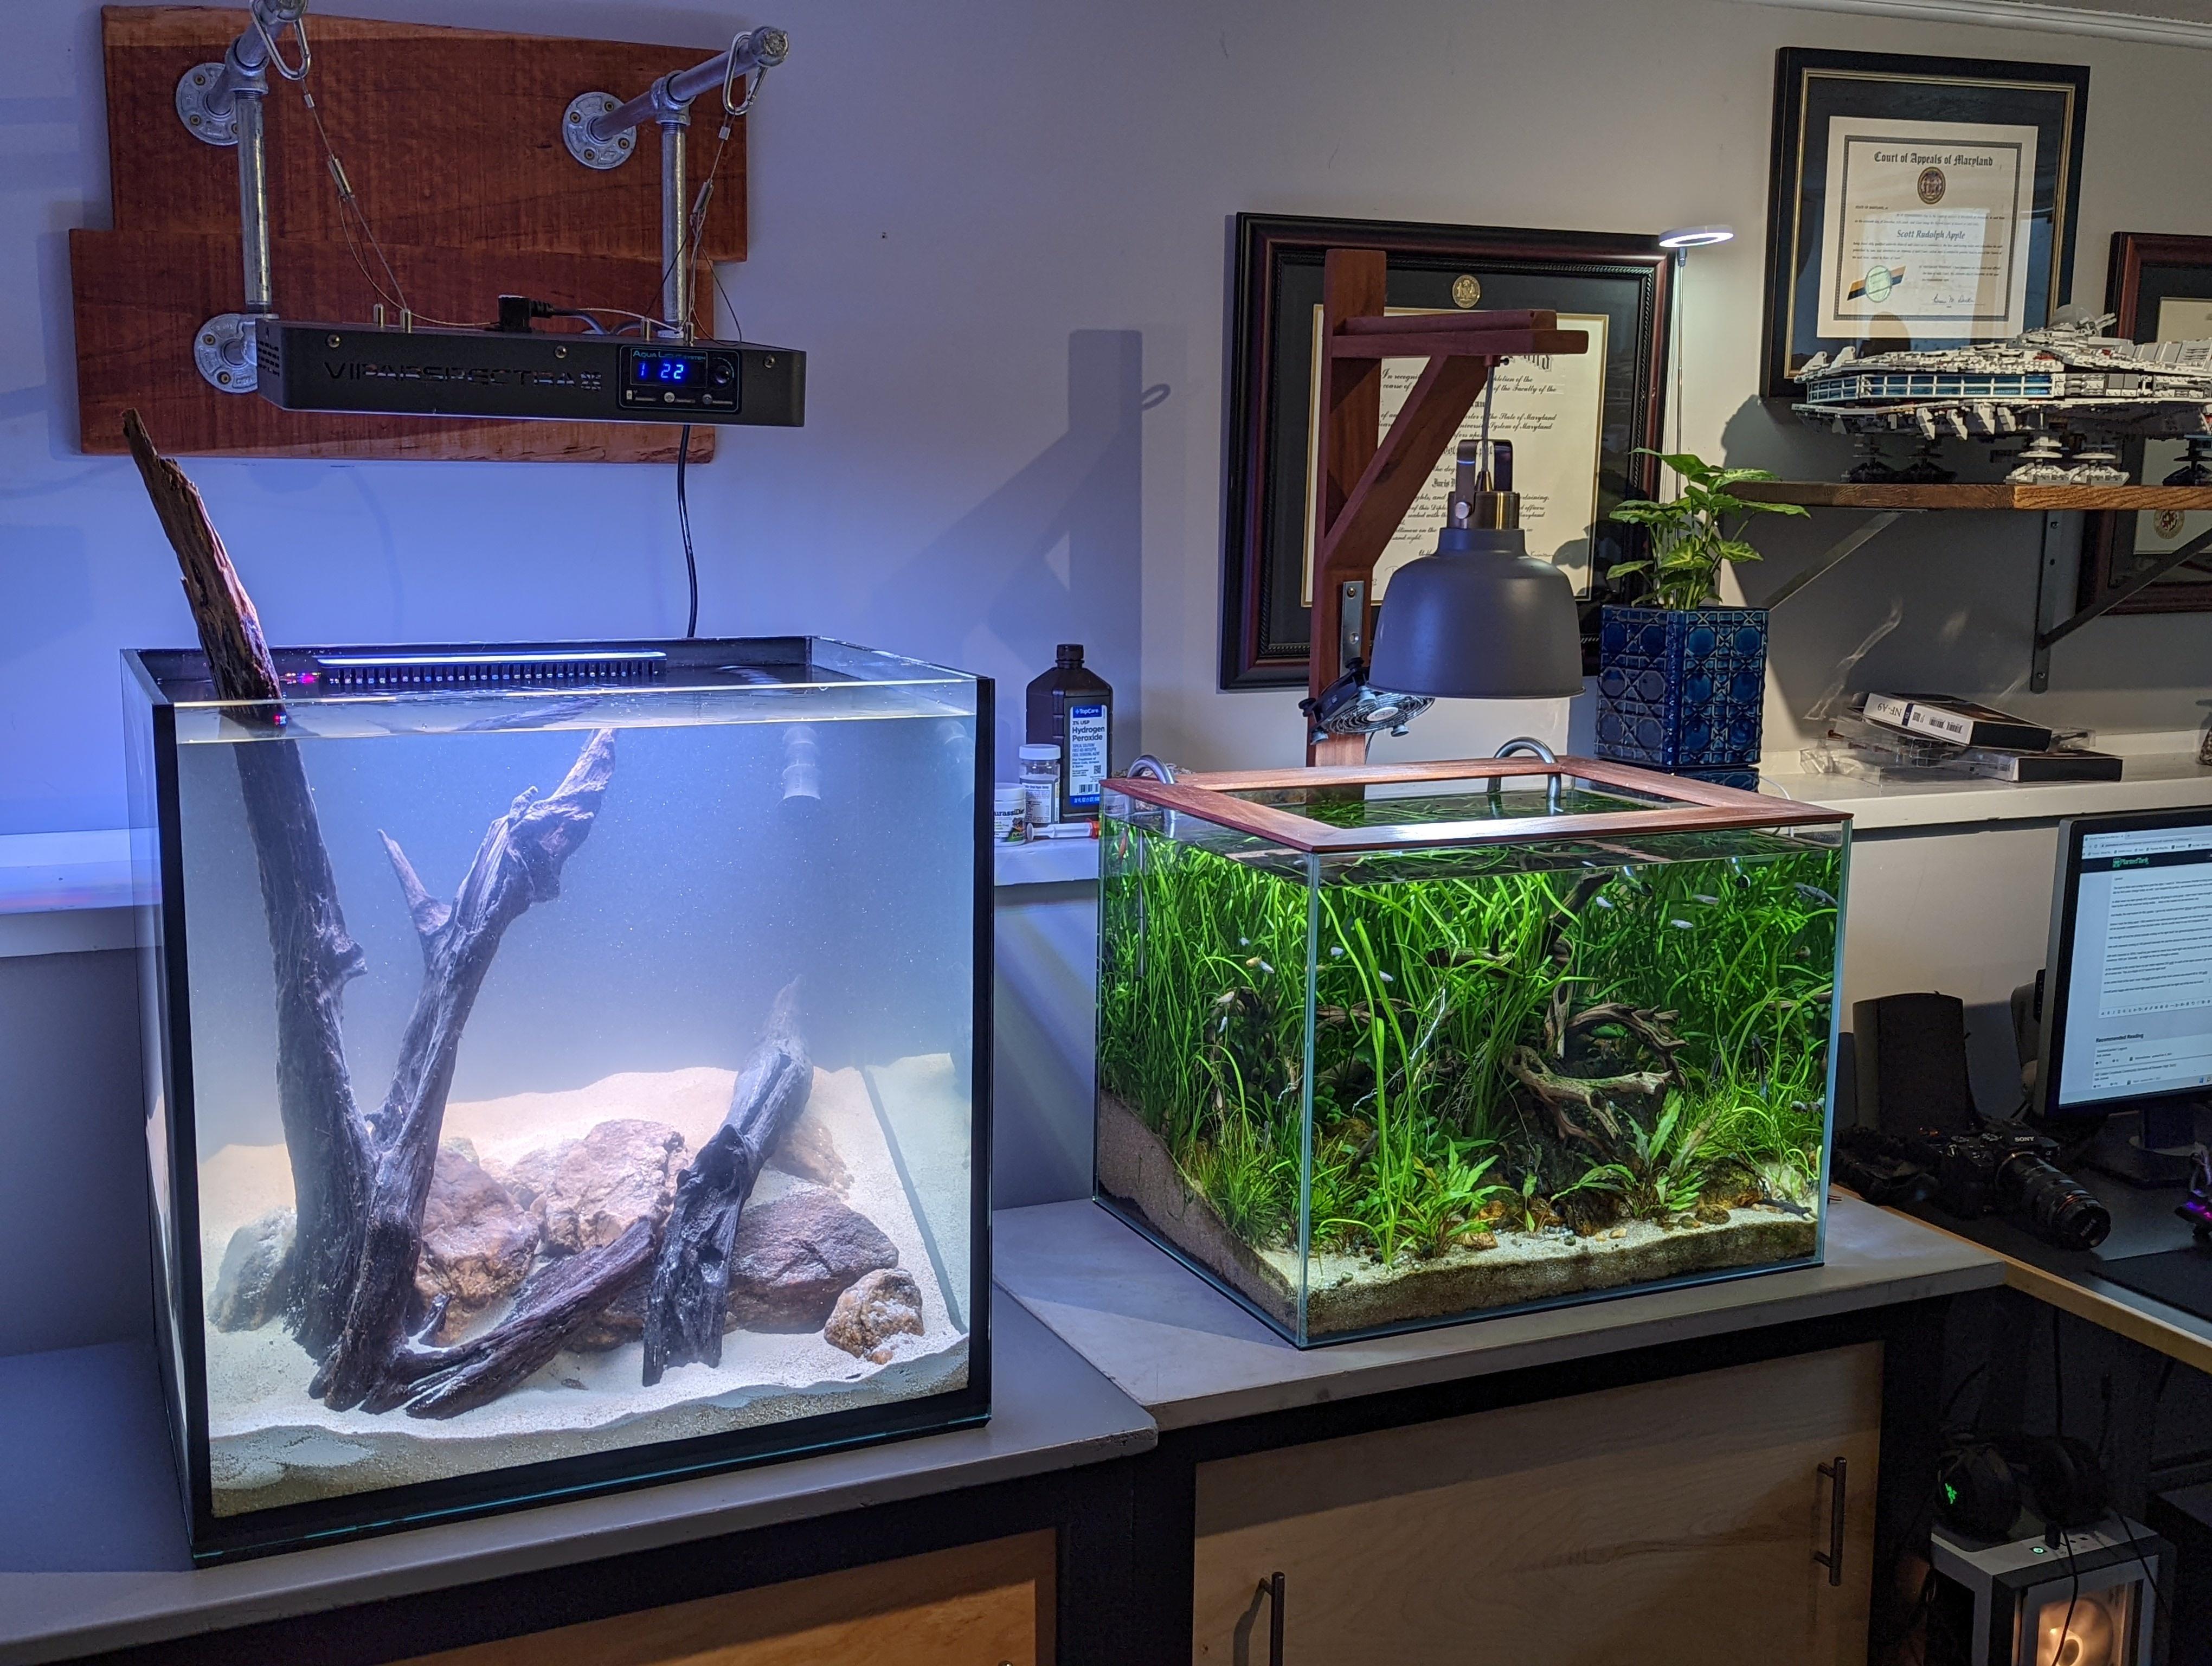
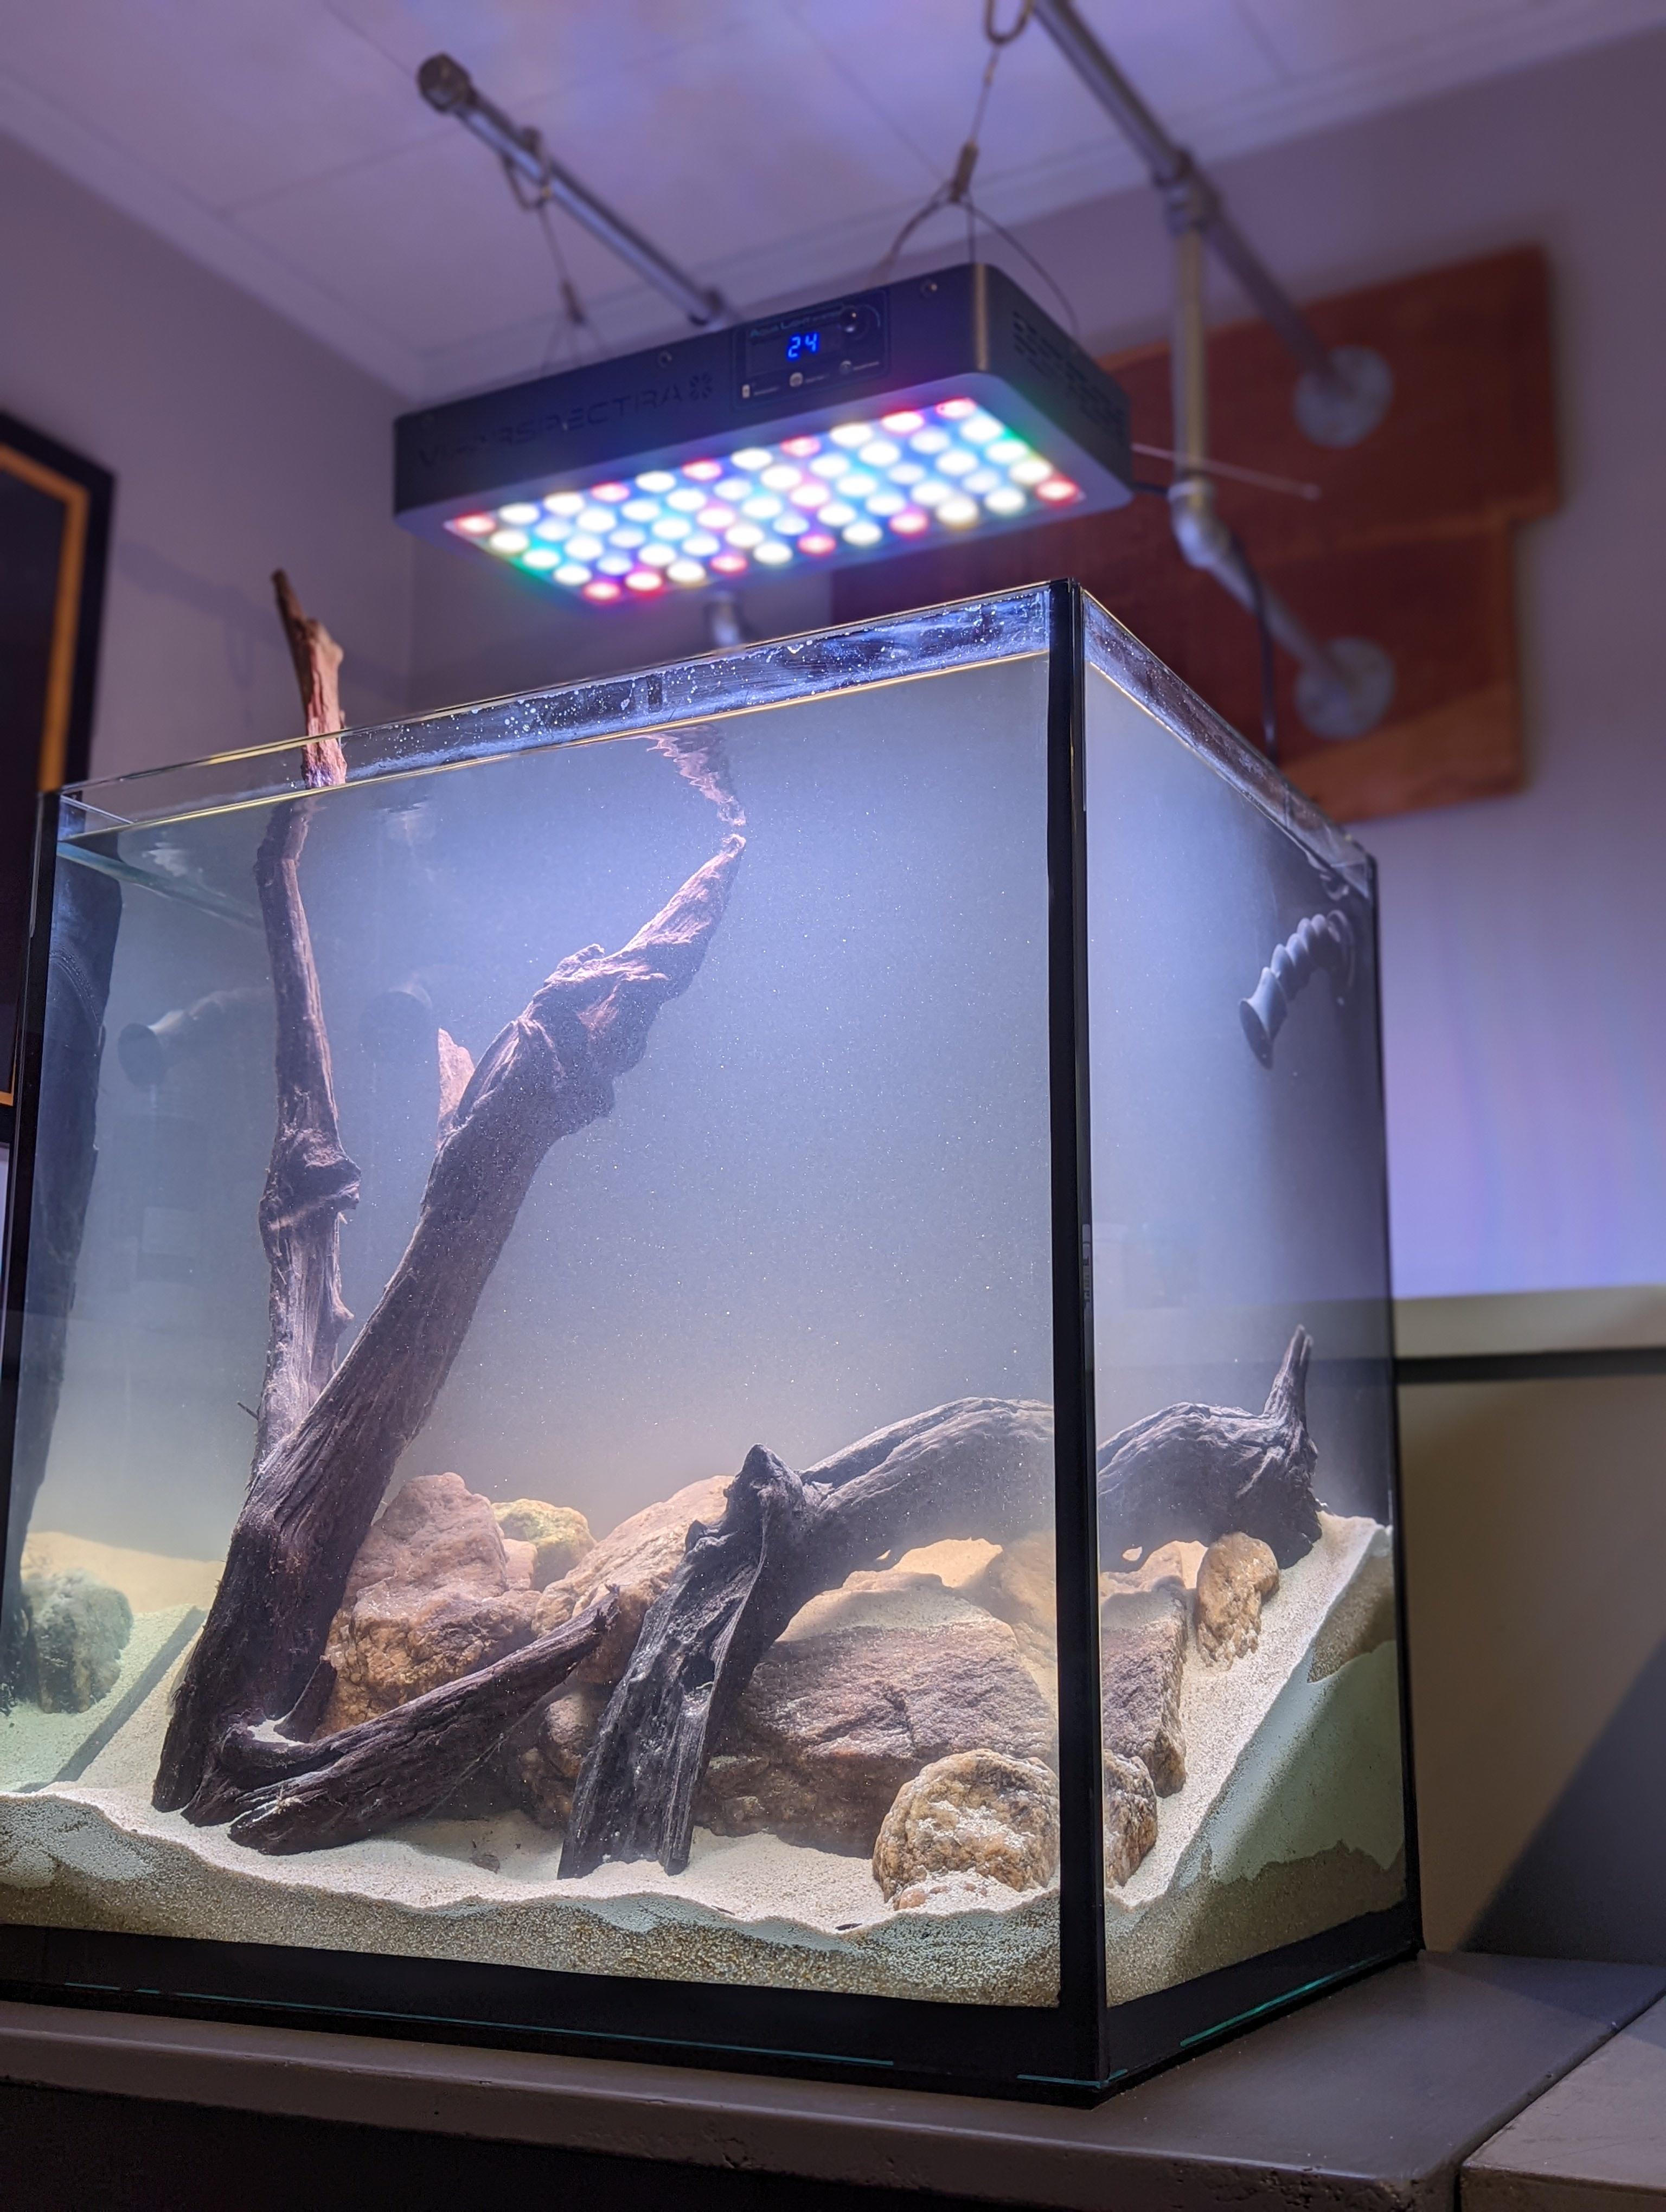
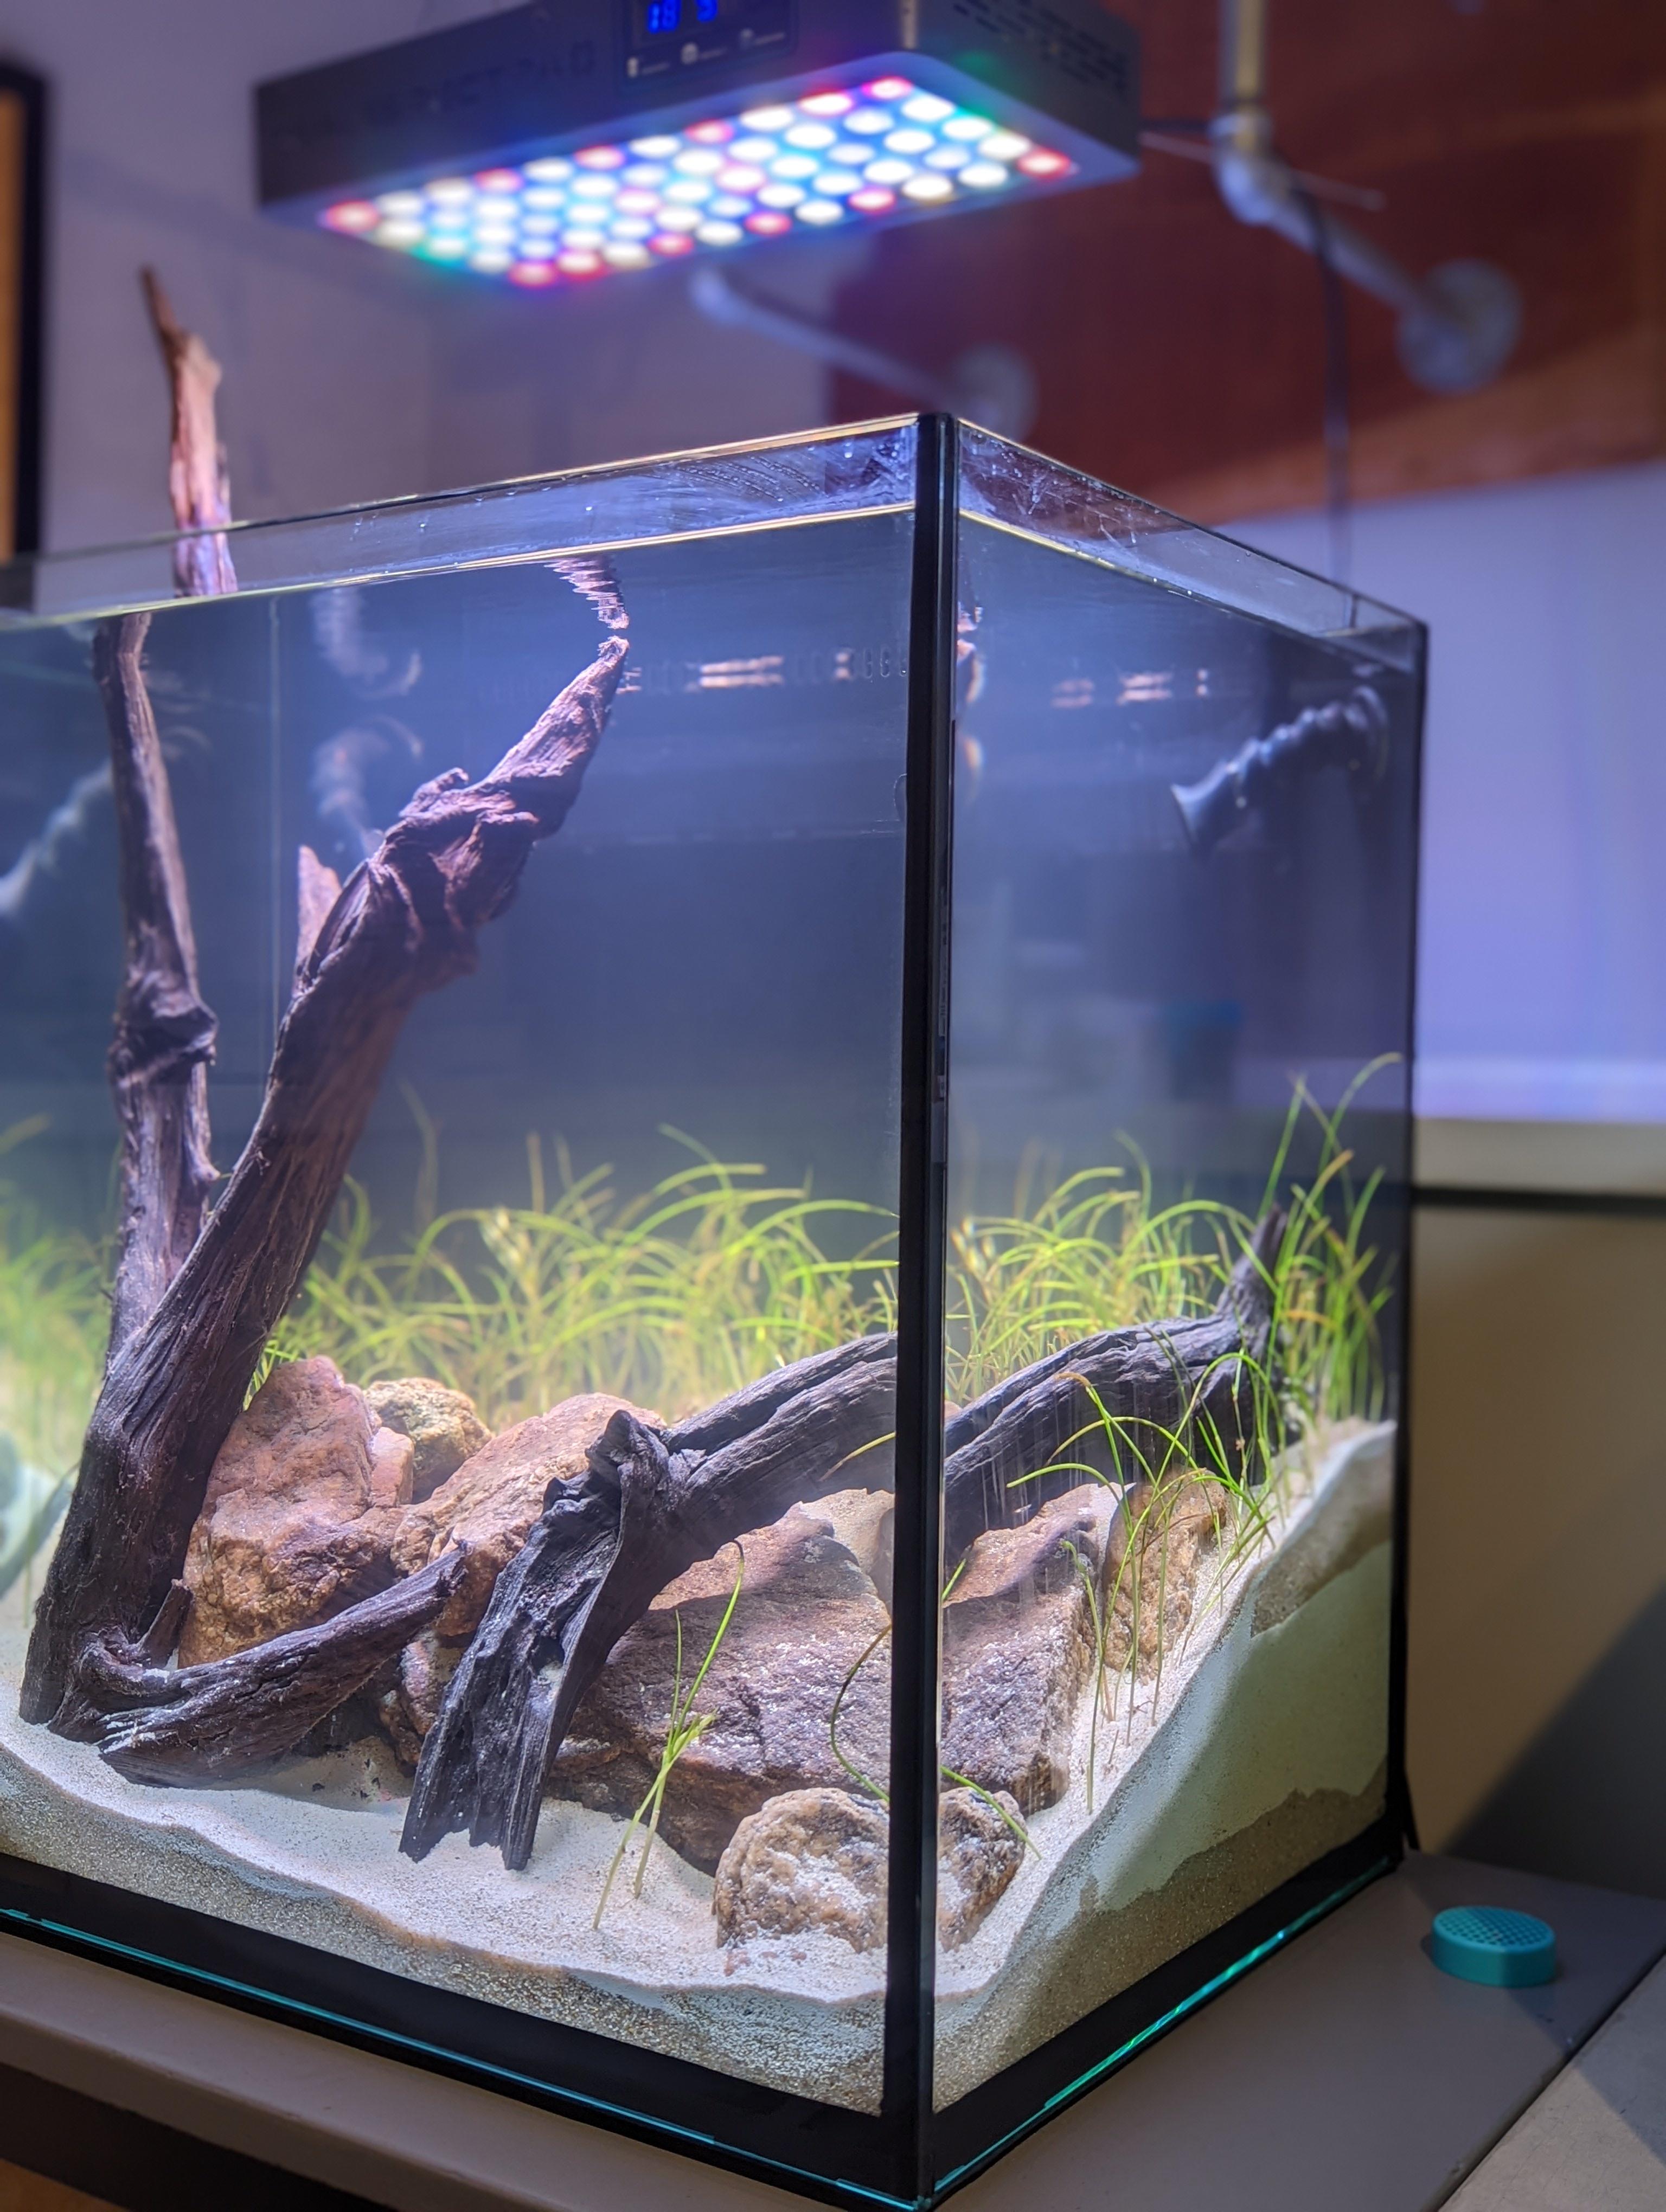
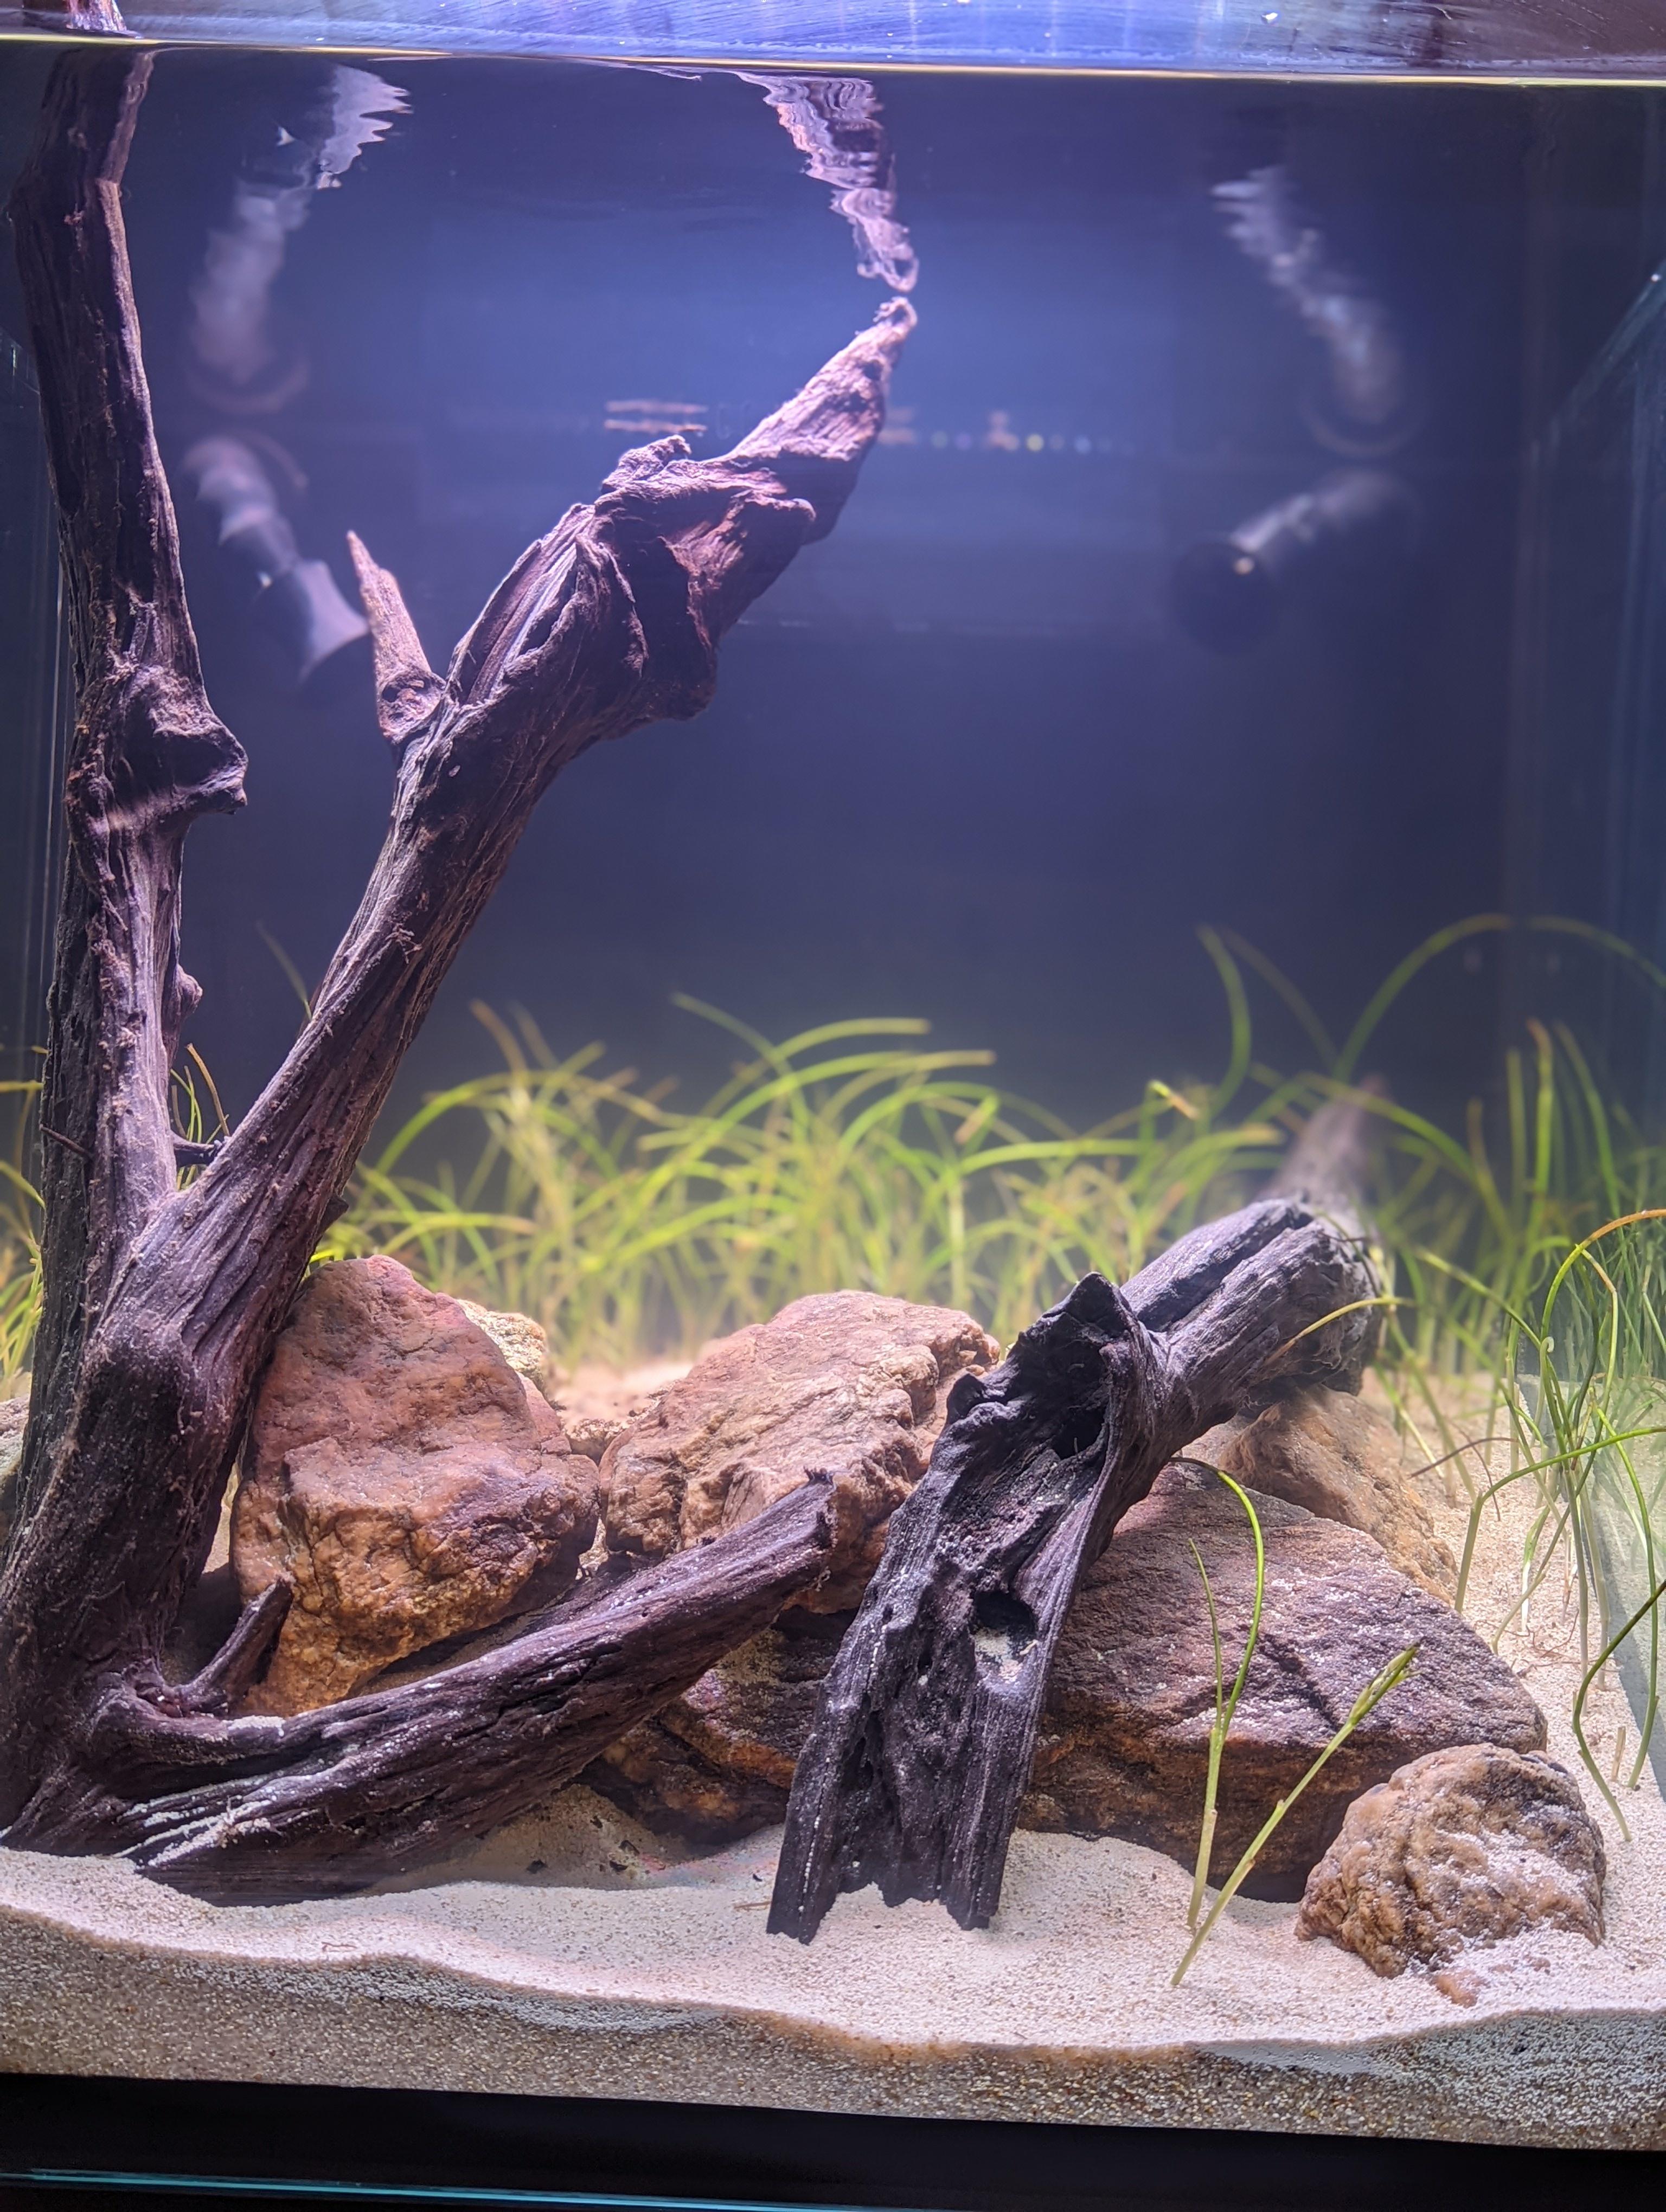
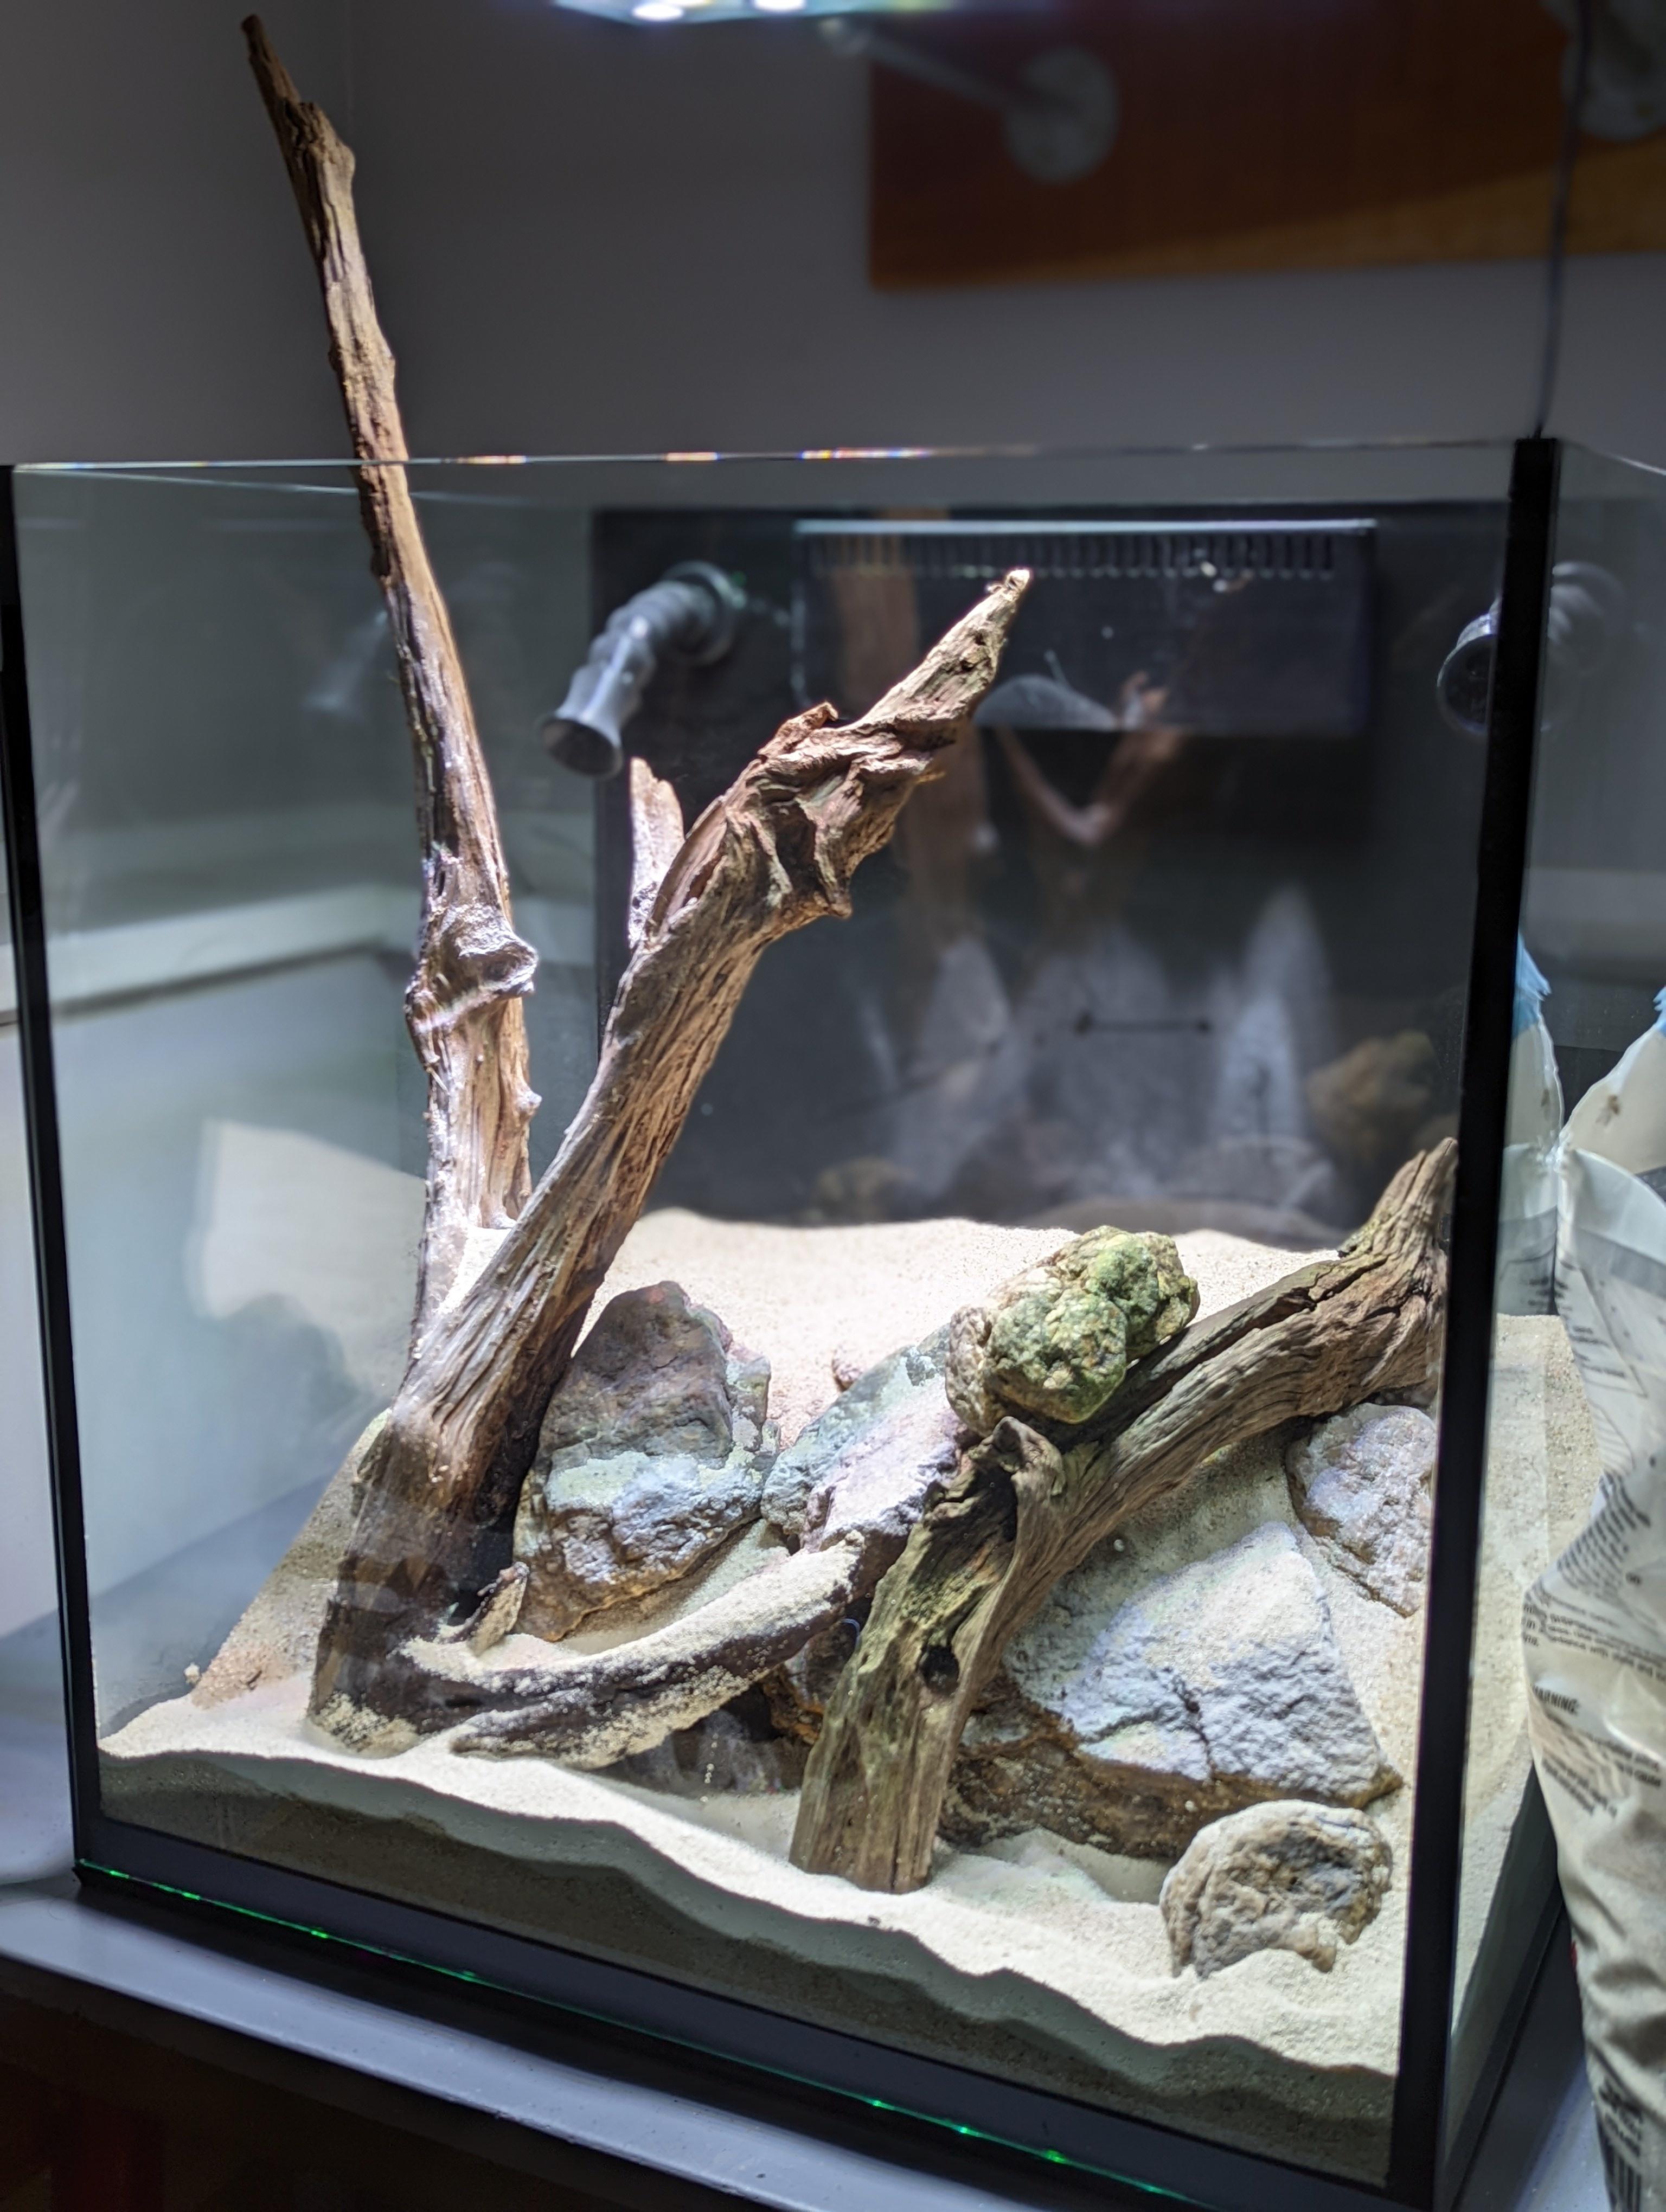
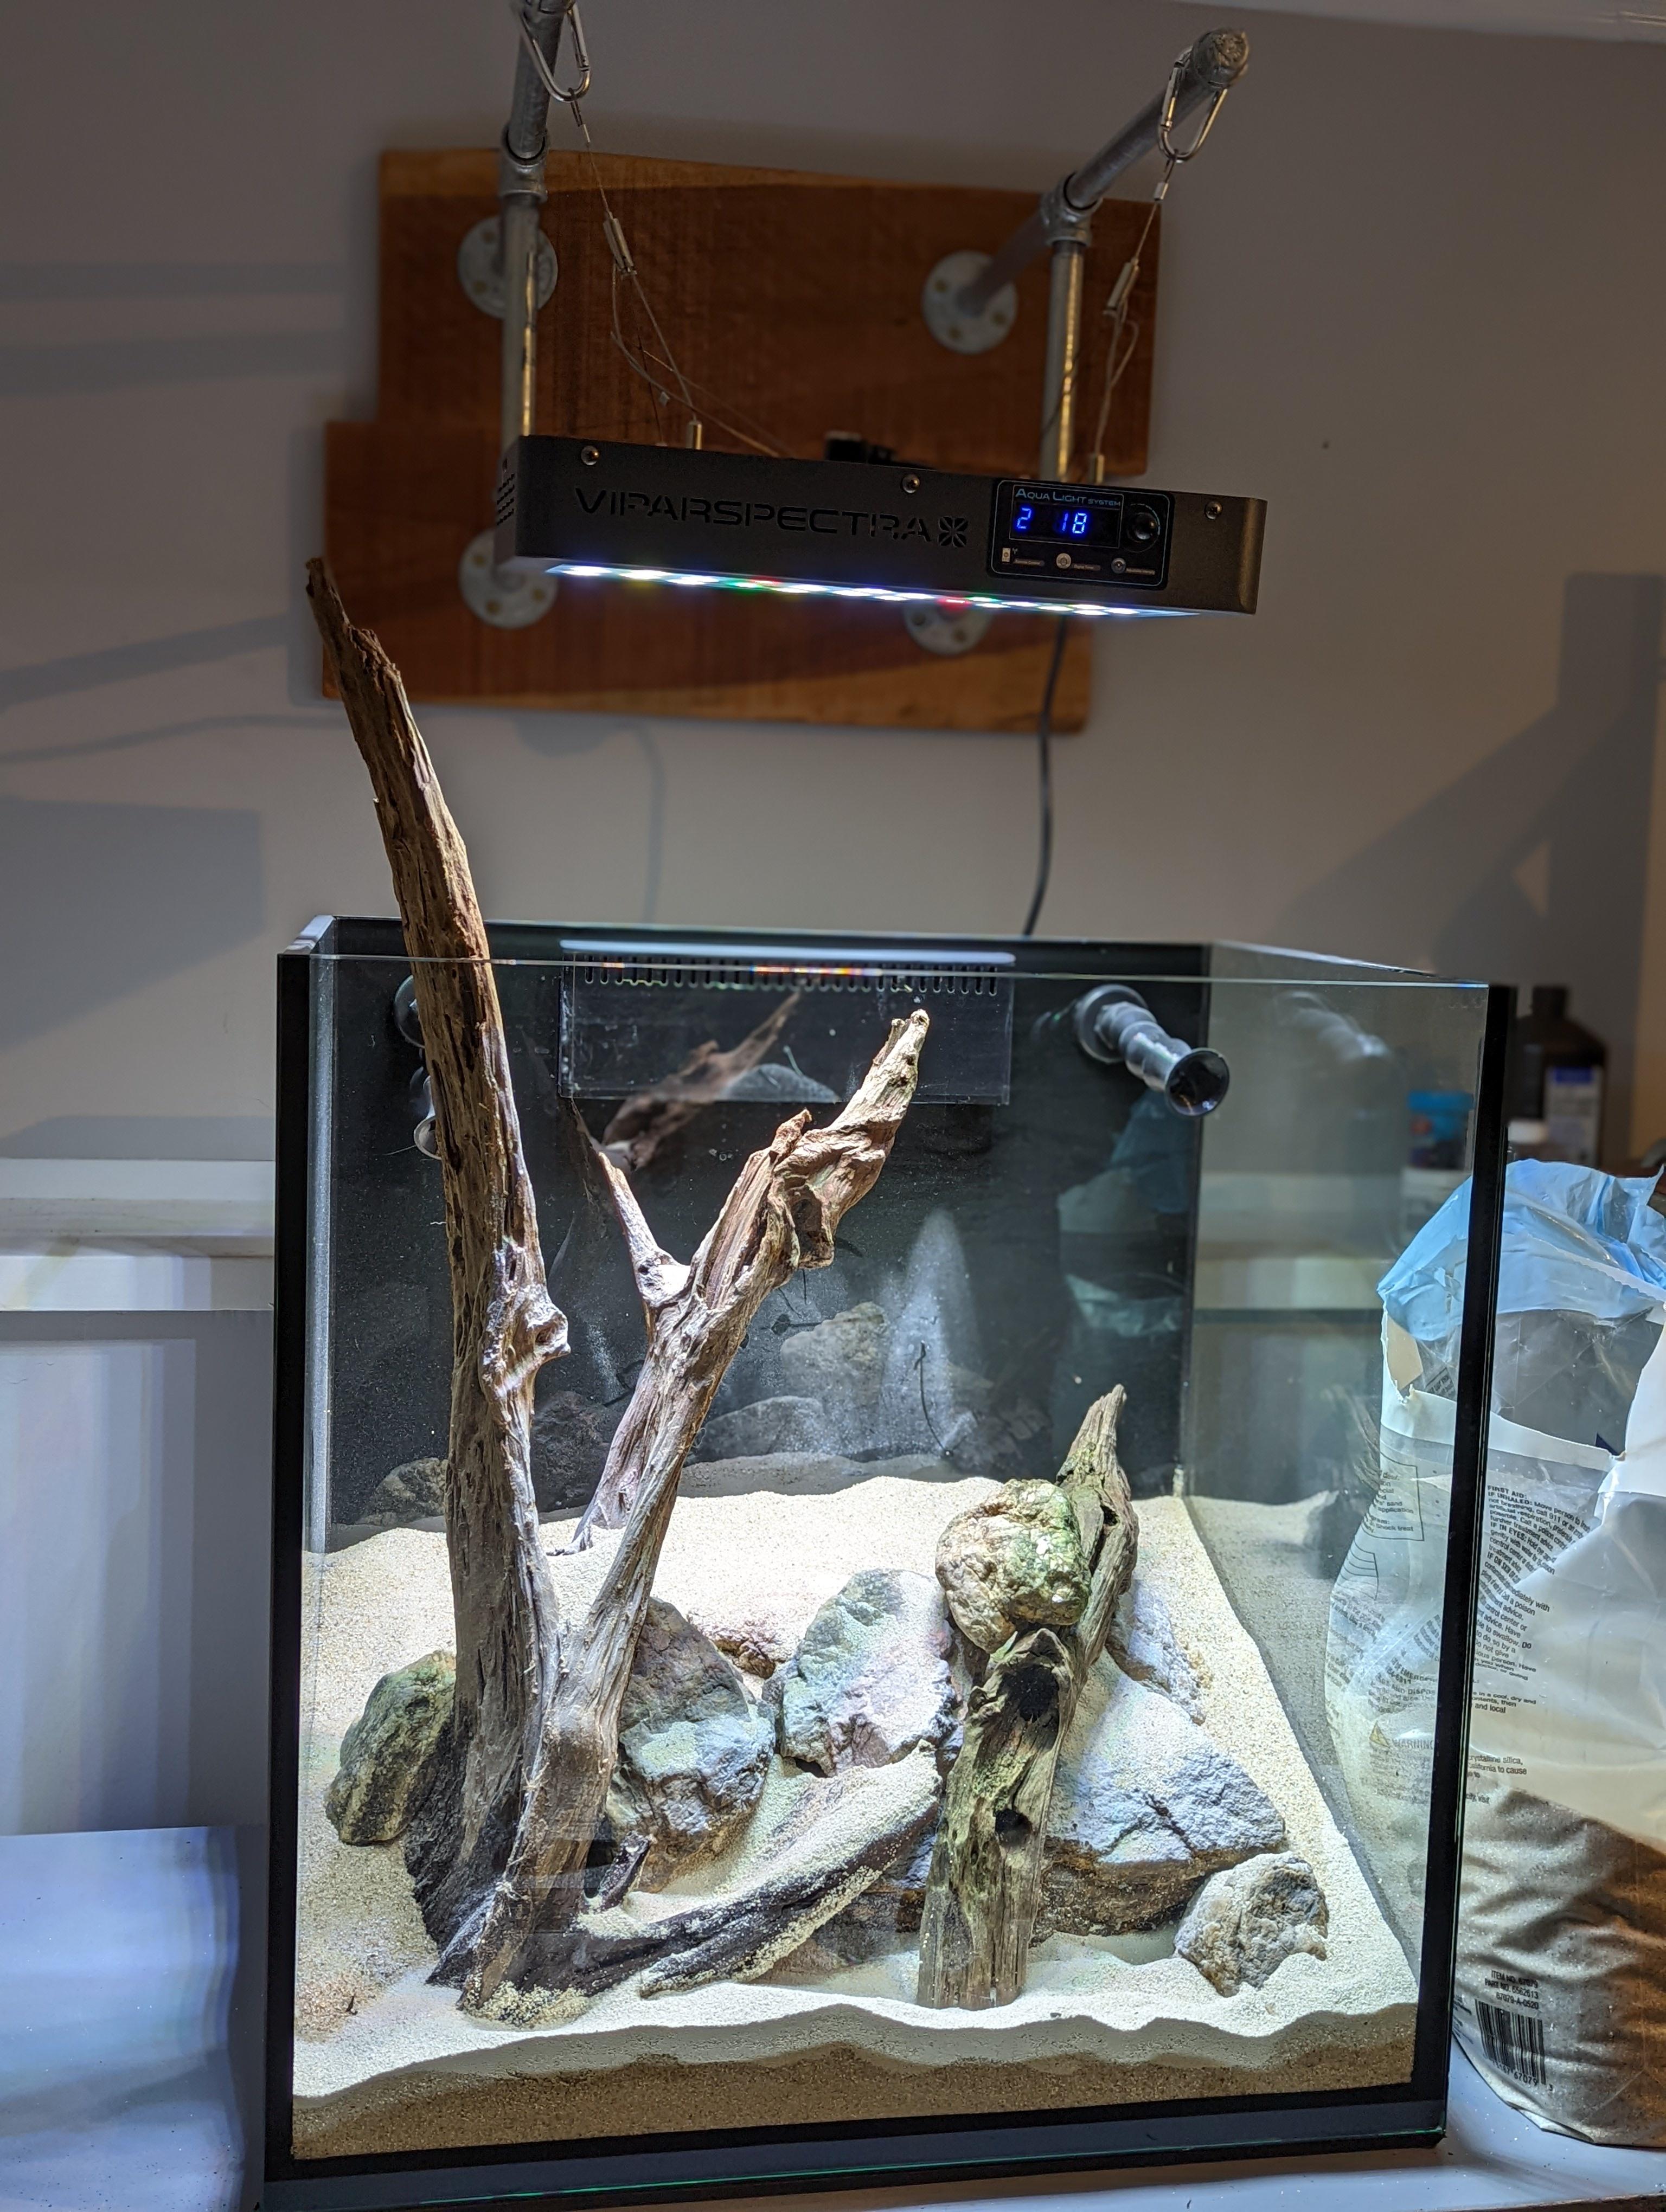
After that I began putting together a scape. After moving rocks around I came up with this:
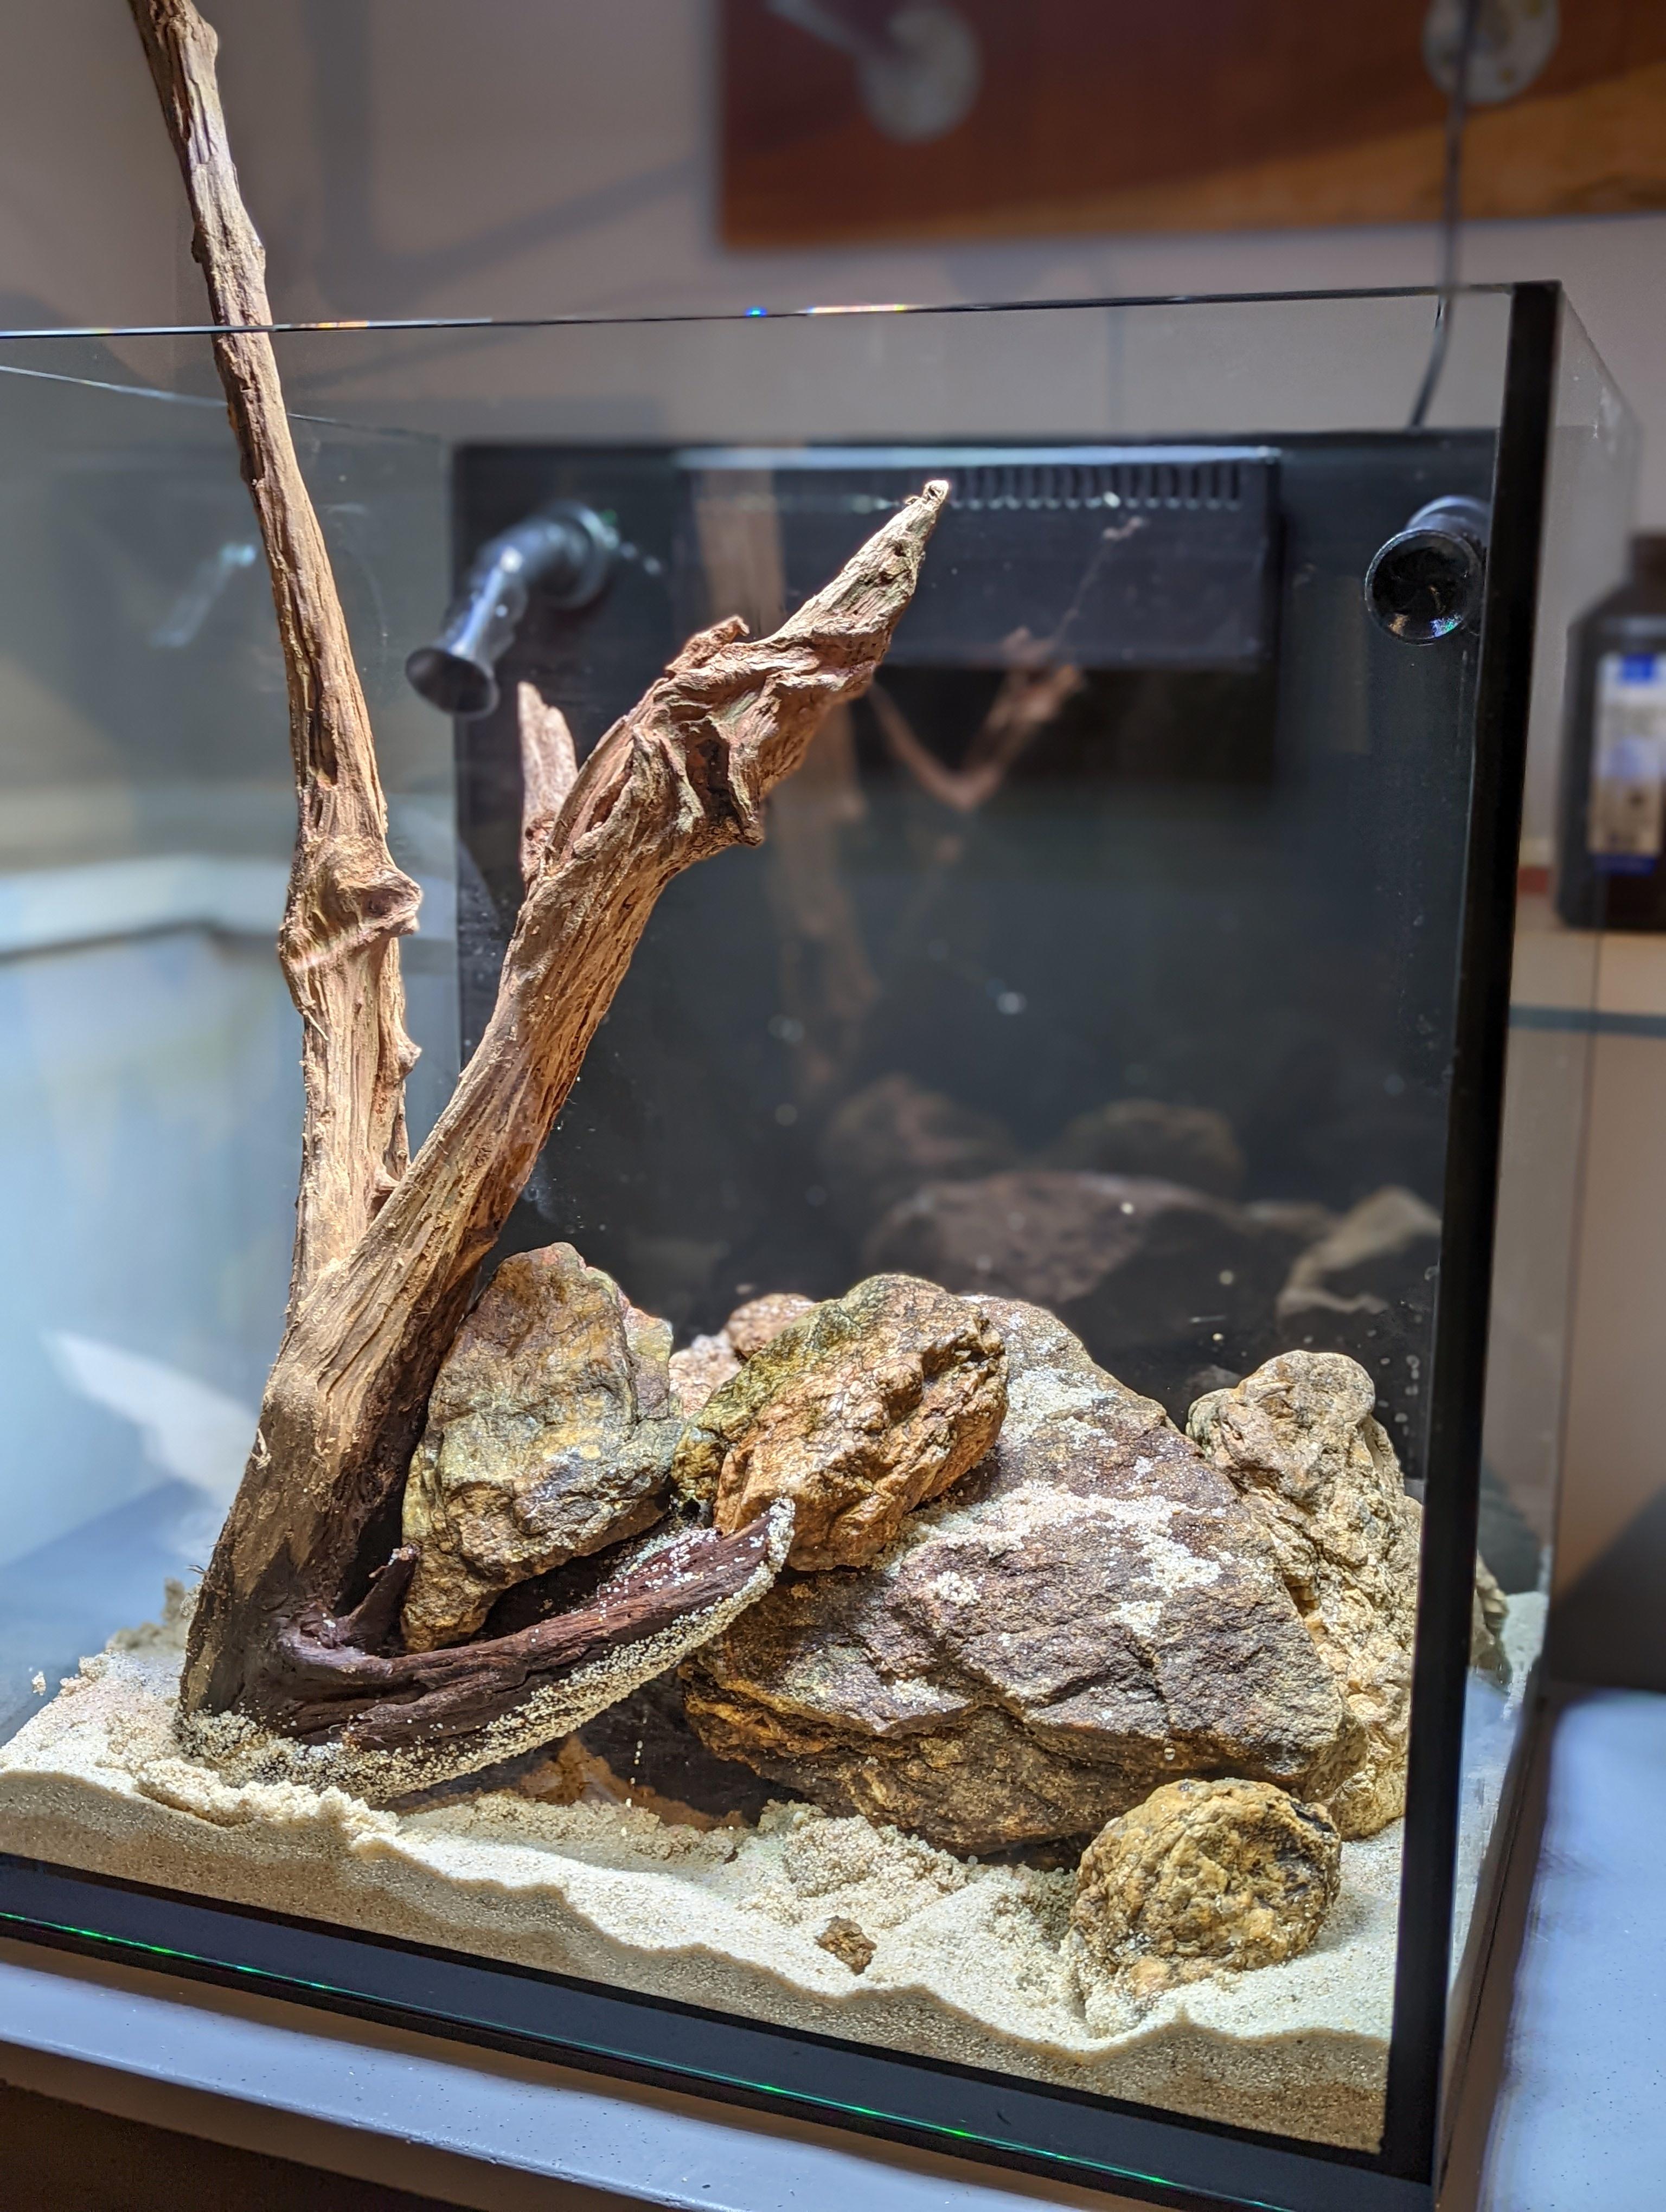
This scape has most of the rock towards the front-middle with a big space in the back. This should allow me a lot of room for the seagrass in the back where the sand bed will be deepest. At this point all the sand in the tank is HTH brand pool filter sand. To fill out the sand I also added a bag of aragonite sand the same grain size as the pool filter sand. Then I topped it with another half bag of the pool filter sand. Here is how it looked:
And that brings me up to current. Right now I am making water, and will mix up my first ever batch of saltwater once done. After that I can introduce ammonia and start the cycle.
Its been a few months since I last updated. Most of this was a misunderstanding on my part for when the tank would be ready.
But the wait is over, the tank is in! I got it a week or so ago actually. I had it delivered to the nearest terminal. I had never picked up something at a freight terminal before but it was essentially no big deal. I just showed up, and asked the lady in the office where to go and a nice man with a fork lift came out with the tank strapped to a pallet. I came prepared to remove it from the pallet with some tin snips and glad I did. After it was disconnected I used some handled glass suction cups to lift the tank off and into my car. Once home this is how it looked:
The silicone was definitely not perfect, but it wasn't terrible. The corners all had oopsies in them like this:
In some places the silicone filled out the outside chamfer, and in other places it did not. Overall, I would say the silicone work was markedly better then an aqueon black framed aquarium but not quite as nice as the new aqueon frameless aquariums if that gives people an idea of what we are talking about. The tank however was quite sturdy and delivered without scratches, so it was time to accept it and move on.
First step was to drill holes for the overflow and return. I am using a modular marine overflow and it came with its own template. The drilled proceeded relatively ok with only one incident of decent chipout but not enough to effect a bulkhead seal.
After that I drilled the return holes:
Next I wanted to paint the back of the tank black. I previously did a test of chalkboard paint and flat black and could not honestly tell any marked difference between the two. So I proceeded to paint the back with rustoleum flat black paint. Here is how the first coat looked:
It ended up taking 3 coats plus some touchups before I was done.
Once painted I moved the tank into my house and onto the stand. A yoga mat purchased for this purpose was sacrificed to the tank gods for the benefit of all.
Plumbing has been something I have been thinking about a lot of the last couple of months. I originally wanted all hard pvc connections but the realities of trying to squeeze a bean animal overflow, a decent sized sump, two return lines, a co2 reactor, an ATO reservoir, and a UV sterilizer all into the space provided by this modified petco stand were a bit too much for me. Honestly the UV sterilizer is definitely the hefty straw that broke this camels back. Getting it to fit using only hard pvc connections while also allowing for servicing was just too much. Once I came to grips with this I decided to use a hybrid approach with some hard pvc lines and the rest vinyl tubing or spiral pond tubing. After that, plumbing was easy.
Once the plumbing was in place I did my fill and plumbing test at the same time.
Total success! Dialing in the bean animal was as simple as I always hoped it would be.
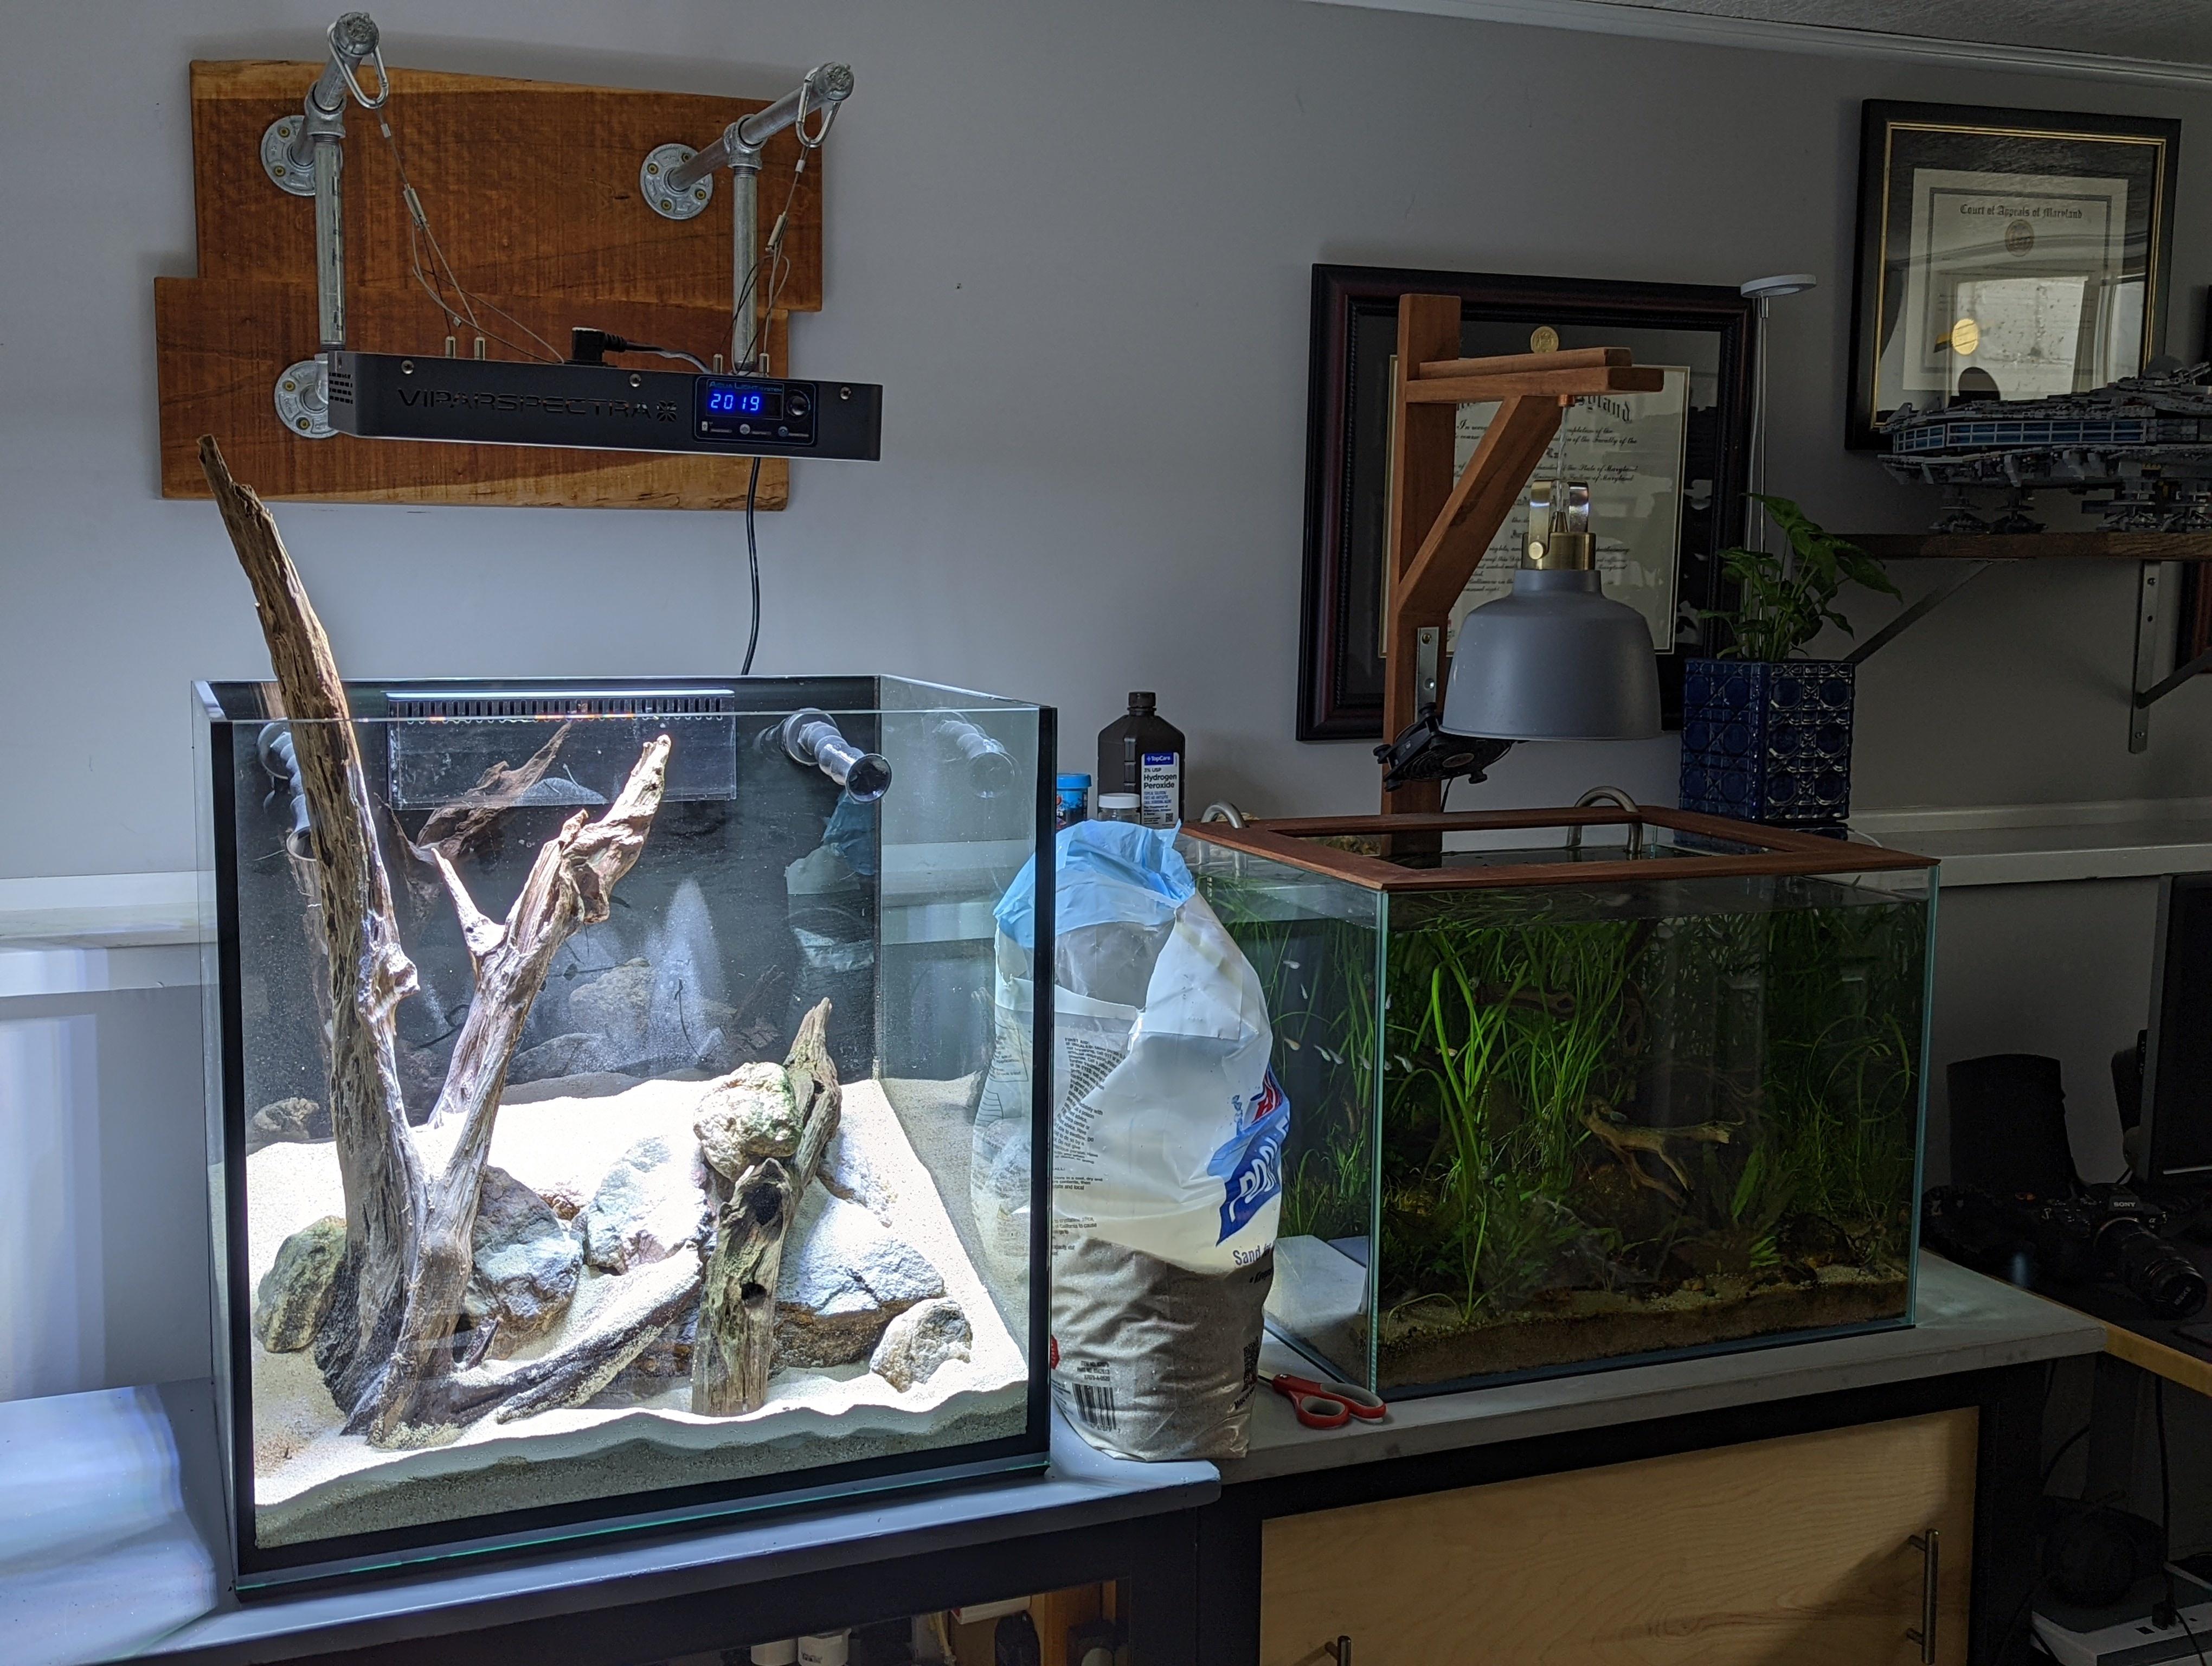
Meanwhile I had been preparing for this moment with additional supplies. An acquaintance from another forum traded me his old viparspectra 165w reef light and two boxes of salt for one of my old rimless tanks. Specifically a DOOA H23. Since he was no longer into the saltwater side of the hobby, it was a great deal for both of us.
The light would probably work as is, but I wanted a better spectrum for this tank. I will not be using much in the way of blues to grow the seagrass and instead need a more natural color. So I contacted SBreef Lights and asked them to make a freshwater spectrum retrofit board for the tank which they did and shipped out from hong kong a couple of days ago. Not sure about an ETA but I would guess anywhere from a few weeks to a month or so.
Since I already would be opening the light to swap out the board, I also purchased two much quieter fans that I will install at the same time.
For hardscape I am going to be using rocks I found locally and rescued from the wild. These are not rocks I pulled from the ocean, but rather ones I pulled from a friend's stream in his backyard. I use these types of rocks in my freshwater tanks all the time. I believe (but am not sure) that they are granite. It seems most saltwater tanks use either real or artificial reef rocks because they want something porous for bacterial surface area. I am going to have a very deep sand bed in this tank, so I definitely don't need more porosity in my rocks.
I also purchased a nice piece of malaysian driftwood the last time my local fish store had some in stock. In order to get out as many tannins as possible before submersing, I went ahead and boiled as much of it as could fit in my largest pot.
It might not look like it, but that pot is actually pretty big. Specifically its 15 quarts (3.75 gallons) and when I'm not using it boil bits of wood, I use it to brew beer.
To protect the glass from the rocks I was about to use, I first put down some eggcrate (light diffuser) to disperse the weight of the rocks. I then forgot to take a picture of it and put in some sand. The Wife's new cat (the one I traded favors for to get this tank) took an interest in what I was doing.
It was about this point that it dawned on me that sitting back idly taking pictures of a cat in a box of sand...... was not something I should be doing.
Fortunately I was able to get him out of there before the obvious happened.
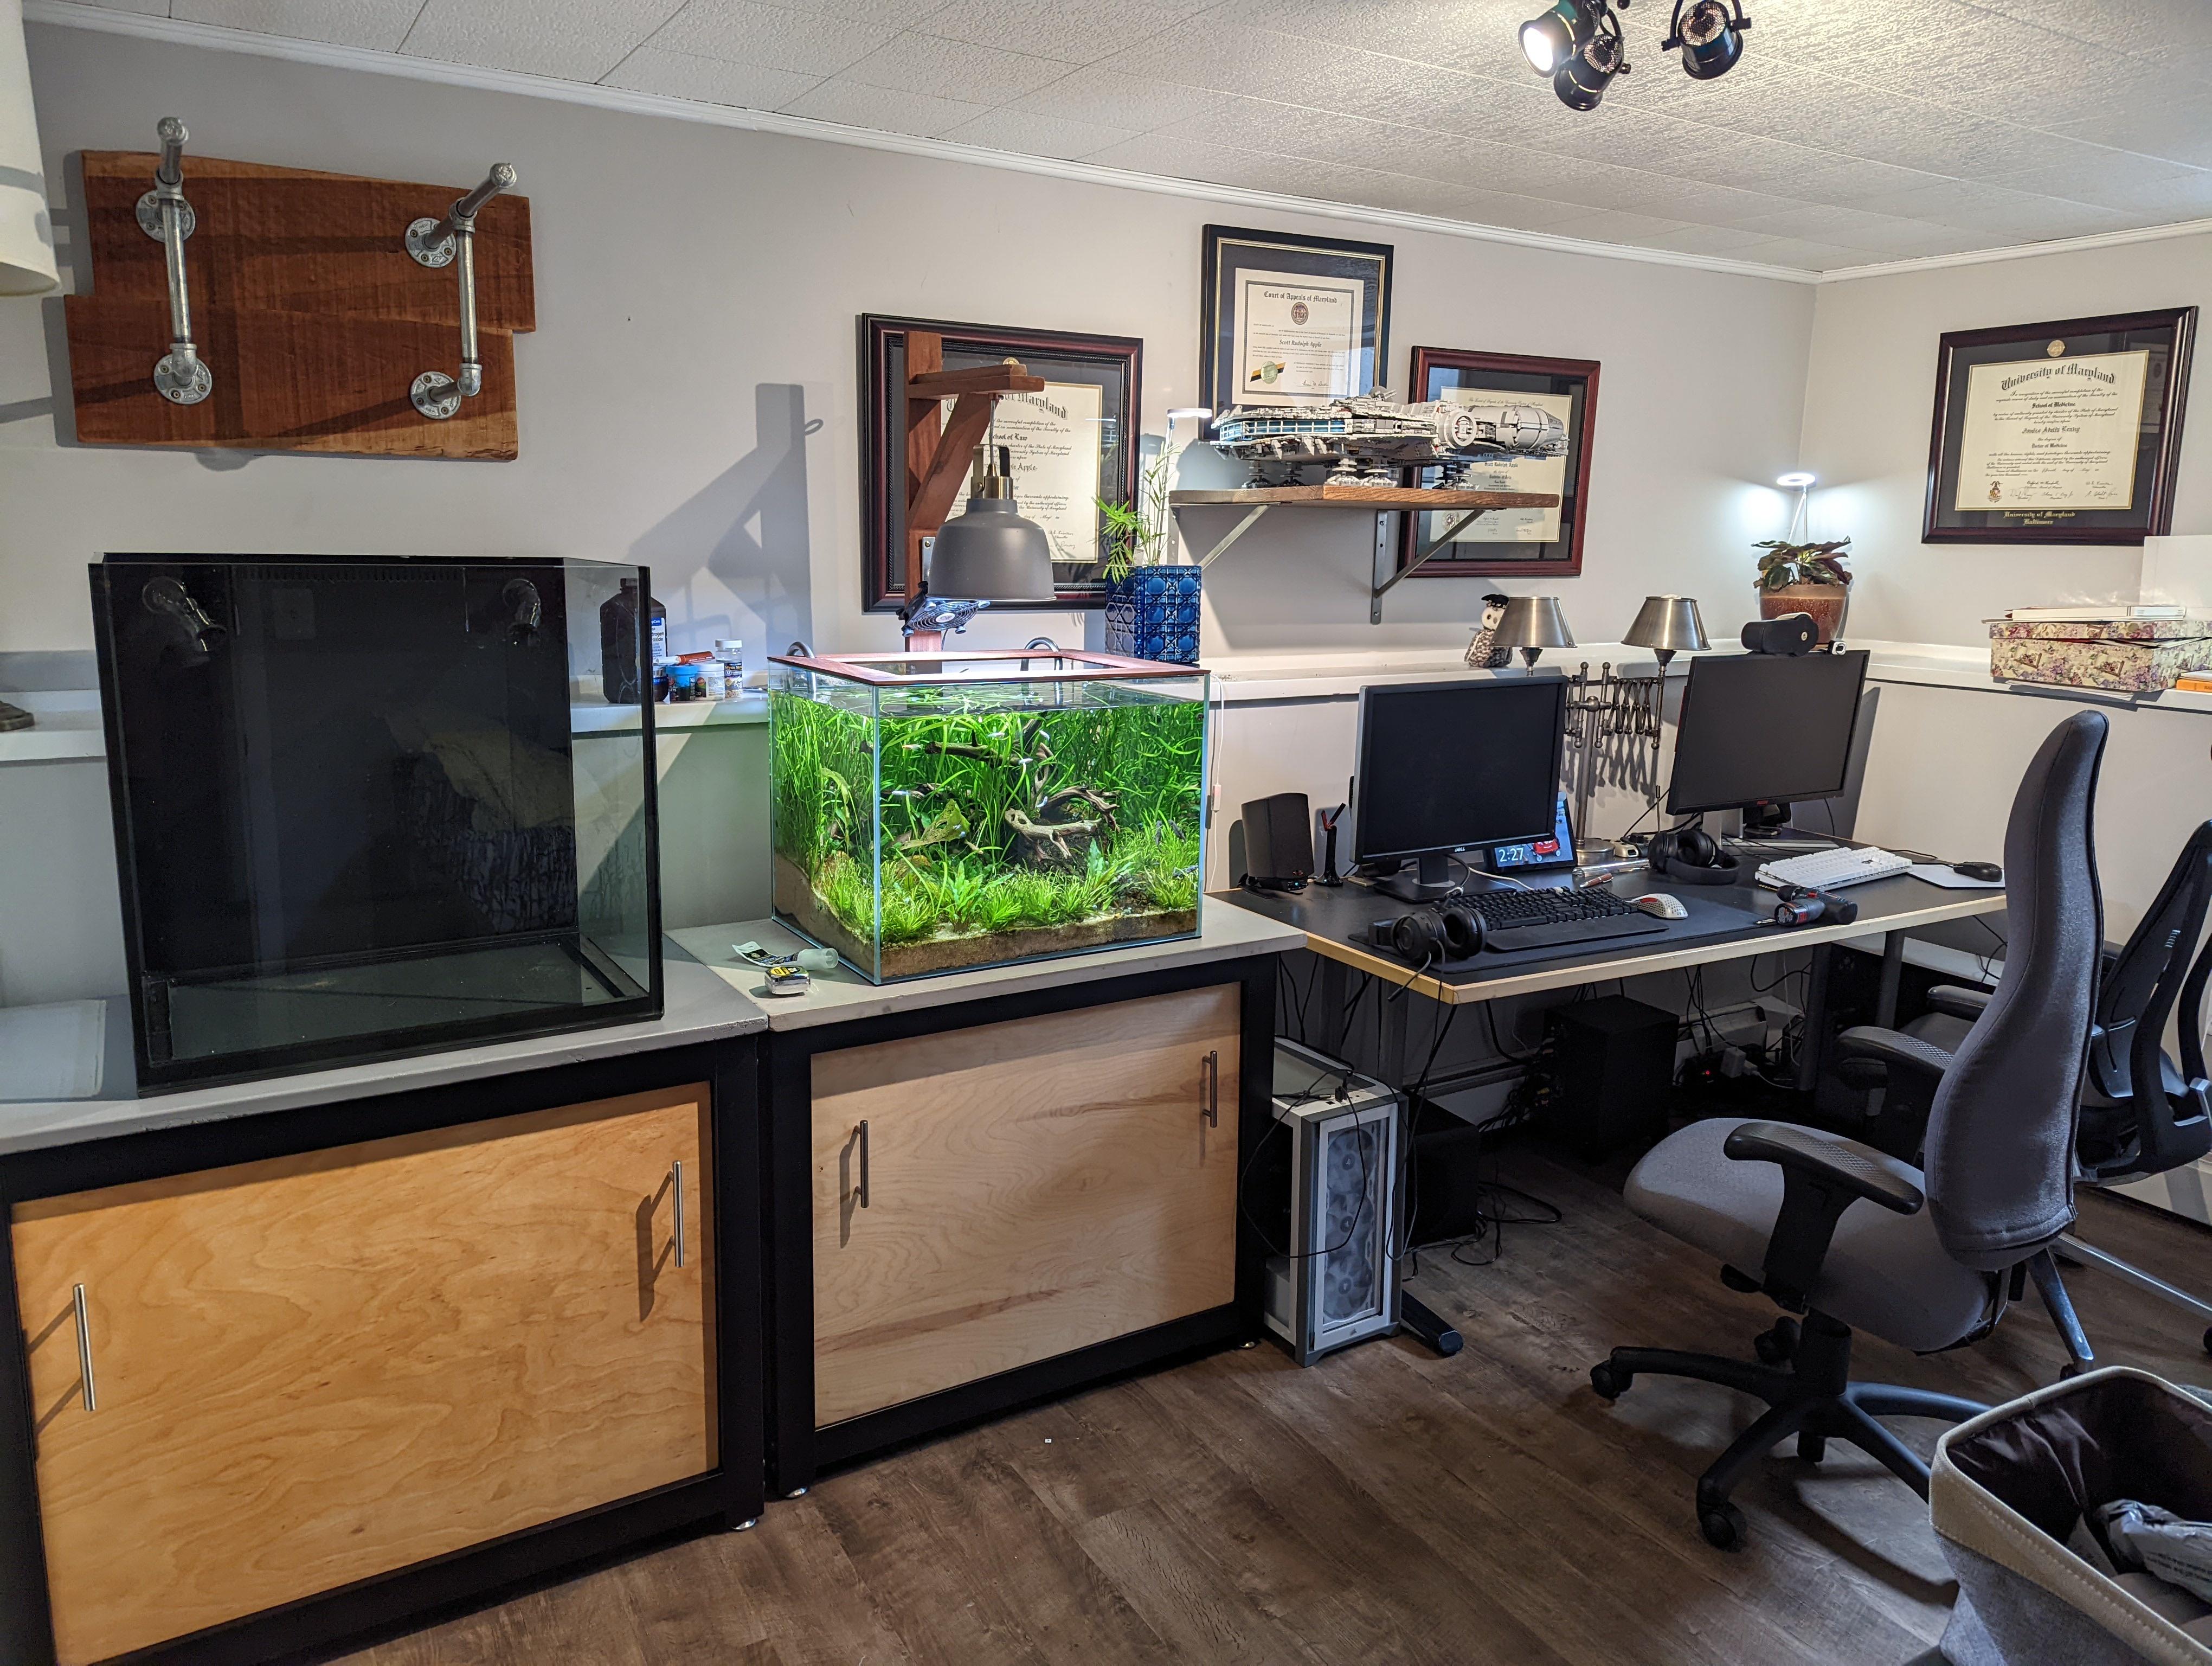
After that I began putting together a scape. After moving rocks around I came up with this:
This scape has most of the rock towards the front-middle with a big space in the back. This should allow me a lot of room for the seagrass in the back where the sand bed will be deepest. At this point all the sand in the tank is HTH brand pool filter sand. To fill out the sand I also added a bag of aragonite sand the same grain size as the pool filter sand. Then I topped it with another half bag of the pool filter sand. Here is how it looked:
And that brings me up to current. Right now I am making water, and will mix up my first ever batch of saltwater once done. After that I can introduce ammonia and start the cycle.