zccef 120 gal 2.0

zccef

Community Member
View Badges
Joined
Nov 14, 2009
Messages
36
Reaction score
0
Location
Farmington Hills
Rating - 0%
0   0   0
here is a link to my old tank thread
zccef's tank

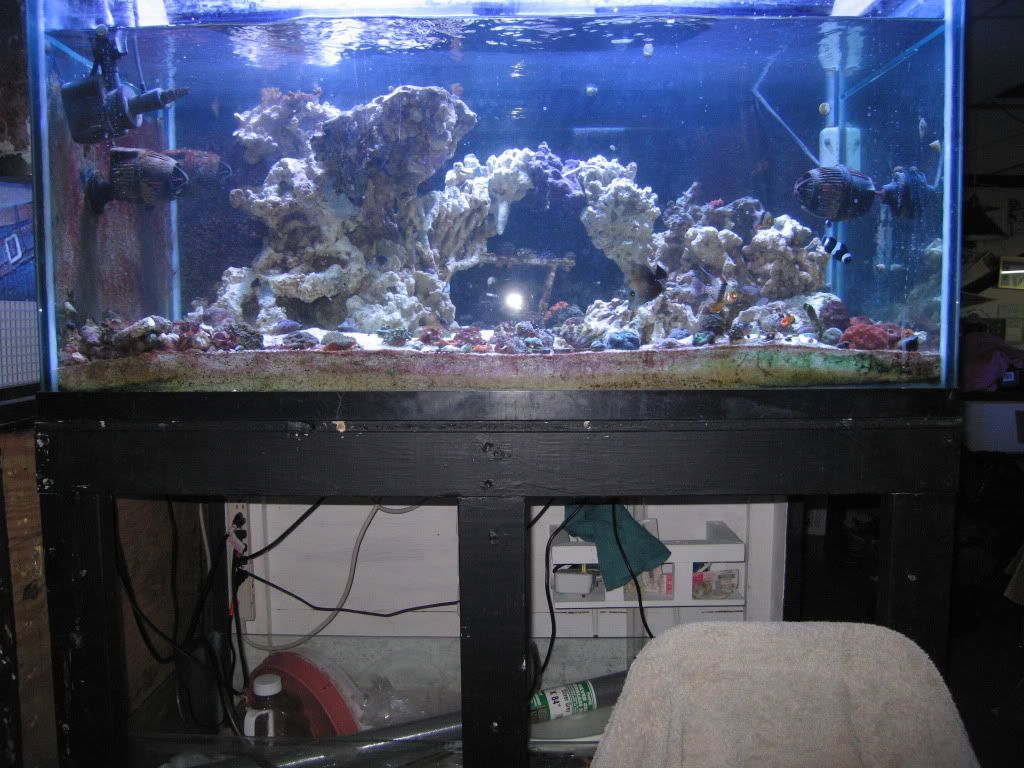
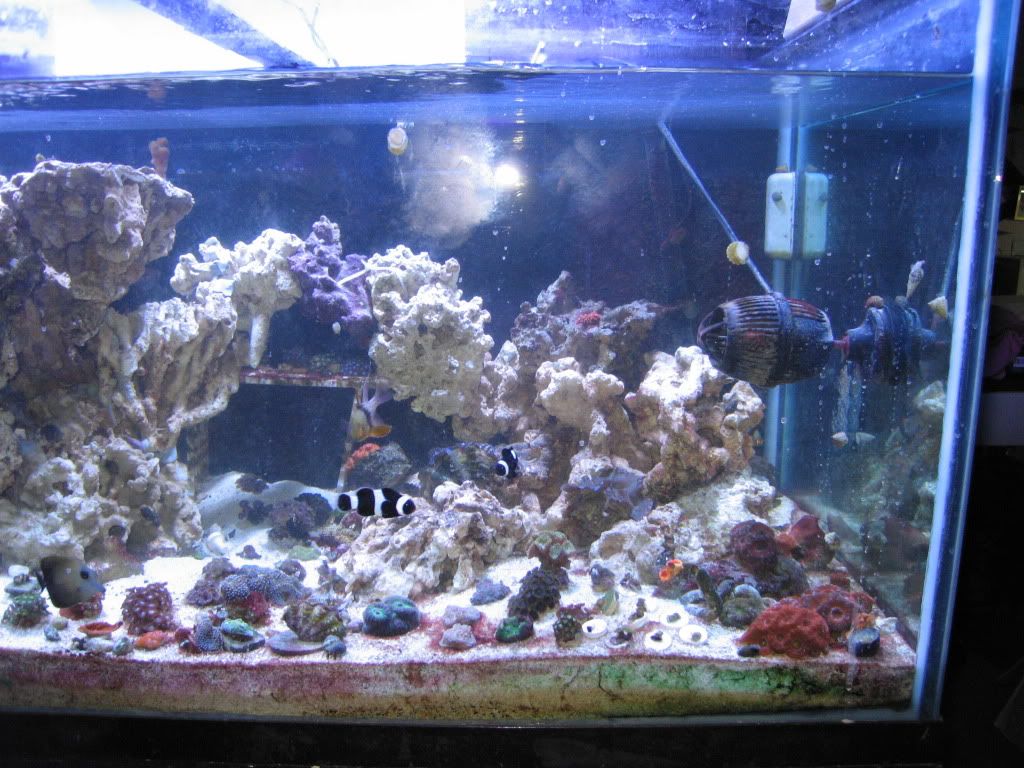
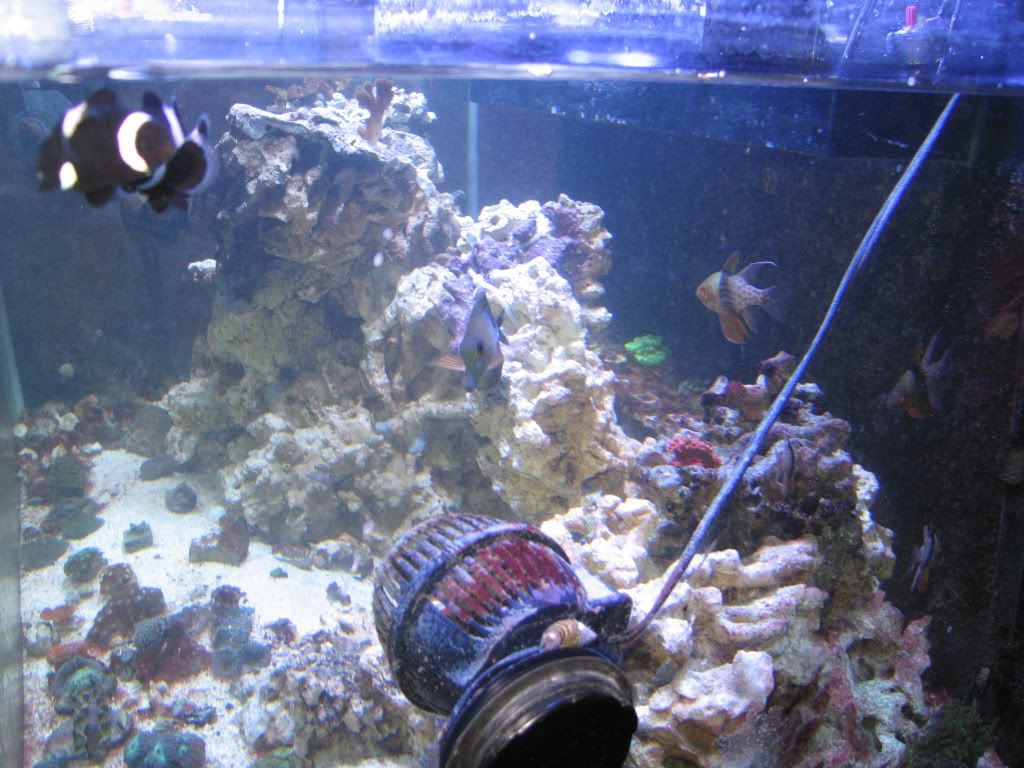
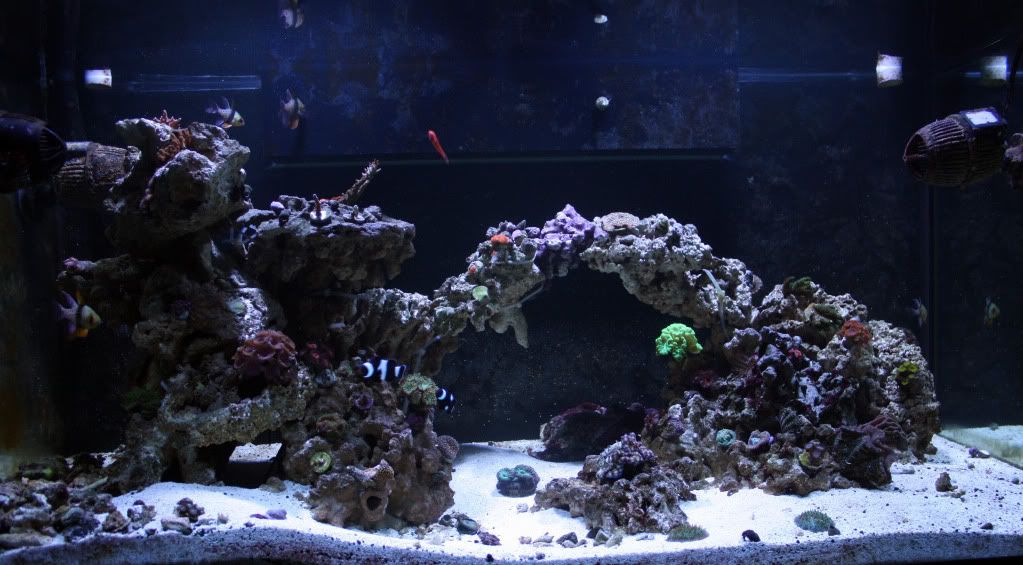
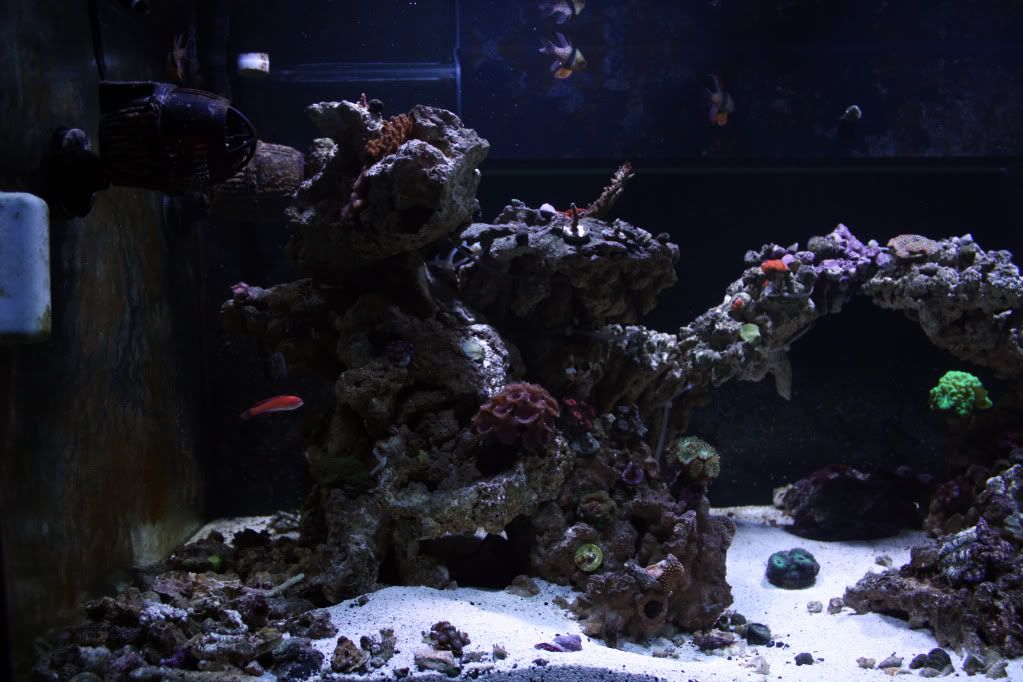
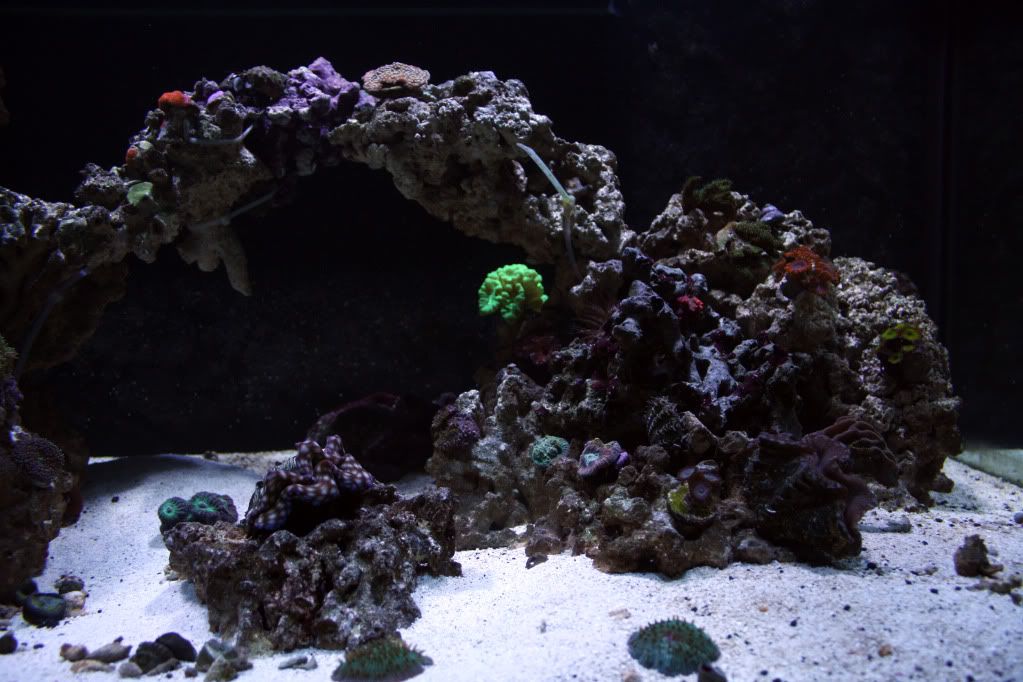
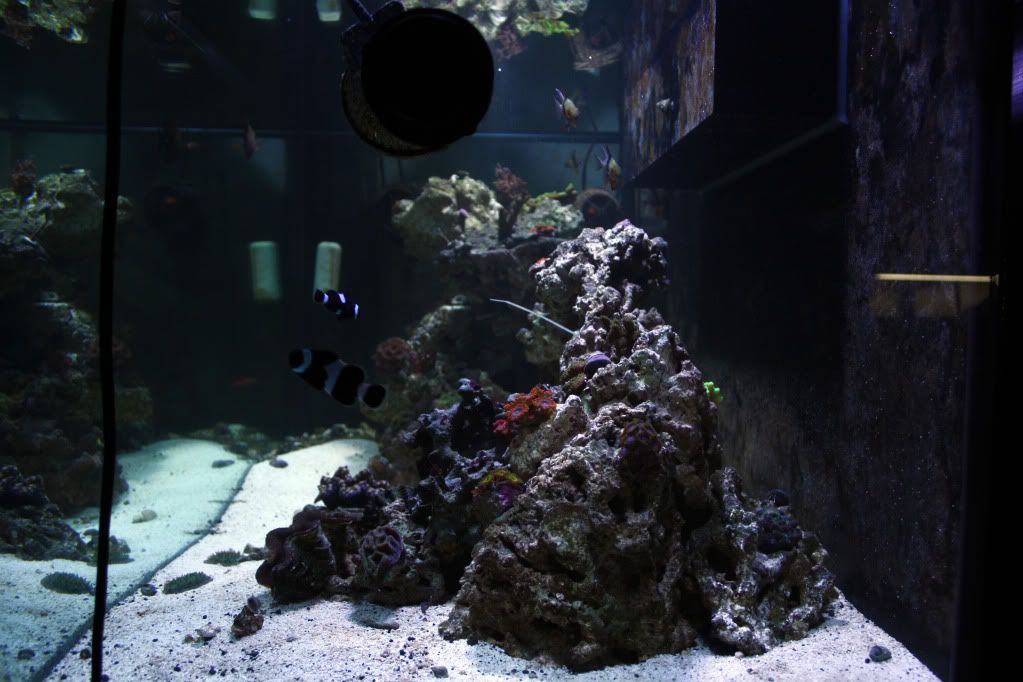
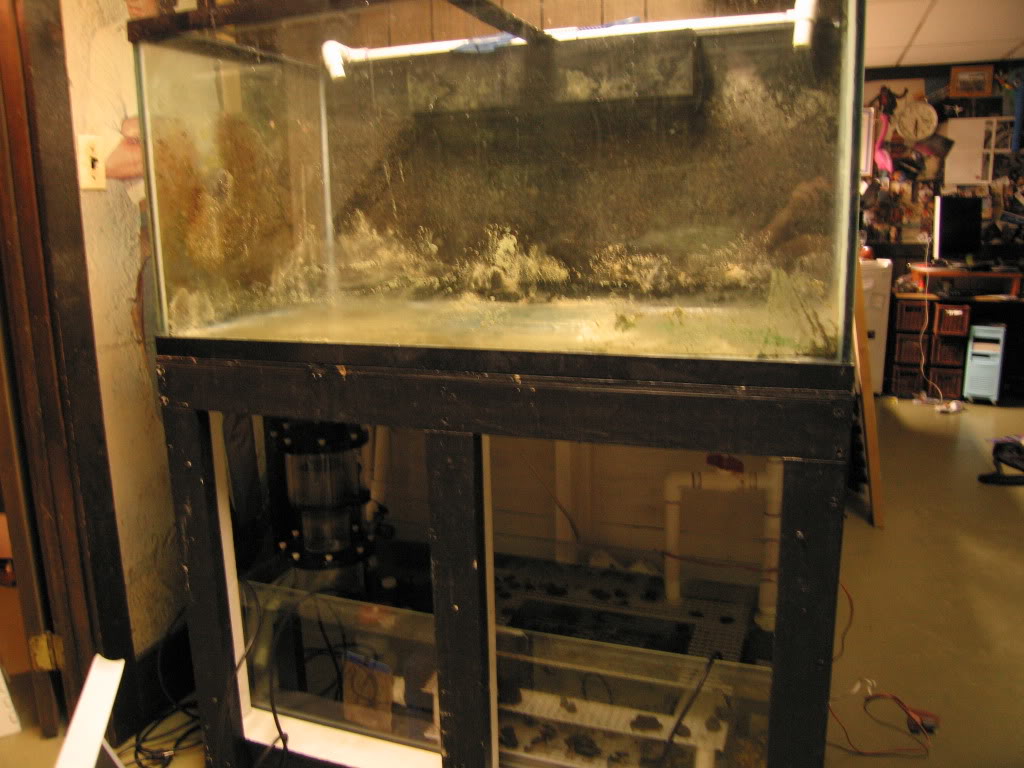
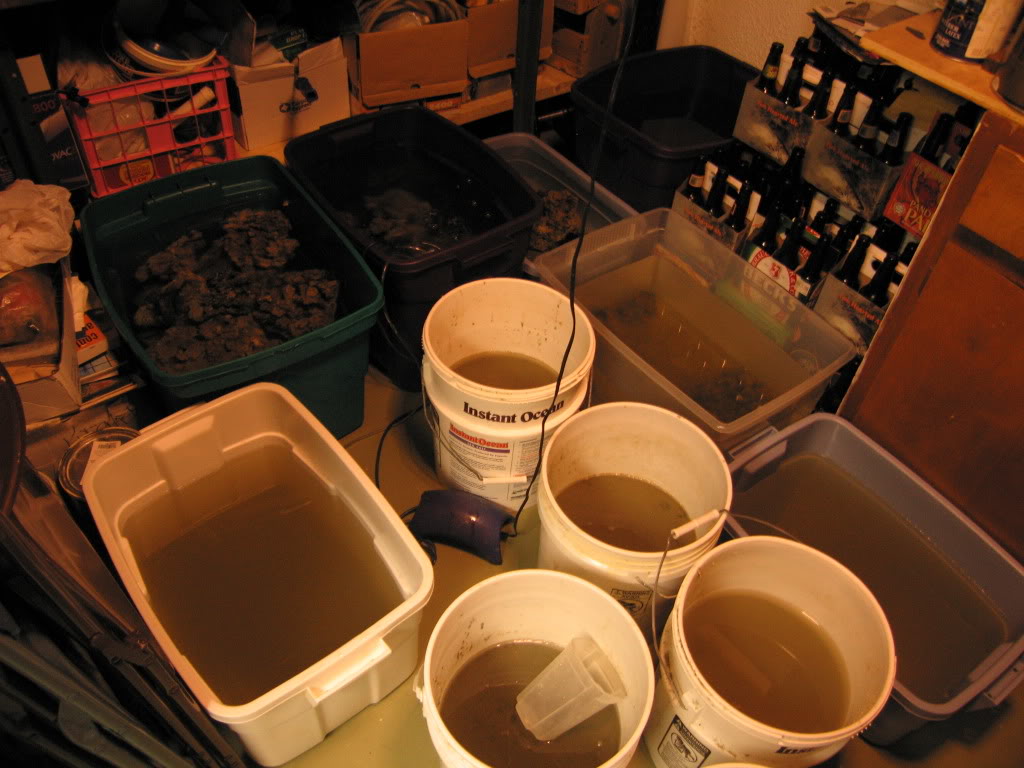
i have to apologize i have not kept my tank thread updated i had a 120gal up
for about 5ish months. it was more of a grow out/ glorified frag tank as i did
not have the time to make it more. Chris(polskareefer) had been giving me a
hard time to get my system up and running. Make something i could enjoy,
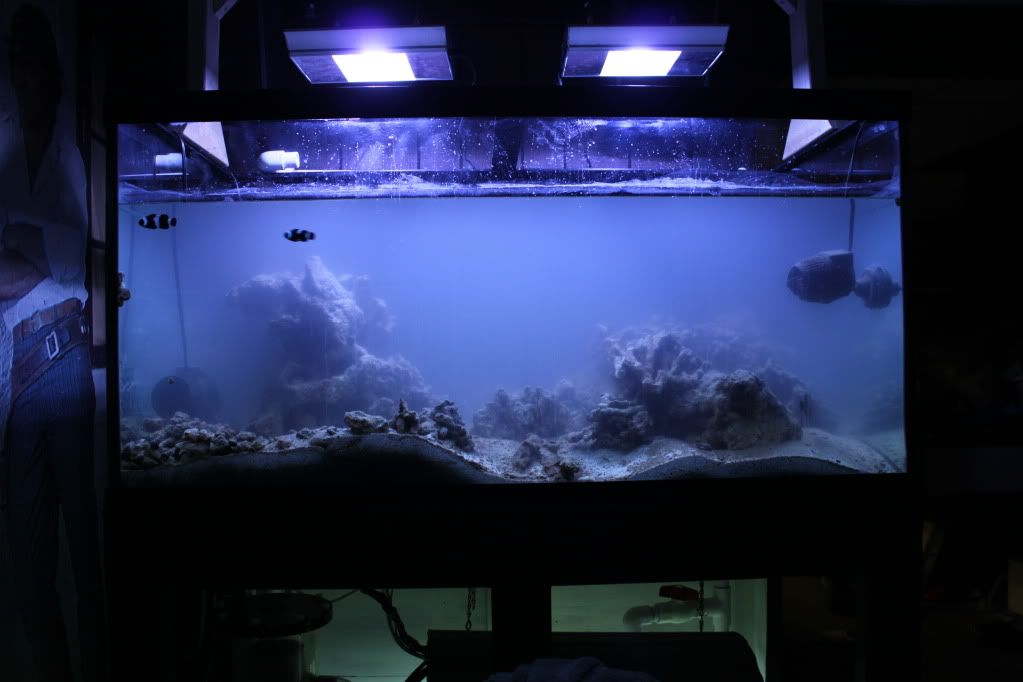
be proud of. Over the past couple of weeks i have been putting in alot of late
nights and weekends trying to get my tank where i want it. about a week ago
it was there (we all know this is a lie/ exaggeration as our tanks are never
there).

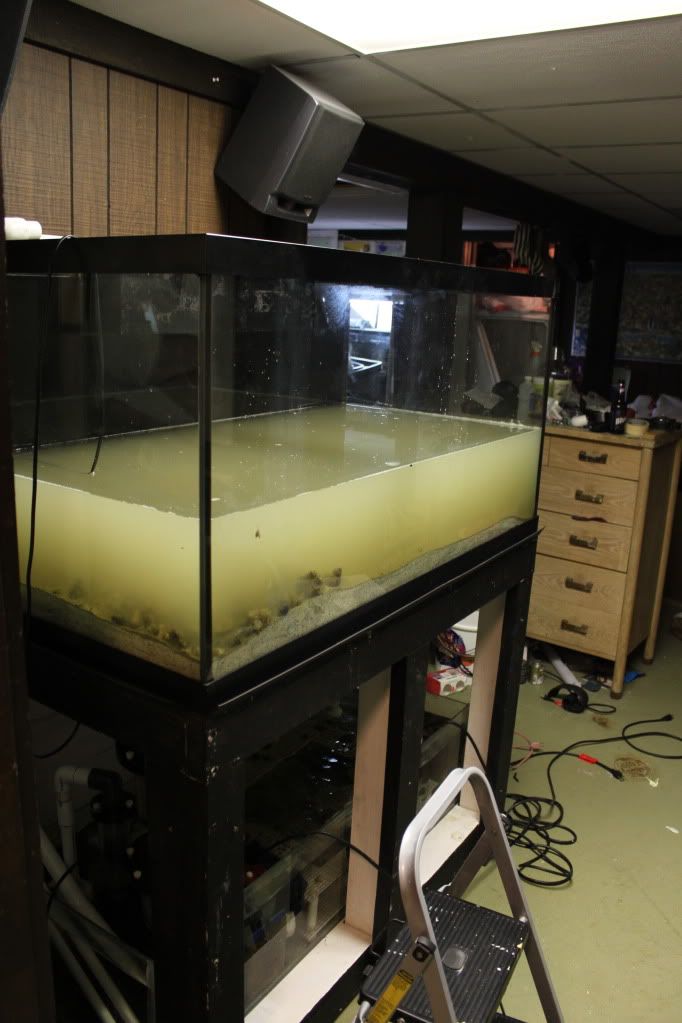
The story of zccef 120 gal 2.0 begin friday morning at 3AM. 1/23
I woke from a deep sleep, with one very clear thought in my head. I cant
stand that clear silicone on my fish tank I must have black. Costs and time
be dammed i have to pull my system apart and get a new tank with black
silicone. Quite coincidently i turned my head to the left and looked at my fish
tank with its silly clear silicone and saw water pouring from it on to the floor.
Nothing crazy but like a niagra falls for ants.


I woke my dad up for some help on the 3AM tank revamp. I am very thankful
for his help as it would have taken a long time to do this my self.

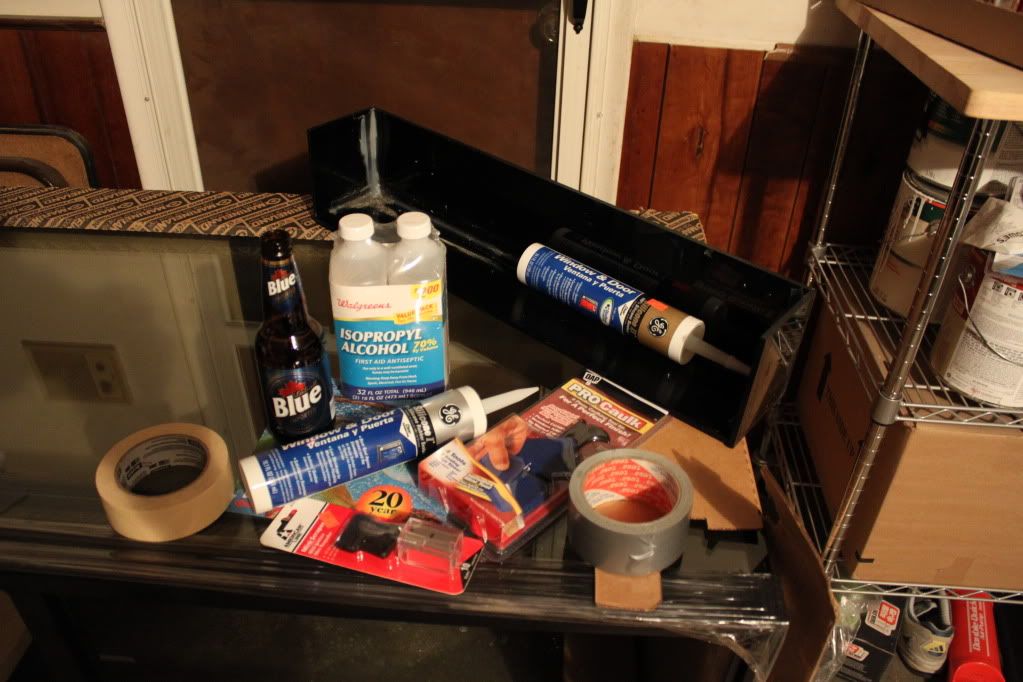
I called up Chris from Reef Solutions Friday morning and explained to him the
situation. The silicone must be black! He told me he would make some calls
and get back to me. I barely had time to hang up the phone before he called
me back and told me he could have one for me around noon. Now thats what
i call customer service!

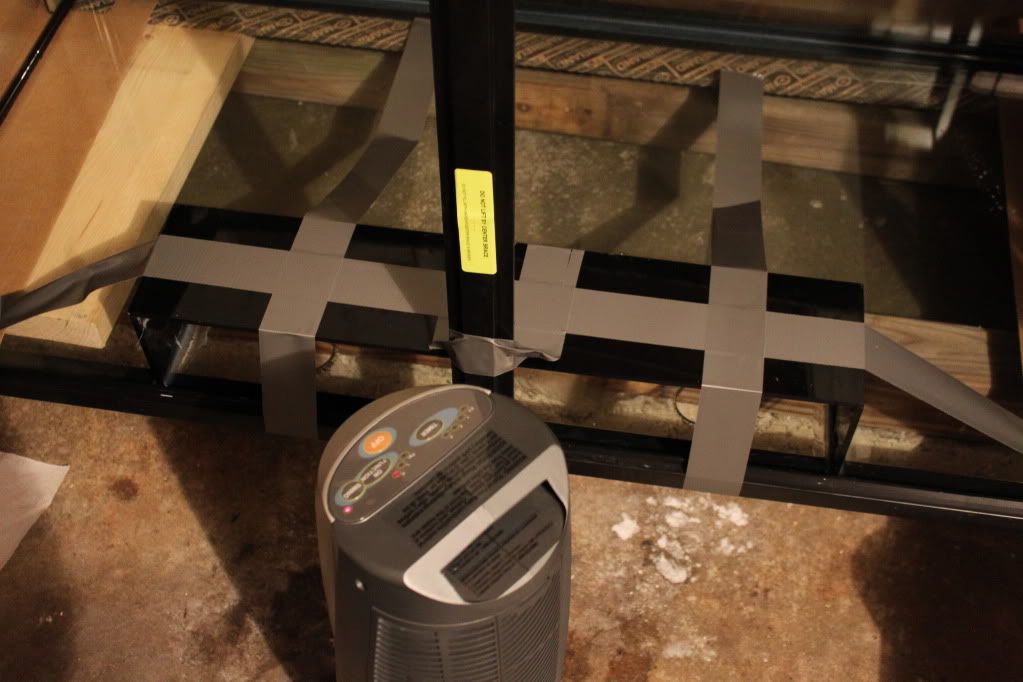
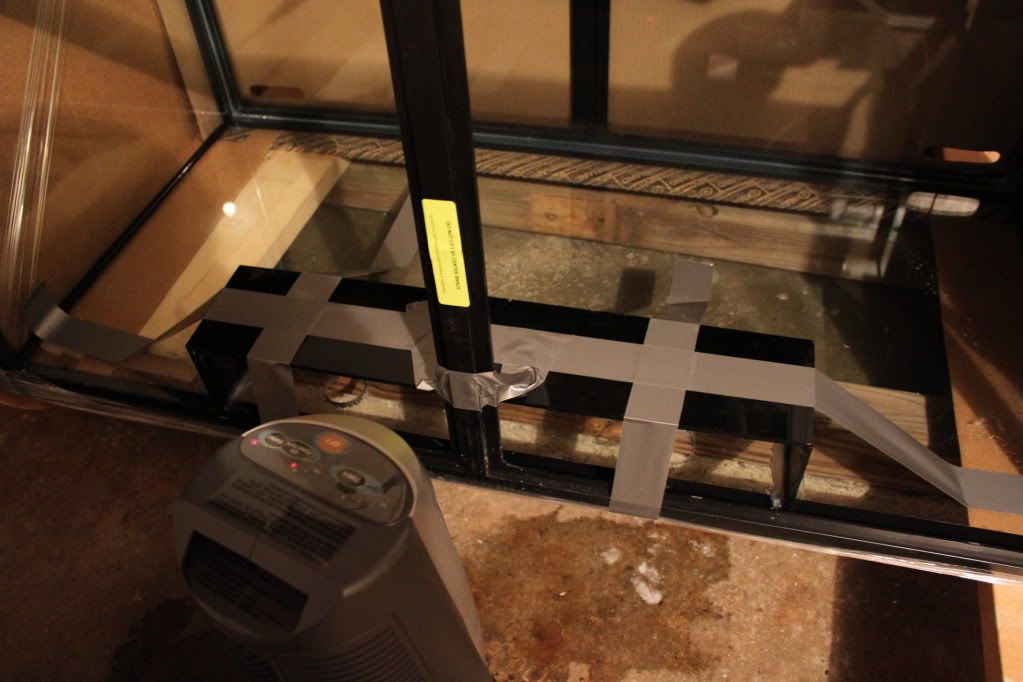
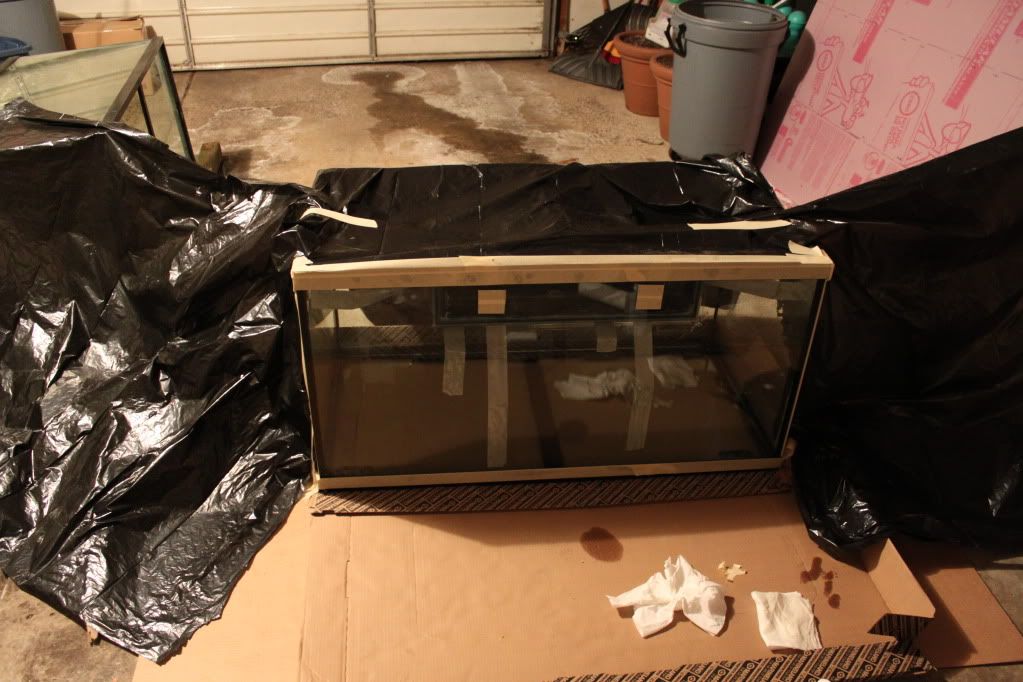
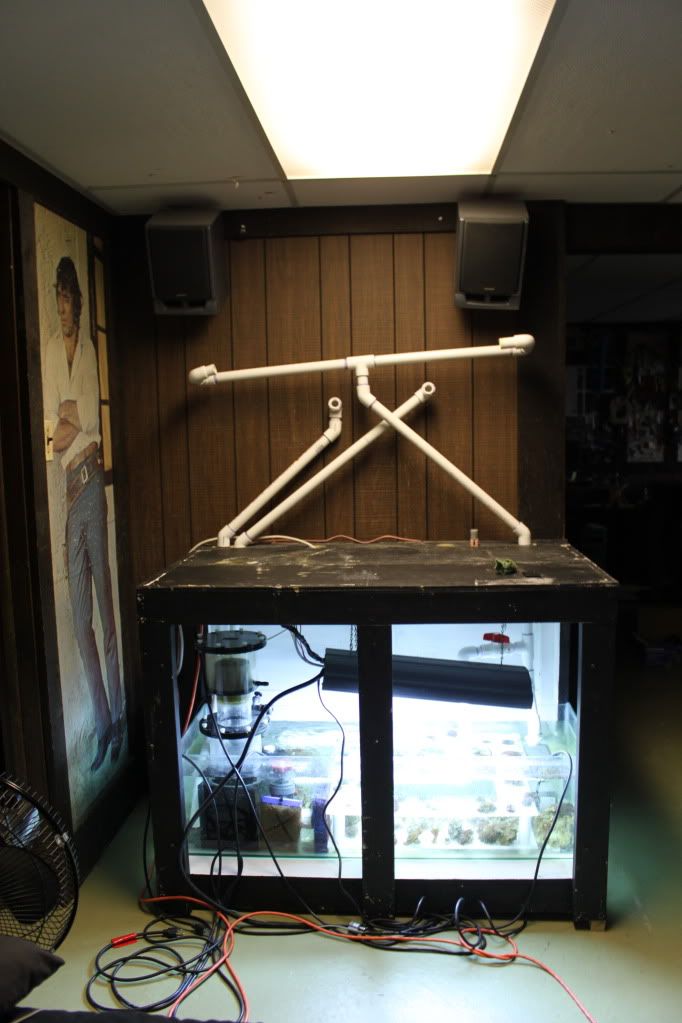
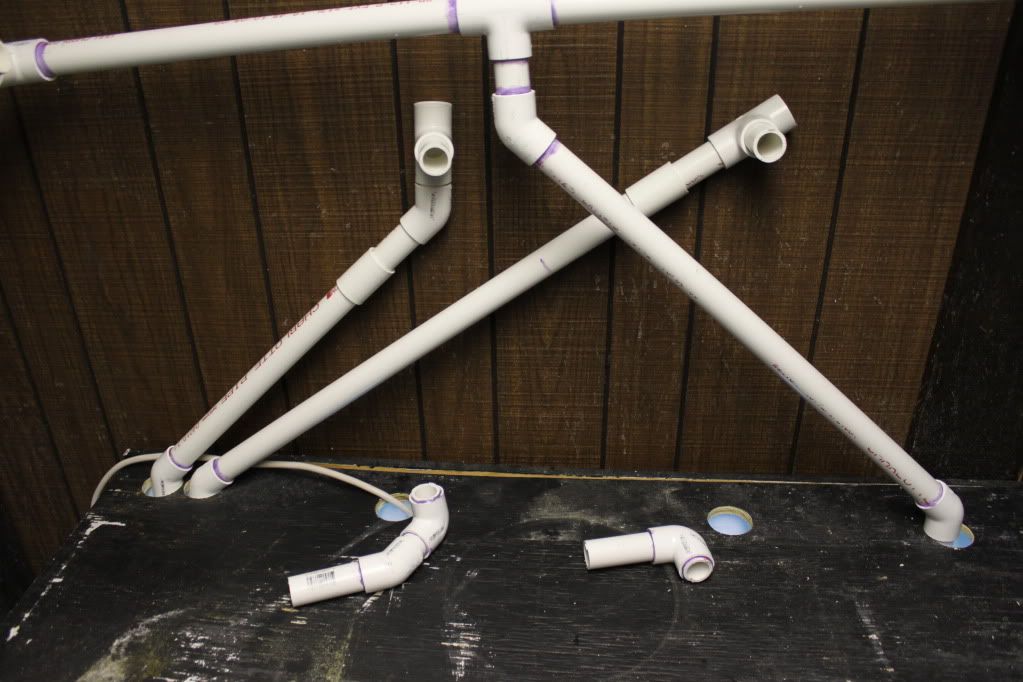
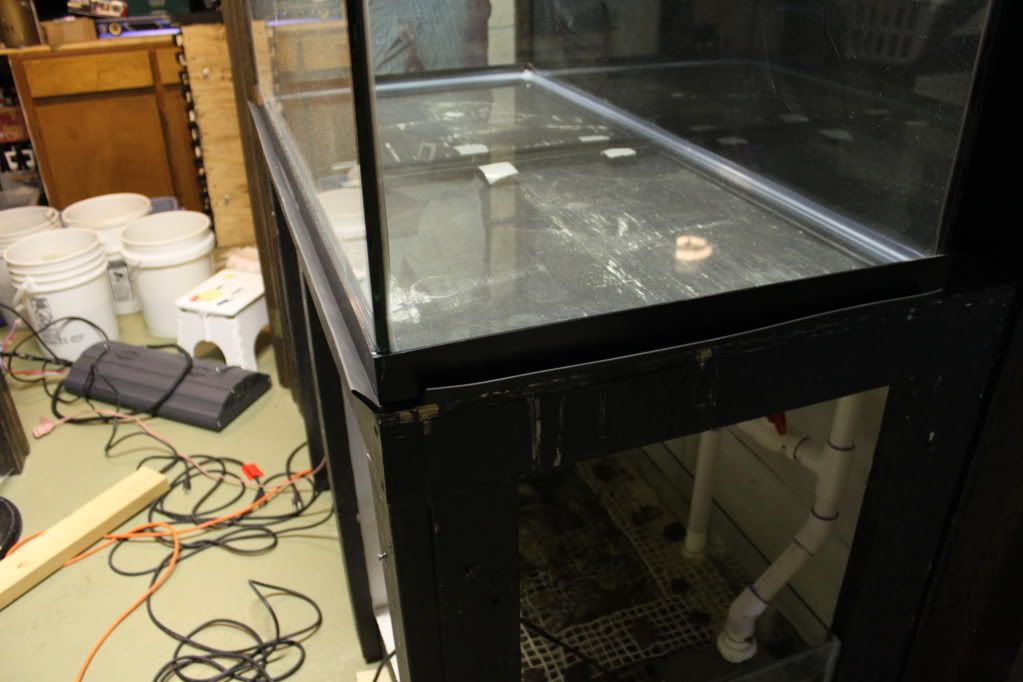
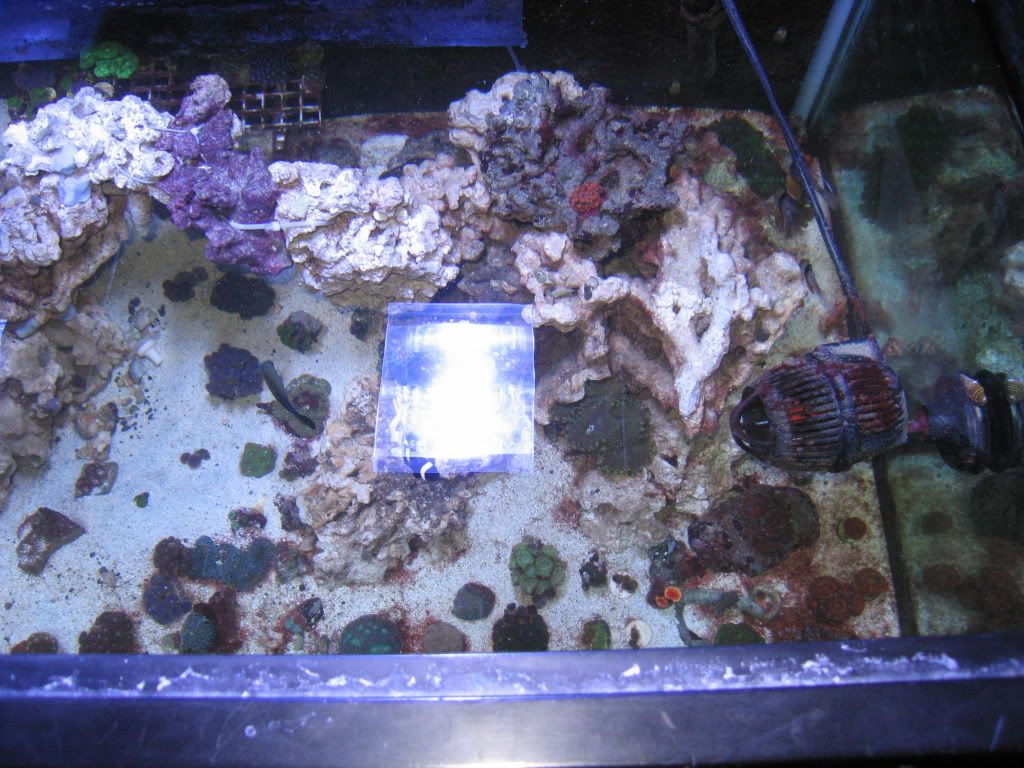
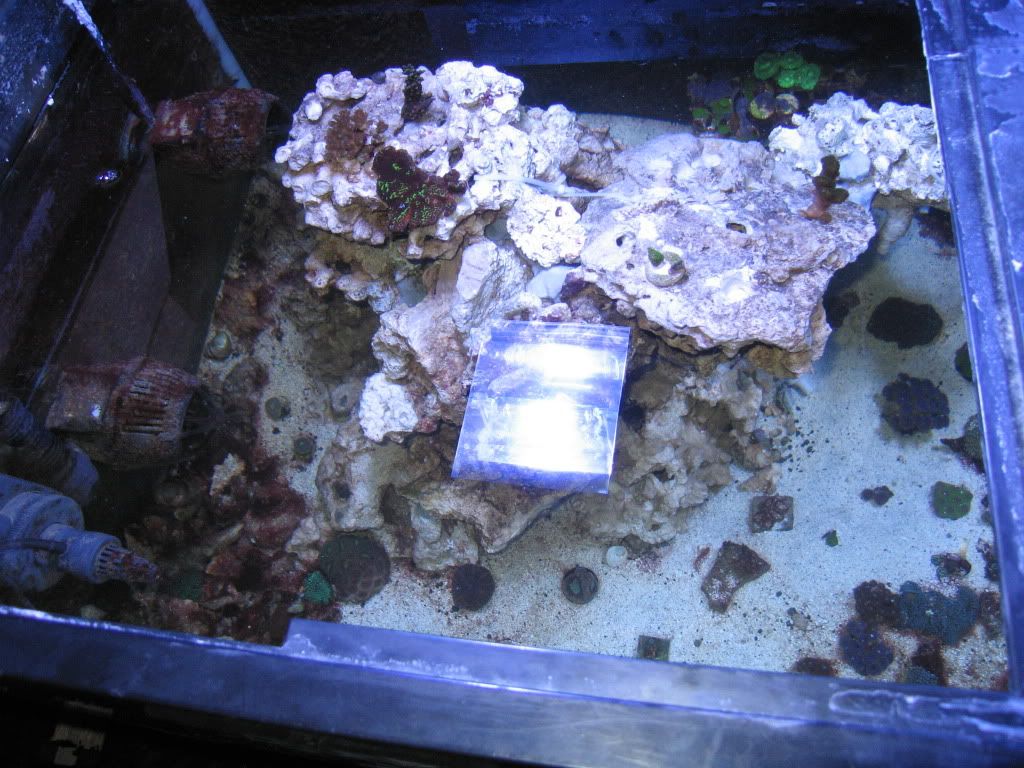
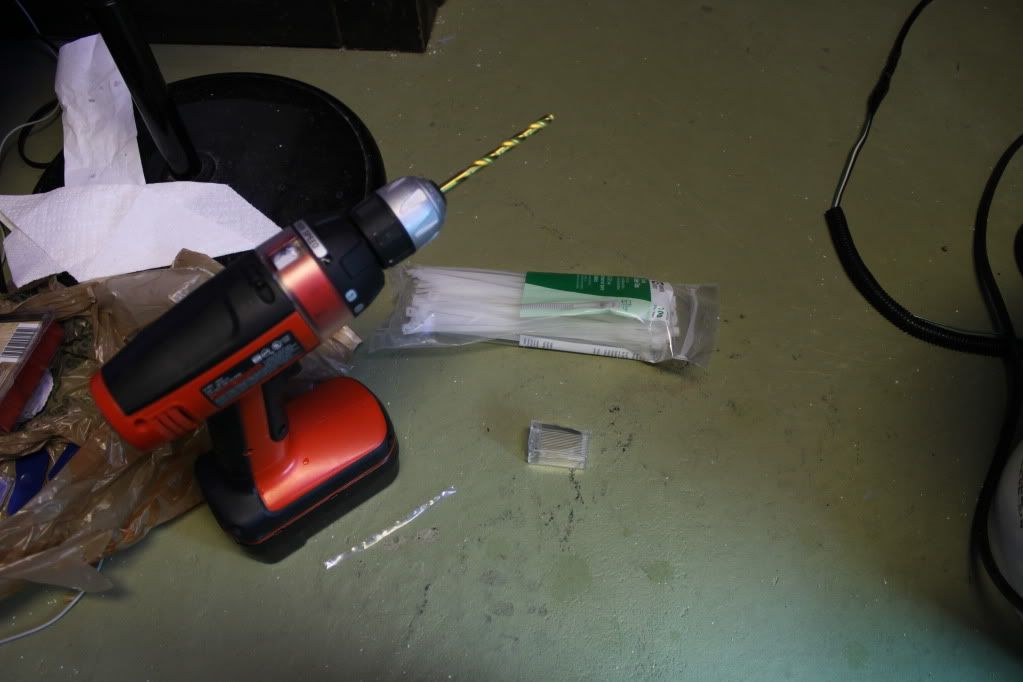
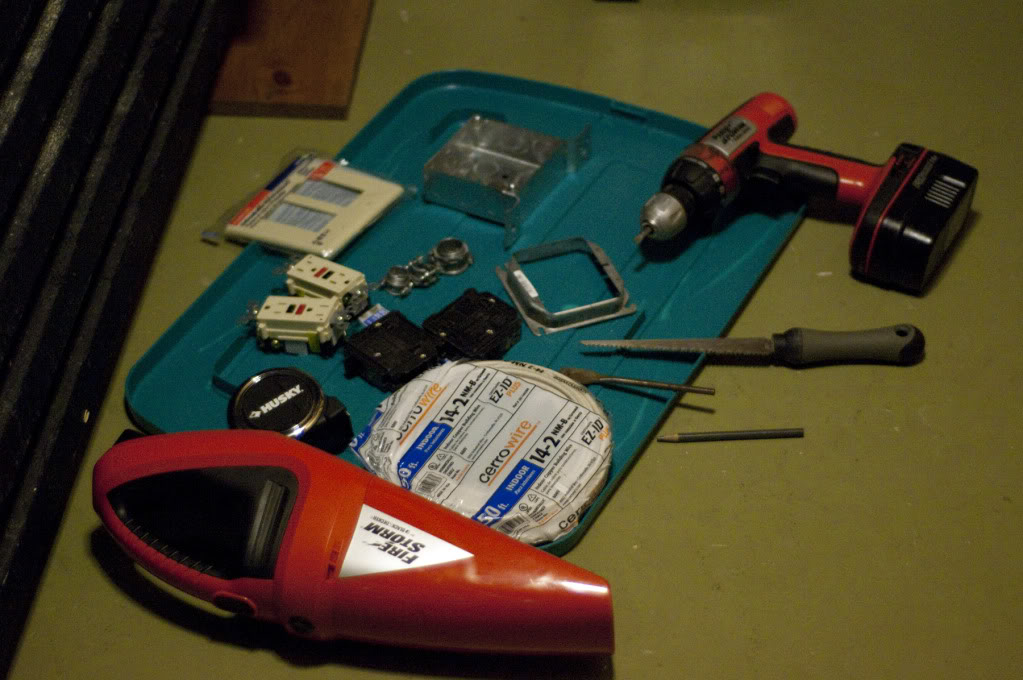
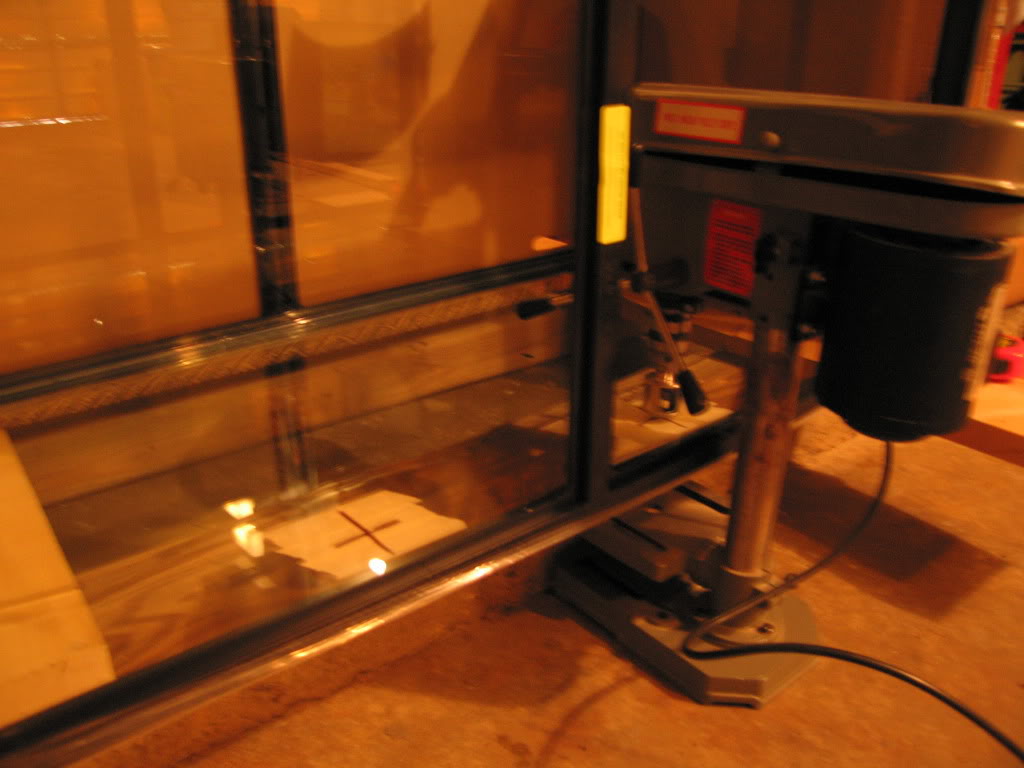
Once i got it home i prepped the tank for drilling. I used a drill press and a
diamond hole bit that would allow me to put 1in ID bulkheads in the tank.


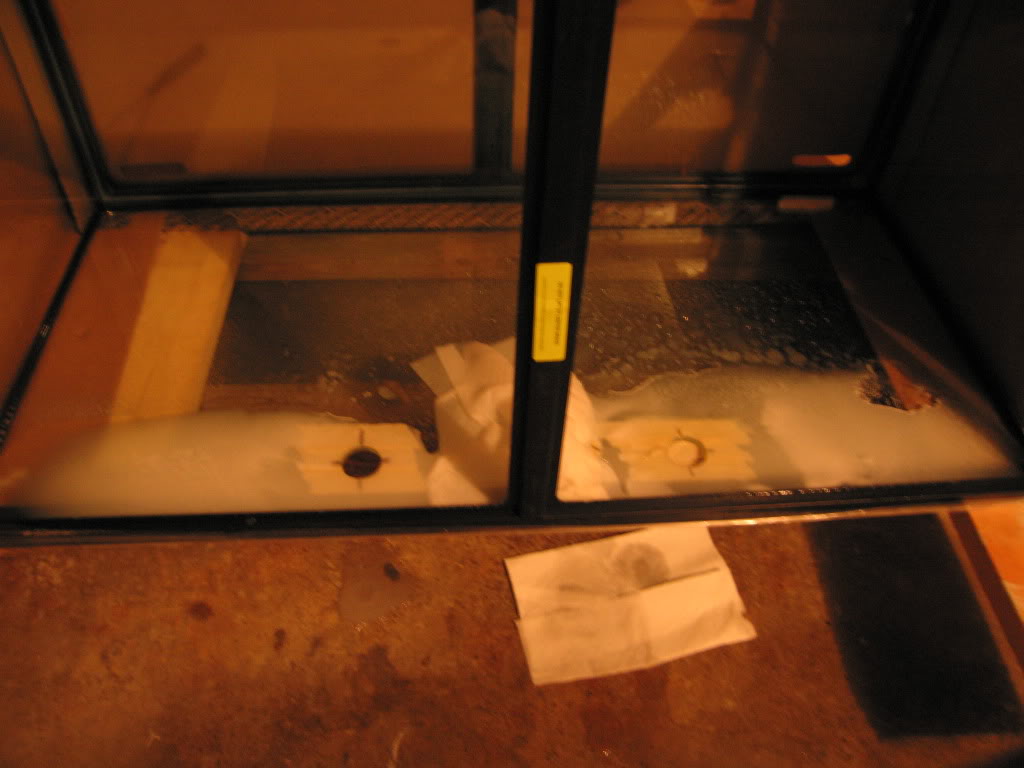
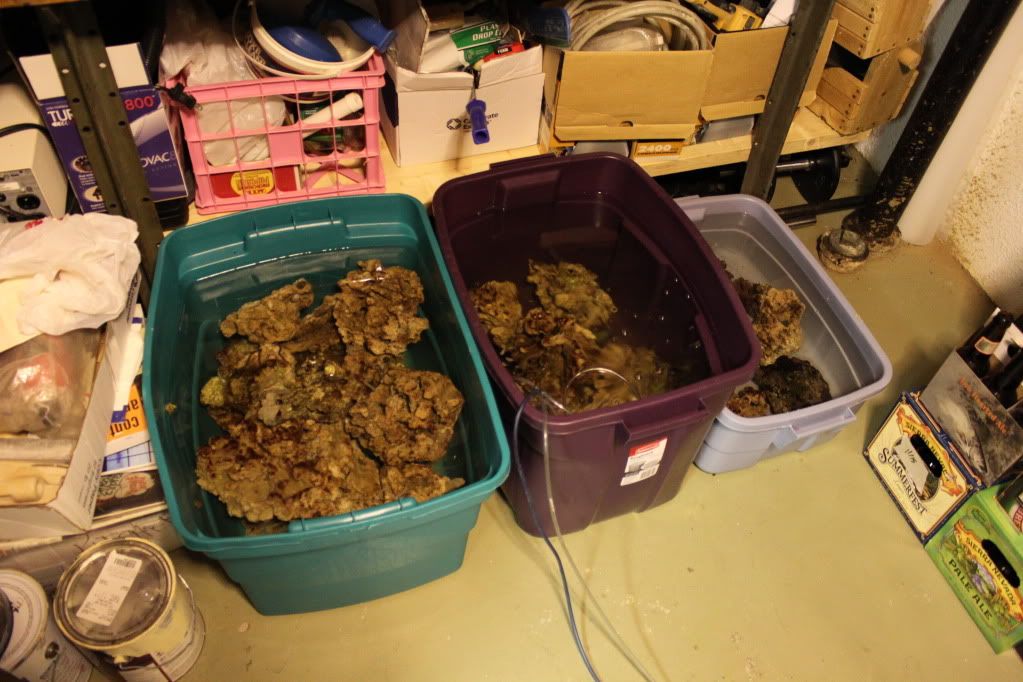
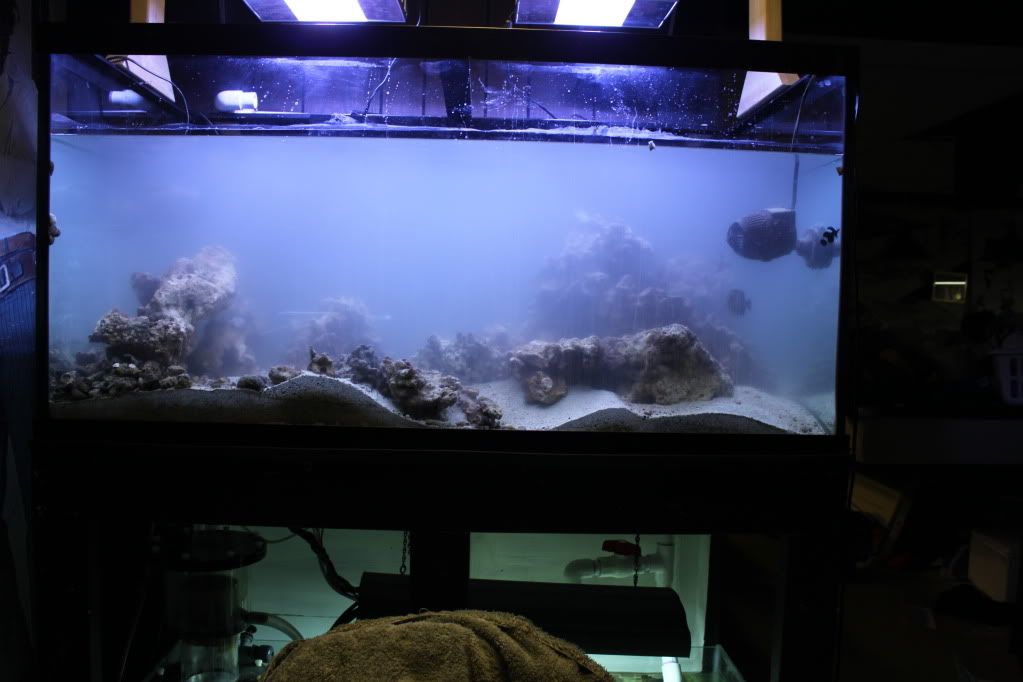
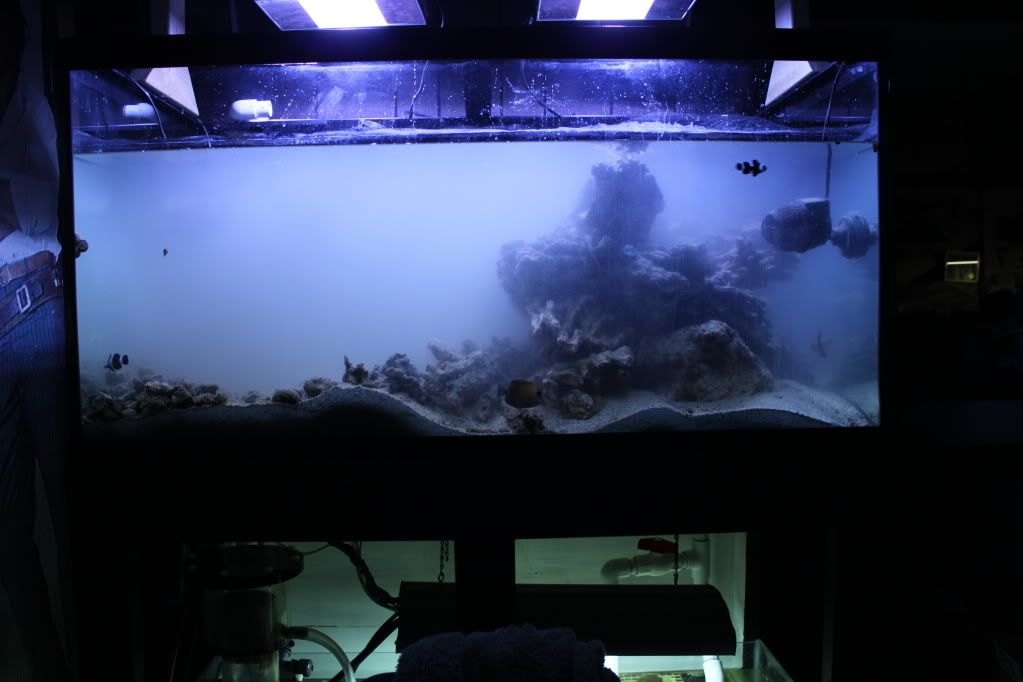
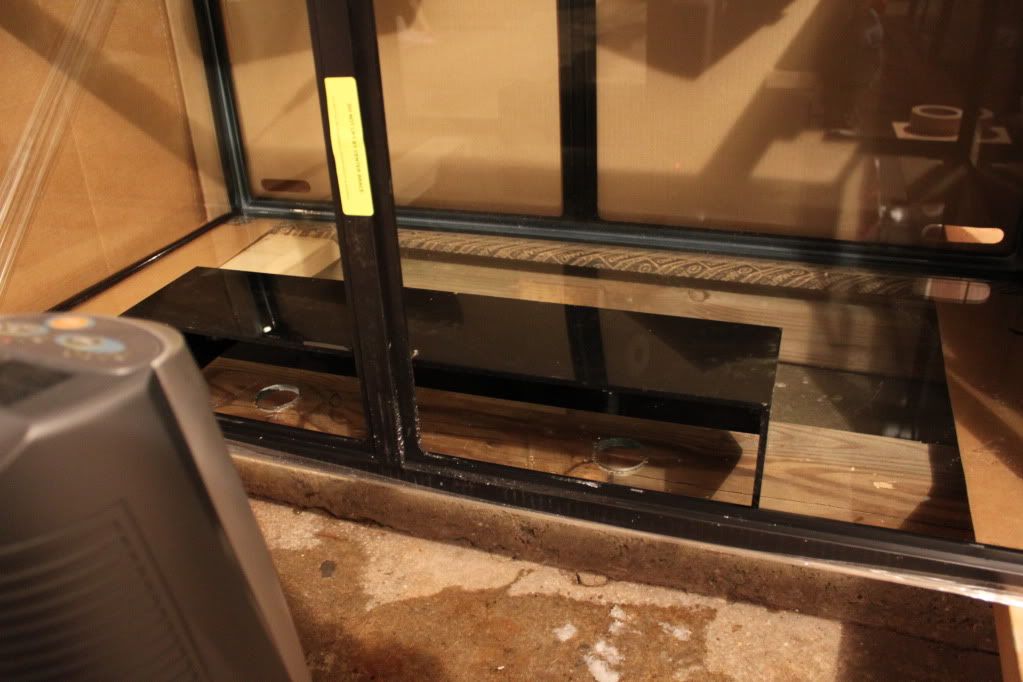
Next i siliconed the overflow box in.


Last edited:
OP
OP
Z

zccef

Community Member
View Badges
Joined
Nov 14, 2009
Messages
36
Reaction score
0
Location
Farmington Hills
Rating - 0%
0   0   0


This is what an overflow looks like siliconed in with type II. Wrong silicone,
Type II releases Ammonia as it cures. While this is not as harmful to humans
it is not good for marine life. Once it is cured it is supposed to be ok though.
Needless to say i removed the silicone and went to the store to buy the
correct stuff.


Ahhh there we go now i have to correct silicone. I also picked up a new tool
the pro caulk set. Had no idea if it would work but for $10 i figured why not
try it out. the tools required are shown in the picture, also the type II is on
the overflow in the back left. Turned out to be a great tool, i put extra
silicone on and used my finger to apply it one direction then went back the
other direction. I did this to make sure it had a good seal. I the used the pro
caulk tool to clean up the lines. This is what a overflow with the correct
silicone on it looks like. Notice the very clear difference.


from there i prepped the back for paint.


OP
OP
Z

zccef

Community Member
View Badges
Joined
Nov 14, 2009
Messages
36
Reaction score
0
Location
Farmington Hills
Rating - 0%
0   0   0
this is a photo of the above plumbing as it stood with the other tank. The
problem i ran in to was sound. i did not think it would be an issue because
the water was dropping such a short distance in to the overflow. i did not
take in to account a need for air. an example of what was happening was a
full two liter pop bottle turned upside down. The pipe was sucking air in
between water going down it resulting in a lot of noise. the way i remedied
this was to add a ball valve and more pipe on the return line back in to the
sump add some flow. this allowed me to dial in the top feed, and keep it just
under the point where it was making a lot of noise.


Part of the tank 2.0 is to employ a similar tactic to the Durso standpipes but
on the outside of the tank. this will allow the water to flow freely while still
allowing air to enter. these are not yet finished i will be adding more pipe so
they are above the watter level just in case. also will be adding caps with a
bunch of holes in an attempt to keep things out dust bugs....


As i am unsure of the reason the old tank leaked i wanted to take as many
precautions as possible. The stand was level aside from one side being
slightly raised. this only effected the water line and overflow. with the help of
my father i leveled the stand. also he proposed that we check to make sure
the board was flat. we did find out there was a little bow in a few places. for
this we used more "shims" to support areas that were dropping down. I say
"shims" because we figured out how much we needed to raise the tank and
then cut and or sanded boards rather then using shims. my father suggested
some sort of forgiving material be placed under the tank such as rubber. the
thought behind this was where the tank makes contact with the stand are not
all perfectly the same. due to this different parts of the base of the tank are
in contact and others are not. we went to home depot and asked for rubber
strips and of course they didnt have them. when we explained the idea and
what we were trying to accomplish we received a crazy look and were
directed to the hardware isle? am i the only on who receives crazy looks
when i go out to buy parts for my projects? most of the things i do are
custom and i am capable of explaining what i am trying to accomplish almost
all of the people i interact with at these types of stores are not able to think
outside of the box. example when i went to home depot i asked an associate
about the new pro caulk tool's (discussed in above post) effectiveness i
started talking about how i was going to caulking a fish tank and i received a
crazy look. i immediately switched to caulking a tub and the guy wouldn't
stop talking. He couldnt tell me that it would make nice straight lines on a
fish tank but it will for a tub. sorry for the tangent. i ended up with this DIY/
custom curse from my father so i was in good company in searching for
something to put under my tank. We decided upon a foam strip used to
weather seal garage doors.


Next came filling the tank back up.


OP
OP
Z

zccef

Community Member
View Badges
Joined
Nov 14, 2009
Messages
36
Reaction score
0
Location
Farmington Hills
Rating - 0%
0   0   0


this took a little bit of time because i had to wait for the dust to settle so to
speak. here are some photos of the aquascapeing i had finished just two
weeks ago. sorry not great photos i took them to document it quickly. did not
figure i would have to redo it. glad i did though otherwise i would have no
document of the 12-16 hours of work i put in to it.


OP
OP
Z

zccef

Community Member
View Badges
Joined
Nov 14, 2009
Messages
36
Reaction score
0
Location
Farmington Hills
Rating - 0%
0   0   0
now to the task of remaking my rock work. below are the tools i used.


this is the start of my aquascapeing


this photo is what happens when you drop a razor blade that you were using
to cut the zip ties in to the tank and loose it. i found after a very long time of
searching i had to tear apart all of the progress i had made. once i pulled it
apart i was still not able to find the blade. i then grabbed one of my koralia
4's and moved it around the bottom of the tank until it grabbed the blade with
the magnet.


this is where i ended last night around 1 got a lot of the hard part done and i
have a nice plan of attack for tonight. i am really hopping i can finish my
aquascapeing tonight. one thought i was originally using the two part
plummers epoxy and it does not work at all. i was able to accomplish a little
with it but it was much more two steps forward one step back. in my opinion
zip ties are the way to go, if you are smart about it they can be used and
virtually unseen and add a lot of structural stability. i think my plan is to use
some of the plummers epoxy to glue small rock pieces over the zip ties. this
way the epoxy is not load bearing so it might work better?


OP
OP
Z

zccef

Community Member
View Badges
Joined
Nov 14, 2009
Messages
36
Reaction score
0
Location
Farmington Hills
Rating - 0%
0   0   0
took A LOT longer to get the rock back to where i wanted it. have had it in
place for about three or four weeks. still have not made an attempt to cover
the zip ties but that will come with time. were does time go?? spent some time
placing frags two or three weeks, i am happy with how that went. i was
looking at some old pictures of my tank i never ended posting and my tank
was FULL! everything looks empty. i did however place everything in great
places to grow out.


OP
OP
Z

zccef

Community Member
View Badges
Joined
Nov 14, 2009
Messages
36
Reaction score
0
Location
Farmington Hills
Rating - 0%
0   0   0
this is what i ended up doing to take care of the overflow noise. it worked out
quite well, using the same method of the Durso stand offs.


this is my frag/ sump setup, not finished but working well.


pharaoh eye


PPE


OP
OP
Z

zccef

Community Member
View Badges
Joined
Nov 14, 2009
Messages
36
Reaction score
0
Location
Farmington Hills
Rating - 0%
0   0   0
thanks man, its a work in progress. the 120 dimensions are amazing i love the added depth it adds much more visual interest. it is a world of difference from my 50gal.
 
OP
OP
Z

zccef

Community Member
View Badges
Joined
Nov 14, 2009
Messages
36
Reaction score
0
Location
Farmington Hills
Rating - 0%
0   0   0
thanks Killing

Got a hold of some mesh from JimsFlies at the Lansing swap and finally had
time to assemble my screens. It didnt take a whole lot of time, i am tempted
to glue the screening spline in. In an effort to make it more permanent, any
one have any thoughts? I didnt think the whole project through completely,
return pipes and cords going in to the tank. I ended up cutting a square for
each return and jamming the screen in with the wires. not optimum but it
will work until i figure out another plan

materials and hack saw


both screens finished


left


right

 
OP
OP
Z

zccef

Community Member
View Badges
Joined
Nov 14, 2009
Messages
36
Reaction score
0
Location
Farmington Hills
Rating - 0%
0   0   0
A couple of new shots. i picked up a new camera body so as soon as i get a macro lens and a couple of other thing i will be shooting a lot more.
dendro
reIMG_2517.jpg


UC Watermelon
reIMG_2508.jpg


and the Tropical Wizard
reIMG_2504.jpg


reIMG_2501.jpg
 
OP
OP
Z

zccef

Community Member
View Badges
Joined
Nov 14, 2009
Messages
36
Reaction score
0
Location
Farmington Hills
Rating - 0%
0   0   0
Thanks Ink

Ok so it has been a while since i have updated so i figured i would let you all
know what i have been up to. as you all know it is off season so i have not been
spending much time on my tank. most of my time has been spent at work; when
not doing that i have been trying to get **** done around the house. i wanted
to put in some dedicated outlets for my tank and found the time to a couple of
weeks ago.

supplies
reDSC_5084.jpg


finished outlets on the left each is hooked to a 15 amp breaker both are GFI
reDSC_5085.jpg


this is another project i have been working on. will post more when finished.
reDSC_5128.jpg
 

Caring for your picky eaters: What do you feed your finicky fish?

  • Live foods

    Votes: 14 28.0%
  • Frozen meaty foods

    Votes: 41 82.0%
  • Soft pellets

    Votes: 7 14.0%
  • Masstick (or comparable)

    Votes: 3 6.0%
  • Other

    Votes: 2 4.0%
Back
Top