- Joined
- Nov 9, 2019
- Messages
- 153
- Reaction score
- 173
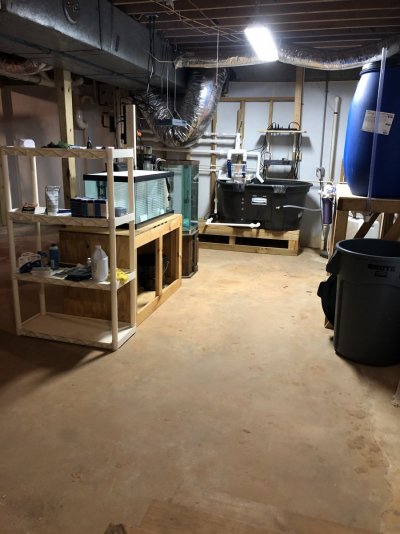
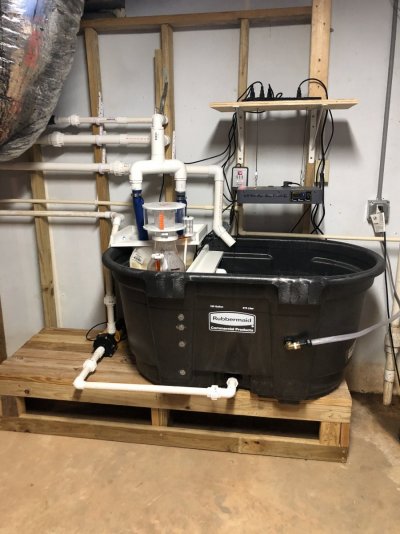
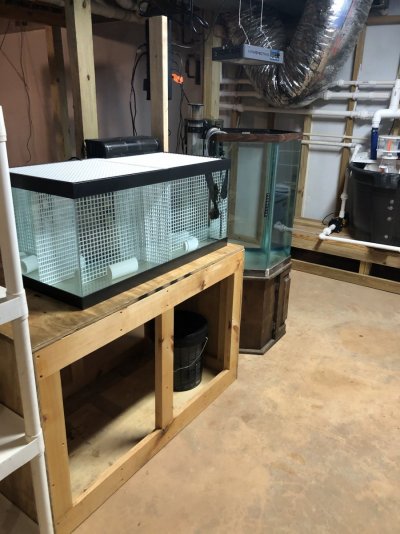
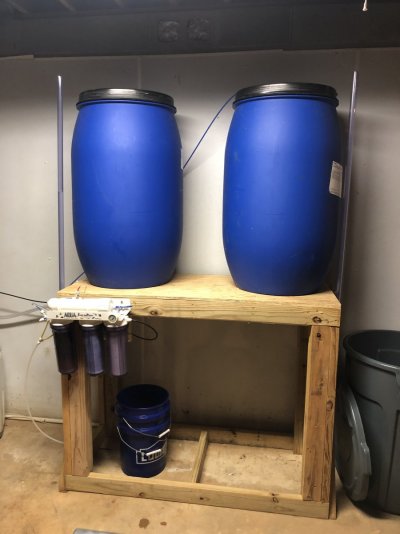
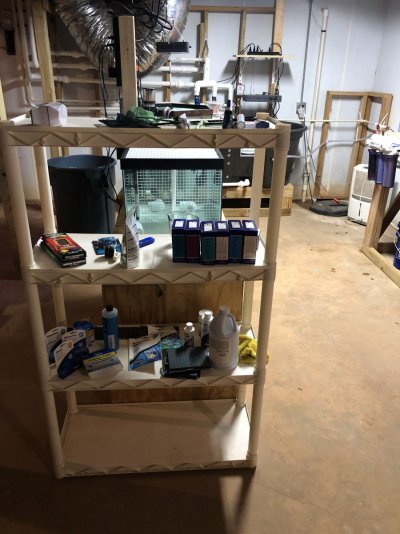
So I’ve been putting together my 210 that I refurbished. This is my 5th reef tank, and 3rd bare bottom. Started scaping-> dropped rock and scratched glass. Removed scape, polished glass, changed some plumbing runs, and tonight I did the freshwater leak and function test. Super happy with my modular marine 1800 gph overflow, the return setup with hidden spraybar I DIY’d and put under a brace, and panworld 150ps pump. You’ll see from pictures I DIY’d a trickle tower in the sump to try it out - Wow is it loud in this size with this much flow! Probably taking that out for some socks and reuse the 600 bioballs in bags in the sump. I already purchased 4 viparspectra 165w led fixtures( I’ve had good results with them before) for lighting, hood to be constructed -> because I hate led sunburns to my retinas as I view the tank from my couch. For flow in the tank I have 2 maxspect xf 350s which I plan to orient vertically. Overall the tank is setup like a peninsula, but with 2 viewing panes. Trying to keep all of the equipment on one end. Going barebottom with minimalistic rockwork, and reverse lighting cycle refugium in the sump. Going to run a remote sand bed in the refugium section of the sump in a removable trough. Still debating my skimmer and open to ideas. This will be an SPS dominant tank with lps in the bottom. Thanks for any advice and help.