- Joined
- Feb 19, 2019
- Messages
- 85
- Reaction score
- 81
Well, I know this community loves seeing build threads and R2R enticed me with a badge so come with me on my journey during setup of this 125 gallon (future) mixed reef.
Specs so far:
125g glass eurobraced tank, black silicone seams - dimensions 48"L x 30"W x 20"T
Stand - 2x4 construction, white laminated exterior panels and doors, double door access from the long sides,single door access from the short side, and a large opening on the back side to allow for air movement.
3x Hydra32HD, Vectra M2 Return Pump, BM Curve7 Skimmer, Trigger Systems Triton34 V1, 2x MP40QD, 40W AquaUV Sterilizer, Neptune Classic system, TLF250 Reactor, BM T11 Dosing pump, Herbie style overflow, and that's all I can think of at this moment while on a break in the office.
My last tank was a 180g acrylic peninsula reef. I got tired of bruising the inside of my arm scrubbing the tank and the troubles that come with acrylic so decided to break that down and start fresh. The last tank was thrown together with Franken-plumbing and I've always been jealous of tanks that people took their time to set up, I.E. beautiful plumbing, clean electronics, etcetera, so I'll be going slow with this build and will update as I go along.
Here's what we've got so far:
Tank and Stand

Dry fitting drain plumbing (return is almost complete but don't have a picture yet until the UV is plumbed in)

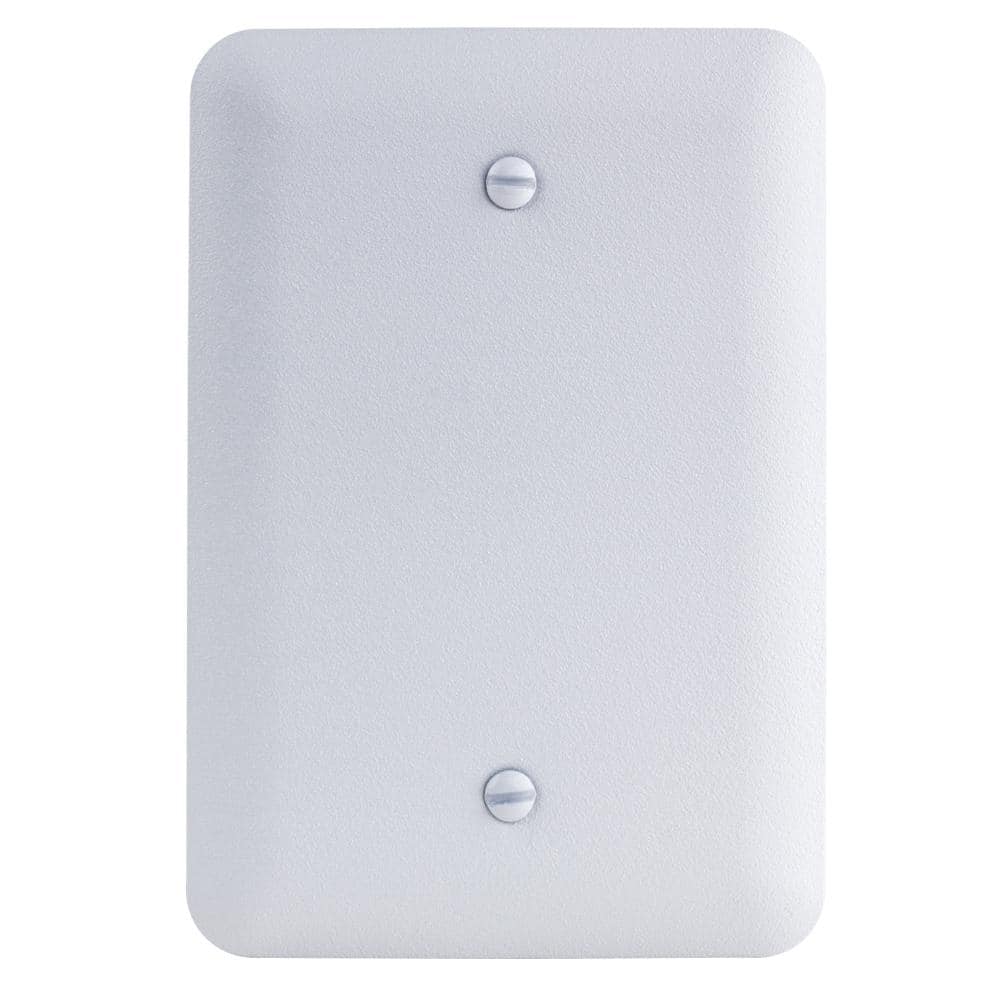
ATO and Dosing/Water Change Lines - I have 4 - 1/4" JG lines running from my garage, through the roof, into the pillar that the tank butts up against. One line is the ATO and the other 3 haven't been used yet. Initially I had planned for dosing from the garage but the liquid would evap almost instantly in the AZ summer lol. I figure if I ever do the slow auto water change approach these blanks will be useful. At any rate, prior to this build the lines were pulled through a rough opening in the wall and ugly with green JG line. So, used a blank to mount the push fittings with black line on the exterior to clean it up. I'll have to put an access/vent panel in the column in the event there's a leak (detector WILL be going in the column) so I can repair it.


Here's my little electronics/controller cabinet. I wasn't able to dedicate the whole short side for the cabinet since I'll need the opening to the right to replace the UV bulb but I mounted everything last night, drilled the cord plug holes, and started painting. Here's just the frame and how it sits in the stand. Ugly right now but should get prettied up soon.


So yeah, that's about it for now. Might have some more updates over the weekend.
Specs so far:
125g glass eurobraced tank, black silicone seams - dimensions 48"L x 30"W x 20"T
Stand - 2x4 construction, white laminated exterior panels and doors, double door access from the long sides,single door access from the short side, and a large opening on the back side to allow for air movement.
3x Hydra32HD, Vectra M2 Return Pump, BM Curve7 Skimmer, Trigger Systems Triton34 V1, 2x MP40QD, 40W AquaUV Sterilizer, Neptune Classic system, TLF250 Reactor, BM T11 Dosing pump, Herbie style overflow, and that's all I can think of at this moment while on a break in the office.
My last tank was a 180g acrylic peninsula reef. I got tired of bruising the inside of my arm scrubbing the tank and the troubles that come with acrylic so decided to break that down and start fresh. The last tank was thrown together with Franken-plumbing and I've always been jealous of tanks that people took their time to set up, I.E. beautiful plumbing, clean electronics, etcetera, so I'll be going slow with this build and will update as I go along.
Here's what we've got so far:
Tank and Stand
Dry fitting drain plumbing (return is almost complete but don't have a picture yet until the UV is plumbed in)
ATO and Dosing/Water Change Lines - I have 4 - 1/4" JG lines running from my garage, through the roof, into the pillar that the tank butts up against. One line is the ATO and the other 3 haven't been used yet. Initially I had planned for dosing from the garage but the liquid would evap almost instantly in the AZ summer lol. I figure if I ever do the slow auto water change approach these blanks will be useful. At any rate, prior to this build the lines were pulled through a rough opening in the wall and ugly with green JG line. So, used a blank to mount the push fittings with black line on the exterior to clean it up. I'll have to put an access/vent panel in the column in the event there's a leak (detector WILL be going in the column) so I can repair it.
Here's my little electronics/controller cabinet. I wasn't able to dedicate the whole short side for the cabinet since I'll need the opening to the right to replace the UV bulb but I mounted everything last night, drilled the cord plug holes, and started painting. Here's just the frame and how it sits in the stand. Ugly right now but should get prettied up soon.
So yeah, that's about it for now. Might have some more updates over the weekend.