
The Topic caught my attention off the R2R home page.I am new to this hobby and I’ve come to learn that the DIY portion seems to be just as satisfying as routine tank maintenance and even placing corals. I started with a heavily modded Biocube 29g that I purchased from someone getting out of the hobby. It was basically a rescue mission and I just feel really accomplished with the results. Anyways here’s Wonderwall
Before:
After:

I made a couple of brackets out of lexan and added a nice concealed top.
Welcome to the Hobby and you picked the best one possible for DIY.
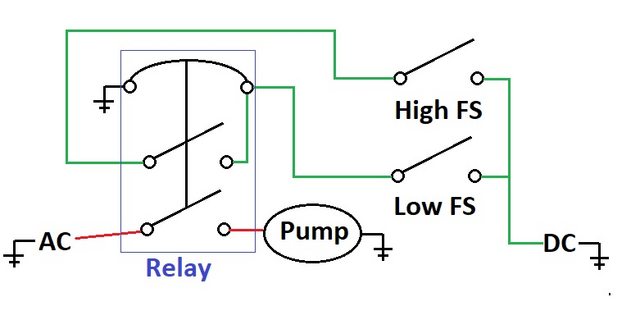
You can DIY Electronics, Chemistry, Pumbling, Electrical, AUTOMATION, etc etc
(Just be careful on high Voltage DIY Stuff, since it can KILL YOU especially around Salt Water)...I've been only zapped once when a Urchin bit thru a power cord in tank, and lucky I was just reaching in, not deep in sump)
If you ever get an urchin (all AC cords inside tank must be covered with Urchin Shields).
GFCI is a MUST even if not doing DIY, since even manufacterers stuff have failed me for Pumps and Heaters,.
IT CAN Save your LIFE and your loves ones (Family, pets, and visitors)
However if you insist (like I do a bit, with Caution and Fear).... to play with High Voltage DIY, make sure your tank is on a GFCI protected outlet. Plus a Titanium Ground probe since GFCI will not trip without a Ground Fault.
Any AC device (2 Prong) has no Ground and may not trip a GFCI. (Proven to me more than once)
Everything I have running my Tanks is DIY, except the Apex, but it does less than everything else.
One thing in my DIY projects is I try to reuse stuff (junk), since I never throw out old Electronics, AC Adapters, Pumbing parts, etc.
FOR EXAMPLE: Never throw out a broken All in one Printer (I just leaned taking one apart, its loaded with great parts, like motors, gears, belts, wires, speakers, switches, ac adapters, etc). And I'll be looking at neighbour garbages if I see another one.
(Eg. Right Now I'm turning a broken HP Deskjet into a DIY Alk Monitor, better than a Trident, or others)
You will find that maybe DIY Aquariums stuff will probably interest you more than the dumb fish, and dumber rocks, and really hard to keep corals (when you get distracted doing DIY). Don't get me wrong, I love my dumb fish and dumb corals and rocks.
All the best, and if you are looking for DIY ideas, or advice for Cheap parts...Tricks, Do's and Don'ts (like fish/reef toxic materials, which is another risk when doing DIY)
I can certainly help you (after 25 years of Tank DIY) when I have time, not doing DIY.
I wish you a enjoyable Safe Everlasting journey with your New Hobby.
Last edited:


") talk about saving some serious cash...
talk about saving some serious cash...


