Hello everyone, I am back with a brand new build that I have been designing for over 2 years now!
My name is Matt Paul and I was born and raised in Clearwater, FL.. I have grown up around the Ocean and going down to the FL KEYS all of my life. I first become an Open water diver in 1990 and an Advanced diver in 1994 and from there on I had a massive obsession with Reef tanks and corals. Right around 2004 thru 2008 I worked at my buddies LFS which really helped me keep a stable & a successful reef tank over the last 10 yrs. I just got done tearing it down last week since I now have everything I need to start my new SCA 150 build. Let get into my old tank first before we get into the new one and all of the Equipment that I have specially chosen for my new system. I have pretty much spent almost my entirety of my life fully immersed in the aquarium industry. From working as an aquarium service technician in my local aquarium shop to doing installs and Maintenence. I started my adventure into reef keeping and growing SPS corals in the mid-'90s. I have always had a love & passion for the ocean and its inhabitants. I have had the privilege of diving on some of the most beautiful dive wrecks & reefs around the world and really getting a chance to view these corals in their natural environment. Here are some pictures of my first tank that was over 100 gallons my 120 reef ready specs being the following 48''x24''x24''.
120 Mixed Reed at 3yrs

120 Mixed Reed at 5yrs old:

My 120 Mixed Reed @ 7yrs:

Mixed reef @ 9YRS OLD:

My 120 @ 10 yrs:

Here some of the last few shots I took before I broke down my 120 mixed reef that was up and running for over 12 years.

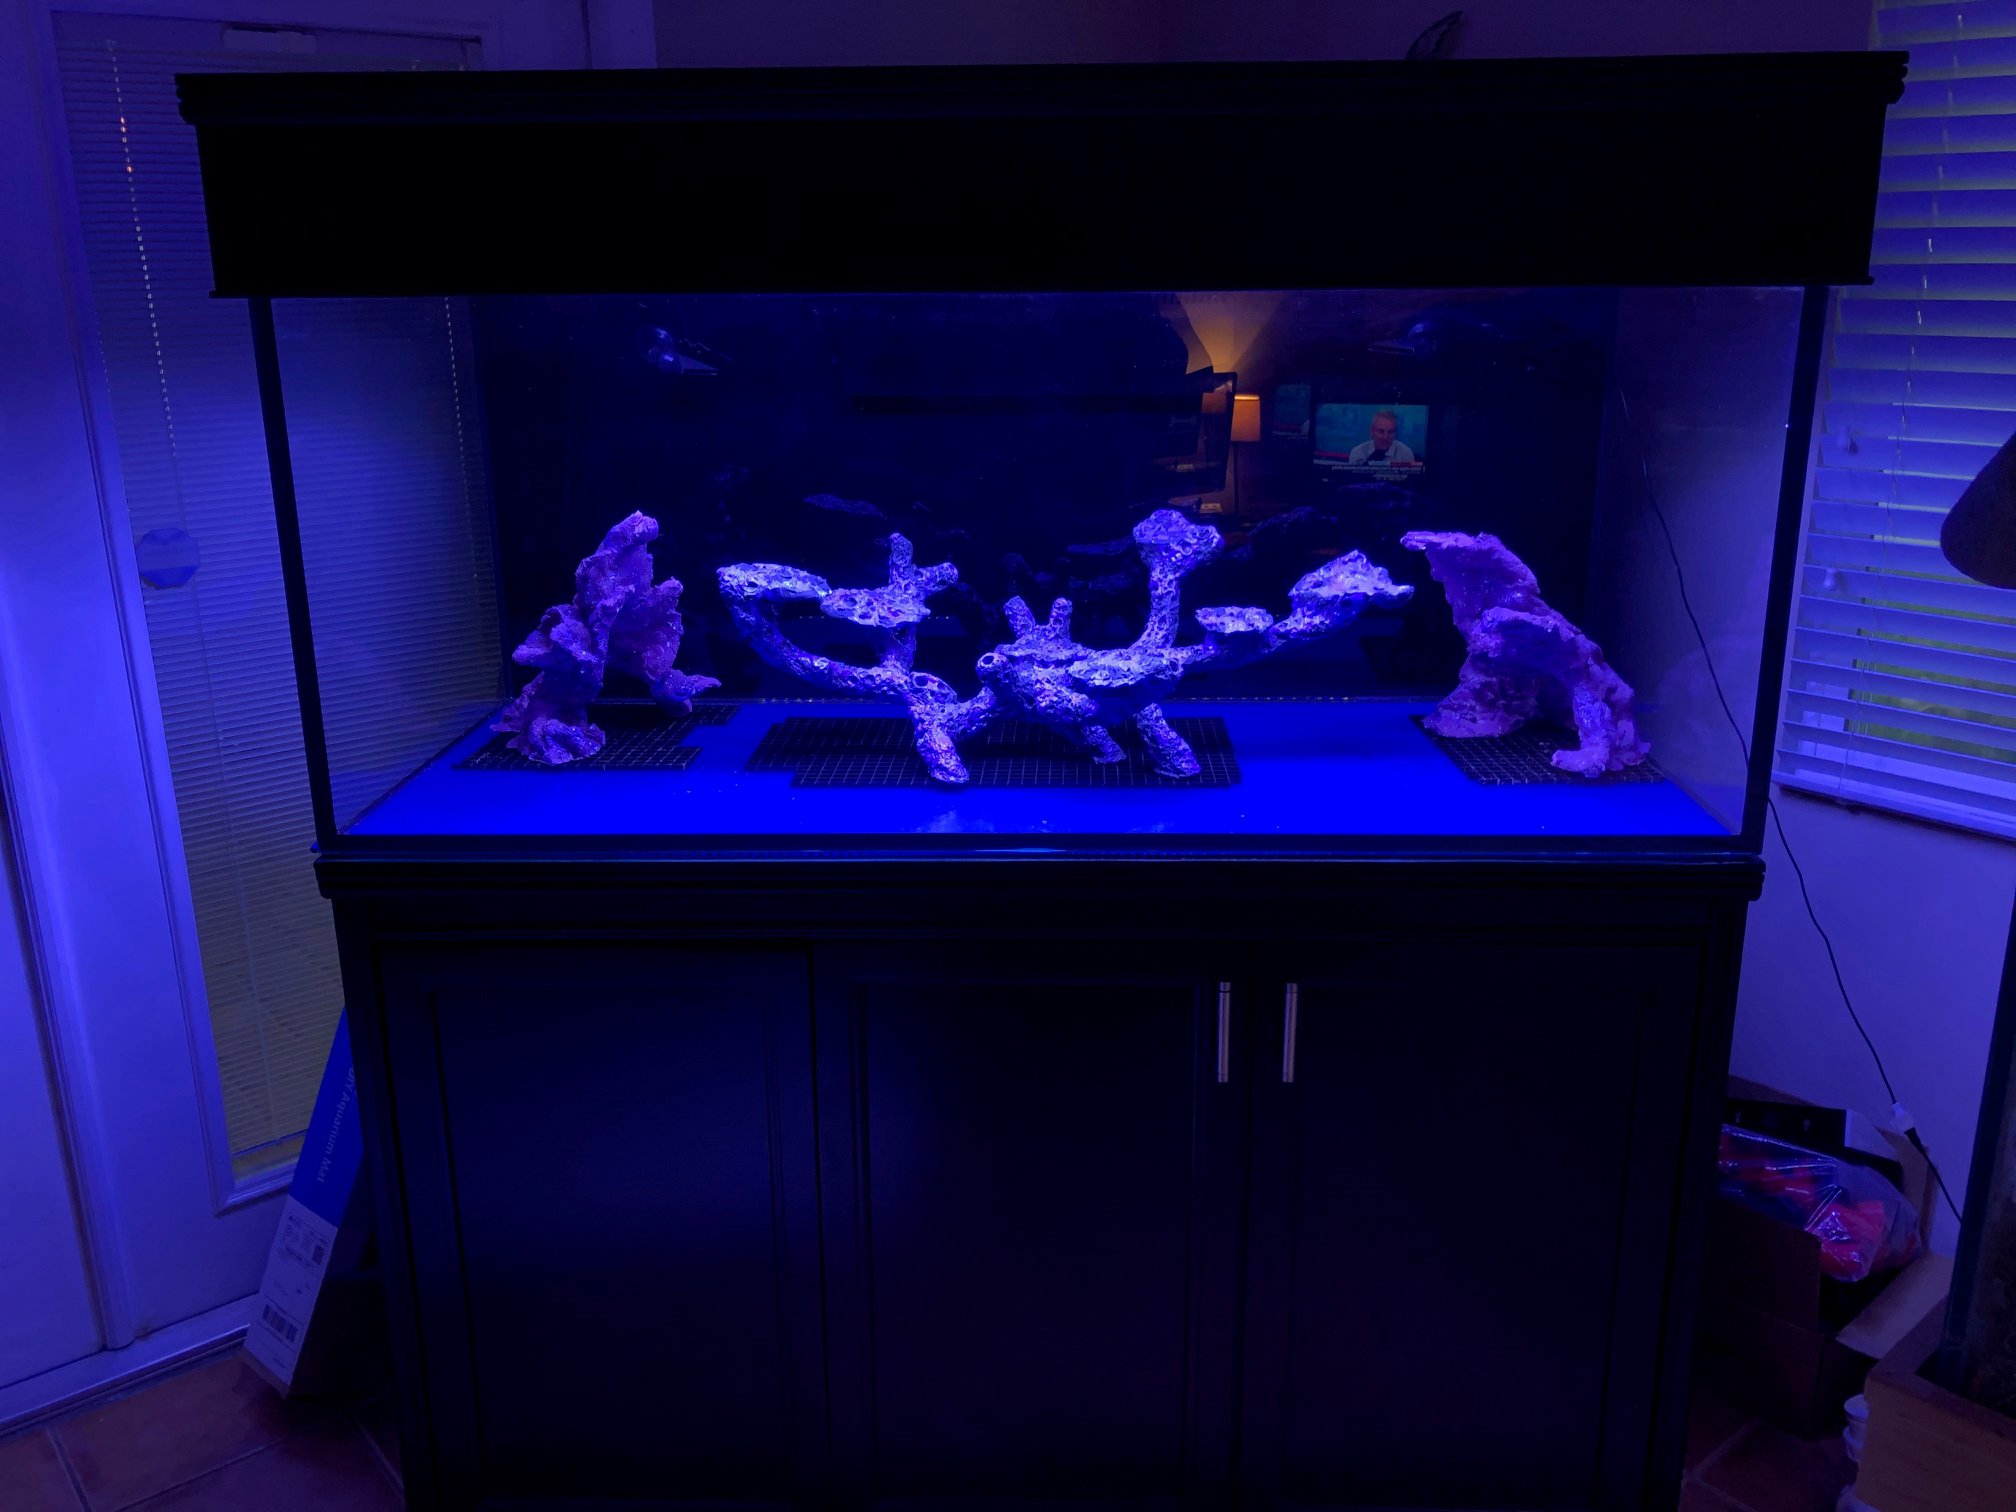
Last shot I took of my old tank before i TORE IT DOWN!

Frog & Octospawn Lps CORALS

This Ultra Blue claim I got at #RAP in Orlando in 2017 which its something I wanted to keep and add into my new tank so my buddy has it at his LFS.

Here are some of the last few shots of the new custom sump I had made at the time and how I plumbed it.

My name is Matt Paul and I was born and raised in Clearwater, FL.. I have grown up around the Ocean and going down to the FL KEYS all of my life. I first become an Open water diver in 1990 and an Advanced diver in 1994 and from there on I had a massive obsession with Reef tanks and corals. Right around 2004 thru 2008 I worked at my buddies LFS which really helped me keep a stable & a successful reef tank over the last 10 yrs. I just got done tearing it down last week since I now have everything I need to start my new SCA 150 build. Let get into my old tank first before we get into the new one and all of the Equipment that I have specially chosen for my new system. I have pretty much spent almost my entirety of my life fully immersed in the aquarium industry. From working as an aquarium service technician in my local aquarium shop to doing installs and Maintenence. I started my adventure into reef keeping and growing SPS corals in the mid-'90s. I have always had a love & passion for the ocean and its inhabitants. I have had the privilege of diving on some of the most beautiful dive wrecks & reefs around the world and really getting a chance to view these corals in their natural environment. Here are some pictures of my first tank that was over 100 gallons my 120 reef ready specs being the following 48''x24''x24''.
120 Mixed Reed at 3yrs
120 Mixed Reed at 5yrs old:
My 120 Mixed Reed @ 7yrs:
Mixed reef @ 9YRS OLD:
My 120 @ 10 yrs:
Here some of the last few shots I took before I broke down my 120 mixed reef that was up and running for over 12 years.
Last shot I took of my old tank before i TORE IT DOWN!
Frog & Octospawn Lps CORALS
This Ultra Blue claim I got at #RAP in Orlando in 2017 which its something I wanted to keep and add into my new tank so my buddy has it at his LFS.
Here are some of the last few shots of the new custom sump I had made at the time and how I plumbed it.
Last edited: