OP
OP
- Joined
- Jul 9, 2018
- Messages
- 345
- Reaction score
- 192
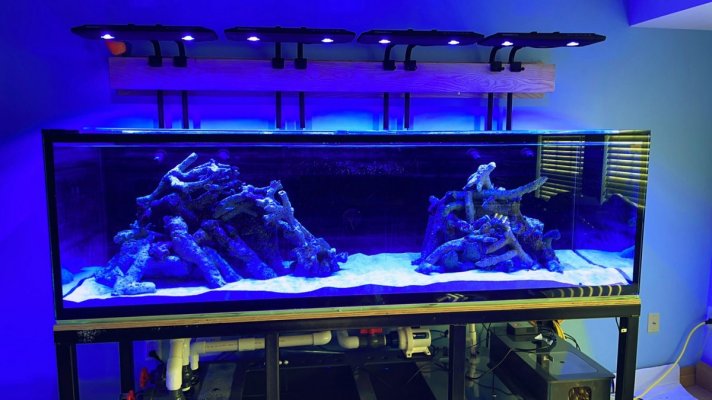
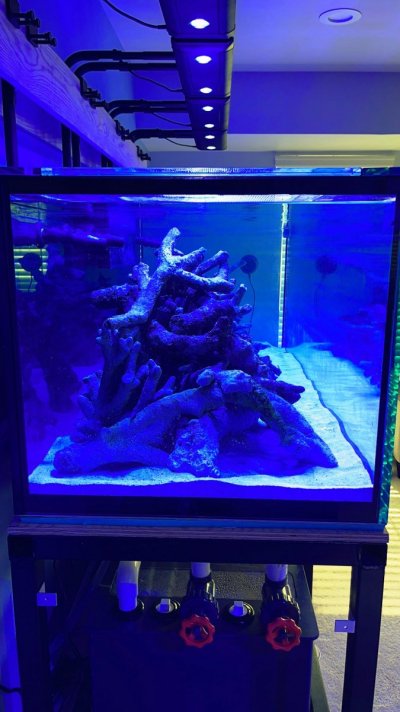
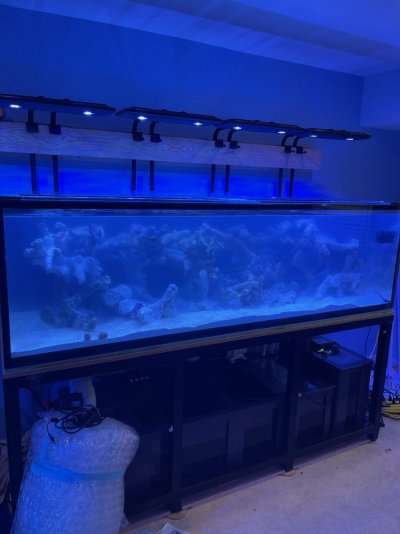
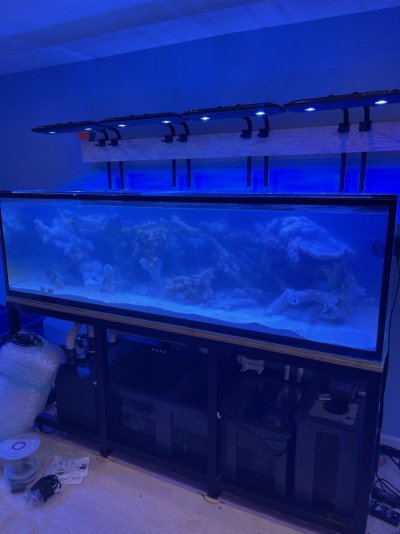
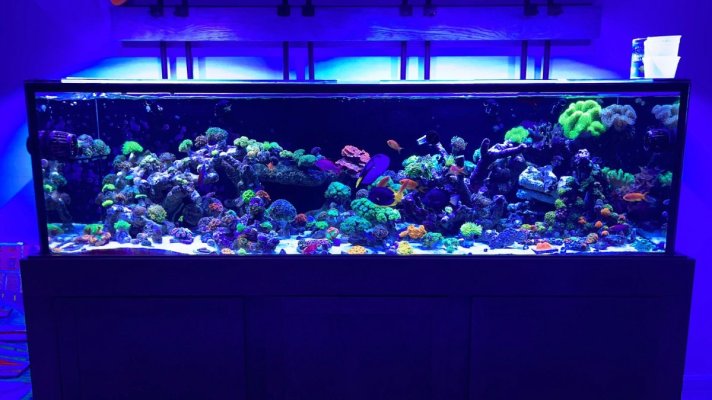
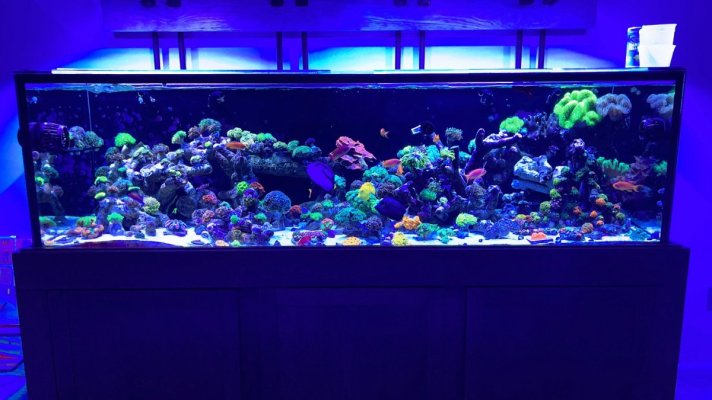
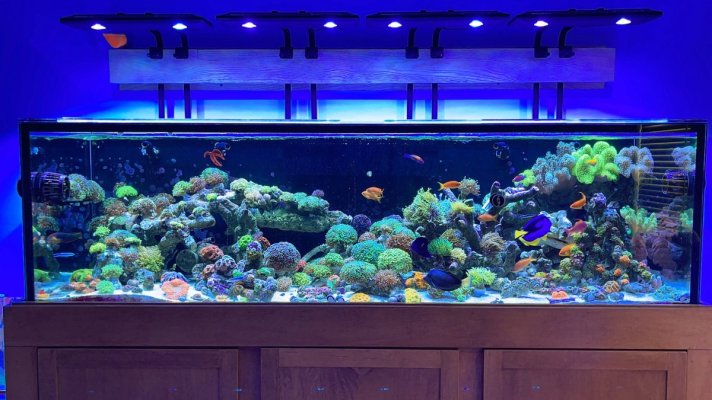
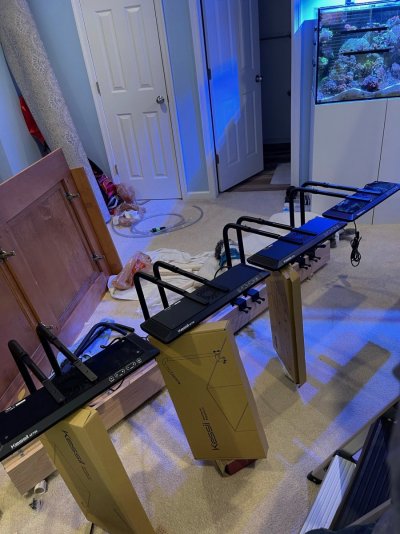
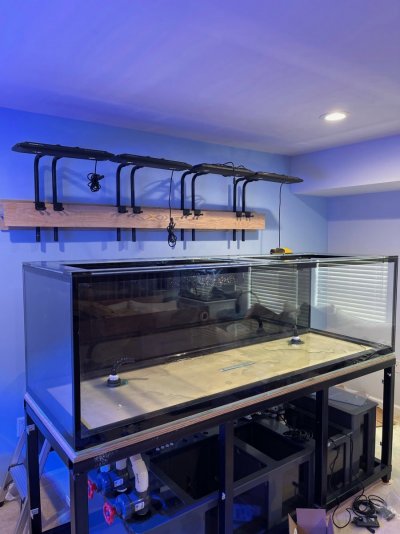
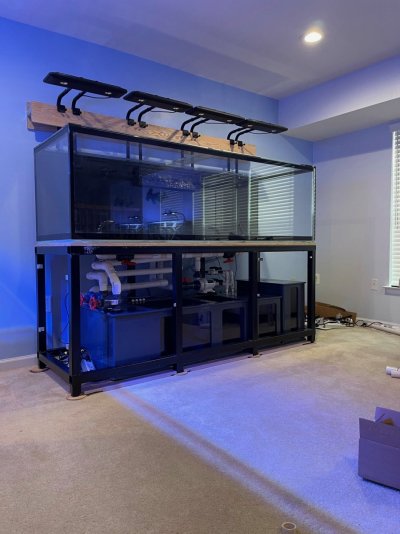
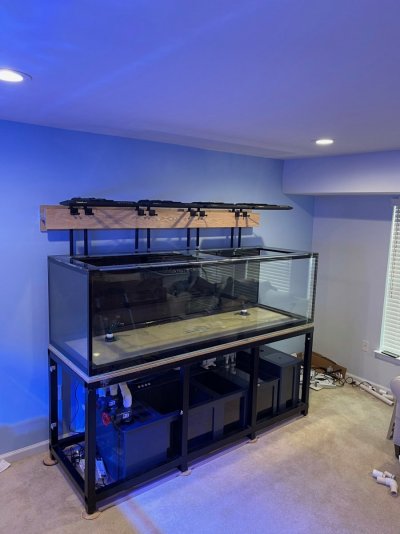
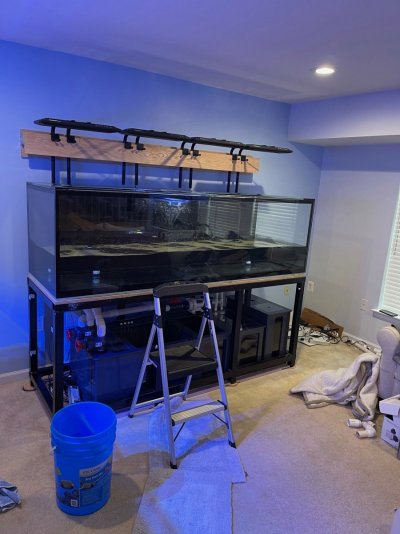
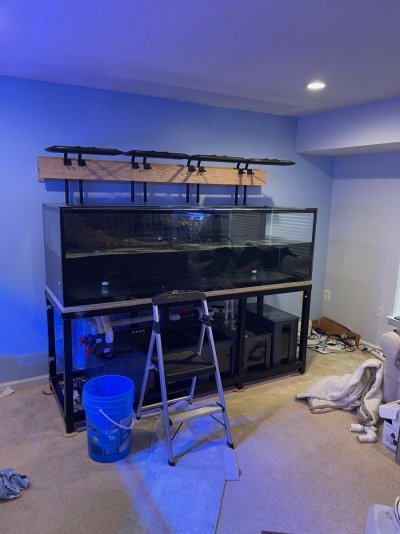
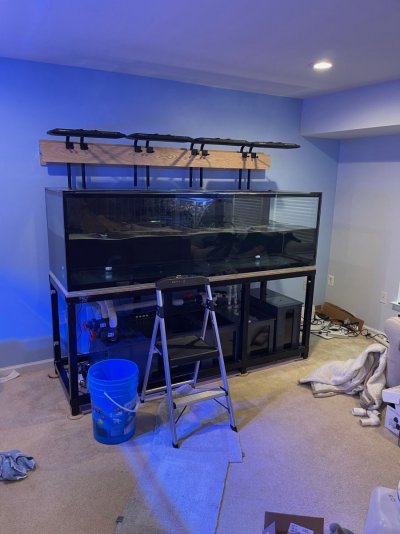
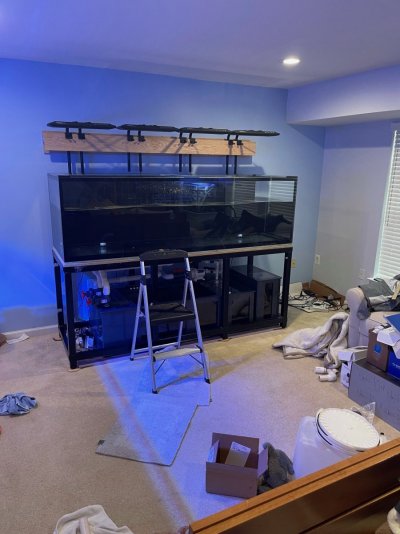
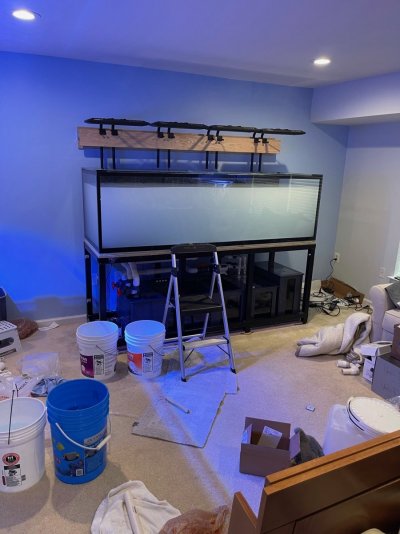
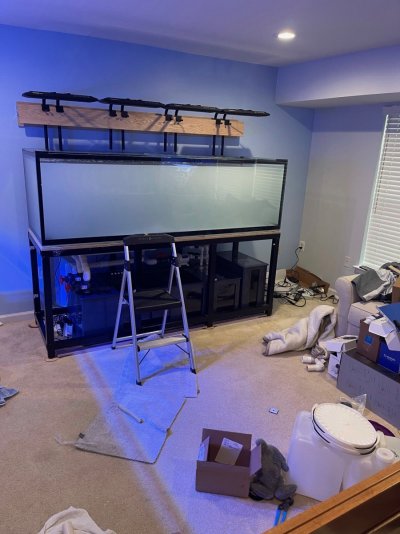
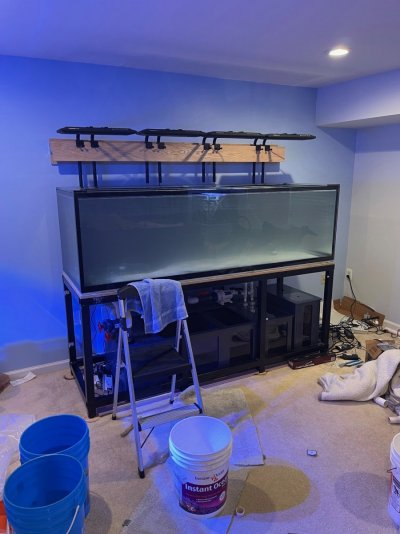
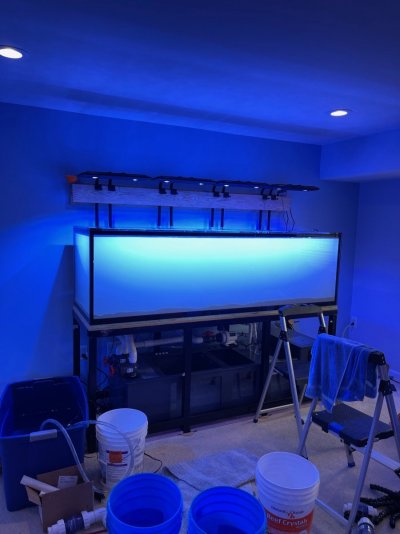
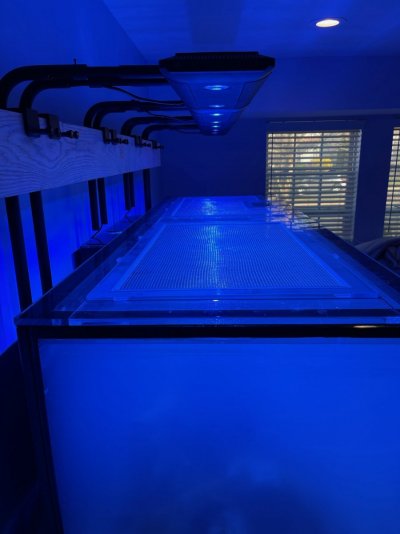
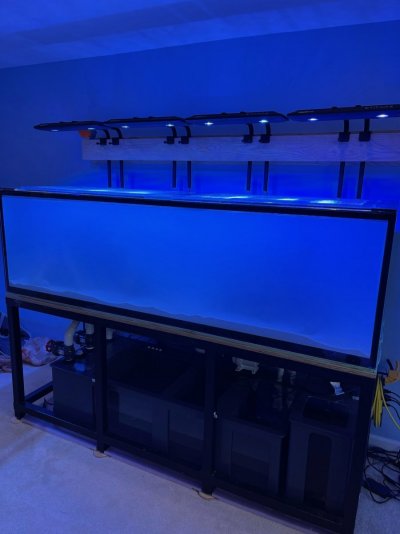
Next project was hanging the lights. Decided on going with 4 Kessil A700's for lighting. I didn't want the look of wires hanging from the ceiling so I bought the Kessil mounting arms as well as "extended" mounting arms to get the lights out into the middle of the tank. This is necessary because of the overflow on the back of the tank as well as the width of the tank makes using the stock arms less than ideal.
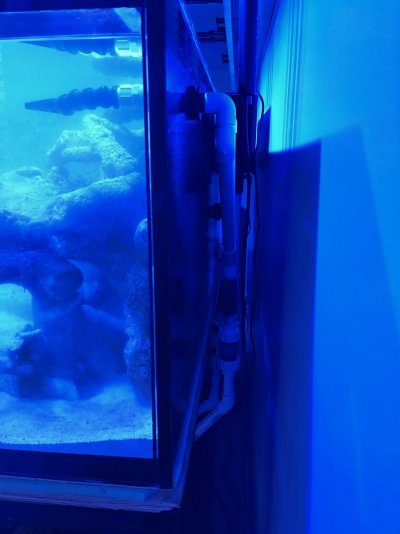
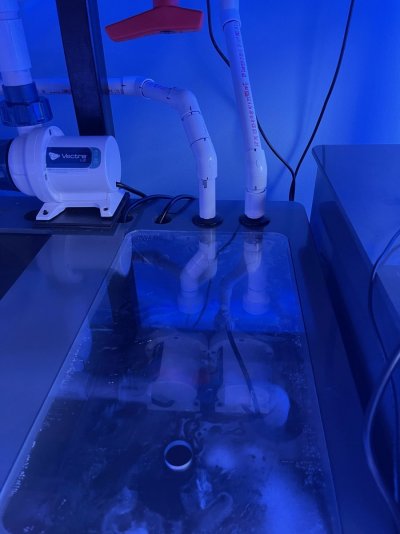
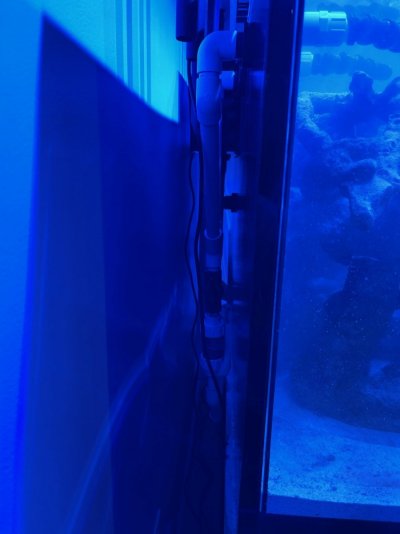
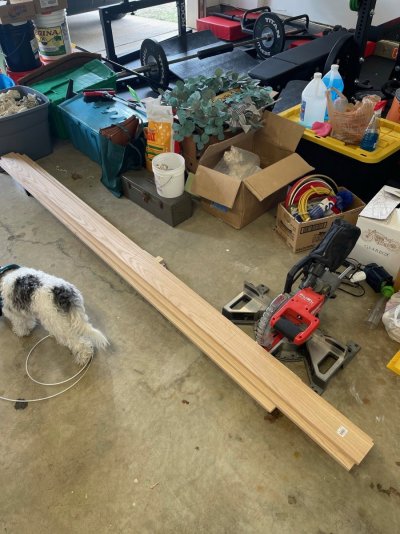
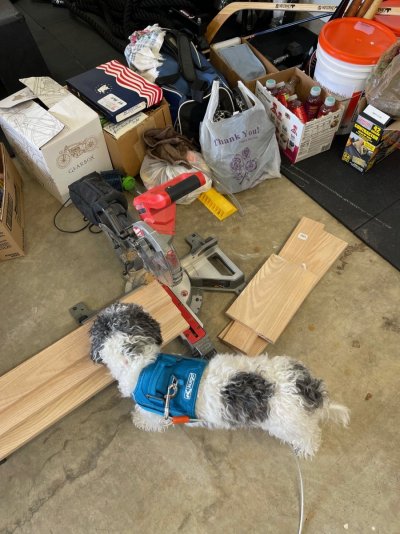
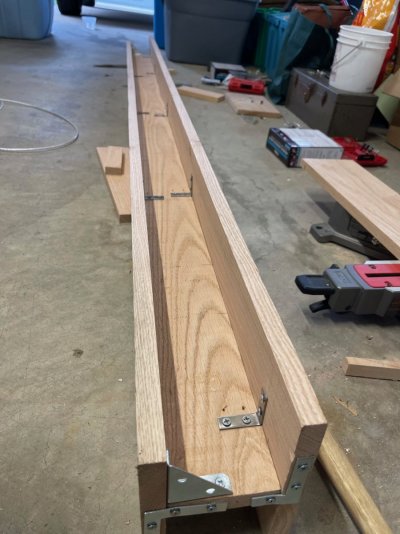
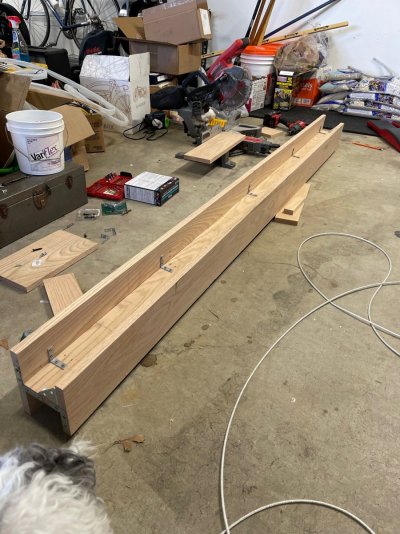
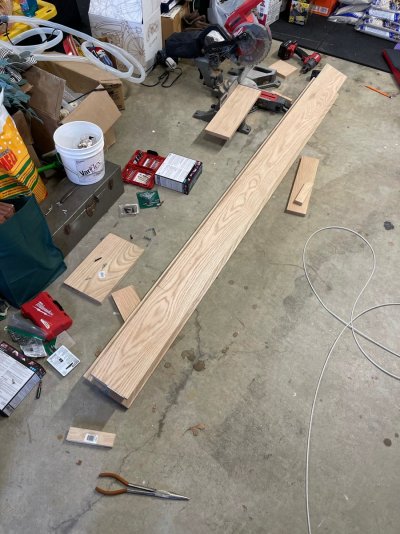
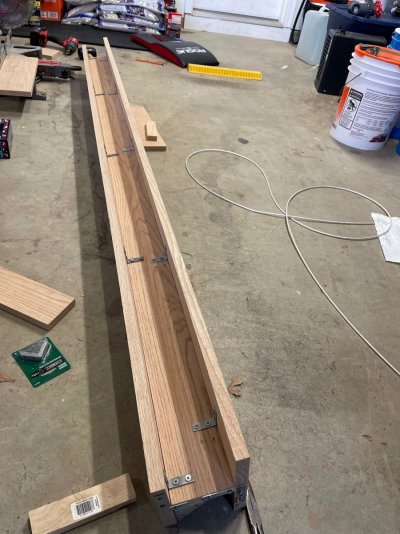
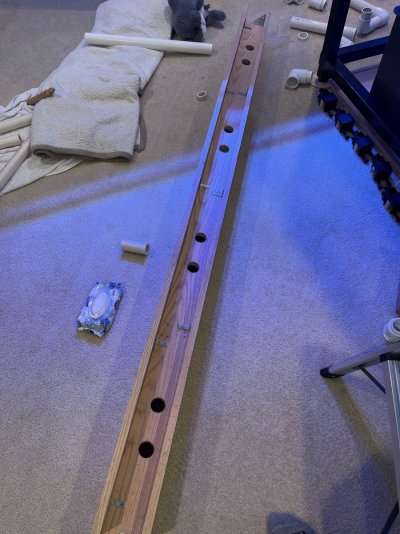
The new problem became how to mount the arms since we couldn't do it the regular way as there is 3 in star fire bracing around the rim of the tank. Thinking outside the box I went and bought some oak boards each longer than the length of the tank to make a "shelf" with a lip coming off the front of it so that I could mount the arm mounts to that and drilled 1.25in holes for each of the adjustable arms to go through so that it was all still functional.
Board that attaches to the wall is 3/4 x 7 3/4 x7 feet
Board that serves as horizontal piece is 3/4 x 3 1/4 x 7 feet
Board that serves as horizontal piece for mounting arms to attach is 3/4 x 5.5 x 7 feet
I used rust resistant L brackets and stainless screws to anchor everything together. It was important to me to over engineer this as much as possible as the 4 lights are heavy, extend out far from the wall and would be exerting a lot of torque on the shelf. Now that its completed I am confident that the wall will come down before that "shelf" fails.
(Of course I couldn't have done any of this without my lil helper making sure the measurements were correct and wagging her tail in approval of the design).
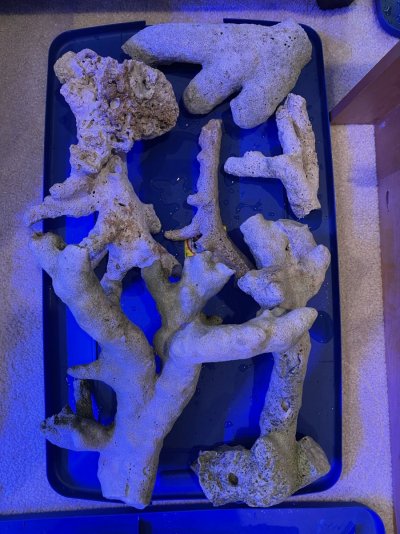
Attachments
-
 66914841663__219B4C46-C087-459A-9BE4-67B86E0F6EF5.jpg235.7 KB · Views: 107
 -
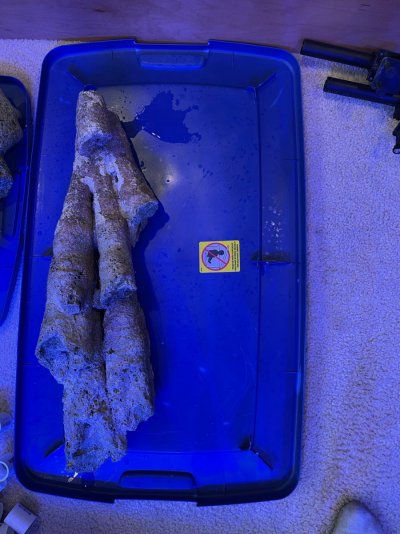
 66914977227__8D76FE7F-82E5-467A-92C2-A26658575C7D.jpg241.7 KB · Views: 78
 -
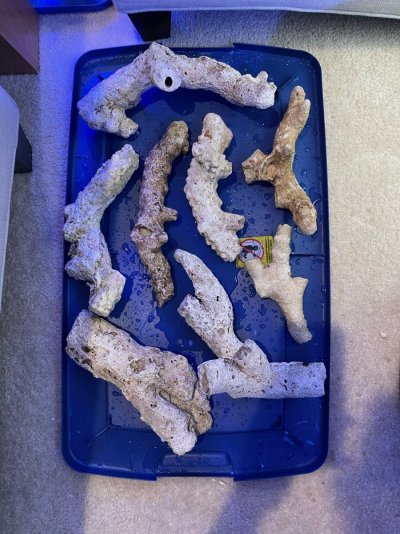
 66916291763__D935B773-9C4F-4428-9504-E07C261E26C8.jpg166.2 KB · Views: 57
 -
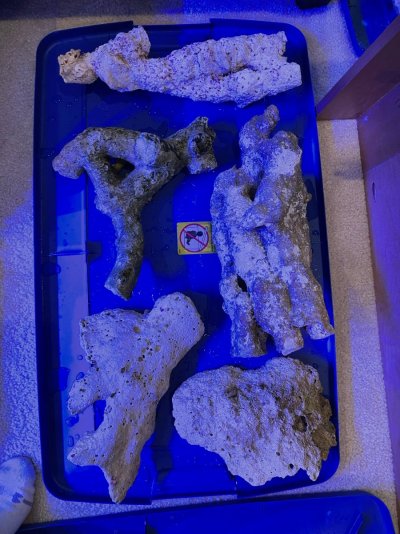
 66916293348__60DD7913-97F5-44F7-A410-D55F501AD59F.jpg251.6 KB · Views: 50
 -
 66916295155__9937CD15-AA17-4C7B-A6B0-9CCD62888F2E.jpg255.6 KB · Views: 57
 -
 66916297381__07E90A3B-FA70-4E6F-A276-F3CDBB064C8B.jpg226.6 KB · Views: 59


")