- Joined
- Mar 13, 2007
- Messages
- 201
- Reaction score
- 3
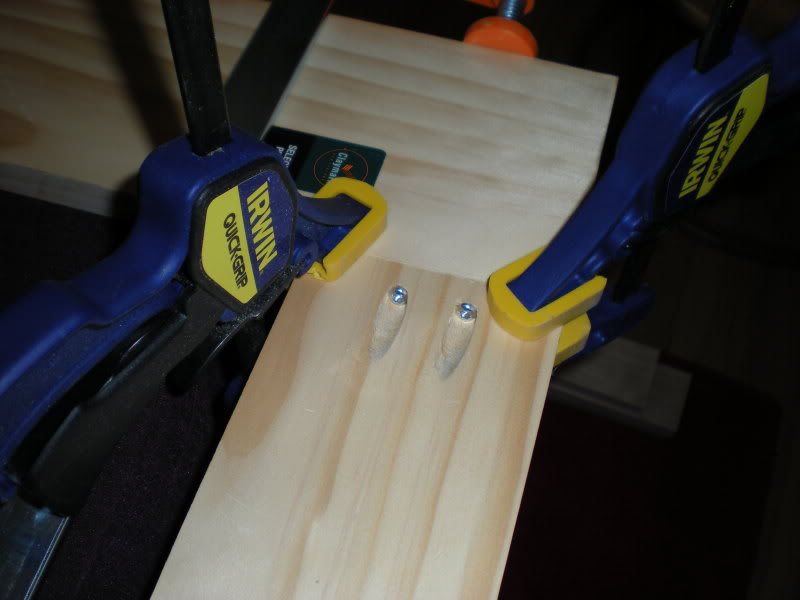
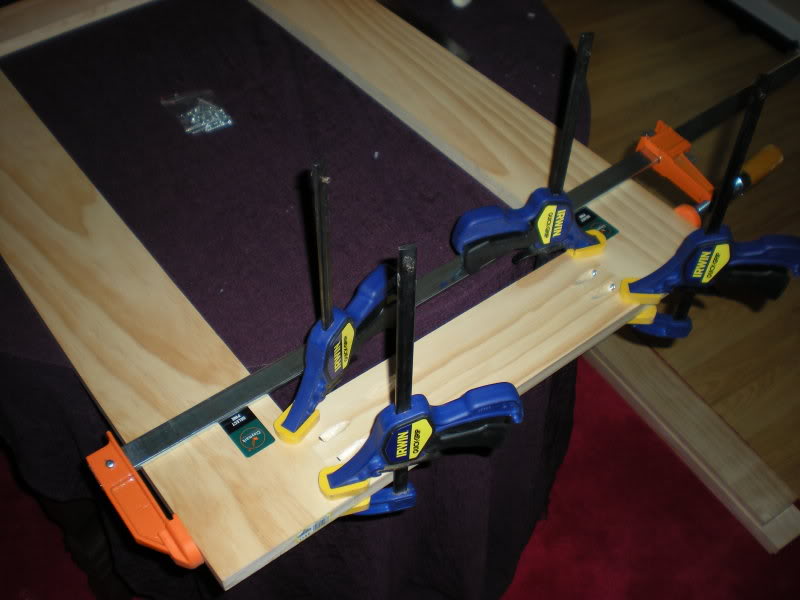
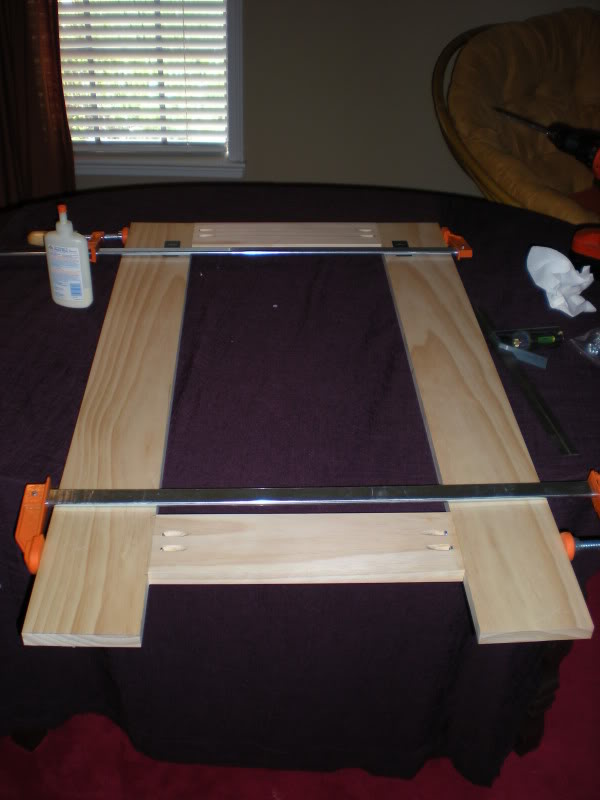
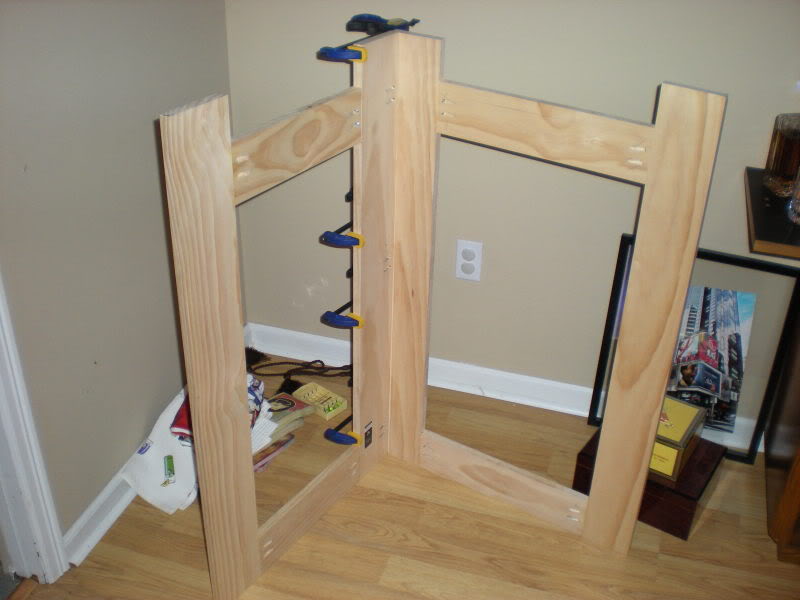
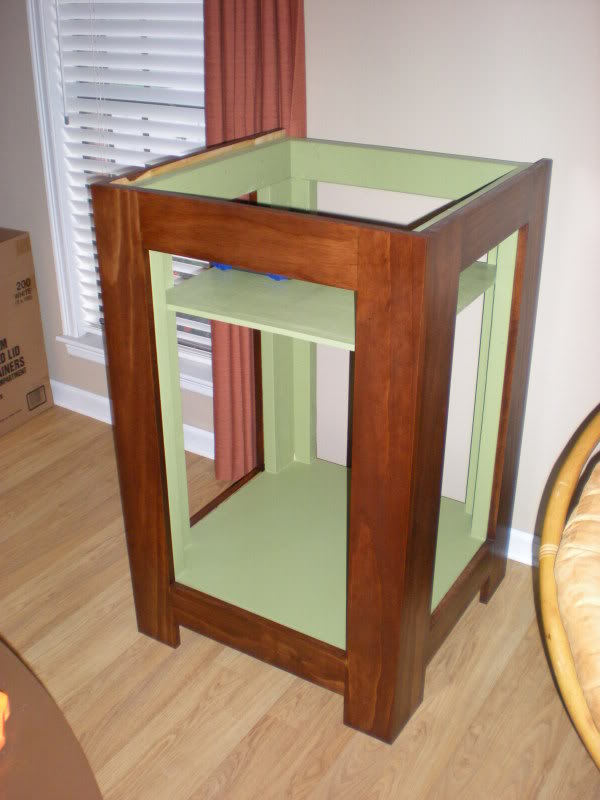
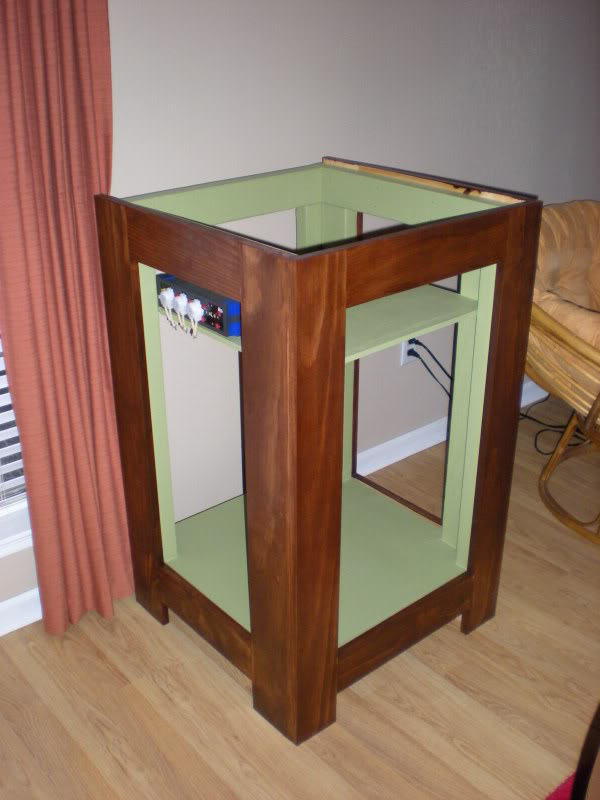
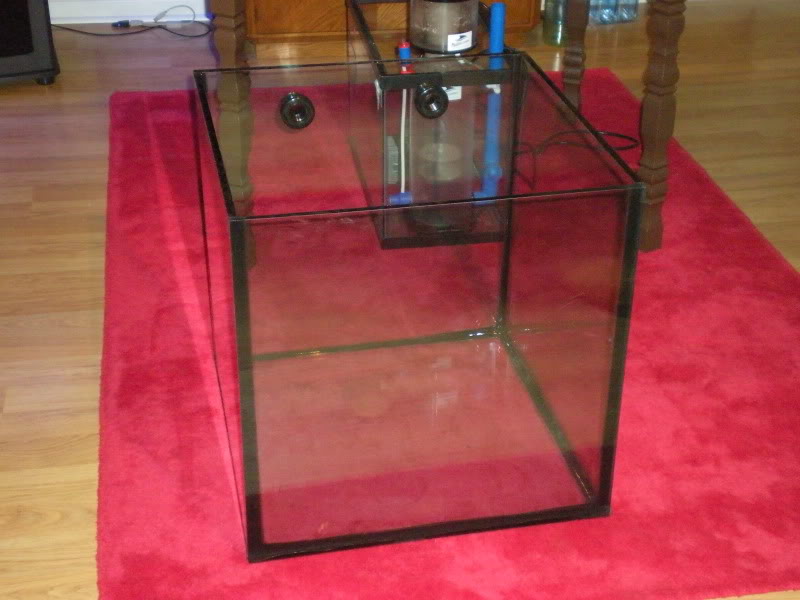
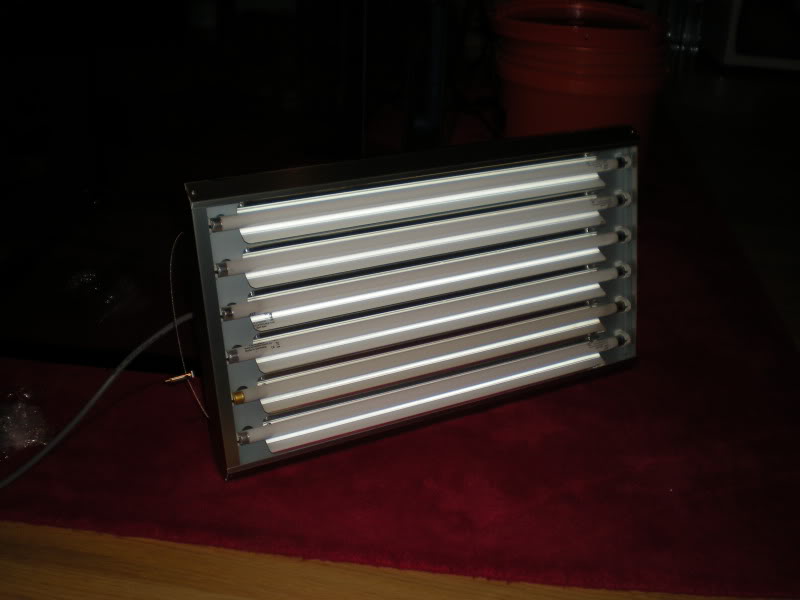
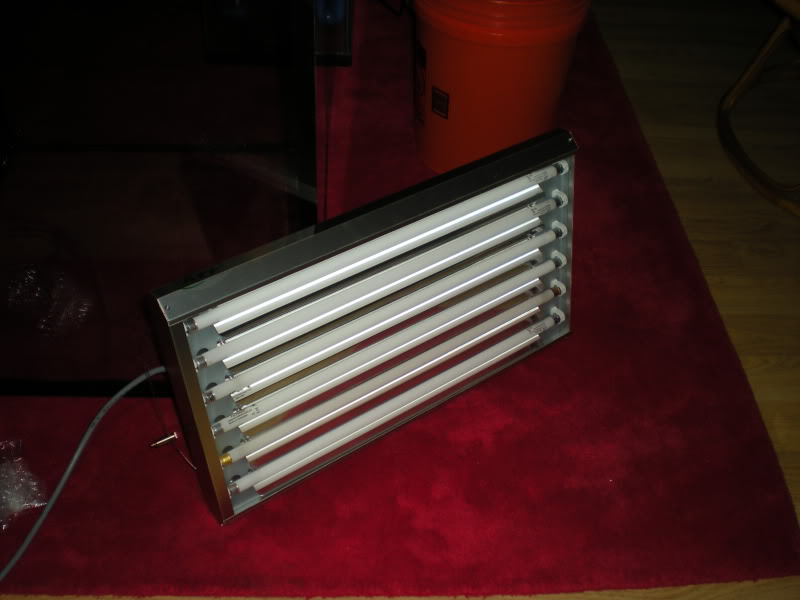
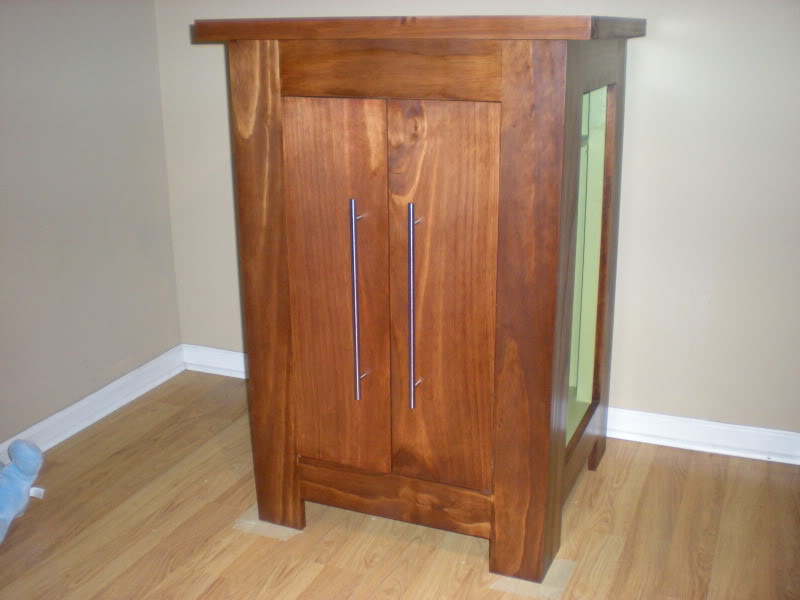
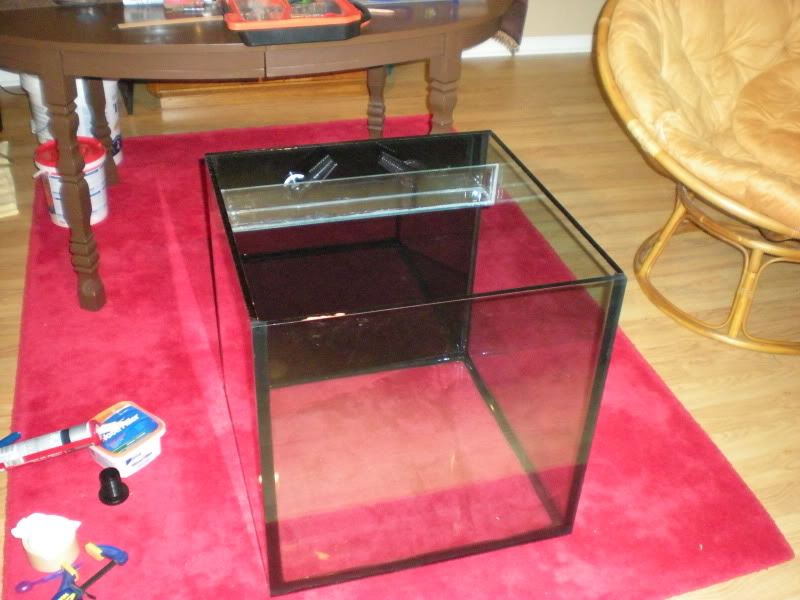
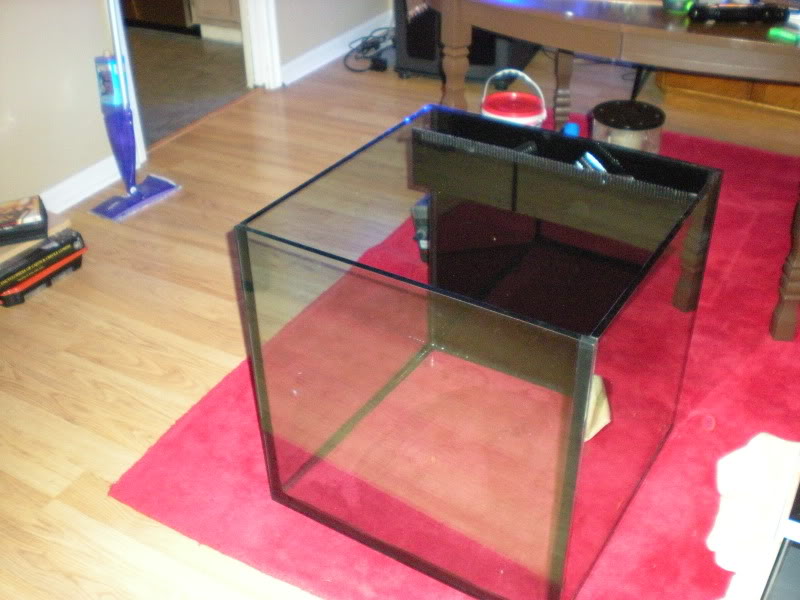
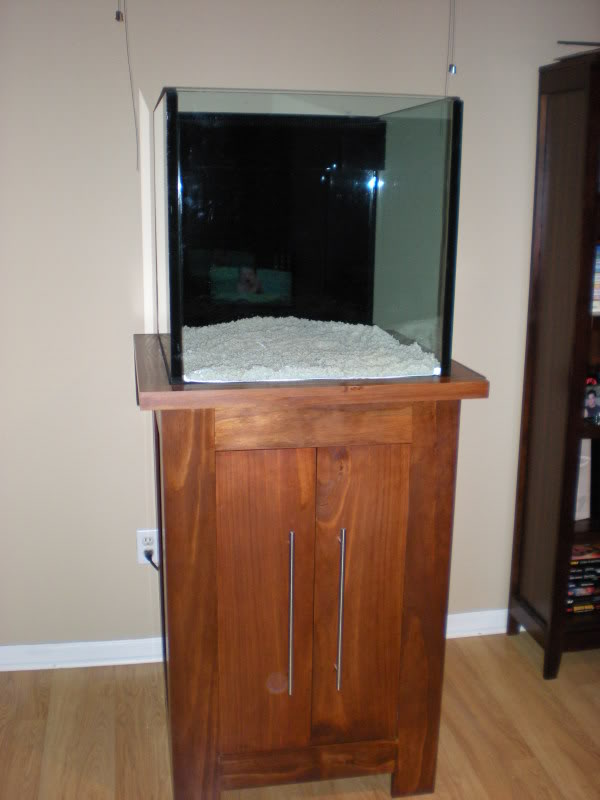
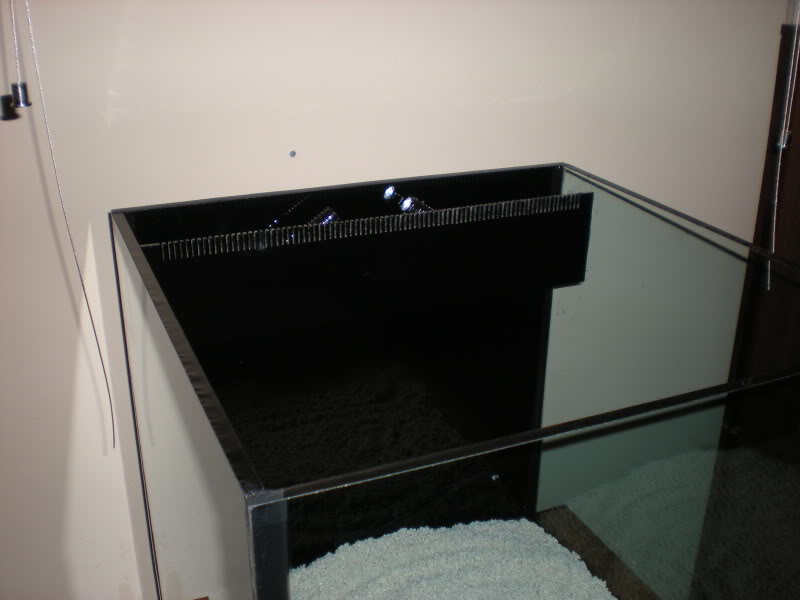
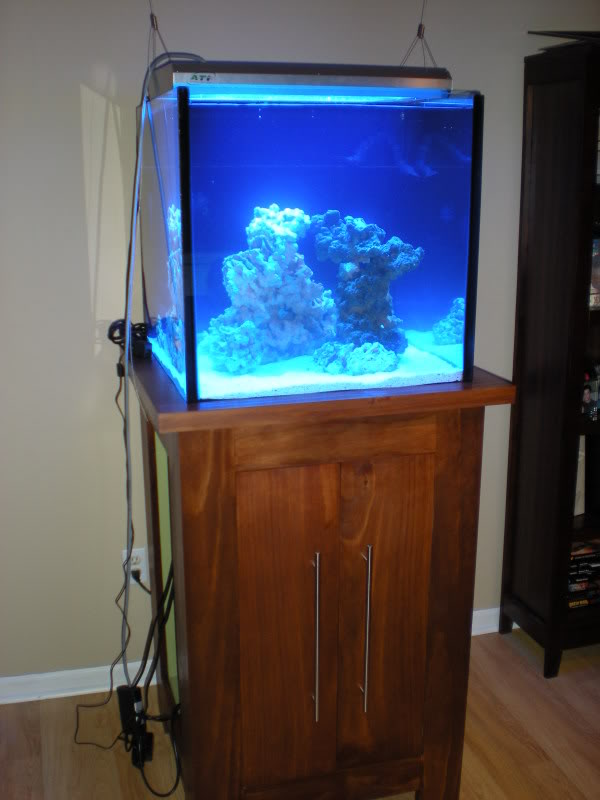
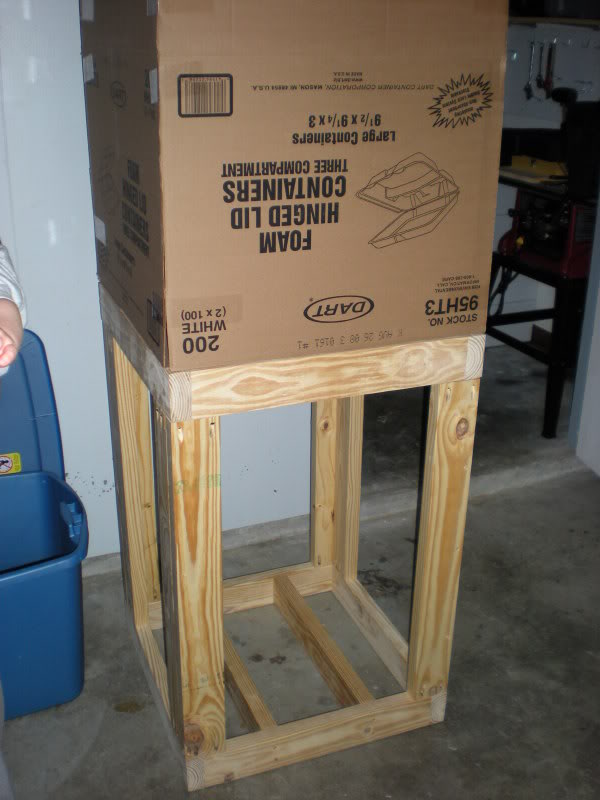
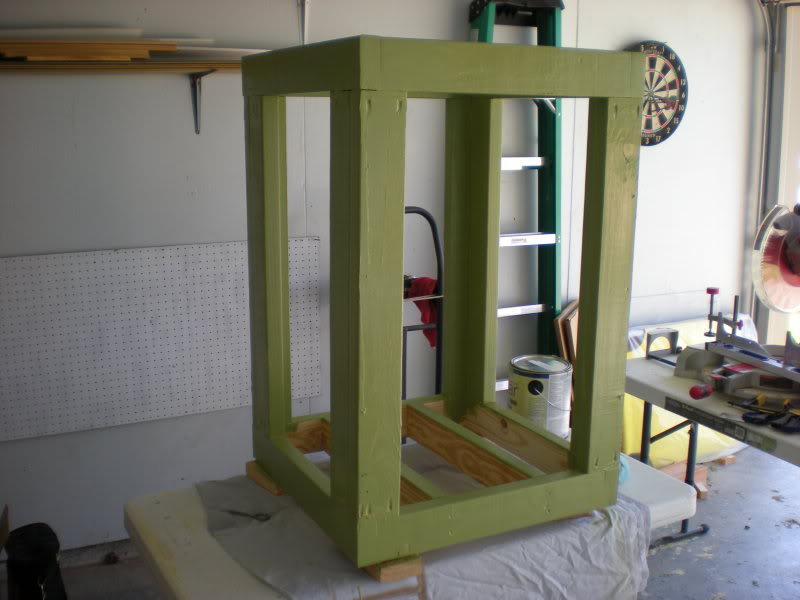
Well over the past 3 months I have gathered equipment and supplies for my 60 gallon rimless cube. I was going to wait and post the pictures after everything was done, but I got bored and I'm letting the cat out of the bag. As some of you know I sold my 120 tech and was itching for something bigger than my 29BC. OK.... on with the pics of the build.
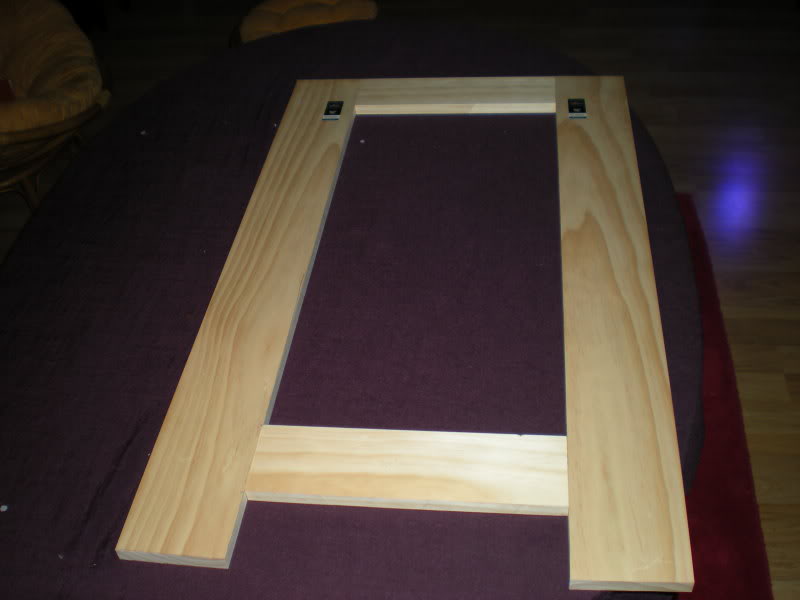
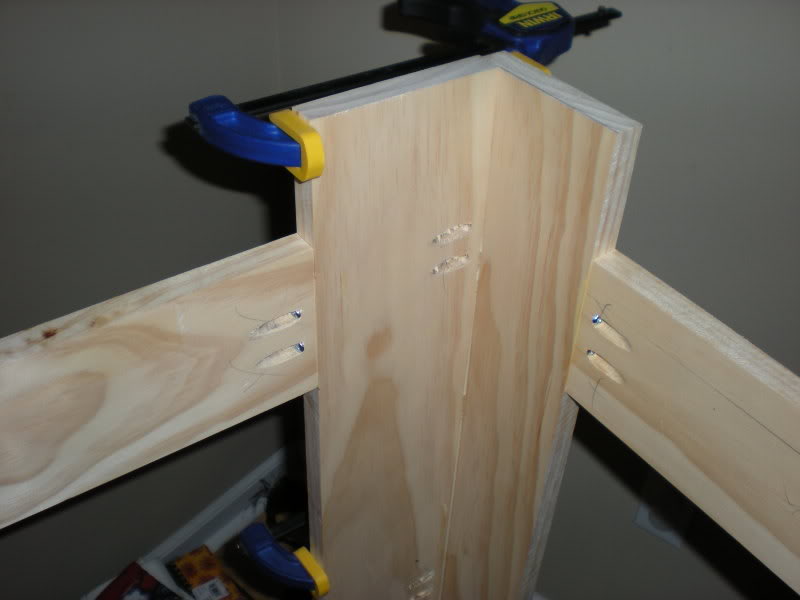
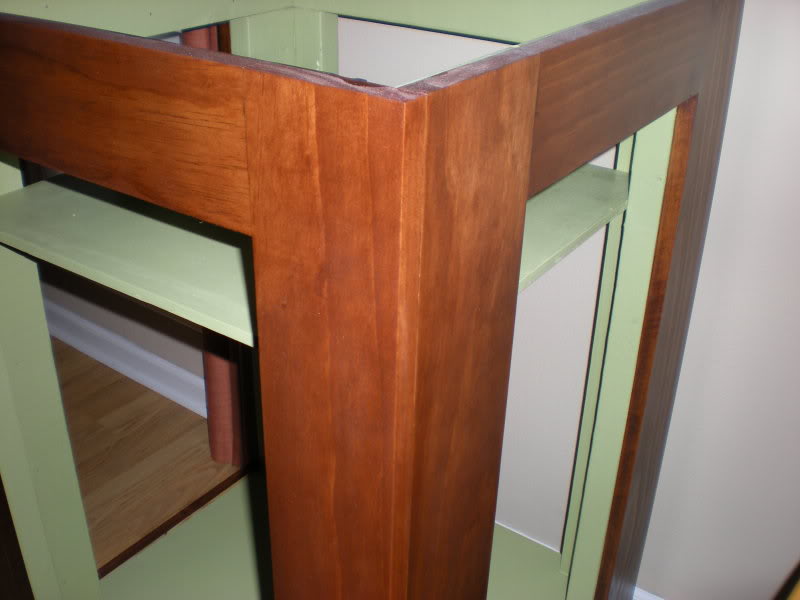
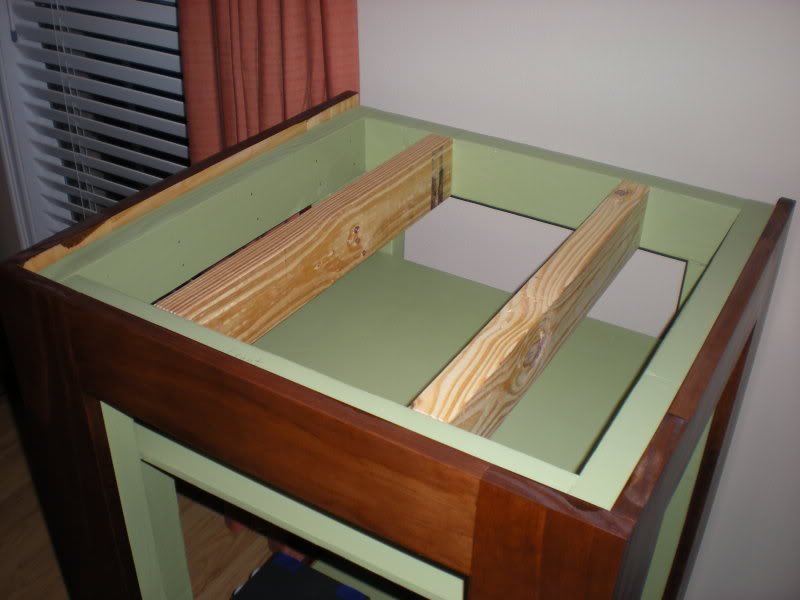
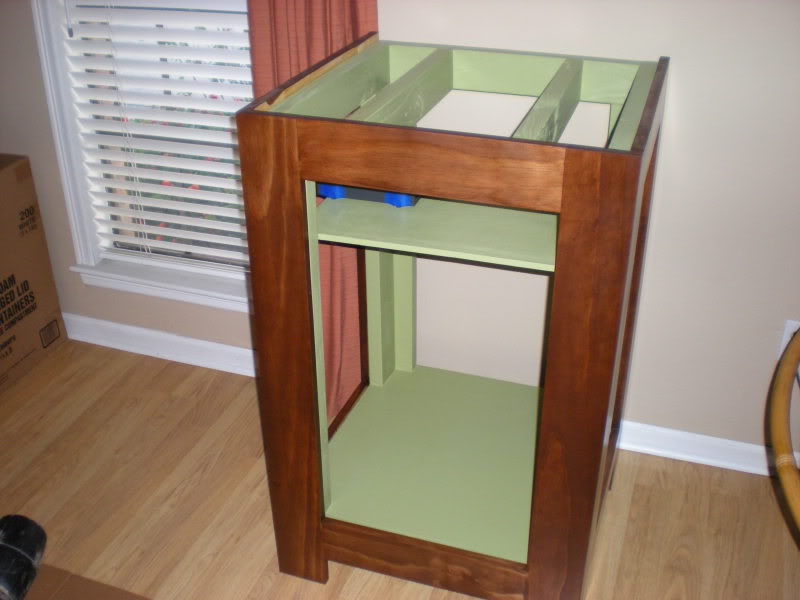
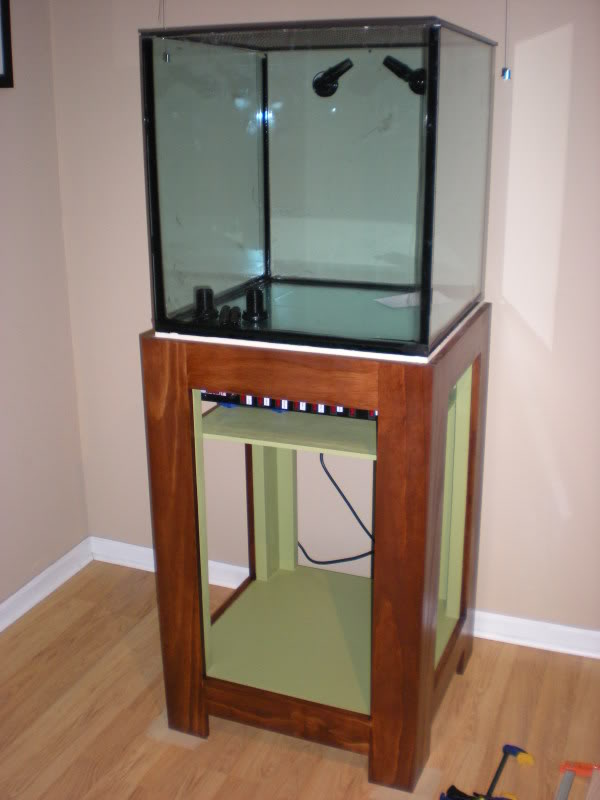
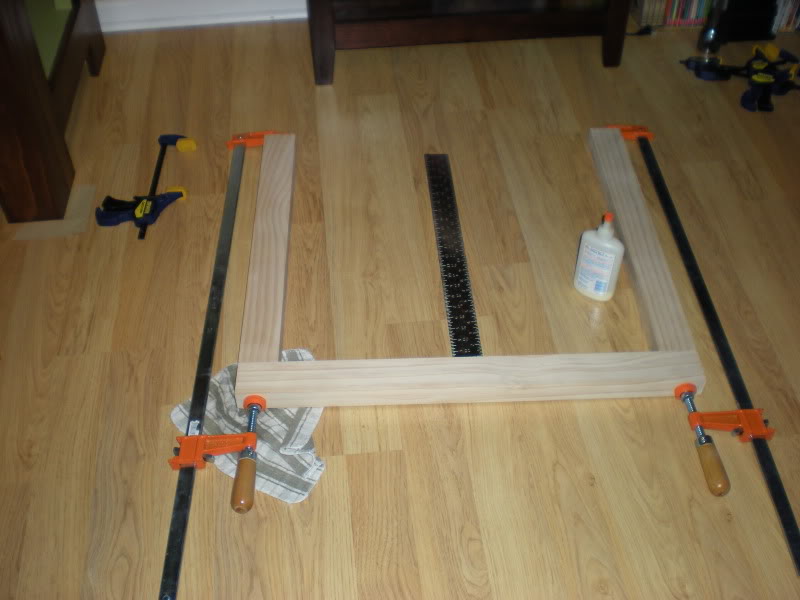
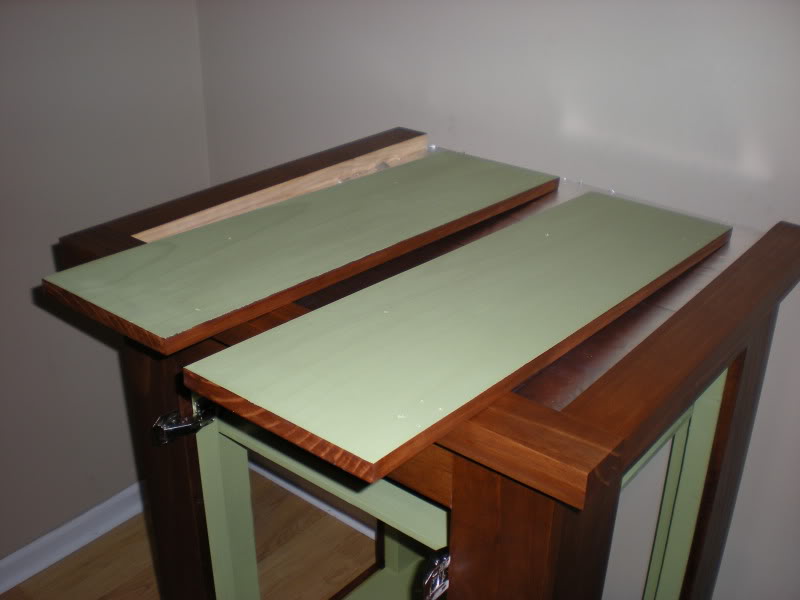
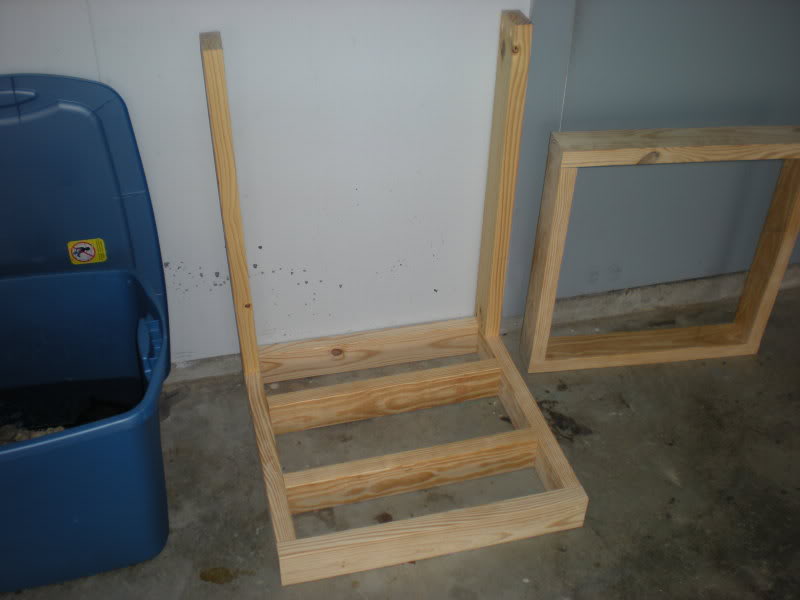
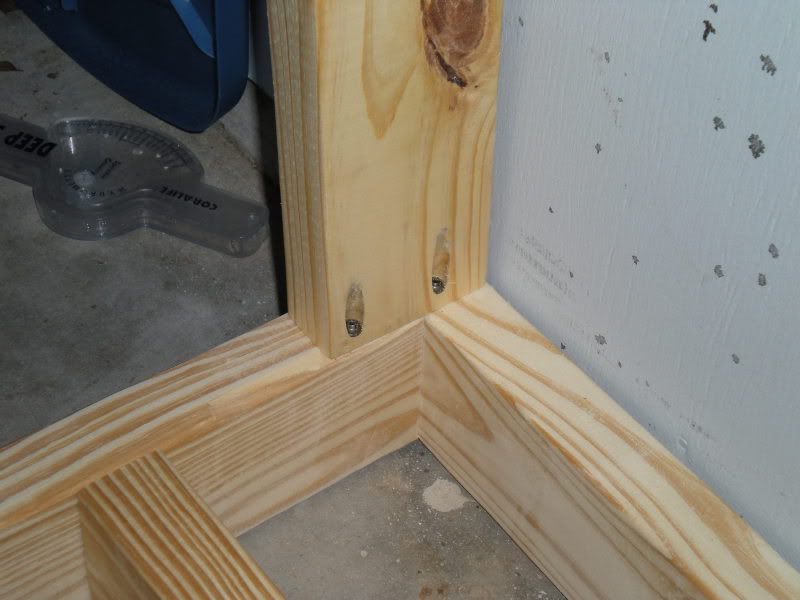
Here is the framing of the stand
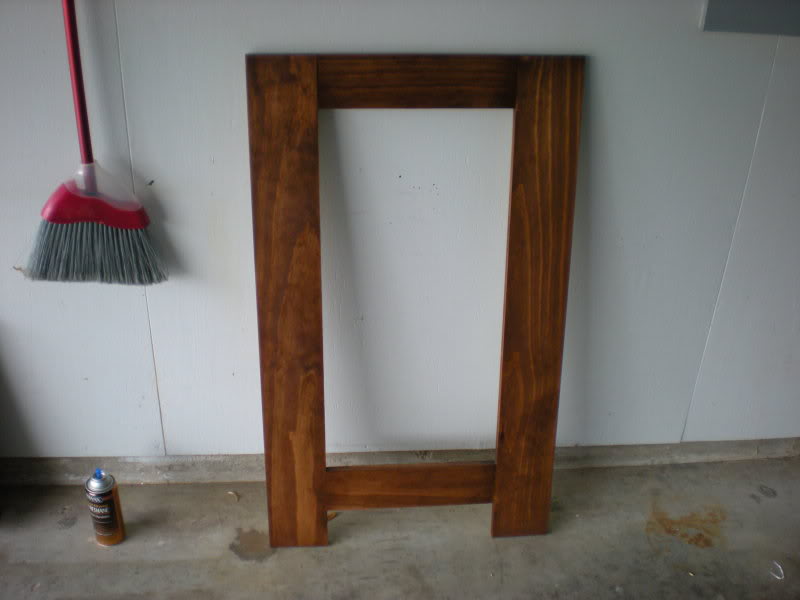
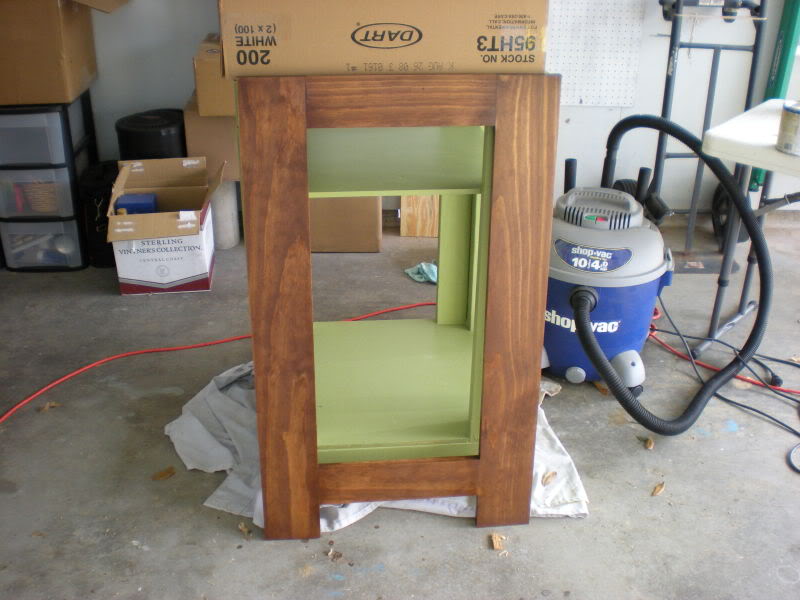
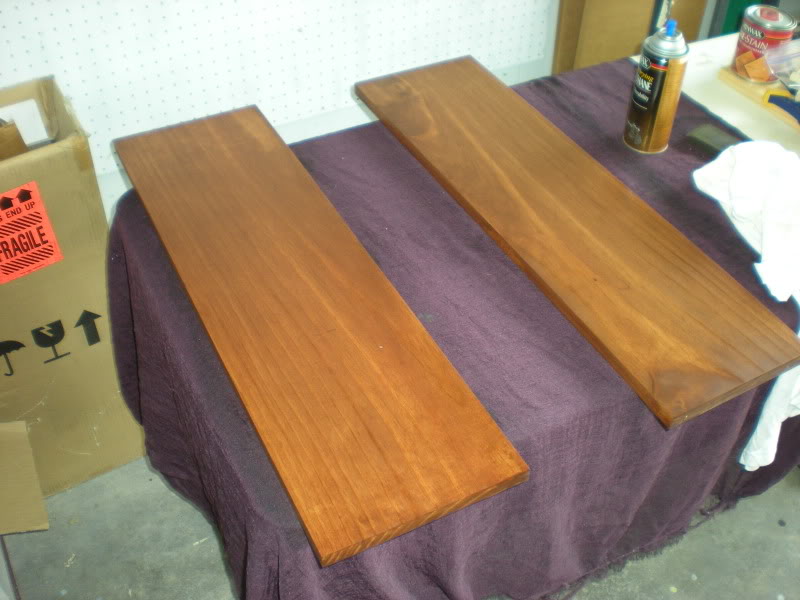
I chose to do a different color other than the same old white to seal up the frame
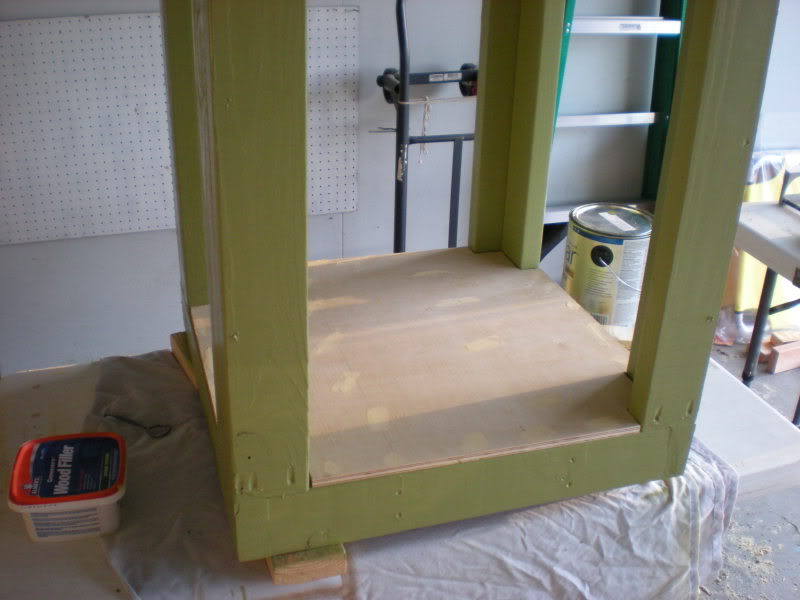
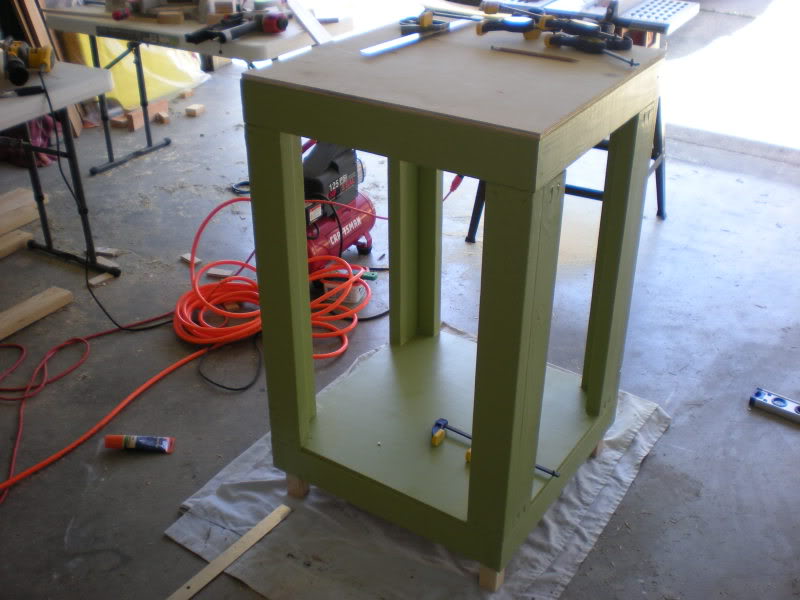
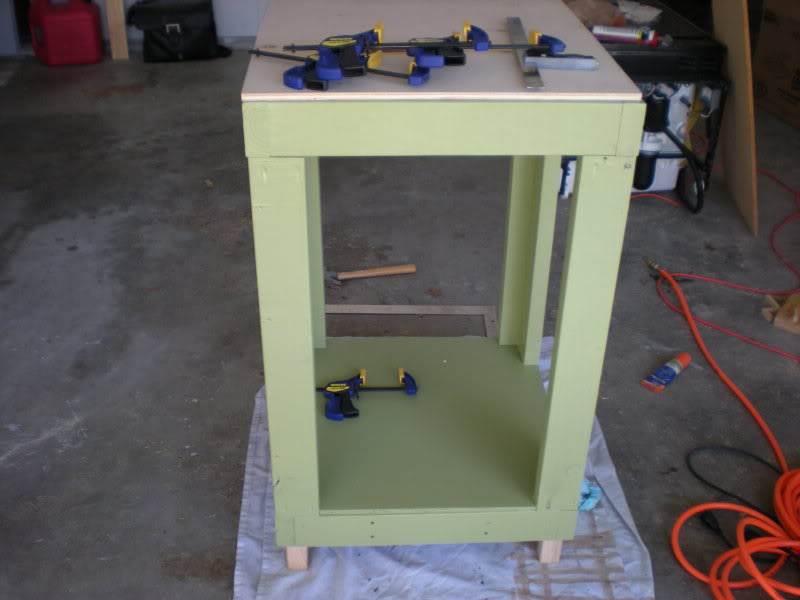
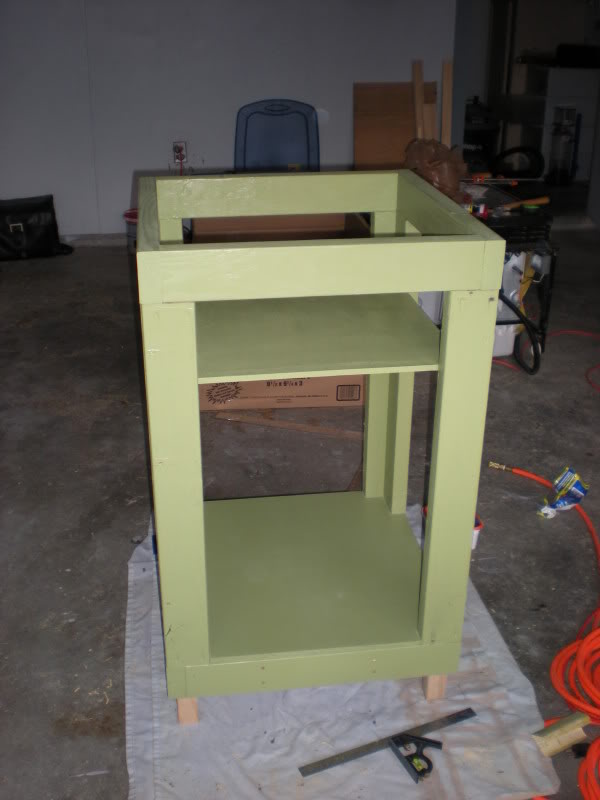
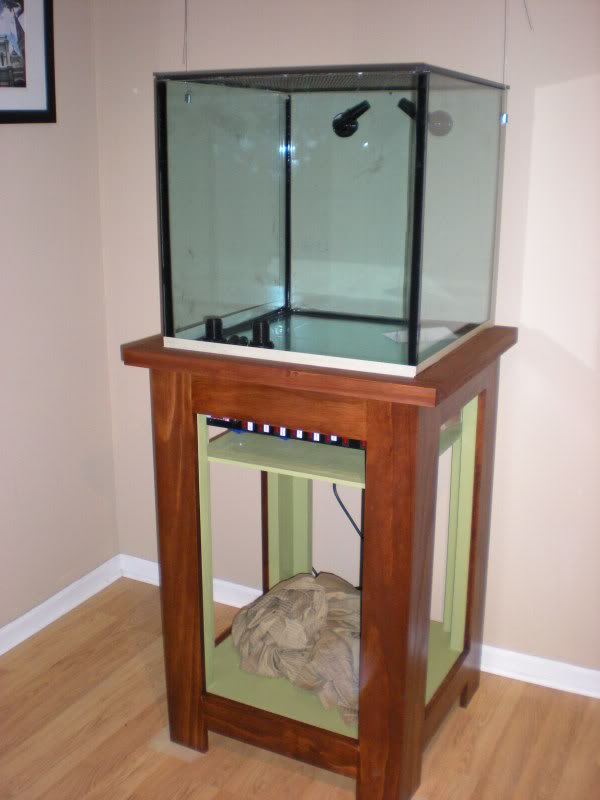
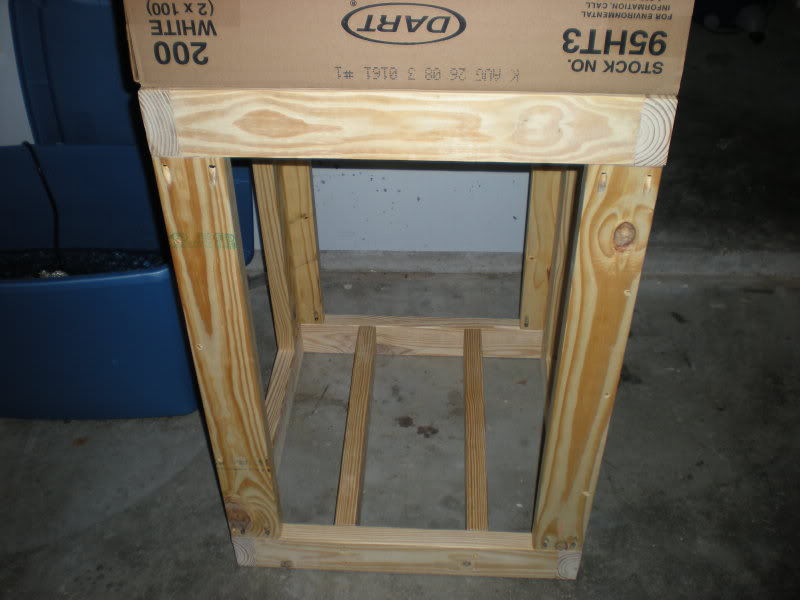
Here is the framing of the stand
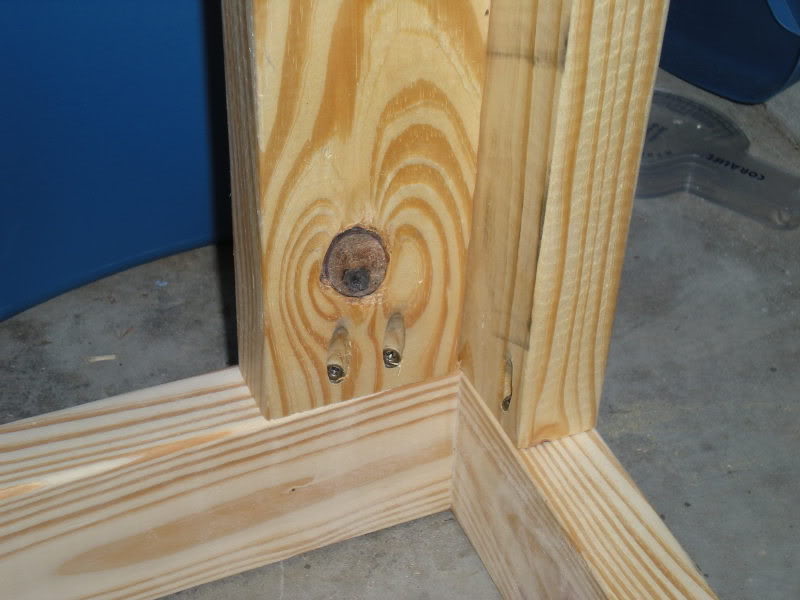
I chose to do a different color other than the same old white to seal up the frame