Navigation
Install the app
How to install the app on iOS
Follow along with the video below to see how to install our site as a web app on your home screen.
Note: This feature may not be available in some browsers.
More options
You are using an out of date browser. It may not display this or other websites correctly.
You should upgrade or use an alternative browser.
You should upgrade or use an alternative browser.
Pirate's Reef - A New Beginning
- Nano Build
- Thread starter Fin
- Start date
- Tagged users None
Thank you! It is different, that's for sure. I know I won't be starting any fads, but it is fun to have something unique.This is an awesome set up! Good to see something so original
Thanks! Yeah, the original tank was more about recycling unused stuff. For this reincarnation, there has been a few new things added.Wow!!! Great build, lots of cool ideas and some awesome equipment... Love it!!!
The APEX is from my other tank and I will have to have it repaired (or replace the base unit). I have also ordered a second "Build My LED" fixture. An 18", supplemental lamp that they call "Purple Wave." I am hoping that it will be similar to running the KZ Fiji Purple T5 lamp, like I do on my 140.
Of course, I do still have to build the tank! Ha!
Thanks. Slow, but sure. I will keep posting pics as I go along.Looks great, coming along! Keep the pics coming!
Last edited:
A little more progress today. Drilled the panels for the drain, return and the closed loop. The drill is something I traded for years ago from a LFS that went out of business. I don't use it all the time, but when I need it, is sure comes in handy. Still waiting on a few things to come in and then I will be ready to put everything together.
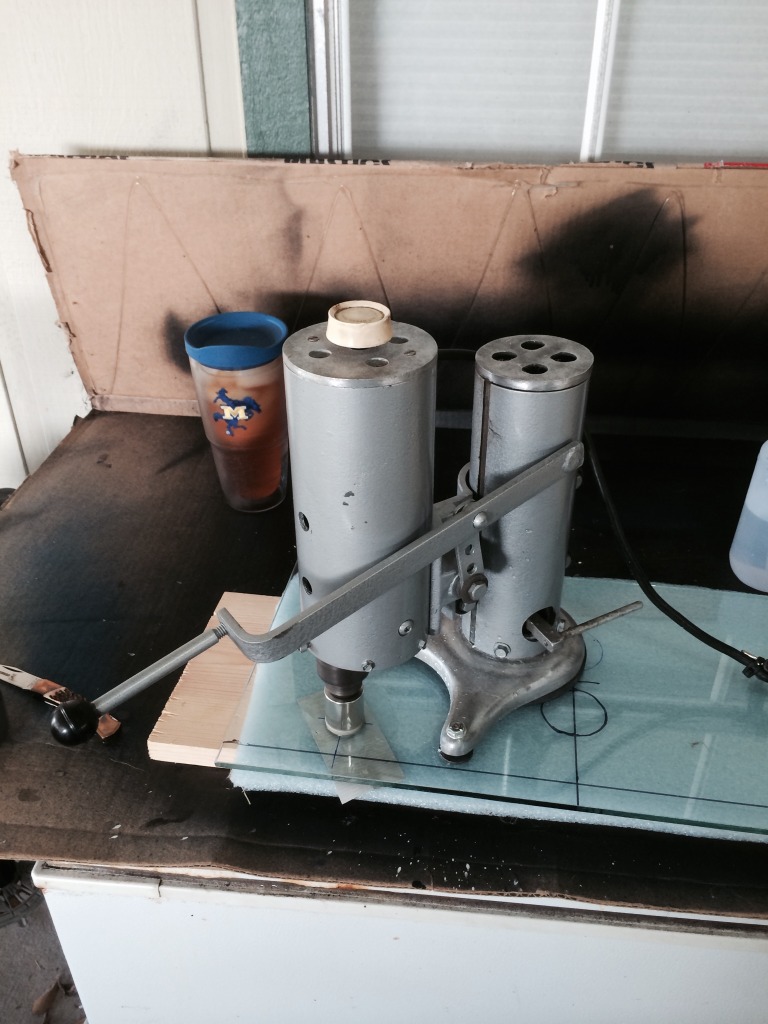
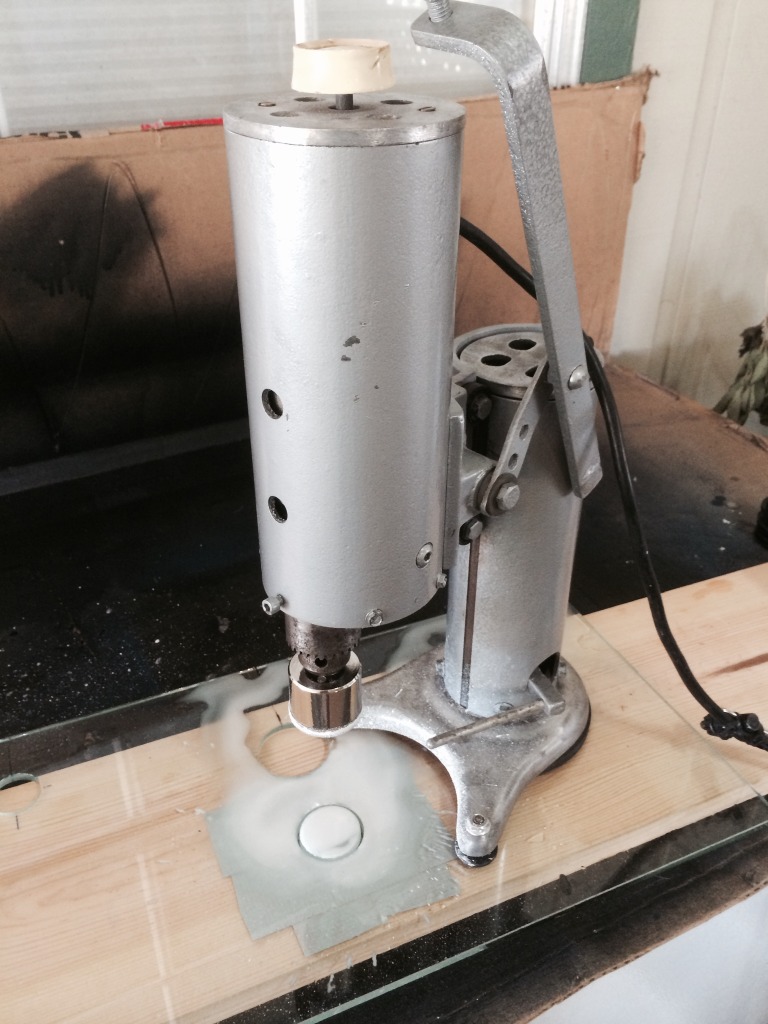
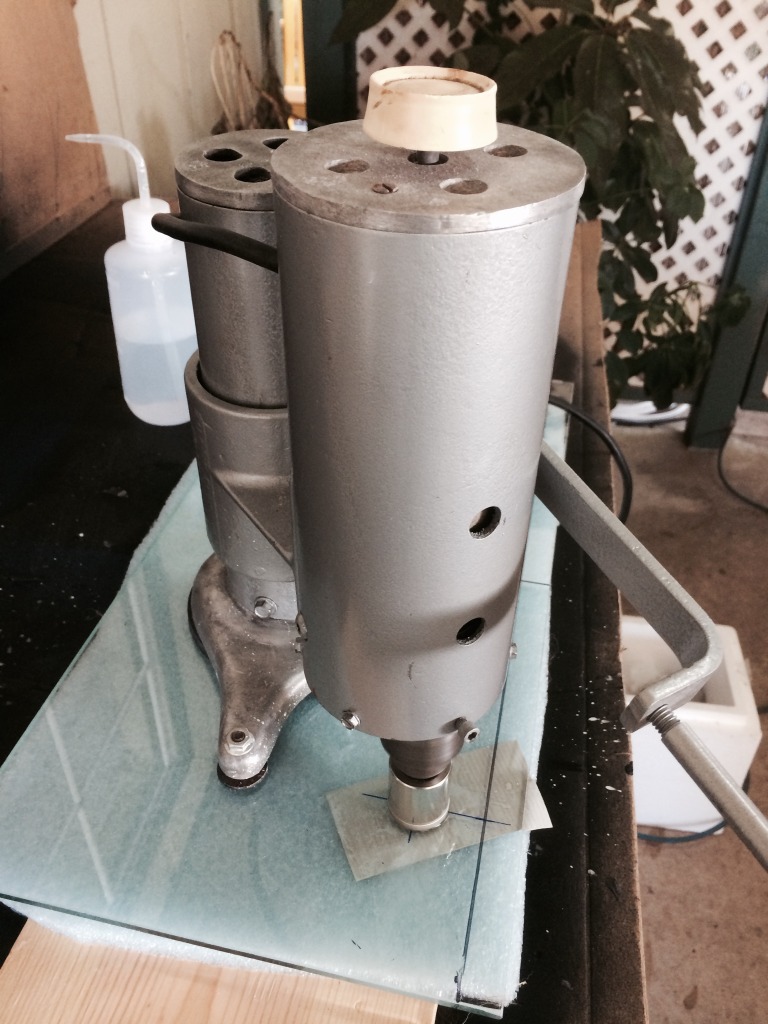


Yeah that thing is almost 30 years old. I have had it about 25 years. I loaned it to a friend of mine that is a local reefer and he used it while on a few different projects. When I got it back, it was all repainted, new rubber feet, a new chuck key and all greased up. I added a new suction cup to the bottom and now it is as good as new.Wow!! Love the drill! That's the way to go! Very sweet!
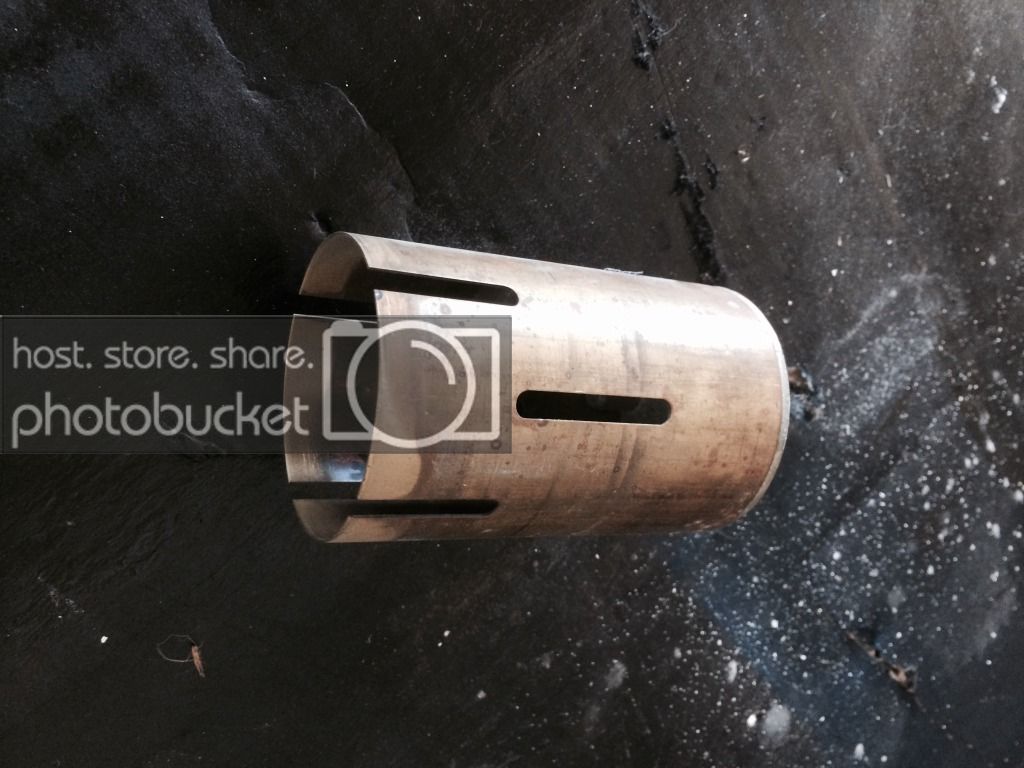
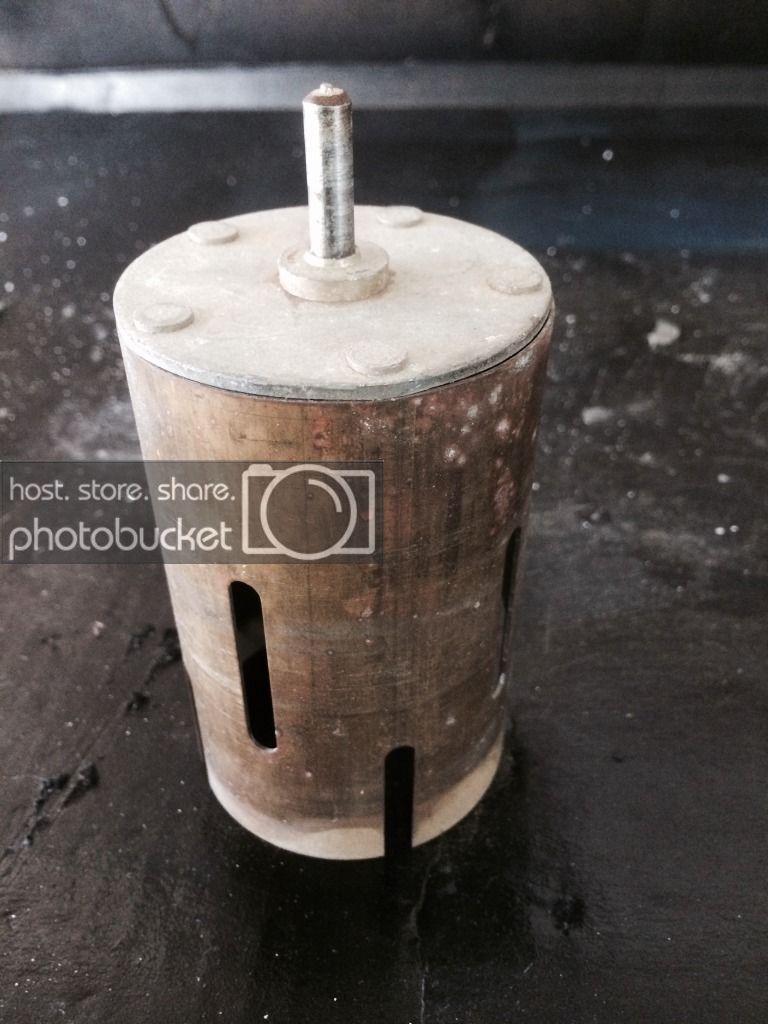
It was originally meant to use the old brass tube bits. Those bits had no diamond cutting surfaces and were only slotted brass tubes. You had to build a dam around the cutting area and make a slurry of Silicon Carbide Grain and water. The tubes then "wore" through the glass, with the aid of the silicon carbide grain. Actually, I prefer to use those bits when I can. They cut much slower, but leave a really smooth edge to the hole. I have misplaced some of those bits through the years and they are hard to find now.
This is the bit I used to drill the holes for the 2" bulkheads in the bottom of my old 200. That was about 25 years ago.
These are some pics of me using an old (well worn) diamond bit, but with help from the old style silicon carbide grain.
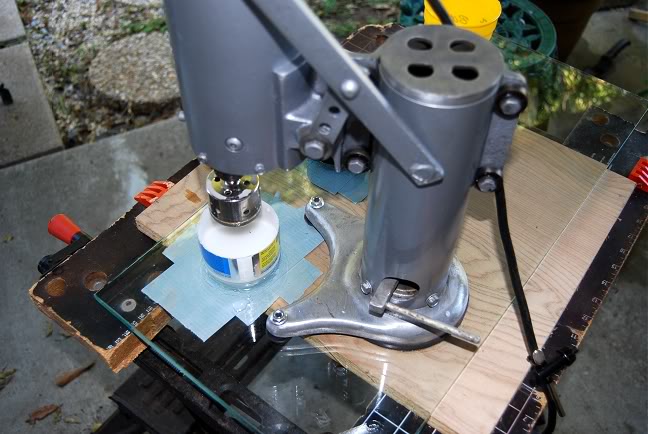
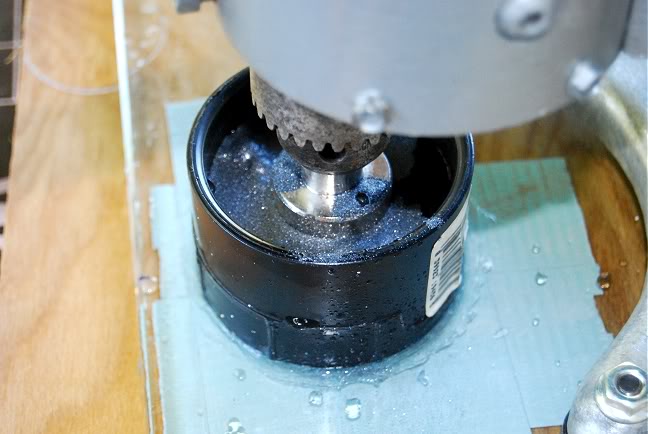
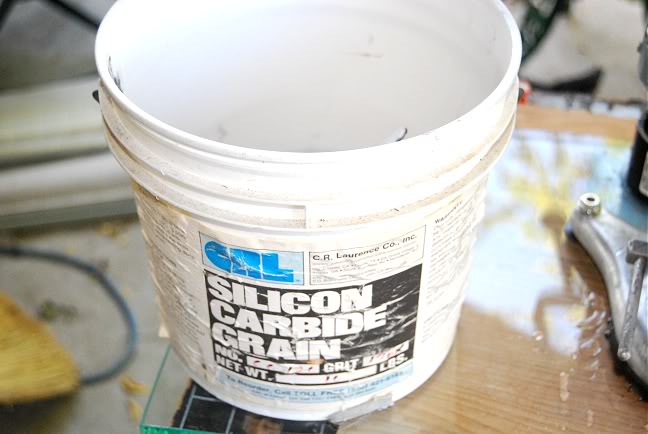
Kinda like a history lesson.
Last edited:
Hope to make a little progress on the nano this long weekend. Off to a good start with a little pre-assembly painting of the outside of the back and side panels. Never went blue before, so this is a first for me. Even painted the visible bulkheads blue to match. An experiment with the Krylon Fusion. We will see if it holds up to the salt water and will let it cure for a good while before the tank is started up. I have done this on my 140 with some of the plumbing six months ago. Some of the painted pvc pipes are below the water line in the sump. So far, no problems and the paint is holding up very well.
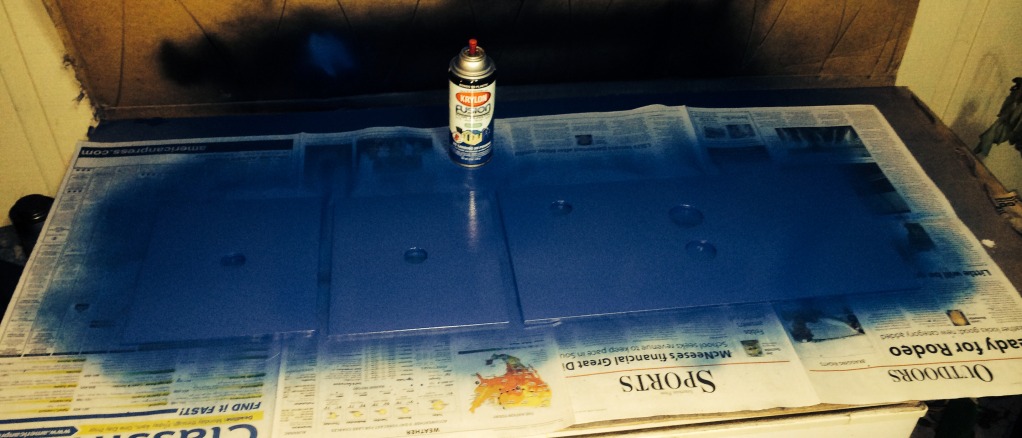
Phone pics in low light. Looks grainy, but it has a smooth finish.
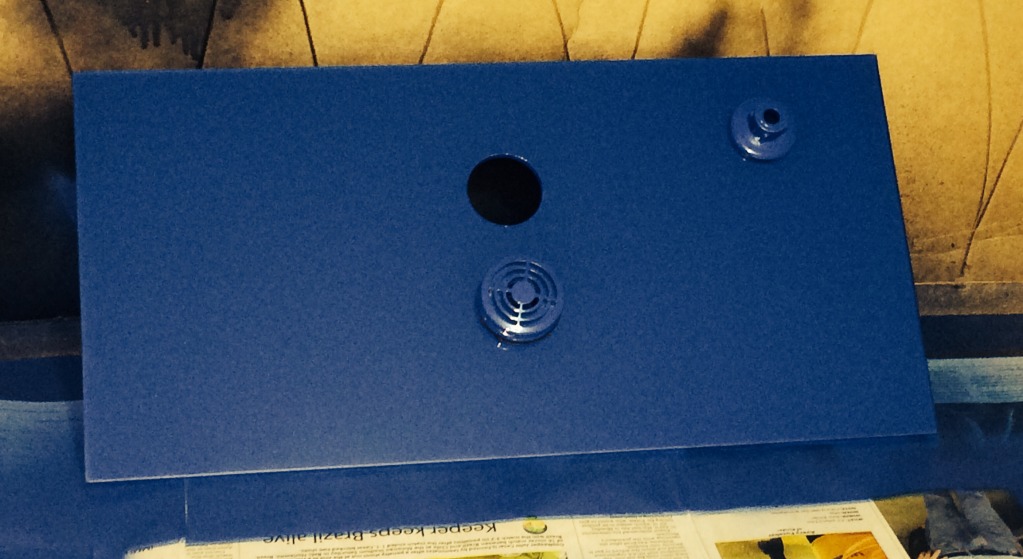

Phone pics in low light. Looks grainy, but it has a smooth finish.

Last edited:
Thanks! It's something different and it keeps my interest up.Great build love the look of the new improved chest keep up good work love to see your other tank.
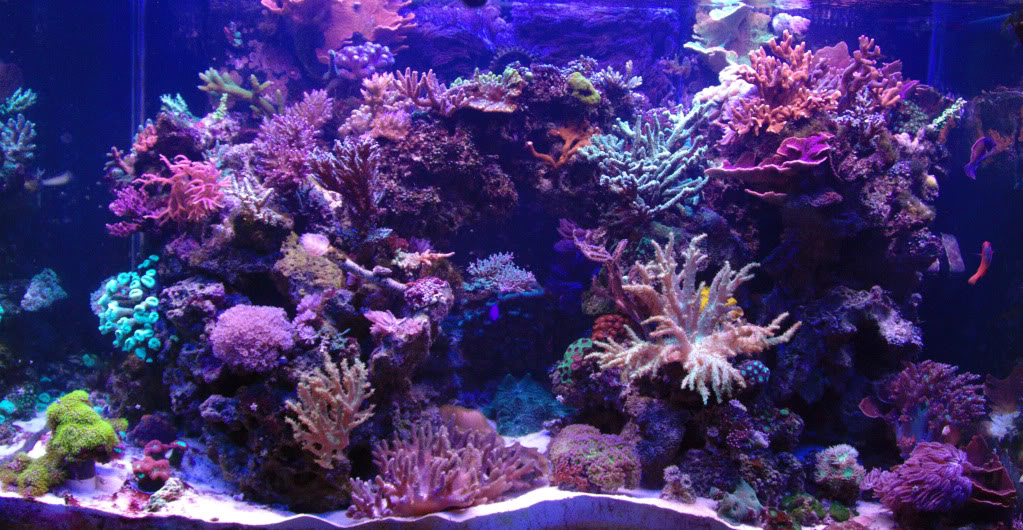
My 140 has seen better days. It is currently on the comeback. I recently revamped everything under the tank and I am starting to add some livestock to it.
This is it a couple of years ago. I am not much of a photographer.
New stuff under the stand...
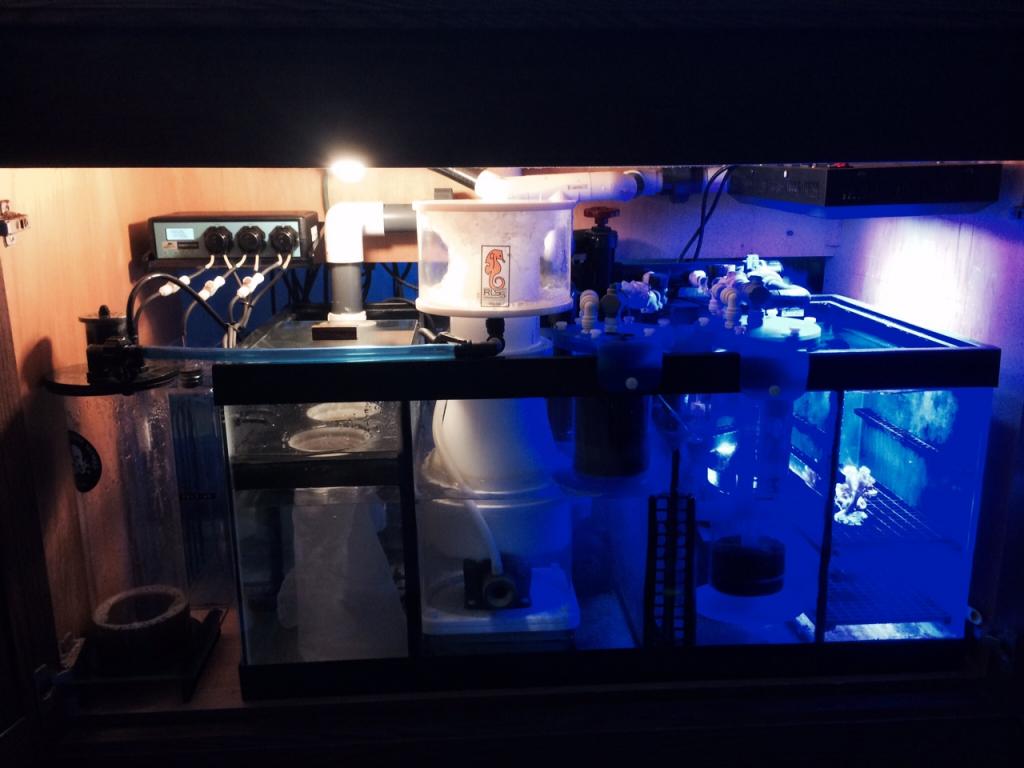
I took out about half the rock and still working on getting back to looking half-way decent. So, I am pretty much working on two tanks at once. But the 140 is not ready for prime time. Especially when I see some of the awesome tanks here.
Last edited:
Thank you. As I may have said here before, building stuff is a whole lot of the fun of the hobby for me. The problem is, I want to keep my tanks to a manageable number (preferably one big one and one small one), so I don't get to build as often as I would like to. I think that is one of the reasons it takes me so long to finish a project. I don't want the fun to end.love the DIY, and the 140 looks great!
Last edited:
- Joined
- May 14, 2012
- Messages
- 6,696
- Reaction score
- 8,294
Thank you. As I may have said here before, building stuff is a whole lot of the fun of the hobby for me. The problem is, I want to keep my tanks to a manageable number (preferably one big one and one small one), so I don't get to build as often as I would like to. I think that is one of the reasons it takes me so long to finish a project. I don't want the fun to end.
I love DIY, I think i go over board with the number of tanks I have... check out my build thread., you'll see what I mean, lol... https://www.reef2reef.com/forums/connecticut-area-reef-society/176406-fish-tank-room.html
Oh yeah, I have seen your 150 build! You are way ahead of me.I love DIY, I think i go over board with the number of tanks I have... check out my build thread., you'll see what I mean, lol... https://www.reef2reef.com/forums/connecticut-area-reef-society/176406-fish-tank-room.html
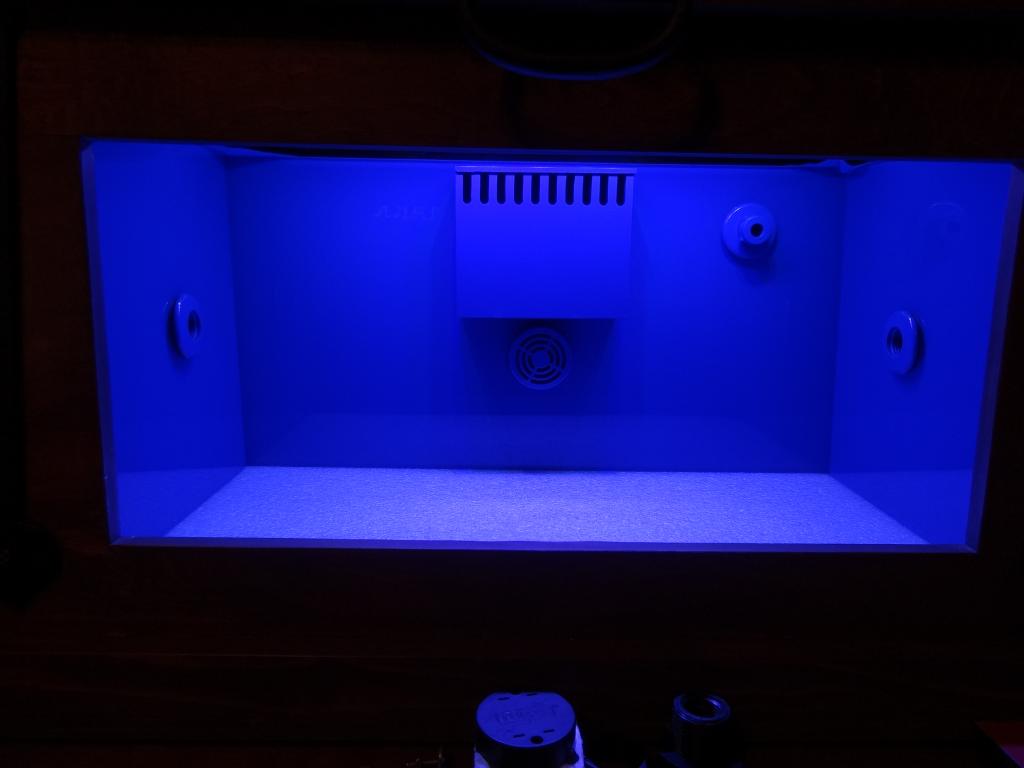
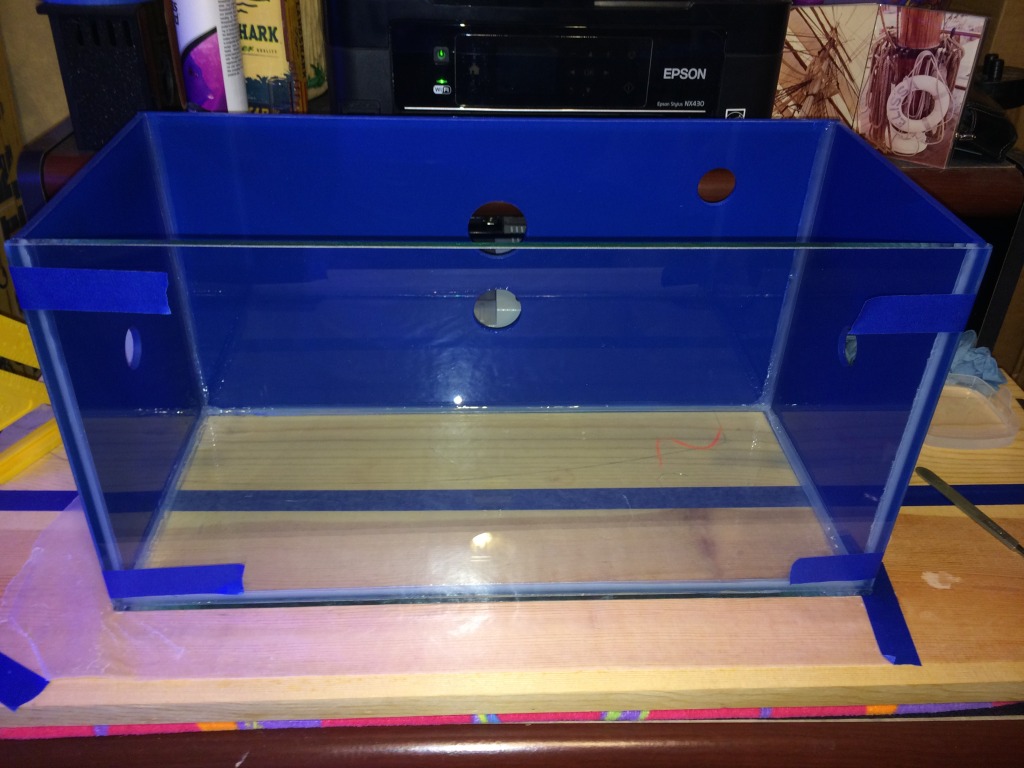
The tank is ready for silicone. When I go blue, I go blue.
Last edited:
Thanks! Now if I can only figure out how to scape it. I saw a cool tank with three islands in it!Amazing looking! Fins up on this build! Can't wait to see it filled.
I like to do my nano tanks with smaller rocks. My thinking is to scape like you would with a larger tank, just use smaller rocks. That way you can create the illusion of a larger tank and frag-sized corals look better in the tank. Now your fish can look pretty big! Ha!Ha! That old thing! Ha! What type rock are you thinking about?
This is the way I 'scaped my other nano (15 gallons) that I have up and running now, but I am also working on it too. See that fin shaped rock at the top center? That's no accident. Fins up!
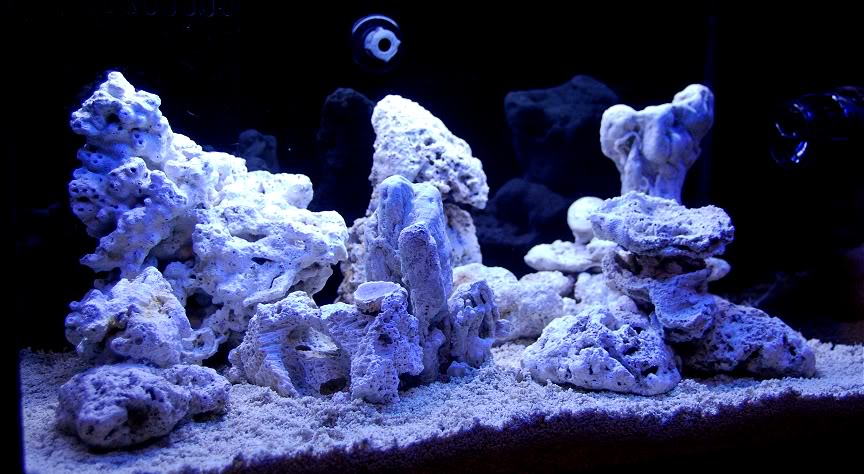
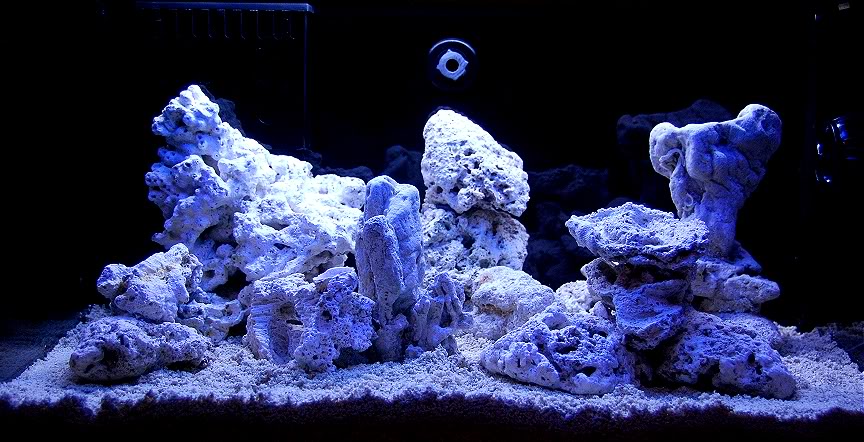
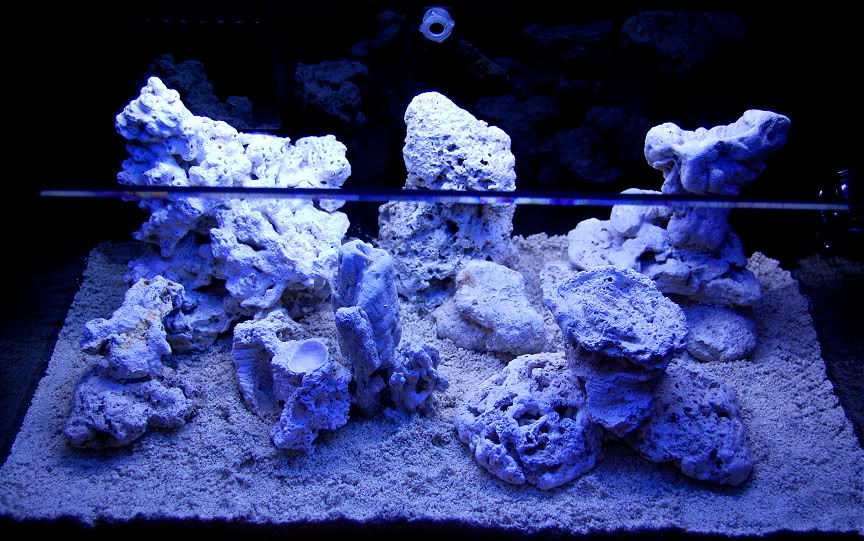
It got overrun with Aiptasia and algae. I cleaned it up a bit and use it now for a QT tank for incoming fish for my 140 and eventually for the new nano. I had high hopes for it, but it suffered just like my 140. I was going to take it down and store it, but now I think I want to get it looking a little better.
Last edited:
Those rocks are not loosly stacked either. There are 5 separate assemblies that are epoxied together to form a larger structure. Made it easier to place corals and not worry about rock slides. The original Pirate's Reef "scape" was just smaller rocks stacked up (pretty much in a wall). It was a pain when I would bump something and a lot of it tumbled down. I won't go down that road again.I like that. Looks good and your theory with using small rocks does make sense. Like the fin rock! Tuning in!!
This was the original "stack" from Pirate's Reef. Also originally had black sand, but that is another story. It was a rock wall (more accepted 8-9 years ago when it was built). It still has the look of a larger tank than it was.
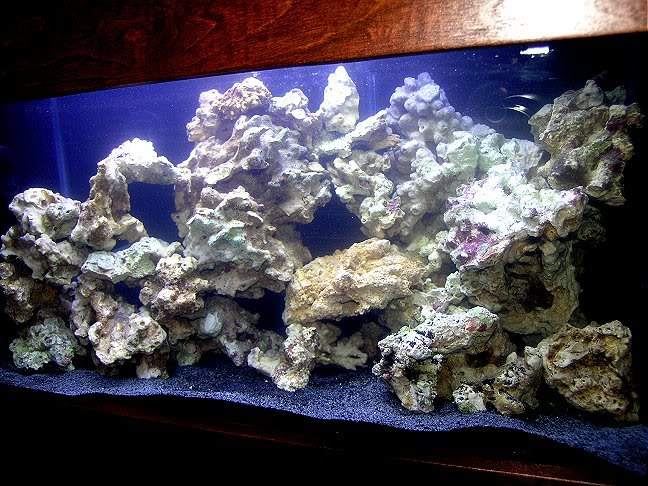
I have a 20lb bag of rubble rock from BRS and a lot of rock I pulled out of the 140. I am not above busting up bigger rocks to get something closer to the size that I need. That rock needs to be bleached though.
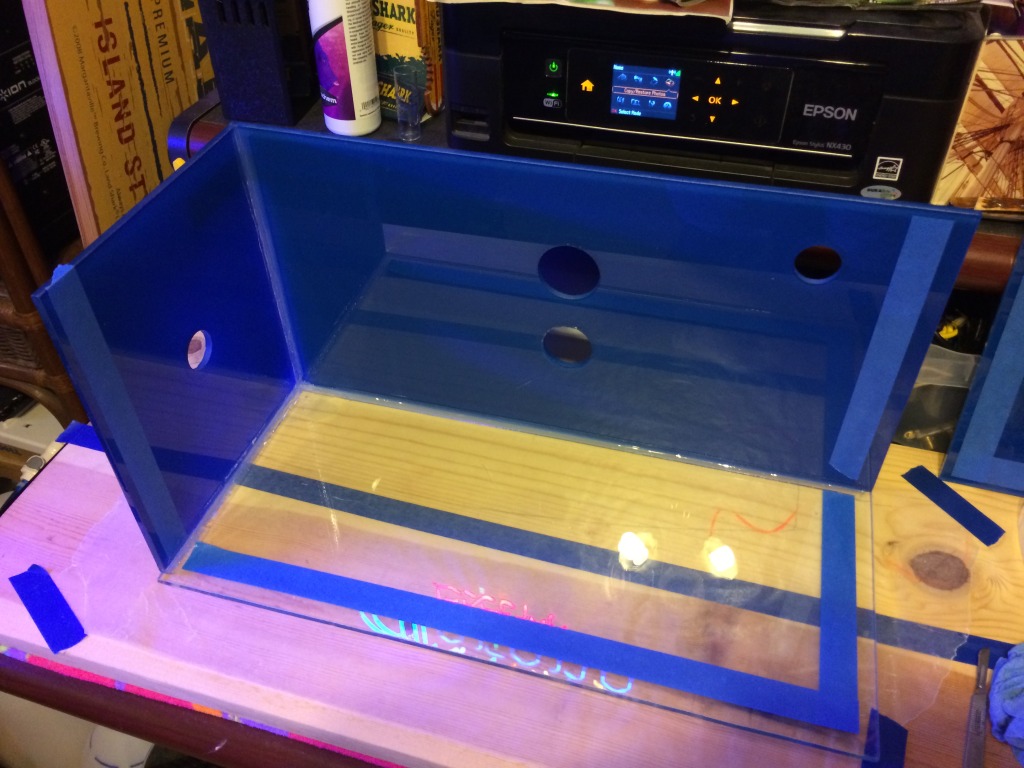
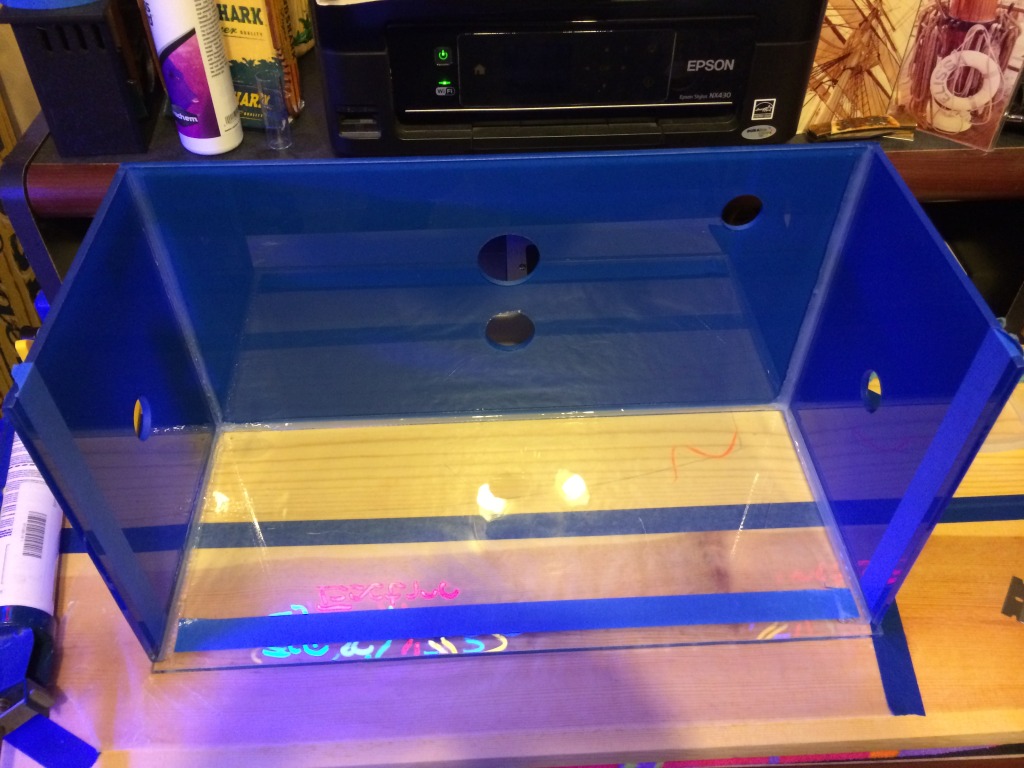
Well, we now have a tank to work with. Assembled it this morning. Just took a few build pics, as it is pretty much a non-stop process once you start. Taping off your joints really makes this easier and neater. Some of it has already been removed, after those beads were smoothed out. Just takes a little planning and prep time.
Two sides
Three sides
Four sides
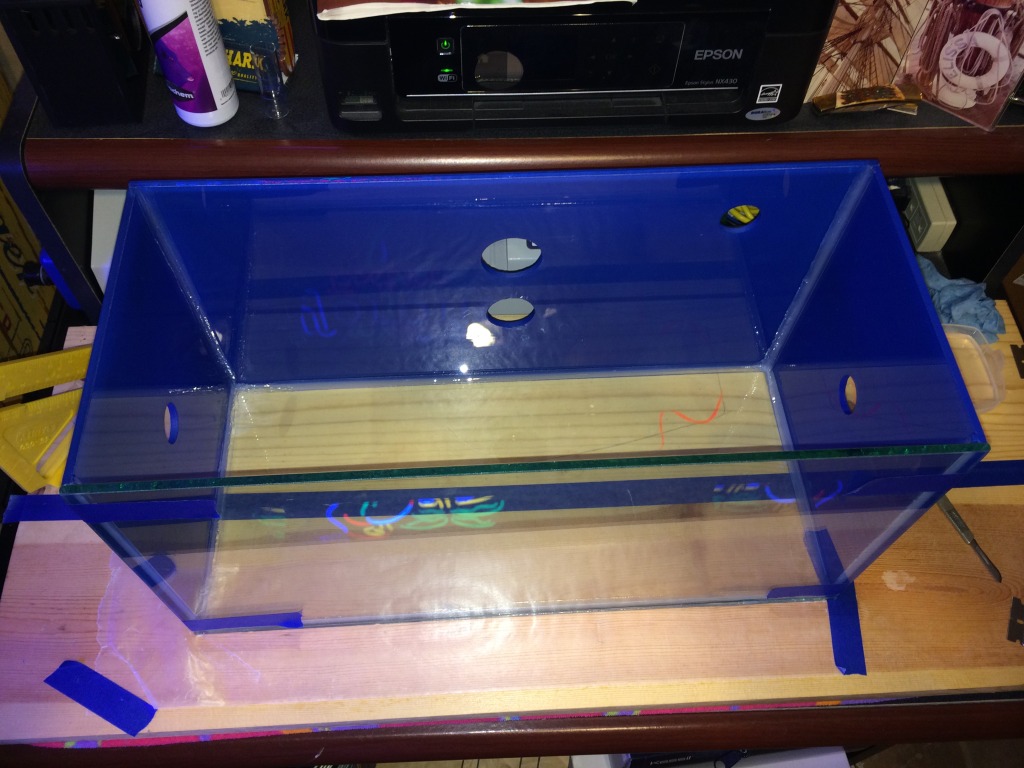
Only some painters tape remaining holding it square to dry.
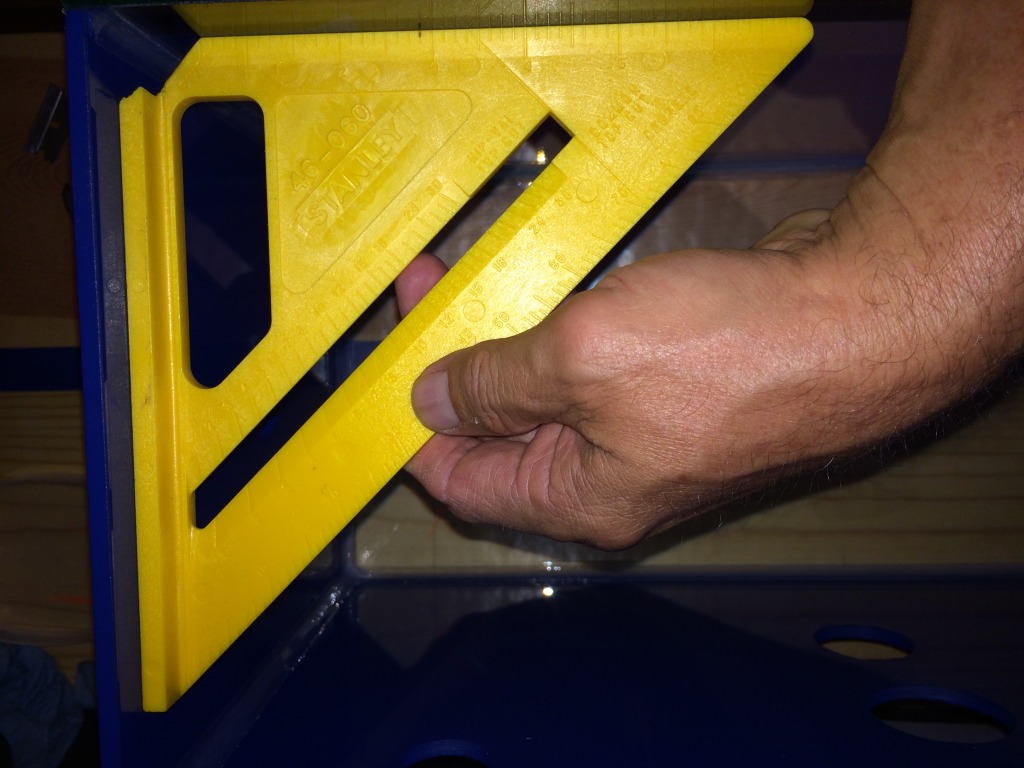
And look - square with no corner clamps! :-D
Two sides

Three sides

Four sides

Only some painters tape remaining holding it square to dry.

And look - square with no corner clamps! :-D

Similar threads
- Replies
- 8
- Views
- 510
- Replies
- 17
- Views
- 402
New Posts
-
-
California Live Goods Micro brittle stars - clean up crew
- Latest: WrasseyReefer
-
-


