OP
OP
Ranjib
7500 Club Member
View Badges
Ultimate Member
Reef Squad
Excellence Award
R2R App User
Expert Contributor
Reef Squad Emeritus
SF Bay Reefer
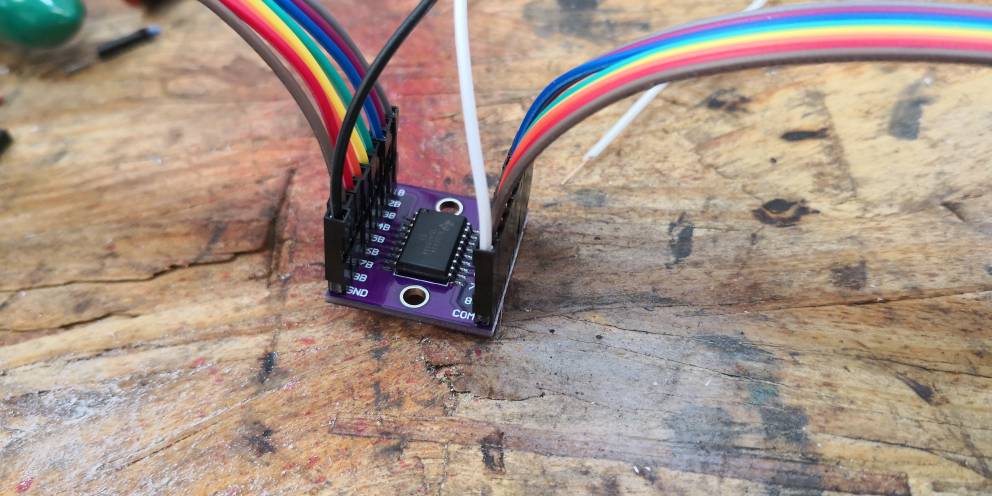
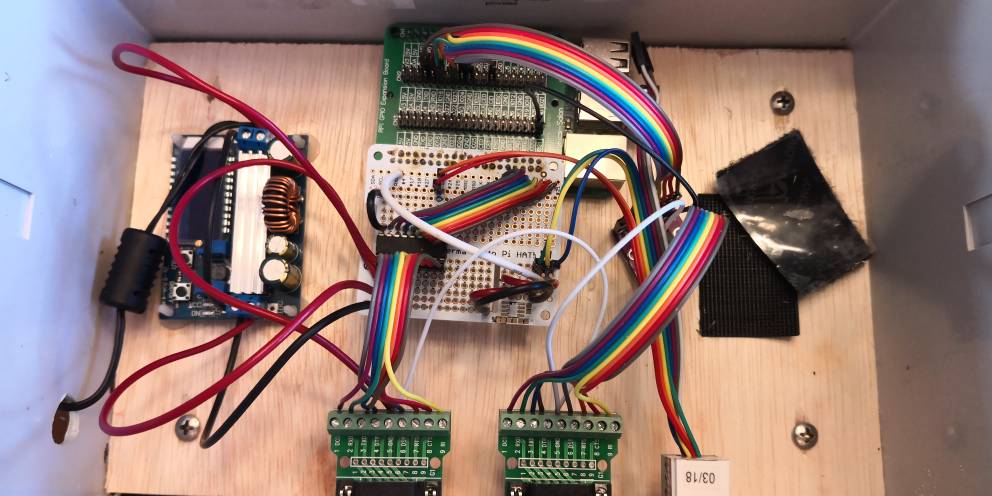
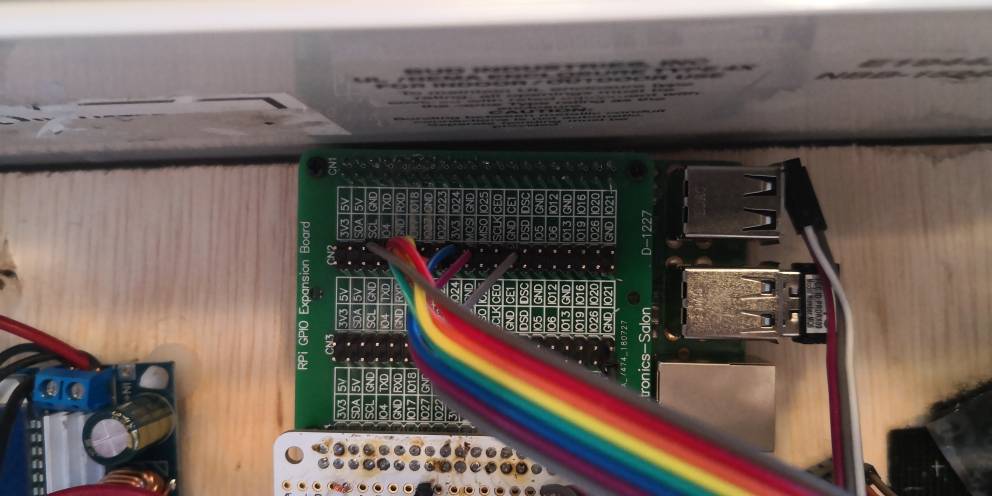
Glad to hear you are slowly making progress in sourcing these pcbs :-)so finally my PCB's arrived (not from JLC...). Will test them tomorrow :) Oven is upgraded and working, solder paste dispenser is working but needs tuning :D
Finally got PCBs from PCBWAY.
JLC... claimed to have shipped PCB's with stencil but have no proof and stencil package couldn't have included PCB's as they claim. Trying to get my money back from JLC.... but they refuse :mad:
PCBWAY hat more questions (correctly), but delivered as promised. Next step to a reef :cool: