advice from either is welcome.
1) create cylinder to match outside dimensions needed
2) center a hole for most of it, leaving about 2mm bottom and sides
3) draw in wall the hole I want
4) vertical pattern along the z axis
5) get stymied at how to wrap the pattern around the object.
6) drink a beer and do something easier, like study bioethics.
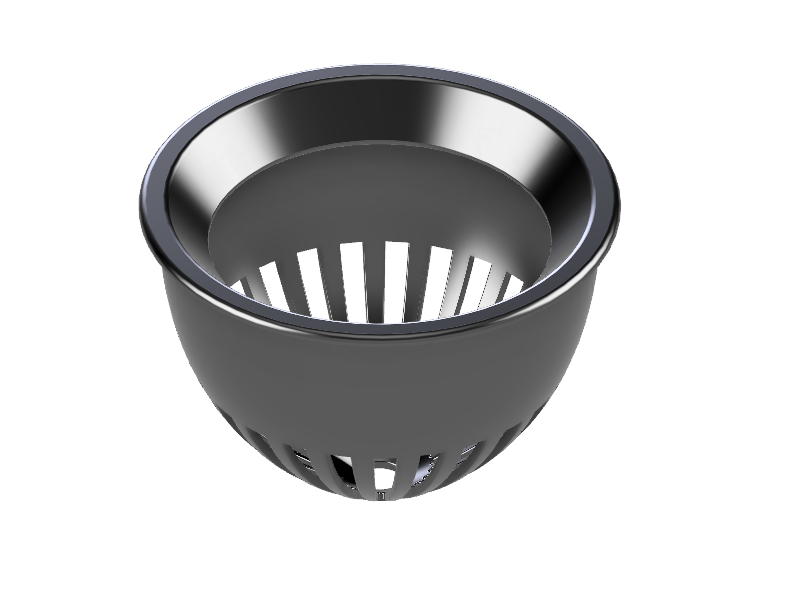
I can get holes in the base with a circular pattern.
A couple tips (assuming Fusion360 parallels SolidWorks close enough in these regards):
A. For a cup shape, I often use a revolve feature around the origin that is L-shaped where the leg of the L is the side wall thickness and height and the base of the L is the cup base thickness and radius of the cup. This limits it to only 1 feature, but accomplishes the same 2-step process you mentioned that you tried. It might be too complicated for quick discussion why I do it this way, but there are design-intent purposes that may make the model more robust in the long-run if there are changes or if you want to modify this cup for a different purpose and set of dimensions.
B. What plane are you using for drawing "in wall the hole I want"? You can use an origin plane and cut out through the wall, or you can create an offset plan outside the cup and cut out back into the cup as Sam mentioned. Again, there are design-intent considerations for either method, but for your basic practical purposes could give the same result.
C. Assuming similarities to SolidWorks, you can pattern vertically for more rings of holes, then pattern each hole circularly around the cup or you can pattern the hole circularly around the cup, then pattern the circular pattern vertically to add rings of holes. Either method should work, but it most likely should be a 2-step process of doing one pattern first then doing the other pattern from the first pattern.
Of course, I can explain any of this in as much depth as necessary, but it helps if you continue to ask more specific questions that I can answer rather than for me to try to assume everything I need to explain.
Another important note: For basic modeling purposes and your practical intent, there are many different routes to the same final model, but, as an engineer, I have many preferences in CAD-modelling practices that are based around design intent at the start. I'll try to be clear about advising on design intent when I think it will directly help you but refrain from going into this when it does not matter for your one-off model. A lot of my thought process derives from my professional training due to the need for easy-to-communicate models that are robust for design changes and re-use of the model for other designs while improving/maintaining efficiency throughout the process.
Sorry, TL/DR:
I'm willing to offer advice on CAD modelling but may easily go into too much depth unless answering specific questions!


www.thingiverse.com


 Kraken Reef is Superior to Top Lids


