Drying filament
I had some issues that I thought might be due to damp filament. I measured the RH by the printer at 45-50%, at 60 F, so high enough to cause problems. After some online research, I decide I really wanted one of the PrintDry setups (
http://www.printdry.com/) but they are out of stock/not shipping, and a bit expensive.
So I setup my own.
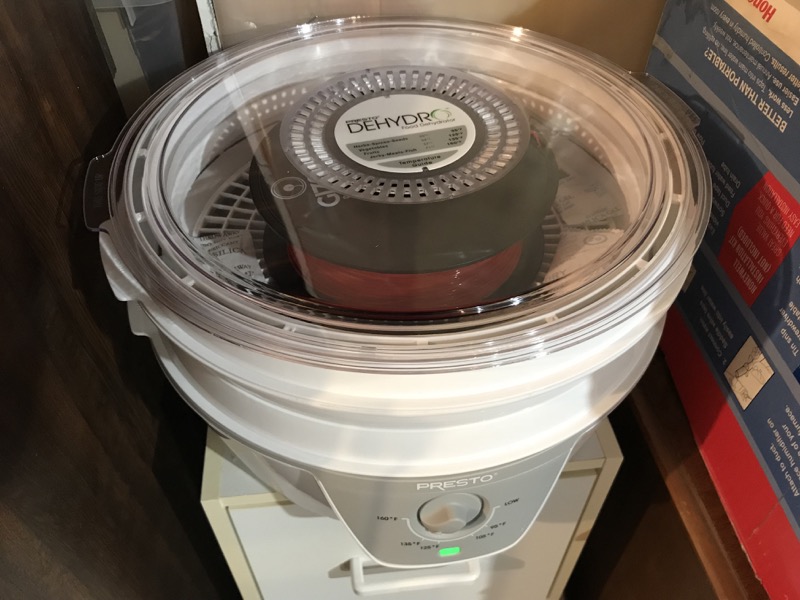
Food dryer:
https://www.amazon.com/gp/product/B008H2OENC
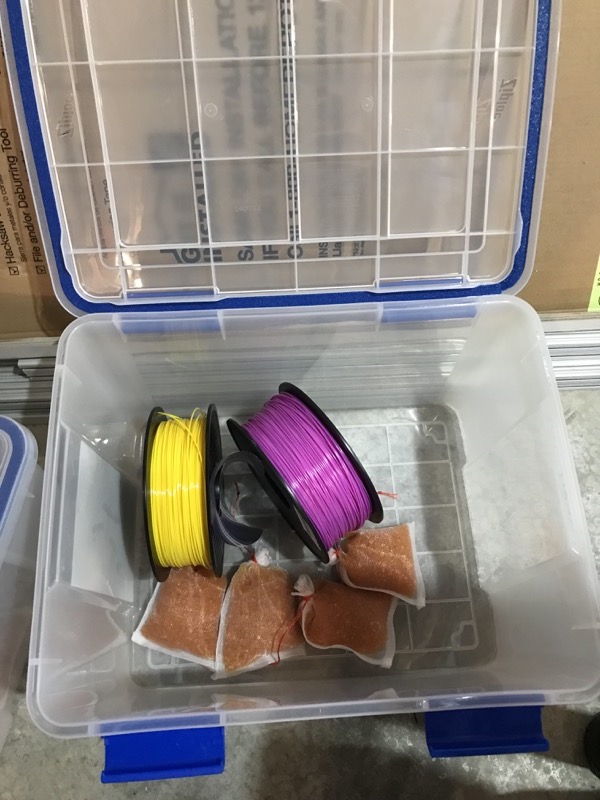
Waterproof bins:
https://www.amazon.com/gp/product/B00MWTJXHS
Desiccant:
https://www.amazon.com/gp/product/B0725LNZ24
And some mesh bags I already had on hand.
Using the router table and a flush trim bit, I cut the center out of two sections of the dryer trays. It ships with six trays, so I could dry two or three spools at once, but I figured that keeping four trays intact for other uses might be a better plan.
Pour the desiccant in to the mesh bags, and put in the bins. Dry the filament and place it in the bins, and clamp down the lids.
For now, I'm not going to set it up to spool the filament out of the dryer, although that is an option if needed.