Back into the hobby! *60 cube build*

Andrews_Reef

New Member
View Badges
Joined
Dec 15, 2019
Messages
17
Reaction score
72
Rating - 0%
0   0   0
Hey Guys,

My names Andrew and I'm from Western Australia and am brand new to these forums.

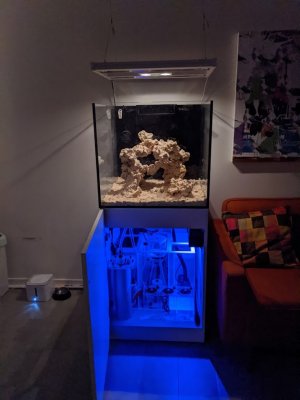
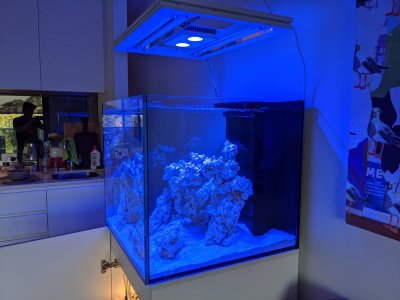
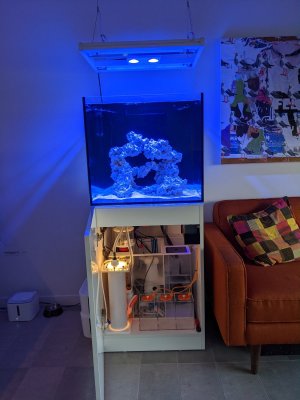
Thought I'd start a build thread for my new 60cm x 60cm x 52cm mixed reef tank. Mostly for myself so I can look back at the progress being made, but hopefully some people will enjoy following along too.

I have been out of the hobby for about 3 years and am very eager to get back into it! This will be my third marine tank so I do have some previous experience but there is always more to learn.

The Tank:
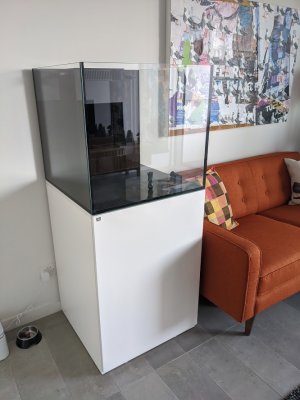
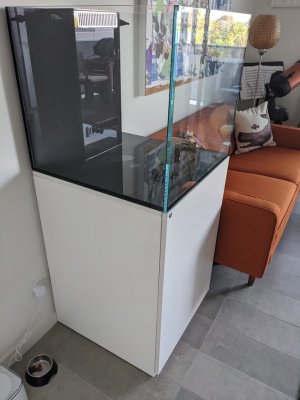
Dimensions are 60cm (24") x 60cm (24") x 52cm (20") with 12mm (1/2") thick ultra clear glass on all sides, on top of a white Waterbox stand.

72555491_2455537111229560_4857699765162344448_n.jpg


The Sump:
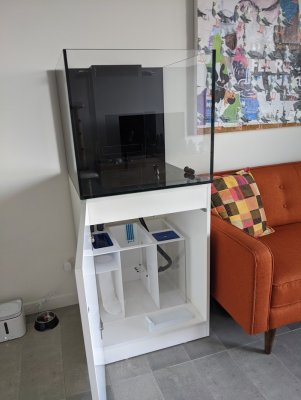
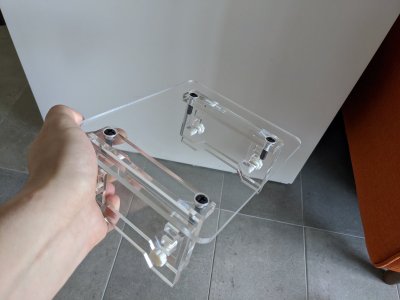
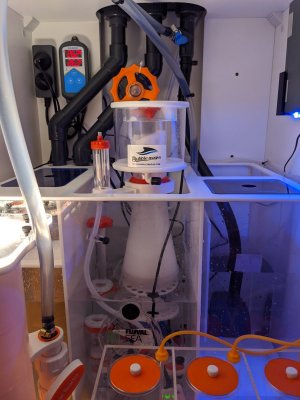
Its an Acrylic sump with a simple design. Water overflows into a one filter sock section that then flows into a larger section for a skimmer and other equipment, with an adjustable baffle to adjust water height, then flows through into the return section. There is also a separate freshwater reservoir included.

72252290_2455537221229549_2751041396218527744_n.jpg


The Plumbing:
It's a Herbie overflow design with one main drain, adjusted with a gate valve to make silent, one emergency drain and the return, that splits at the top of the overflow box to return water on both sides of the display tank.

72194836_2455537374562867_3981232824224055296_o.jpg


Stay tuned more updates to come shortly!
 
OP
OP
Andrews_Reef

Andrews_Reef

New Member
View Badges
Joined
Dec 15, 2019
Messages
17
Reaction score
72
Rating - 0%
0   0   0
After thinking about getting a 60cm cube tank for about a year this tank popped up for a great deal brand new and so I just had to get it, and now here we are excited to get this tank going!
My initial thoughts for this tank was to make an anemone only tank packed with bubble tips and a harem of clowns which I was dead set on doing right up until actually buying the tank. Now after thinking about it I know I'm going to miss out on being able to add other corals that catch my eye when I come across them so I will be doing a mixed reef with select SPS up top and some LPS/softies mixed in near the bottom.

The tank was moved into position into my small studio apartment without a hitch. I would have loved a bigger tank but being in such a small apartment there is just no room, so this is about the biggest i could go. But in saying that I am very excited to do this cube build.

IMG_20191110_175445.jpg IMG_20191110_175438.jpg IMG_20191110_175451.jpg

Coming up next the Aquascape!
 
Last edited:
OP
OP
Andrews_Reef

Andrews_Reef

New Member
View Badges
Joined
Dec 15, 2019
Messages
17
Reaction score
72
Rating - 0%
0   0   0
I knew I wanted to put in some more effort into my aquascape this time around, as my last two tanks i just stacked rocks on top of each other until i got something that looked okay. Those scapes were never bad but they always just looked a bit to piled together, if you know what i mean.

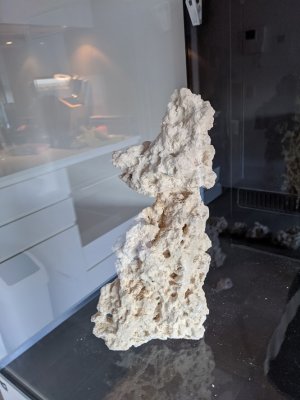
I wanted to break up the rock that I purchased into smaller pieces that I could then glue and epoxy together to create some more interesting shapes and for a more open feel. So after searching through many forums and looking at many different 60 gallon builds for inspiration I came up with an idea for my aquascape.

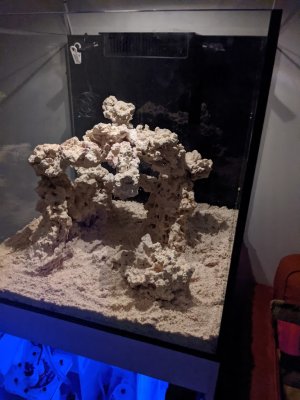
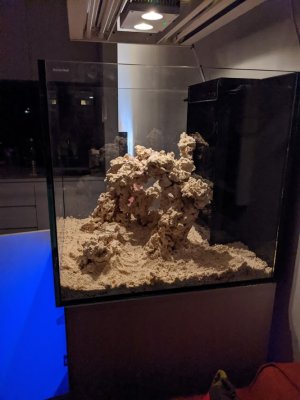
The idea was to create two angled pillars, one placed closer the the front and one closer the back, joined together with a bridge running across the top. and a separate small island at the front.

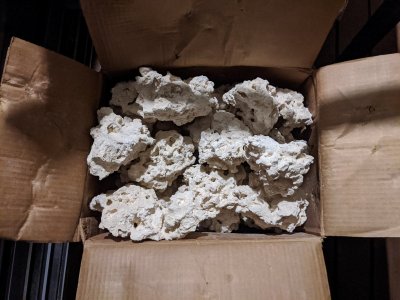
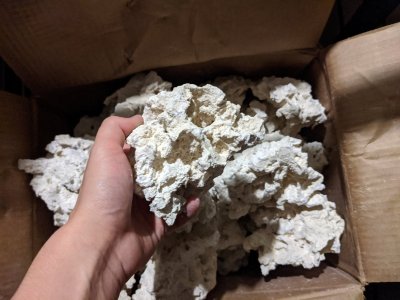
So I purchased two 40lbs boxes of Caribsea South Sea base rock and took a brick bolster and broke most of the rocks into smaller sizes that are easier to work with. I kept a couple pieces unbroken as they already had an interesting shape and thought they would work perfectly as the base for my pillars.

IMG_20191215_204328.jpg IMG_20191215_204357.jpg

I spent a Sunday using gel super glue, bicarb soda and D&D aquascape epoxy to try and create the aquascape I had imagined in my mind. It was a difficult and messy process and took quite some time waiting for parts to dry before I could work more on the aquascape. When I could I would place what I had made so far into the tank to see how it was progressing. Unfortunately I don't have many varied pictures of this process but I'll post what I have.

IMG_20191202_181952.jpg IMG_20191202_183021.jpg IMG_20191202_183026.jpg IMG_20191207_163444.jpg
IMG_20191207_163457.jpg IMG_20191207_163509.jpg
IMG_20191207_163514.jpg

By the end of the day everything had dried enough to be able to place it all into the tank and put together my final aquascape and see what I had created. I also added my sand at the same time.

IMG_20191208_225012.jpg

IMG_20191208_225045.jpg IMG_20191208_225026.jpg
IMG_20191208_225030.jpg

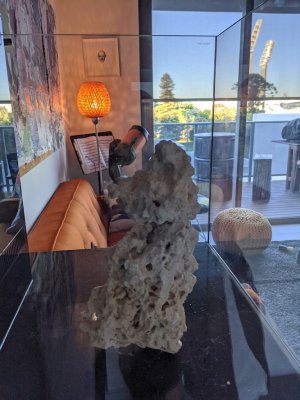
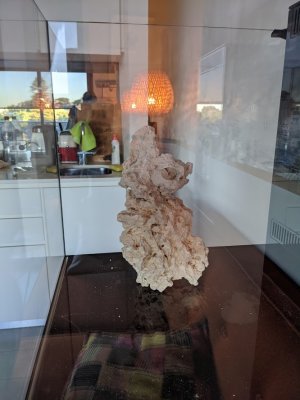
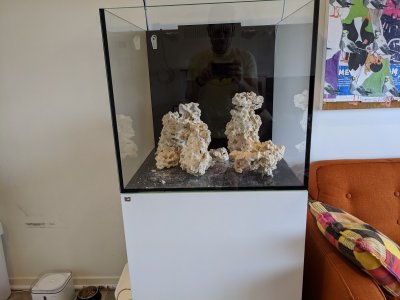
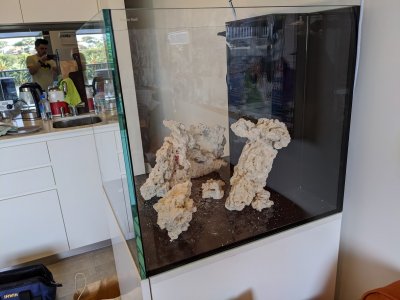
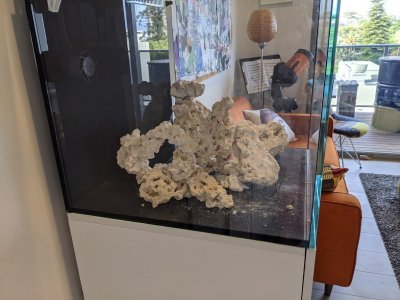
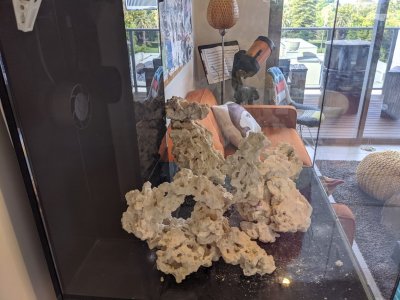
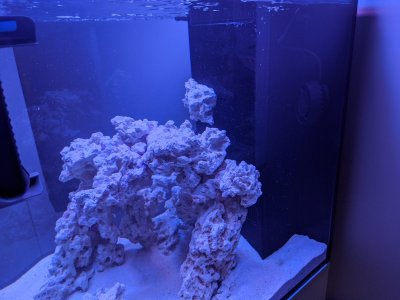
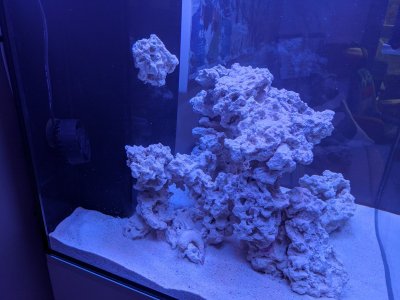
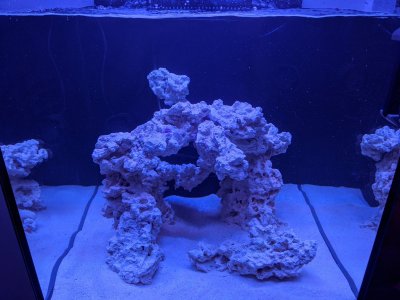
So as you can see I created the two pillars joining each other with a bridge. I also added an overhang coming out from the middle of the bridge towards the front of the aquarium to try and add some more dimension. I have a separate piece of rock in the front right to add an anemone on its own little island, hopefully it will stay there (unlikely :p).

Behind the first pillar on the left i created a piece of rock with some large holes for fish to swim through and also created a lower smaller bridge connecting from that piece of rock to the second pillar on the right.

What I came up with is not exactly what I had pictured in my mind, it was much more difficult than I had initially thought it would be, but for my first time with this method of aquascaping I think it came out okay and accomplished my goals of having a more open aquascape for water flow and less of a pile of rocks.

Up next will be the equipment I am running.
 
Last edited:
OP
OP
Andrews_Reef

Andrews_Reef

New Member
View Badges
Joined
Dec 15, 2019
Messages
17
Reaction score
72
Rating - 0%
0   0   0
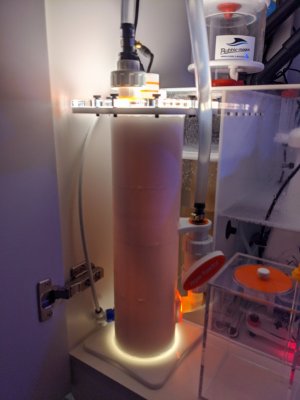
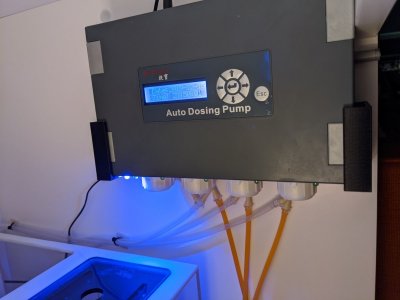
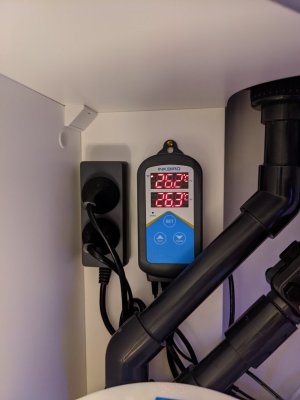
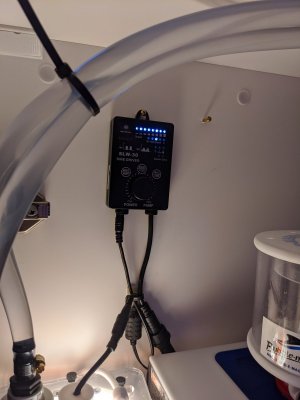
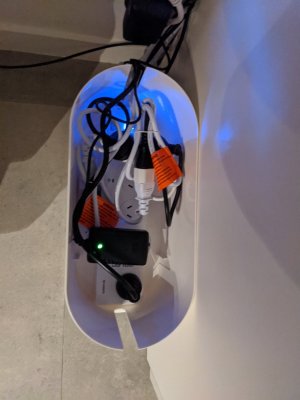
Here is a list of the equipment I am running, I am still waiting for some things to arrive, and underneath I will include some pictures of the equipment in action!

Lights:
- Aquaticlife T5HO 24inch 4x bulbs
- 2x ATI blue+
- 2x ATI purple+
- AI Hydra 32HD in white

Pumps:
- Ehiem compact+ 2000 (running as the return and for an algae reactor)
- 2x Jebao SLW-30 for the wave makers (still waiting on one more to come in the post and am contemplating on adding a third one)

Skimmer:
- Bubble Magus curve a5

Heaters:
- Eheim Jager 100W
- Eheim Jager 150W

Controllers:
- Inkbird ITC-306A Wifi (Temp controller for the two heaters)
- Seneye Reef (not actually a controller just used to monitor)
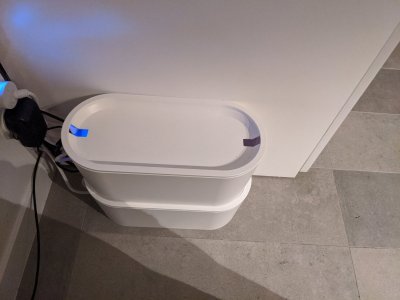
- 2x Arlec 5 outlet smart wifi power board (everything is plugged into smart power boards so I can switch things on and off via my phone)

ATO:
-Auto Aqua Smart ATO lite

Reactors:
-Pacific Sun algae reactor small version

Doser:
- Jebao DP-4 dosing unit

Misc:
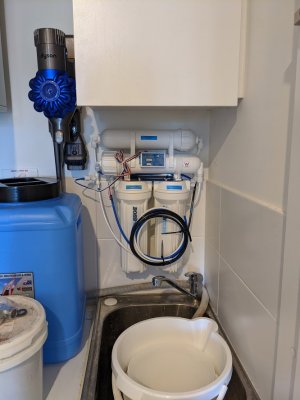
- PSI-019B-DI-RF 4 stage reverse osmosis system
- Have some small amount of Marine Pure gems for additional surface area for bacteria to populate


IMG_20191215_214142.jpg


IMG_20191215_214055.jpg IMG_20191215_214106.jpg IMG_20191215_214150.jpg IMG_20191215_214157.jpg IMG_20191215_181043.jpg IMG_20191215_181017.jpg IMG_20191215_214030.jpg IMG_20191215_214040.jpg IMG_20191201_153706.jpg
 
Last edited:
OP
OP
Andrews_Reef

Andrews_Reef

New Member
View Badges
Joined
Dec 15, 2019
Messages
17
Reaction score
72
Rating - 0%
0   0   0
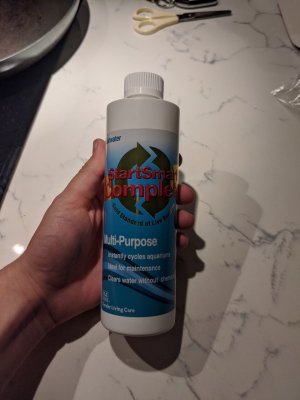
Alright that should bring us up to date now. I have started the cycle 4 days ago by adding some Startsmart Complete Bacteria and a whole raw shrimp.

IMG_20191215_215847.jpg

I will be doing weekly tests just to see how everything is going and will update with those tests weekly but not much else will be happening until the cycle has ended.

If you have any questions I'll be happy to answer but for now here are my starting parameters.

Screenshot_20191215-220619.png
 
Last edited:

CasaReefer

Promoted To Sponge
View Badges
Joined
Sep 22, 2019
Messages
1,204
Reaction score
5,527
Location
Surprise, AZ.
Rating - 0%
0   0   0
Hi Andrew, Welcome to R2R... Nice choice on the tank... Rock Work Is Awesome.. Looks like your going First Class all the way... Nice Job... Can't wait to see what you put in there... Thanks For Jumping In and sharing the awesome Pics...:) For a guy from down under your going over the top on this thing..
 
OP
OP
Andrews_Reef

Andrews_Reef

New Member
View Badges
Joined
Dec 15, 2019
Messages
17
Reaction score
72
Rating - 0%
0   0   0
Nice looking set up. Thanks for sharing.
Very nice build. I like your aquascape. Keep up the progress notes.
Looking good!
Excellent setup!
Hi Andrew, Welcome to R2R... Nice choice on the tank... Rock Work Is Awesome.. Looks like your going First Class all the way... Nice Job... Can't wait to see what you put in there... Thanks For Jumping In and sharing the awesome Pics...:) For a guy from down under your going over the top on this thing..

Thanks all :)
 

Peace River

Thrive Master
View Badges
Joined
Apr 29, 2014
Messages
21,510
Reaction score
164,556
Location
USA
Rating - 100%
1   0   0
Very nice looking setup and great description! Thanks for sharing and good luck with your system!
 
OP
OP
Andrews_Reef

Andrews_Reef

New Member
View Badges
Joined
Dec 15, 2019
Messages
17
Reaction score
72
Rating - 0%
0   0   0
Beautiful work. I like your aquascape a lot. One consideration, if you eliminated the small rock (front right) you achieve a greater sense of space in the tank.

Thanks, I will definitely consider it. I do think you are right that it will give a better sense of space and depth if i removed that rock. But I was hoping to get an anemone to stay on that rock on an island on its own, if that doesn't work out I will probably remove it.

Thanks for your input! very much appreciated :)
 

Peace River

Thrive Master
View Badges
Joined
Apr 29, 2014
Messages
21,510
Reaction score
164,556
Location
USA
Rating - 100%
1   0   0
Thanks, I will definitely consider it. I do think you are right that it will give a better sense of space and depth if i removed that rock. But I was hoping to get an anemone to stay on that rock on an island on its own, if that doesn't work out I will probably remove it.

Thanks for your input! very much appreciated :)

Great point! One of the challenges of aquascaping is imagining what your system will look like as it mature.
 
OP
OP
Andrews_Reef

Andrews_Reef

New Member
View Badges
Joined
Dec 15, 2019
Messages
17
Reaction score
72
Rating - 0%
0   0   0
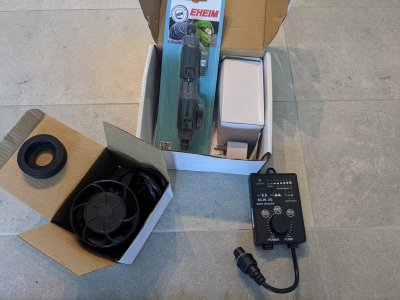
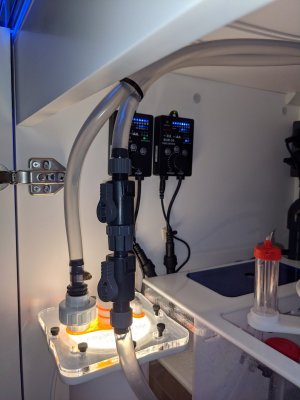
Today my second wave maker came in and an Ehiem double tap connector that I fit on my Algae reactor so it's easier to disassemble for maintenance.

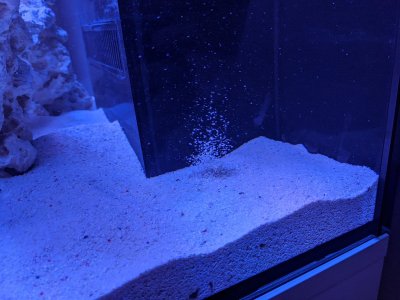
I've positioned both wave makers on the back one on the left side lower down and one on the right side higher up, bit of a struggle to get them in a position that won't create a sandstorm but they seem to be OK now. They're just creating a little vortex of sand underneath, hopefully that sand will displace in time and sort itself out.

IMG_20191218_183126.jpg IMG_20191218_194839.jpg IMG_20191218_190242.jpg IMG_20191218_190225.jpg IMG_20191218_190231.jpg IMG_20191218_190246.jpg
 
OP
OP
Andrews_Reef

Andrews_Reef

New Member
View Badges
Joined
Dec 15, 2019
Messages
17
Reaction score
72
Rating - 0%
0   0   0
Small update, cycle's still going strong, ammonia has dropped to 0, can probably look at adding first fish soon but will wait a couple more weeks, for now I am just phantom feeding.

Diatoms and Algae have started growing recently so I have added 2 Trochus snails and put them to work! Looking to add some more Trochus and some hermits when I get the chance.

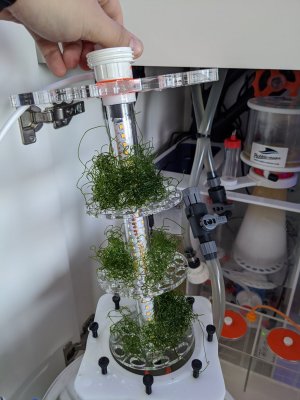
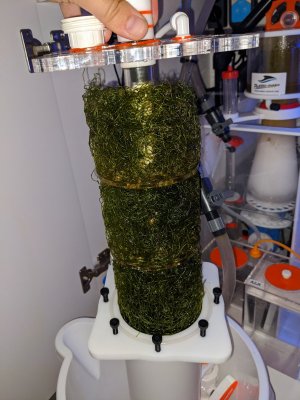
Added some Chaeto to my reactor one week ago, check out the growth in 7 days, I'm impressed!

IMG_20191226_114347.jpg IMG_20200103_215554.jpg
 
Back
Top