
Wow... and from all what you wrote above I remember: "Make it look awesome".
You certainly do.
And do not tell us that the best part of reefing is not the planning, researching, comparing, reading, fabricating, installing, testing and hoping it will all work as planned...
I love the frag tank / overflow system to reuse the display tank water.
You certainly do.
And do not tell us that the best part of reefing is not the planning, researching, comparing, reading, fabricating, installing, testing and hoping it will all work as planned...
I love the frag tank / overflow system to reuse the display tank water.


 backboard mounting attachments
 Backboard electrical chanels
 backboard mounted


 Giesemann Spectra

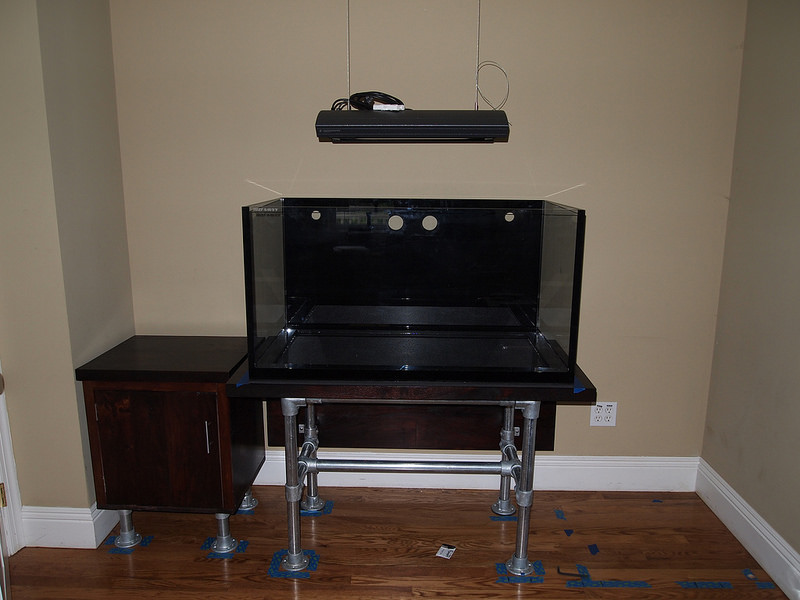 reef savvy tank


