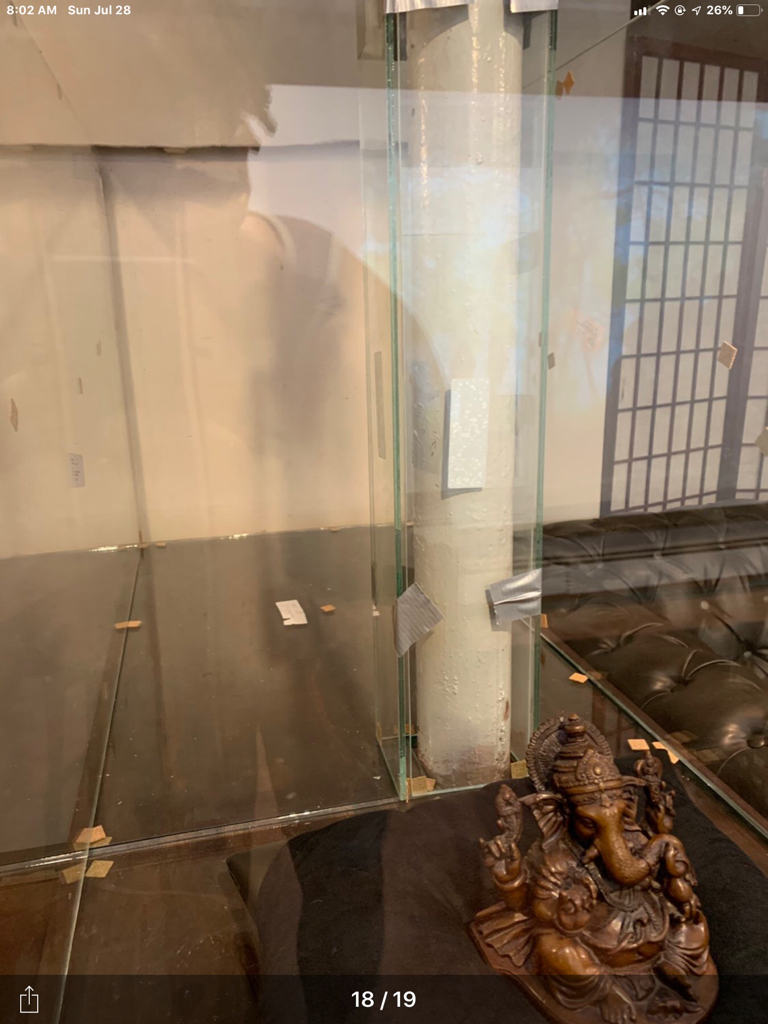
The only hesitation would be saltwater rusting away the integrity of the support post (over time). So long as you protect that support beam, maintenance on the post wouldn't be much of a concern. If you can keep that post away from the water, I say build what you want and have fun. I always felt like the build is half the fun anyway...Mr. Handy! Thanks for the feedback advice. I feel like I am somewhat in a bubble and don’t know too much about the hobby.
Besides not being able to move to move the tank once built is there any reason not to build it this way?

Complex beginner build
- Thread starter MrDellimore
- Start date
- Tagged users None