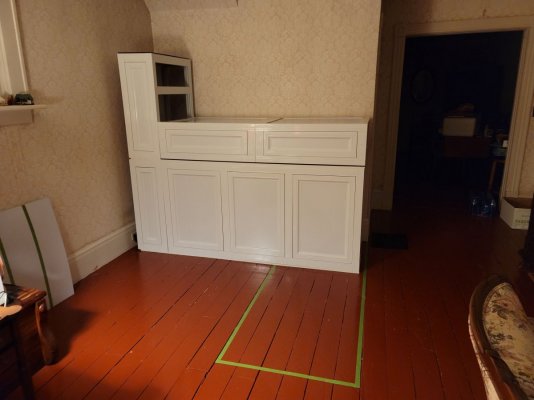
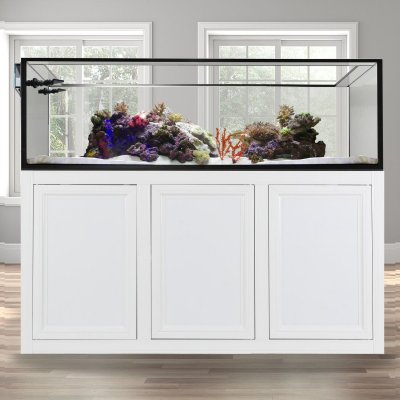
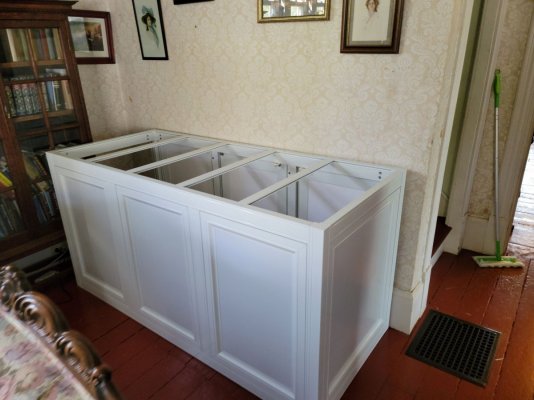
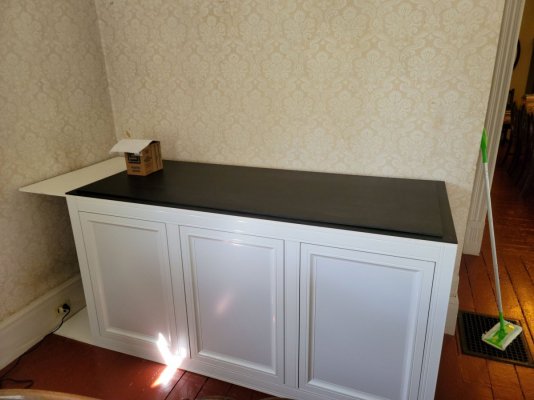
I will be posting photos, updates, perhaps video updates on my most recent reef build. This is an Innovative Marine 200 EXT Peninsula set up as against a wall on one of the long sides. This puts the tank right up next to the wall while still allowing free access to all of the plumbing on the end of the tank. More to come daily. Enjoy.
Last edited:

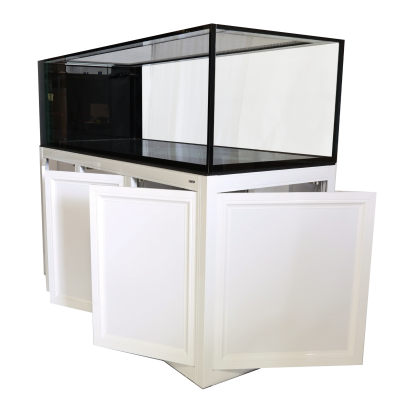
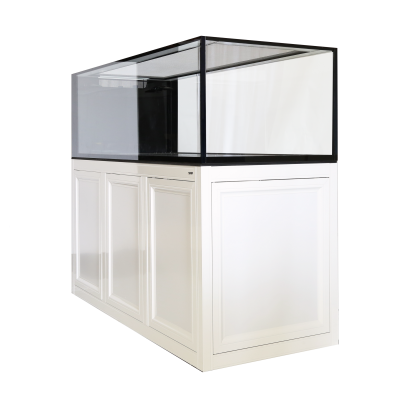


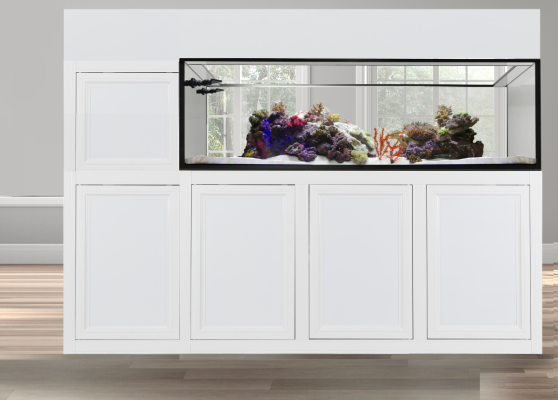
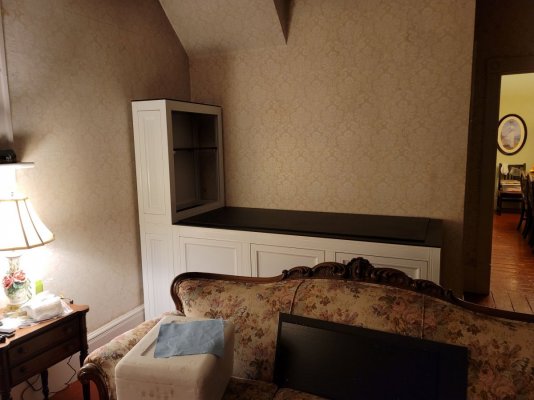
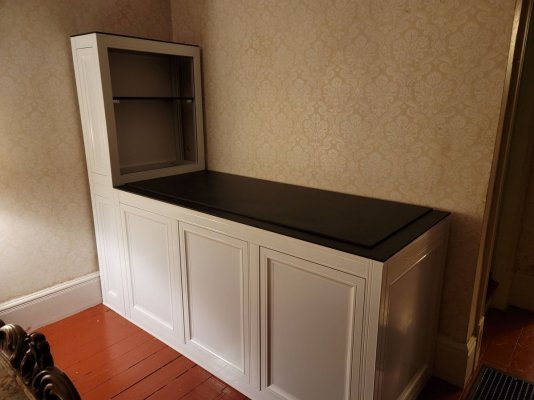

") Only the stands on the left side were modified and they do not support any real weight. They are more like a facia or facade. I only did that to match the profile of the tank stand. The smaller stands have the profiles oriented opposite of the larger tank stand. It looked goofy so I decided to change it around to match.
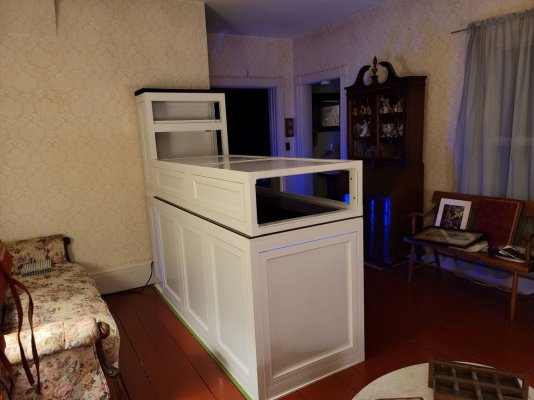
Only the stands on the left side were modified and they do not support any real weight. They are more like a facia or facade. I only did that to match the profile of the tank stand. The smaller stands have the profiles oriented opposite of the larger tank stand. It looked goofy so I decided to change it around to match.