Navigation
Install the app
How to install the app on iOS
Follow along with the video below to see how to install our site as a web app on your home screen.
Note: This feature may not be available in some browsers.
More options
You are using an out of date browser. It may not display this or other websites correctly.
You should upgrade or use an alternative browser.
You should upgrade or use an alternative browser.
Introducing the Photon V2!
- Thread starter Reef Breeders
- Start date
- Tagged users None
Users Who Are Viewing This Thread (Total: 1, Members: 0, Guests: 1)
- Joined
- Feb 17, 2017
- Messages
- 127
- Reaction score
- 150
Well I got my light set up and running yesterday and have it maxing out at 25% on channels 3 and 4 right now. I have it mounted about 7 inches off the water. I have to say I do seem to be getting a good bit more disco look than I was anticipating. I lowered the amount of surface agitation and that helped a bit but it is still pretty noticeable. Guess I'll give it some time to grow on me. Here are some pics of it over my tank from yesterday.


- Joined
- Feb 17, 2017
- Messages
- 127
- Reaction score
- 150
I turned the red channel back on since I thought it gave the corals more of a pop. I only run it 4 hours a day though.
I believe the red can be used by corals and helps them but I think I read the green channel is more for appearance.
I read the same[emoji57]I believe the red can be used by corals and helps them but I think I read the green channel is more for appearance.
- Joined
- Jul 28, 2015
- Messages
- 4,668
- Reaction score
- 3,189
I've got 4 32" V2s on their way and going over a standard 180 with two top braces. I have a canopy I will fit them into that does have fans that circulate air through it. I also will be using a dual 80watt T5 retro fit down the middle of the canopy.
Any input here is welcome. Here's my plan and idea which I posted in my tank journal.
Any input here is welcome. Here's my plan and idea which I posted in my tank journal.
jason2459;24969851 said:Ok, so here's the plan and going to blast my tank with leds shotgun style but this time I have some more control and coverage compared to what I tried with the ocean revive fixtures.
https://www.reefbreeders.com/shop/photon-32-v2/
Getting 4 32" Photon V2 fixtures from Reef breeders. For one they have been giving good customer support from what I have seen over the past few years. I like that the fixtures support the ability to use legs for tank top mounting and come with the fixtures. I have a plan to be able to use them to mount up into the canopy and attach two together to make 2 pairs.
I'm looking to keep my dual T5s down the middle of the tank. Then put a pair on each side and tilted inward slightly. Maybe. Will start out like that and see if I like it. I'll flip the directions between the pairs. Which if I'm looking at the layouts right will help the two rows complement each other better. Having the two rows will also put up a LOT of leds up into the canopy which will hopefully give a lot of coverage. Also, if what I'm thinking of doing with the legs I should be able to mount them up higher in the canopy which was another issue I had with the ocean revive fixtures.
I really did not like the red and green leds in the old fixtures I had and made for an annoying shimmer. These have 6 channels to be able to control and the reds and greens are on their own channels which is perfect as I can play with their intesities individually from the rest of the leds to maybe even having them turned off. If that happens I'll look into just swapping those leds out all together for a different color temp. I also plan to remove their lens to help their spread to reduce spot lighting. I also shouldn't need to get anywhere near 100% which I was with the ocean revive fixtures. 100% both channels left no where to go and wearing out those leds.
I do like the ratio of blue to whites which is just over 2 to 1. With the coral plus bulbs I'm hoping for a nice crisp 14k look. I also notice with the 16/32 length fixtures the leds are more tightly packed compared to the 24/48 lengths. May be a good thing for blending in better.
Then I'll have to play around with timing and for the first time ramping. That's actually not something I'm looking forward to. I like just old fashioned on and off. No guess work. But after this maybe I'll be hooked into the scheduling ramping thing.
I've got 4 32" V2s on their way and going over a standard 180 with two top braces. I have a canopy I will fit them into that does have fans that circulate air through it. I also will be using a dual 80watt T5 retro fit down the middle of the canopy.
Any input here is welcome. Here's my plan and idea which I posted in my tank journal.
I got a 180G too, but im using a 50" & 24"
- Joined
- Jul 28, 2015
- Messages
- 4,668
- Reaction score
- 3,189
I was looking at that as an option and 48" + 24" which would have been the cheapest.I got a 180G too, but im using a 50" & 24"
But after looking at them the 32" + 32" actually provides more LEDs 144. The 50" and 48" are listed with the same amount of LEDs and either of those with a 24" provides 132 LEDs. I see the 16/32" fixtures groups the LEDs tighter which may help with blending.
- Joined
- Feb 17, 2017
- Messages
- 127
- Reaction score
- 150
So I was trying to adjust my custom programming when the remote died. I charged it for 2 hours and when I turn it on it is just is a blank blue screen and my light is no longer operating on my schedule. Anyone have ideas on what this is? Just more time charging?
- Joined
- Feb 17, 2017
- Messages
- 127
- Reaction score
- 150
Yeah that is how it was when I first set it up. Now it is just giving me a blank screen but the other lights work but don't see to have any impact on the light. I can only use it to turn the light on and off and even that isn't working perfectly. Hmmmm I sent them a message on their website, seems I may have got a bad controller. Bummer is I have no idea what setting it is on but it's not running the schedule I set for it, so I think I'll have to pop my old light back on until I can get it figured out.
- Joined
- Jun 15, 2015
- Messages
- 257
- Reaction score
- 235
Added a second photon v2. Will get par measurements tomorrow
This is how people should run their LEDs for SPSs. All across the surface just like T5 fixtures!
That is the reason why there are T5 with four, six , eight lamps, so the light is spread across the tank surface!
Just one for softies and LPSs is enough, two for SPSs, to eliminate shadowing.
And much much cheaper than the puck style LEDs required number of fixtures for equivalent surface spread!
Last edited:
- Joined
- Feb 17, 2017
- Messages
- 127
- Reaction score
- 150
So I feel like an idiot. I have to take back what I said about the remote. I woke up this morning and grabbed my phone and it was at 6% soooo apparently the charger I had it on broke and I didn't realize. Oops! I found a new charger and after a couple of minutes it powered up and the screen worked fine!
Ugh I feel dumb.
Ugh I feel dumb.
- Joined
- Jul 28, 2015
- Messages
- 4,668
- Reaction score
- 3,189
Getting them ready for mounting in the canopy. I'm pretty impressed with their quality.
Probably get to mounting them tomorrow
One of the boxes had some damage
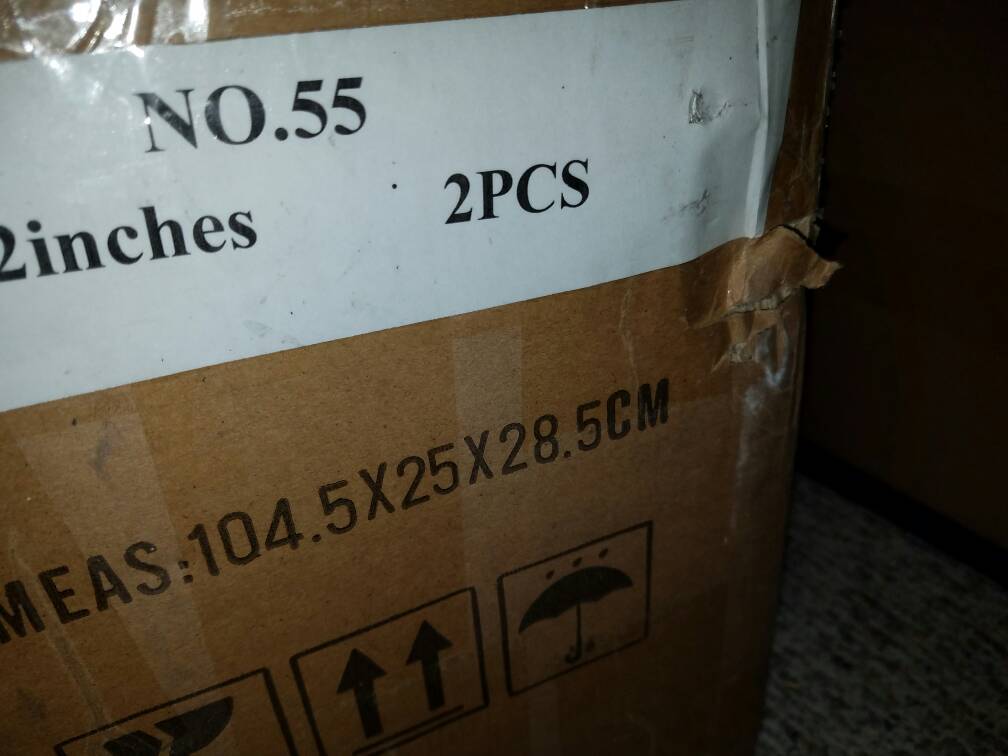
But the inner boxes seemed to be well padded so hopefully nothing wrong and will find out tomorrow. [emoji4]
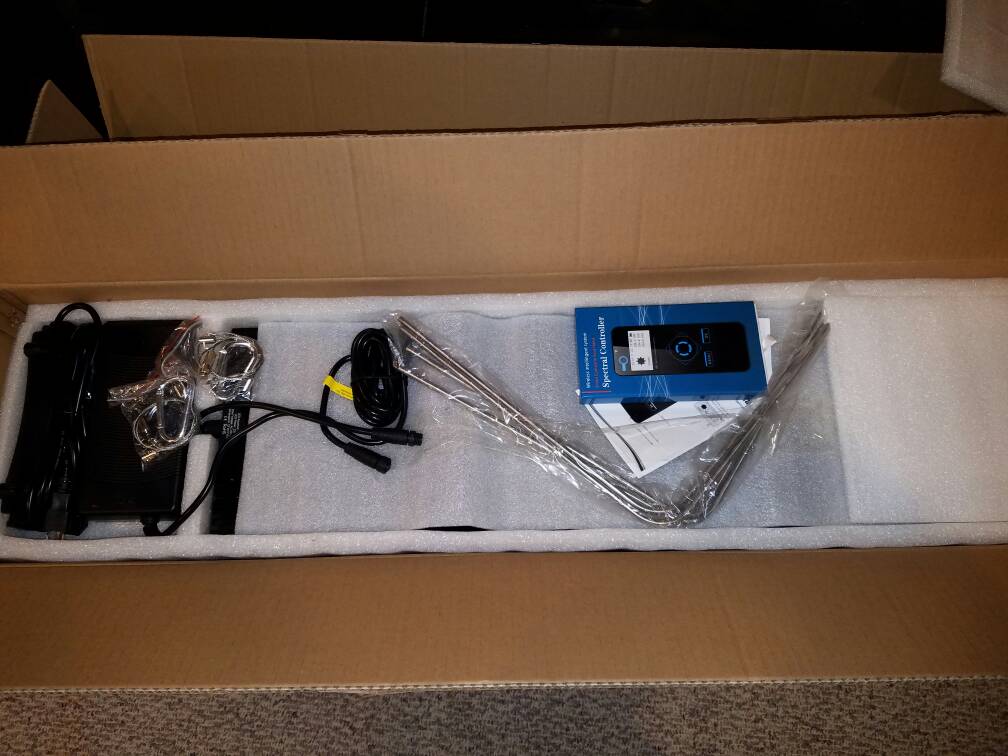
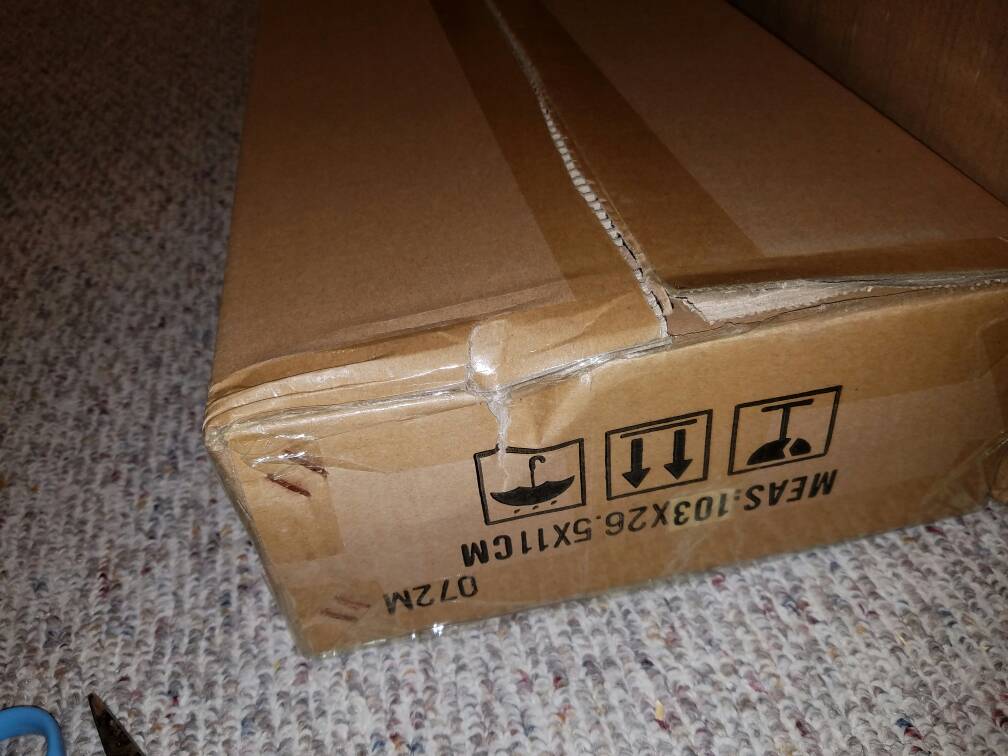
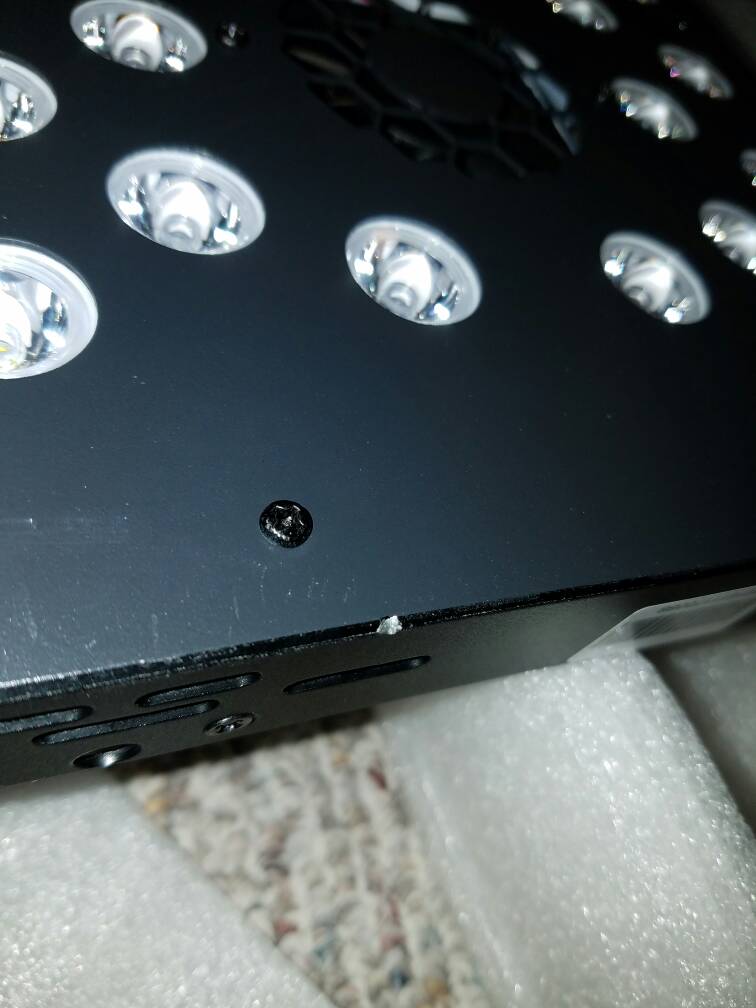
And noticed this nick on the fixture inside
Cut the legs to be used to tie the two fixtures together like one unit. Did this to both pairs
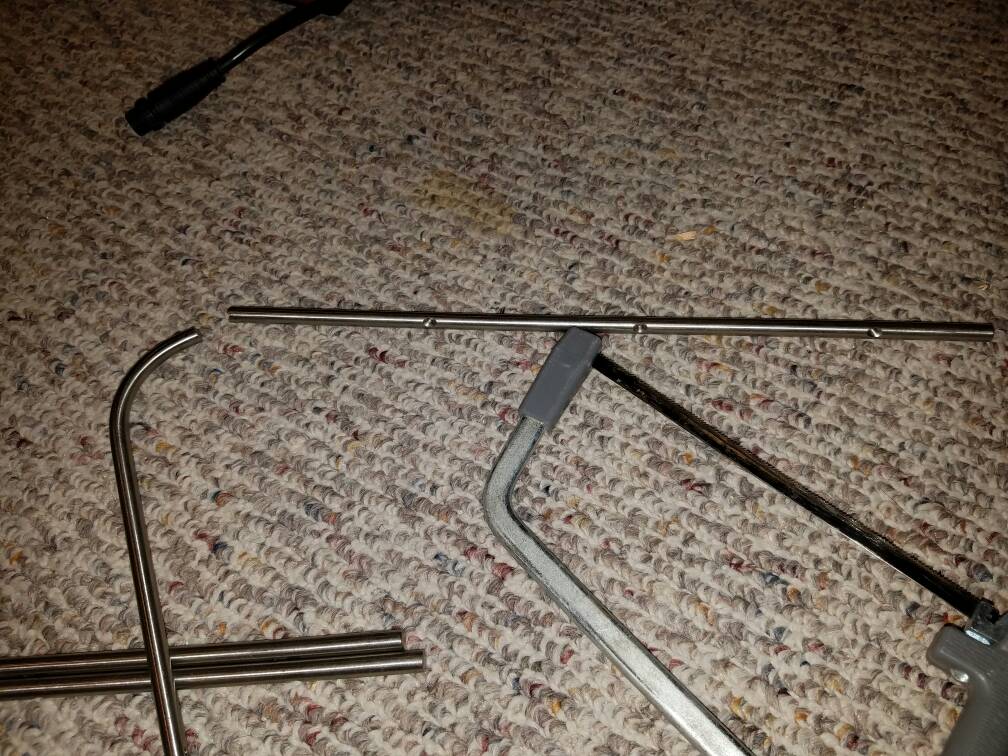
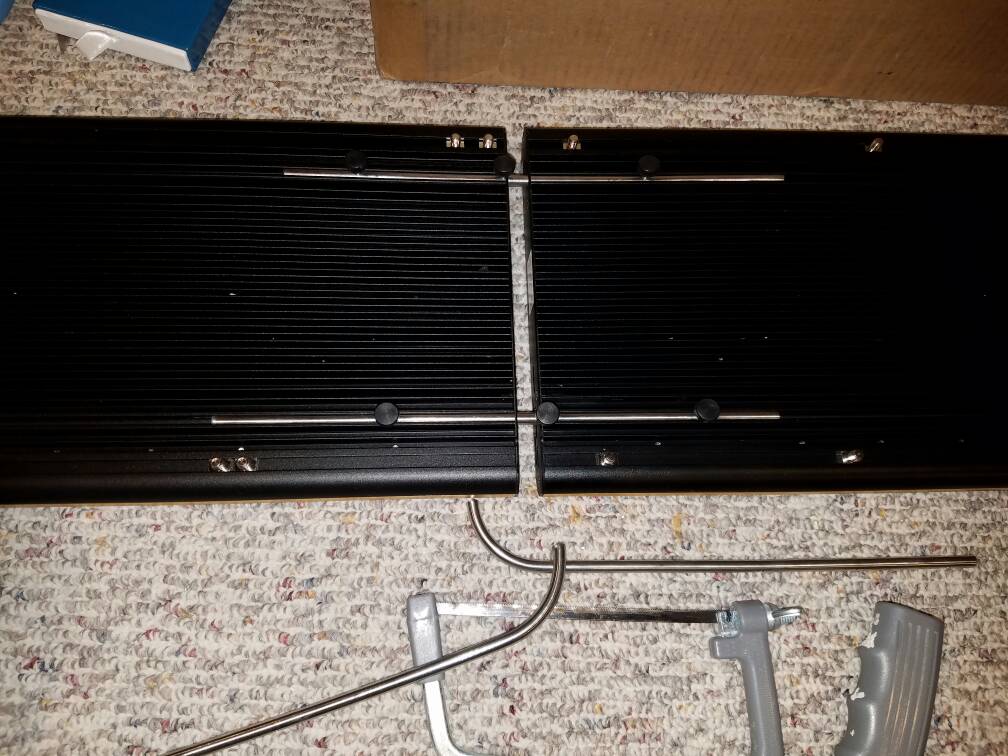
There will be support in the middle once in the canopy.
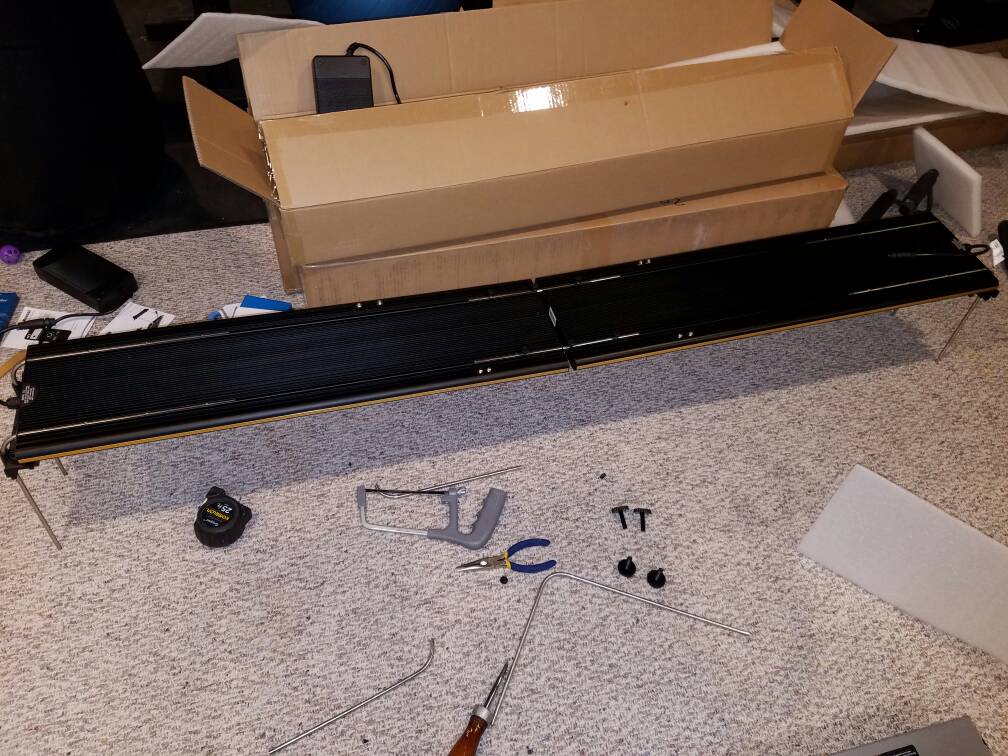
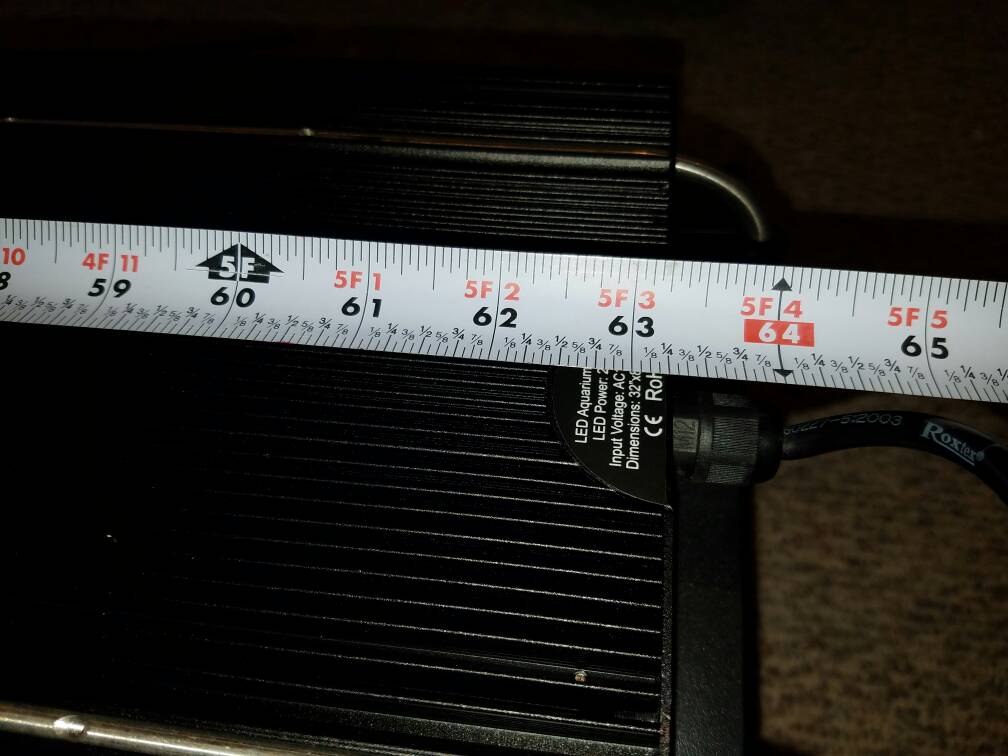
Spacing will vary as I'll adjust to straddle the gaps between clusters over the two cross braces my 180 has. But if spaced so led clusters are evenly spaced the two fixtures make a single 63-64" fixture
Probably get to mounting them tomorrow
One of the boxes had some damage

But the inner boxes seemed to be well padded so hopefully nothing wrong and will find out tomorrow. [emoji4]


And noticed this nick on the fixture inside

Cut the legs to be used to tie the two fixtures together like one unit. Did this to both pairs


There will be support in the middle once in the canopy.

Spacing will vary as I'll adjust to straddle the gaps between clusters over the two cross braces my 180 has. But if spaced so led clusters are evenly spaced the two fixtures make a single 63-64" fixture

The mark on the fixture is a bummer. The guy who delivered mine left it in the rain up against my house. Luckily I was able to get to it before the cardboard was saturated. Great lights though, you should enjoy them.Getting them ready for mounting in the canopy. I'm pretty impressed with their quality.
Probably get to mounting them tomorrow
One of the boxes had some damage

But the inner boxes seemed to be well padded so hopefully nothing wrong and will find out tomorrow. [emoji4]


And noticed this nick on the fixture inside

Cut the legs to be used to tie the two fixtures together like one unit. Did this to both pairs


There will be support in the middle once in the canopy.

Spacing will vary as I'll adjust to straddle the gaps between clusters over the two cross braces my 180 has. But if spaced so led clusters are evenly spaced the two fixtures make a single 63-64" fixture

- Joined
- Jul 28, 2015
- Messages
- 4,668
- Reaction score
- 3,189
Now to figure out the remote and programming.
As I just finished getting this done. Got a late start. Family time first...
Getting things lined up and marked where some pilot holes need to go
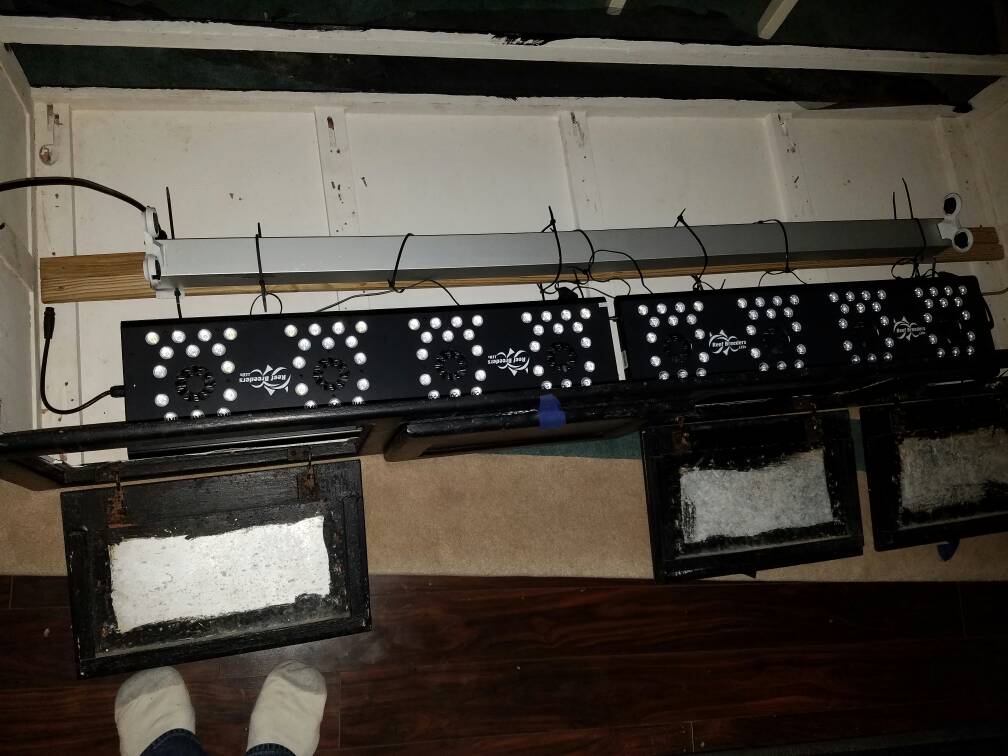
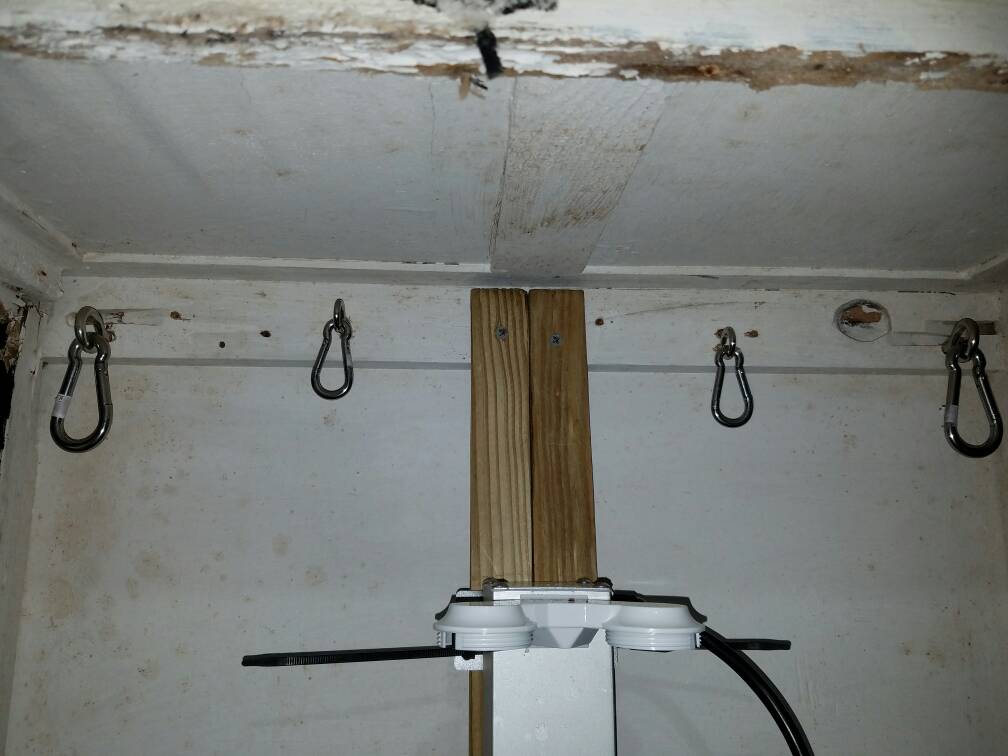
Nice stainless steel eyelets and stainless steel snap rings. Notice the size difference and will tilt the fixtures inward
Getting them in the canopy and back on the tank...sucker was heavy! Should have been a team lift. lol
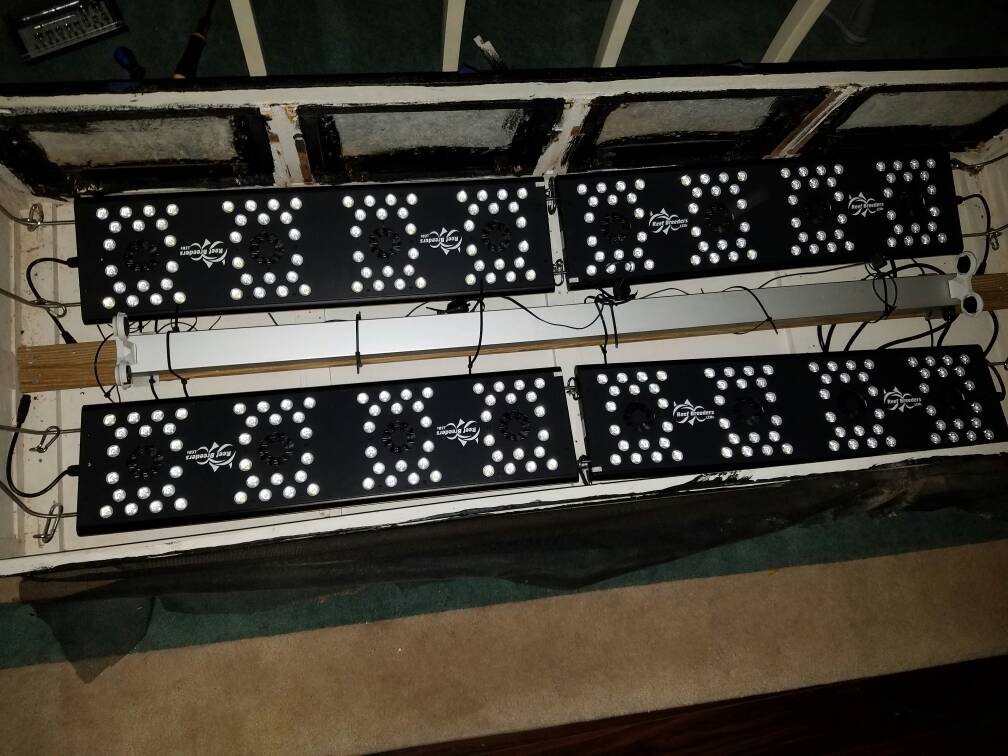
T5s back in and ready to go. If I want less angle I'll break out some zip ties
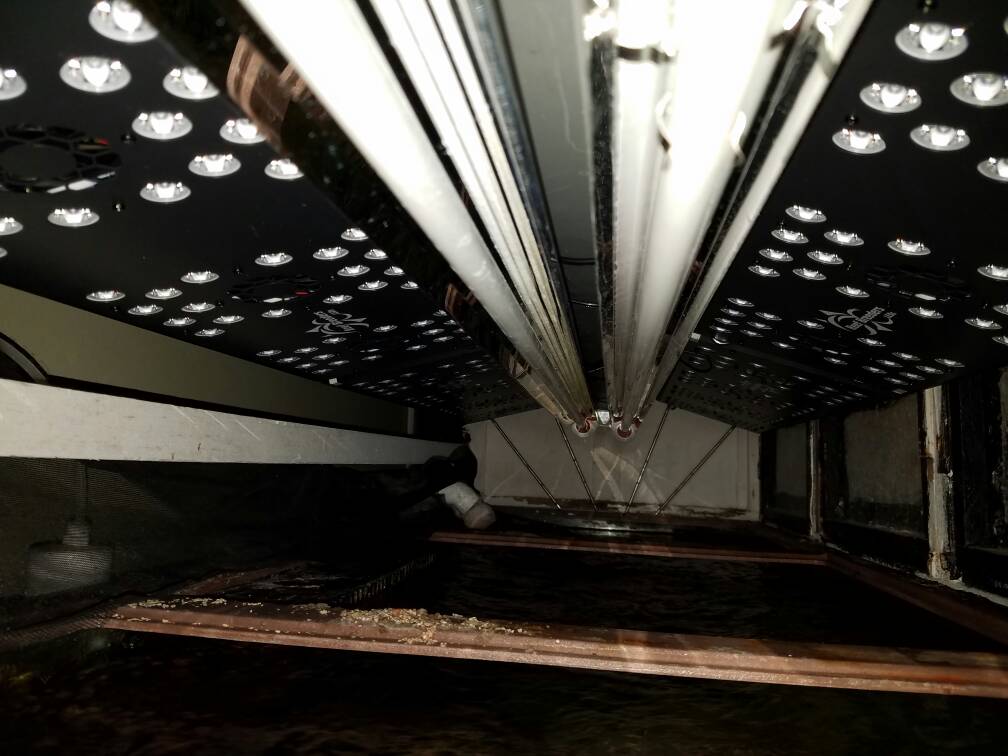
Excited to fire them up tomorrow...just hope they all light up. Then will get some par measurements. I'll probably start at 15% max each fixture and see where that's at and go from there.
As I just finished getting this done. Got a late start. Family time first...
Getting things lined up and marked where some pilot holes need to go

Nice stainless steel eyelets and stainless steel snap rings. Notice the size difference and will tilt the fixtures inward

Getting them in the canopy and back on the tank...sucker was heavy! Should have been a team lift. lol

T5s back in and ready to go. If I want less angle I'll break out some zip ties

Excited to fire them up tomorrow...just hope they all light up. Then will get some par measurements. I'll probably start at 15% max each fixture and see where that's at and go from there.
Similar threads
- Replies
- 10
- Views
- 303
-
- Sticky
- Replies
- 1,346
- Views
- 10,692
- Replies
- 1
- Views
- 117
- Price: $200
- Shipping NOT Available
- Replies
- 10
- Views
- 719
- Price: $200
- Shipping NOT Available
- Replies
- 1
- Views
- 366


