40Br ready for water

cichlidtx

Active Member
View Badges
Joined
Nov 10, 2010
Messages
129
Reaction score
34
Location
Spring, TX
Rating - 0%
0   0   0
I've had my first SW tank running for 1 1/2 years now and decided to upgrade. I currently have 12Dx nanocube that has been a great learning experience for me. When petco had their $1 gallon sale I decided to get a 40br and 20l for the upgrade. This build enabled me to learn how to drill glass and setup a sump. It has been slow going and a lot of fun. It's just about ready for water. Anyway here's some details and then on to the pics. Any and all feedback would be appreciated.

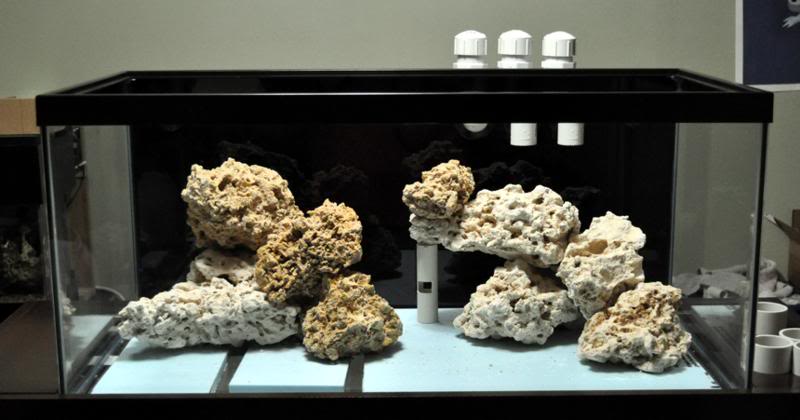
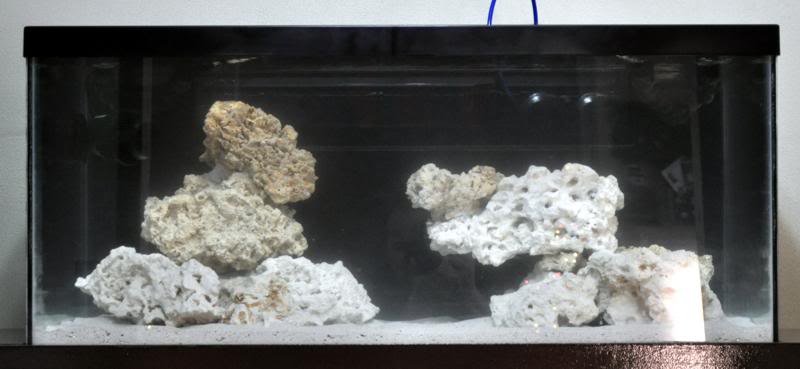
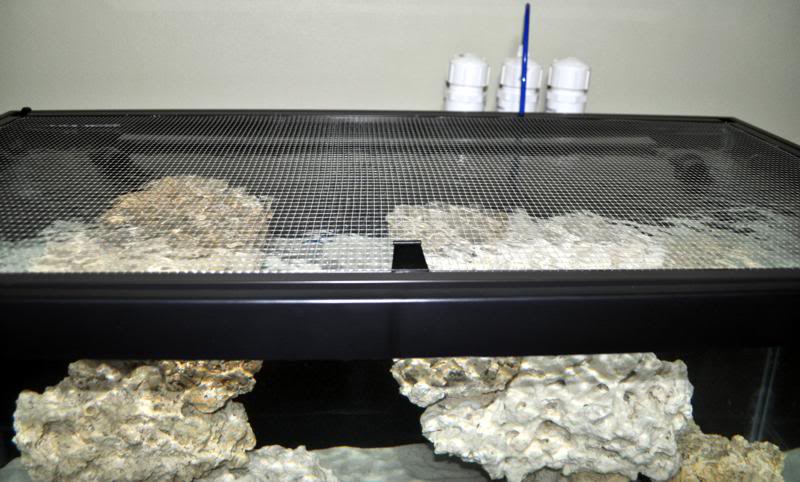
Tank: 40br using Beananimal design drain and dual returns
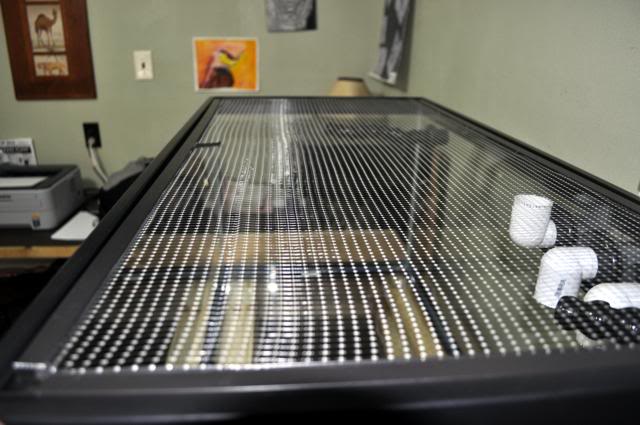
lighting: 36x4 T5 retrofit
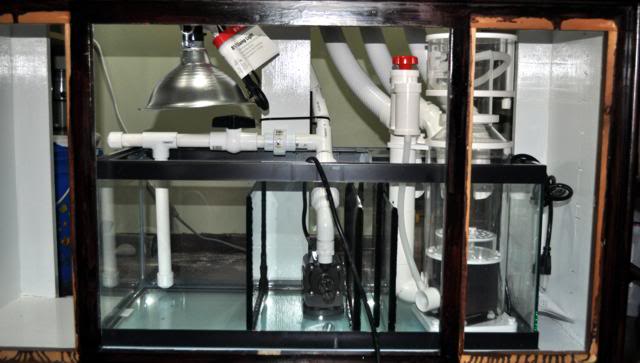
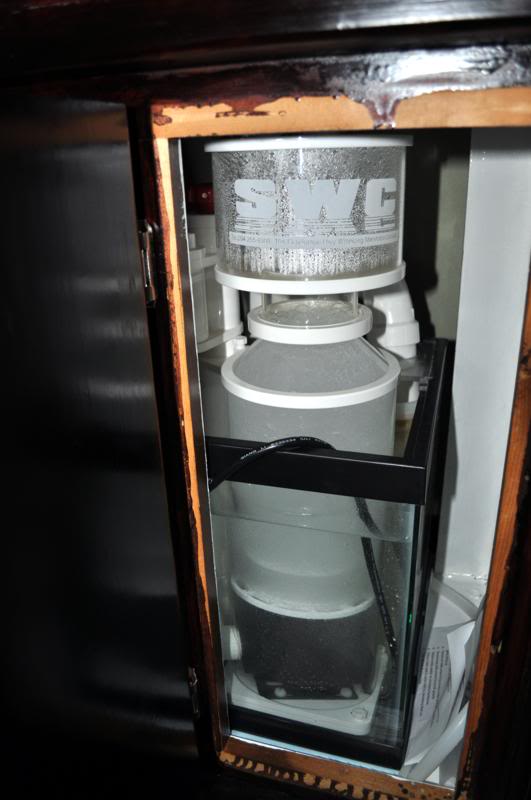
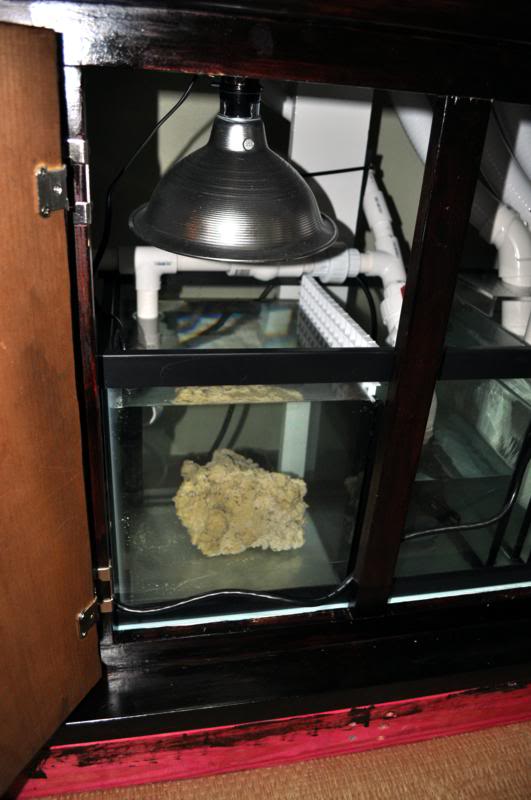
Sump: 20l w/ Mag 7 return skimmer/return/fuge design
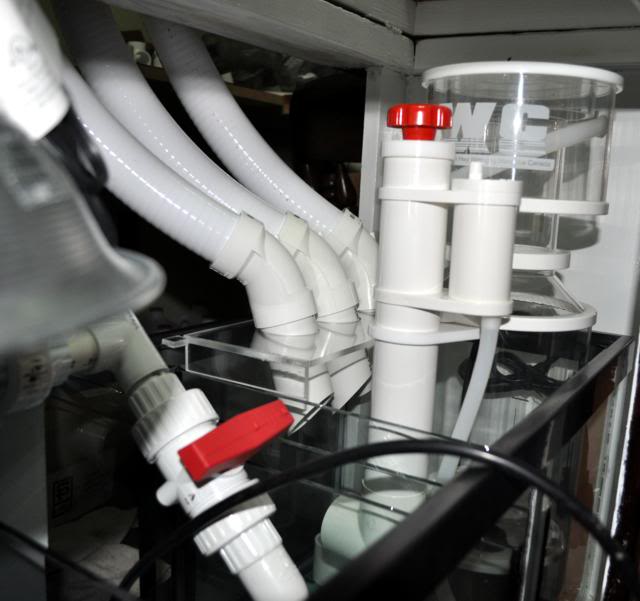
Skimmer: SWC150 BMK from group buy on R2R

Enough talk on to some pics. I will update some more later.

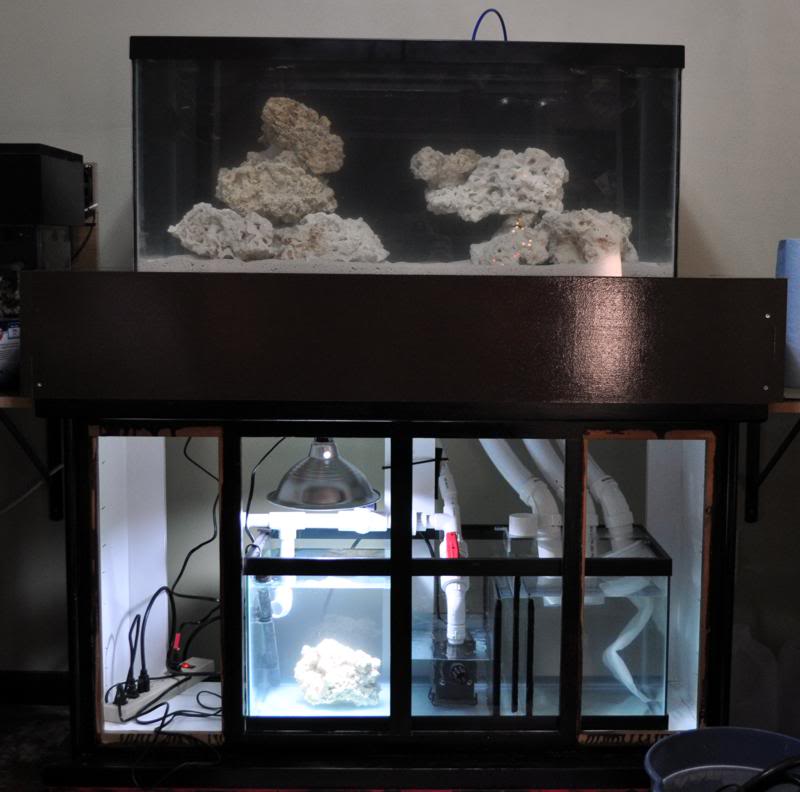
75gal stand as it is built into a desk. It was from my previous FW tank.
builtinstand1.jpg


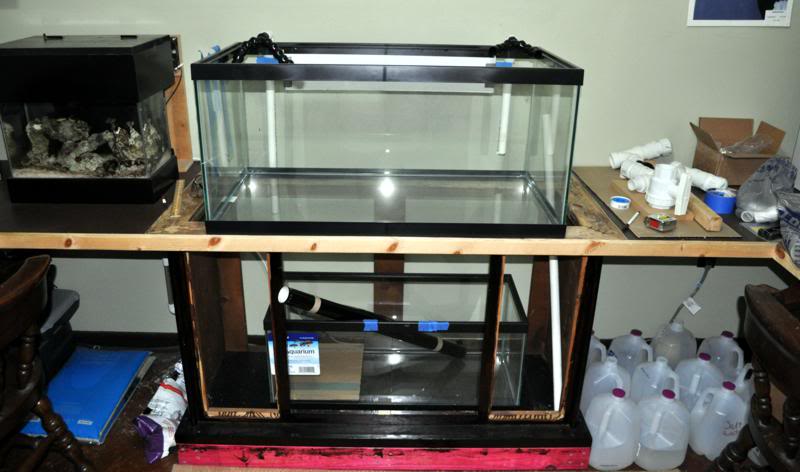
built a platform on top of the stand to give more height
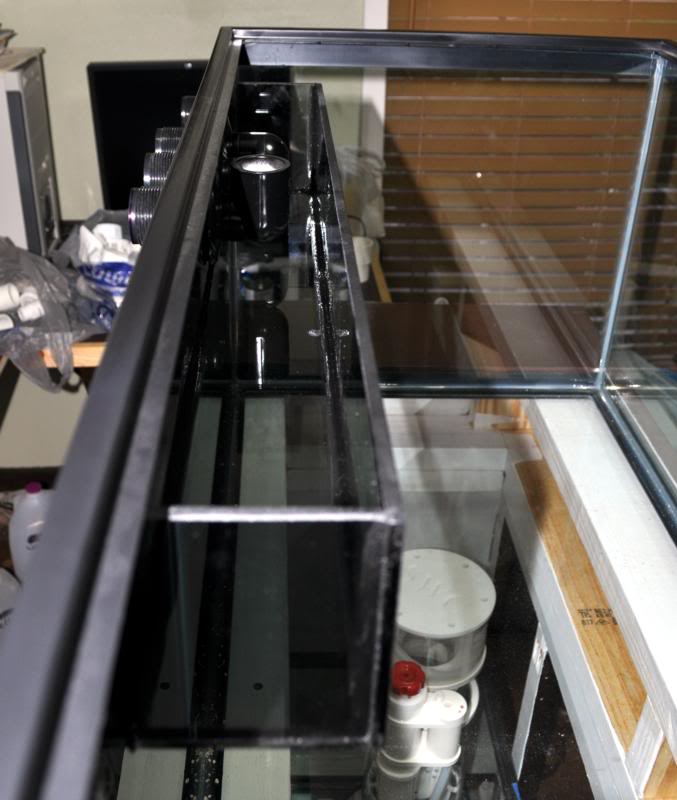
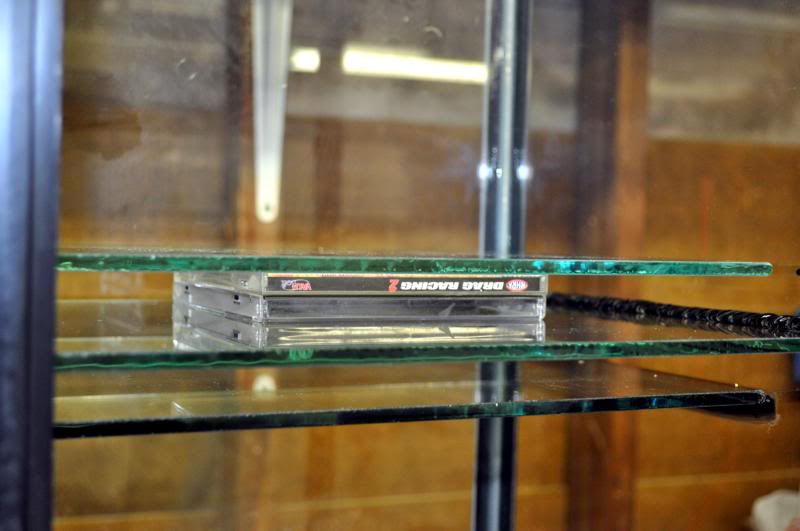
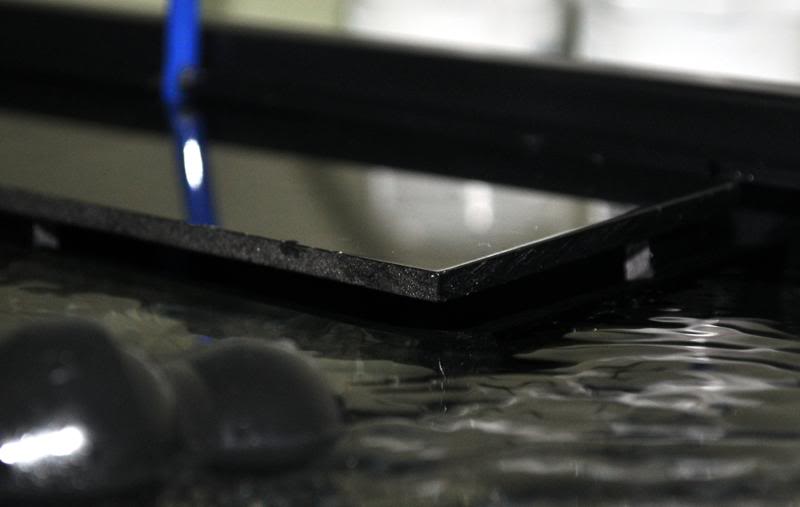
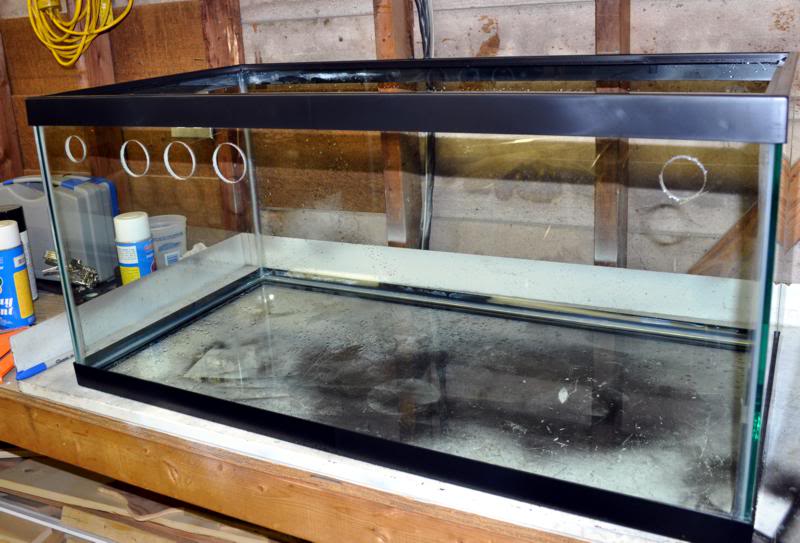
paintedplatform.jpg


drilled tank
100910-4.jpg


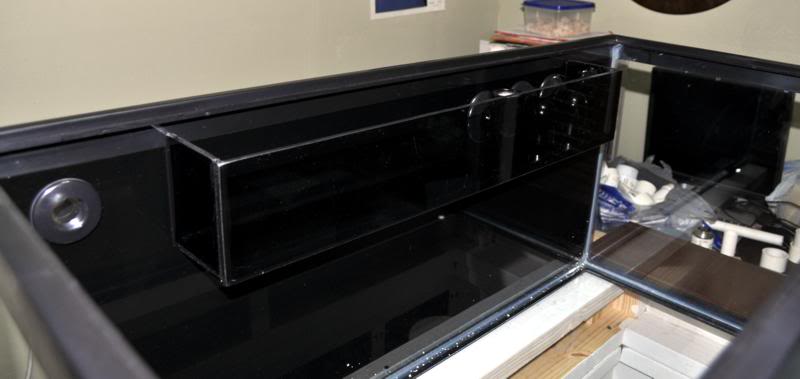
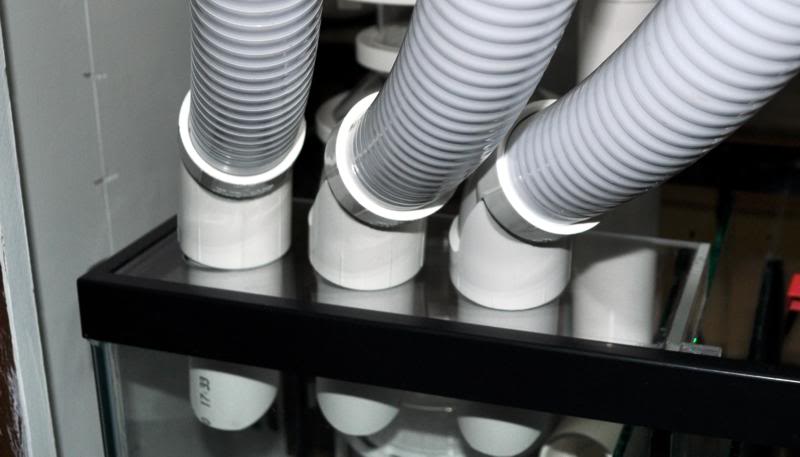
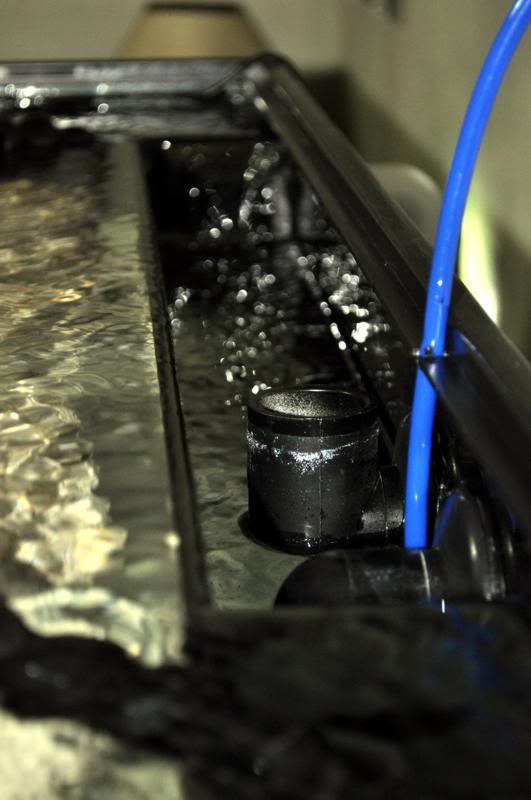
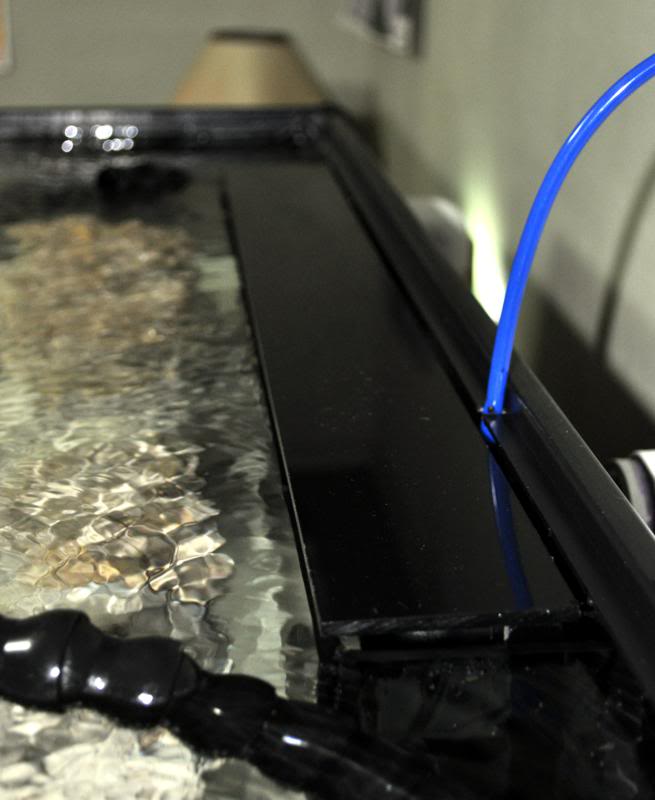
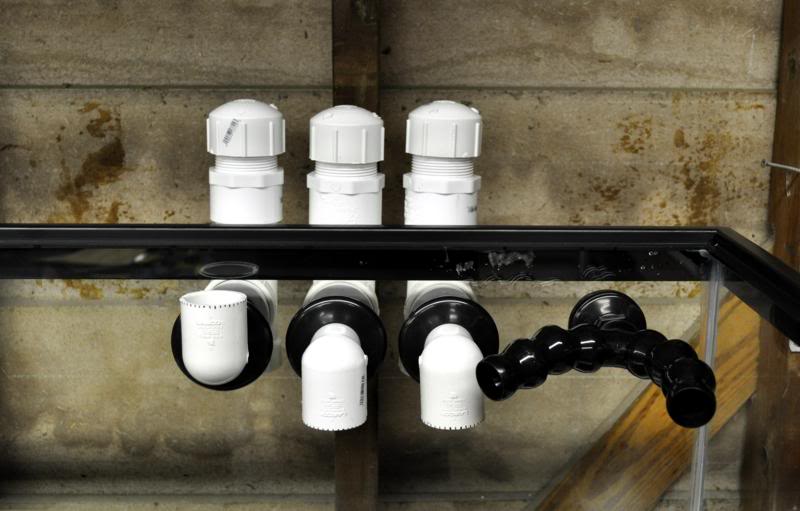
beananimal failsafe drain system
100910-2.jpg
 
OP
OP
cichlidtx

cichlidtx

Active Member
View Badges
Joined
Nov 10, 2010
Messages
129
Reaction score
34
Location
Spring, TX
Rating - 0%
0   0   0
Here's another update.

Mesh screen top to prevent carpet diving
screentop.jpg


Beginning and installed glass overflow using Dow 999-a silicone
overflowparts.jpg

overflowangleview.jpg
overflowside.jpg
 
OP
OP
cichlidtx

cichlidtx

Active Member
View Badges
Joined
Nov 10, 2010
Messages
129
Reaction score
34
Location
Spring, TX
Rating - 0%
0   0   0
Thanks for the compliments. I hope to do a FW test tomorrow. Here's some more pics of the sump build and plumbing.

cd cases for baffle spacing
sumpbuild.jpg


silicone bead. I had to fill it in a bit as the glass shop cut a little to much
sumpbuild-2.jpg


completed sump w/ skimmer and plumbing
sumpplumbed.jpg
 
OP
OP
cichlidtx

cichlidtx

Active Member
View Badges
Joined
Nov 10, 2010
Messages
129
Reaction score
34
Location
Spring, TX
Rating - 0%
0   0   0
Ok, here's a few more pics of my setup.

back of tank plumbing
plumbingbacktank.jpg

drains with acrylic holder
draincloseup.jpg

drainacrylicholder.jpg


Pic of preliminary rock scape, this may change. I used 1/2" acrylic rock to secure stacked pieces.
rockscape3.jpg
 
OP
OP
cichlidtx

cichlidtx

Active Member
View Badges
Joined
Nov 10, 2010
Messages
129
Reaction score
34
Location
Spring, TX
Rating - 0%
0   0   0
I did the leak test today and it went well except for one pin hole leak. I put silicone on it and will try again tomorrow. I did find out that I need to extend the drain pipes going into the sump as it makes quite a bit of noise. The pipes are supposed to be 1" below the water surface but the angle cut changed that. I will extend them tomorrow. The overflow worked really nice but I need to make a cover for it keep livestock out. Overall I would say, a success with the exception of the small leak.
 
OP
OP
cichlidtx

cichlidtx

Active Member
View Badges
Joined
Nov 10, 2010
Messages
129
Reaction score
34
Location
Spring, TX
Rating - 0%
0   0   0
Well the leak is fixed and the pipe extended and its alive and running great. There is a slight water sound but it's overshadowed by the hum from the Mag7 pump. It may have to be replaced in the future. I will let it run for a few days for extra insurance and then add water, rock and sand. I still have to make the overflow cover and the canopy so I can have some lights. All in all this was a great learning experience and a lot of fun, as well as frustration. Here's a short video showing the overflow and sump. Feedback is always appreciated.


Wy Renegade

Zs and Ps/PE collector
View Badges
Joined
Feb 5, 2009
Messages
3,785
Reaction score
156
Location
Wyoming
Rating - 0%
0   0   0
I would recommend some shut-off valves before and after those quick connects, other wise you'll have to drain you tank way down in order to disconnect the overflows and returns. Just my $.02 worth.
 

_Alex_

Valuable Member
View Badges
Joined
Nov 22, 2009
Messages
2,109
Reaction score
87
Location
wichita, kansas
Rating - 0%
0   0   0
I would recommend some shut-off valves before and after those quick connects, other wise you'll have to drain you tank way down in order to disconnect the overflows and returns. Just my $.02 worth.

+1 cant go wrong with some ball valves that way you can shut down everything and take plumbing apart without losing water.
 
OP
OP
cichlidtx

cichlidtx

Active Member
View Badges
Joined
Nov 10, 2010
Messages
129
Reaction score
34
Location
Spring, TX
Rating - 0%
0   0   0
It's wet.:bigsmile: The cycle has begun. All went well except for the waiting on the rodi water. The water is not as cloudy as I thought it was going to be. I ended up using 60lbs of sand. I need to go to the store and get a cocktail shrimp to help boost the cycle. Next week I will start on the canopy and overflow cover. Anyway here's a couple pics.

cyclebegins1.jpg


cyclebegins.jpg
 
Last edited by a moderator:
OP
OP
cichlidtx

cichlidtx

Active Member
View Badges
Joined
Nov 10, 2010
Messages
129
Reaction score
34
Location
Spring, TX
Rating - 0%
0   0   0
For some reason the 1 pic didn't work and I'm unable to edit the post, so here it is.

cyclebegins1.jpg
 

cparka23

Well-Known Member
View Badges
Joined
Jul 12, 2008
Messages
725
Reaction score
4
Location
Republic of Dave
Rating - 0%
0   0   0
Right now, your photobucket album is called "40 Breeder." Go to photobucket and rename it to something without a space. That should fix things unless you run into a separate issue. The downside is that you'll have to redirect all your photos.
 

skinz78

10K Club member
View Badges
Joined
May 8, 2009
Messages
21,934
Reaction score
648
Location
lovely rainy NW Washington
Rating - 0%
0   0   0
Looking great, nice and quiet too!

The problem is actually a R2R problem with the percent sign in the URL of the first image. For some reason the site removes the percent sign and puts in a few other symbols. I edited the URL and fixed it for you.
 
OP
OP
cichlidtx

cichlidtx

Active Member
View Badges
Joined
Nov 10, 2010
Messages
129
Reaction score
34
Location
Spring, TX
Rating - 0%
0   0   0
Thanks skinz78, I will check that in the future. I have one question about whether I should run my skimmer during the cycle process? Do you think this would be a good time for it to break in? I decided against using the raw shrimp and instead used a couple small pieces of LR from my nanocube. Will see how that works.
 
OP
OP
cichlidtx

cichlidtx

Active Member
View Badges
Joined
Nov 10, 2010
Messages
129
Reaction score
34
Location
Spring, TX
Rating - 0%
0   0   0
Well all is still running good. I'm having to add about a 1/2 gal top off everday. I see a DIY ATO in my future. I finished the overflow cover which came out ok. I did make a mistake and tried to polish the edges and kept the heat on a little to long and slightly warped the acrylic, I may make another one. Here's some pics.

before cover
overflowbeforecover.jpg

after cover
overflowaftercover.jpg

cover closeup
overflowcovercloseup.jpg


skimmer breaking in
skimmerbreakingin.jpg


fuge running
fugesetup.jpg


mesh top installed
meshcover.jpg
 

Lt Nos

Active Member
View Badges
Joined
Oct 10, 2010
Messages
158
Reaction score
2
Location
Eagle River, Alaska
Rating - 0%
0   0   0
Looks great, I'll have to look up the sump style, but could you give the short version of why the return is in the middle of the sump? I've traditionally always seen PS, then fug, then return.
 

High pressure shells: Do you look for signs of stress in the invertebrates in your reef tank?

  • I regularly look for signs of invertebrate stress in my reef tank.

    Votes: 39 32.5%
  • I occasionally look for signs of invertebrate stress in my reef tank.

    Votes: 28 23.3%
  • I rarely look for signs of invertebrate stress in my reef tank.

    Votes: 23 19.2%
  • I never look for signs of invertebrate stress in my reef tank.

    Votes: 30 25.0%
  • Other.

    Votes: 0 0.0%
Back
Top