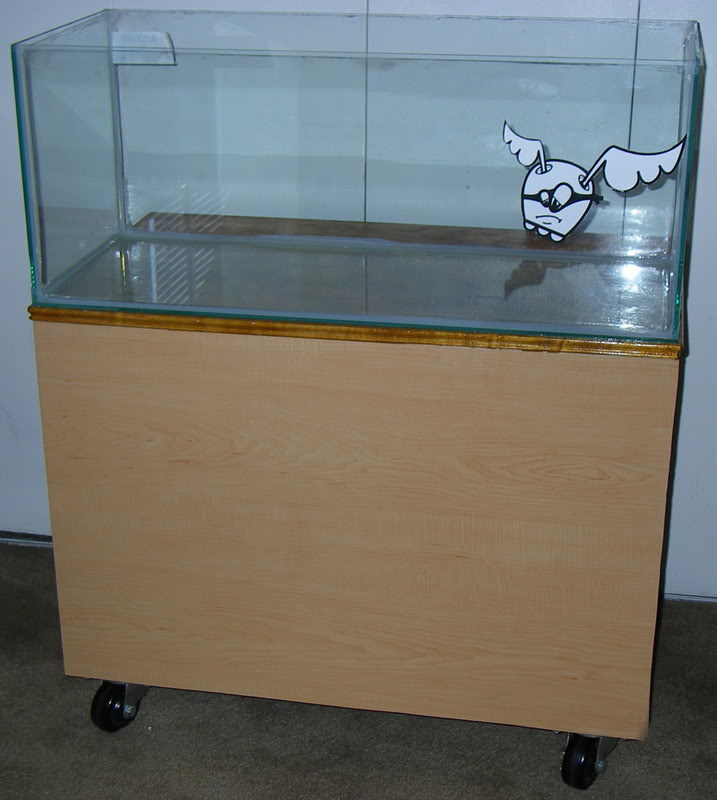
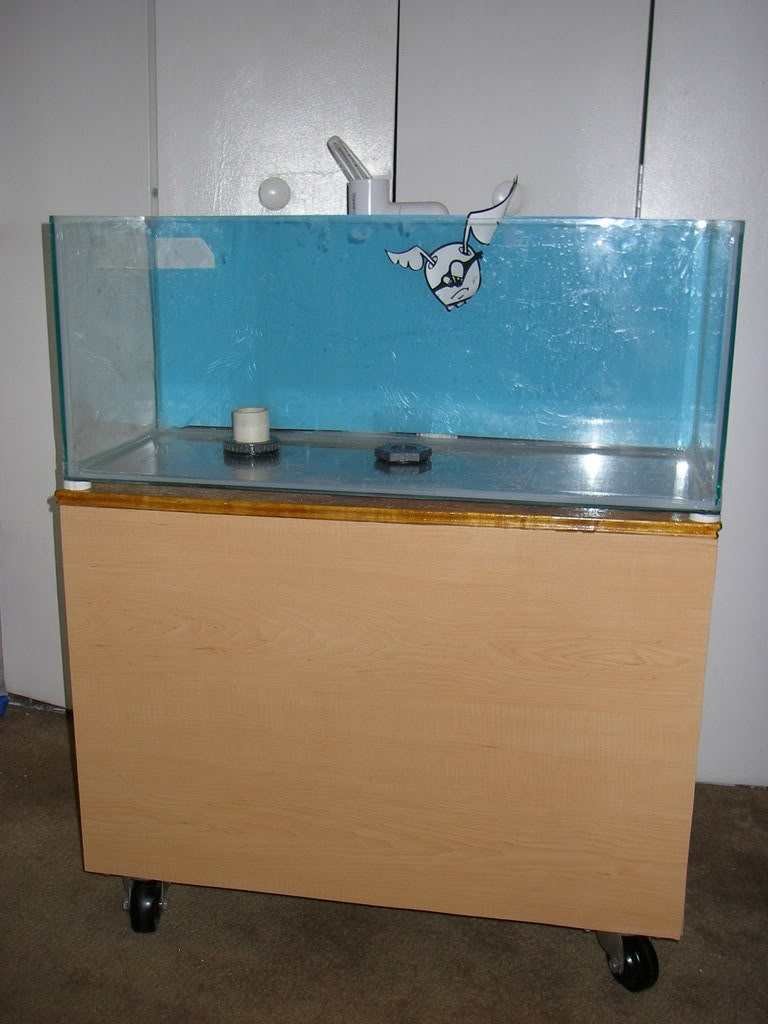
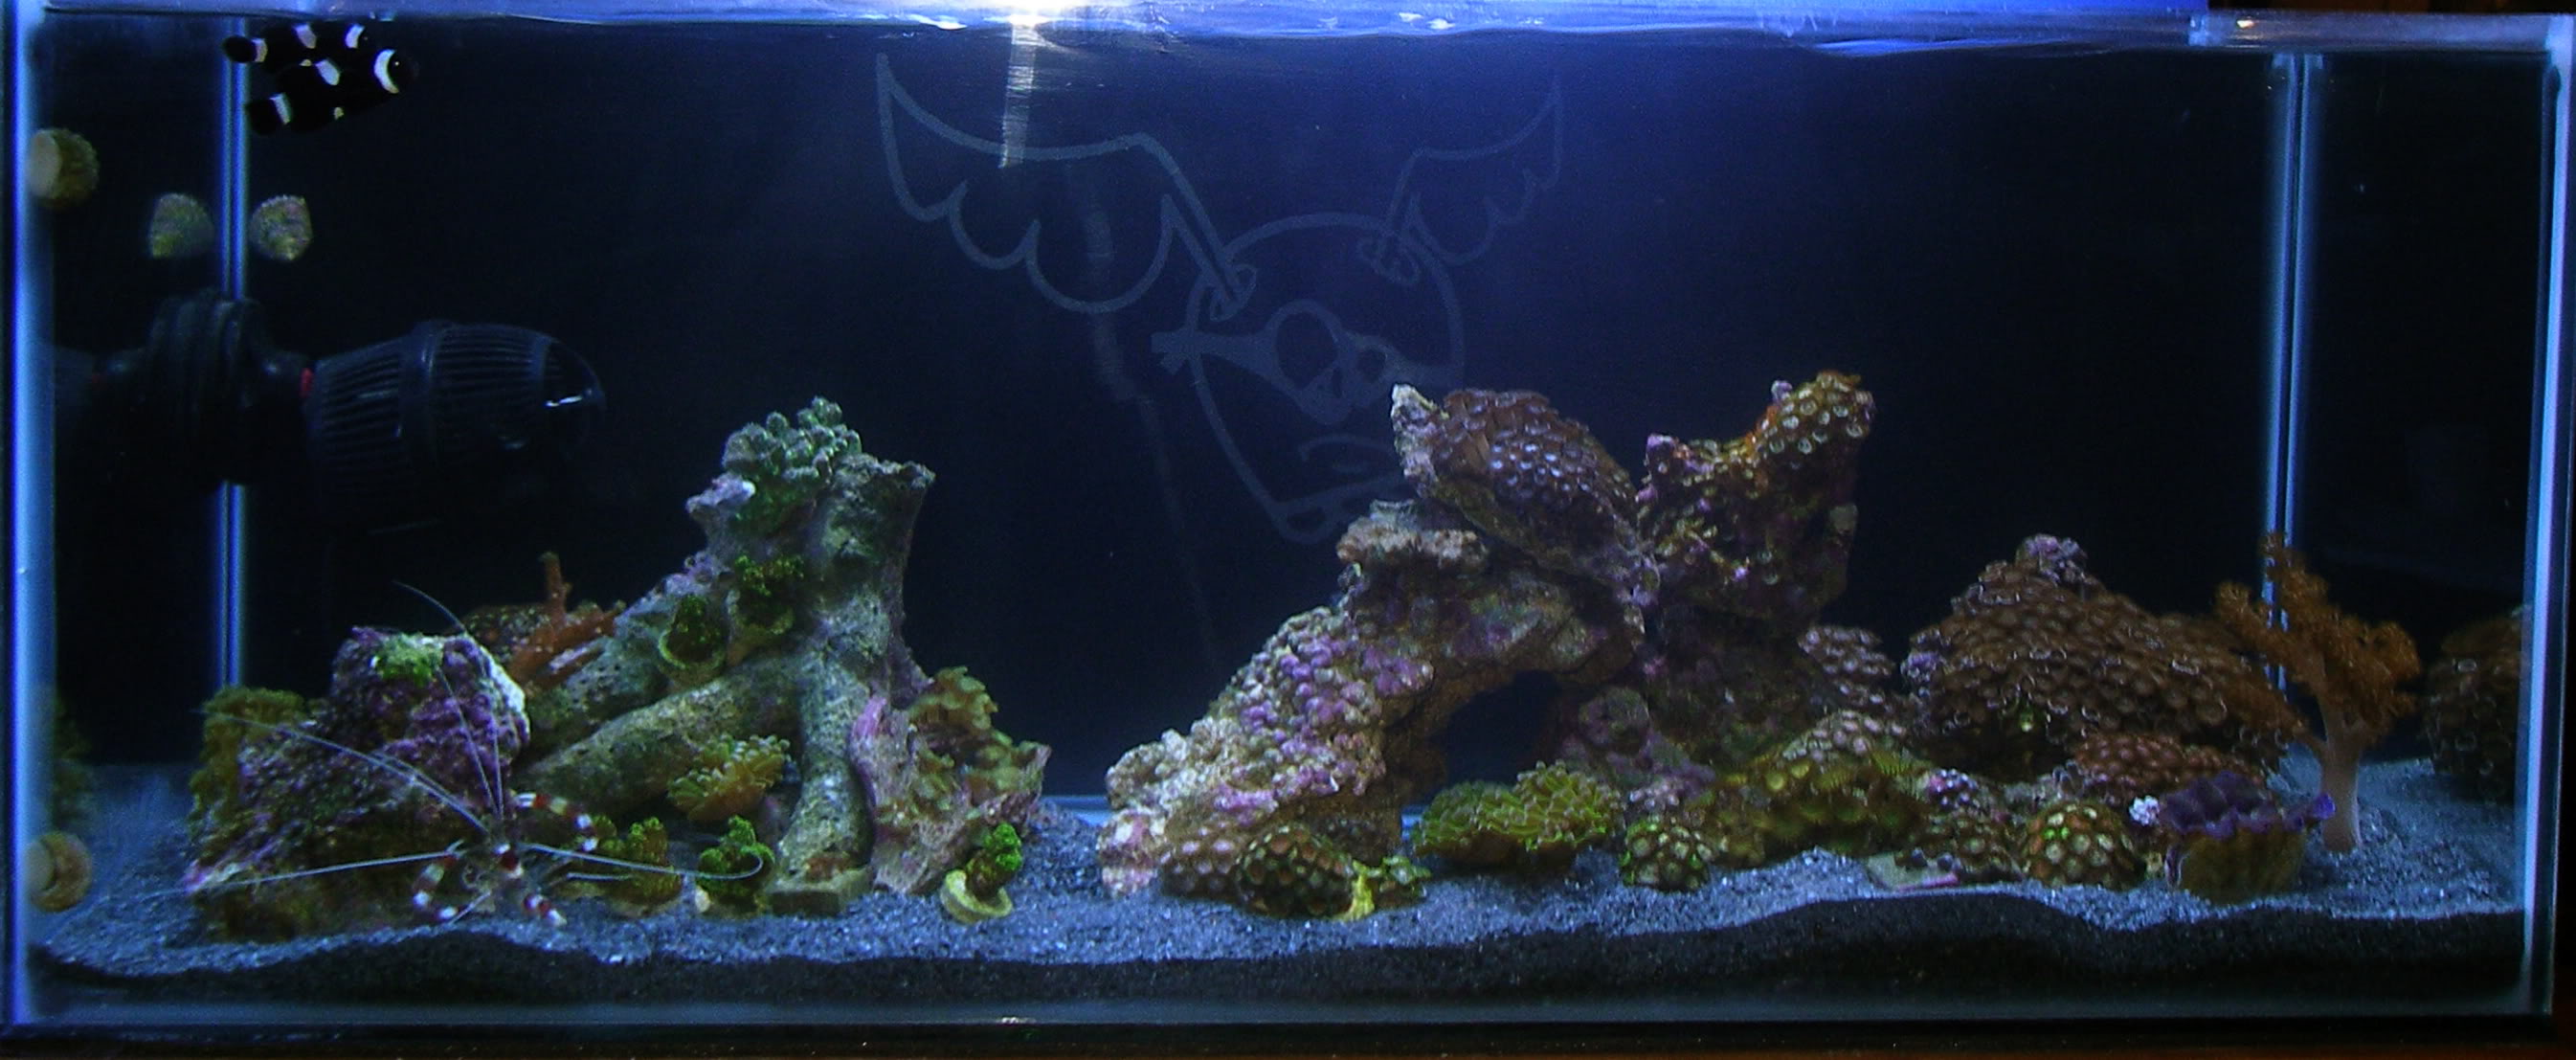
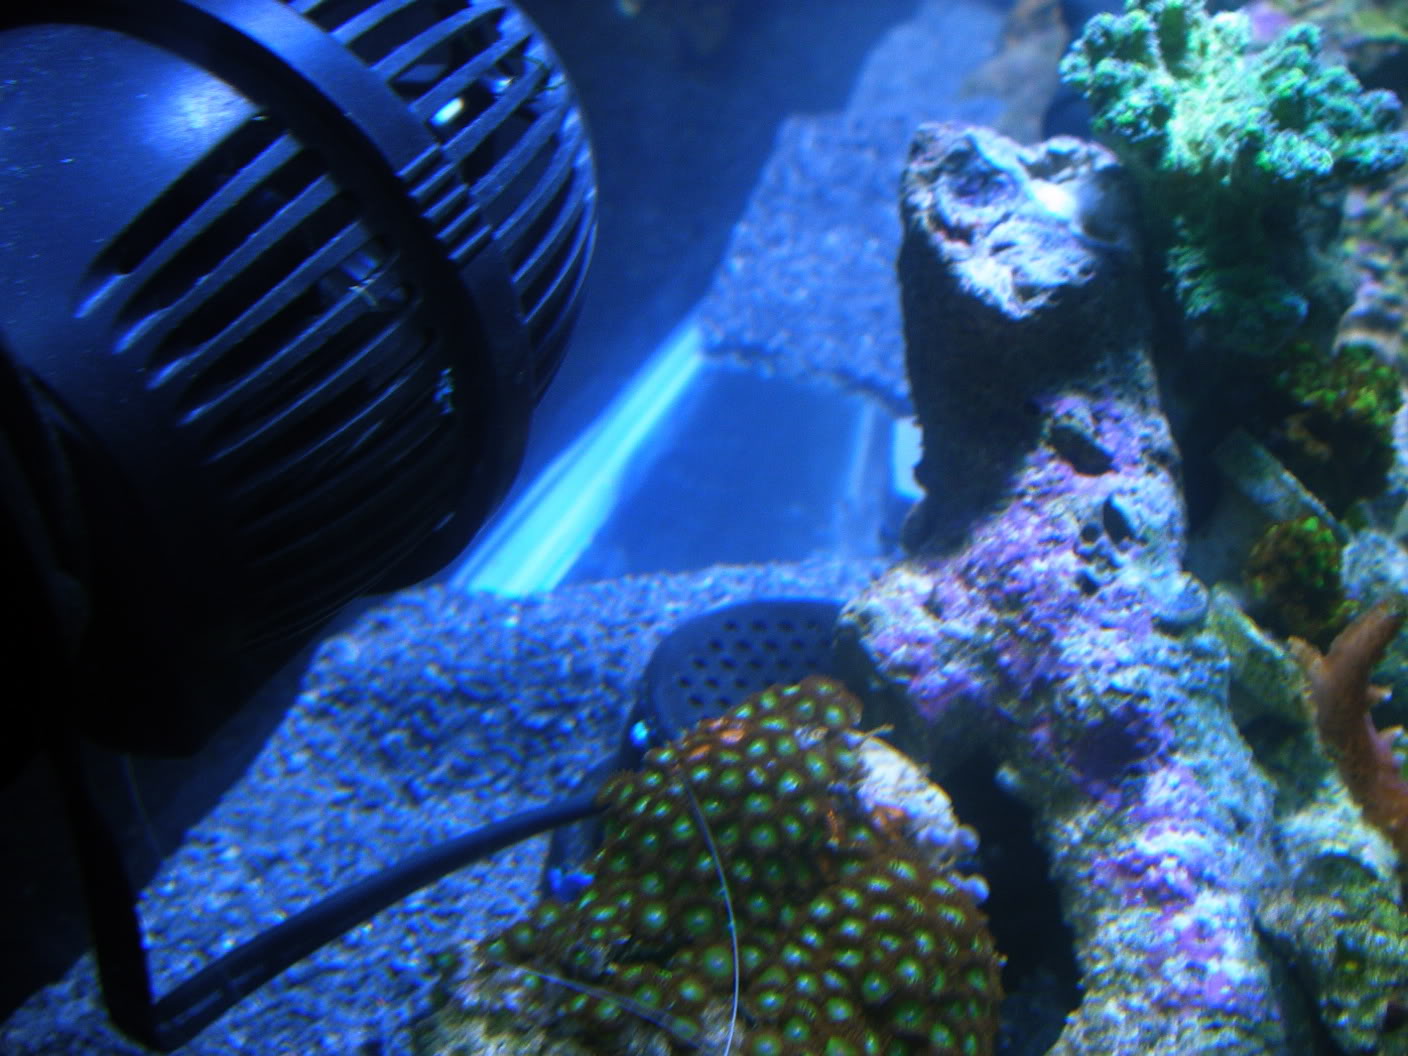
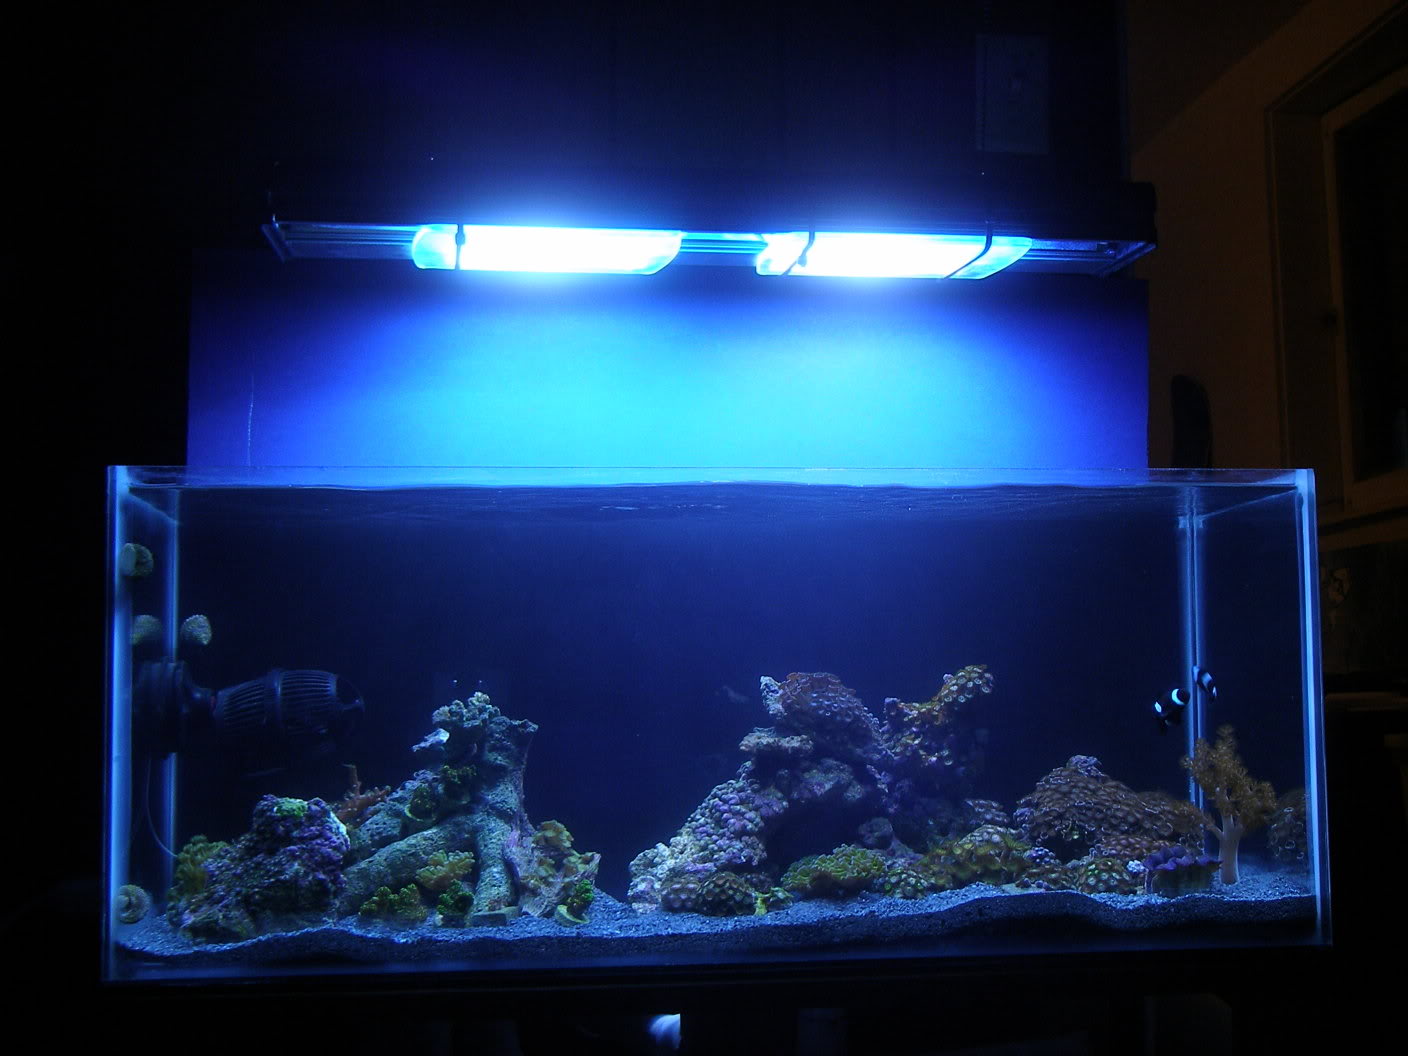
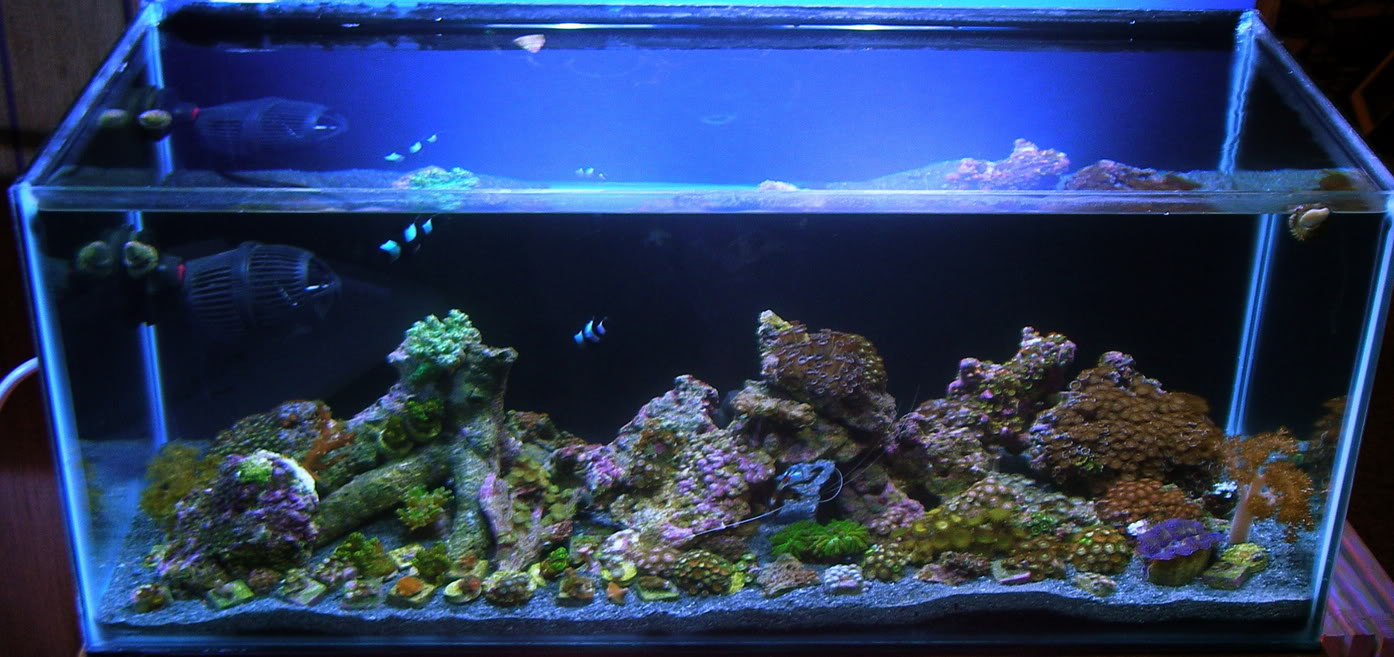
Ok, I am not going to talk on my N-R thread at all, just let people take it for what it is. I have chosen to only talk about it with those of us that belong to this ever so fresh site. The goal of the tank was to keep it clean. I wanted no equipment showing, except for the koralia 3 which is necessary to have in the display for water movement.
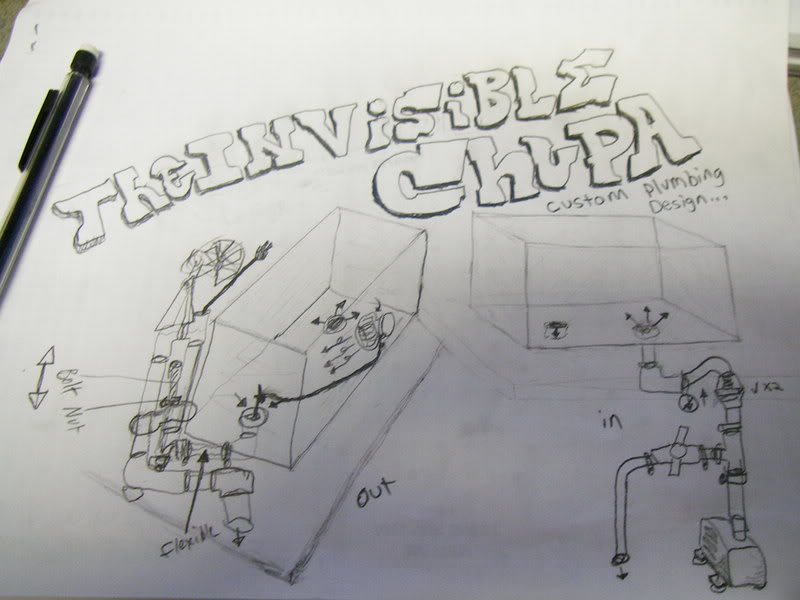
I was frustrated with the drain pipe on my 15g as it always seemed to get in my way and looked unsightly. All of the drainage systems currently available weren't going to work for what I wanted. I thought about using a overflow tucked away in the corner but that still wasn't what I was looking for. I had to come up with a new style of plumbing; I had to think outside of the box, literally, and the INVISIBLE CHUPA was created.
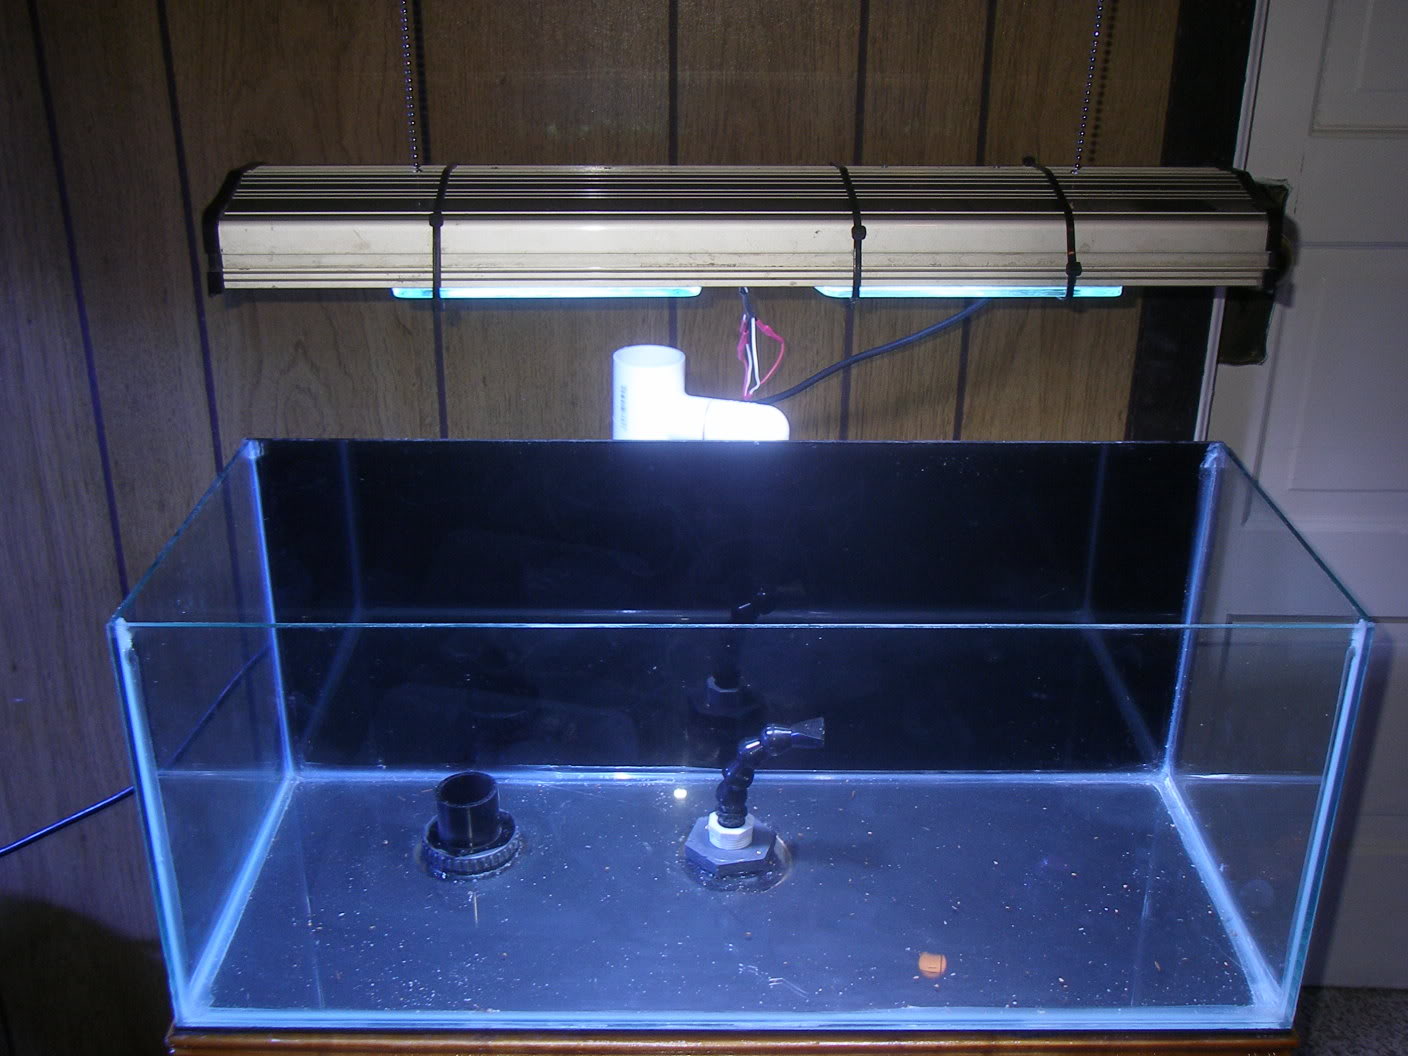
THE INVISIBLE CHUPA:
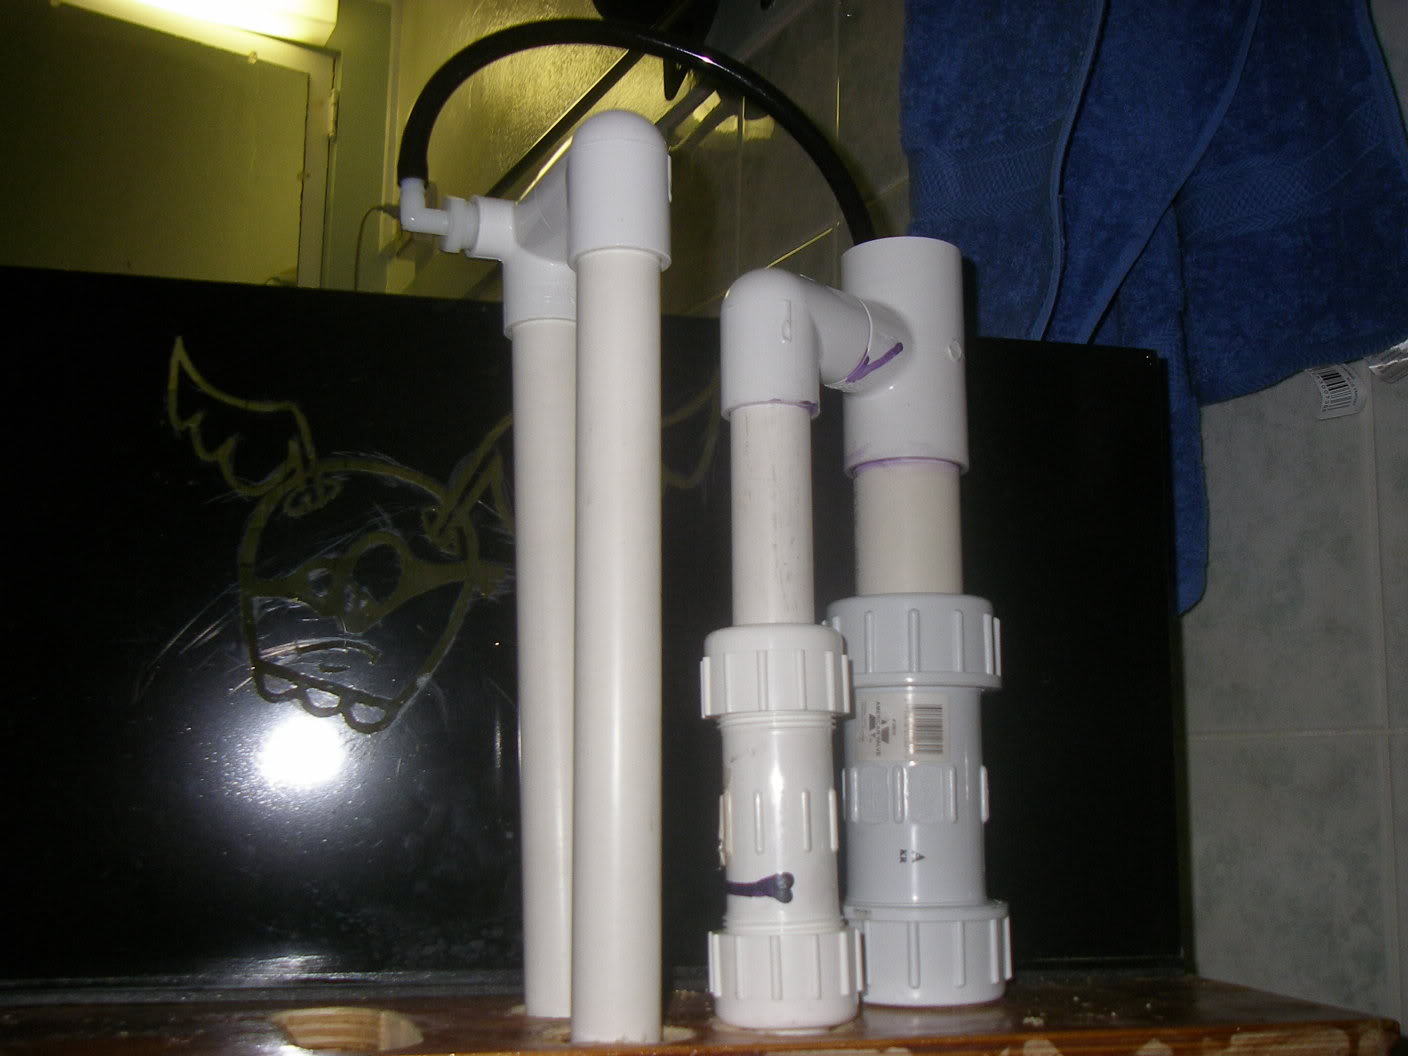
Drain:
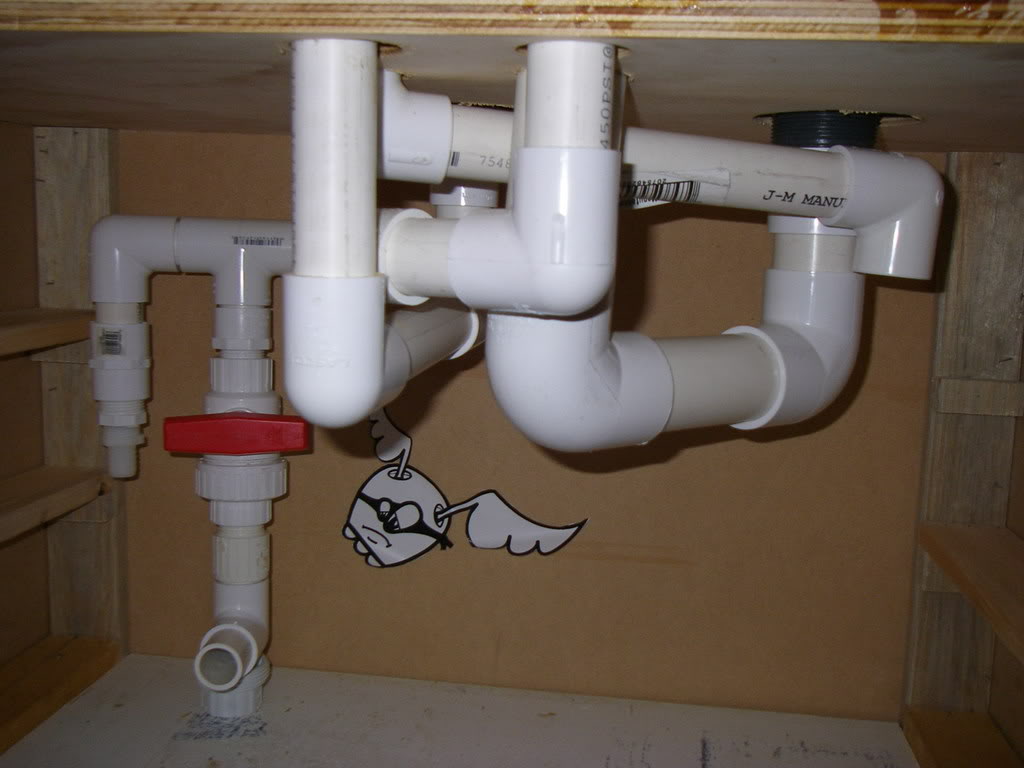
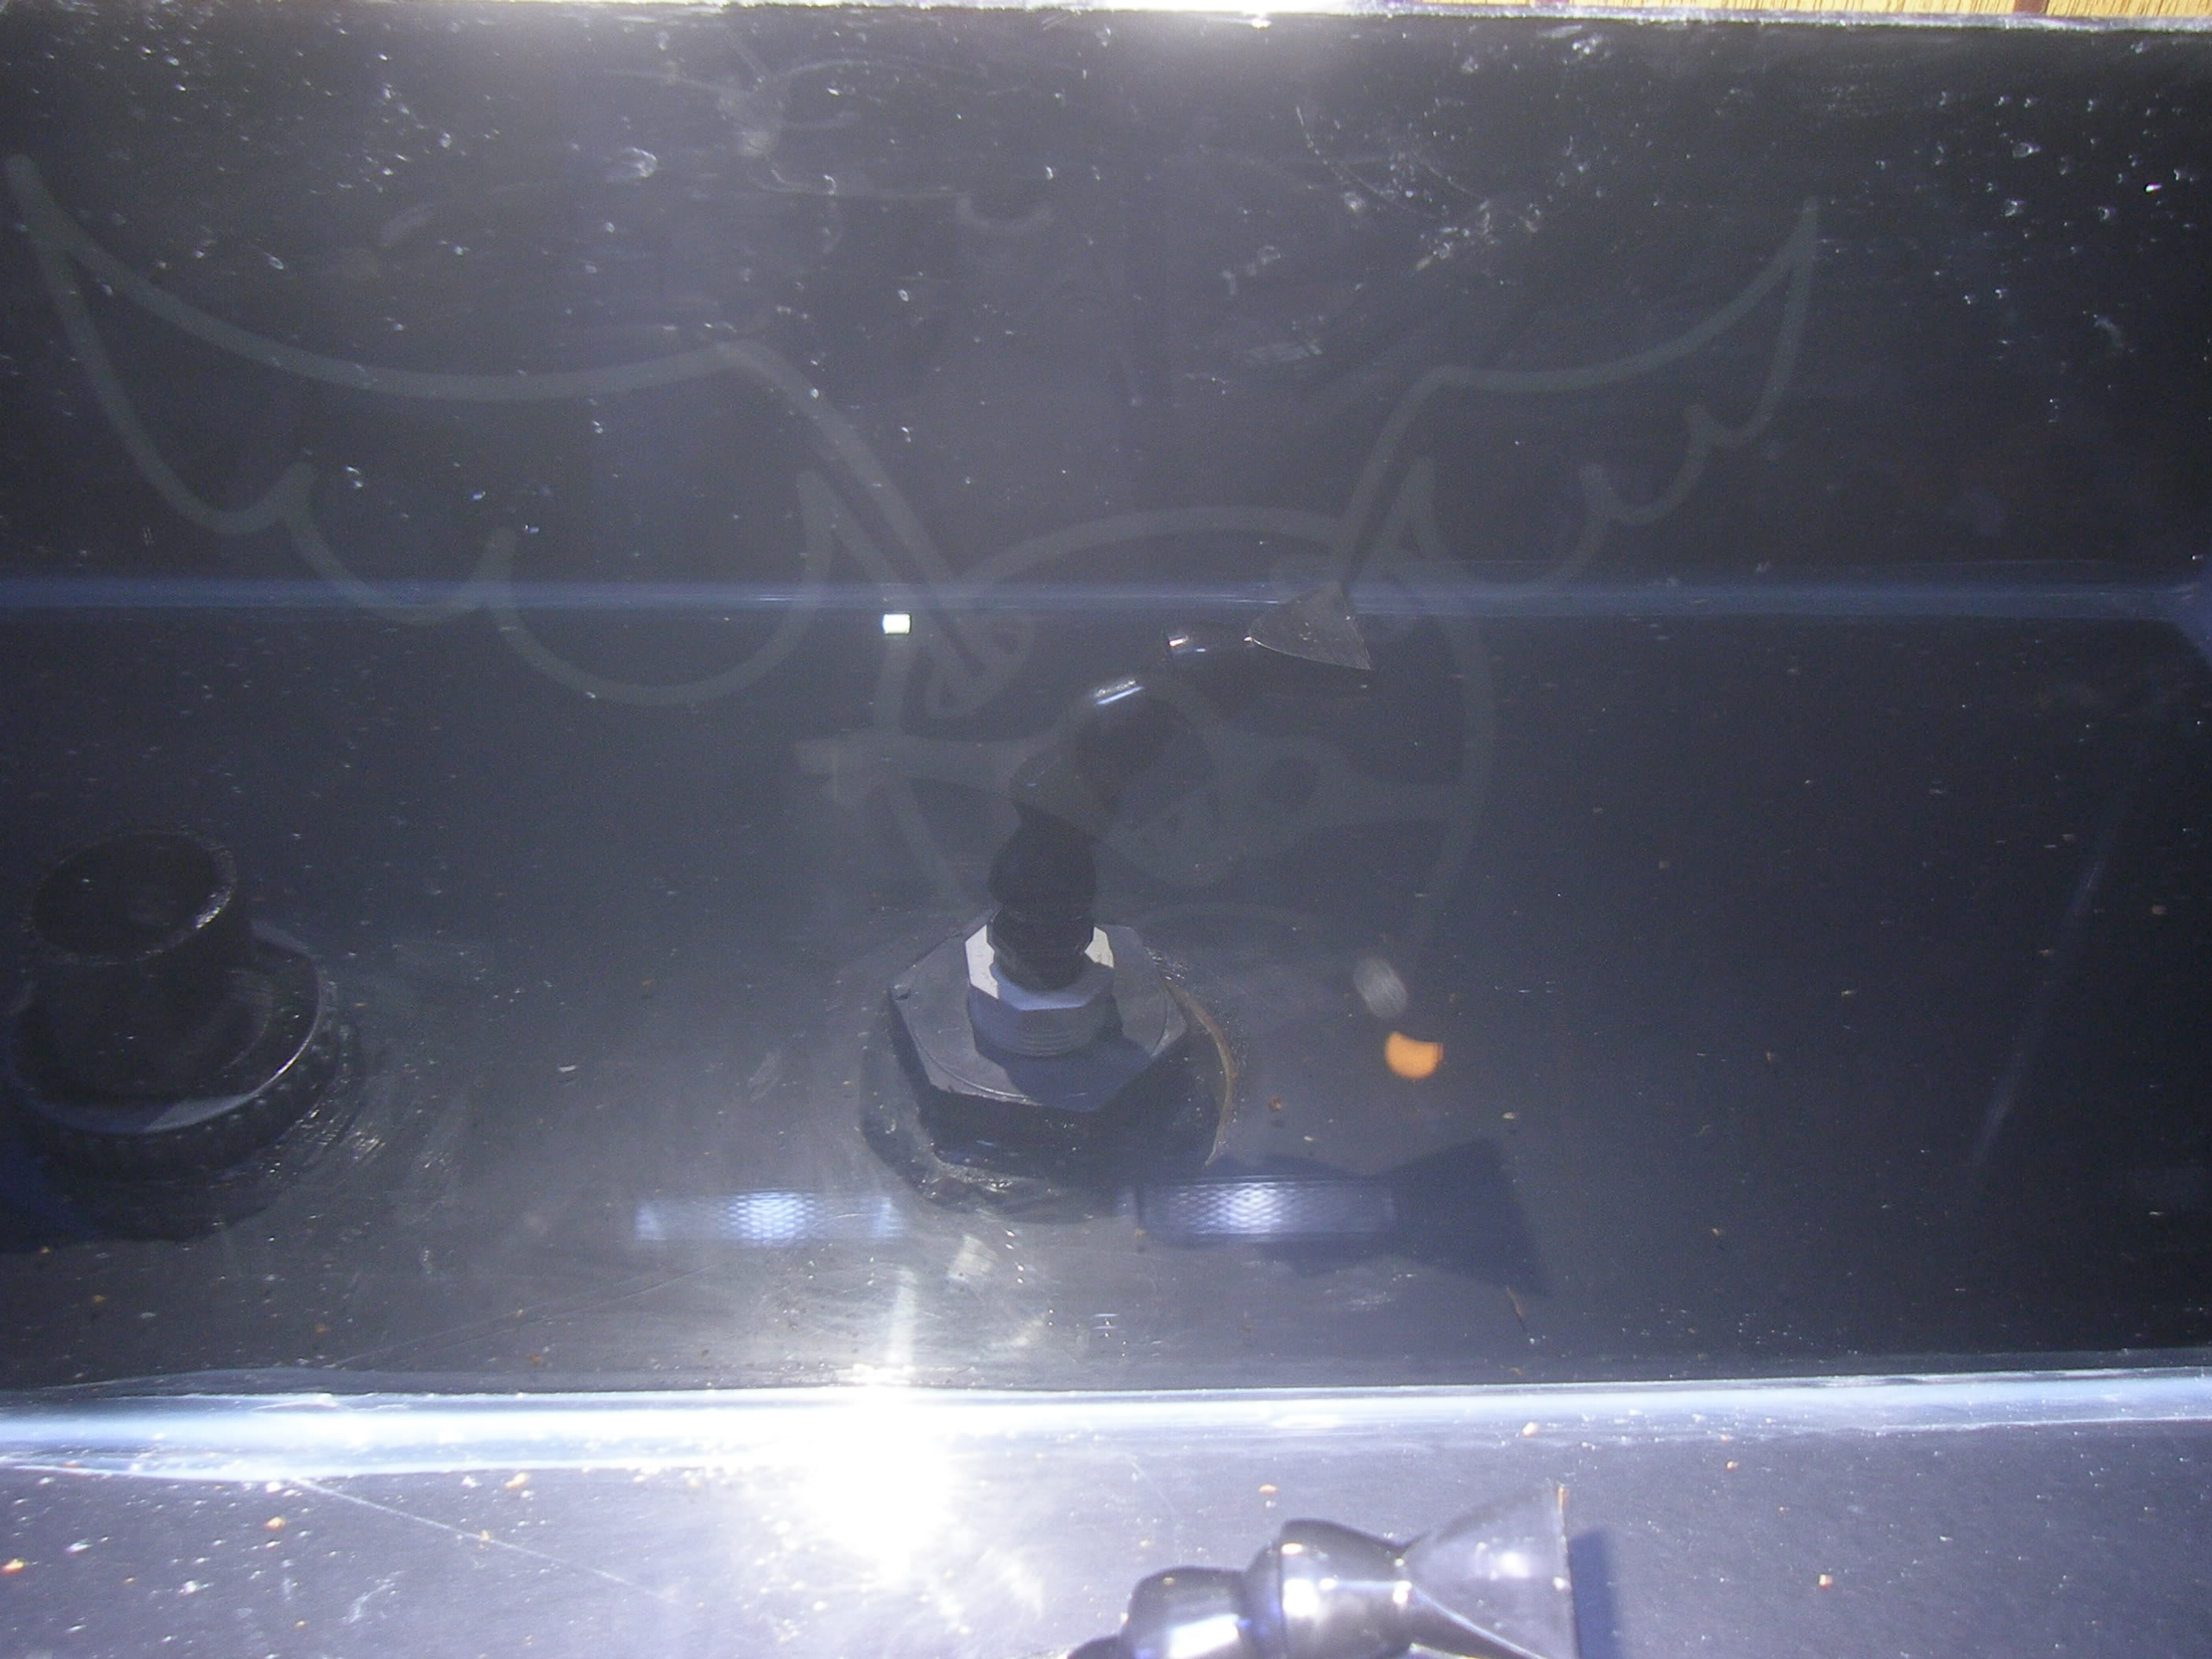
The invisible chupa is quite simple... NOT!!! There is a 1 1/2" bulk head located on the left side if the display. It is covered by a little grate and allows you to run the power wire of the powerhead through the plumbing as to not disrupt the clean lines of a trimless tank (AGA 20L w/ trim removed).
The drain pipe then goes under the tank and back up into a slip repair fitting. The fitting allows you to adjust the water level by sliding the upper half up or down. The drain is silent. The power wire can then exit out of the top of the 1 1/2 T that has a 1" output on the bottom of the T side.
The water actually drains at this T's intersection. If the power fails the water just drops to below the level of the T's intersection. The drain pipe (1") imediately falls straight down by way of a 90degree elbow into the sump. (I changed how the plumbing is setup since the photos)
Return:
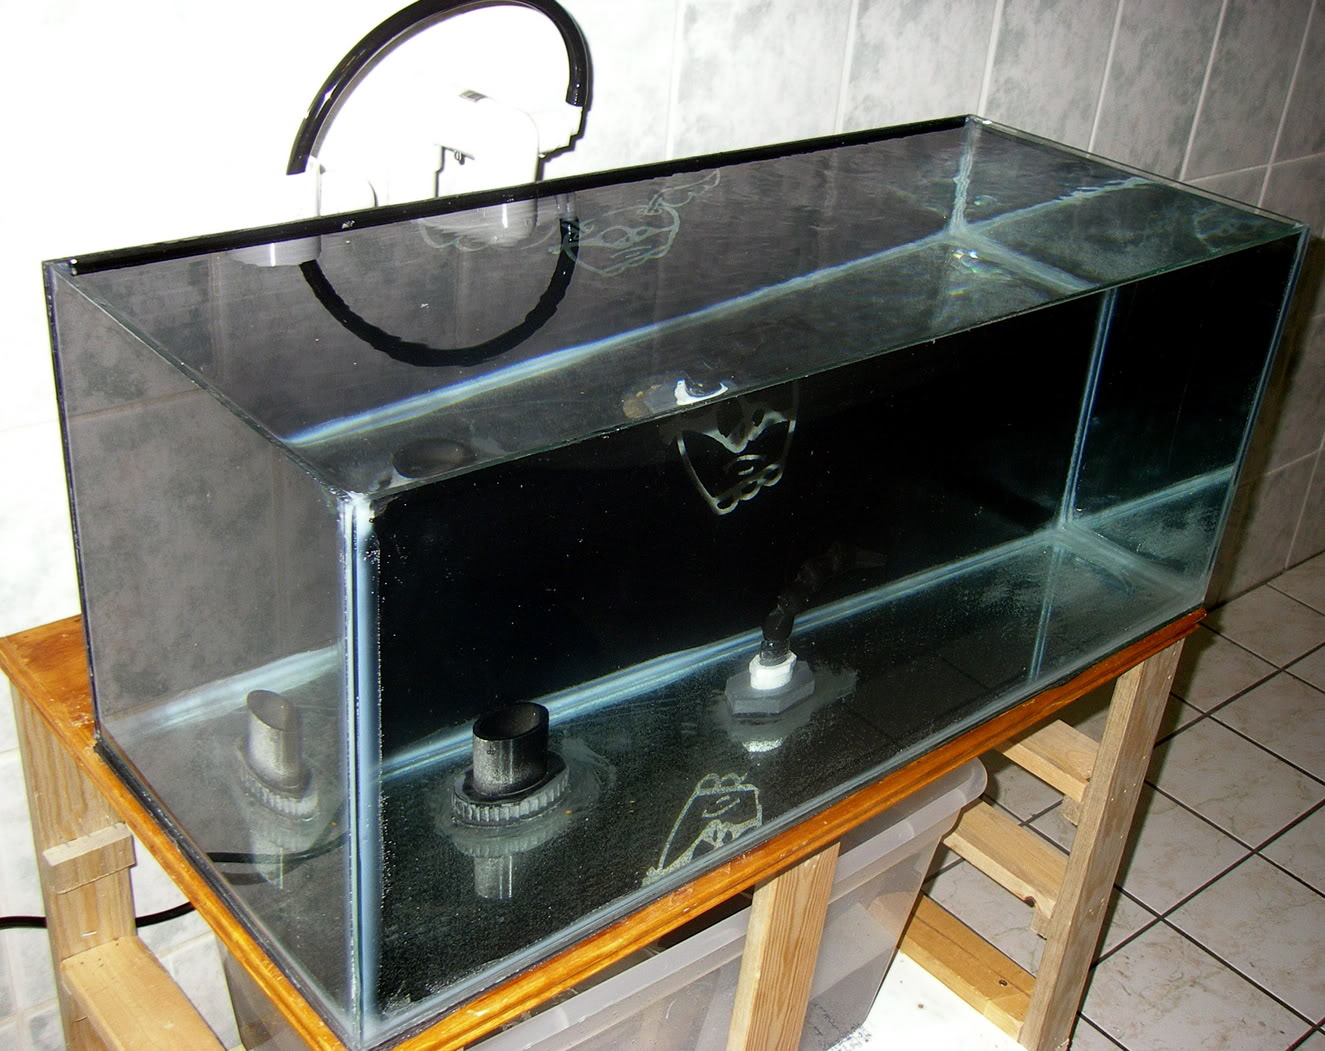
The return (1") goes from a pump (via aqua 1800, chosen for it price, silent operation, flow, and only uses 28W of power, I own 3, love them!) in the sump to a T. On one side of the T is a ball valve that exits directly back into the sump.
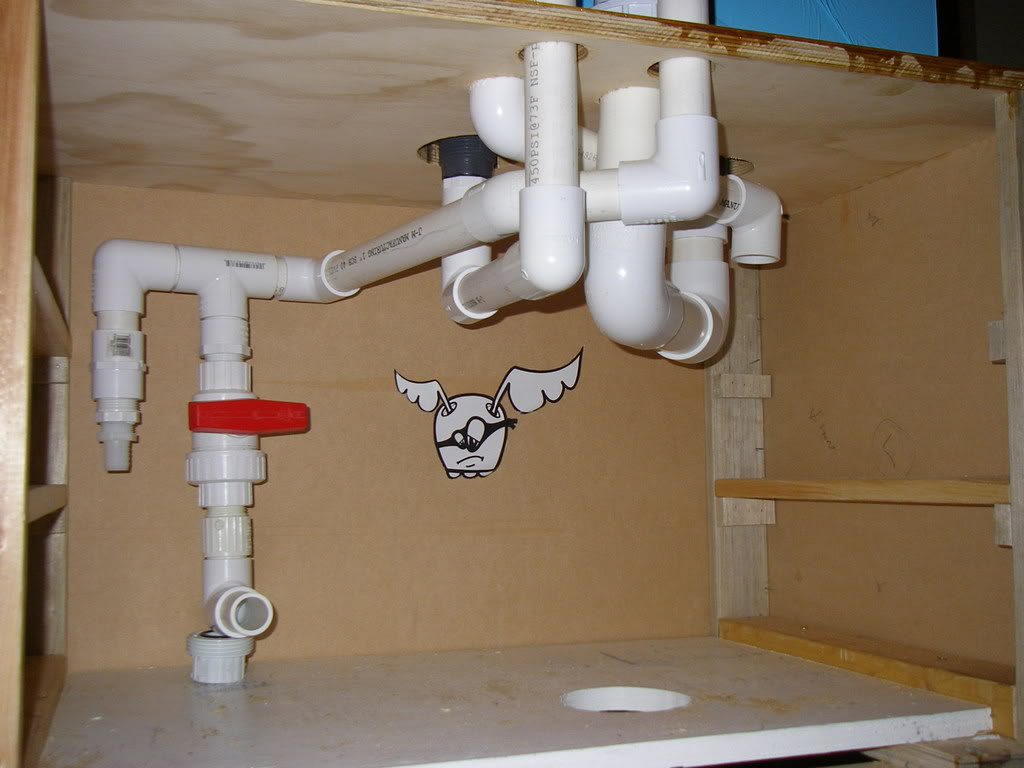
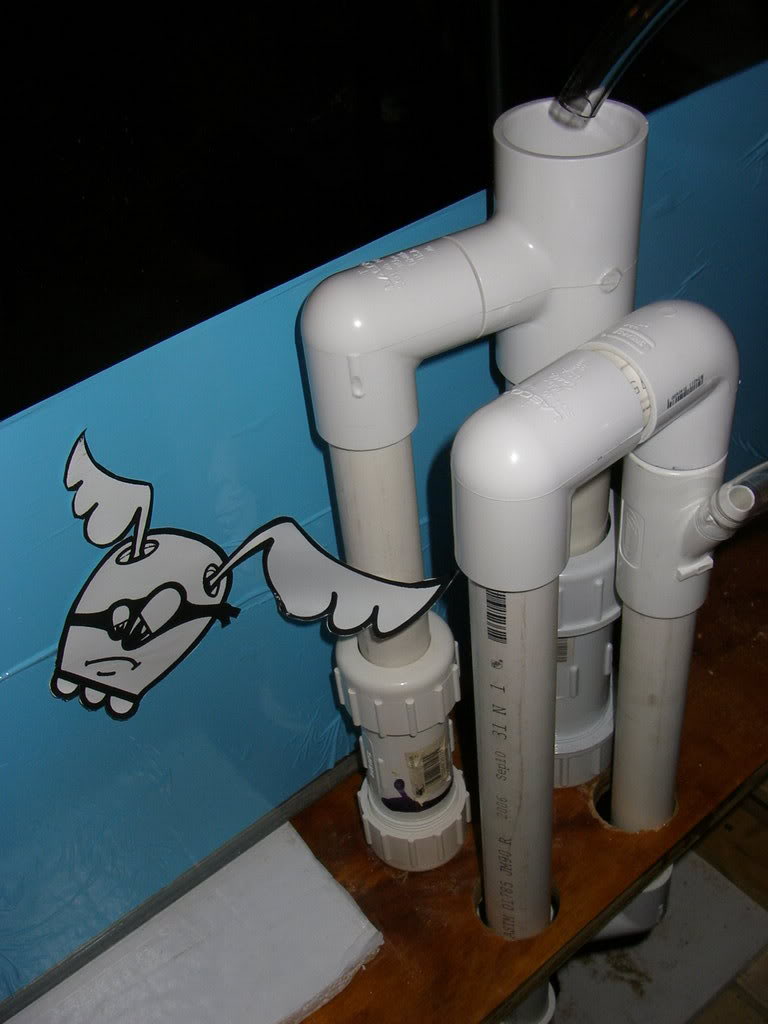
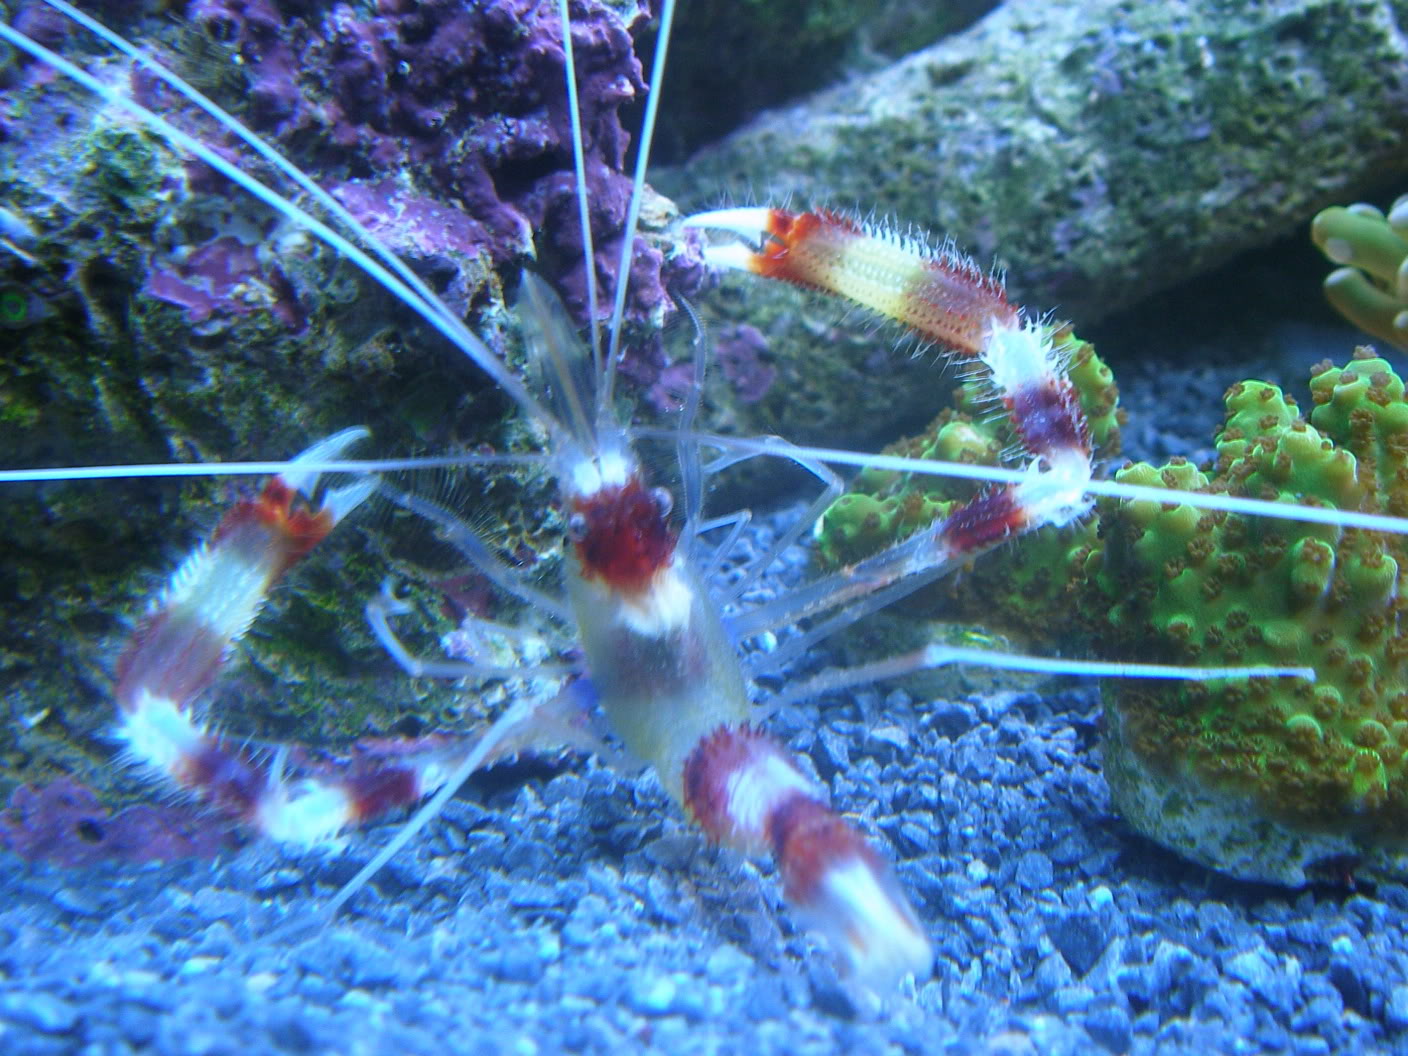
If you leave this valve fully opened the pump will recirculate water only in the sump due to the head pressure preventing water climbing up into the display. If you turn this valve about half open it creates enough back-pressure to over compensate the head pressure and allows the water climb up to the display. This setup allows me to have plenty of flow in my sump (about 300 gph) and moves about 100gph hour between the display and the sump. I like having lower flow rates between the display and the sump because they drastically reduce the noise and micro bubbles caused by high volumes of water being pump through the drain. Anyways, the water that does make it up top goes up behind the tank to the waters surface level. You can see the return pipe on the right side of this photo behind the tank.
You may notice the black tube coming off the pipe and pointed into the drain. I was just going to use a check valve and have water shoot directly into the bottom of the display, but a few people pointed out to me that check valves have failed, and my tank would be drained in the event of a power outage and check valve failure due to the return being located at the base of the aquarium. The black tubing directs a small amount of the returning water directly into the drain (open part of the T where the power wire exits), in the event of a power failure, the tubing sucks air into the return plumbing breaking the siphon. It always works. (I have also found this hose very useful for drip acclimating, and filling bags when I sell frags.) The water that doesn't get pushed into the the tubing goes back down under the tank and enters into the display through the bottom of the tank.
All of the plumbing above the stand has been painted black even though they are blocked from view by a piece of foam board. It took me about 6 trips to Lowes to complete the plumbing because I kept having fittings glue together at the wrong angle. I know where every fitting is at Lowes now and just walk in and could grab them blindfolded. I am not a plumber, just a college senior with a goal, I know very little about plumbing or at least I used to. I have a very good concept of how fluids and air move through tubing from my years of glass blowing. My best advice for a plumbing project is to buy more fittings then you think you need, as you can just return the extras when you are finished, and they seem to come in really handy. I also would advise that you should use a ton of glue after purple priming on the fitting, then a little on the pipe and then a second big glob on the fitting before jamming them together. All this glue will allot you some time to adjust the fittings before they set up and helps the pipes slide fully into their sockets. Very light coatings of glue will setup extremely quickly, sometimes immediately before the pipe is even into the socket sending you back to Lowes assuming you didn't get those extras..
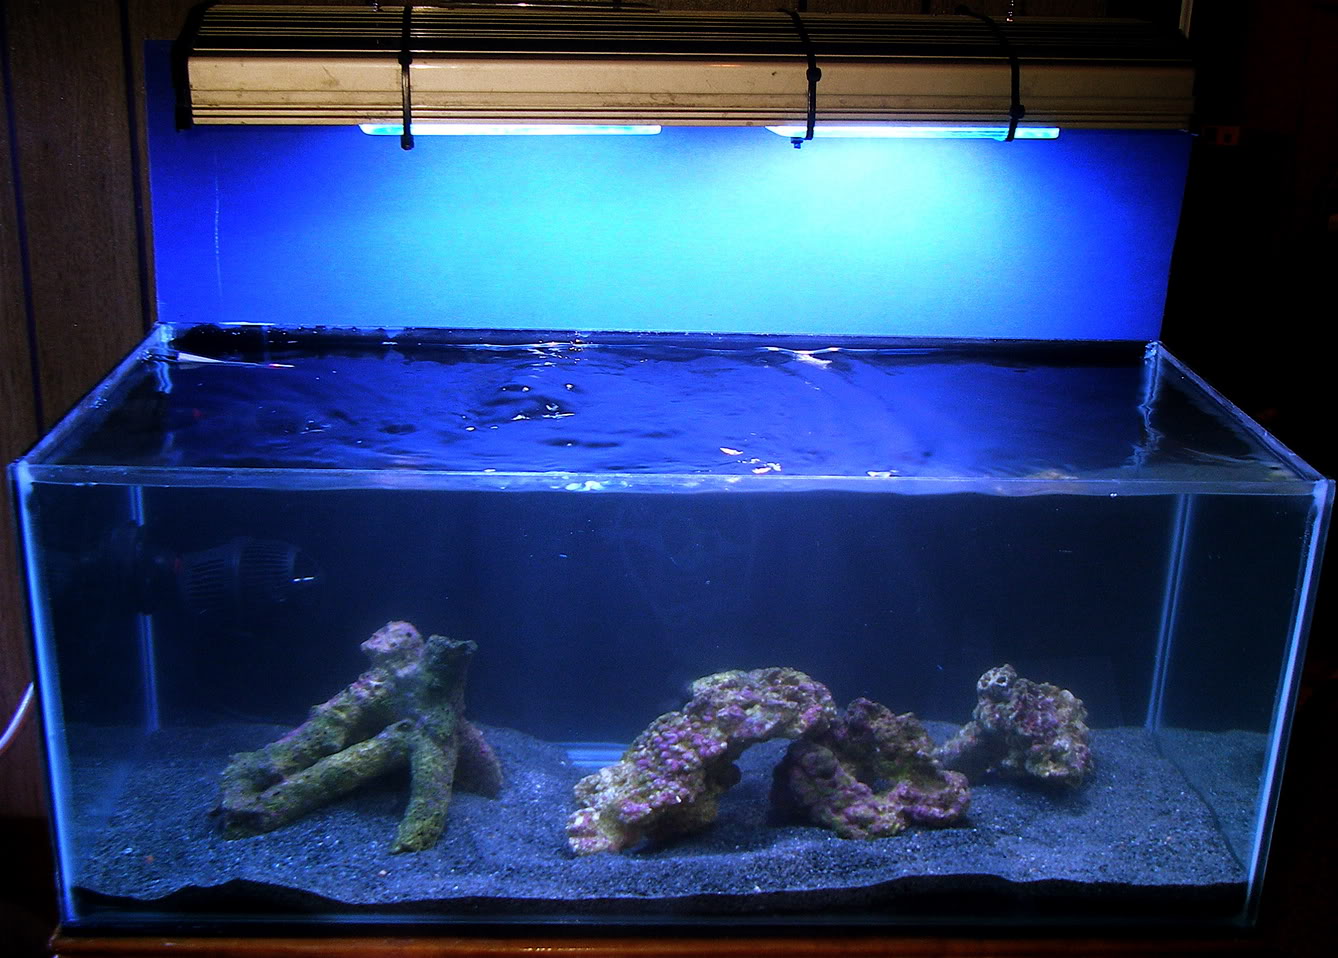
THE TANK:
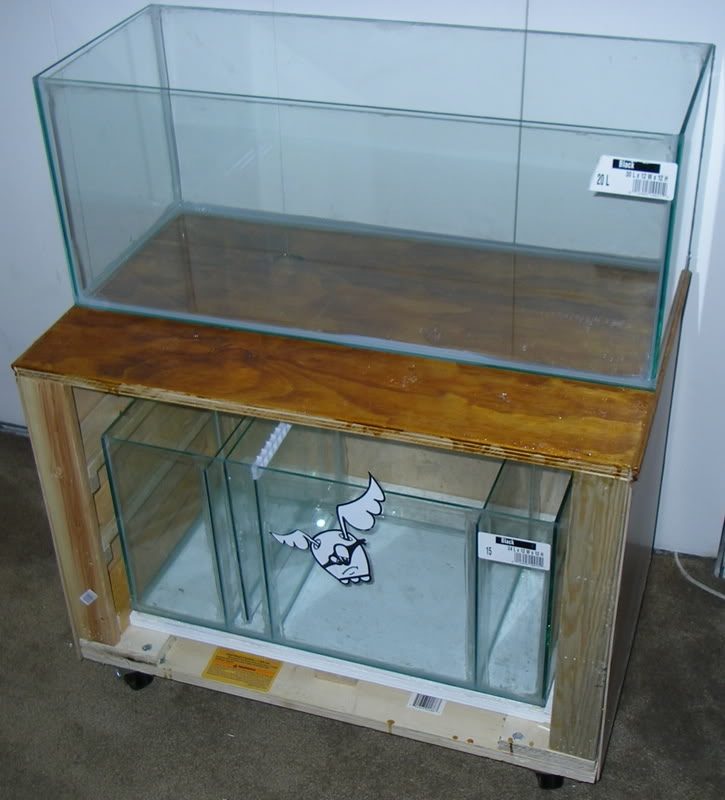
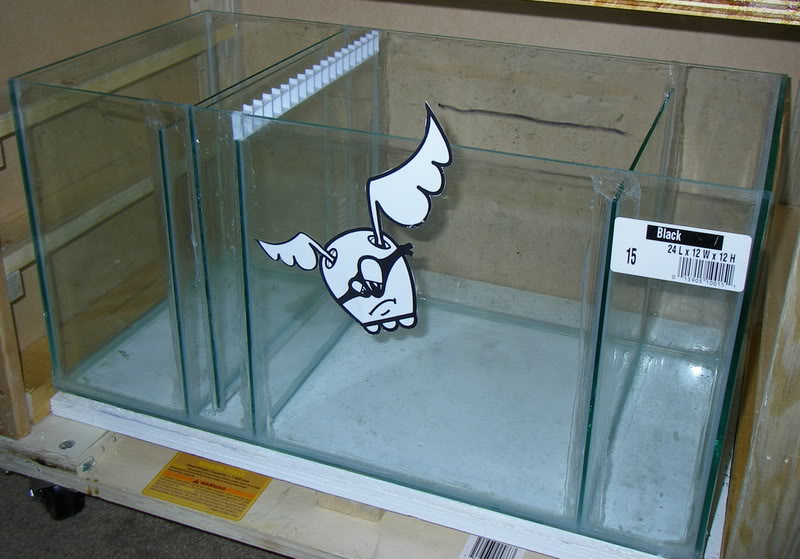
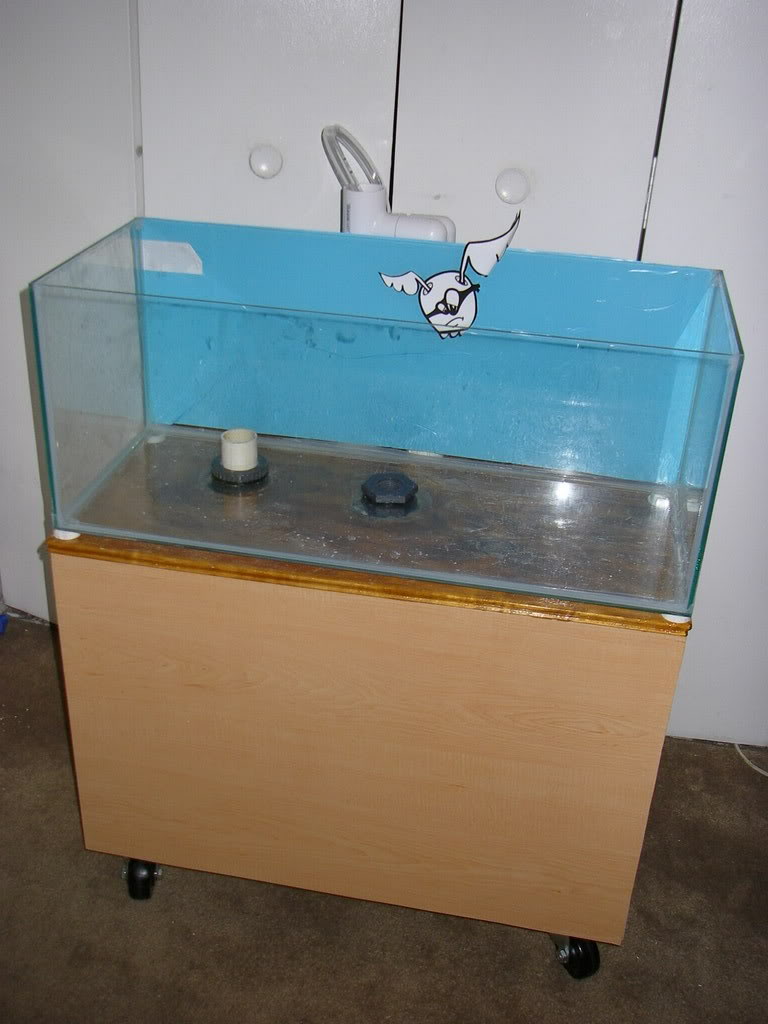
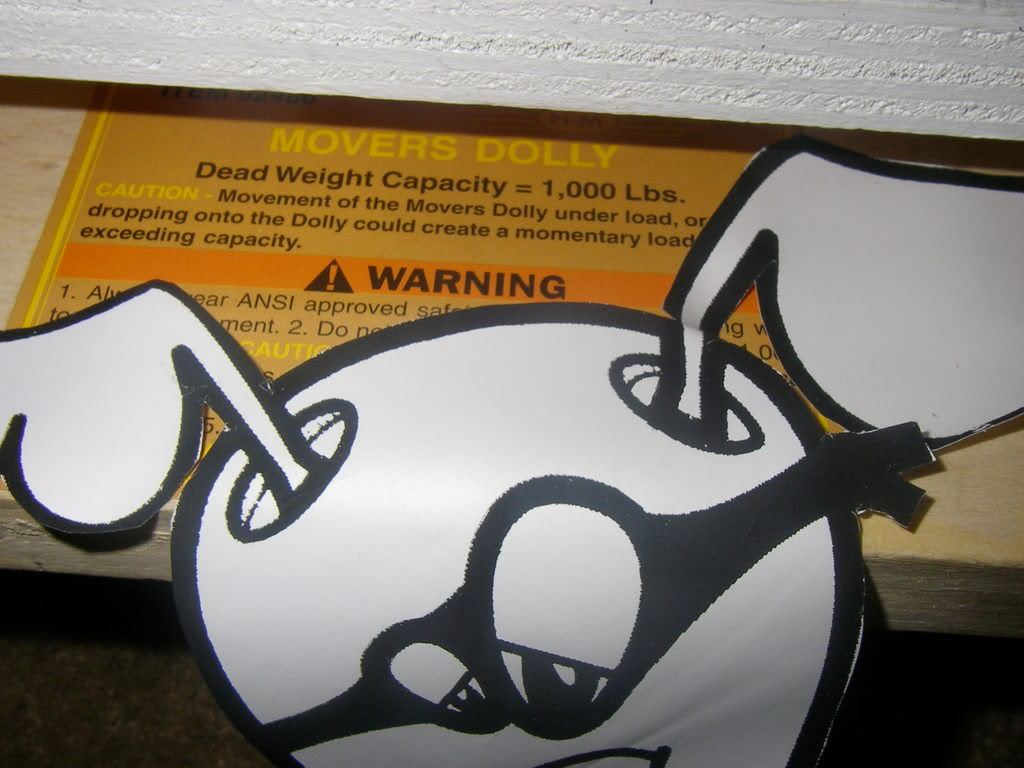
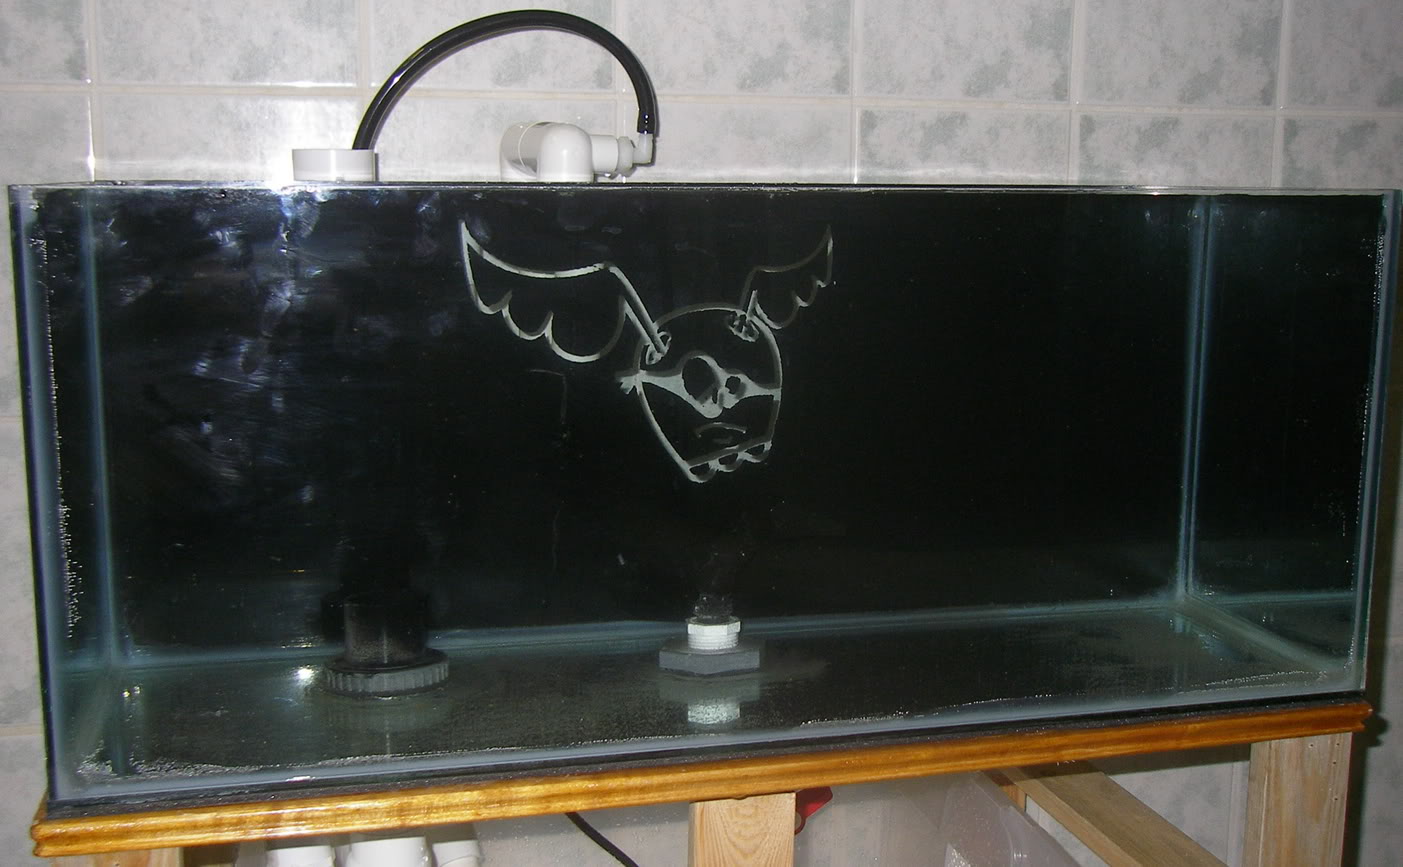
The tank is your run of the mill AGA 20g Long. I ripped all of the trim off and used silicone remover and a razor blade and plenty of man hours to get it all cleaned up. I had a 15g tank modified for the sump but decided not to use it because it took up majority of the inside cabinet space leaving little room for working. Oh by the way I built the stand out of a furniture dolly that I purchased with that in mind; it supports 1000lbs. I really like having the tank on wheels. For the sump I decided to go with a plastic container. It has a piece of eggcrate place diagonally across the middle separating the pump from the CHEATO. I am running a NO Fluorescent plant grow bulb on this 24hrs a day. I will post picturs sometime, but it is literally just a container with the pump and some marco with eggcrate in between, no baffles, I don't like baffles. I like having the one big open space as I leave for weeks at a time snow boarding during the winter and need to allow for huge amounts of evap while I am gone. Terrifying, I know.
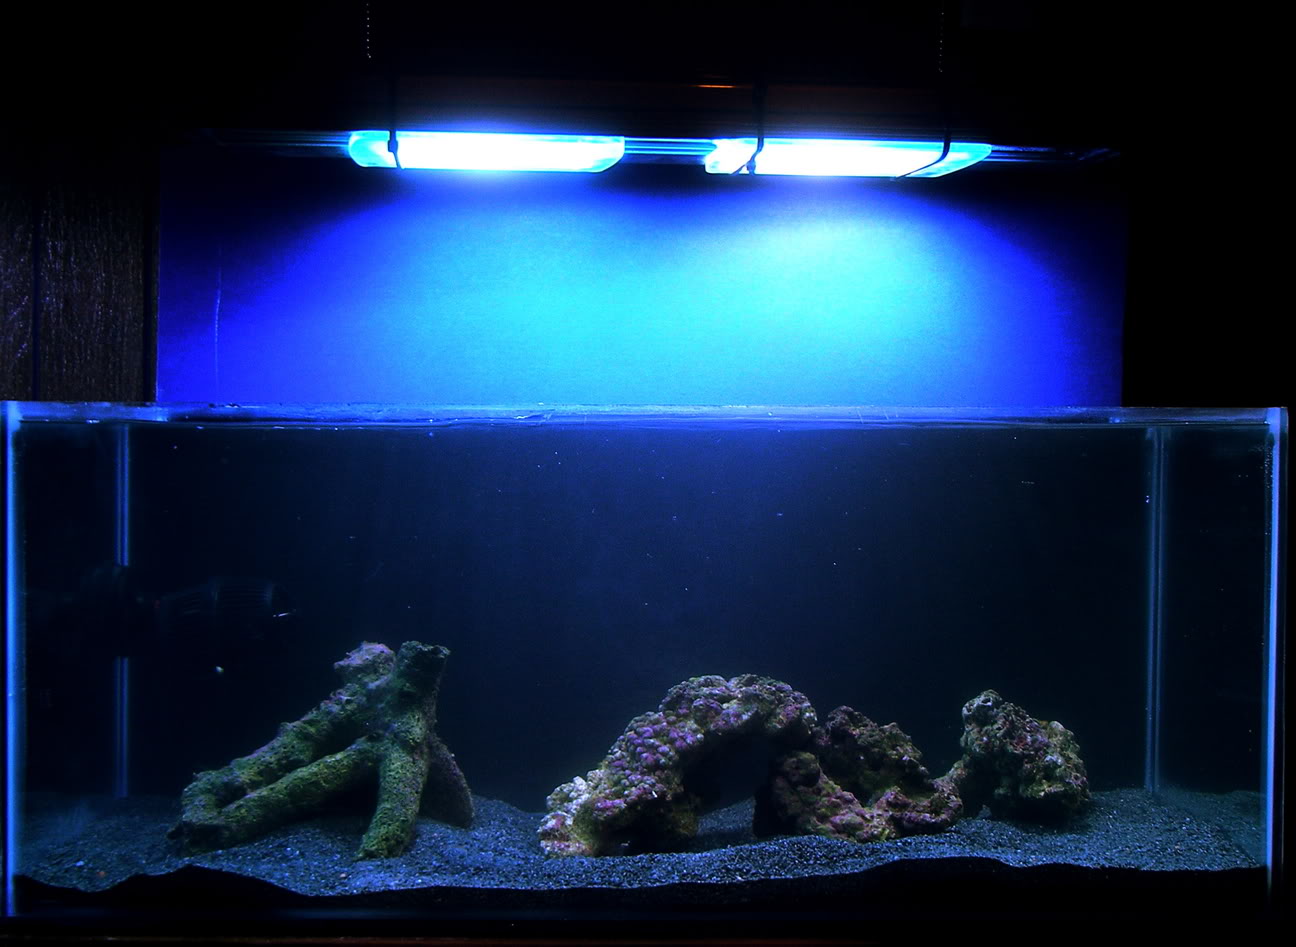
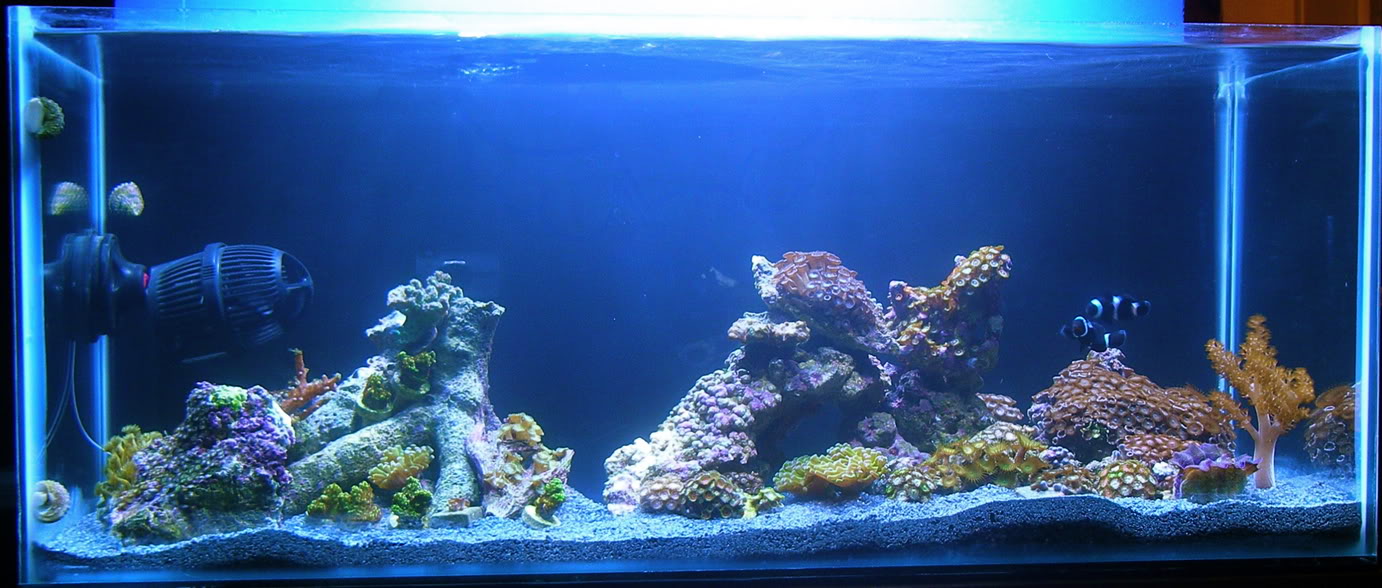
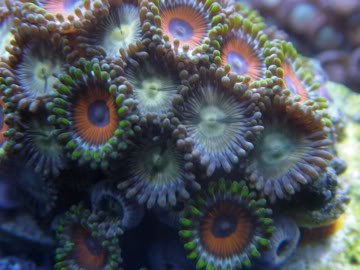
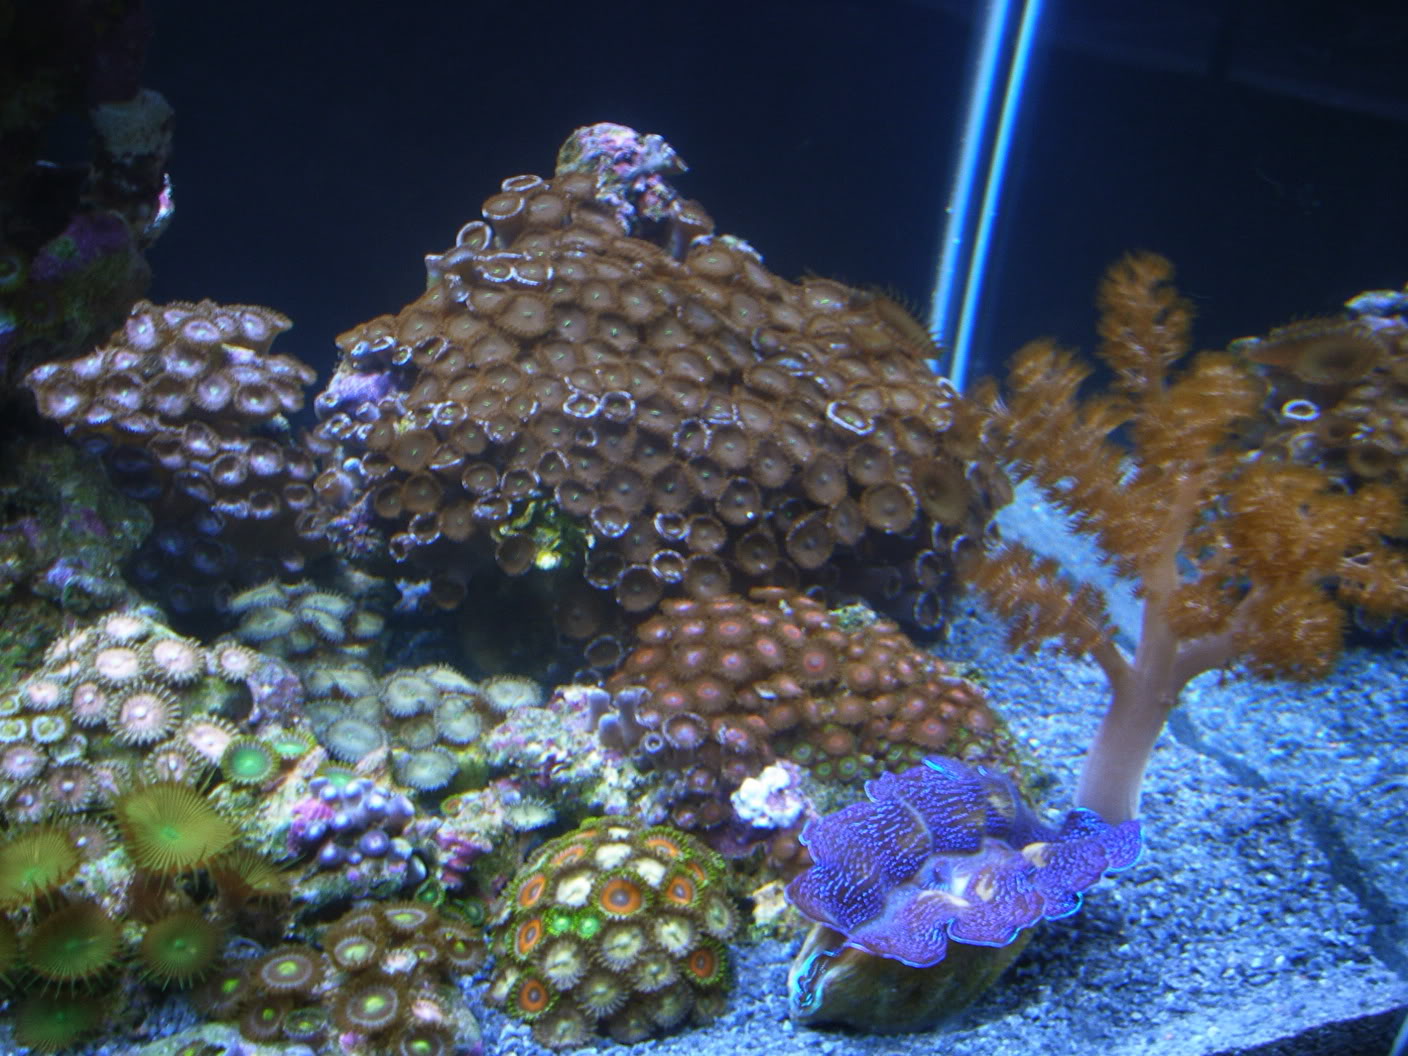
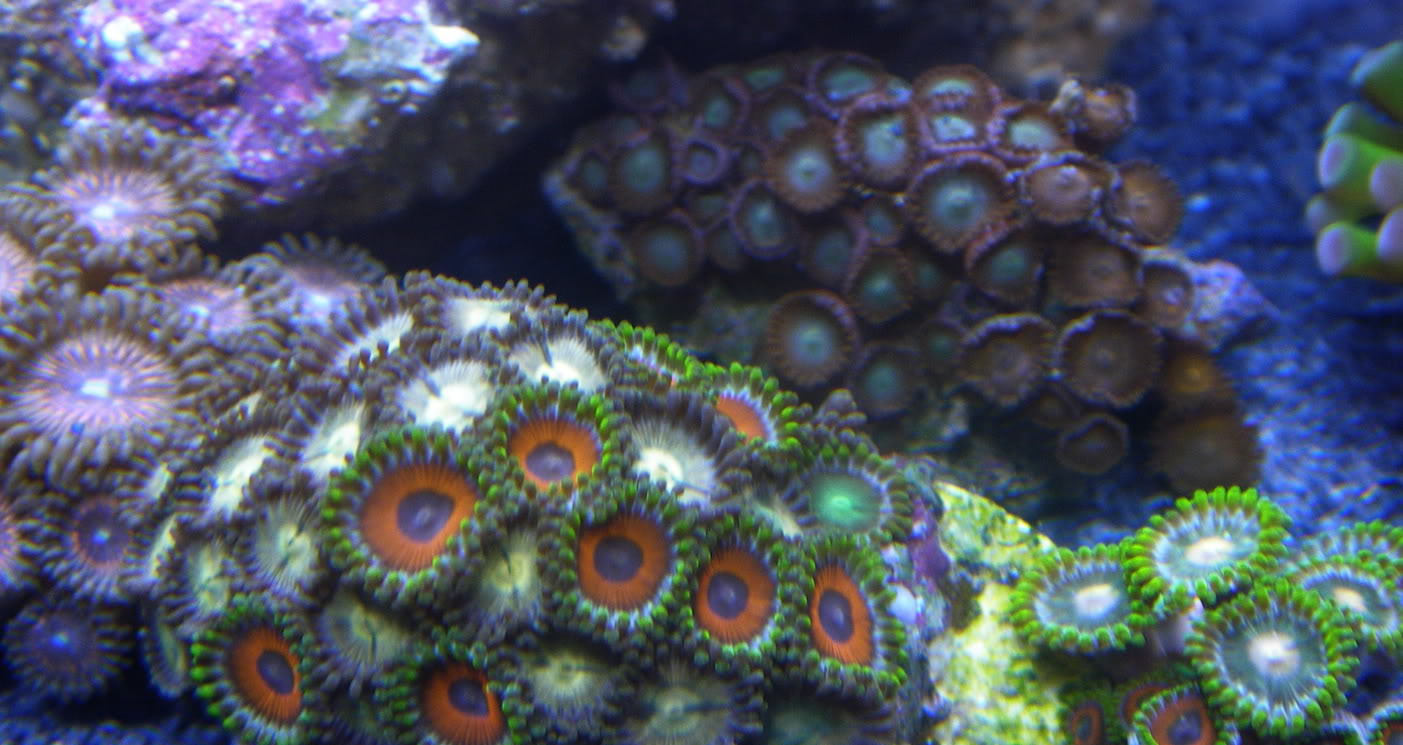
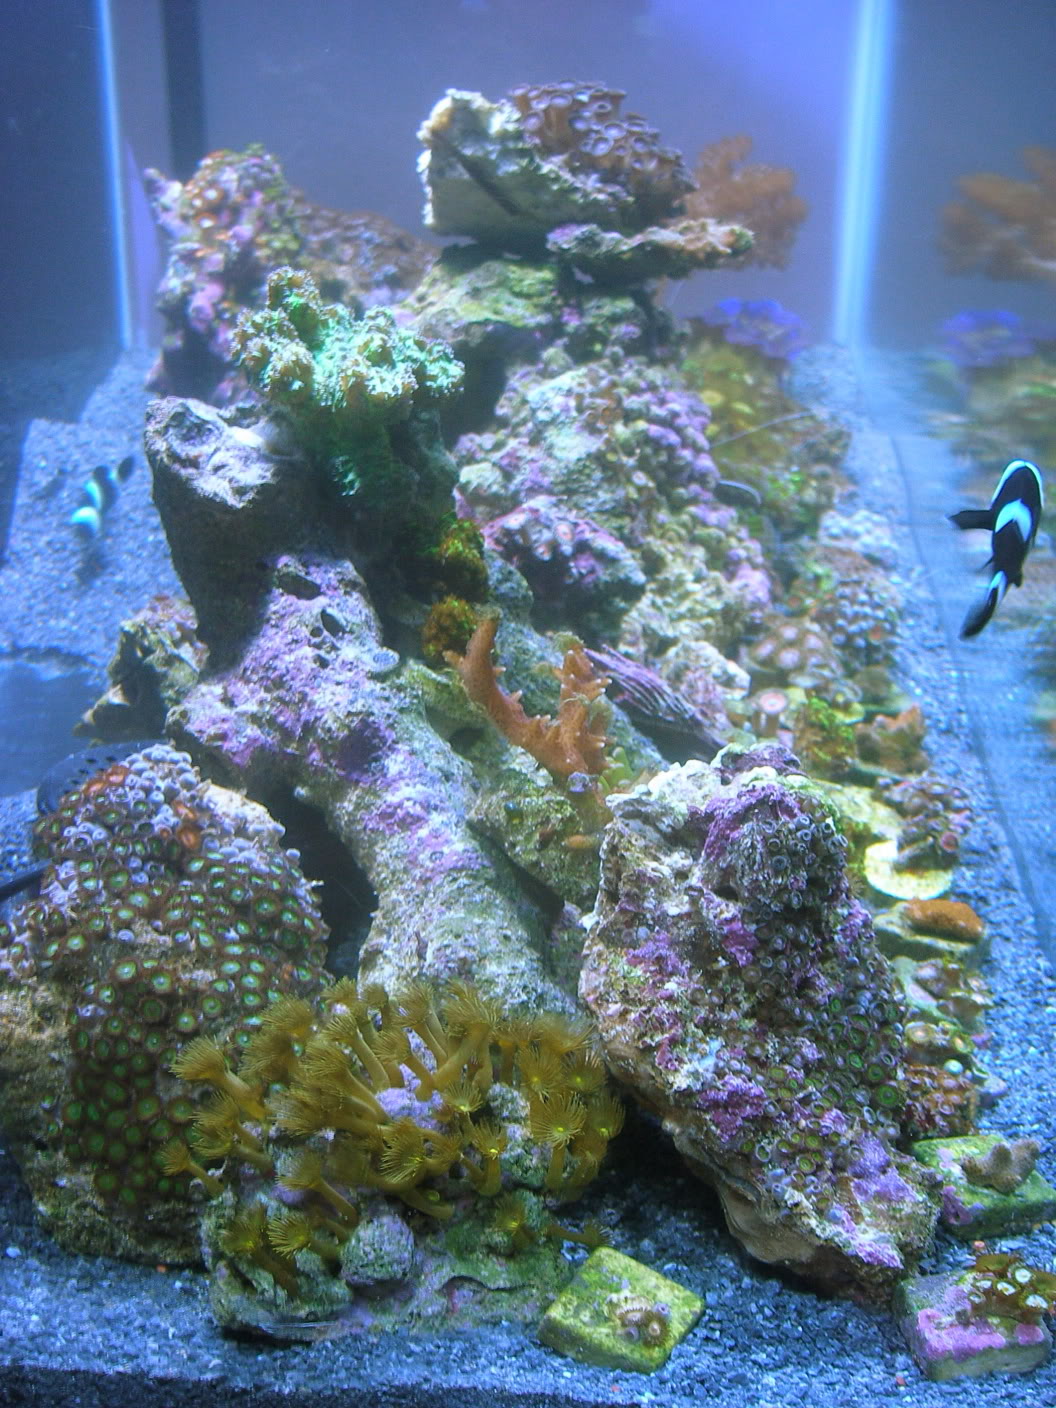
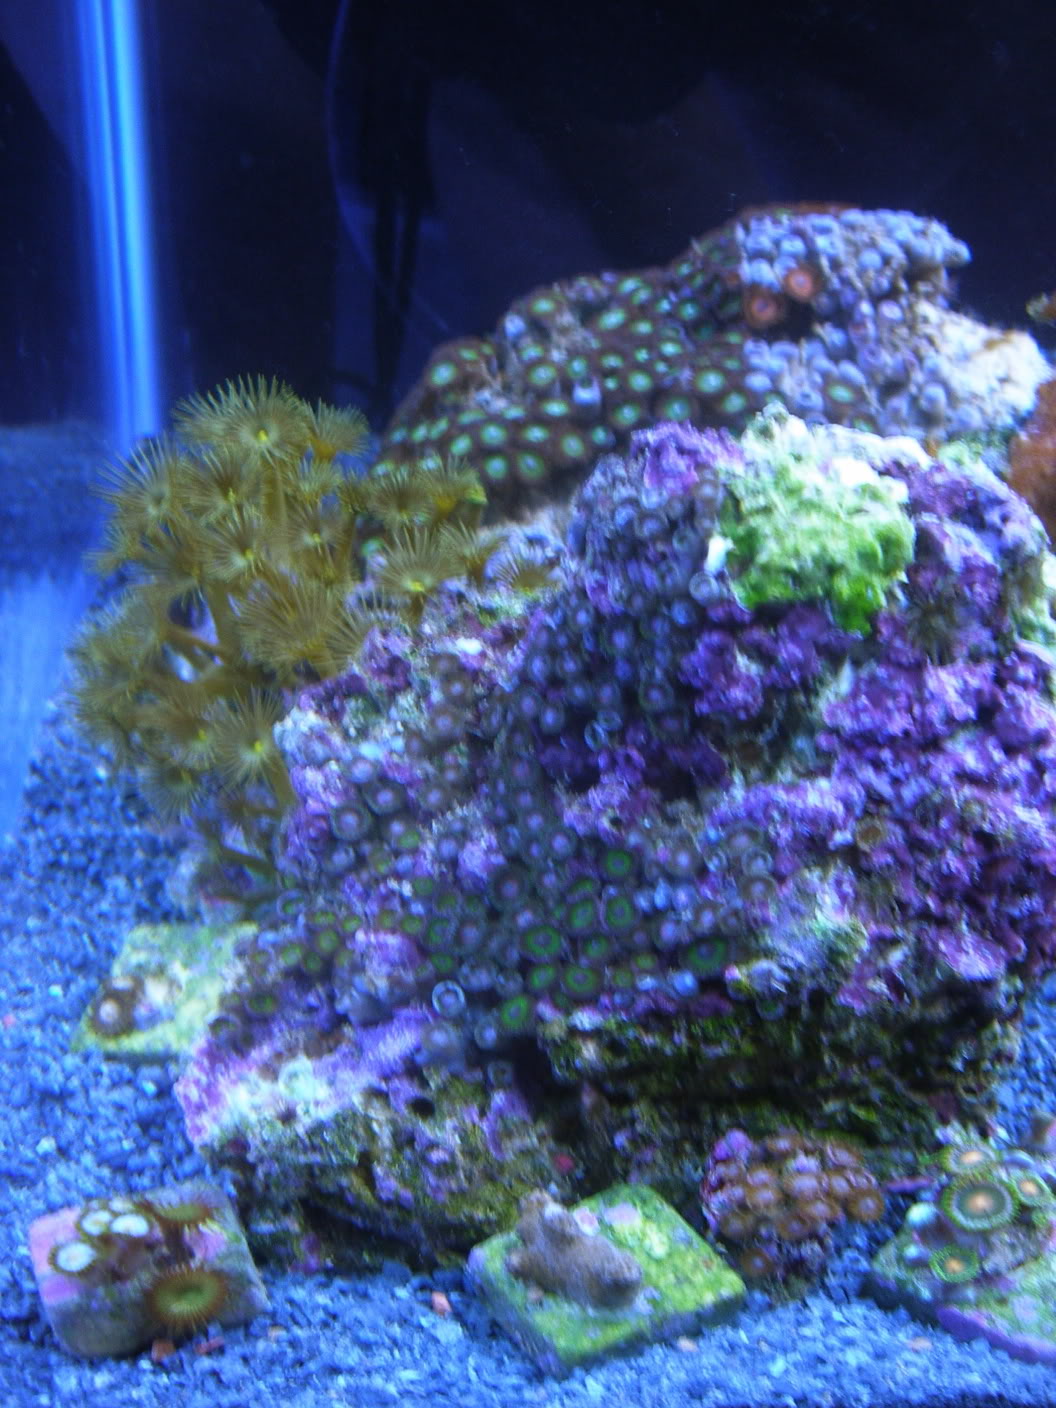
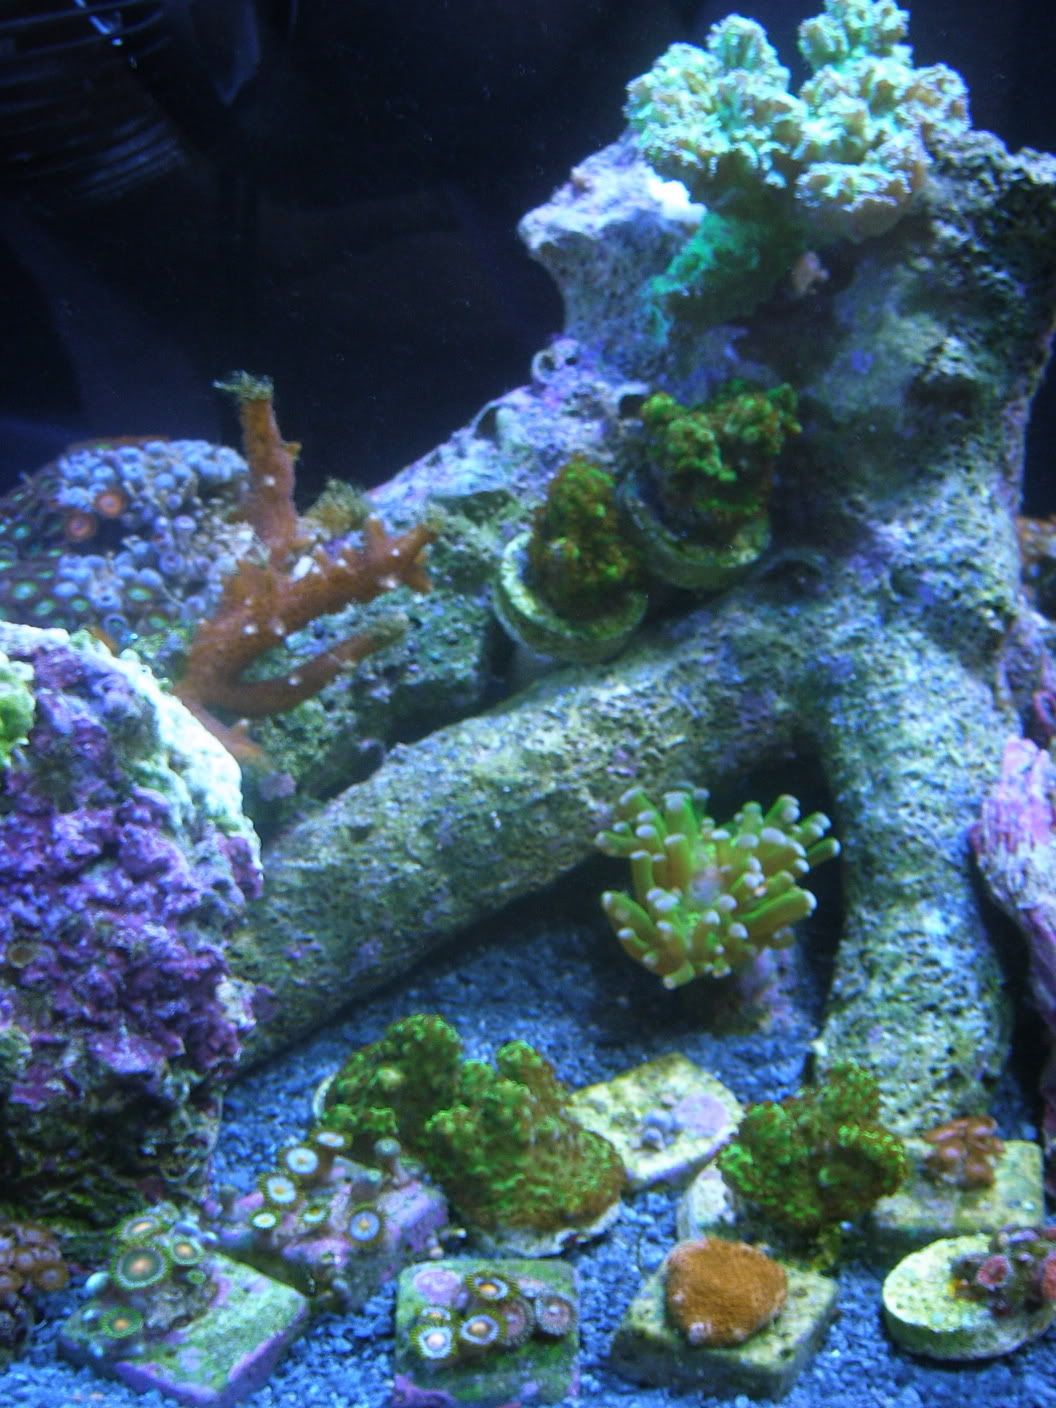
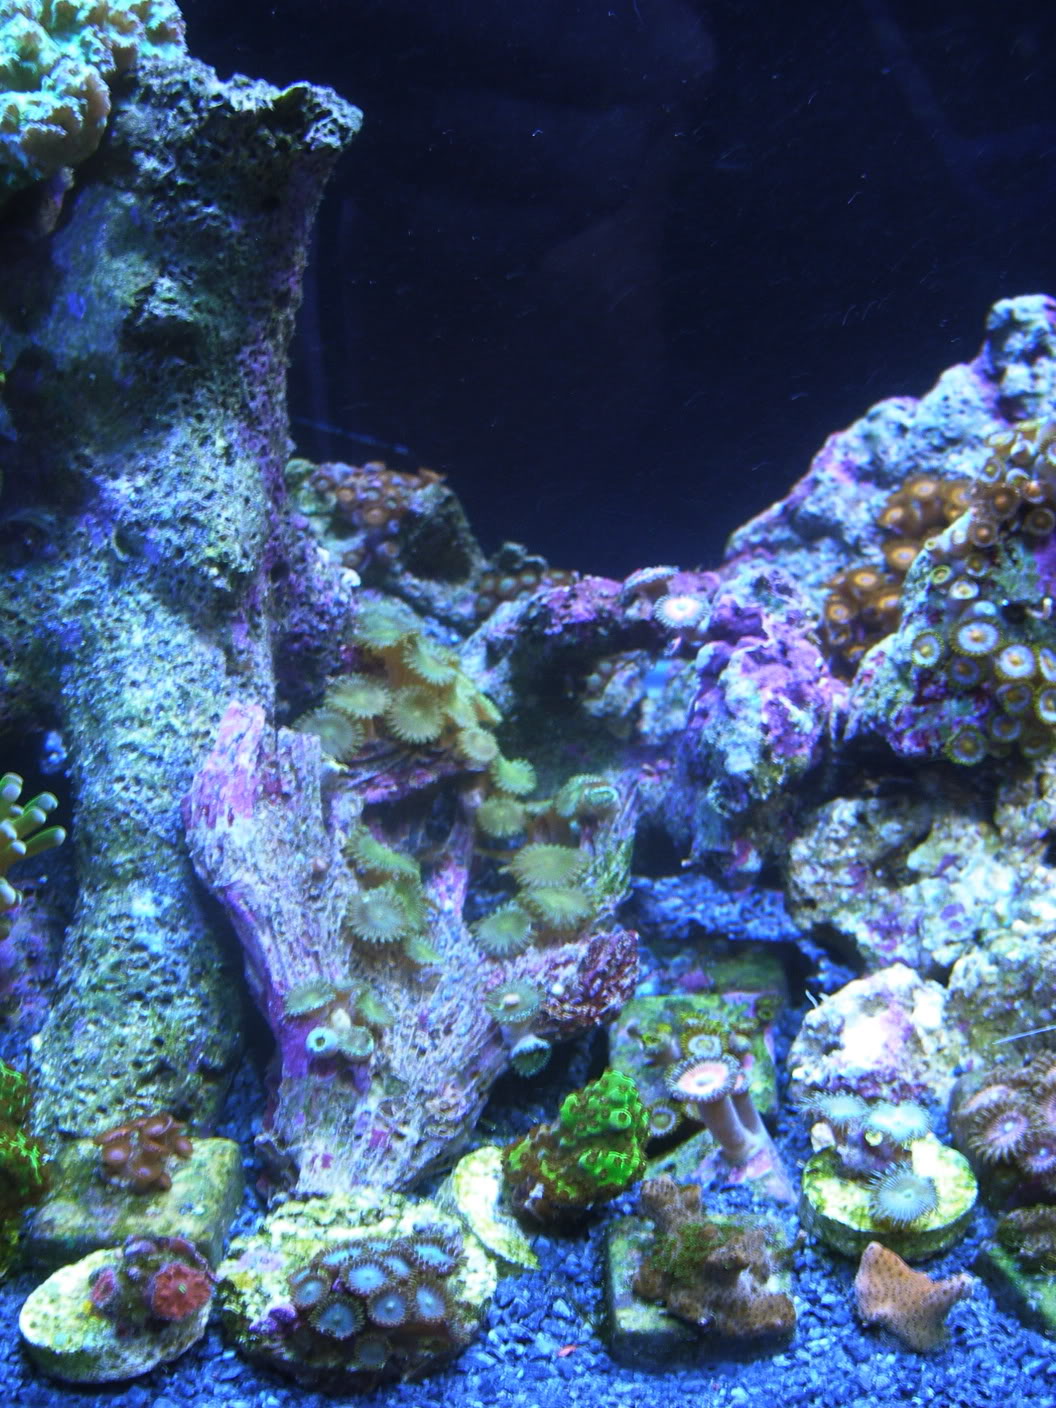
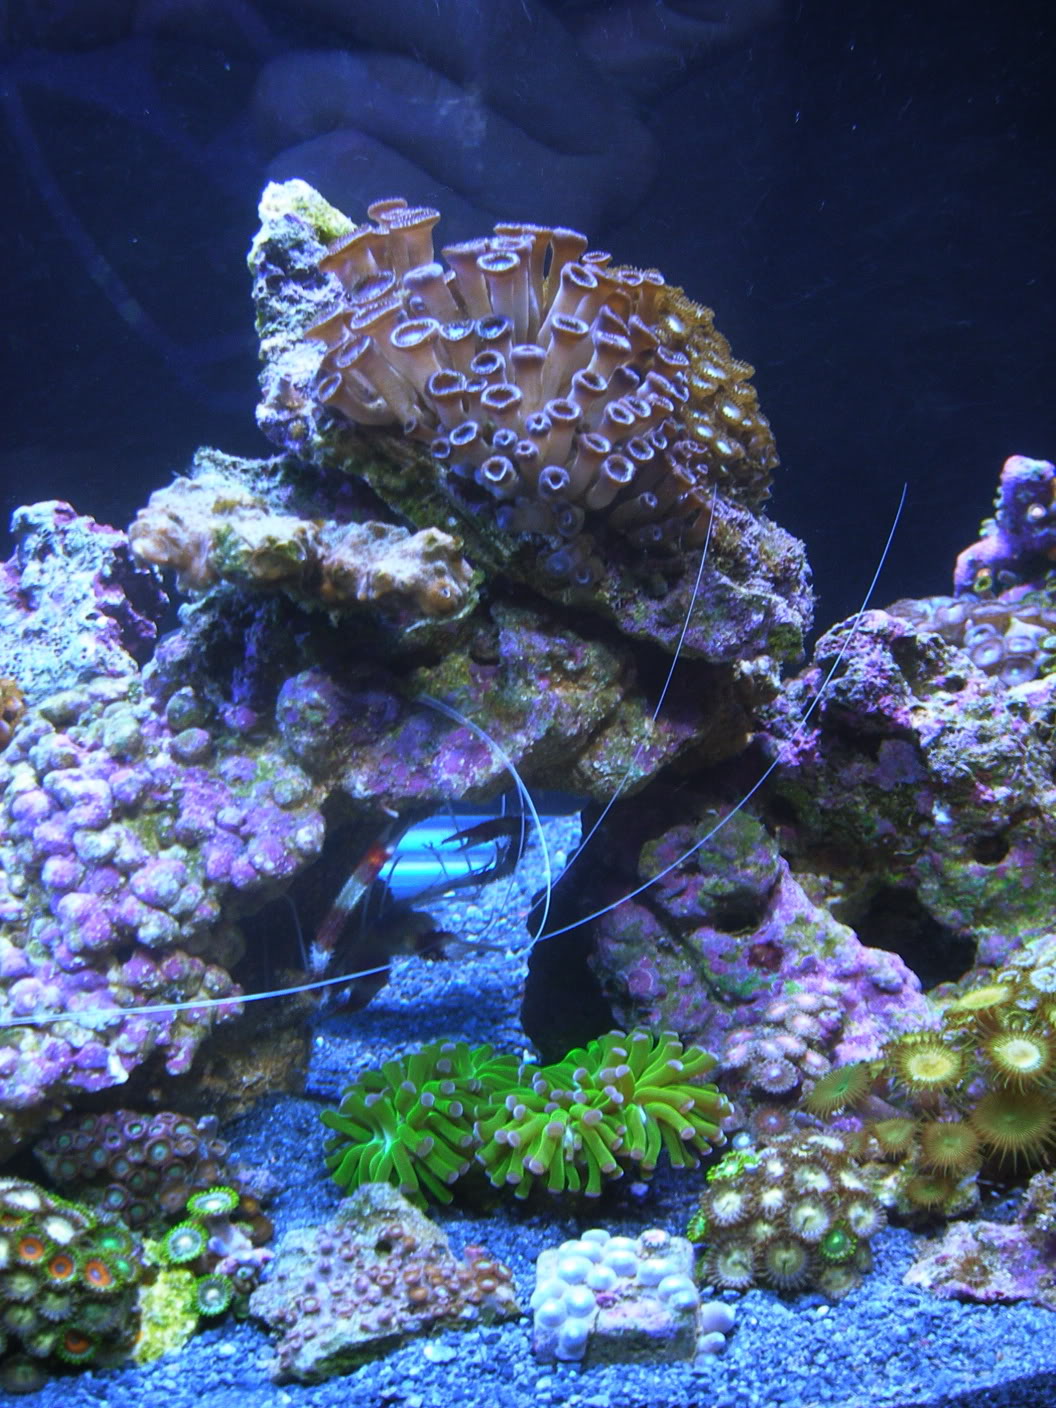
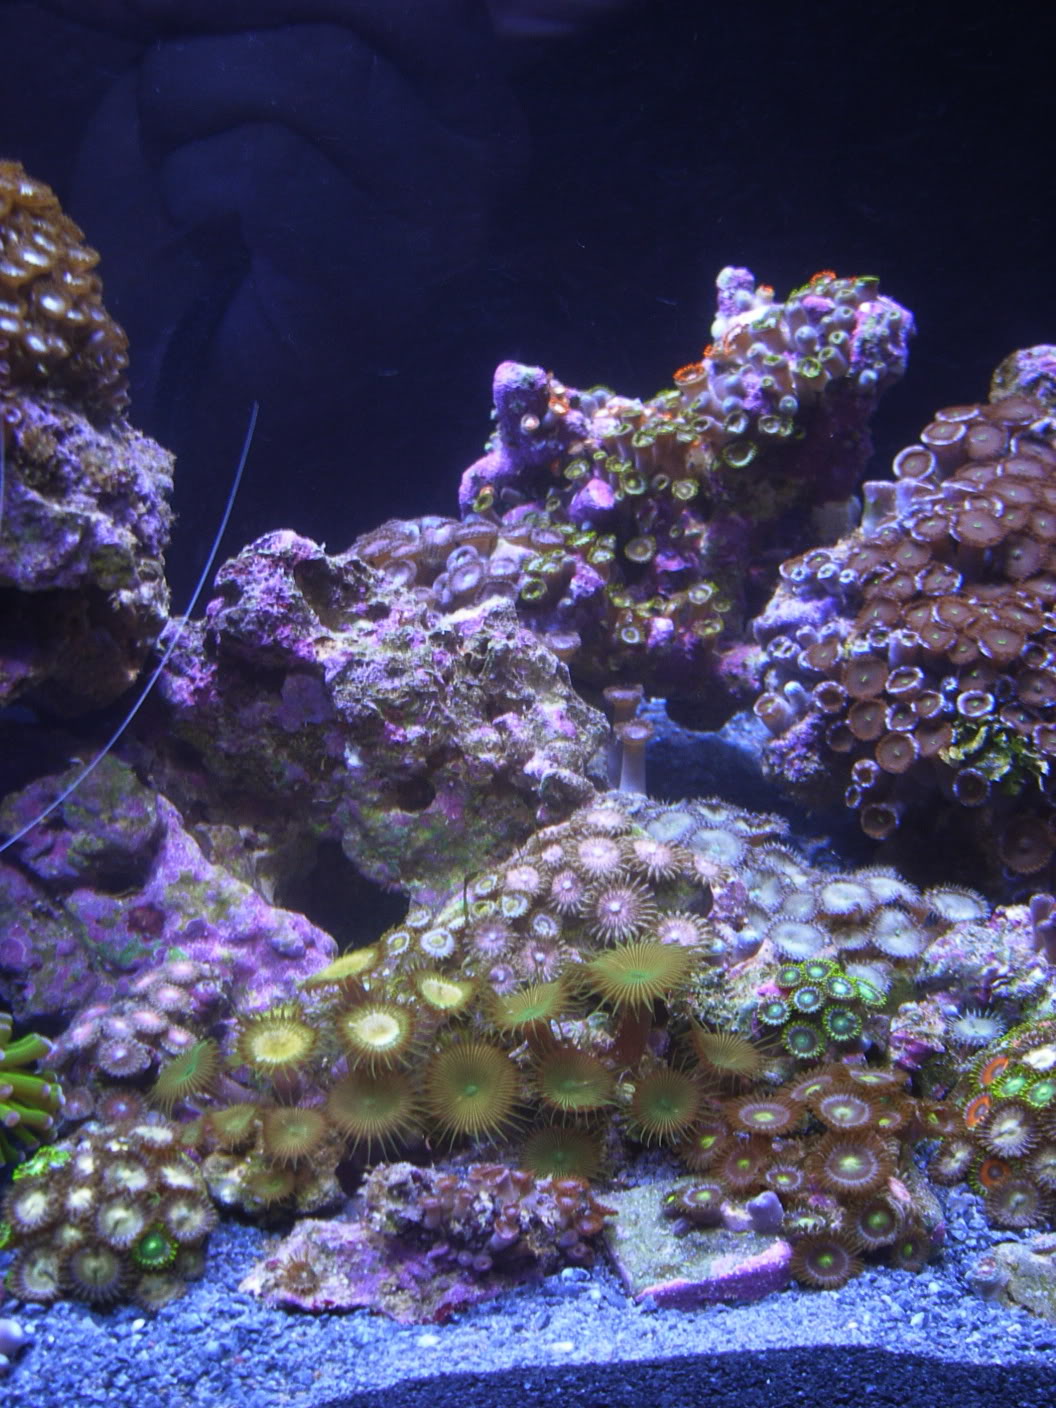
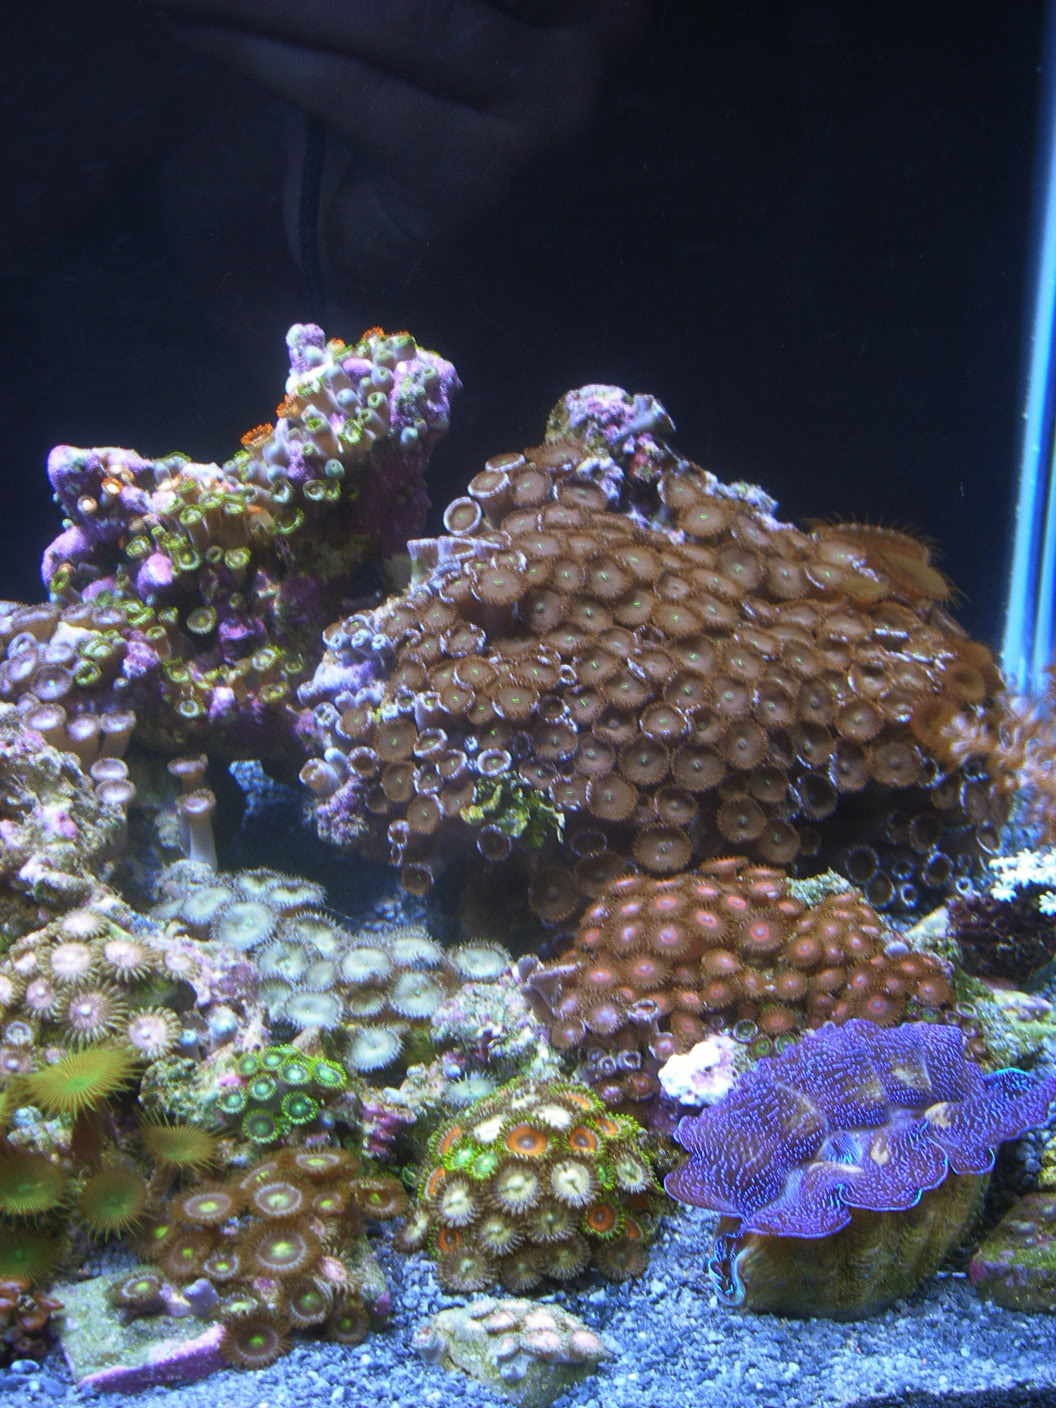
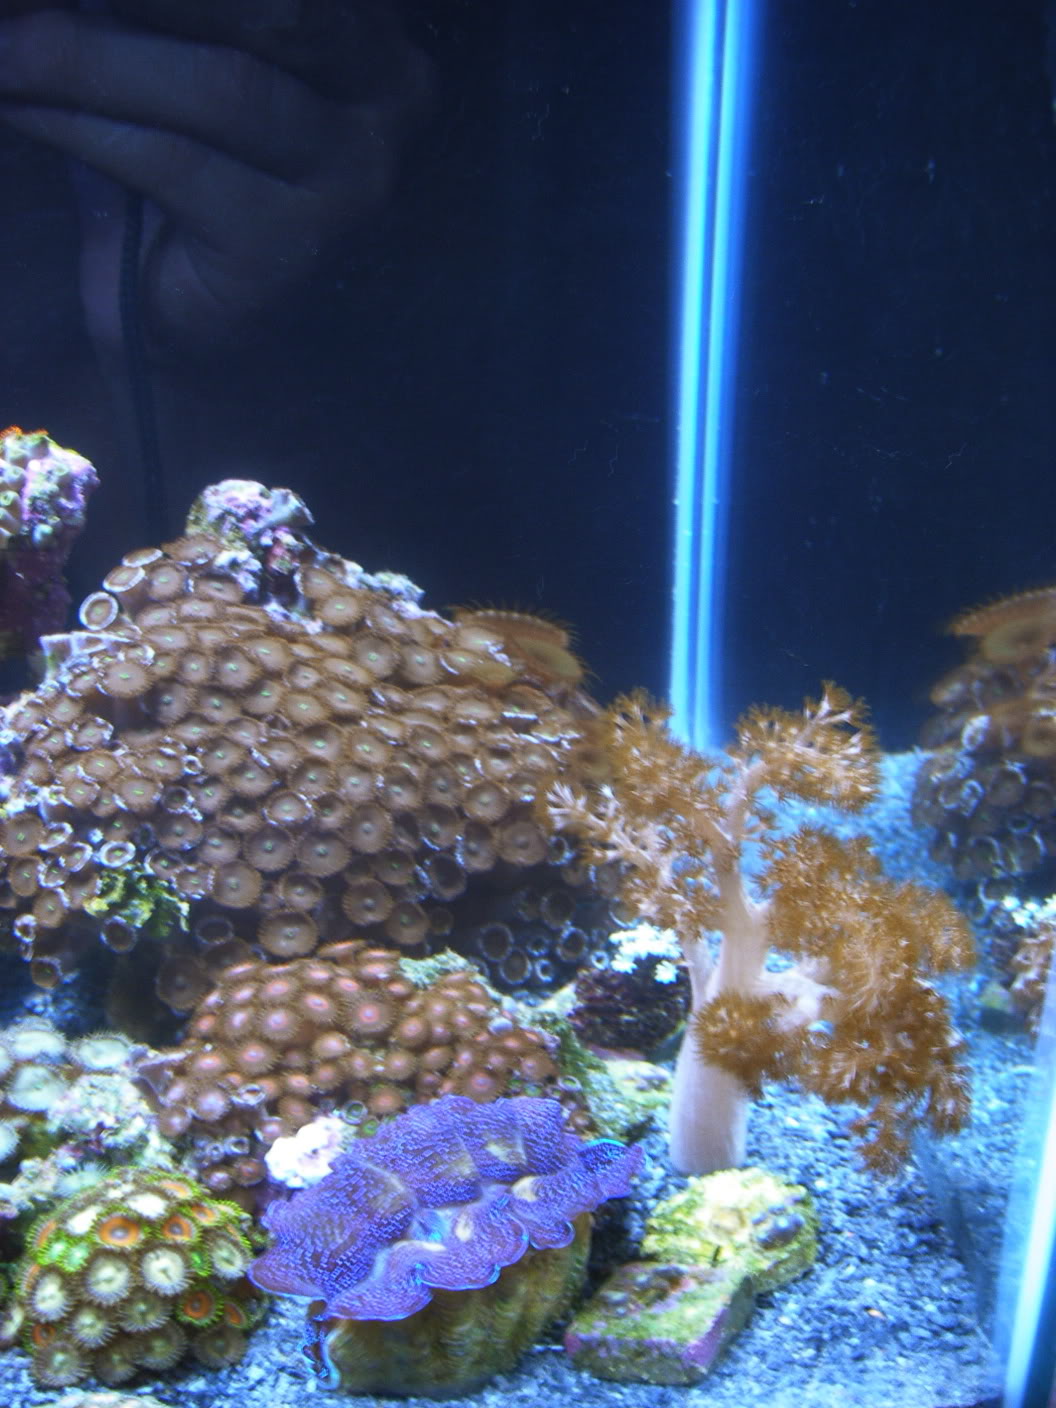
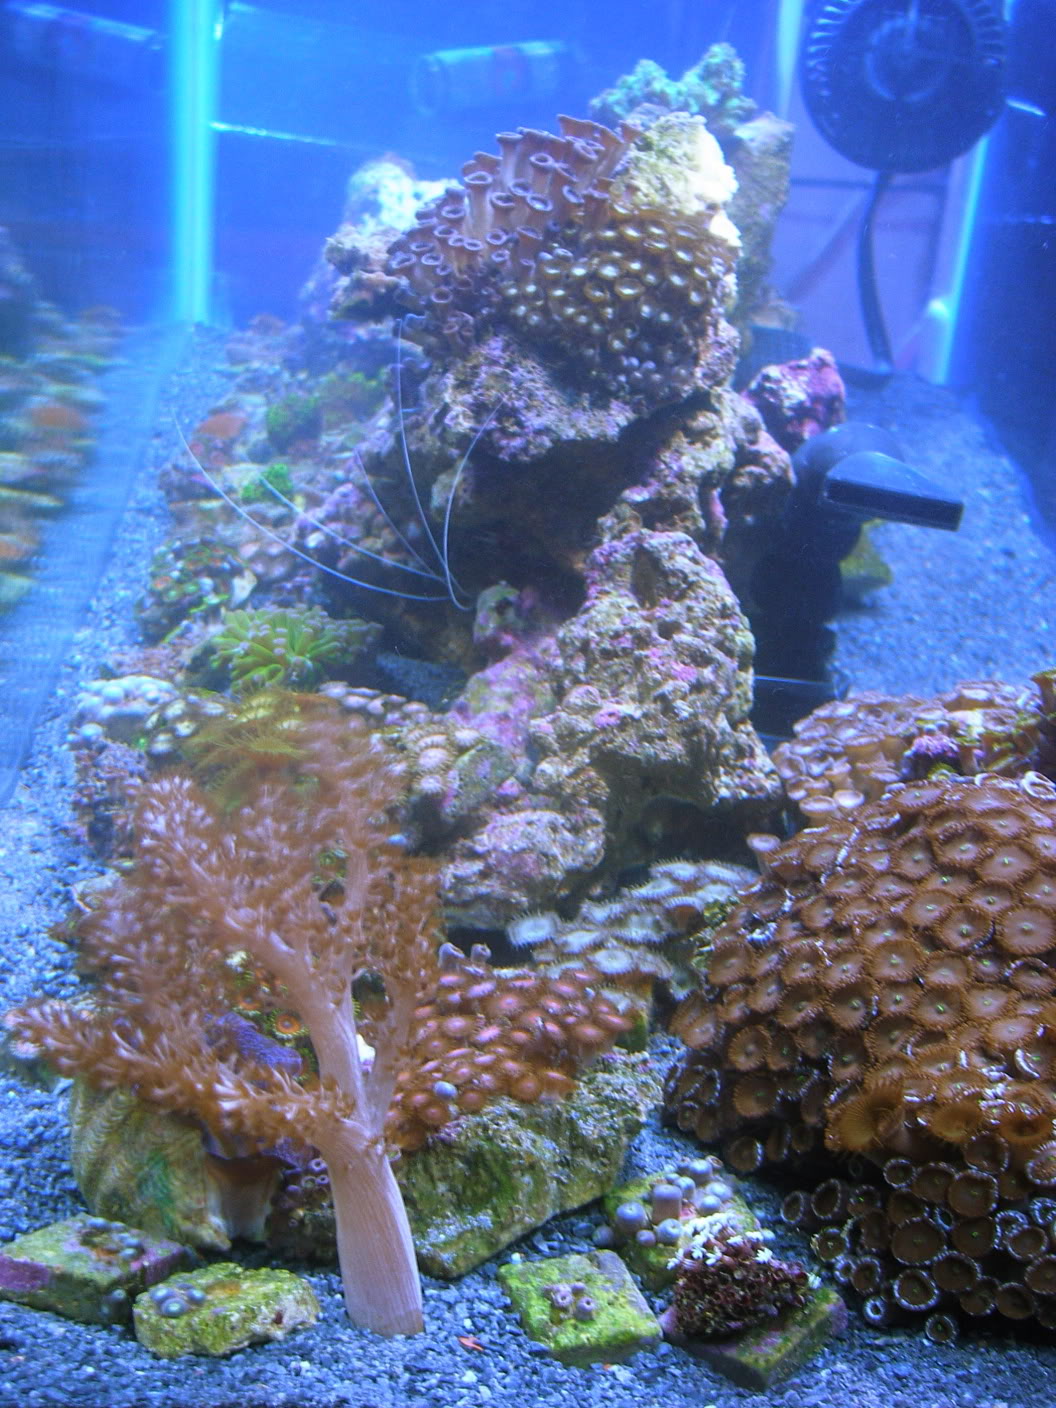
Well I finally finished this thing and filled it up with salt water and some live rock. The next day I added a bunch of frags as seen above. Today, I added most of what the tank will be housing. I just want a little more SPS to cover the tops of the rock mound as they will grow up ward and fill in the space above my ZOA garden. I have been selling and growing lots of frags in my tub, cherry picking what I have been moving, so stocking was a breeze.
Oh yeah and LIGHTING:
The light once was a 48" coralife PC light fixture my friend gave me that didn't work. I gutted it, cut it in half and added 2x 70w MH 14K, and 2x18w PC actinic, on separate wiring so dusk dawn can be achieved. The fixture hangs from the ceiling and all of the wiring is hidden behind the tank. I went with the 2x 70w MH because it allows for a better light spread across the tank, and if one bulb fails the tank will be adequately lit while I get another one.
I hope you enjoy the tank as much as I did building it. I can't wait to see it in 6 months. Please let me know what you think of it. CHUPA
PS and remember, Keep it Clean, your tank is a representation of yourself, nobody likes ghetto fabrication.