This is my very first forum post... so Ill try to make this short and sweet. I have a fully documented build on my YouTube channel:
CJ's Aquariums :
https://www.youtube.com/channel/UCJk-fASKh33tB4O7kVjcmxA
The goal is to add another way to share and document my journey.. So lets get started
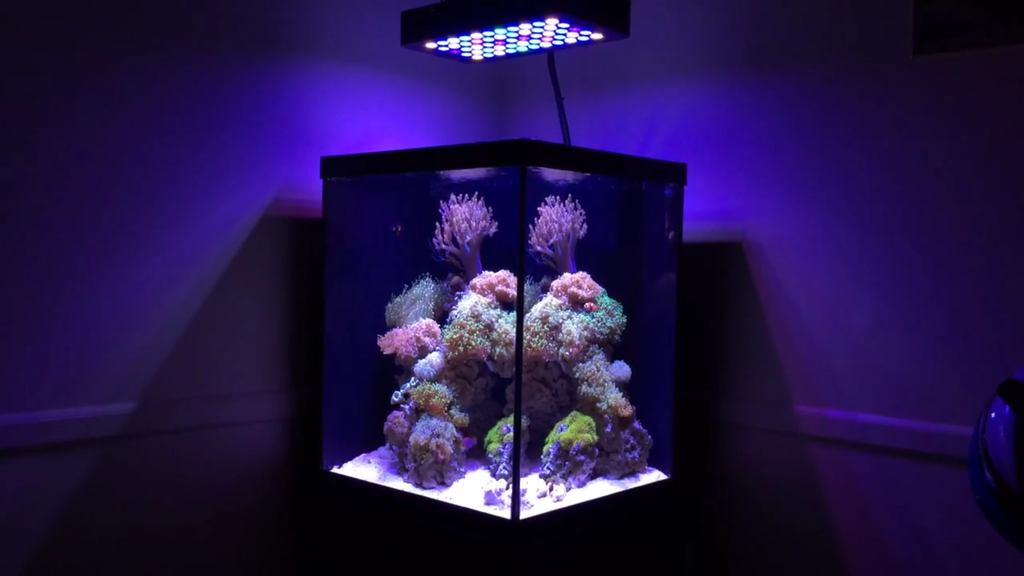
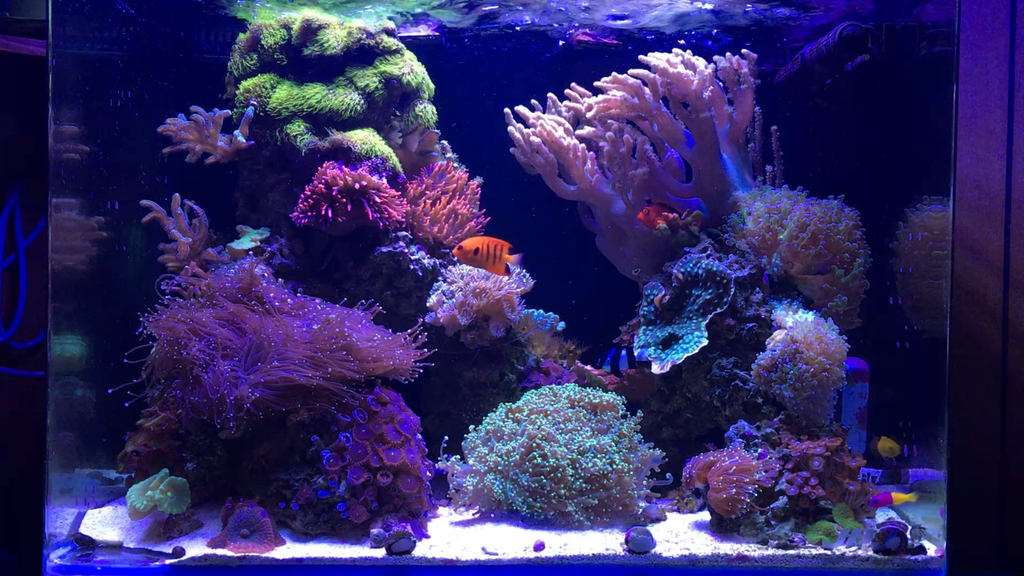
This SCA 120 Gallon tank is an upgrade to me previous Marineland 37 gallon cube & JBJ 45 Rimless AIO tanks.. these covered my first 3 years in the hobby.. I can share these builds in another thread or you can find them on my youtube channel ...
That should give you all an idea of what kind of tanks Ive kept in the past....
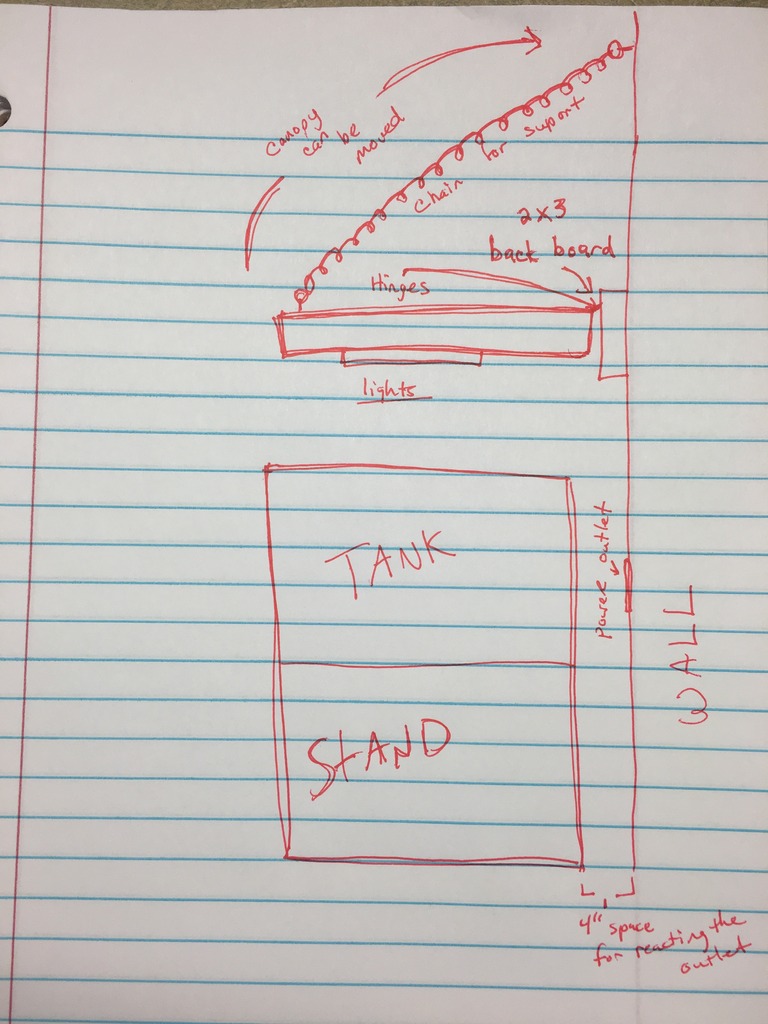
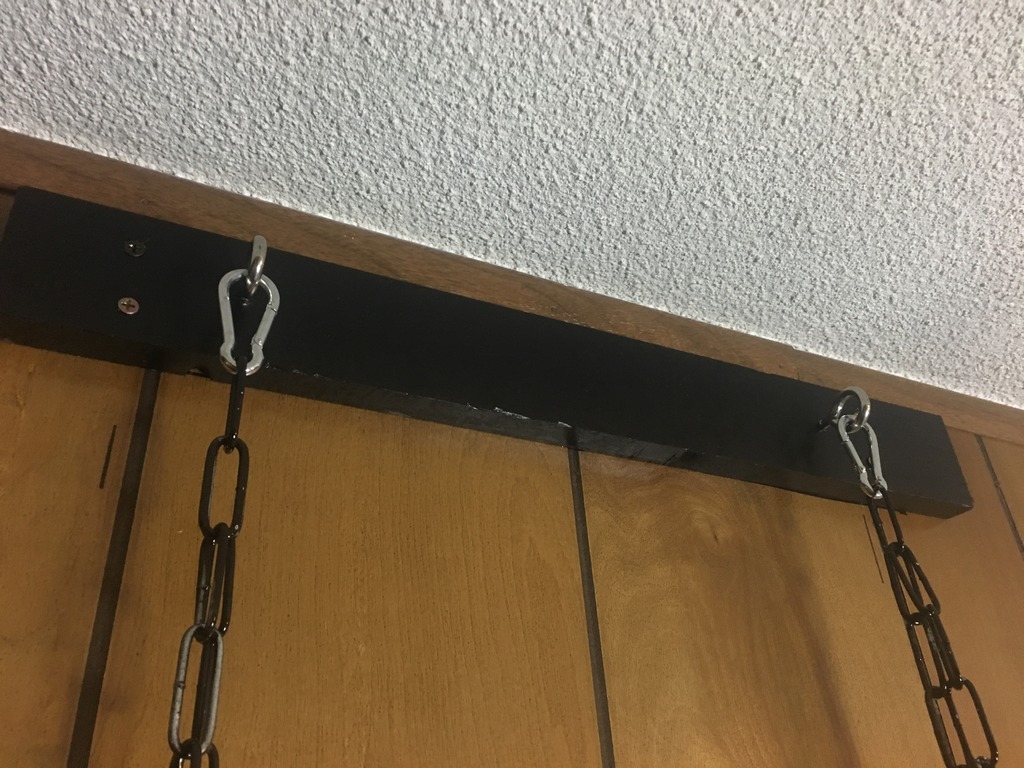
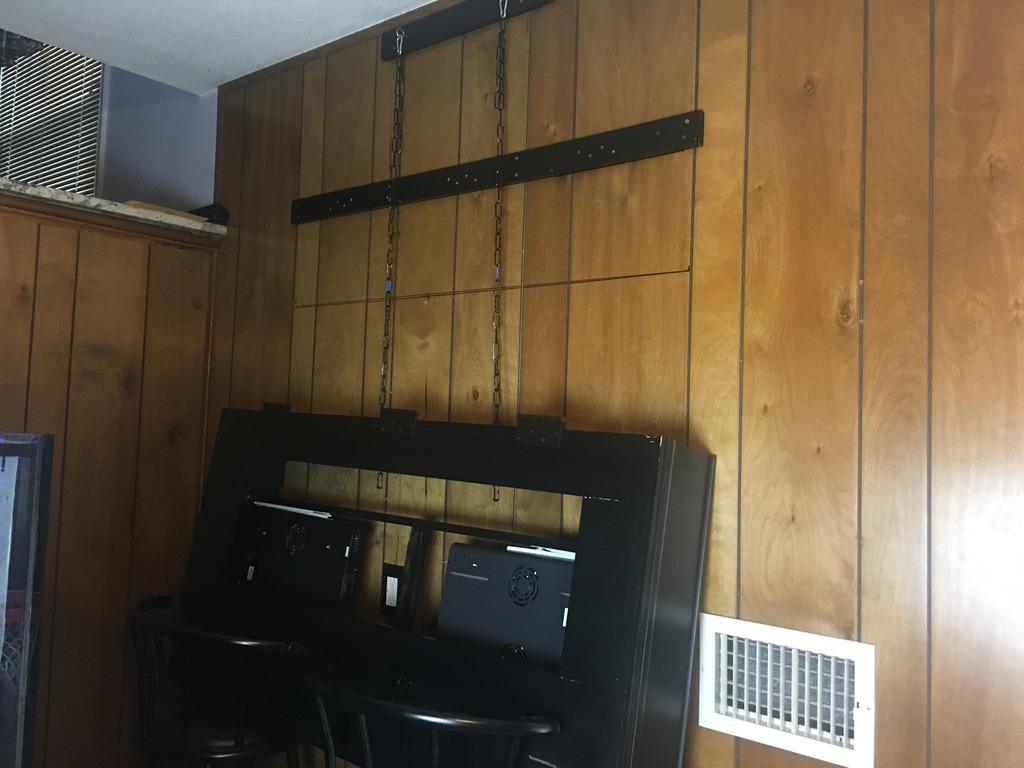
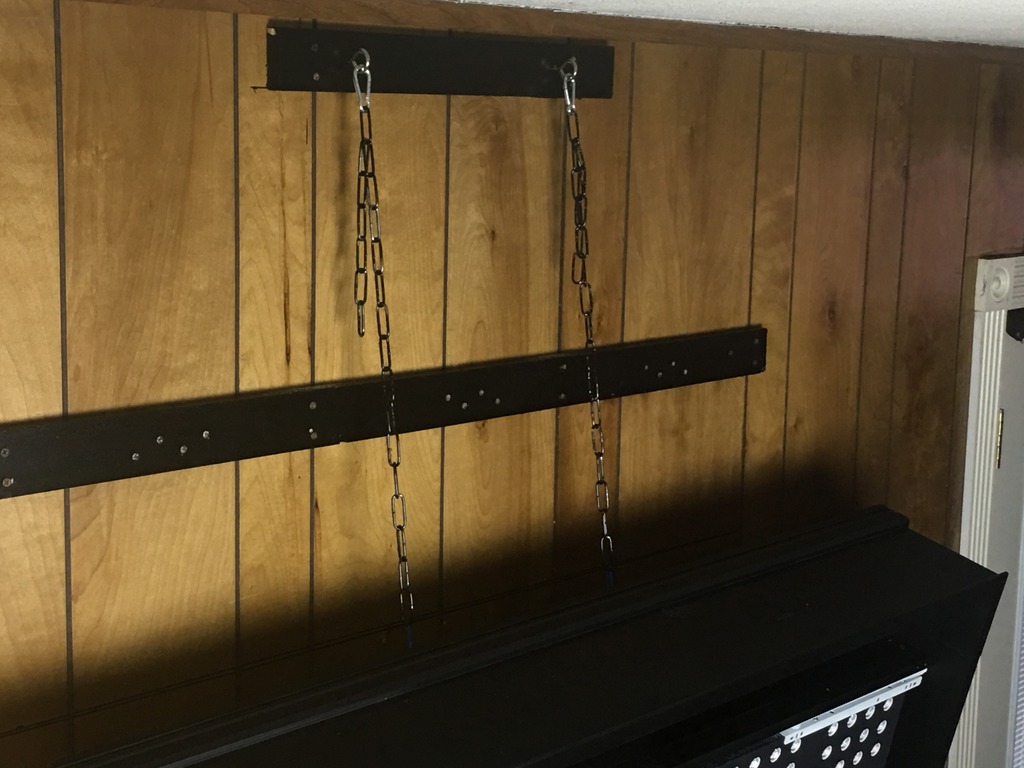
Now lets move on to the SCA 120 gallon PNP system... the goal was to upgrade to a tank that was at least 3 times bigger than my previous two and also had a minimum width of at least 24''. My options where a 150 gallon 3 x 3 x 3 cube tank or this 120 gallon 4 x 2 x 2 aquariums from sca...
Considering the SCA tank included stand,canopy,sump,skimmer,return pump and plumbing.. i could NOT pass it up.
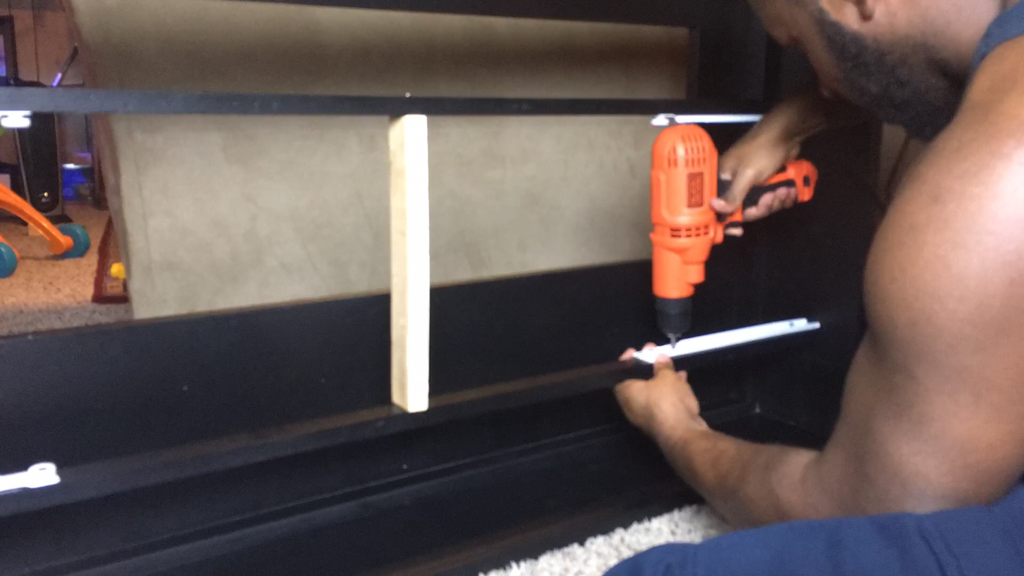
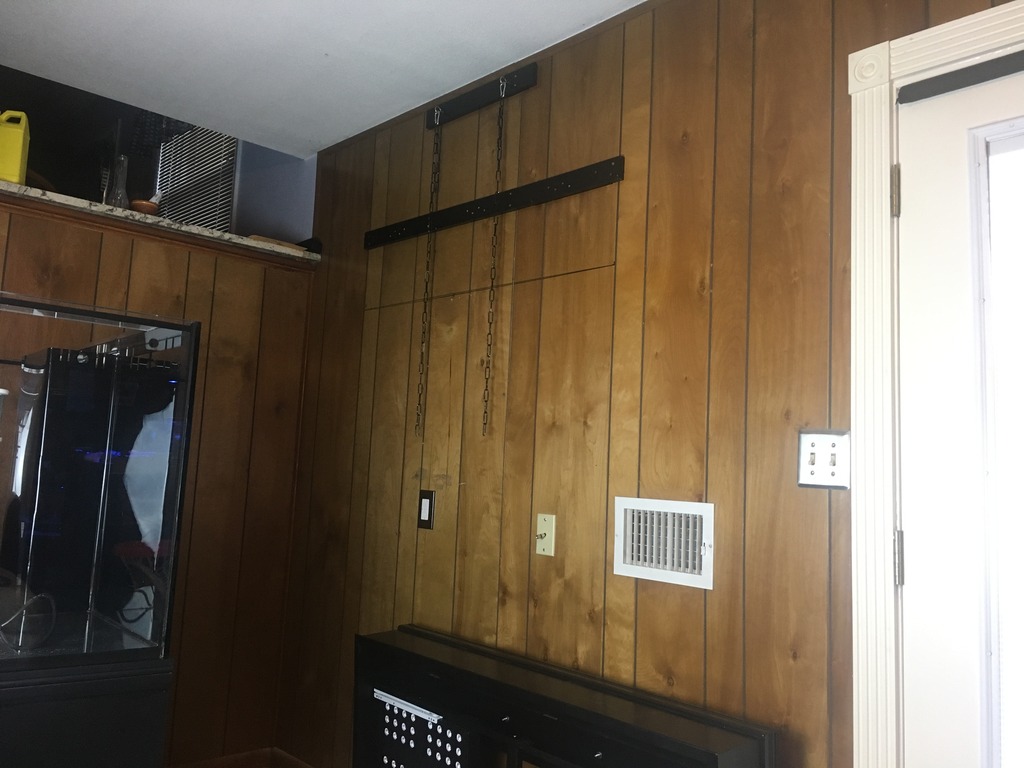
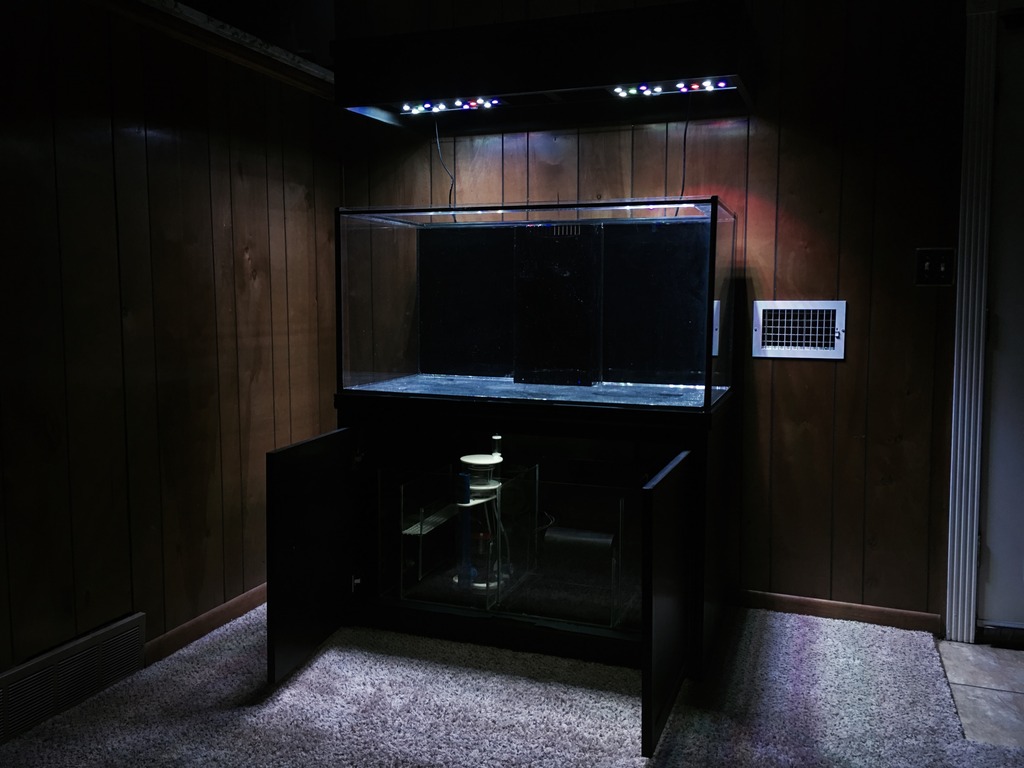
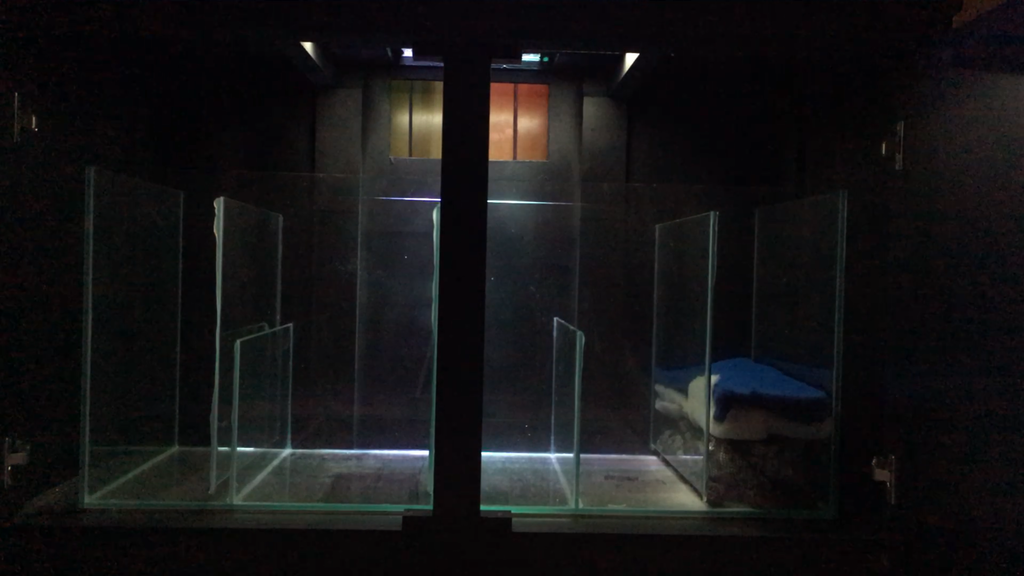
This tank was def everything i expected and more... Before everyone gets on me about the vent.. the tank has been moved since this photo...
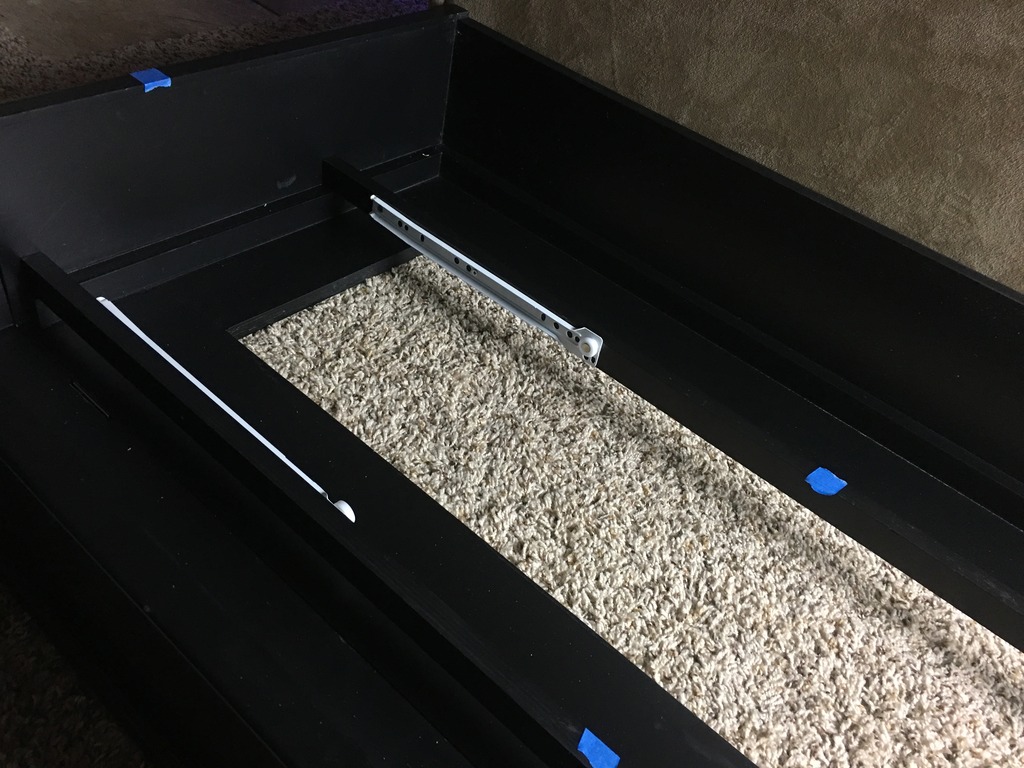
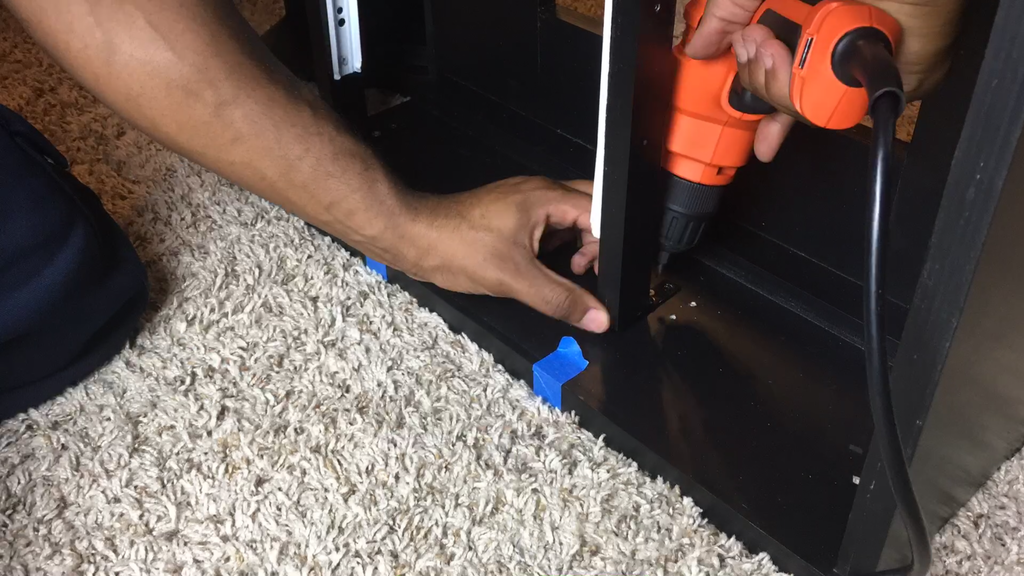
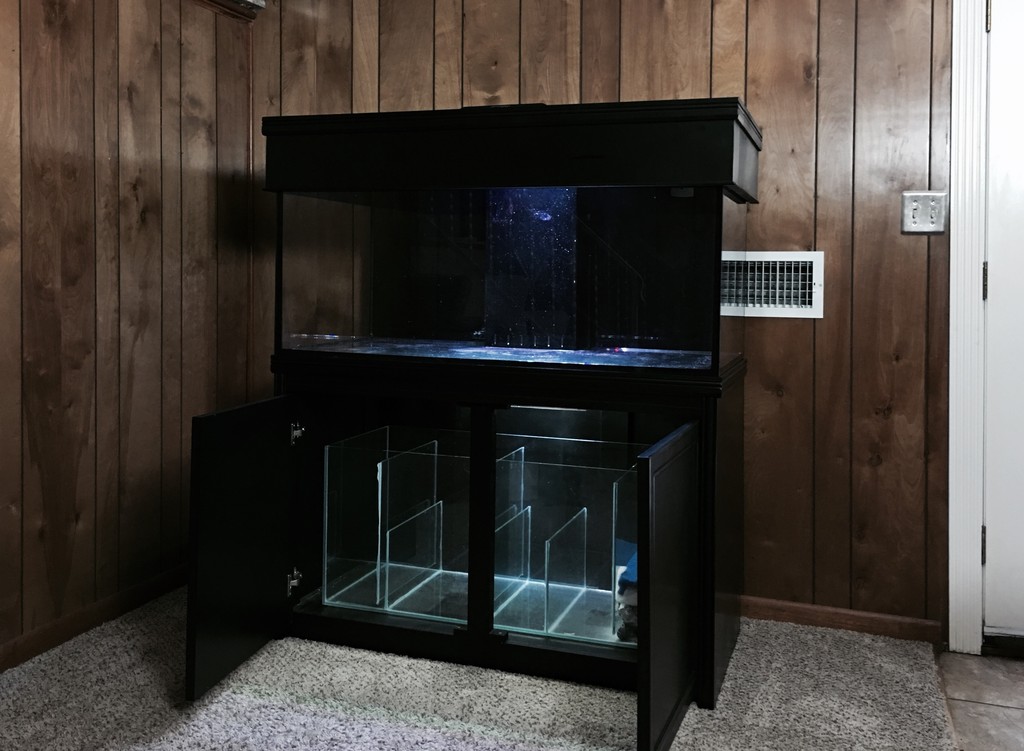
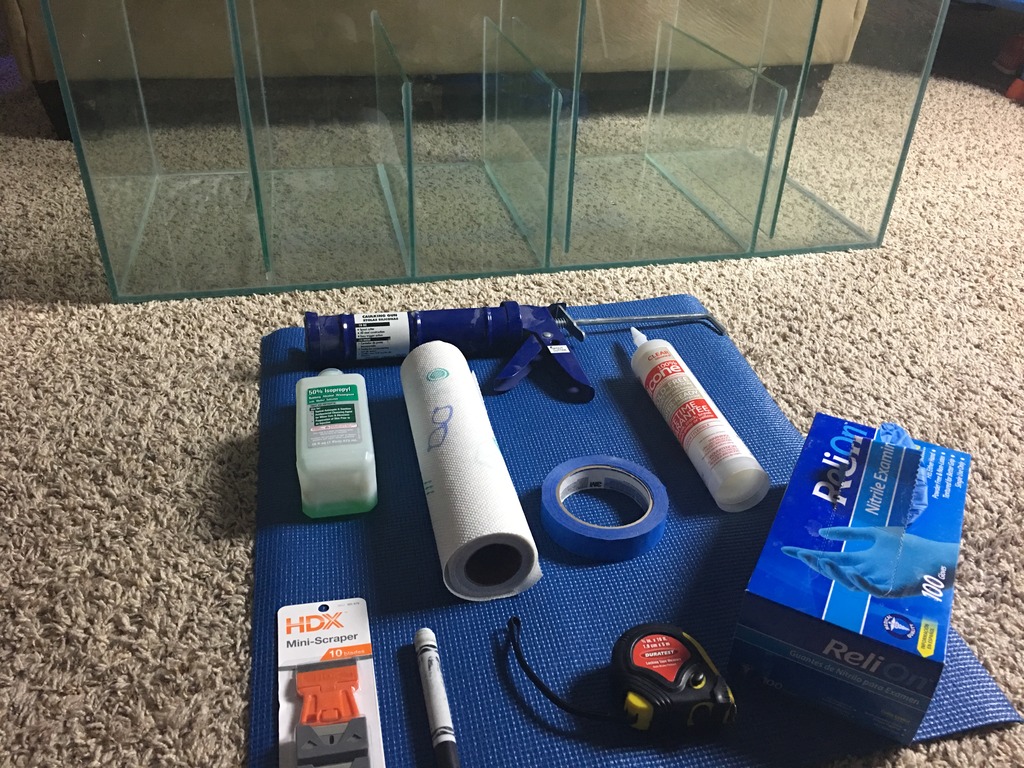
Now that i had the tank... First thing was to address the sump... I wanted to change the arrangement of the baffles.. and toss the soft hosing that was provided... in its current arrangement I def wouldn't get the most out of it mechanical filter wise or refugium wise...
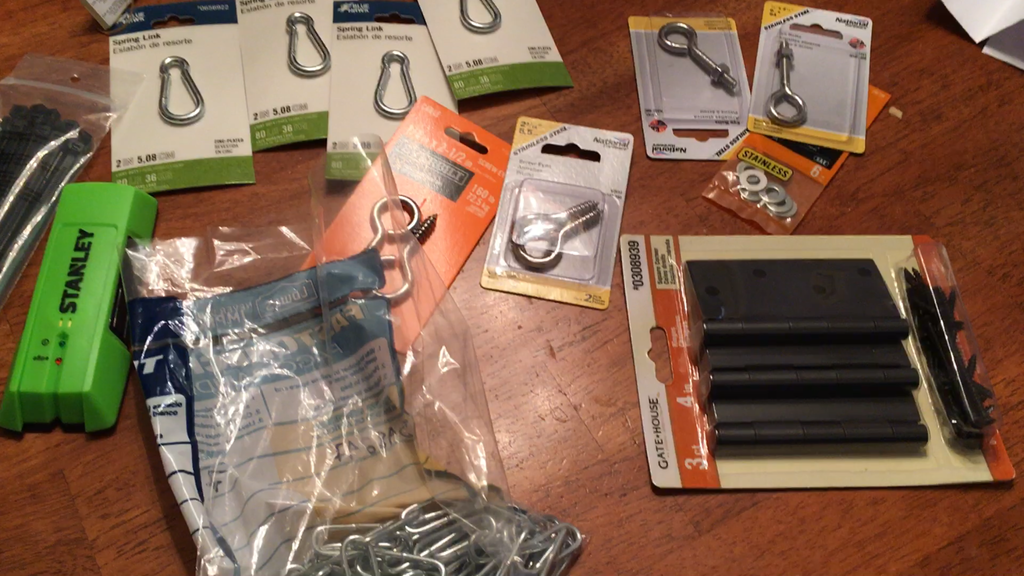
So the mission began... this is basically how i modified this sump for around $20 bucks...
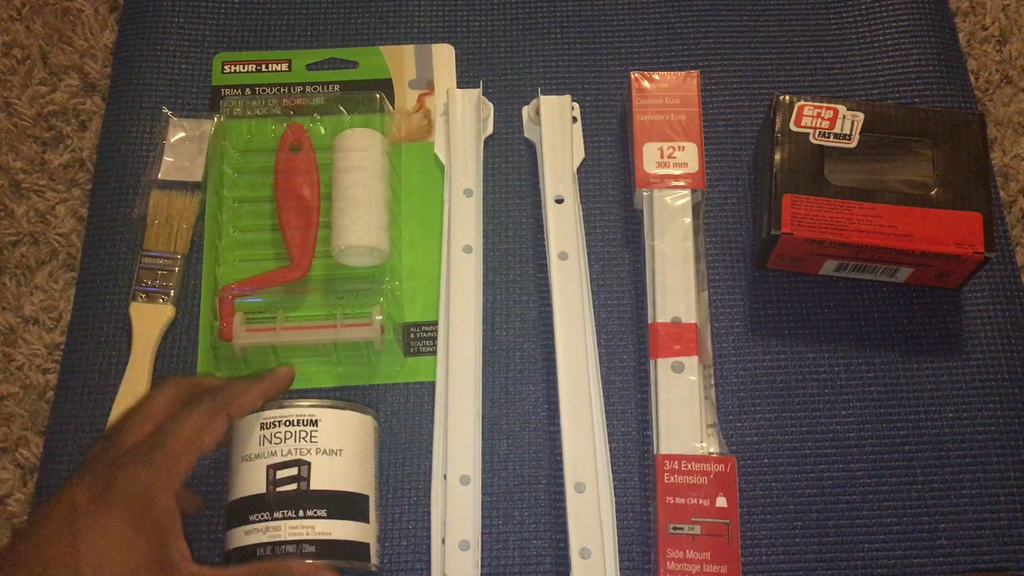
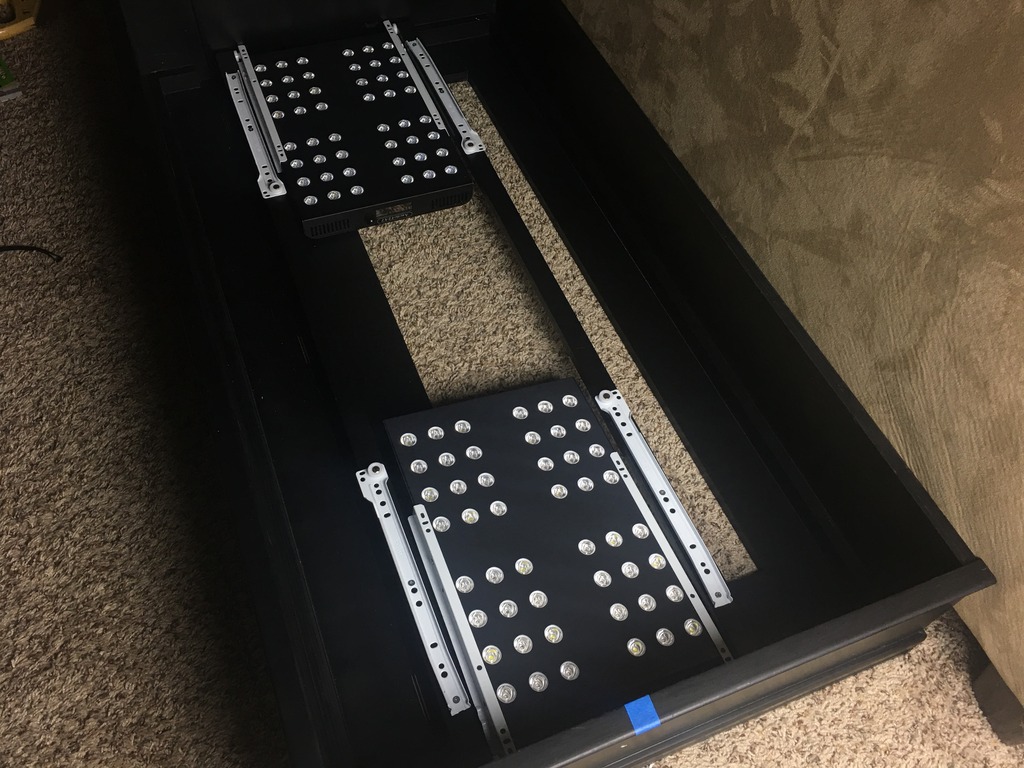
first... i decided to replace the foam sheet under the stand... and clean out all the dust and dirt
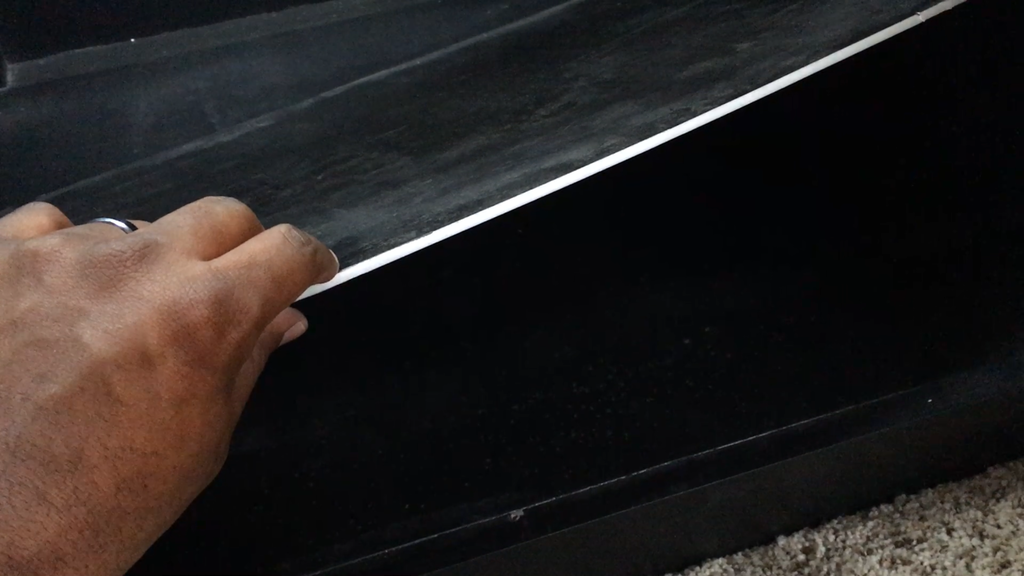
replaced it with a 1/8'' thick blue yoga mat.. trimmed to fit inside the stand

this wasn't my first choice.. I originally looked for black mats... funny how seeing a diff color changes your whole plan.. now a blue PVC / black color scheme is in the works...
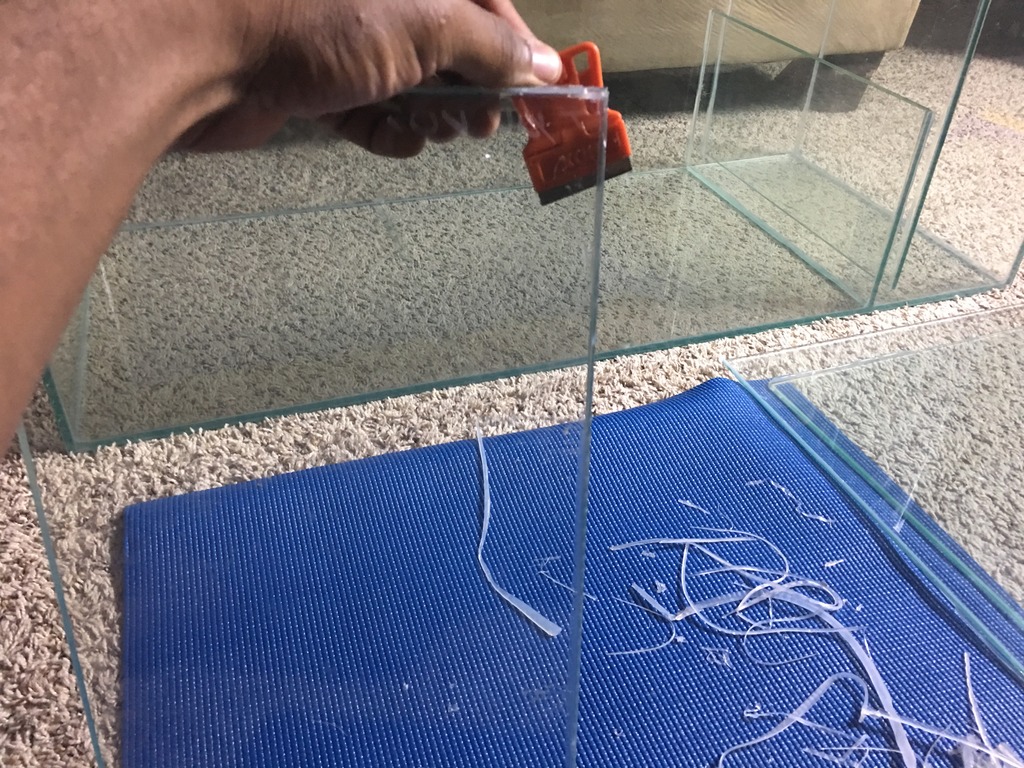
Now lets get to the sump... the glass baffles were just as thick as the tank itself.. estimated 1/4''... so i decided to keep them. Cutting them out was not fun... but i used razor blade and random tools around the house to get the job done..
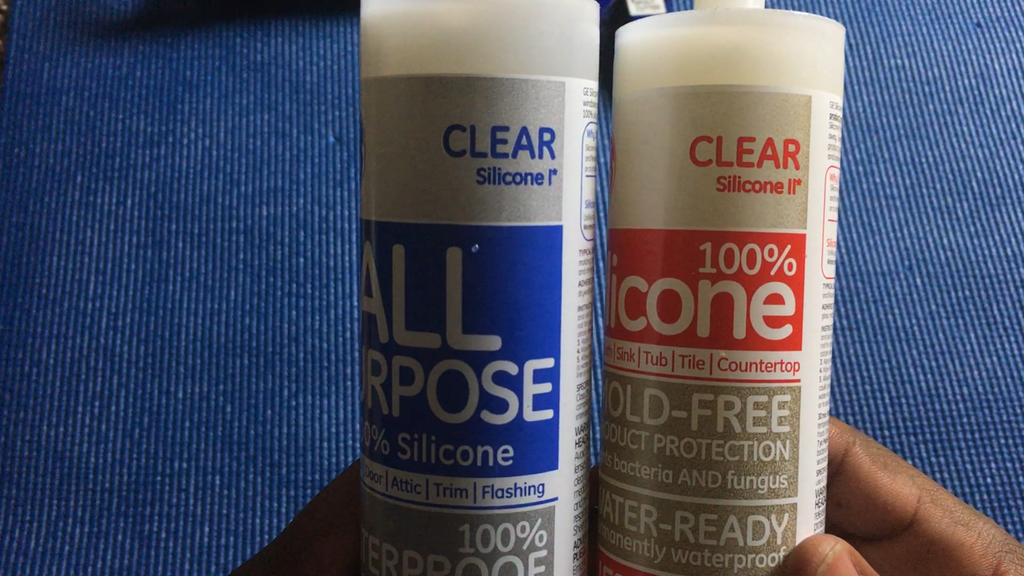
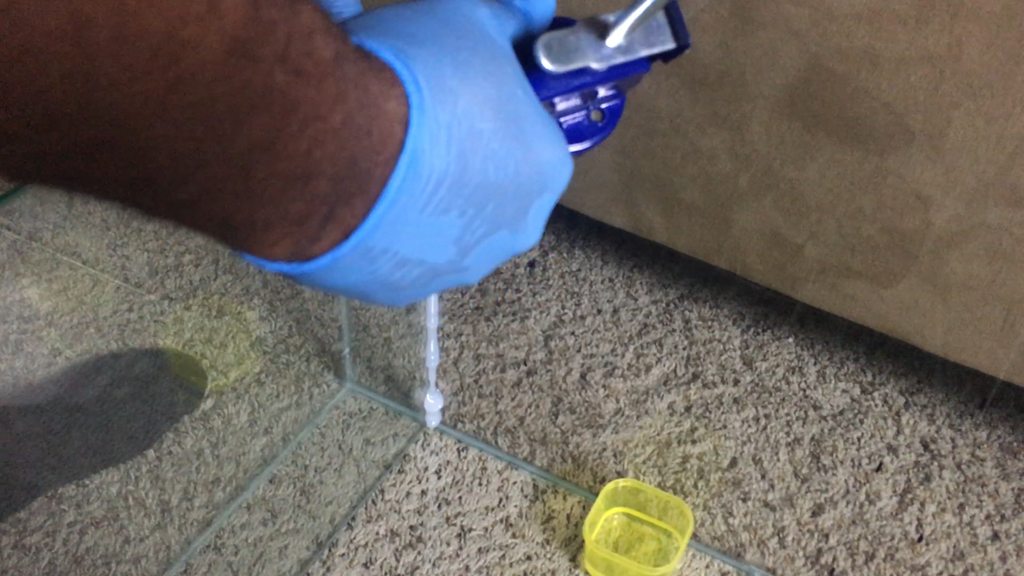
everything was going fine... built the entire sump again.. only to find out I used the wrong GE II silicone ( Biggest Goof of the year) ....needless to say I wasted 2 days of my life... so I tore down the whole sump AGAIN.. and picked up the right silicone
GE I ( the blue stuff)
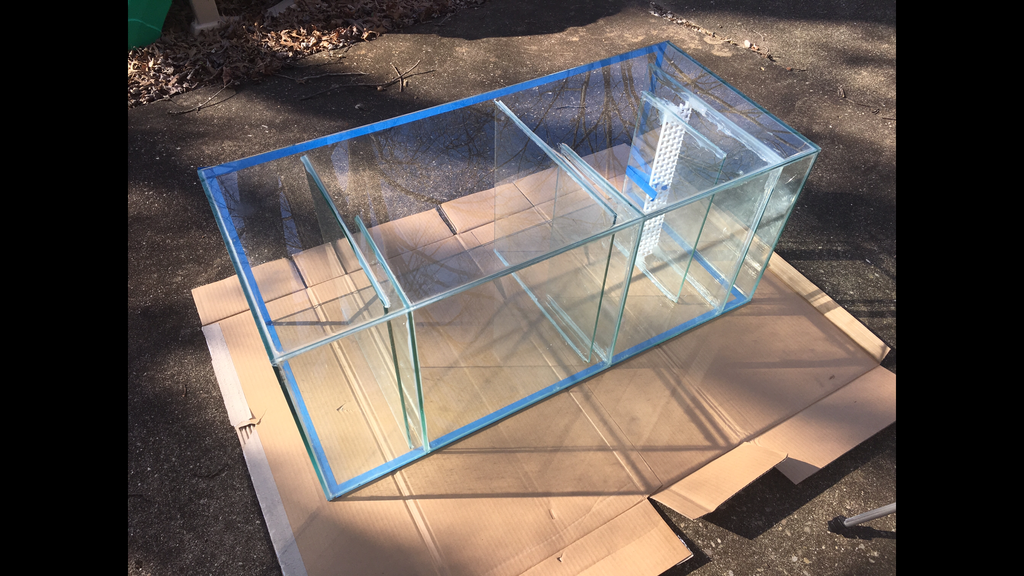
Glued the baffles into place according to my measurements for the skimmer water requirements, access for maintenance... and allow enough water in case of power outage...
the sump was pretty much completed... but i had the idea of painting the entire sump for added effect... making my plumbing pop.. so time to whip out the painters tape and spray paint ( Rust-oleum) was the brand I used...
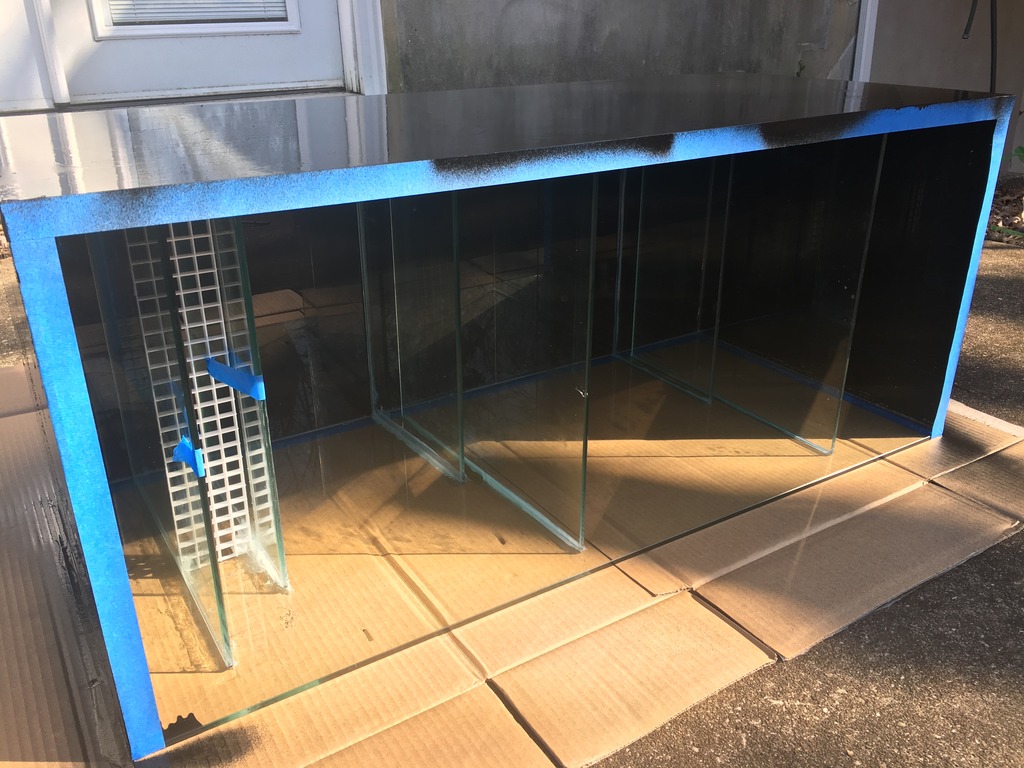
After letting this dry... time to put the finished product in place to make sure it all fits right..
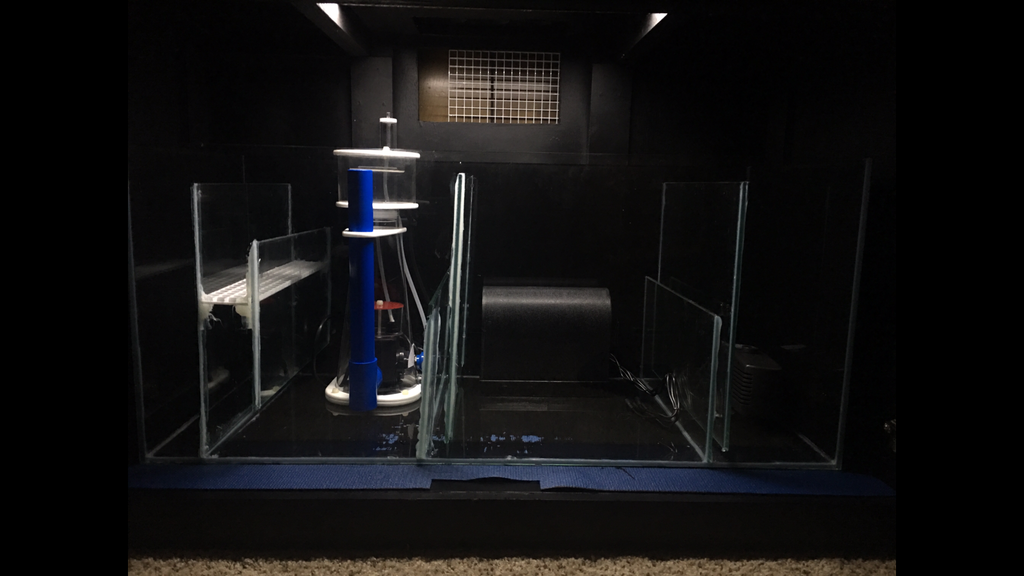
There are 3 main reason i decided to do this change..
1. First baffle now flows over into a filter tray.. I can place floss here and throw away easier
2. Skimmer is no long right before the return area.. this will prevent micro bubble and stop the skimmer from sucking up pods..
3. the refugium area is now double in size.. flowing from bottom to top.
The refugium area will house my Santa Monica Rain2 Algae Scrubber, Pond matrix media and soon to be purchased reactor for carbon
I still have a ton of work to do on this build... hopefully this thread post correctly and i can update it as i make more progress... thanks for reading!
For a full video on this build feel free to watch it on my youtube channel:
CJ's Aquariums :
https://www.youtube.com/channel/UCJk-fASKh33tB4O7kVjcmxA
The goal is to add another way to share and document my journey.. So lets get started
This SCA 120 Gallon tank is an upgrade to me previous Marineland 37 gallon cube & JBJ 45 Rimless AIO tanks.. these covered my first 3 years in the hobby.. I can share these builds in another thread or you can find them on my youtube channel ...
That should give you all an idea of what kind of tanks Ive kept in the past....
Now lets move on to the SCA 120 gallon PNP system... the goal was to upgrade to a tank that was at least 3 times bigger than my previous two and also had a minimum width of at least 24''. My options where a 150 gallon 3 x 3 x 3 cube tank or this 120 gallon 4 x 2 x 2 aquariums from sca...
Considering the SCA tank included stand,canopy,sump,skimmer,return pump and plumbing.. i could NOT pass it up.
This tank was def everything i expected and more... Before everyone gets on me about the vent.. the tank has been moved since this photo...
Now that i had the tank... First thing was to address the sump... I wanted to change the arrangement of the baffles.. and toss the soft hosing that was provided... in its current arrangement I def wouldn't get the most out of it mechanical filter wise or refugium wise...
So the mission began... this is basically how i modified this sump for around $20 bucks...
first... i decided to replace the foam sheet under the stand... and clean out all the dust and dirt
replaced it with a 1/8'' thick blue yoga mat.. trimmed to fit inside the stand
this wasn't my first choice.. I originally looked for black mats... funny how seeing a diff color changes your whole plan.. now a blue PVC / black color scheme is in the works...
Now lets get to the sump... the glass baffles were just as thick as the tank itself.. estimated 1/4''... so i decided to keep them. Cutting them out was not fun... but i used razor blade and random tools around the house to get the job done..
everything was going fine... built the entire sump again.. only to find out I used the wrong GE II silicone ( Biggest Goof of the year) ....needless to say I wasted 2 days of my life... so I tore down the whole sump AGAIN.. and picked up the right silicone
GE I ( the blue stuff)
Glued the baffles into place according to my measurements for the skimmer water requirements, access for maintenance... and allow enough water in case of power outage...
the sump was pretty much completed... but i had the idea of painting the entire sump for added effect... making my plumbing pop.. so time to whip out the painters tape and spray paint ( Rust-oleum) was the brand I used...
After letting this dry... time to put the finished product in place to make sure it all fits right..
There are 3 main reason i decided to do this change..
1. First baffle now flows over into a filter tray.. I can place floss here and throw away easier
2. Skimmer is no long right before the return area.. this will prevent micro bubble and stop the skimmer from sucking up pods..
3. the refugium area is now double in size.. flowing from bottom to top.
The refugium area will house my Santa Monica Rain2 Algae Scrubber, Pond matrix media and soon to be purchased reactor for carbon
I still have a ton of work to do on this build... hopefully this thread post correctly and i can update it as i make more progress... thanks for reading!
For a full video on this build feel free to watch it on my youtube channel: