It seems this was (and continues to be) the year for aquarium stands.
Here's a few I recently finished this fall/winter..
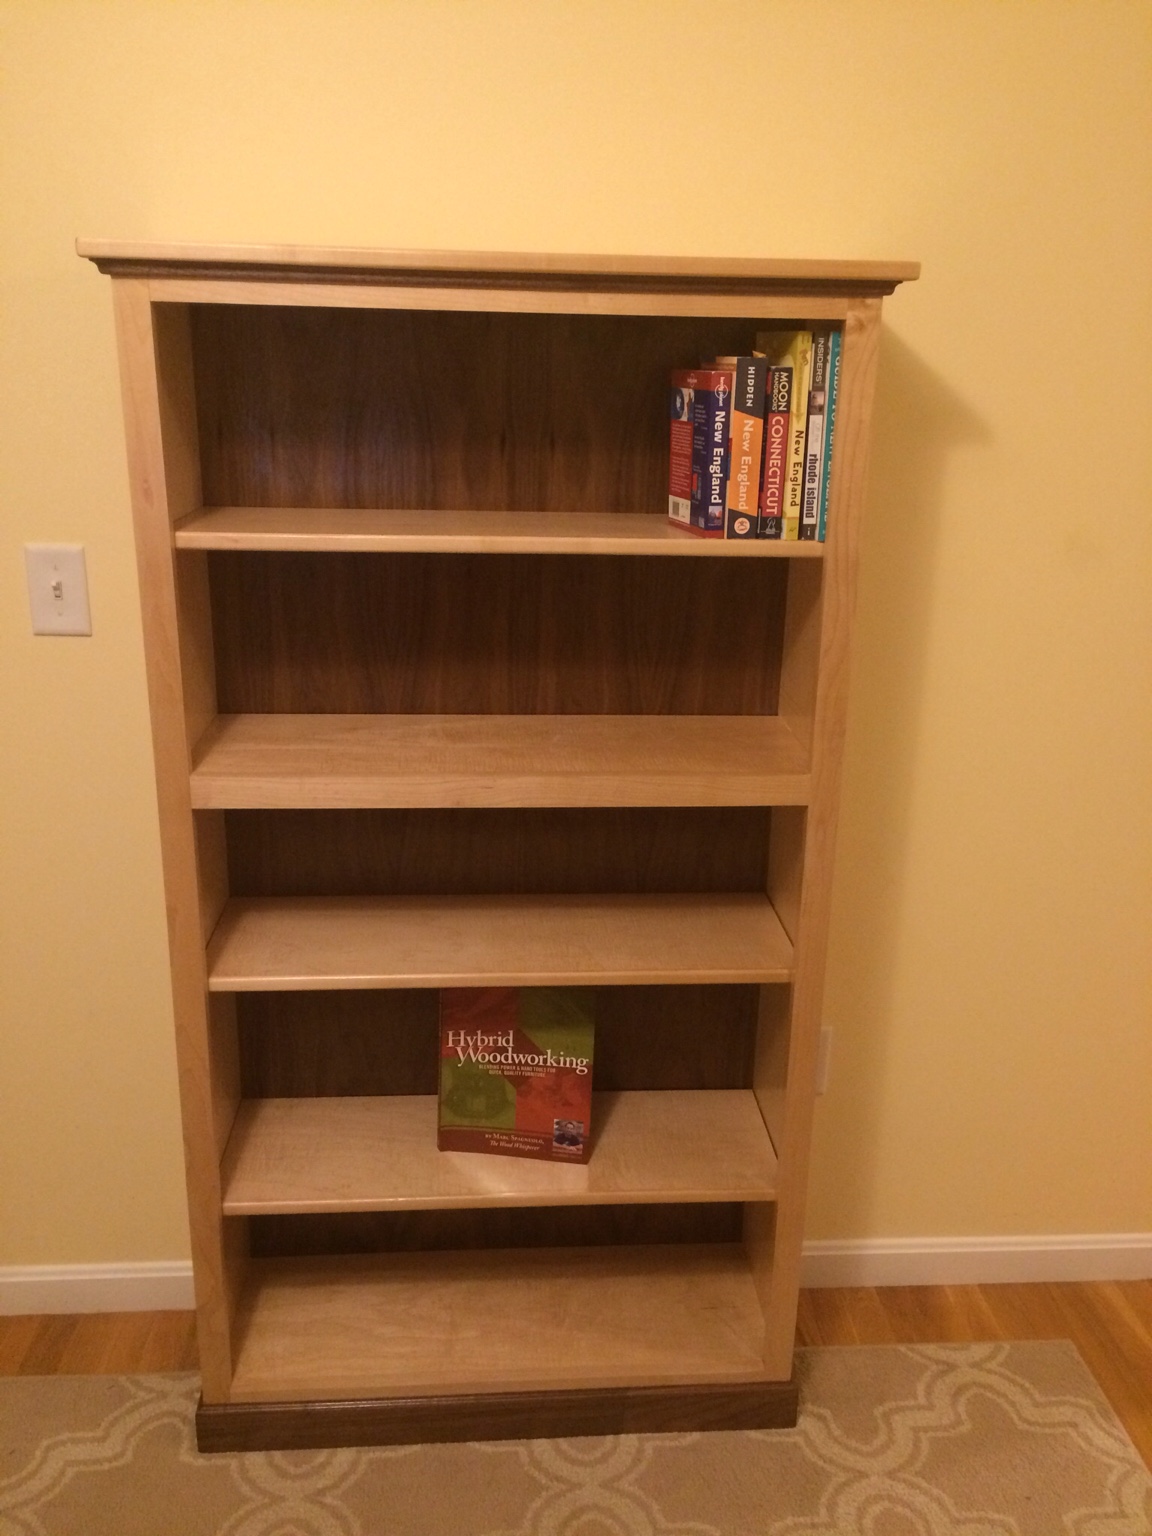
Poplar; Gloss Black.

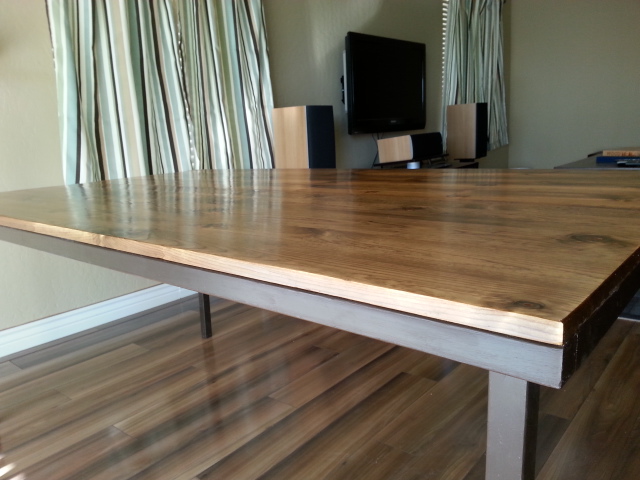
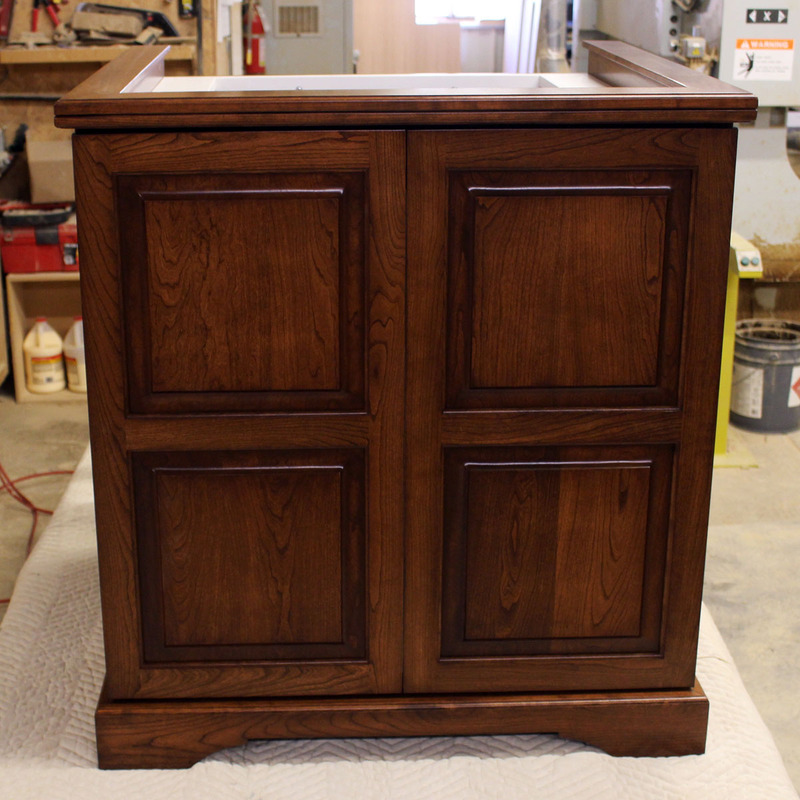
Cherry; stained.
You'll find this build thread on R2R.
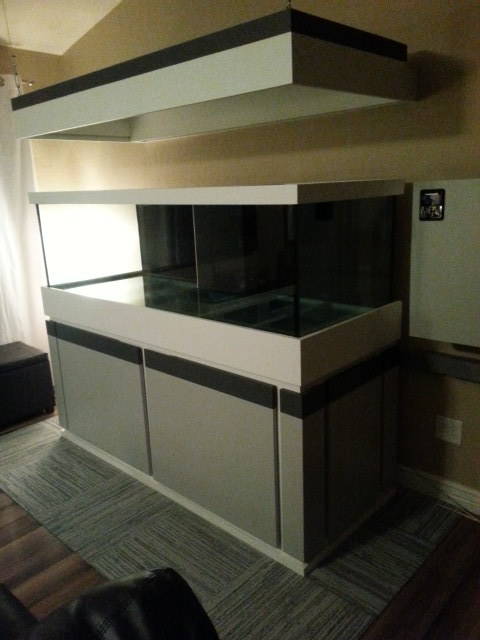
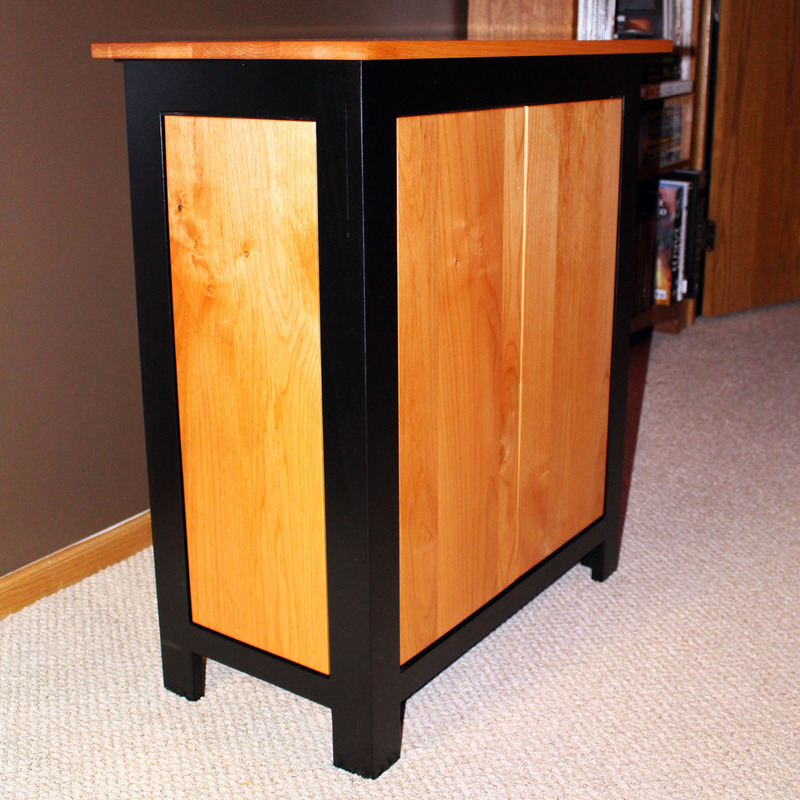
Birch; Black Lacquer with Alder; stained.
And there's a few more in the works!
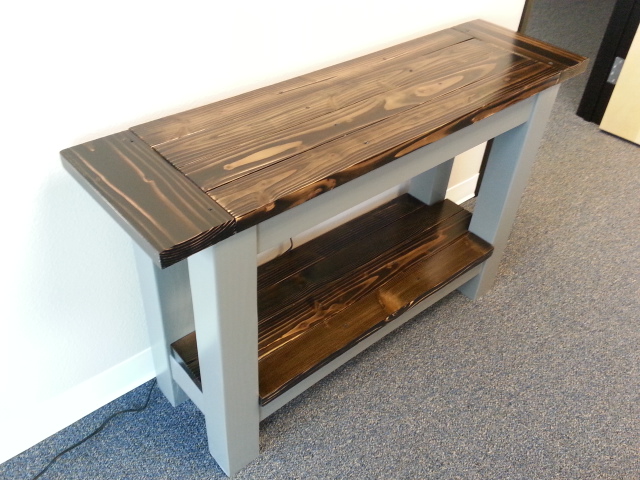
Rough-sawn Pine panels!
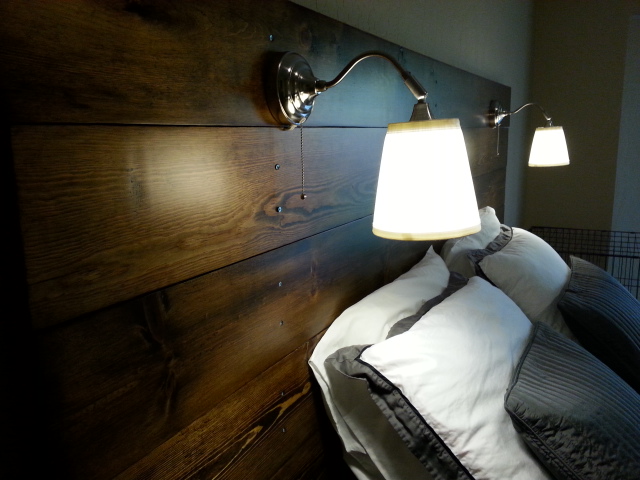
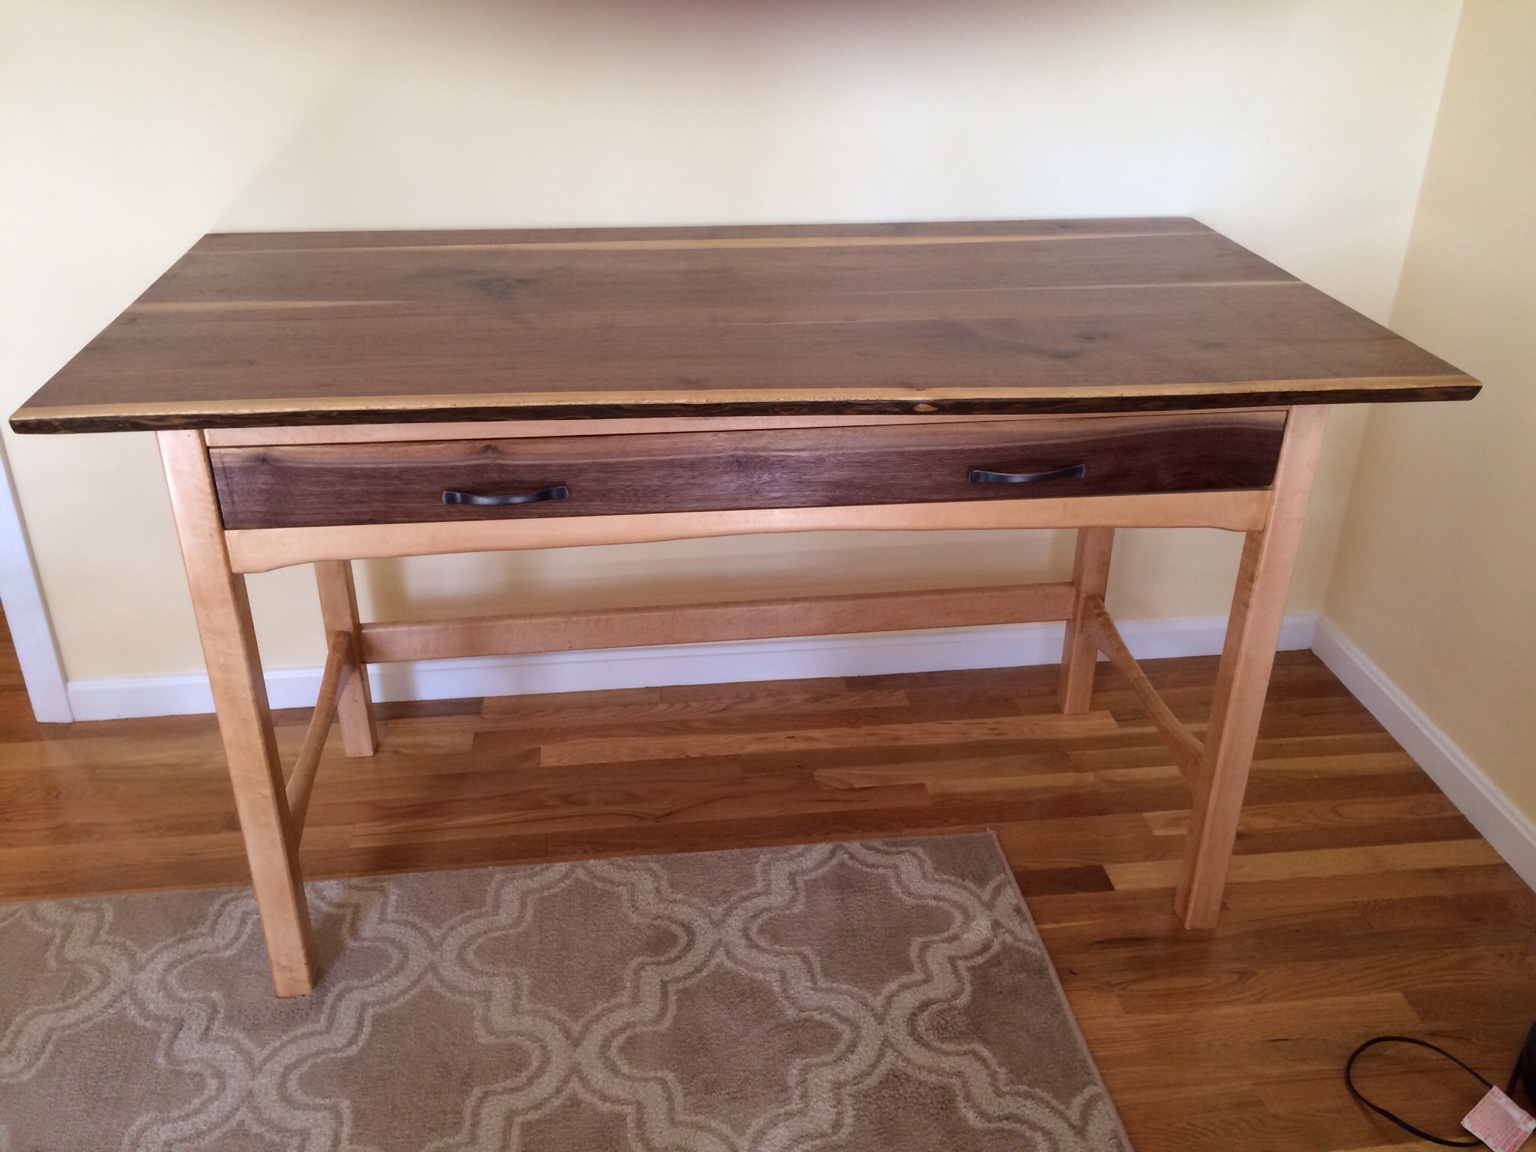
Black Walnut fascia for an In-wall 300DD!
Here's a few I recently finished this fall/winter..
Poplar; Gloss Black.

Cherry; stained.
You'll find this build thread on R2R.

Birch; Black Lacquer with Alder; stained.

And there's a few more in the works!
Rough-sawn Pine panels!
Black Walnut fascia for an In-wall 300DD!