Just wanted to thank you for all of the effort you put into this build thread. It has inspired me to make one of these for myself!
A couple of quick questions:
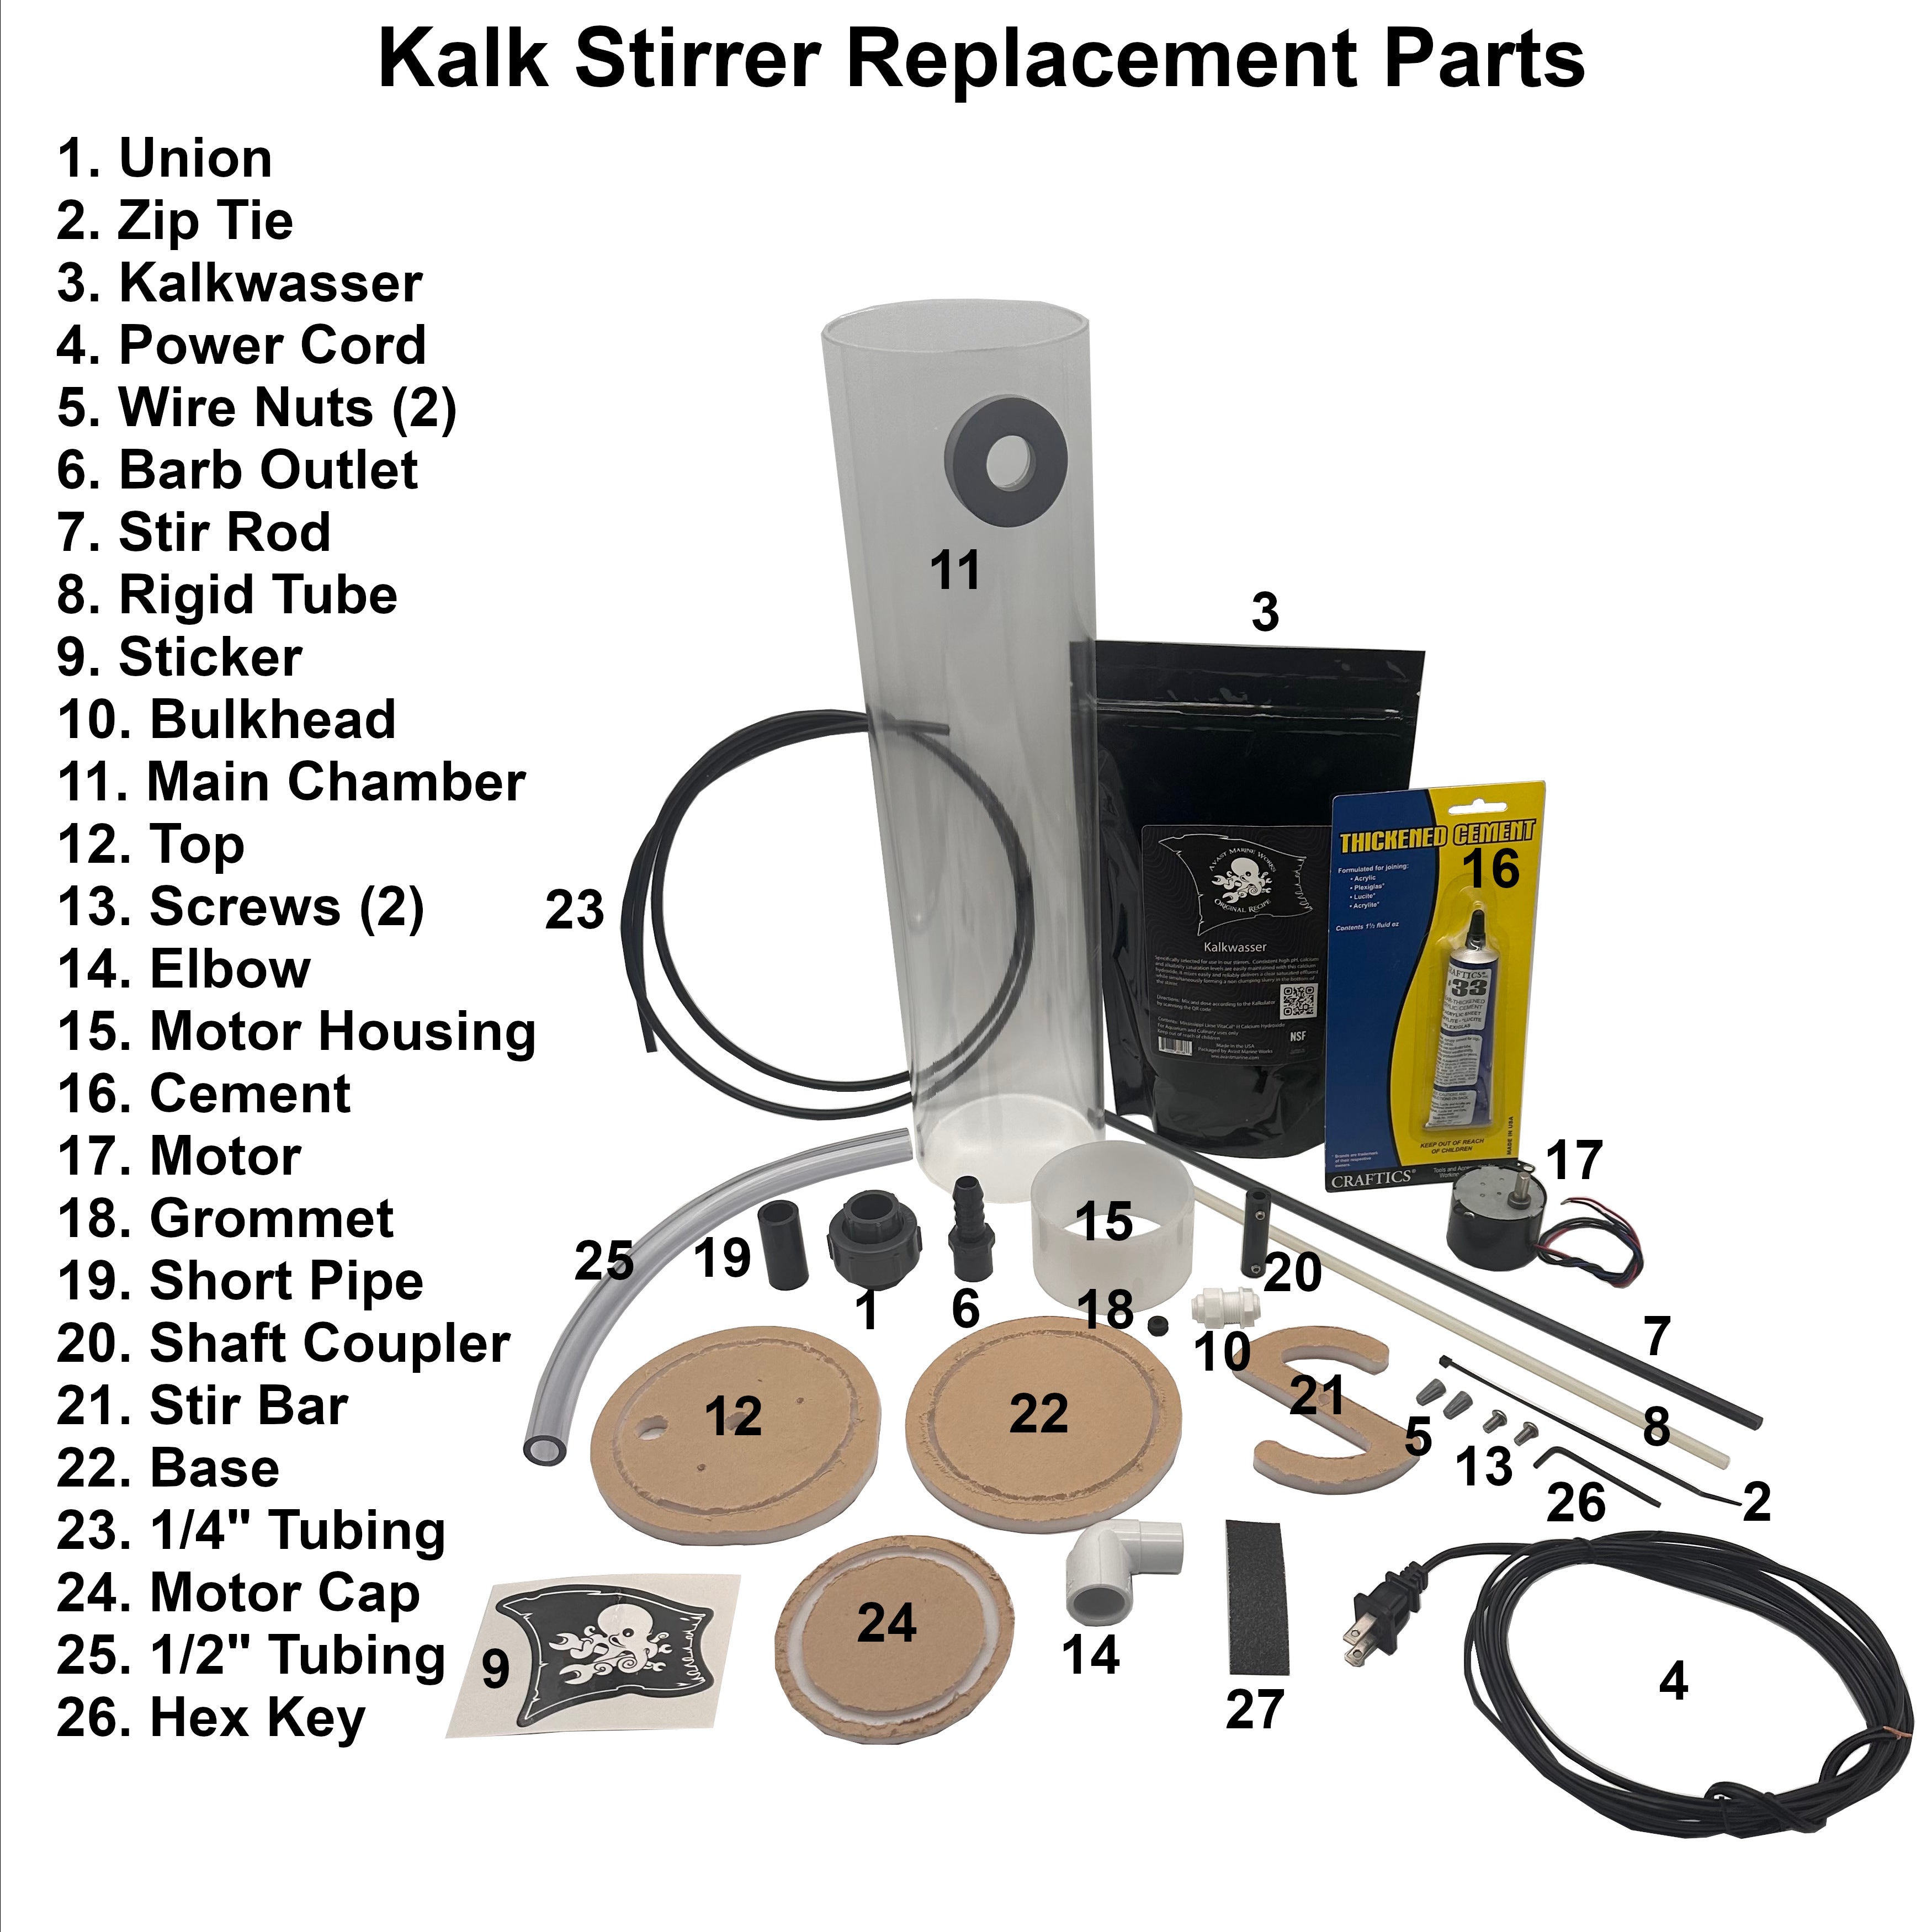
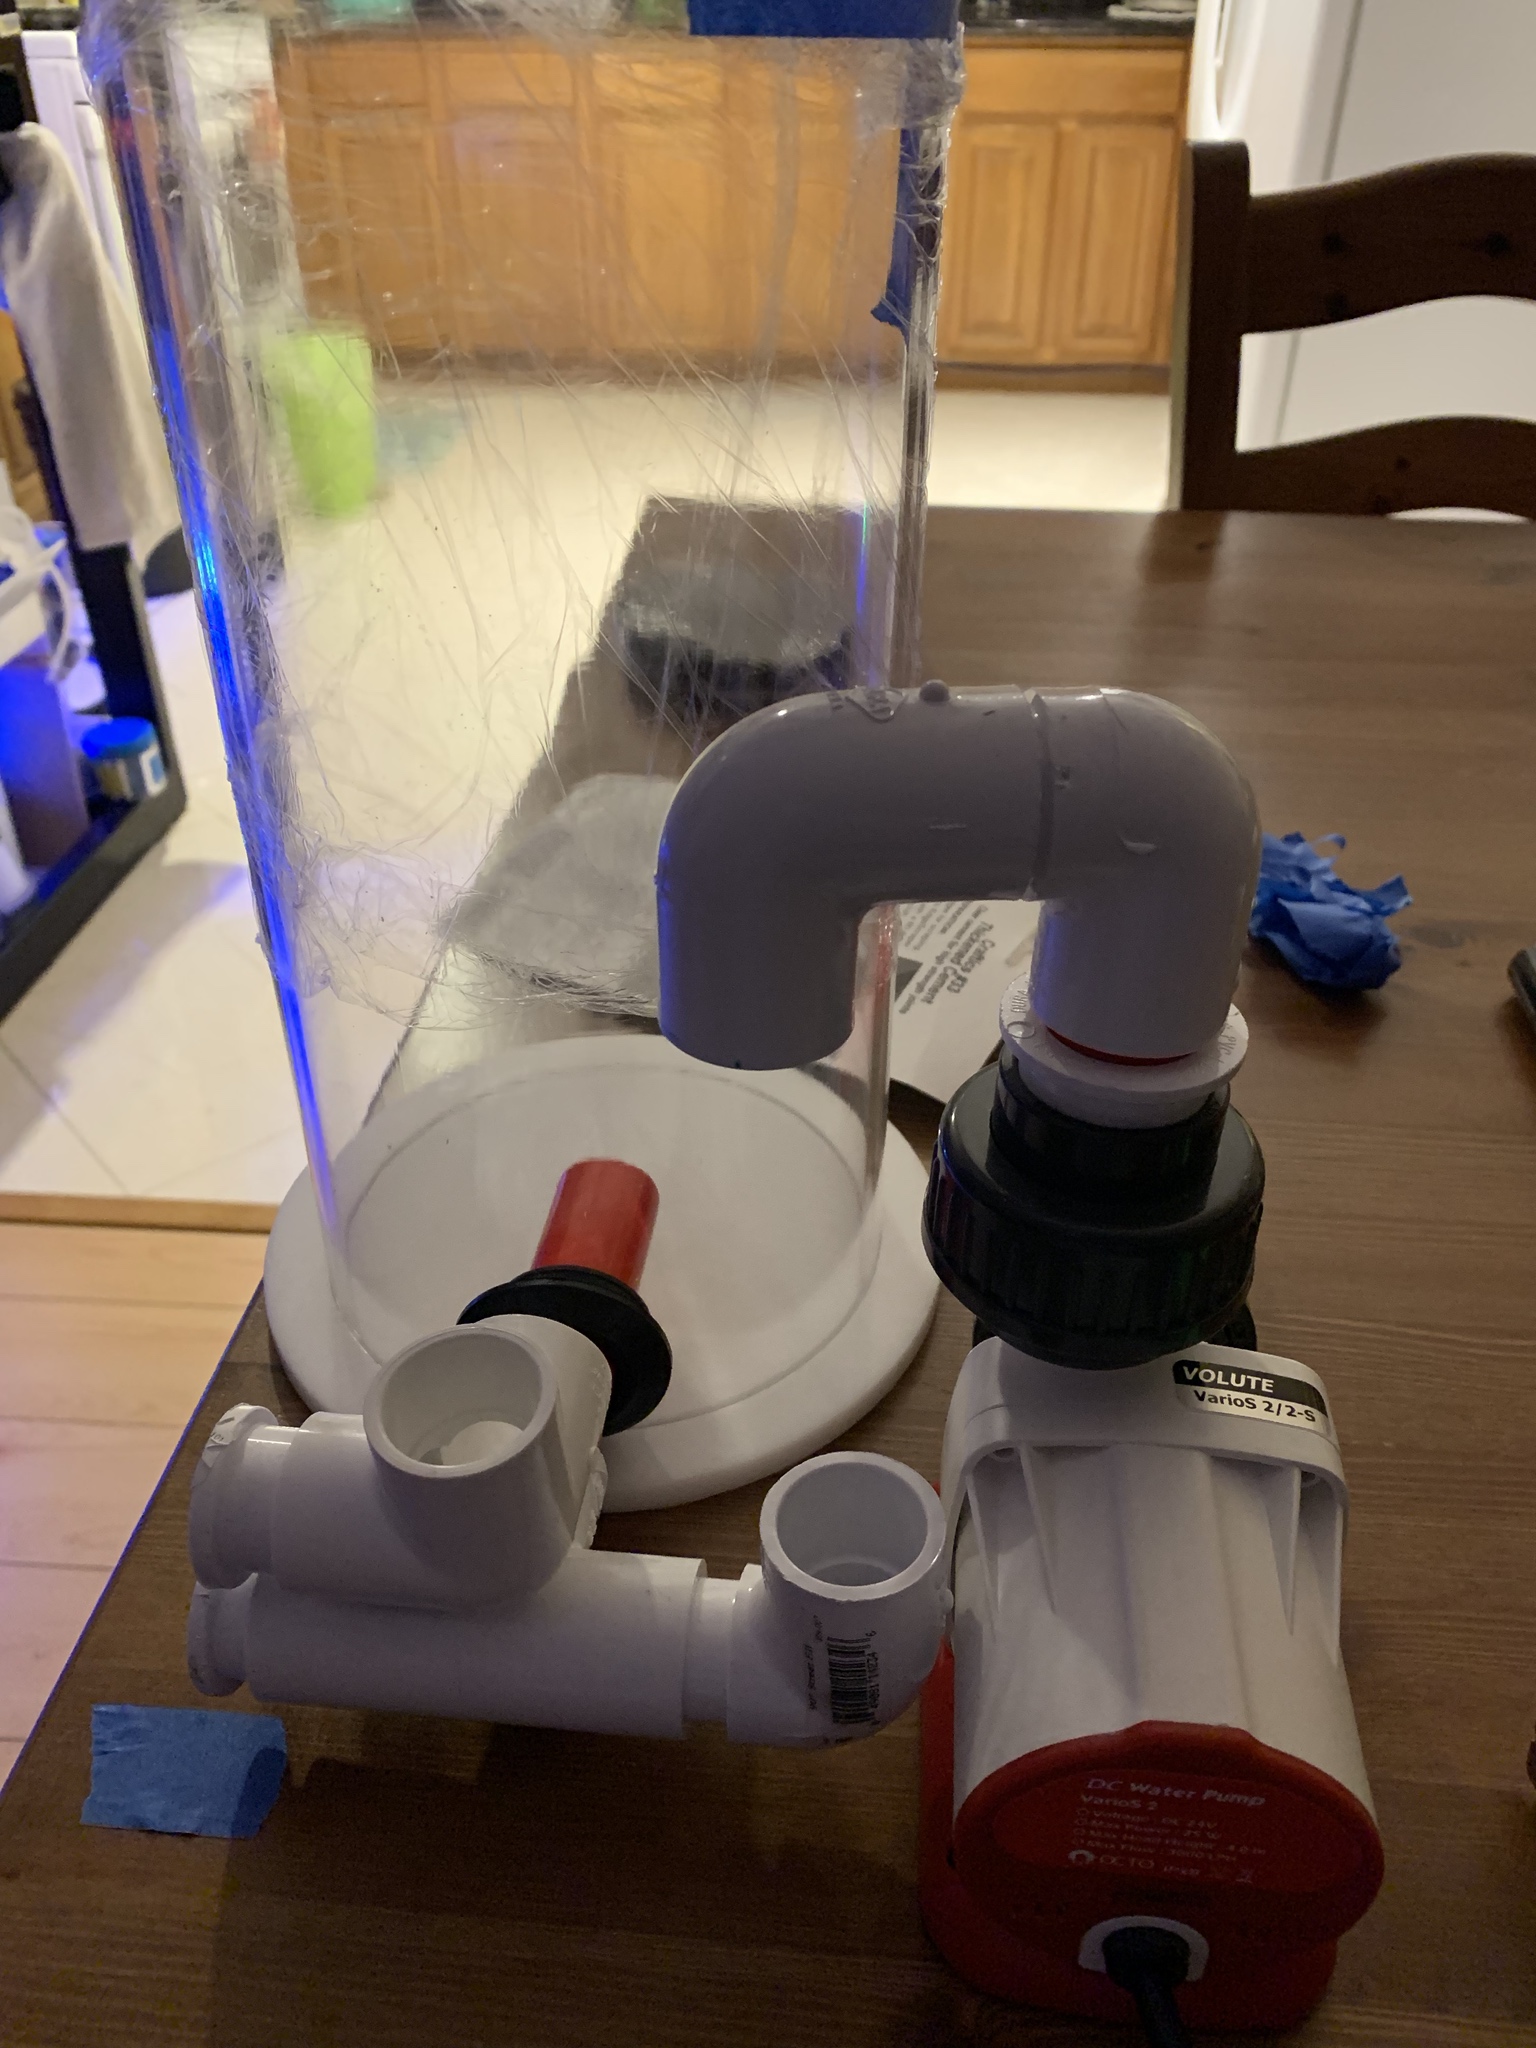
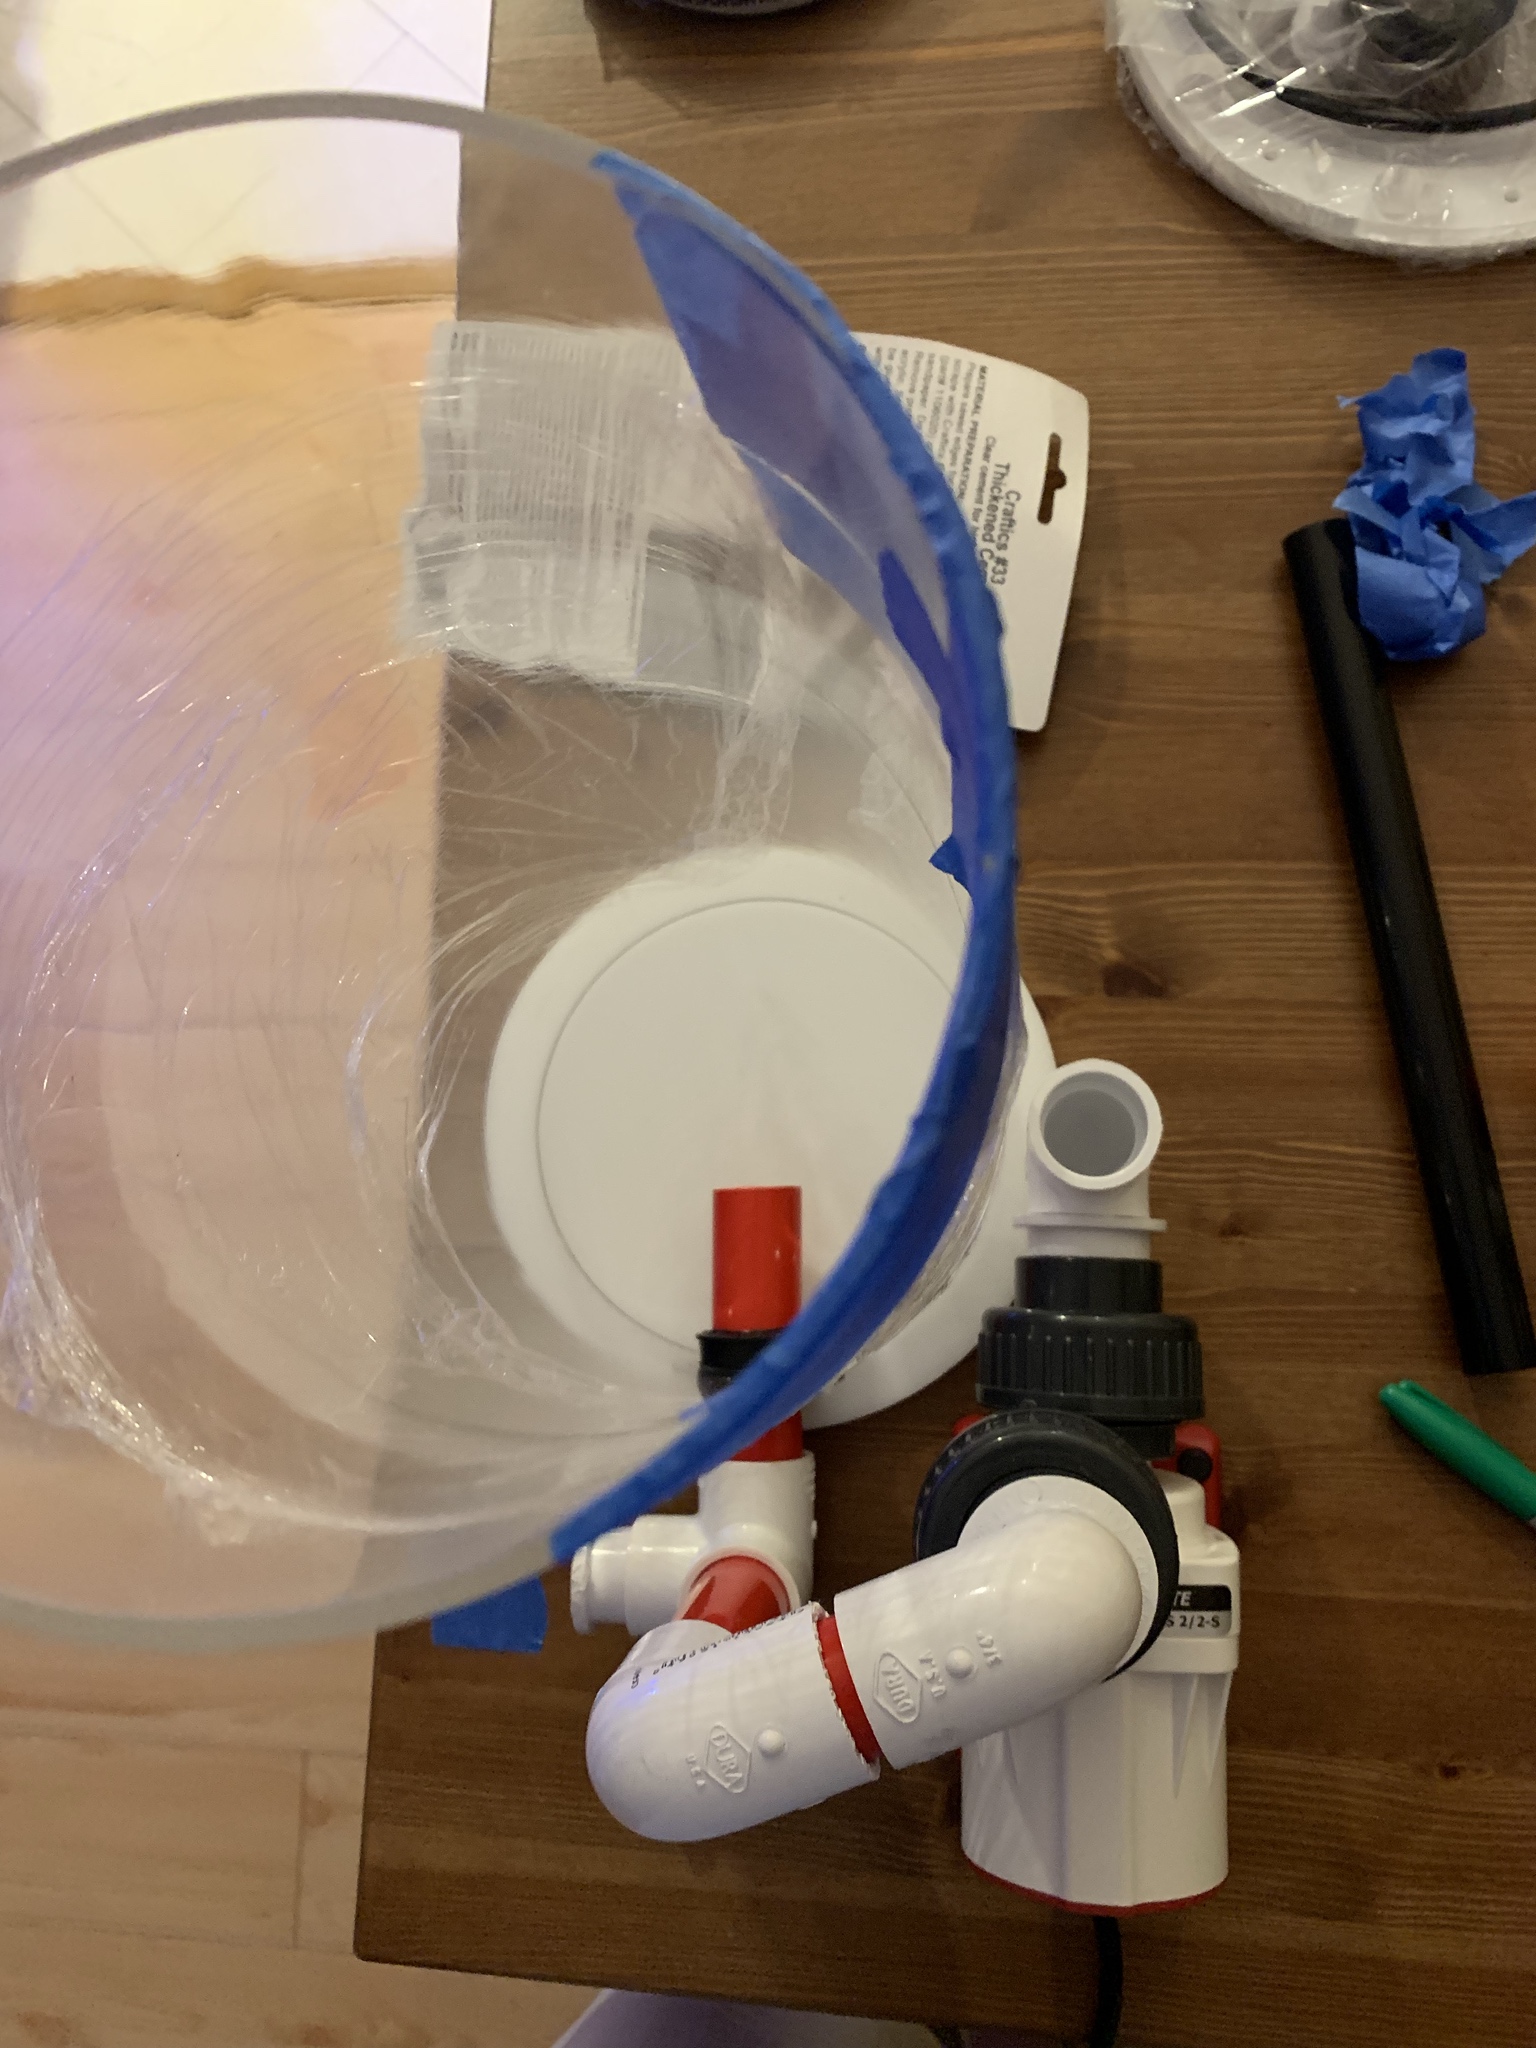
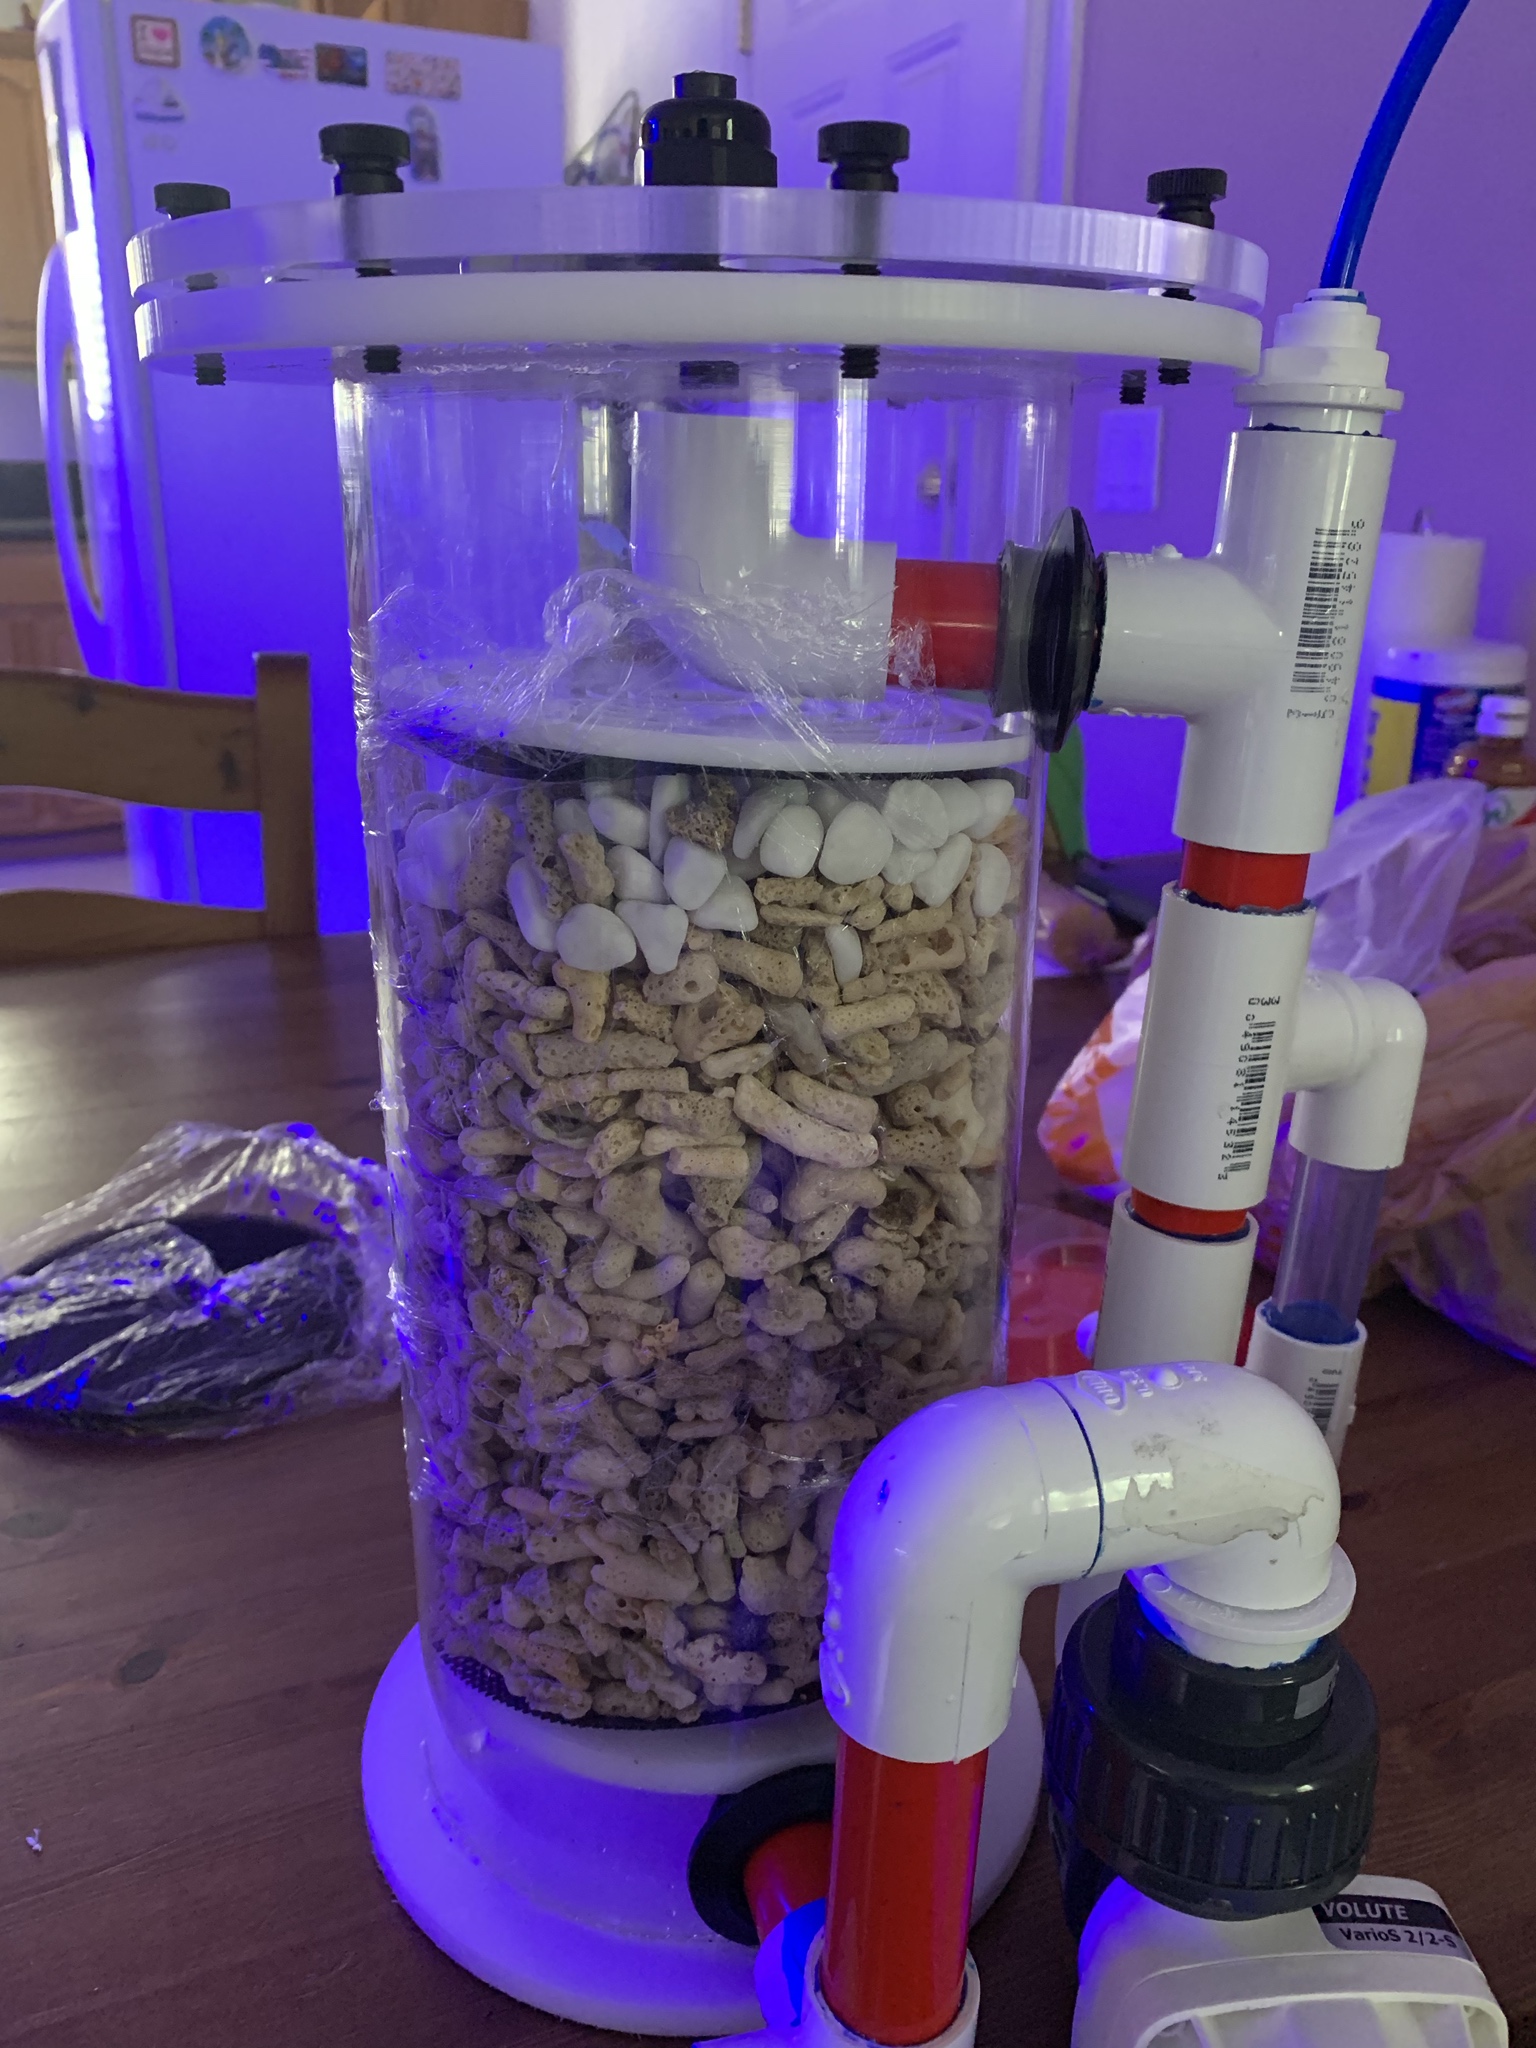
1) Where'd you get the plastic pieces that hold the media screen up off of the bottom of the reactor? My kit didn't include these.
2) How'd you deal with the hole (meant for a downtube from the top for when this is used as a media reactor) in that same bottom media screen piece? The hole is cut in the acrylic as well as the finer black mesh screen placed overtop the acrylic.
Thanks again for your inspiring work! You did a great job.. Super clean build!
Derek
A couple of quick questions:
1) Where'd you get the plastic pieces that hold the media screen up off of the bottom of the reactor? My kit didn't include these.
2) How'd you deal with the hole (meant for a downtube from the top for when this is used as a media reactor) in that same bottom media screen piece? The hole is cut in the acrylic as well as the finer black mesh screen placed overtop the acrylic.
Thanks again for your inspiring work! You did a great job.. Super clean build!
Derek