I've been doing this DIY sock about over 5 years now, and has over the years refined the sock so the cutting/sewing is absolutely down to a minimum, and the ring attachment is extremely easy and straightforward. I still use a brand new sock each time I change the sock and just toss out the used one.
This is for 4" sock (100mm for metric folks)
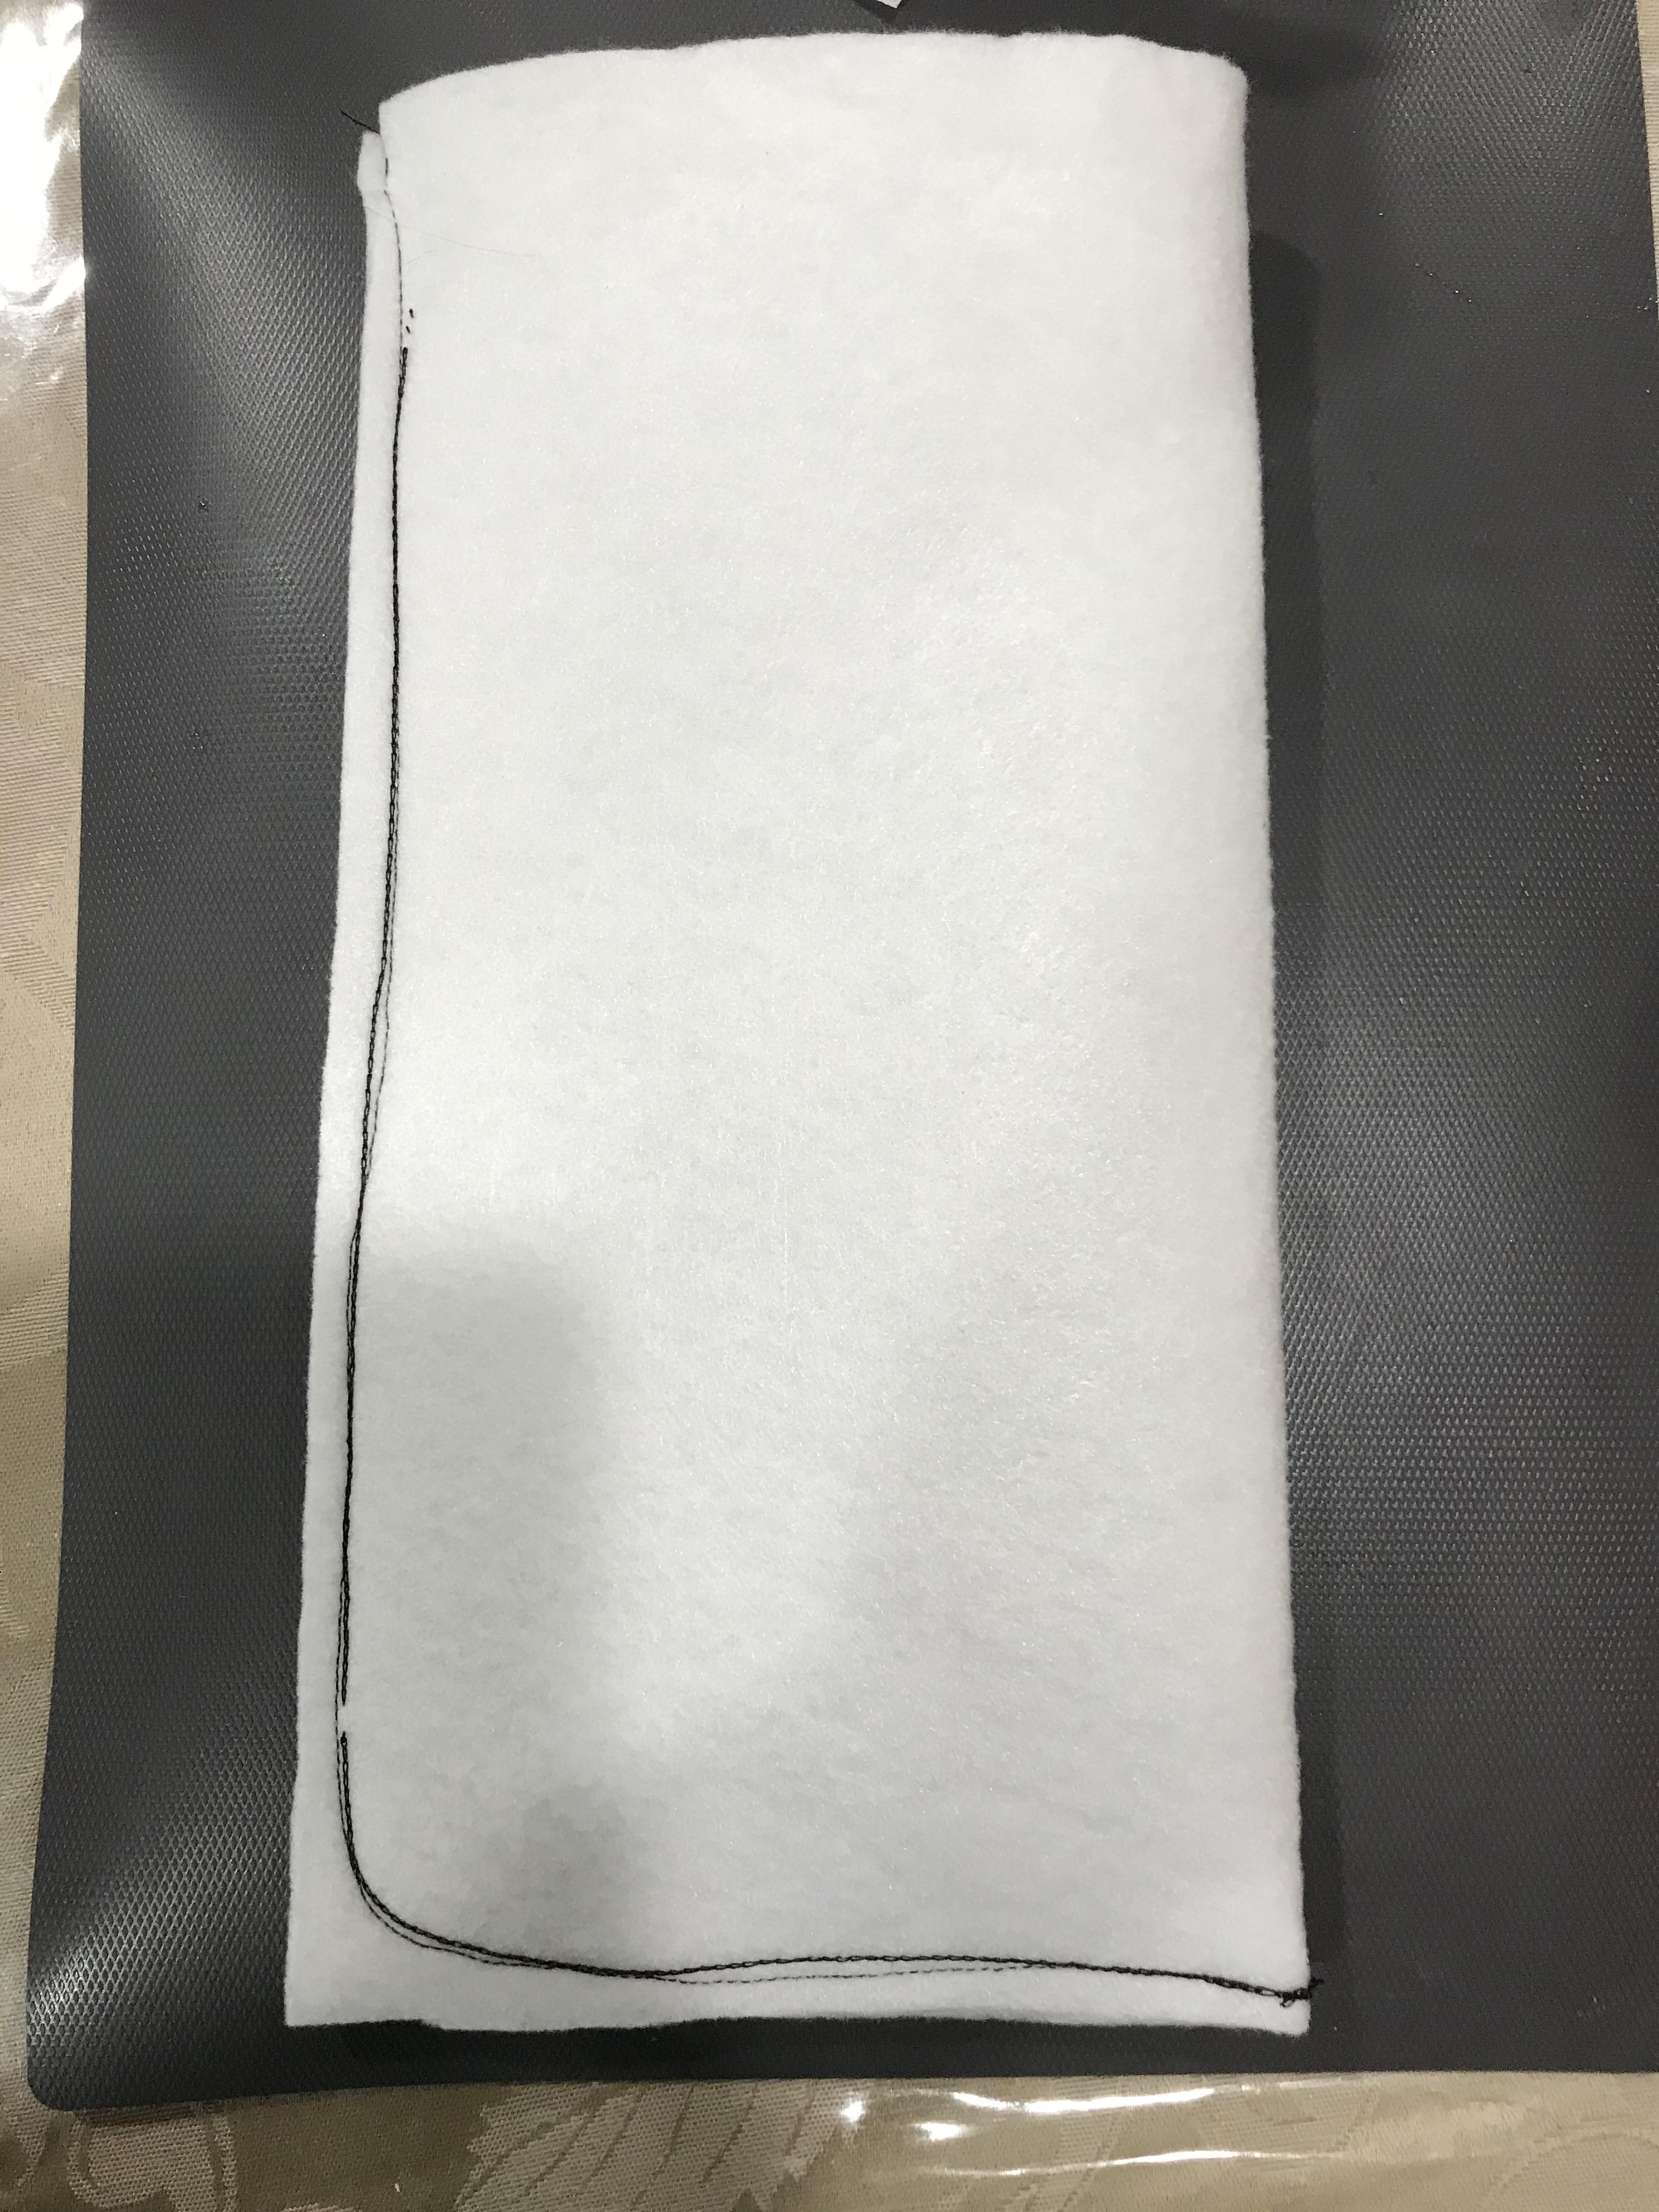
each yard of fabric is 72"x36". I cut them to 12"x12" square pieces. I don't even have to measure, just fold the 36" side into 3 equal parts and cut, then cut the 72" side to 6 equal parts. One yard yields 18 socks and enough to last me 3 months.
Then I sew by simply folding in half, and just saw the long side then the bottom then back to make a bag. That's it. (I am still using the handheld portable
Singer sewing machine from when I posted years ago)
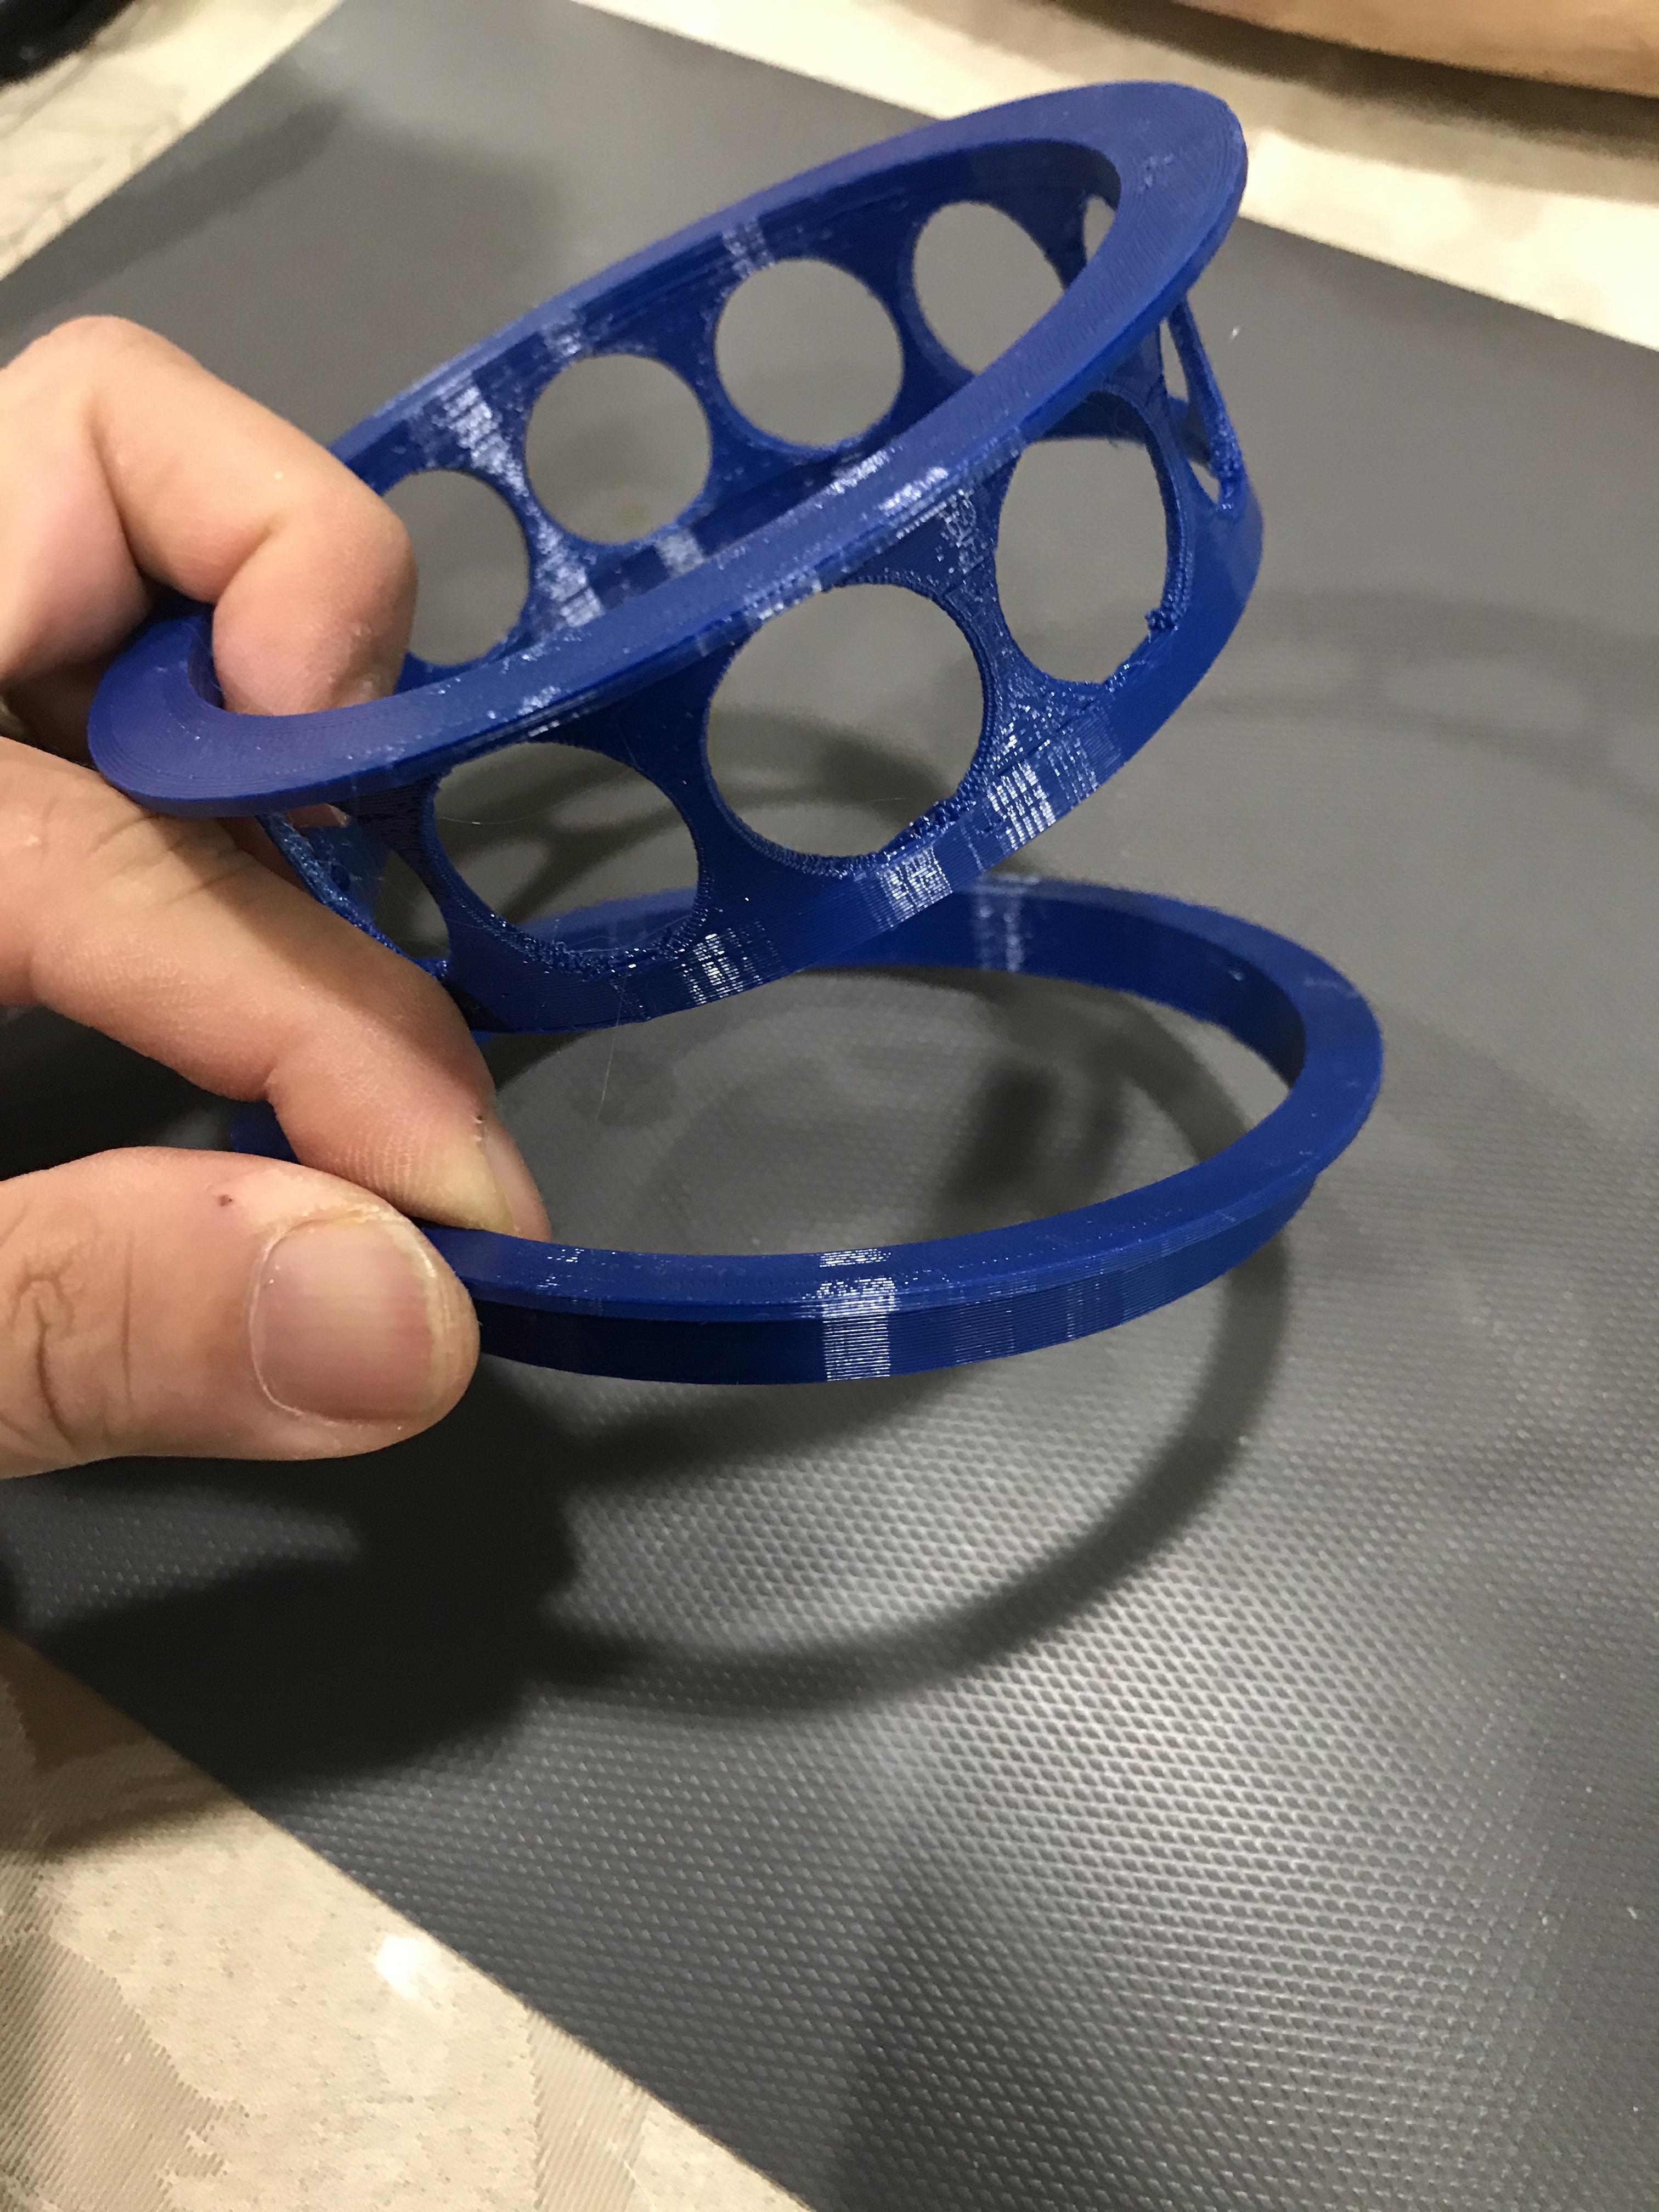
For the ring attachment, I use a 3D printed ring that I designed. Its extremely simple anyone can easily draw up the 3D file. The holes are not there for decoration. Its to minimize the filament used and reduce print time. Also when water level on sock starts to reach the top, water can still flow out the material through the holes. A put a lot of thought into this simple design.
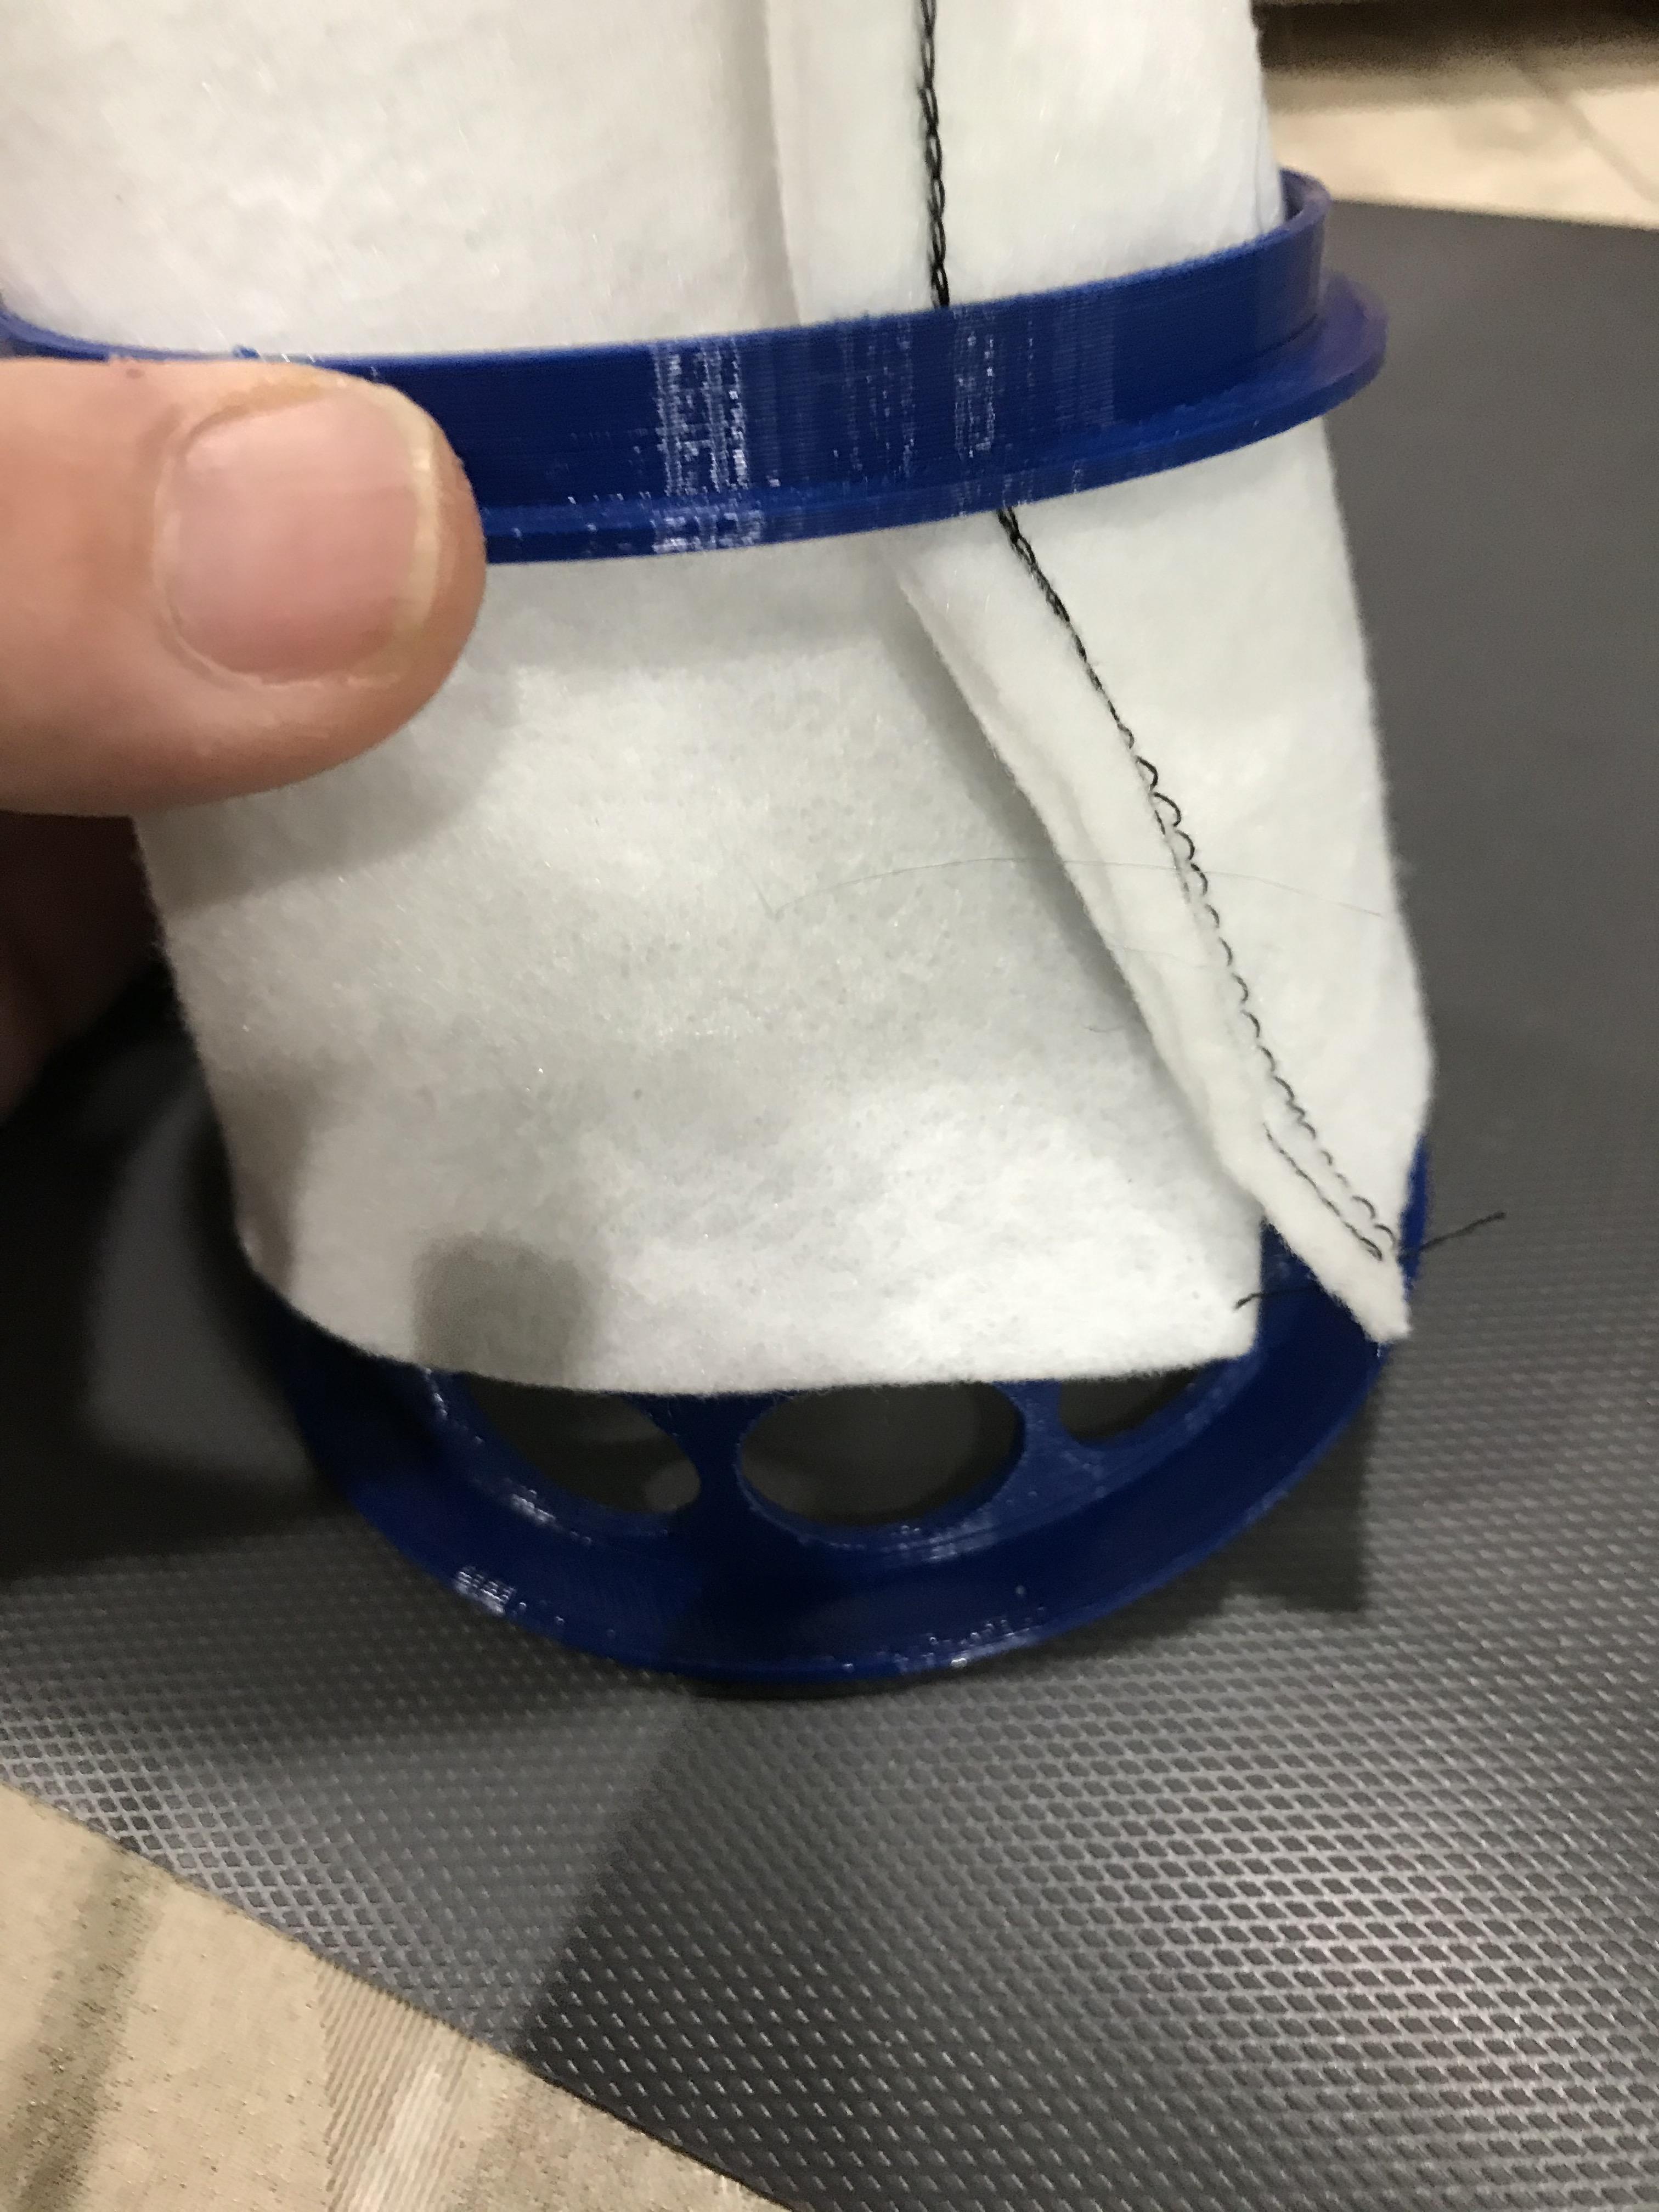
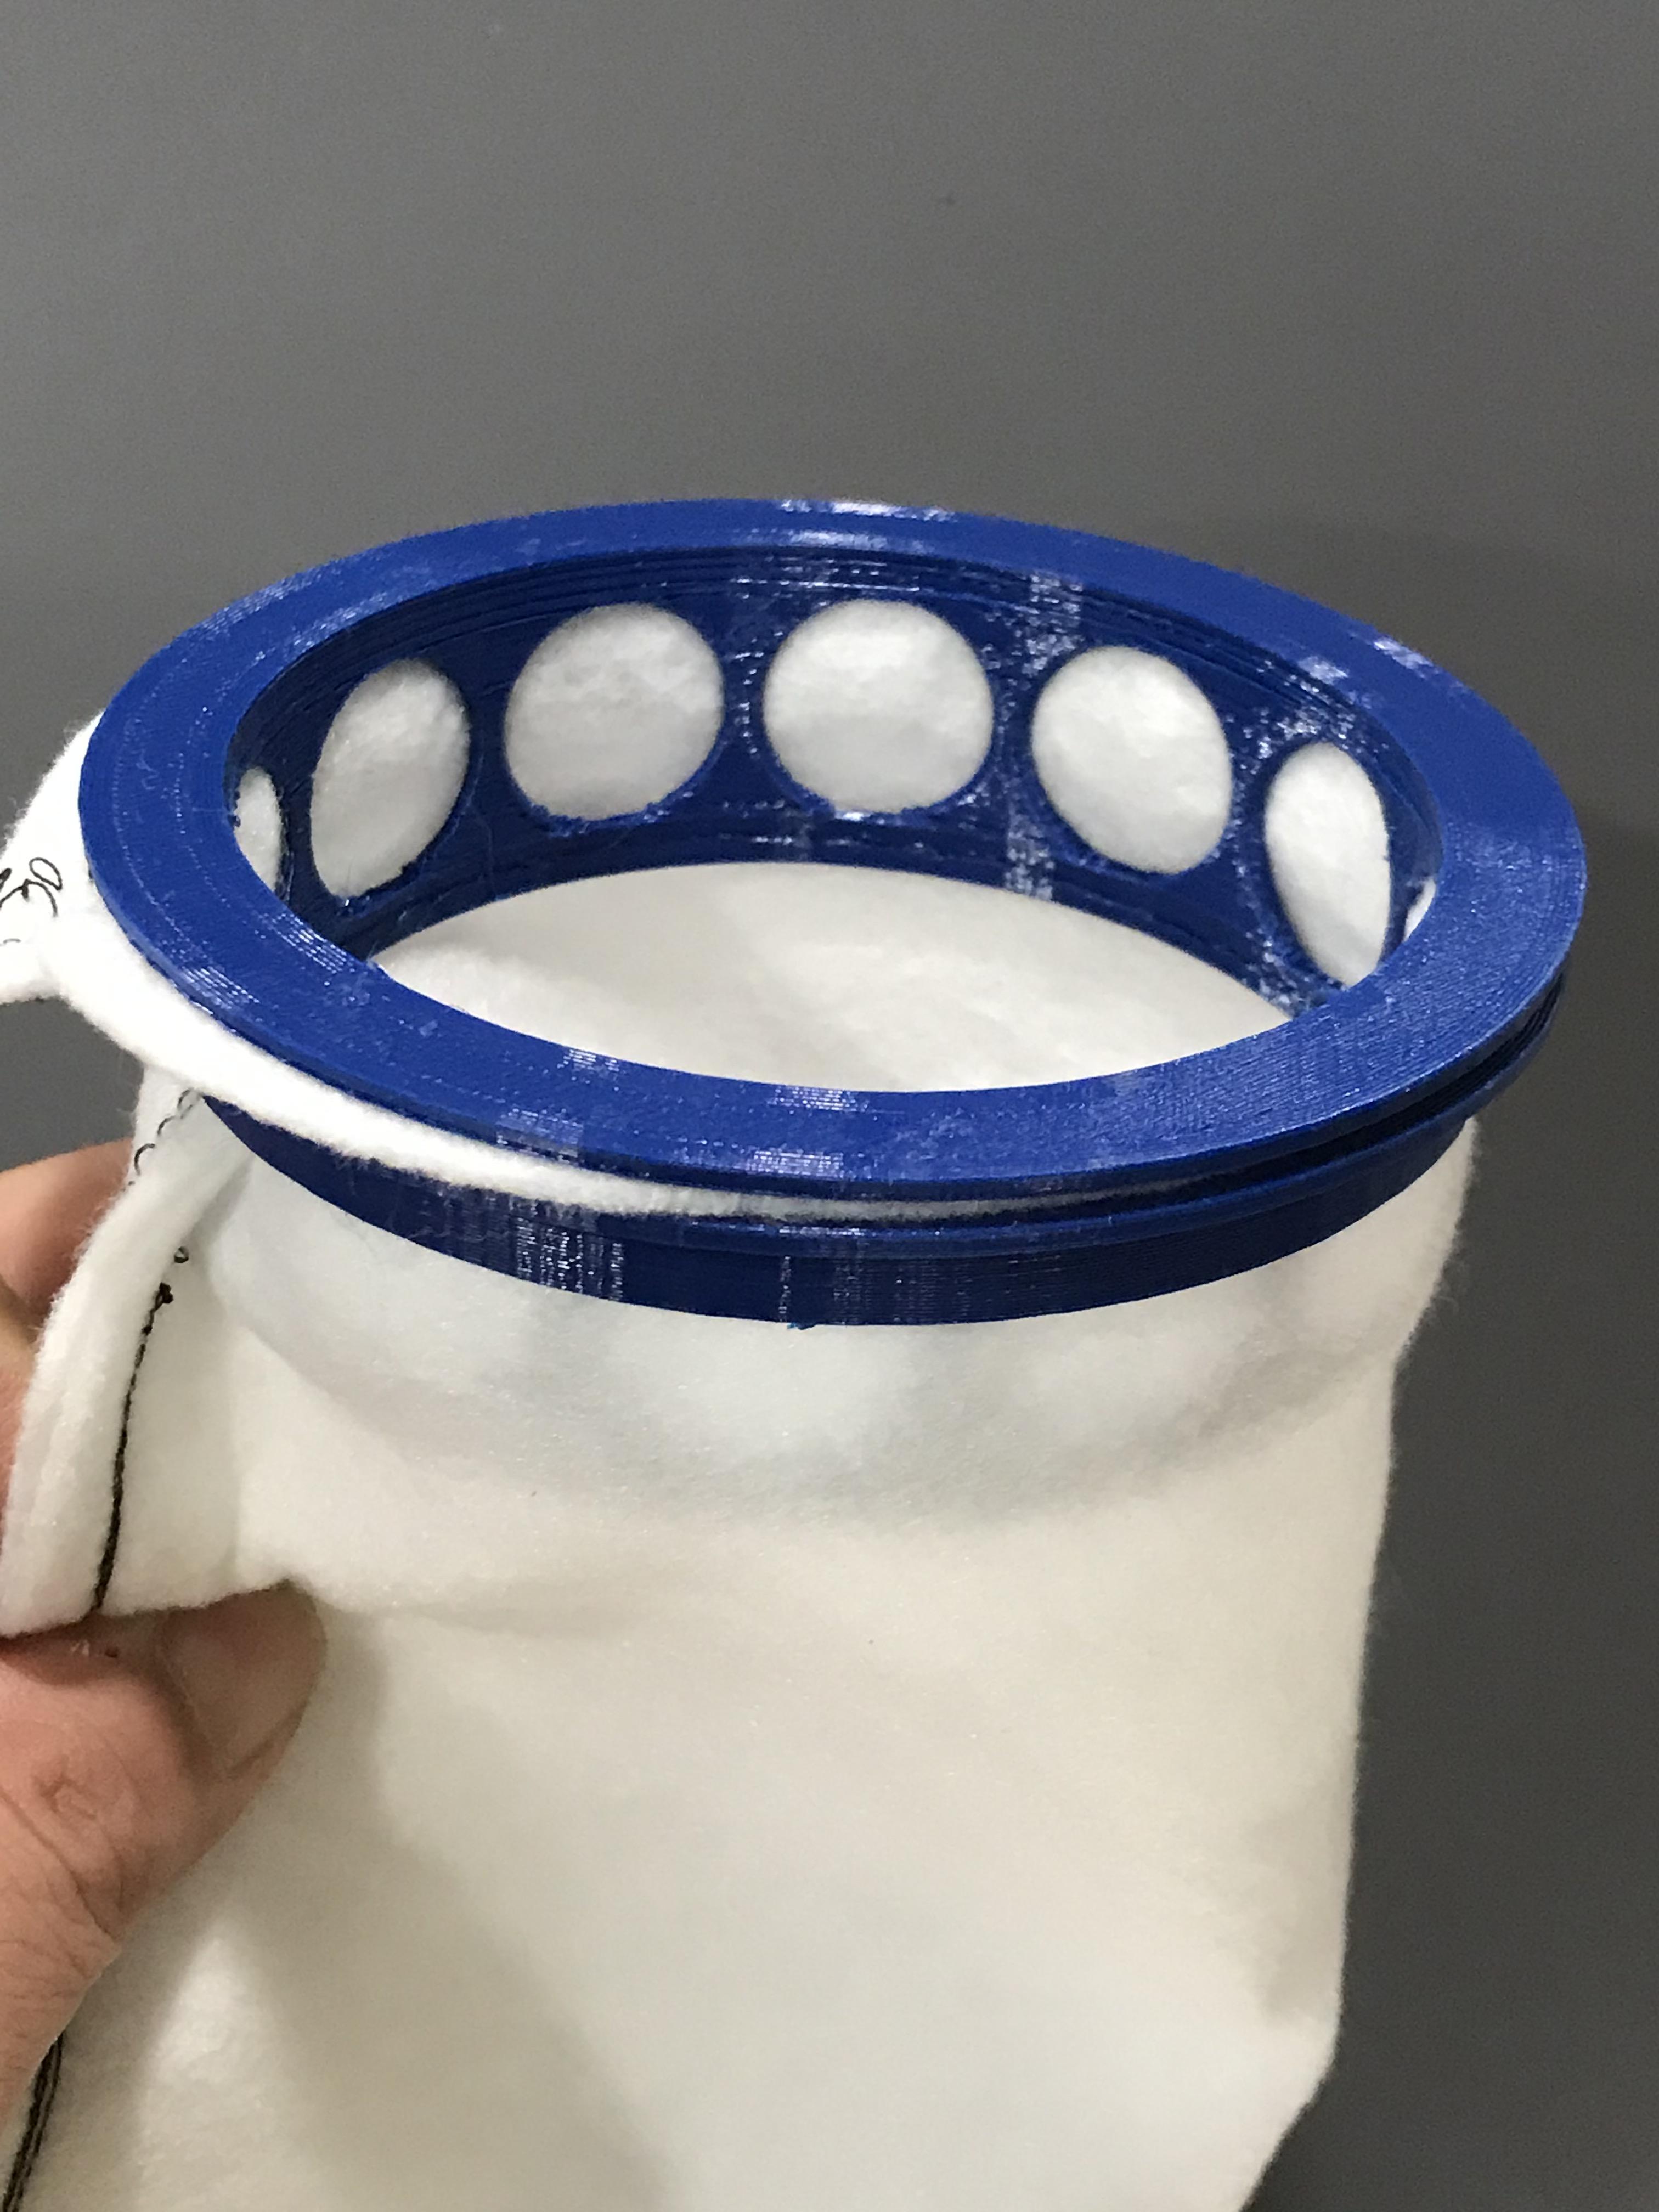
Its basically two rings, and the sock goes between the two rings. Larger ring goes outside the sock, smaller ring goes inside the sock, then press down.
voila! DIY sock!
Print using PETG, as PLA softens in saltwater.
Hope this helps.