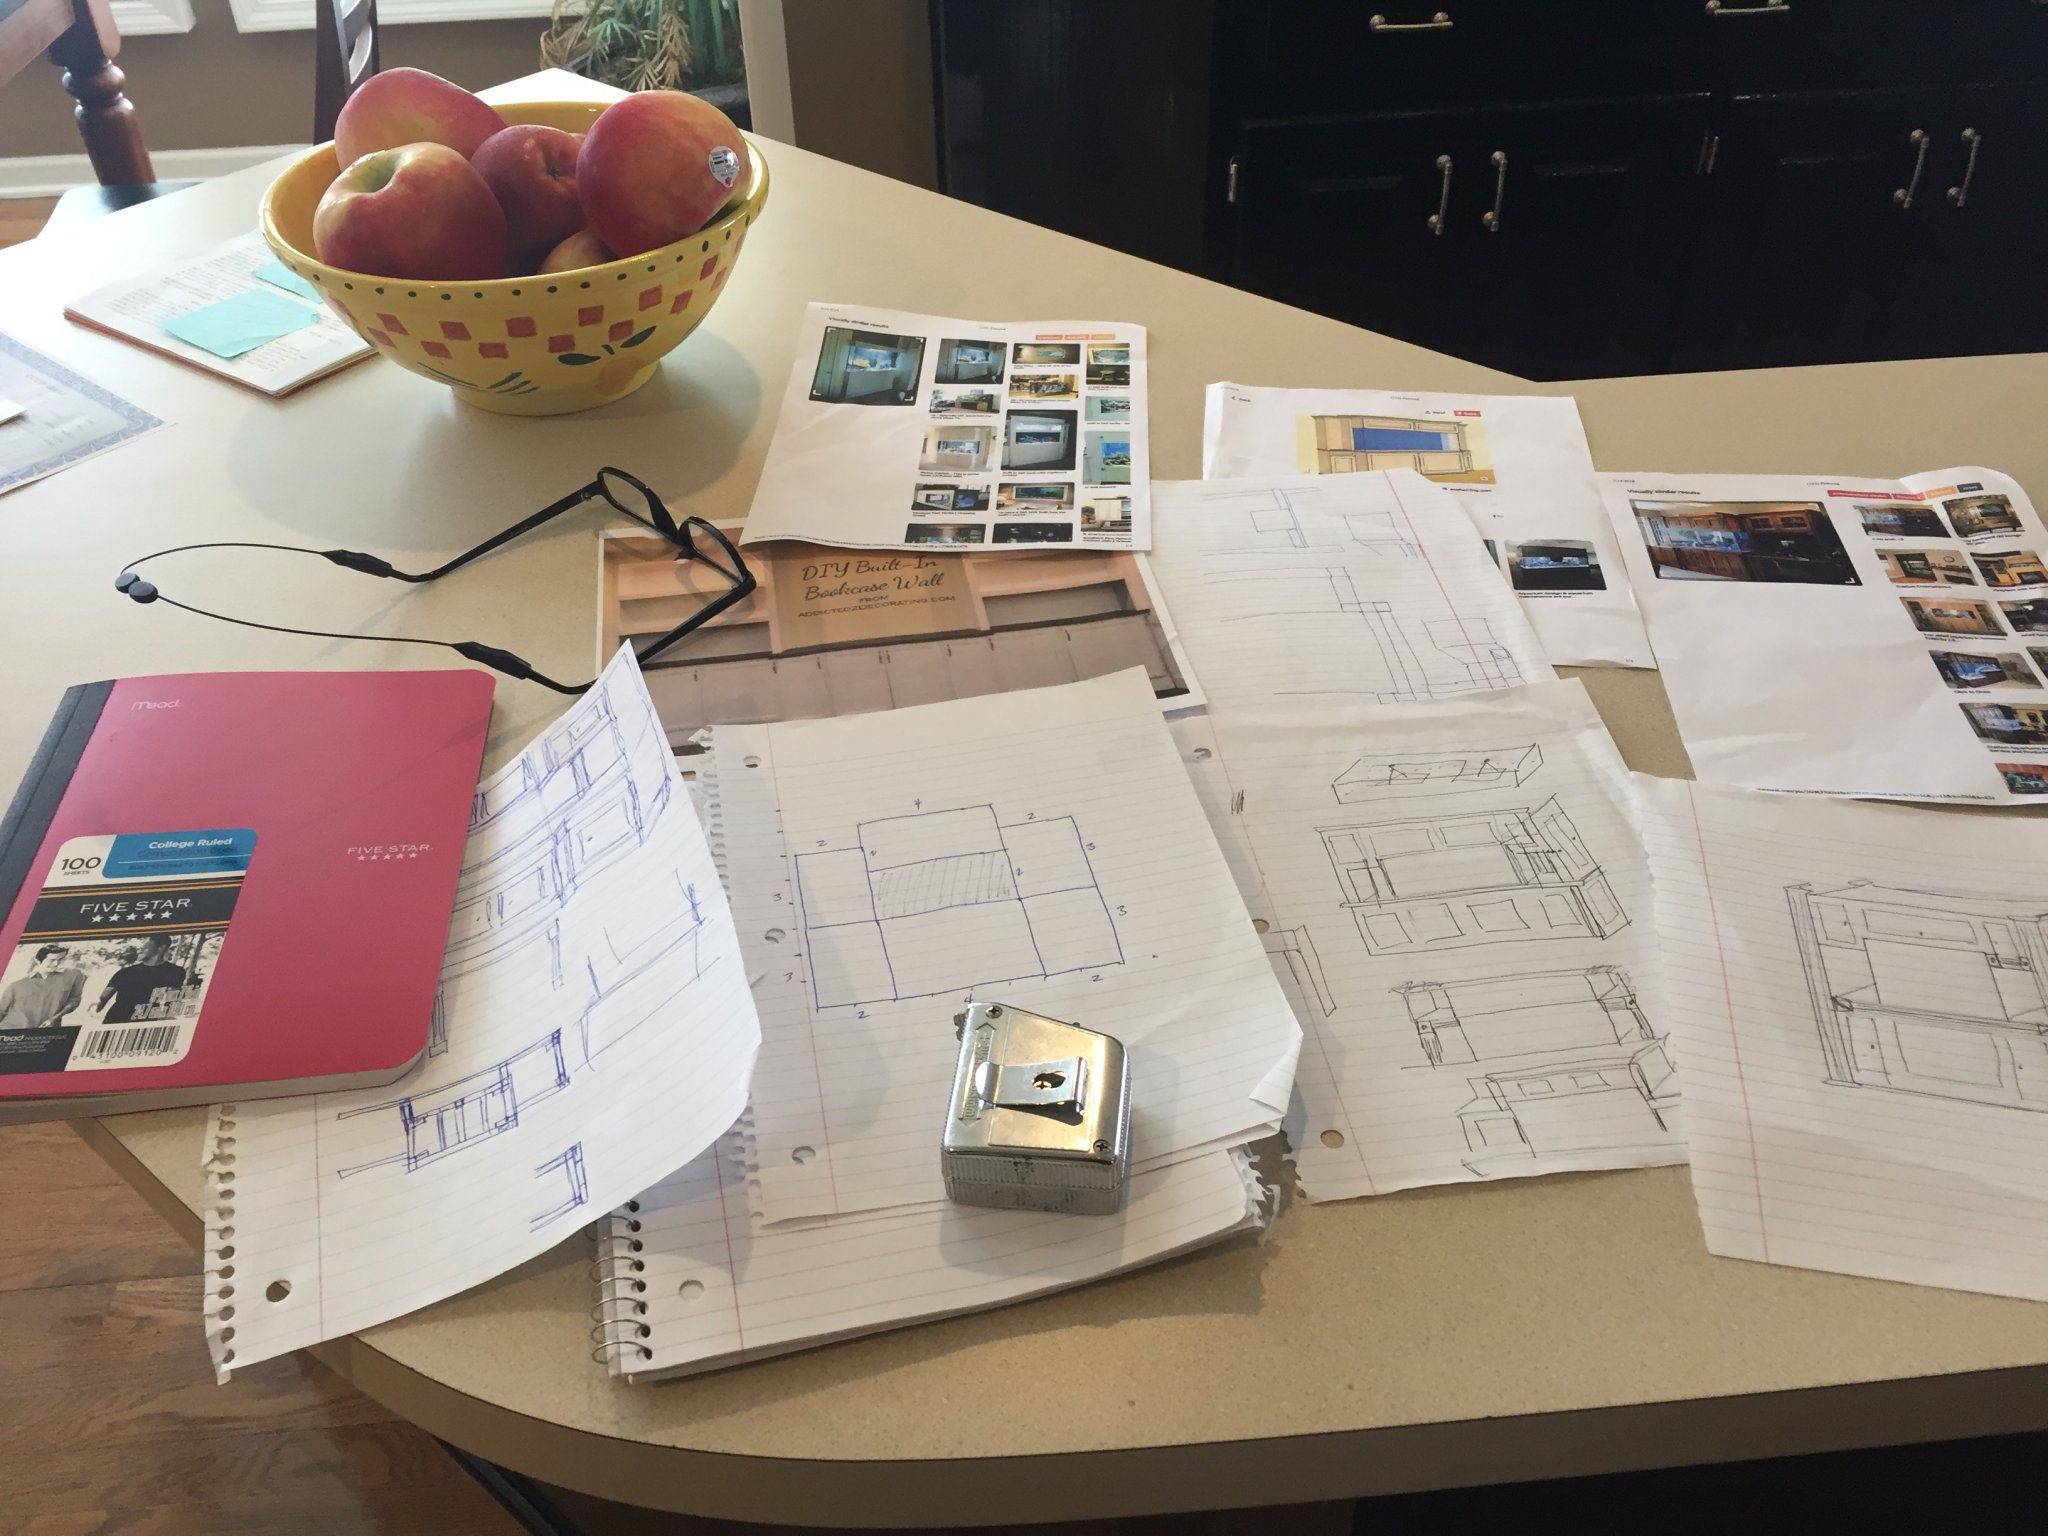
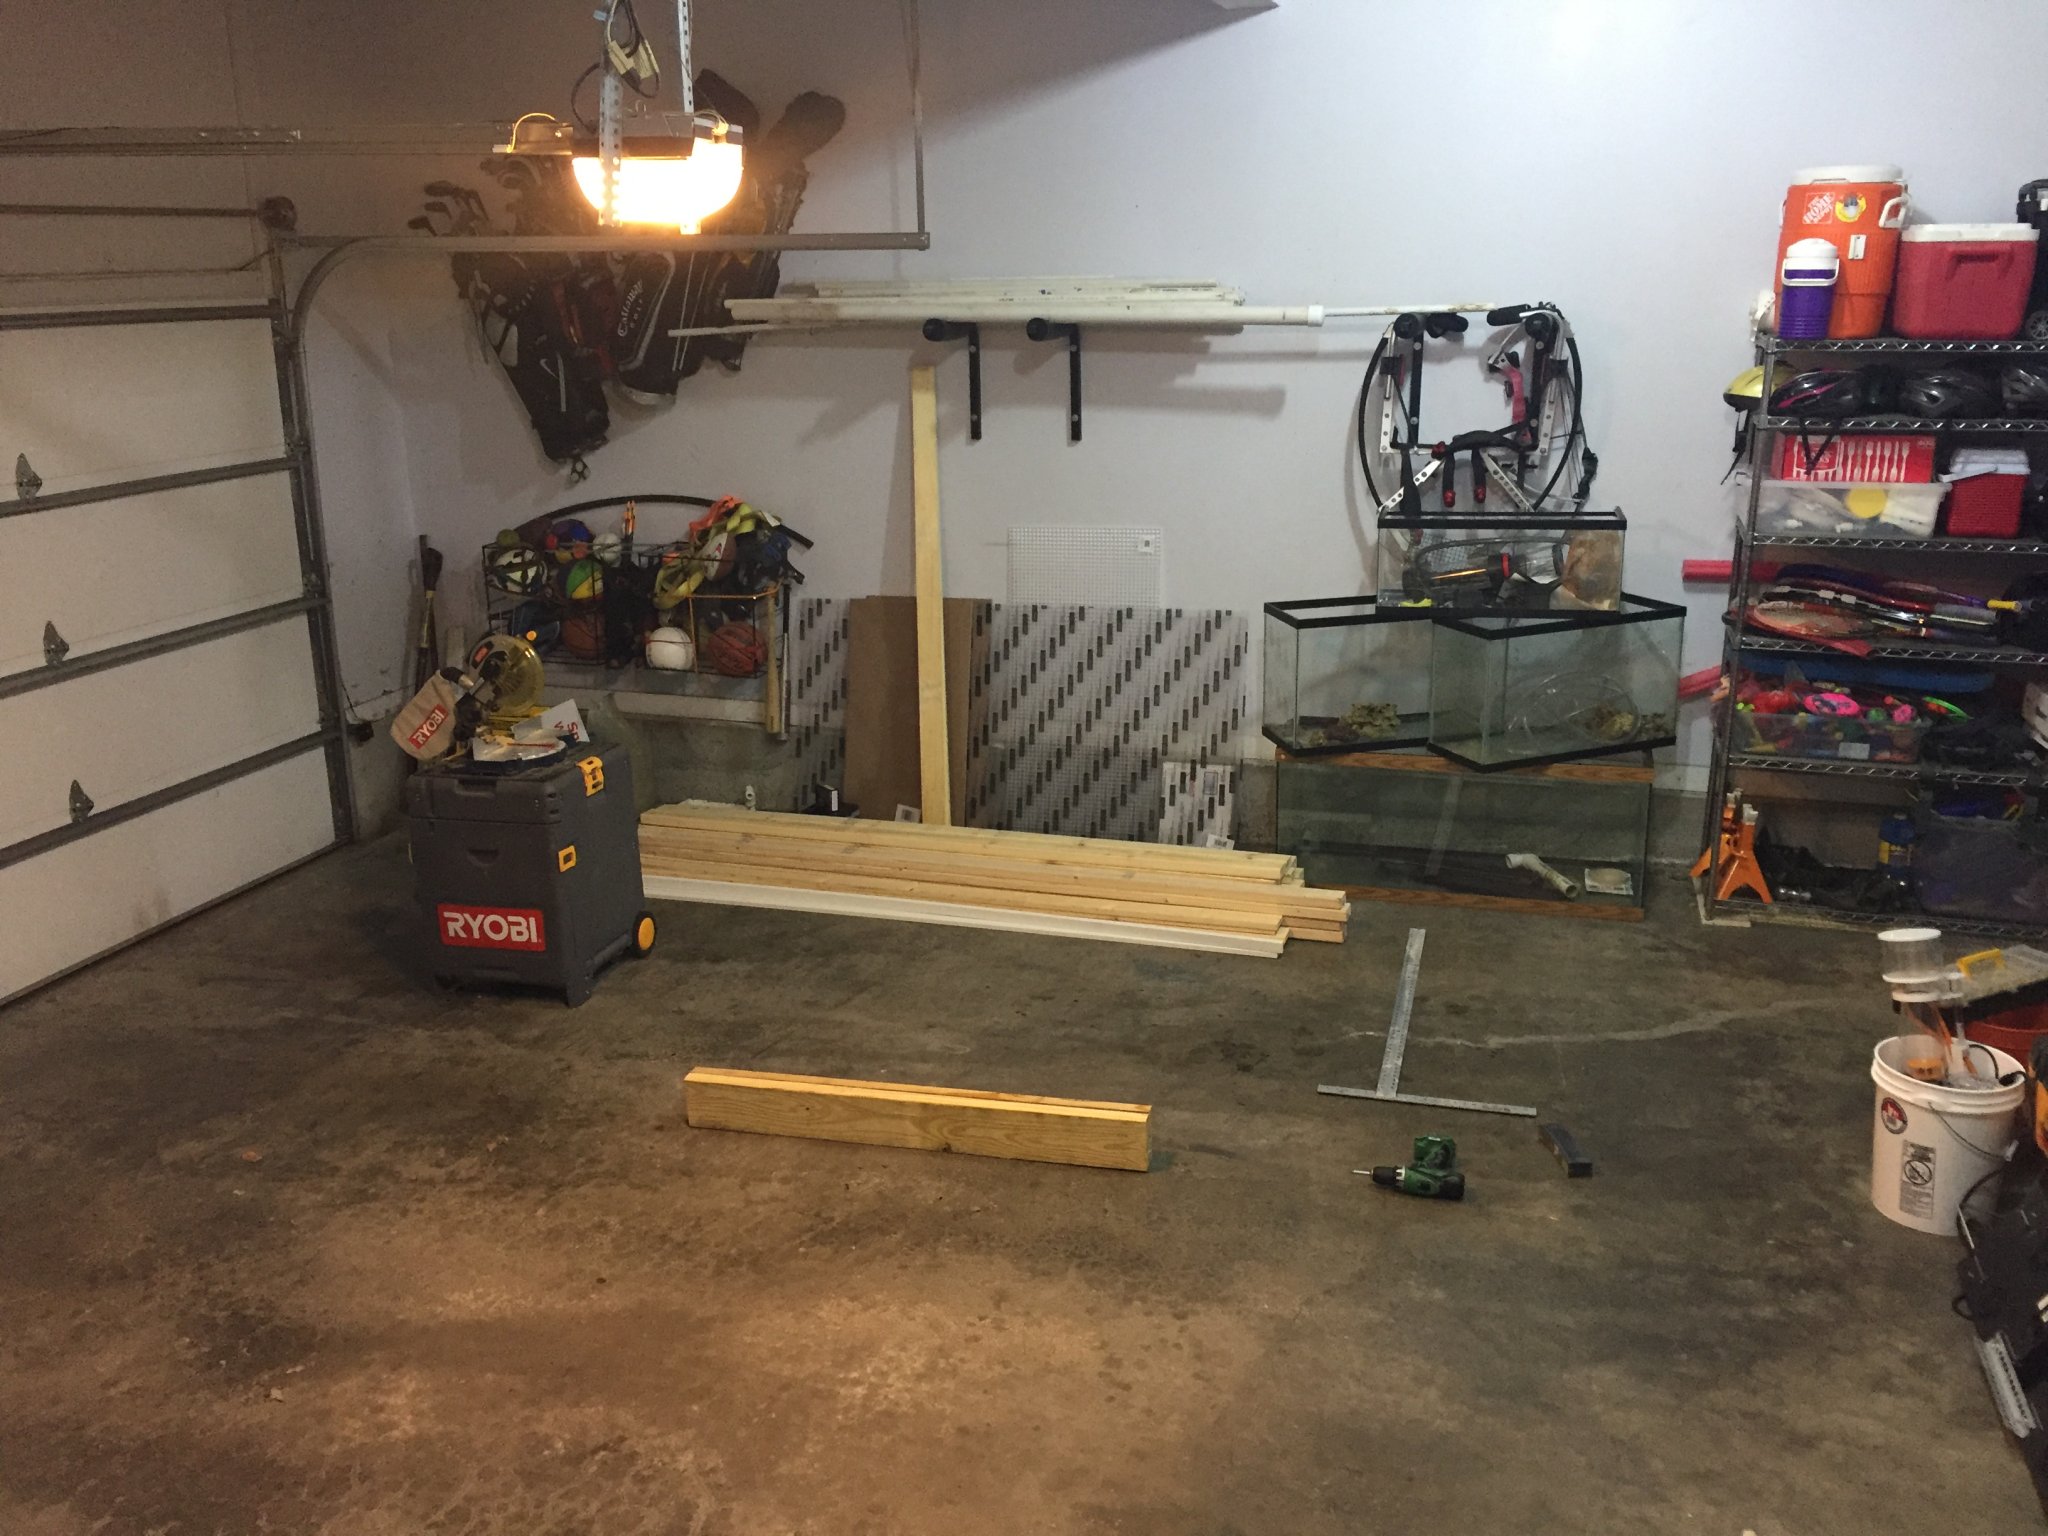
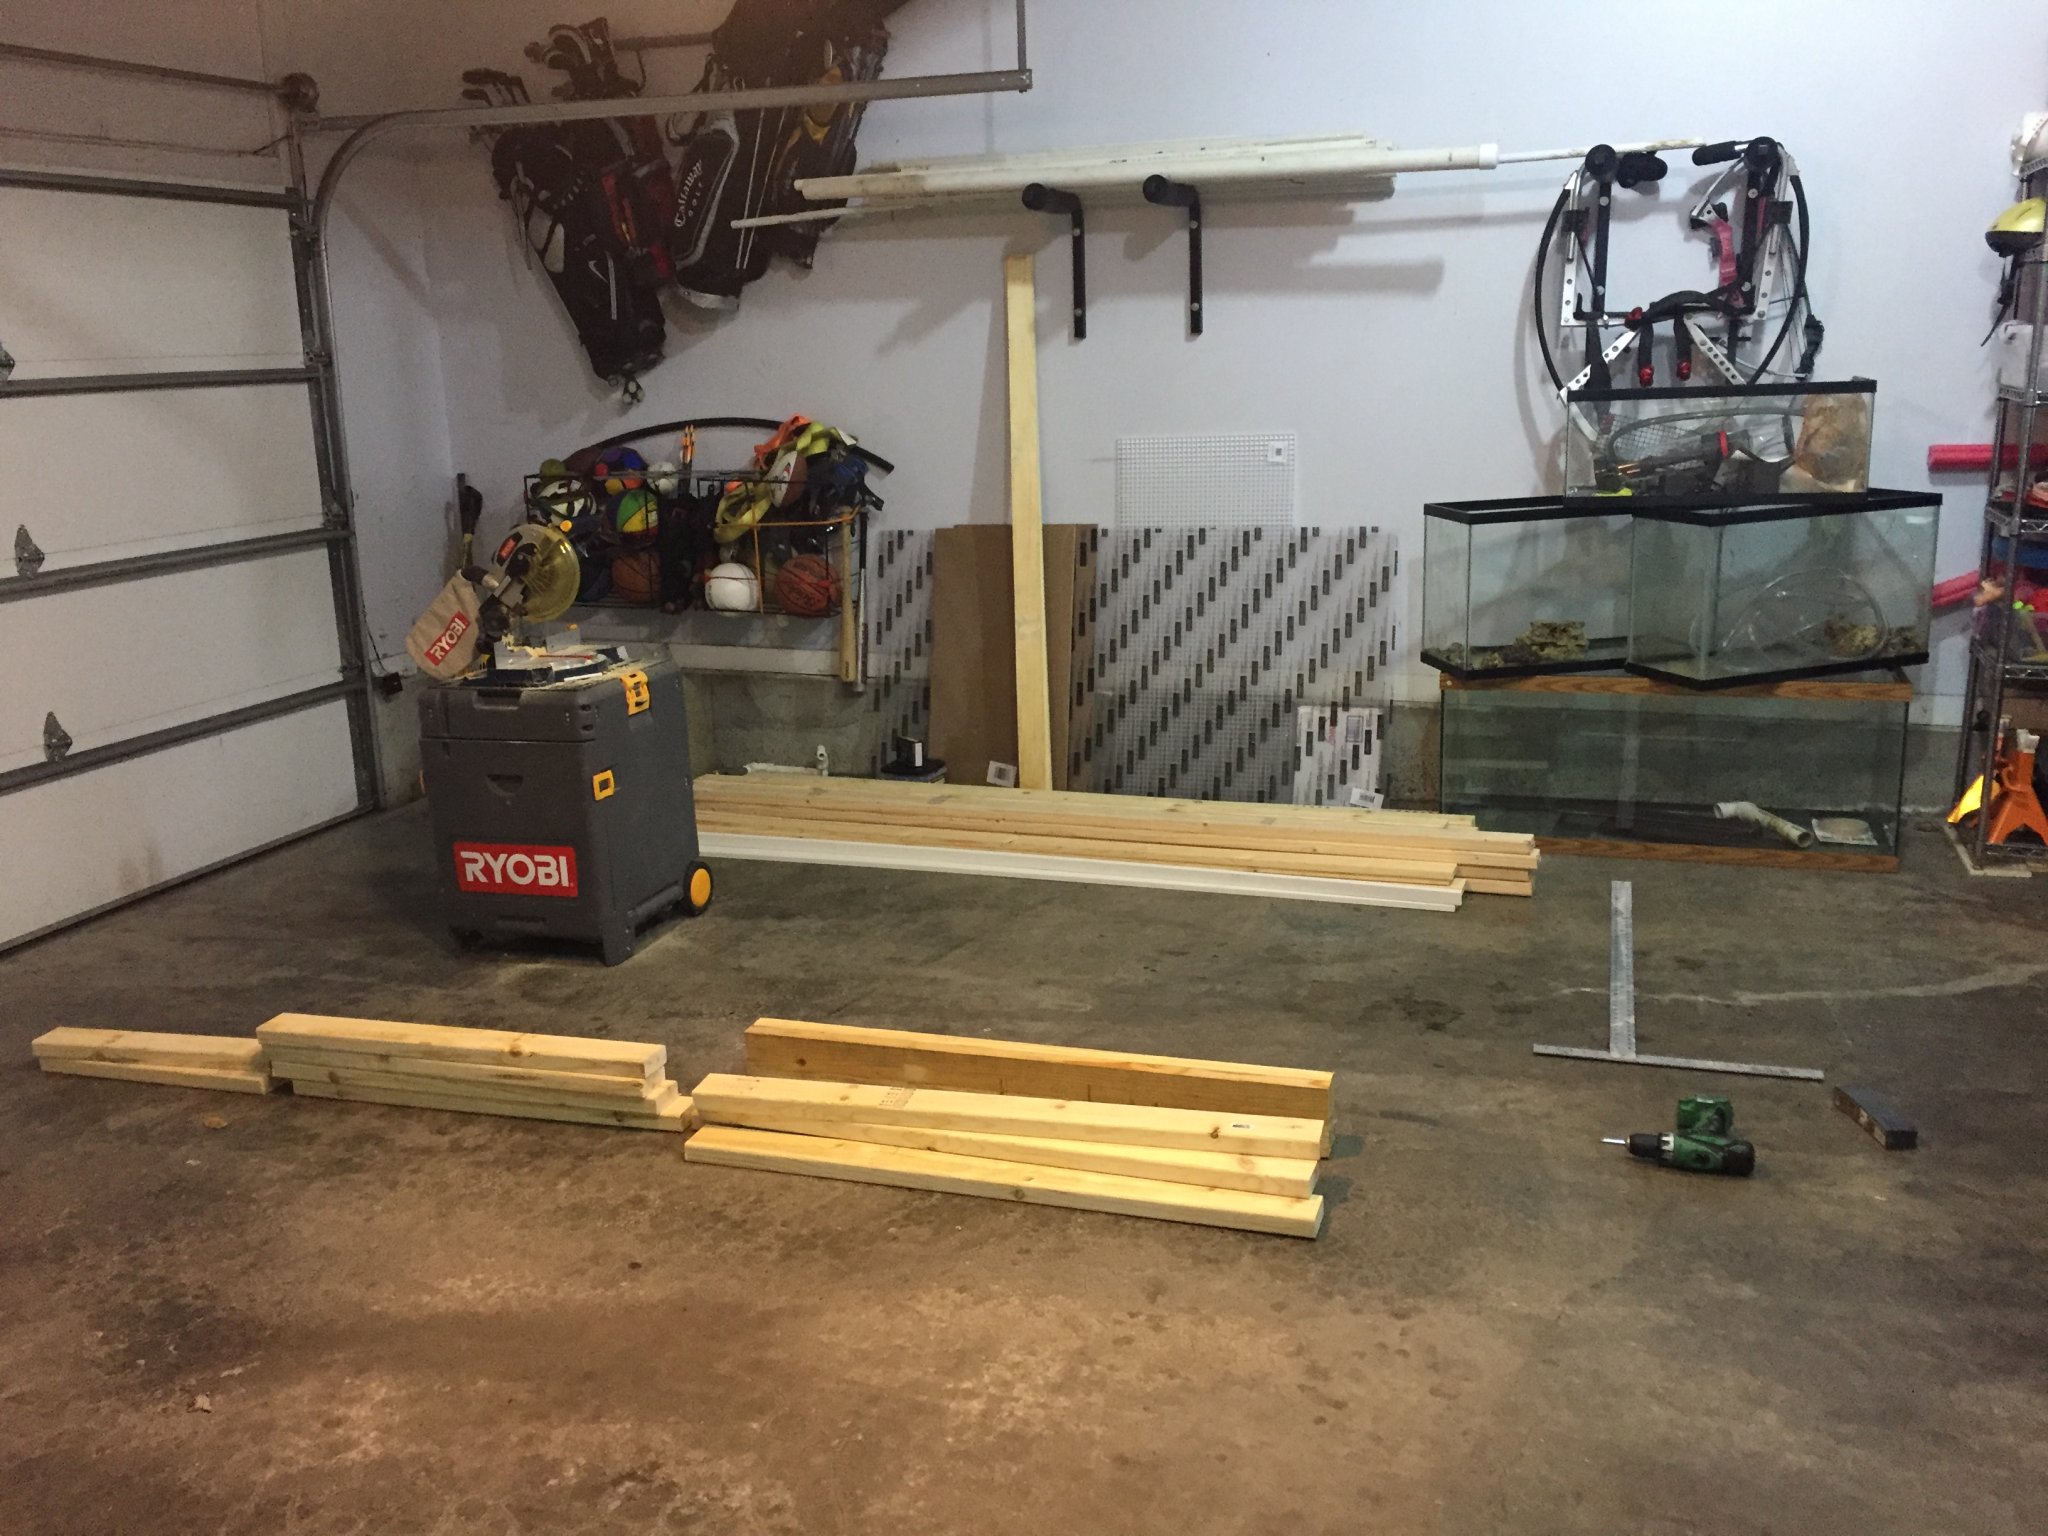
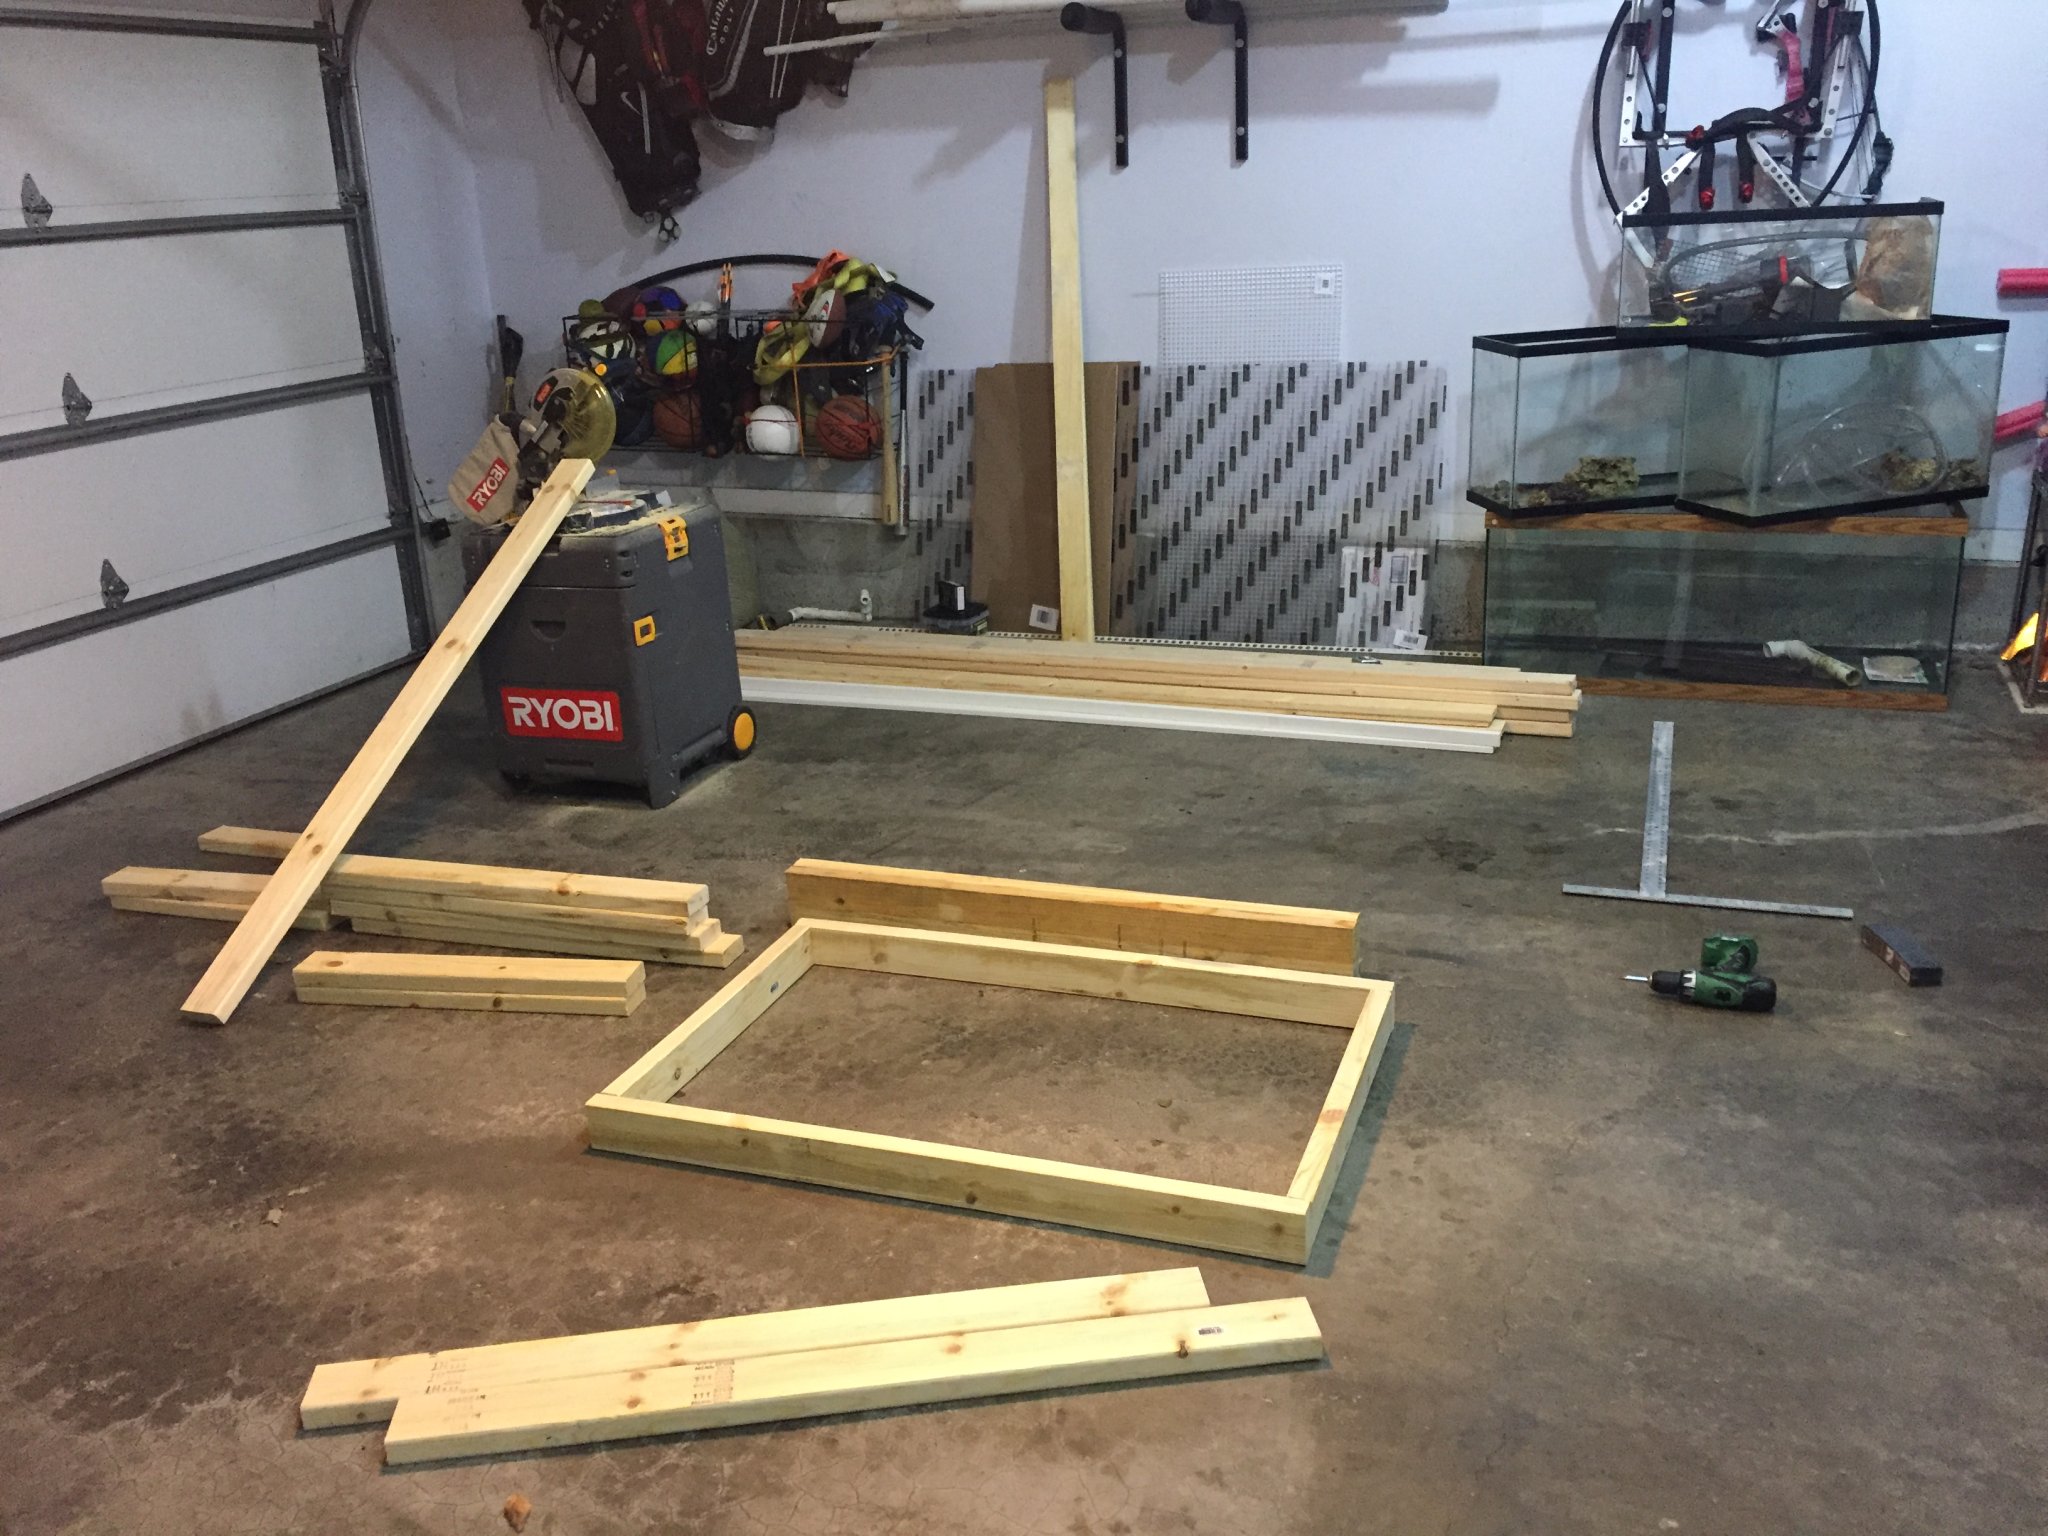
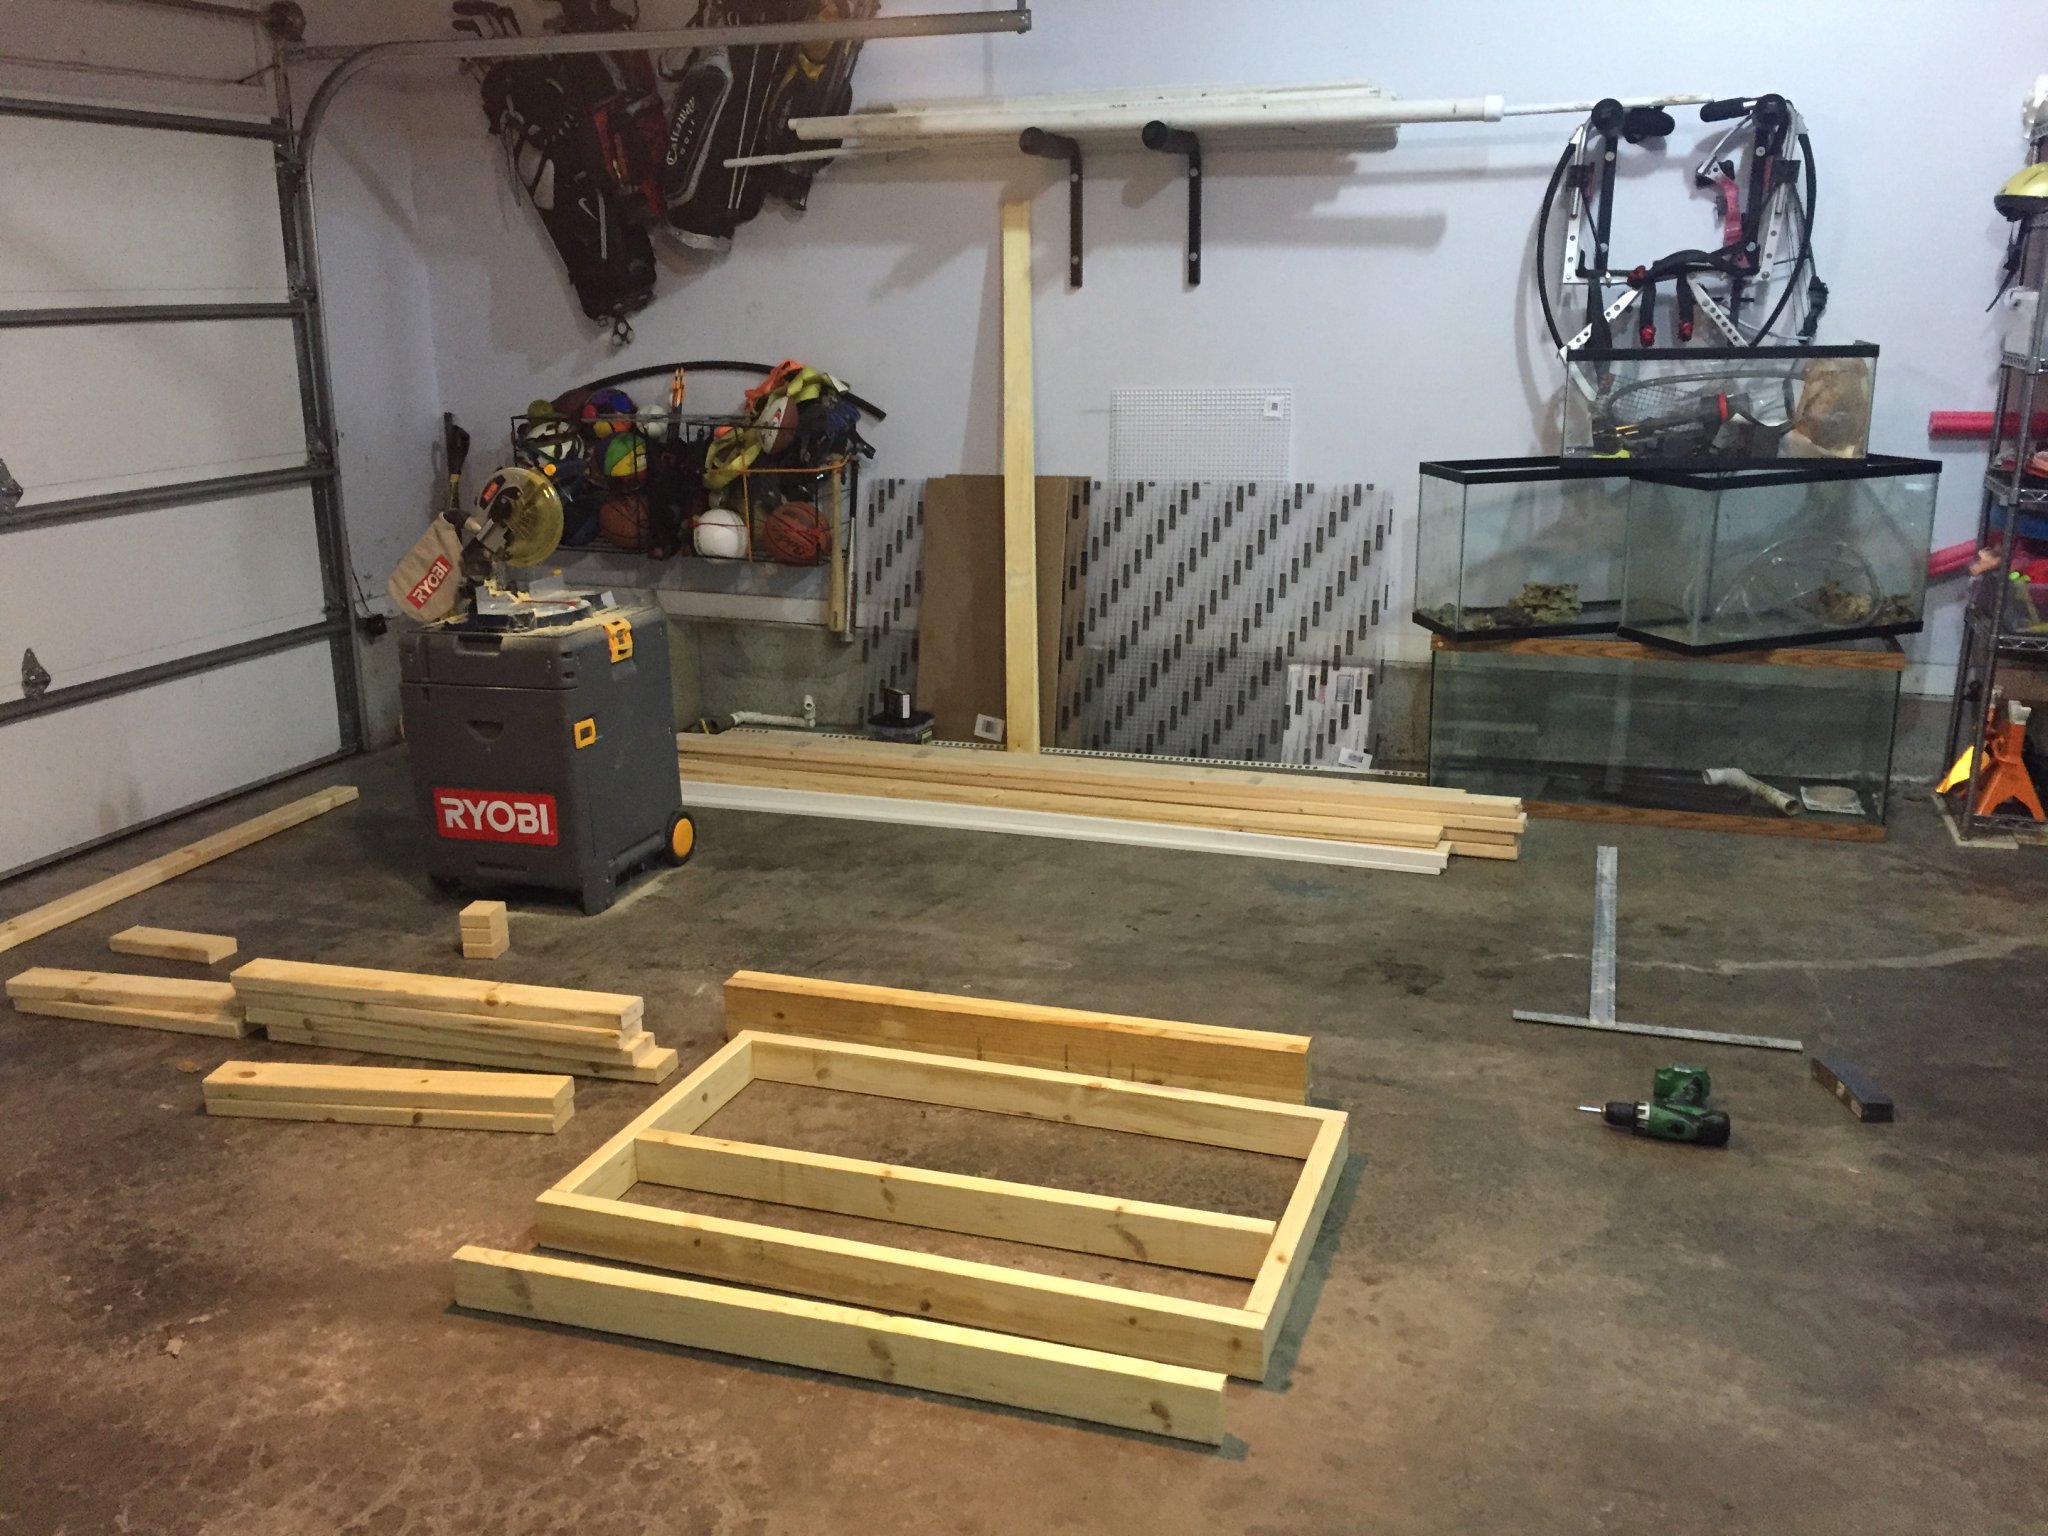
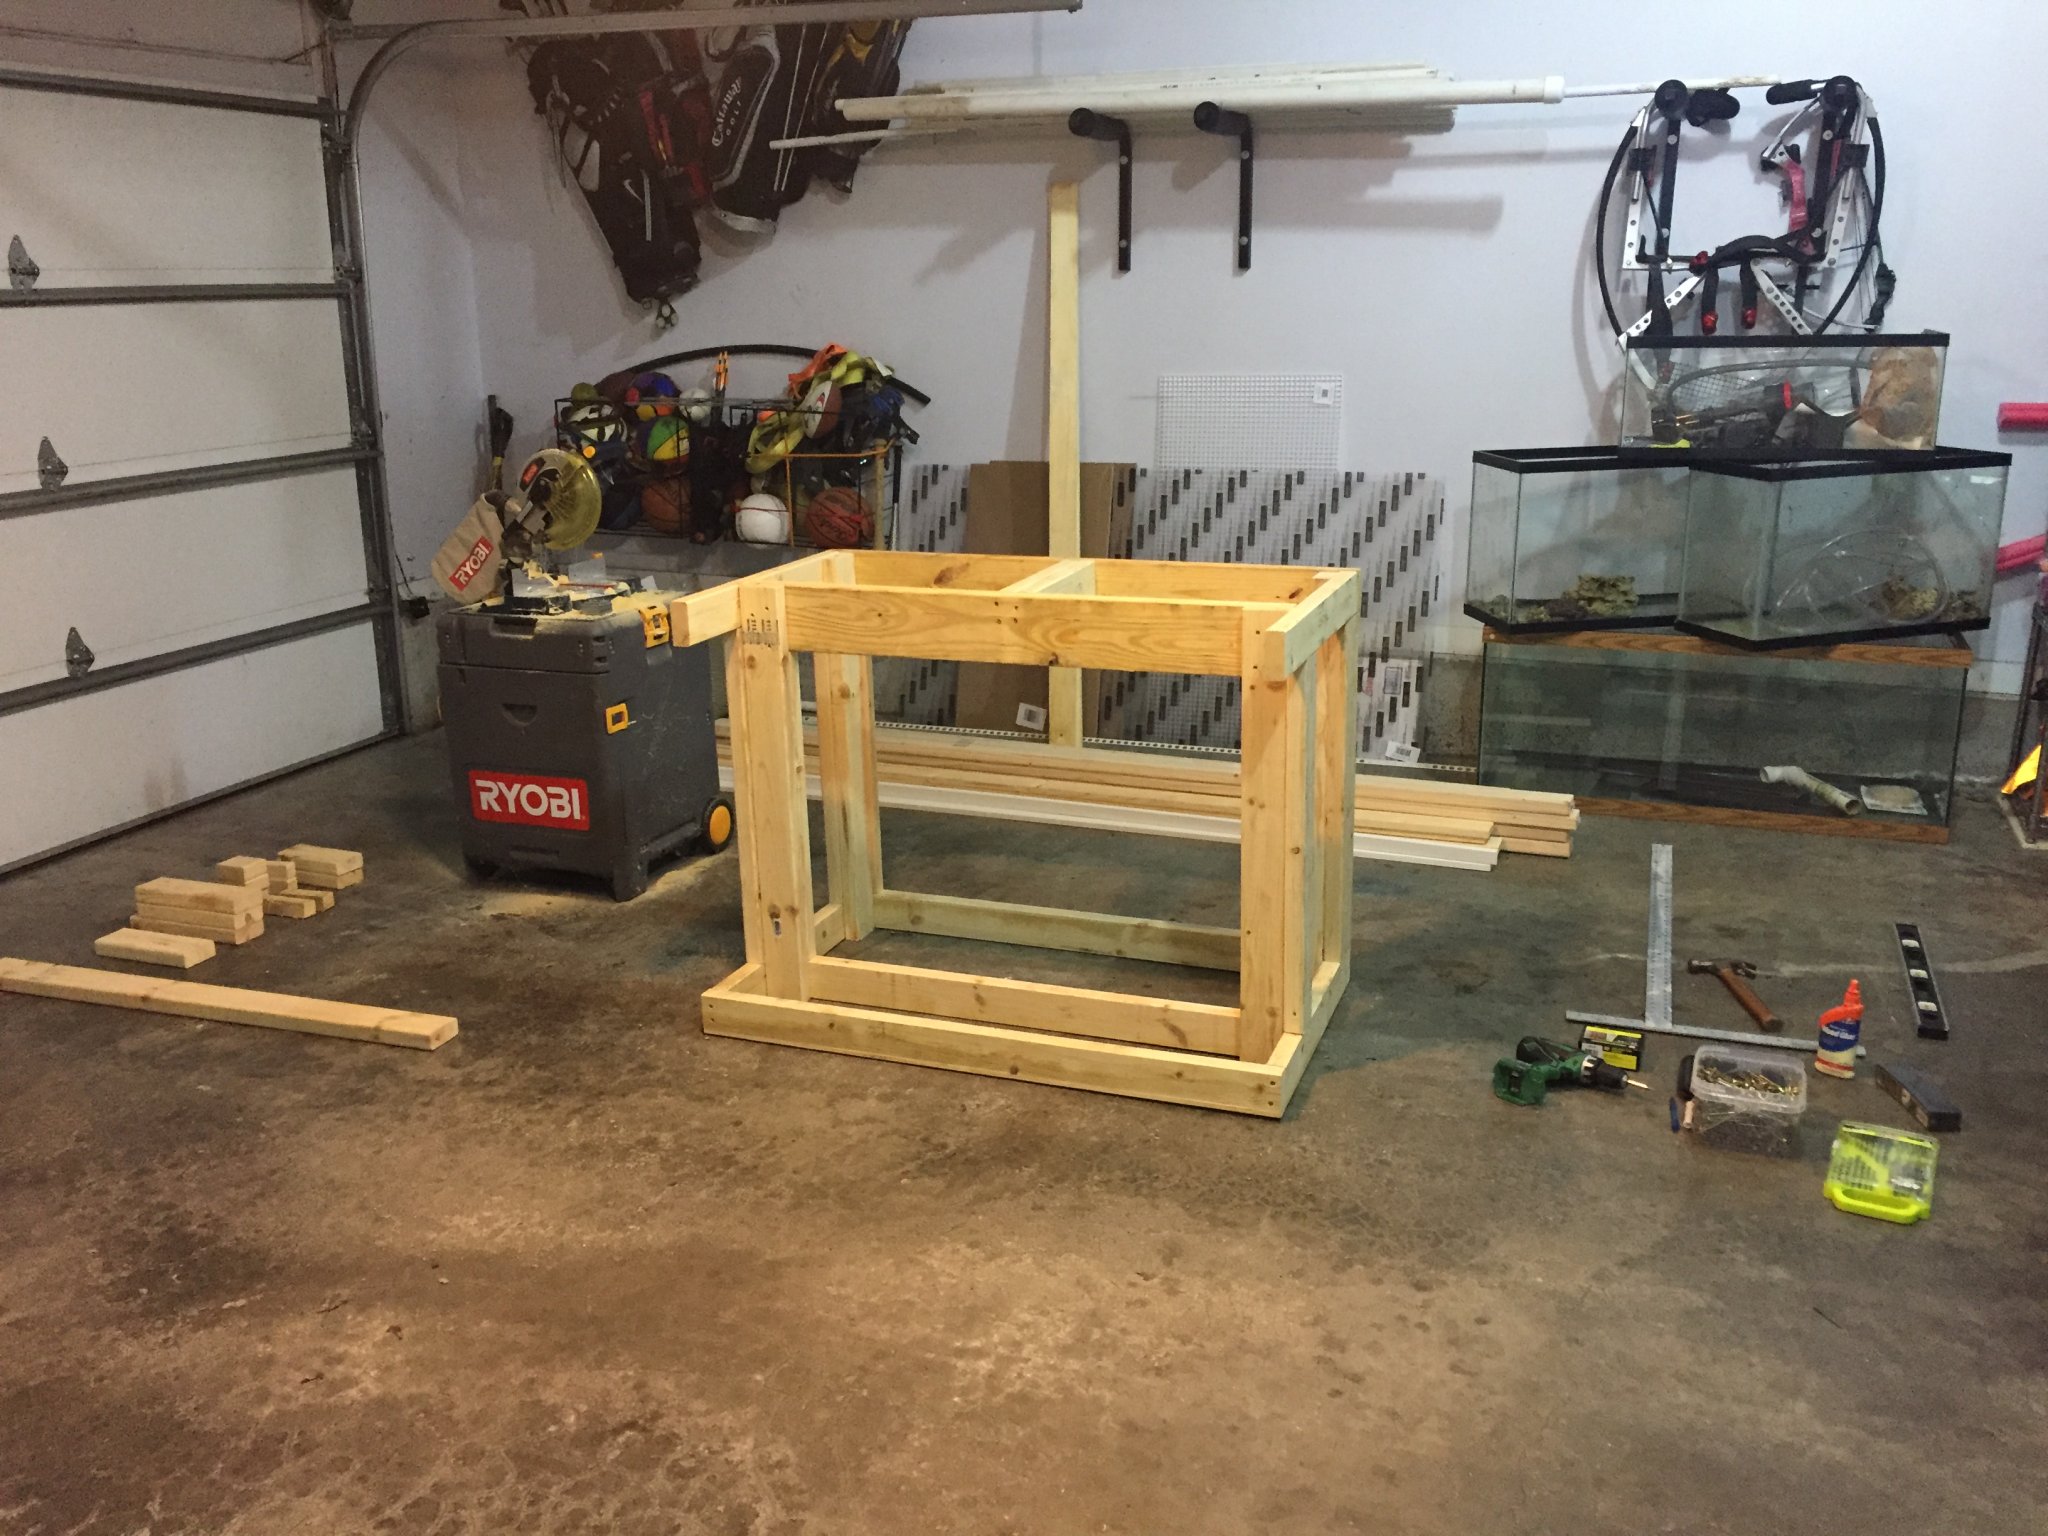
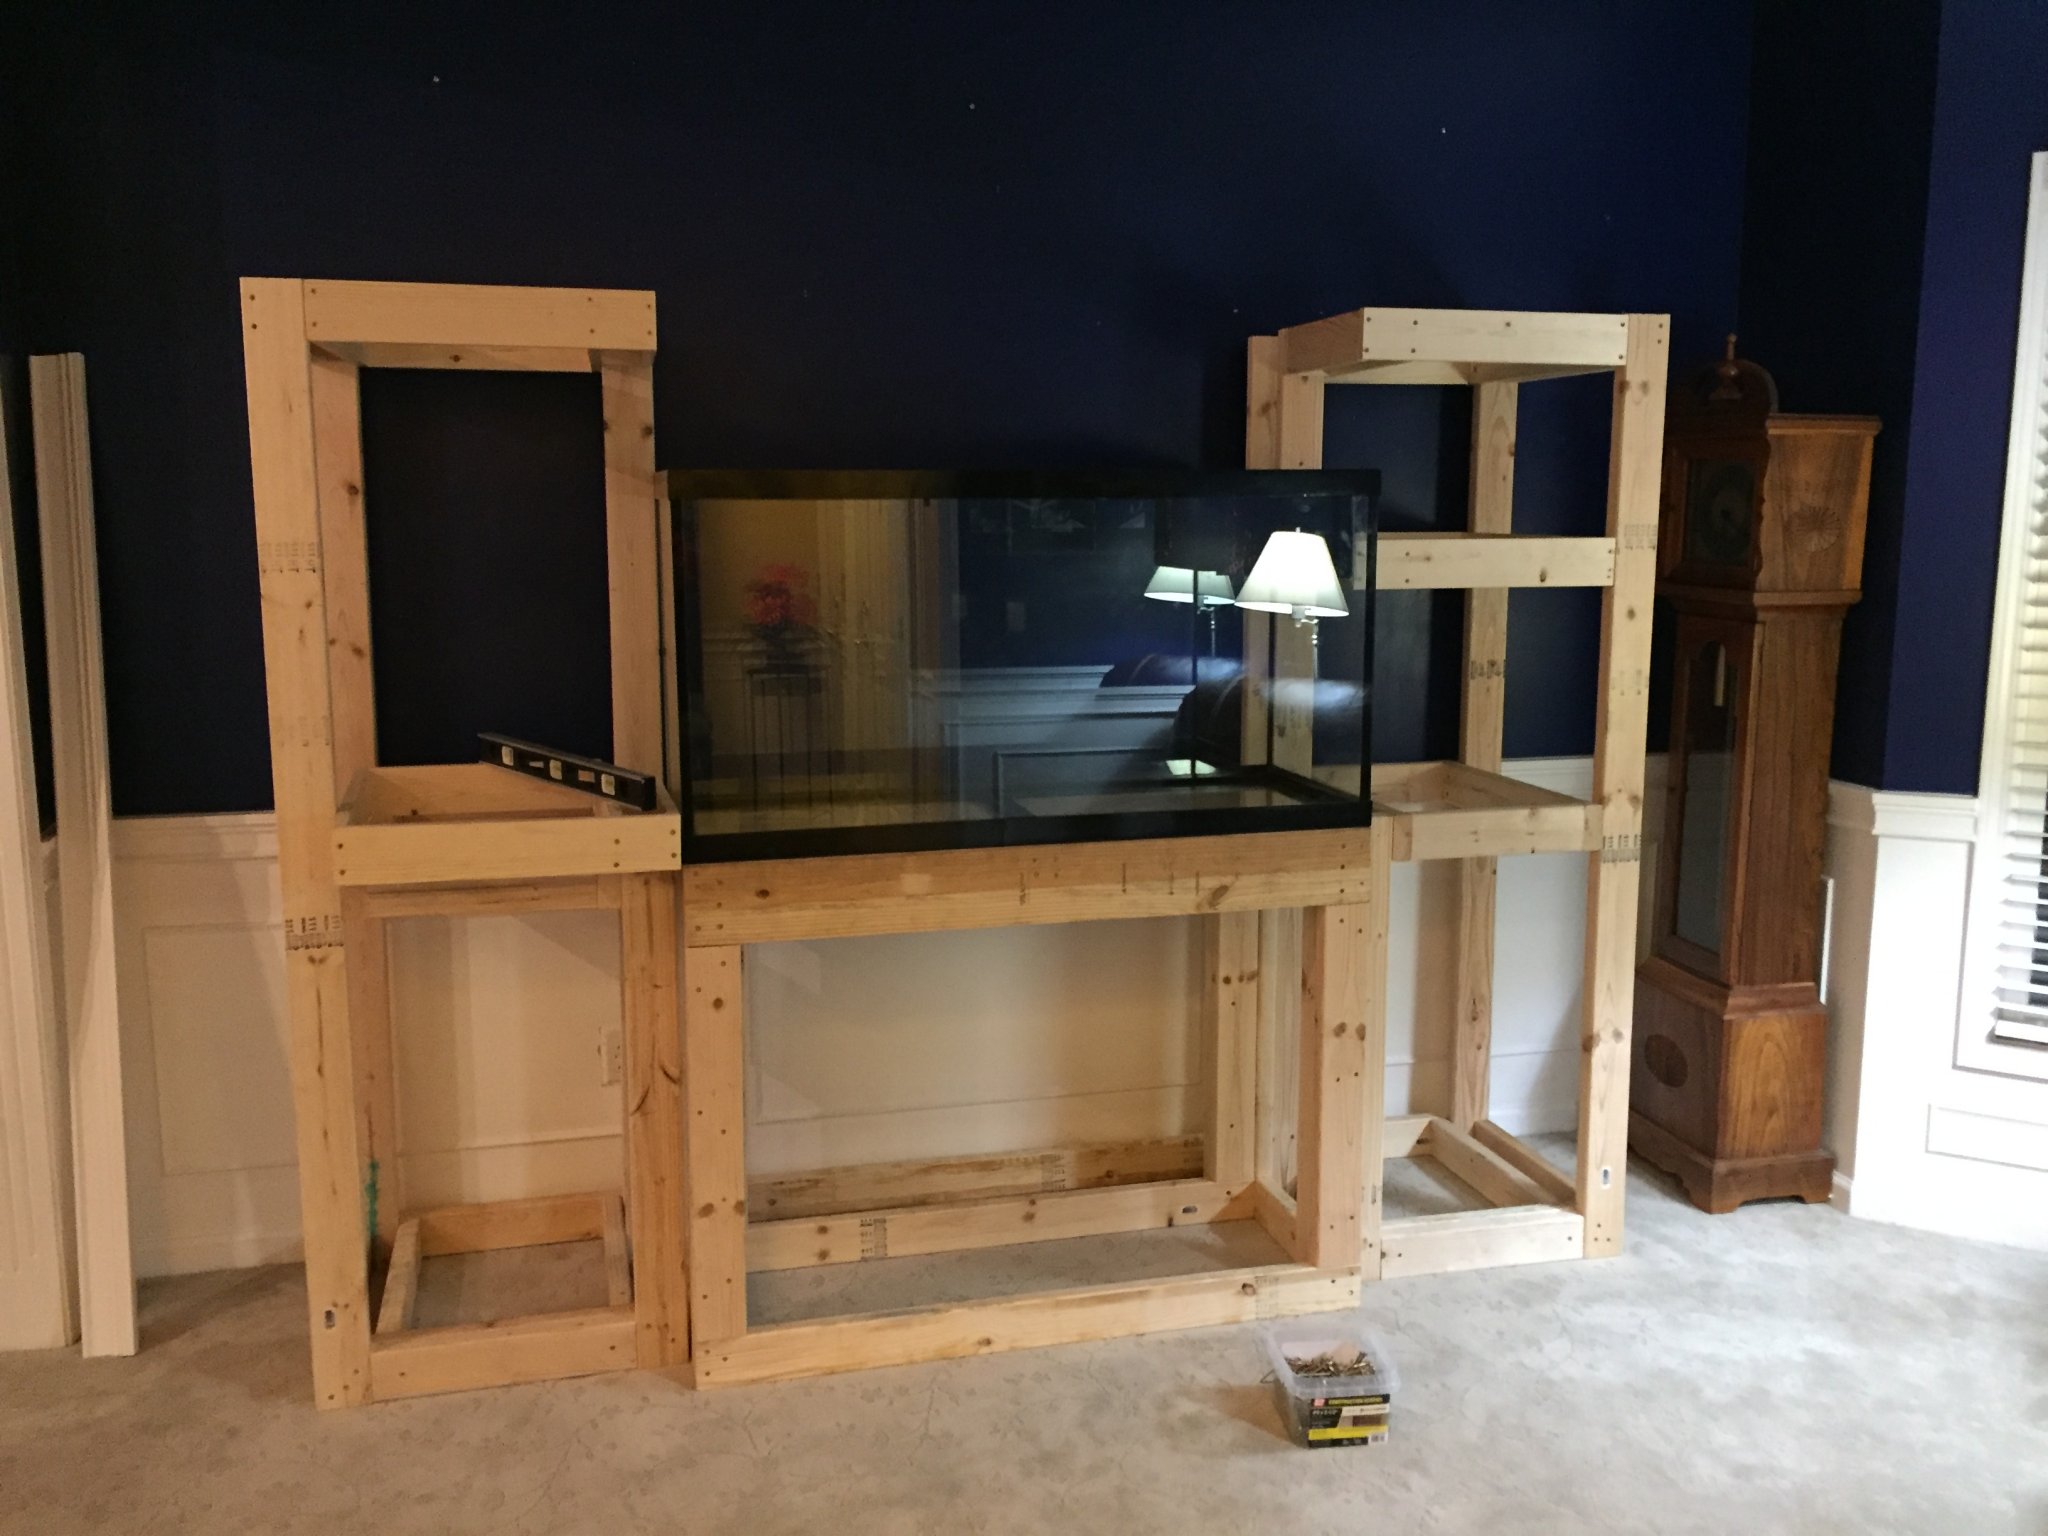
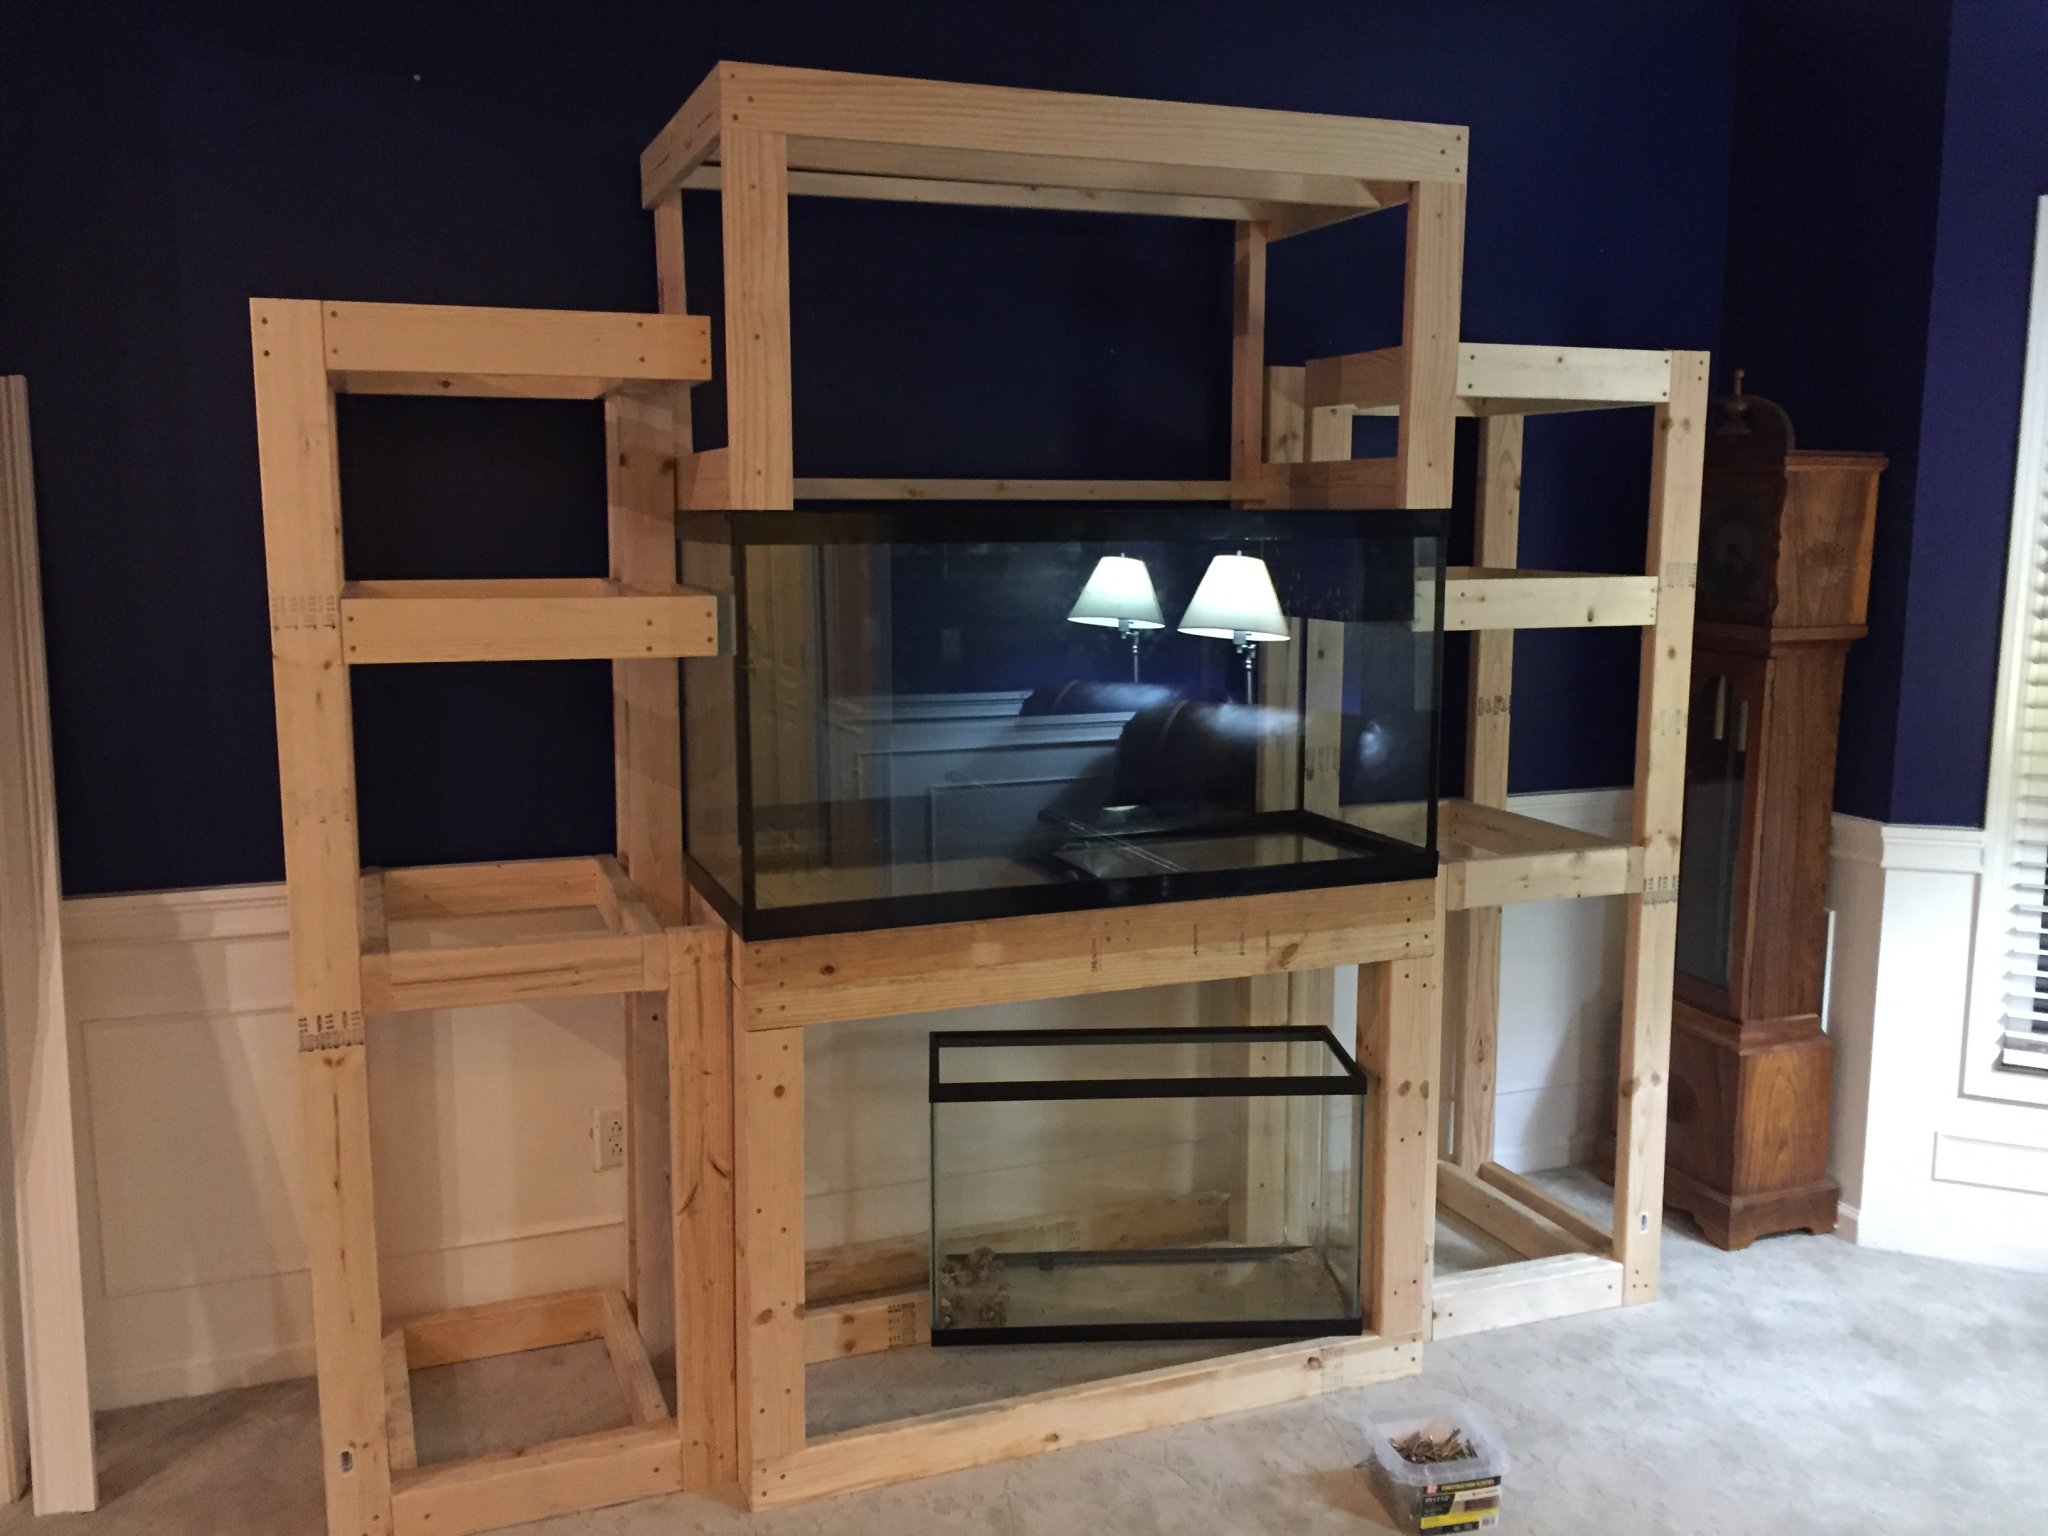
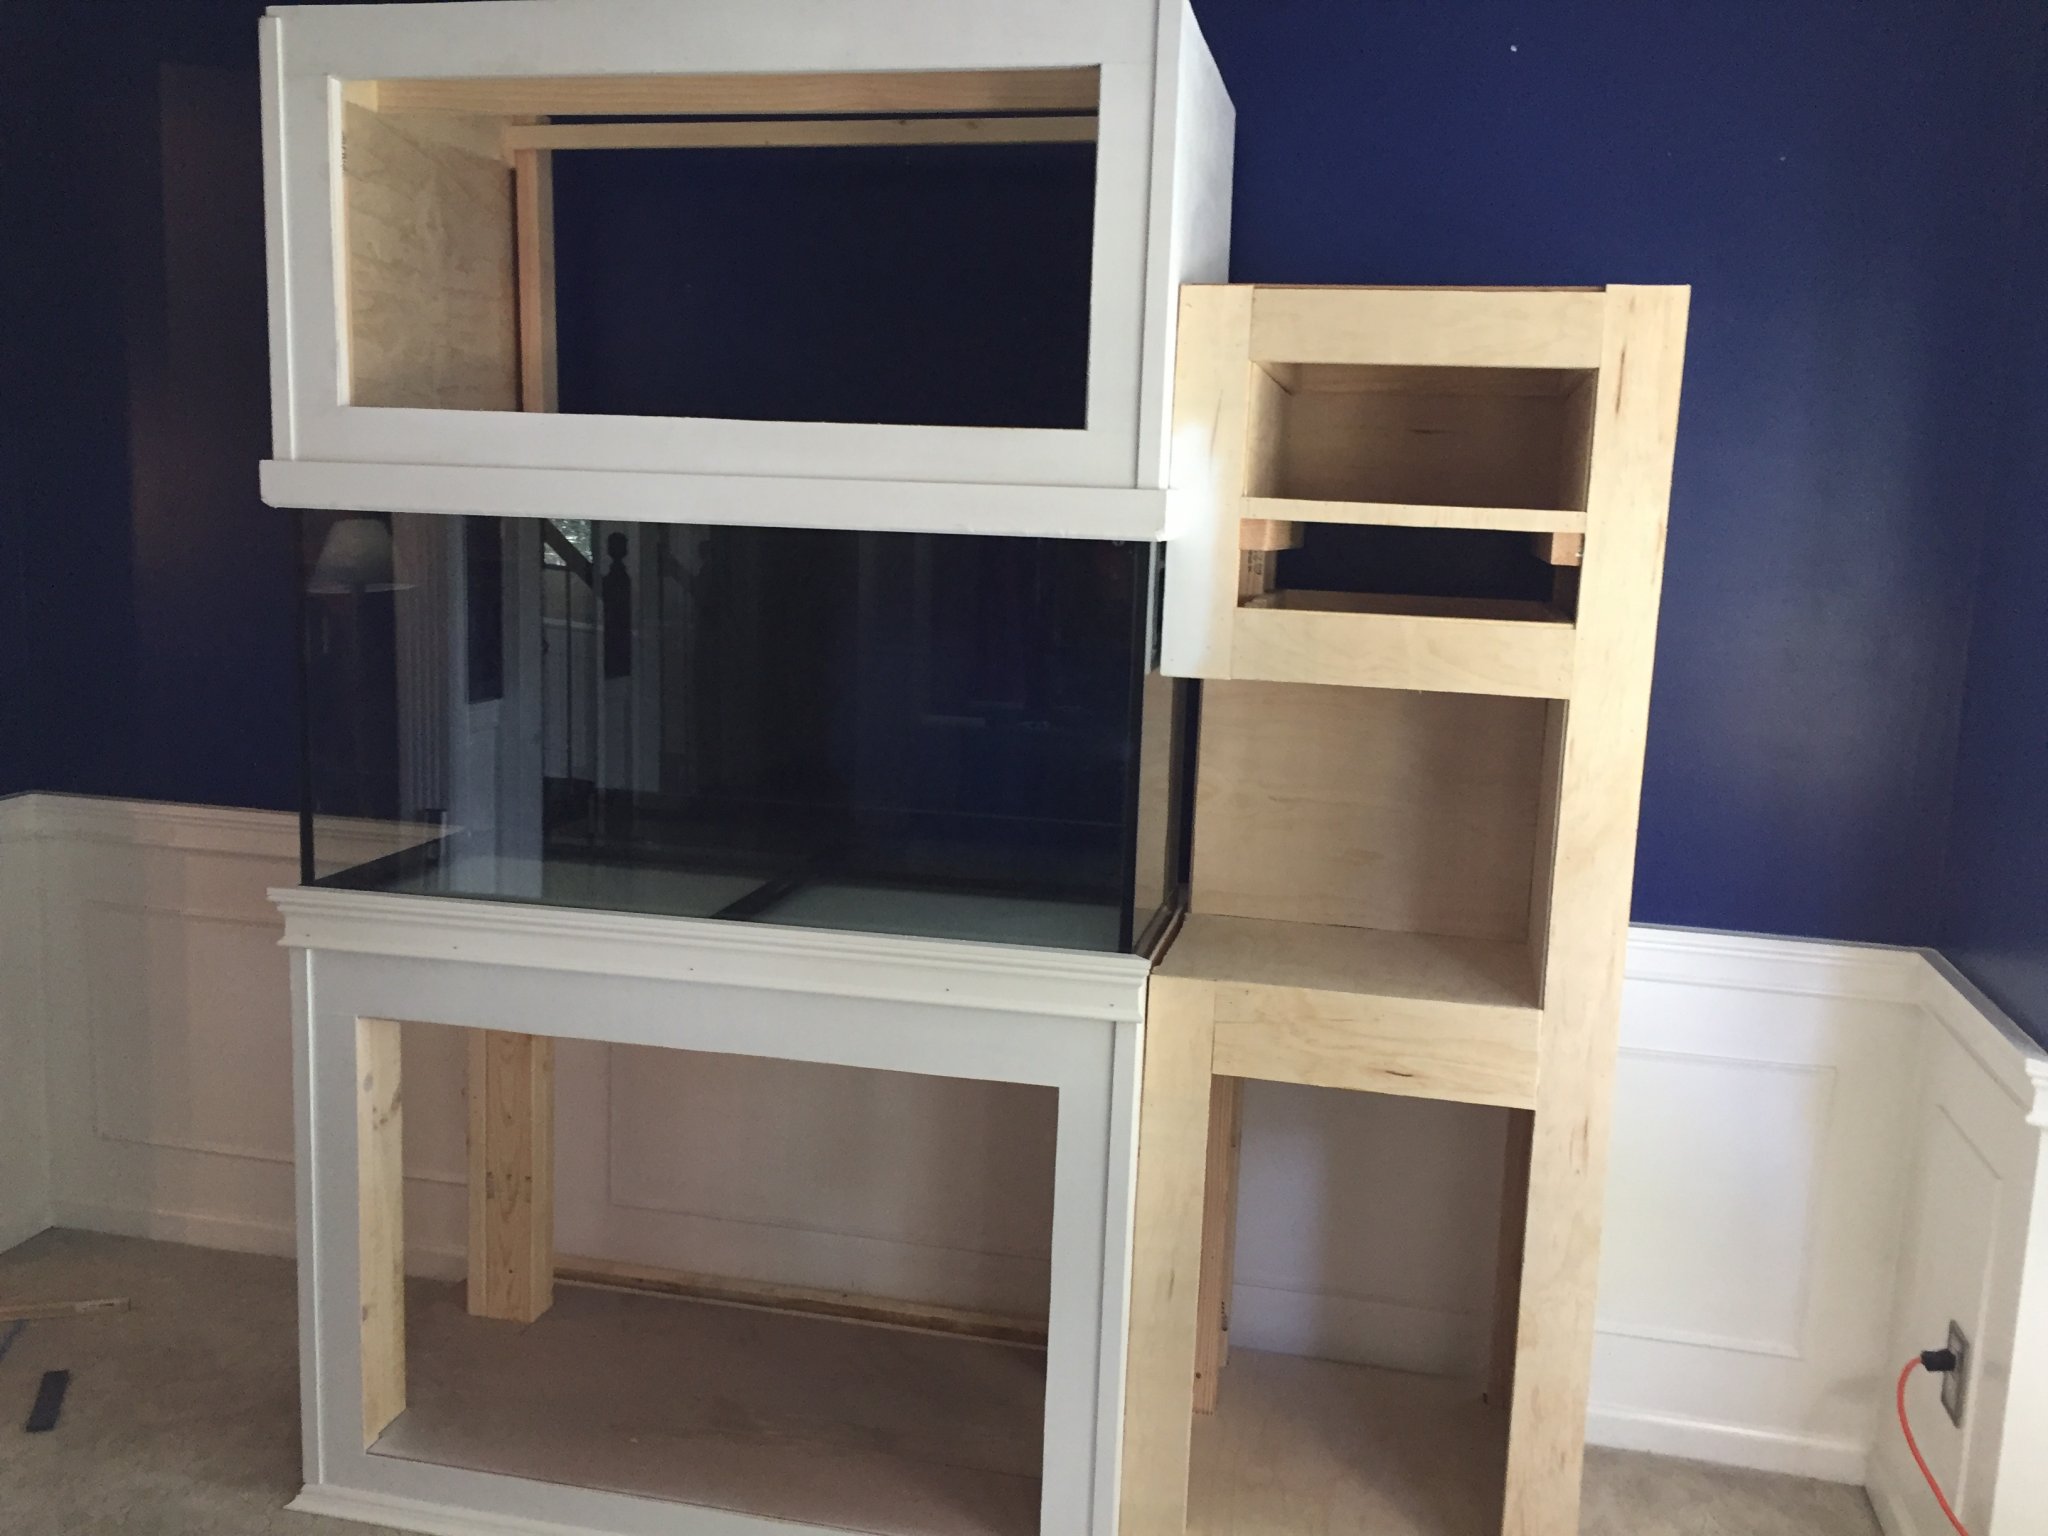
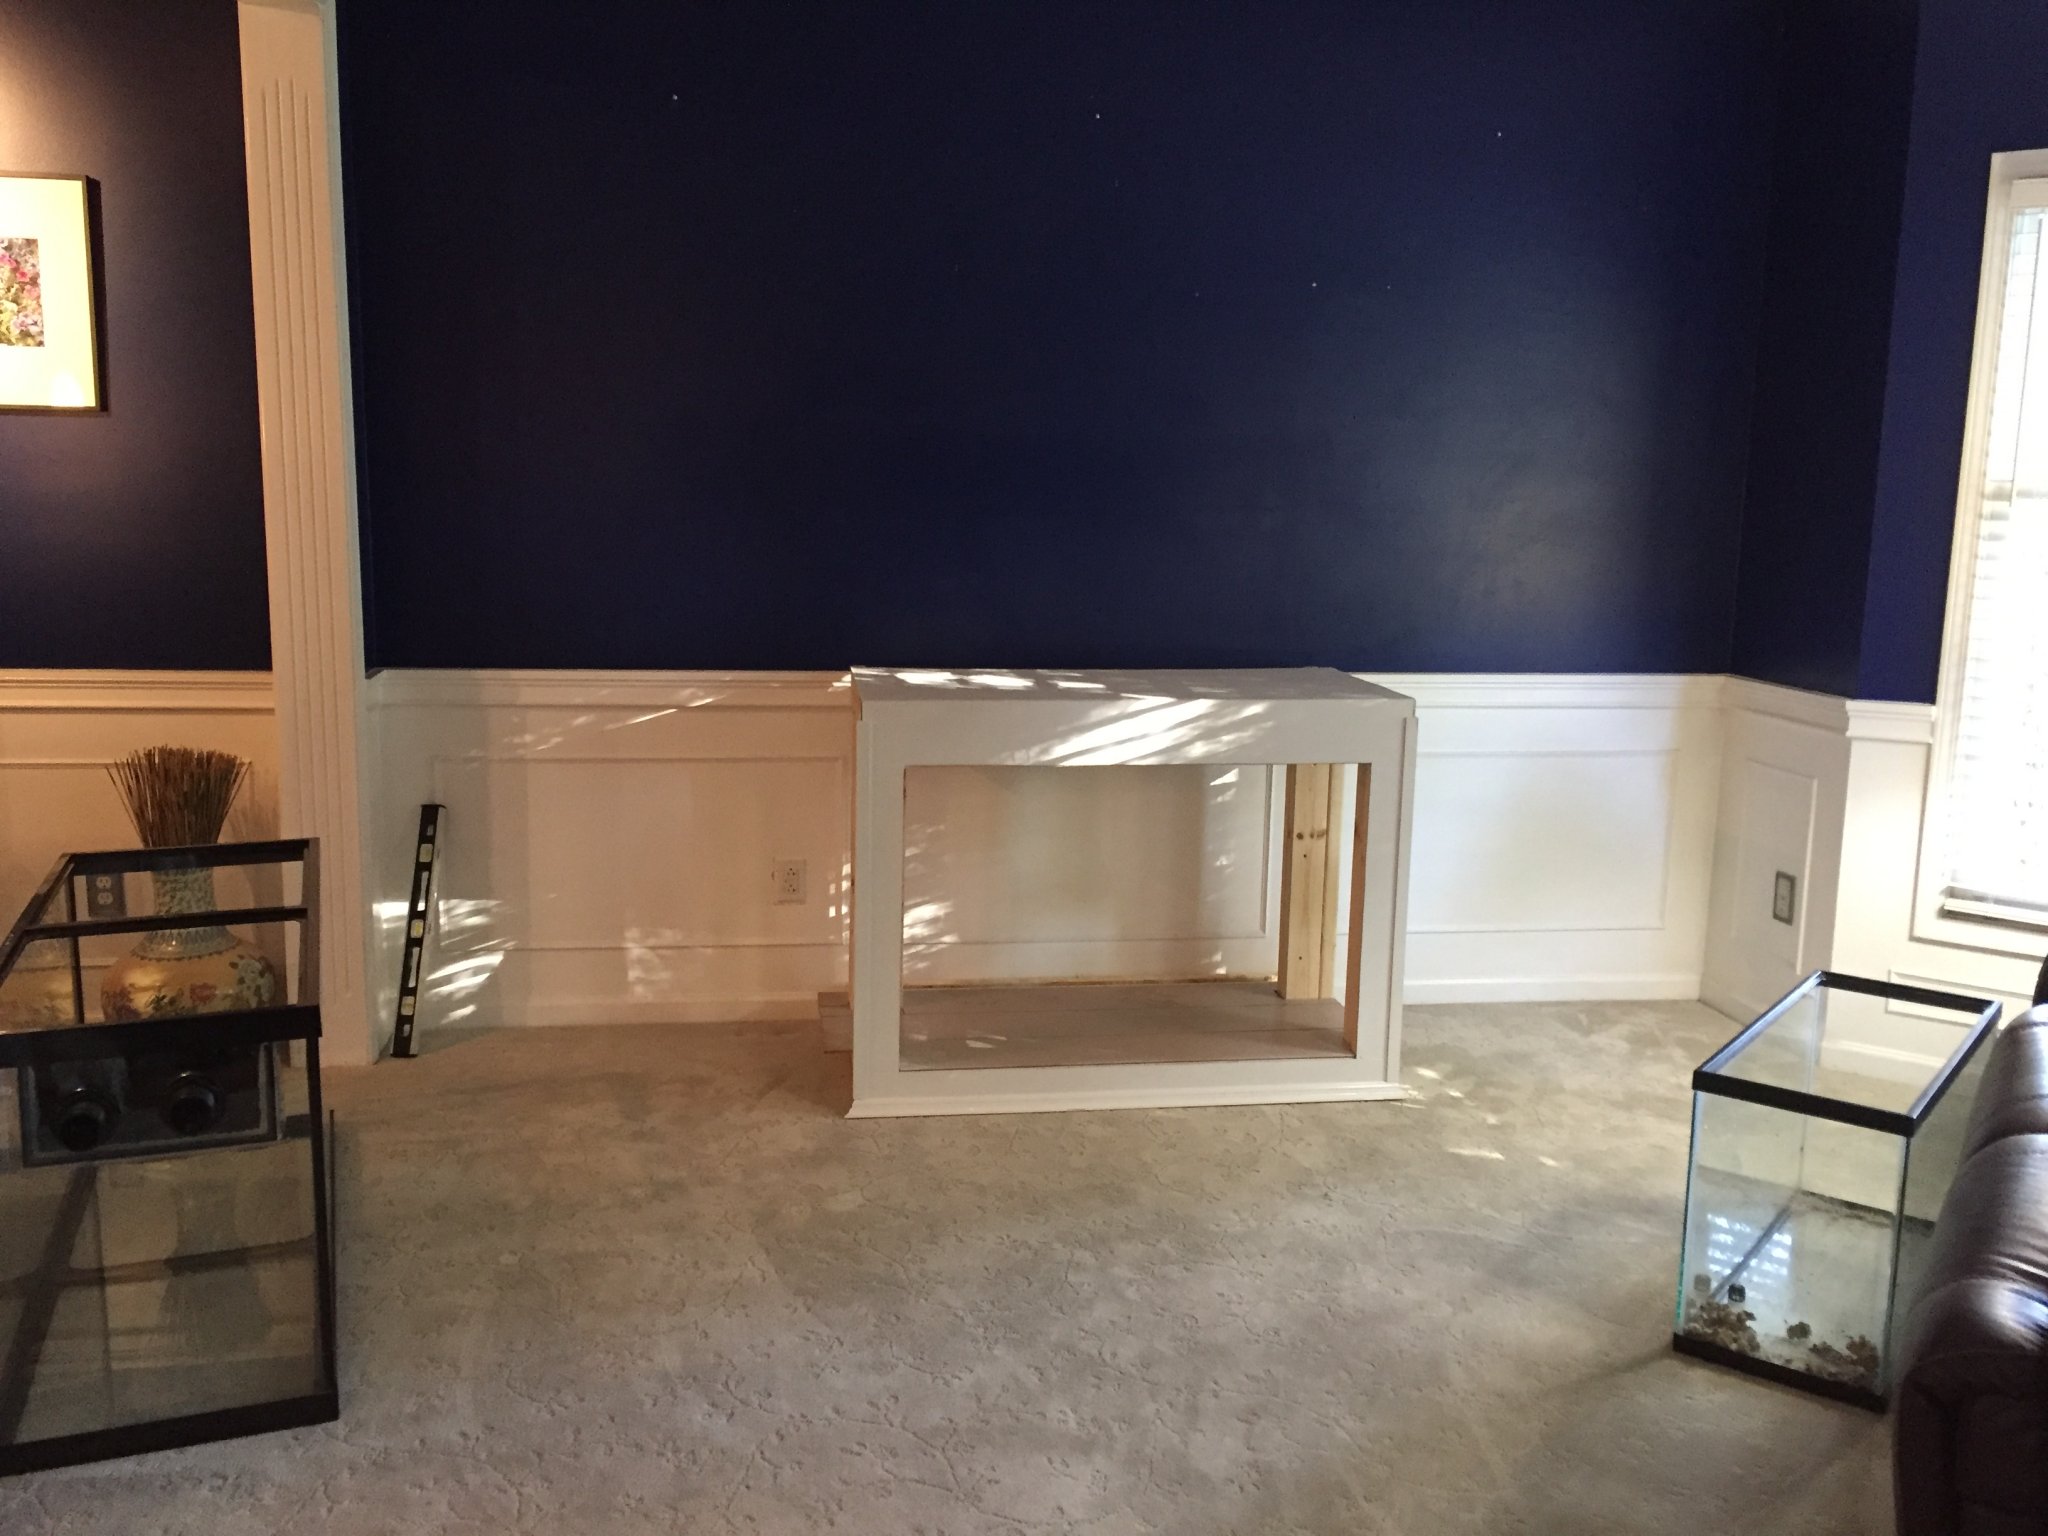
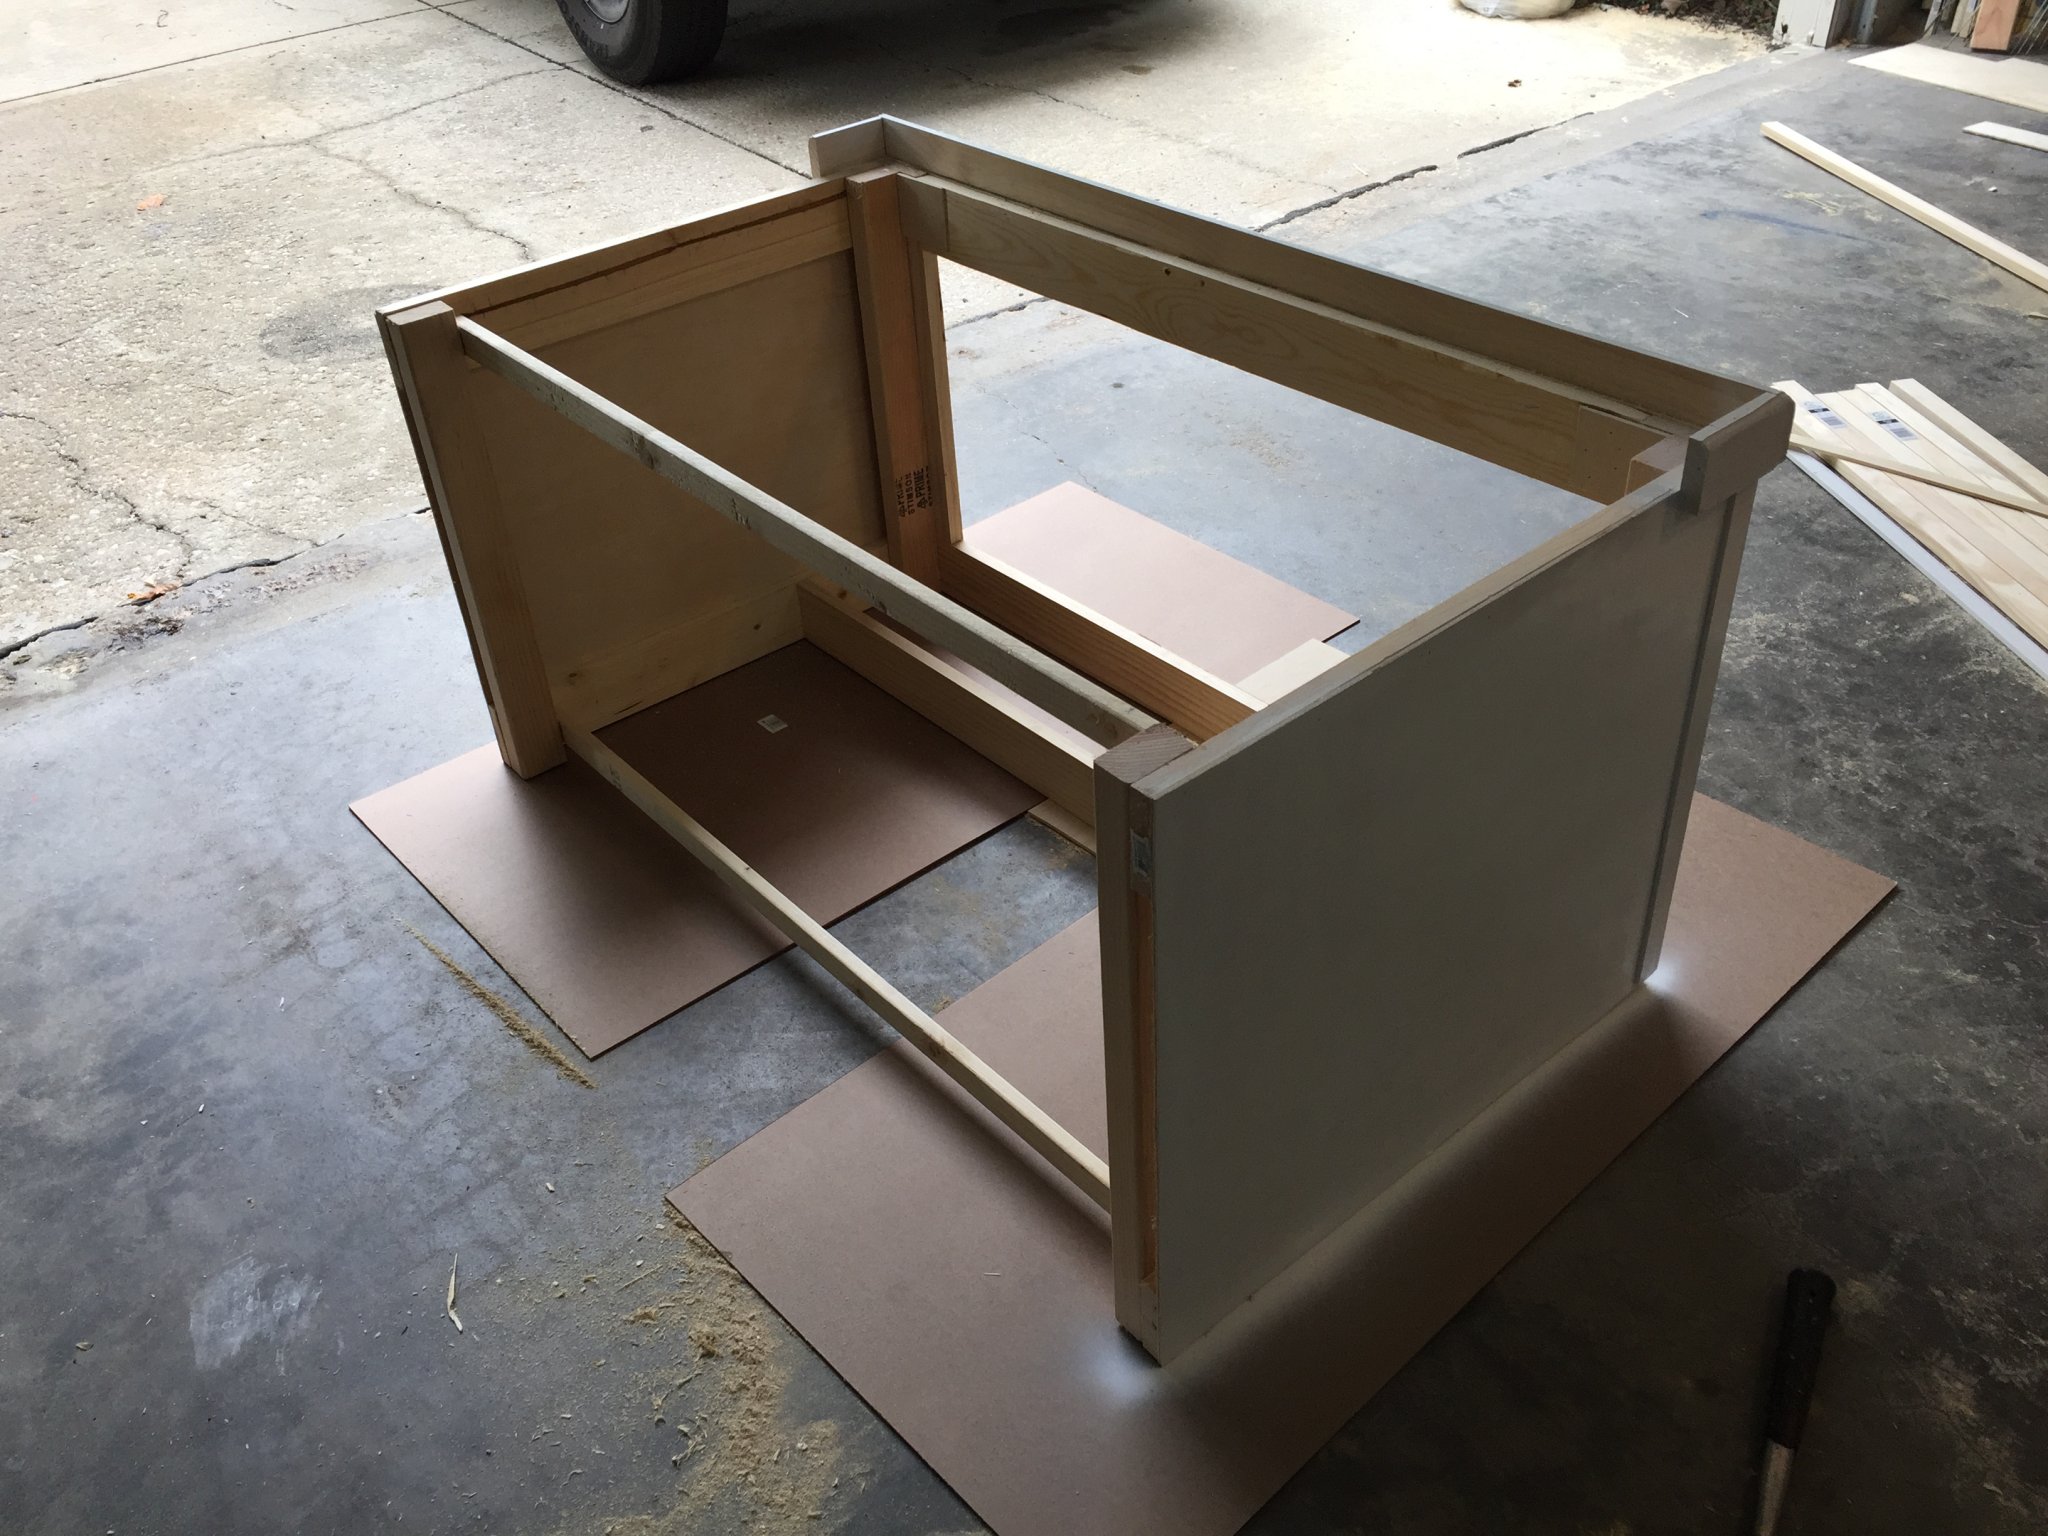
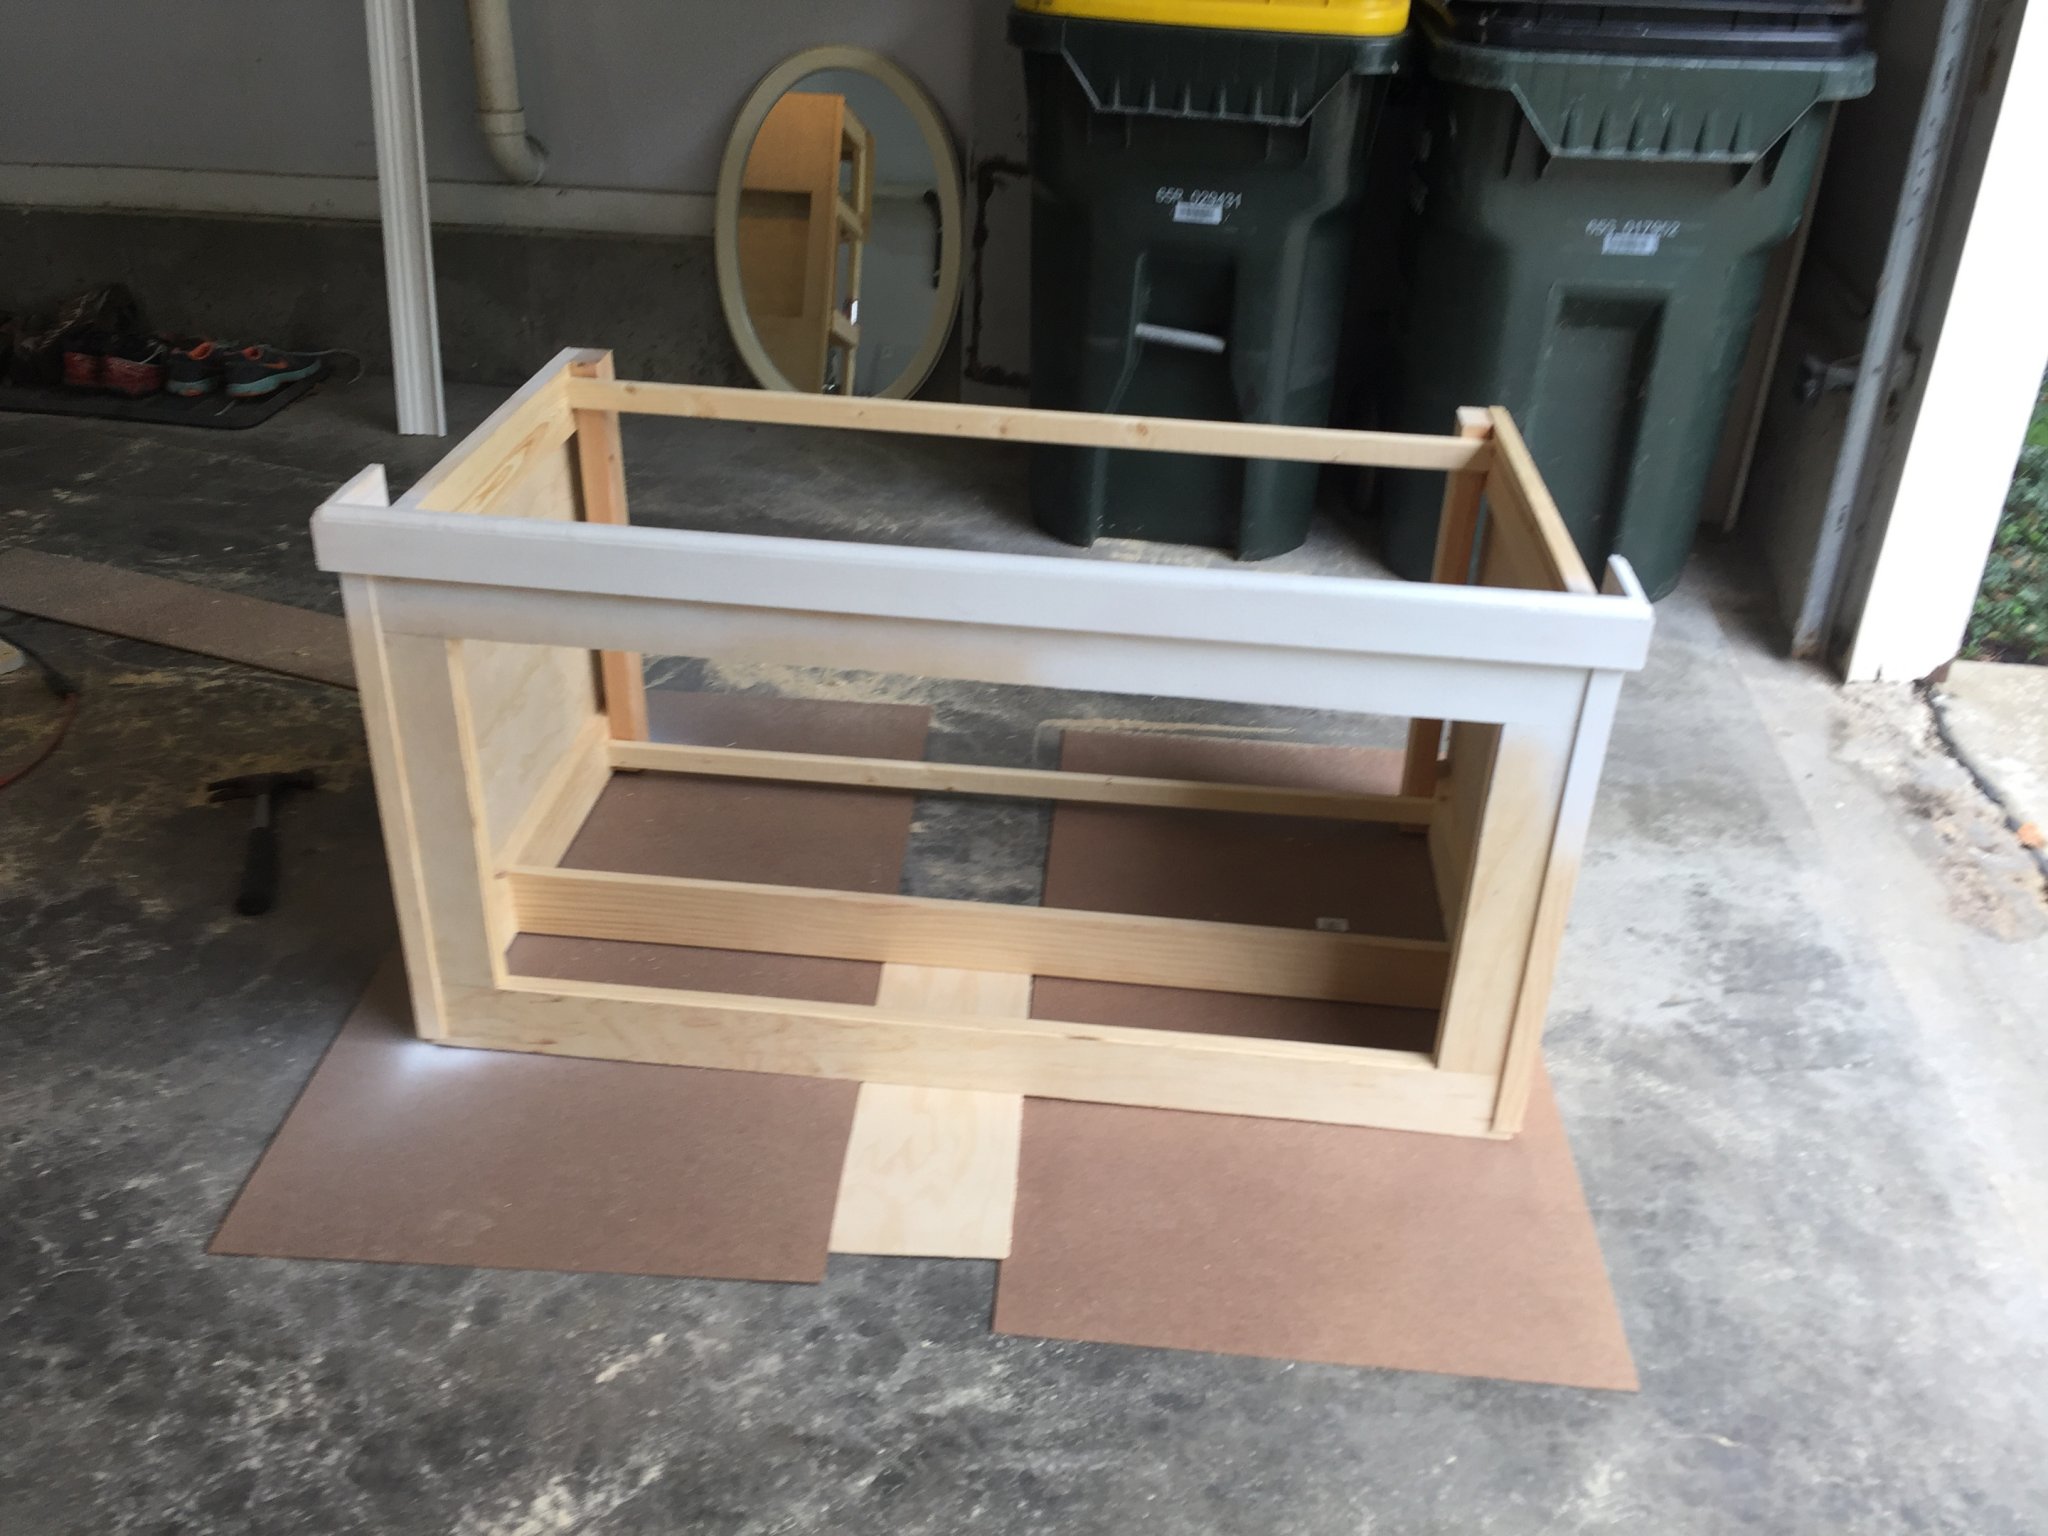
Hello All! I am excited about the next steps and am happy that so many are willing to give advice. Currently I have a few tanks for the display, sump, and ATO and am looking at my location to build a new stand. I have attached a short video here of what I am doing and will add more to it as I go. ANY and all advice is appreciated.
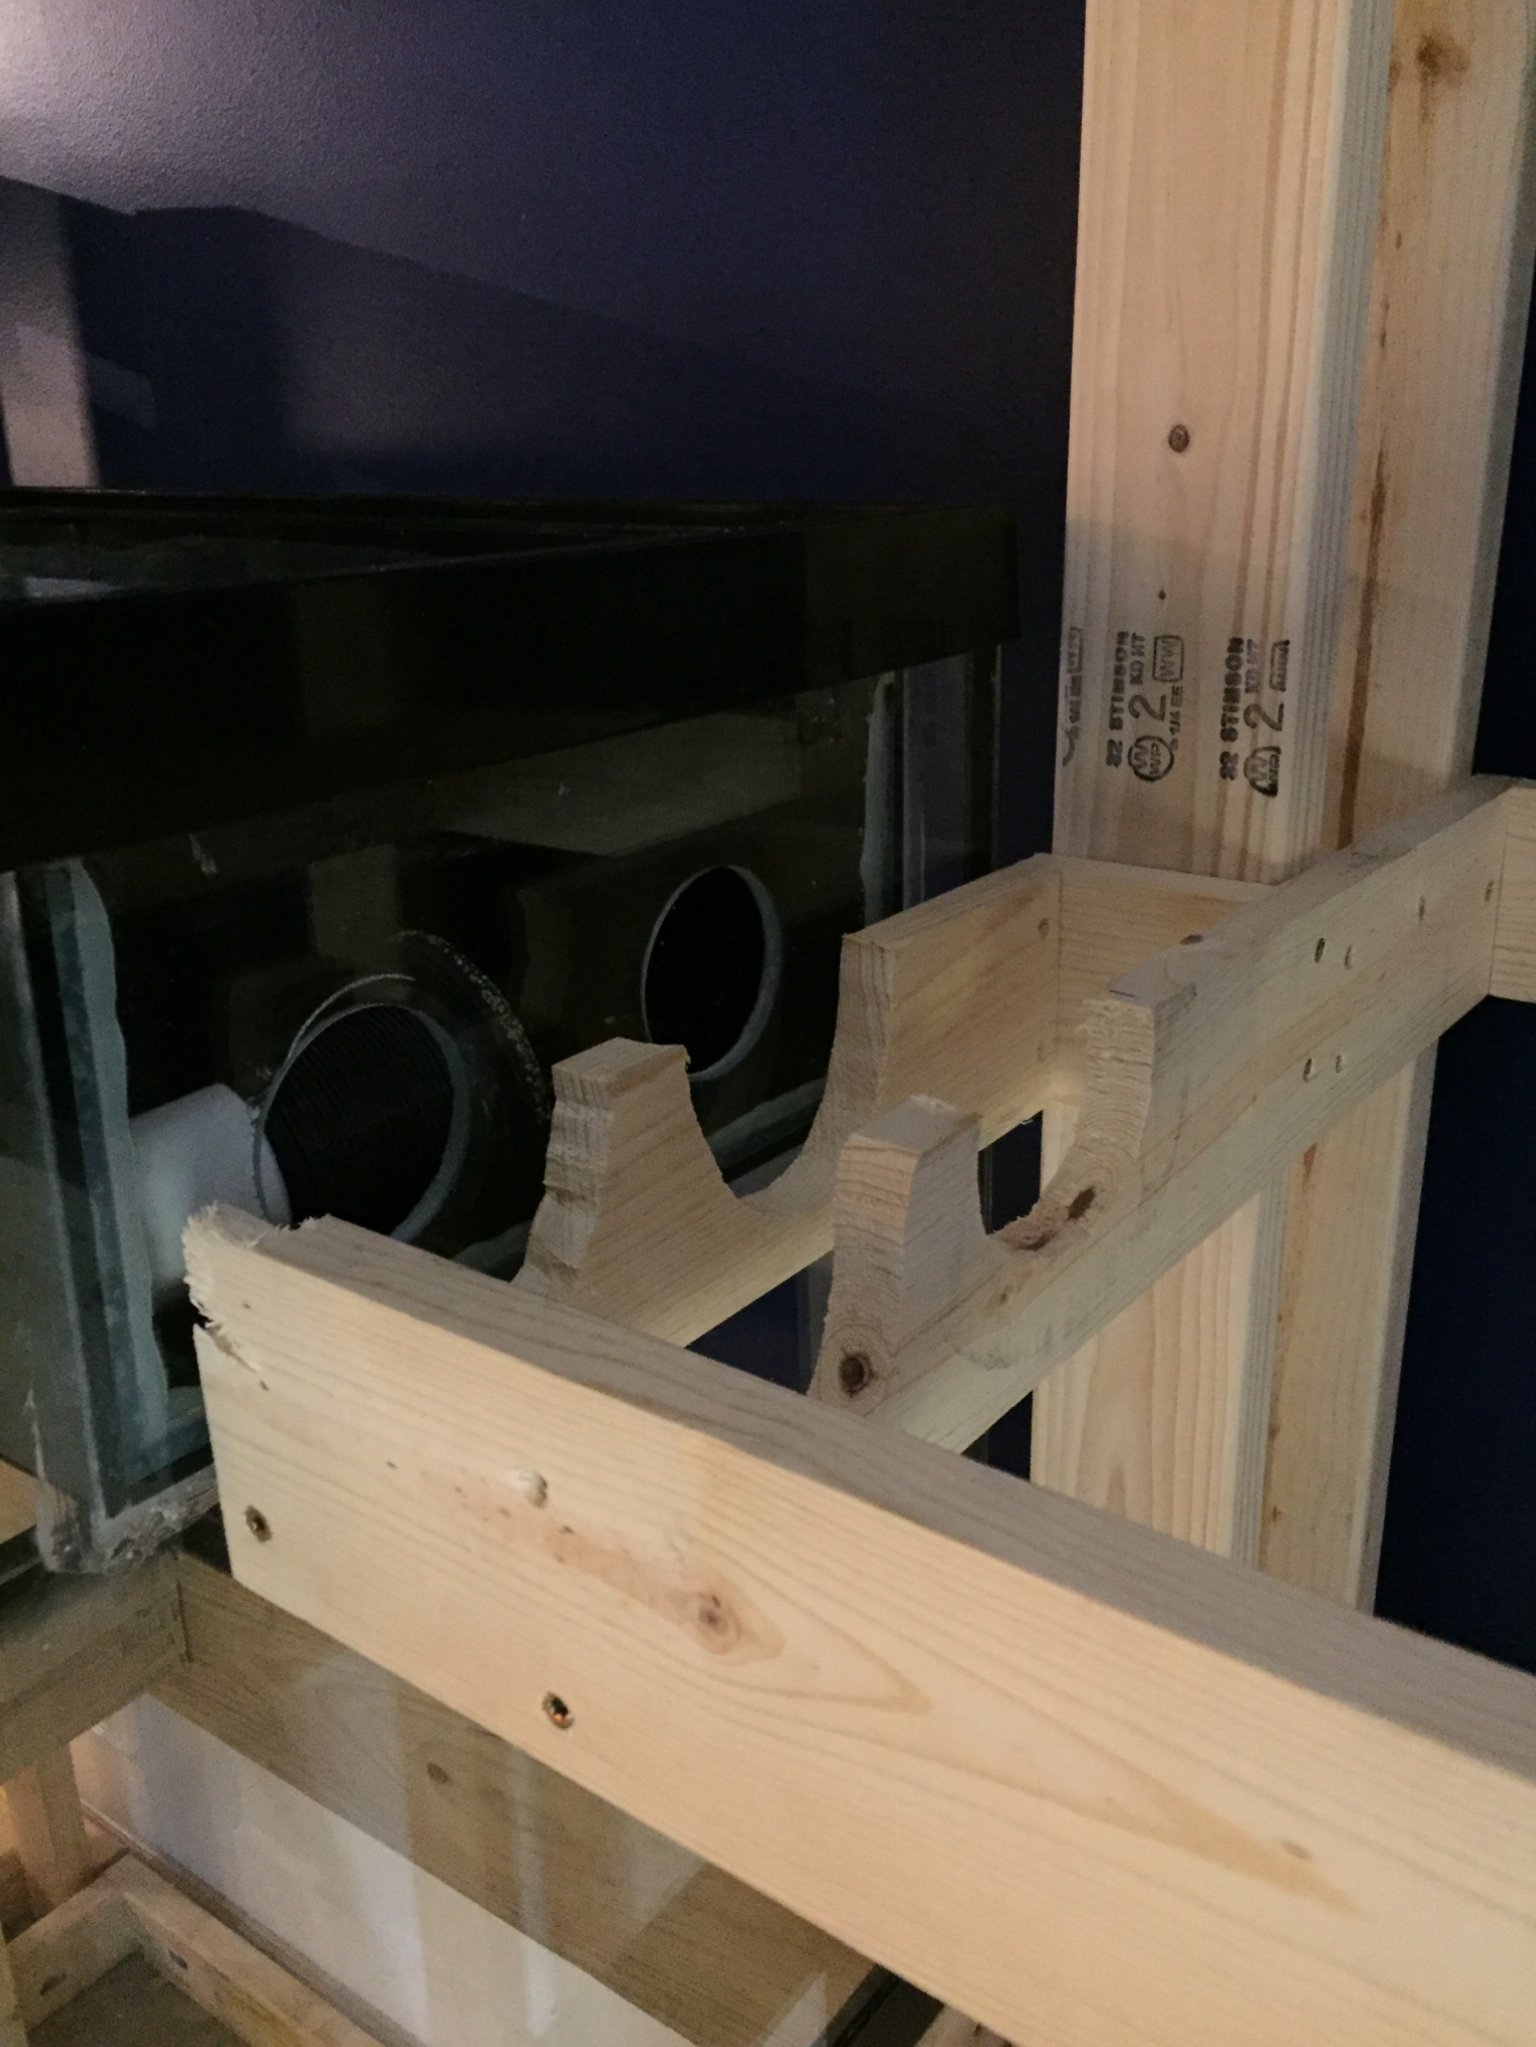
One thing I didn't mention in the video is that I have checked the weight distribution and floor support and should be able to support tank, stand, sump, equipment, and several people for viewing without issue AND the electrical will change to GFCI before we do much more.
One thing I didn't mention in the video is that I have checked the weight distribution and floor support and should be able to support tank, stand, sump, equipment, and several people for viewing without issue AND the electrical will change to GFCI before we do much more.
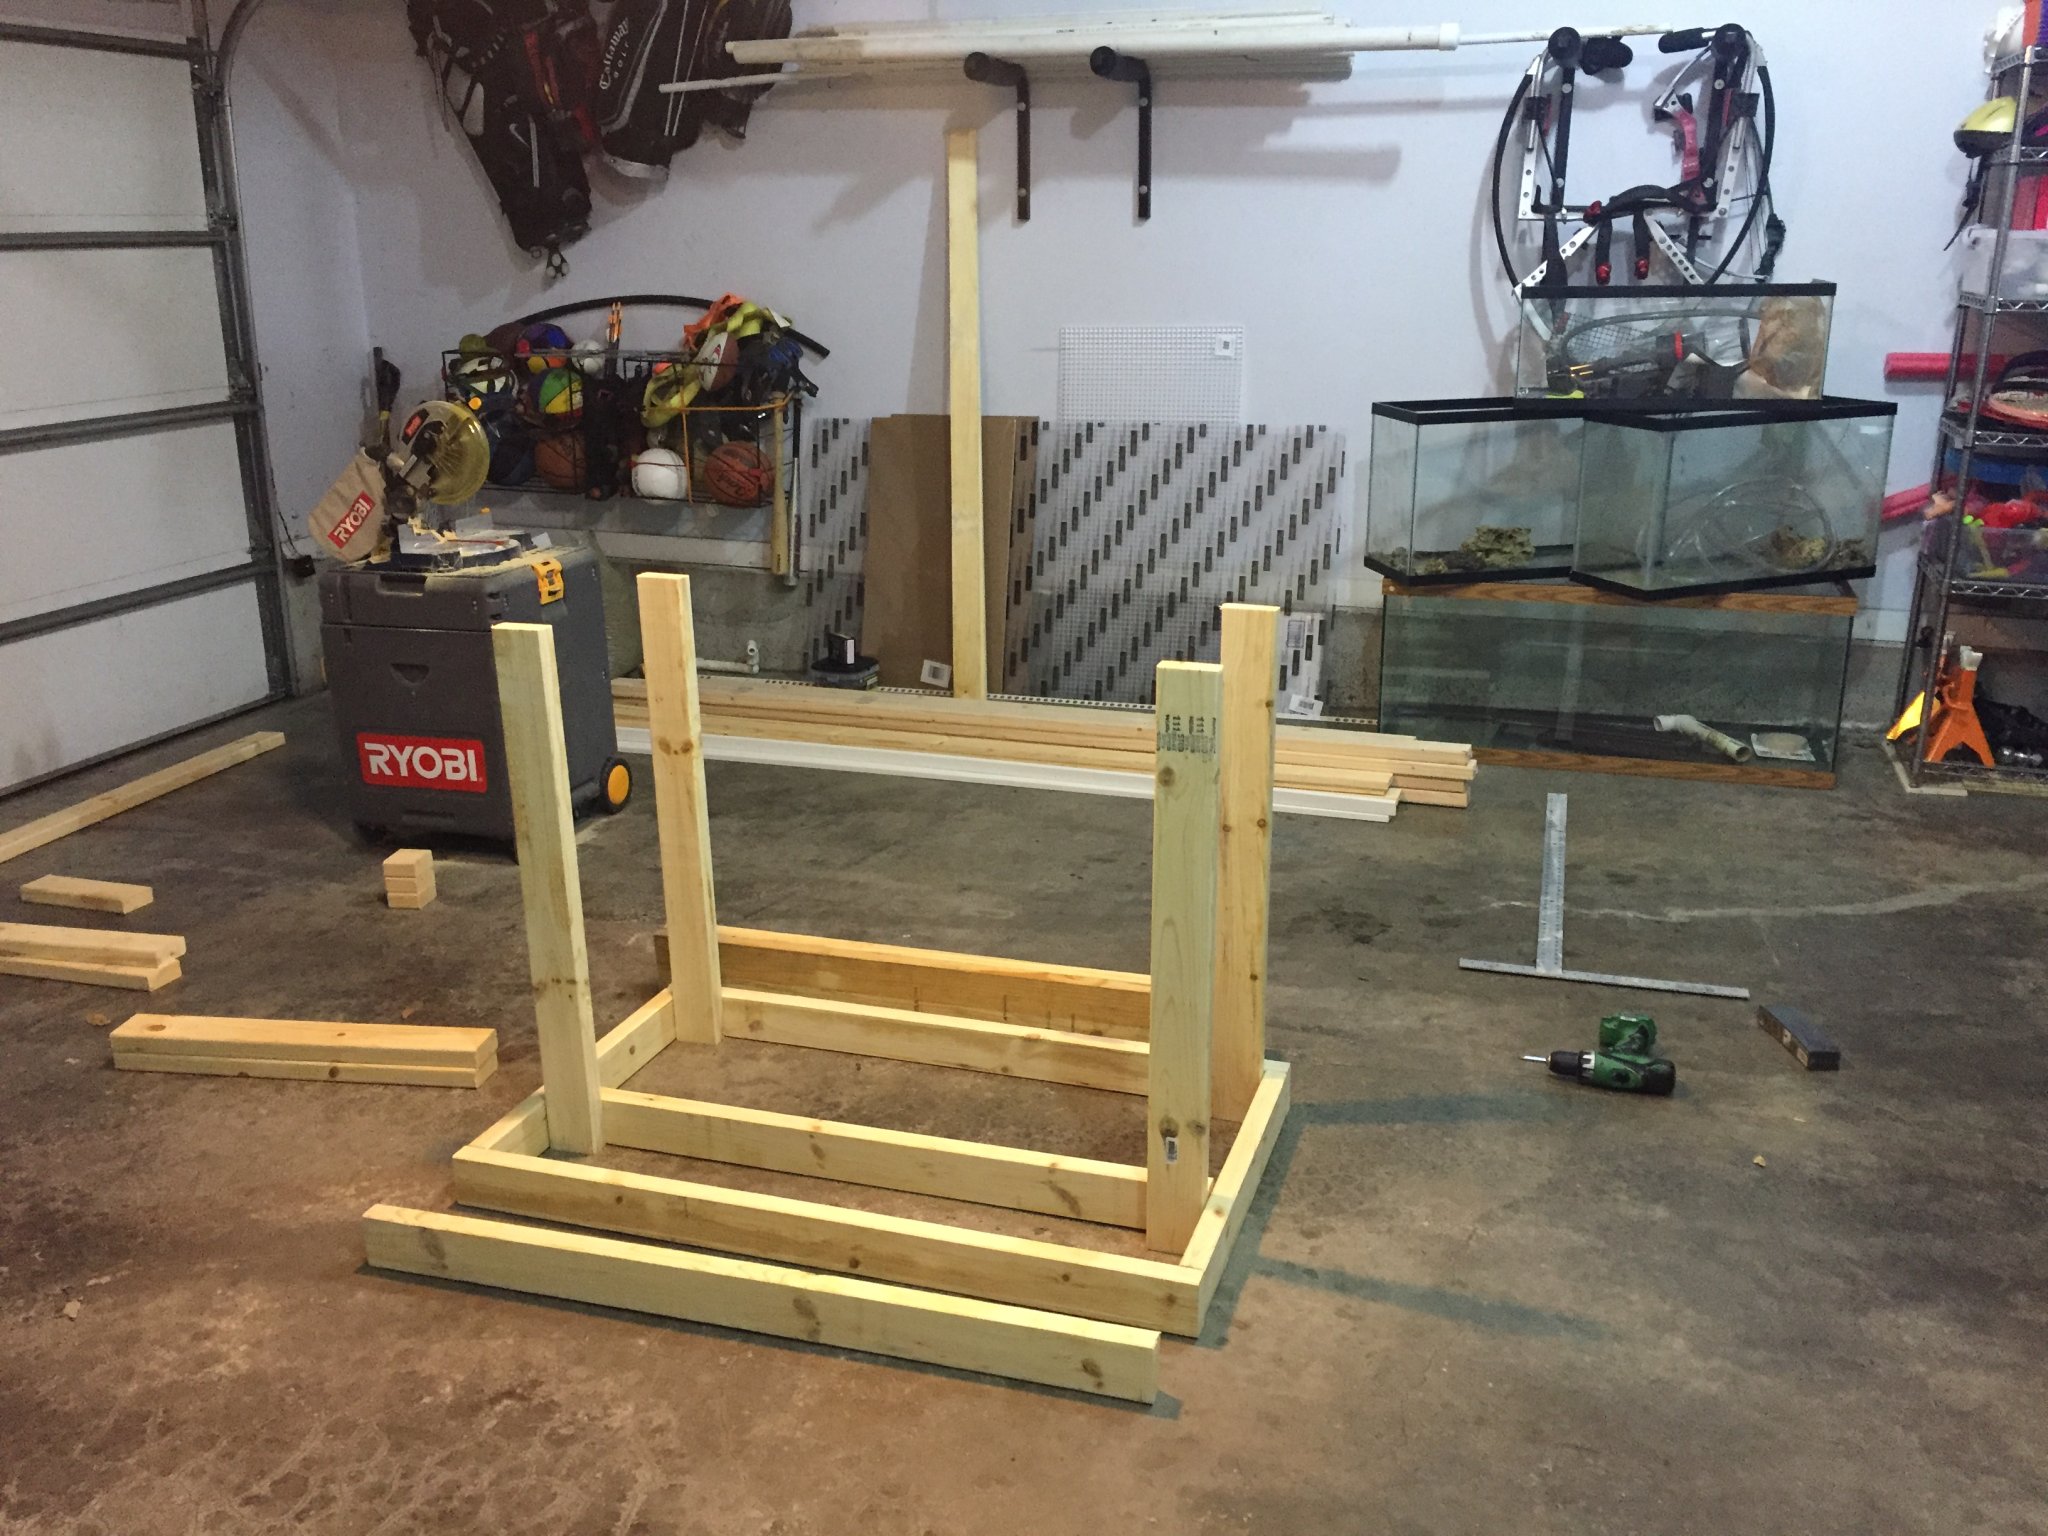
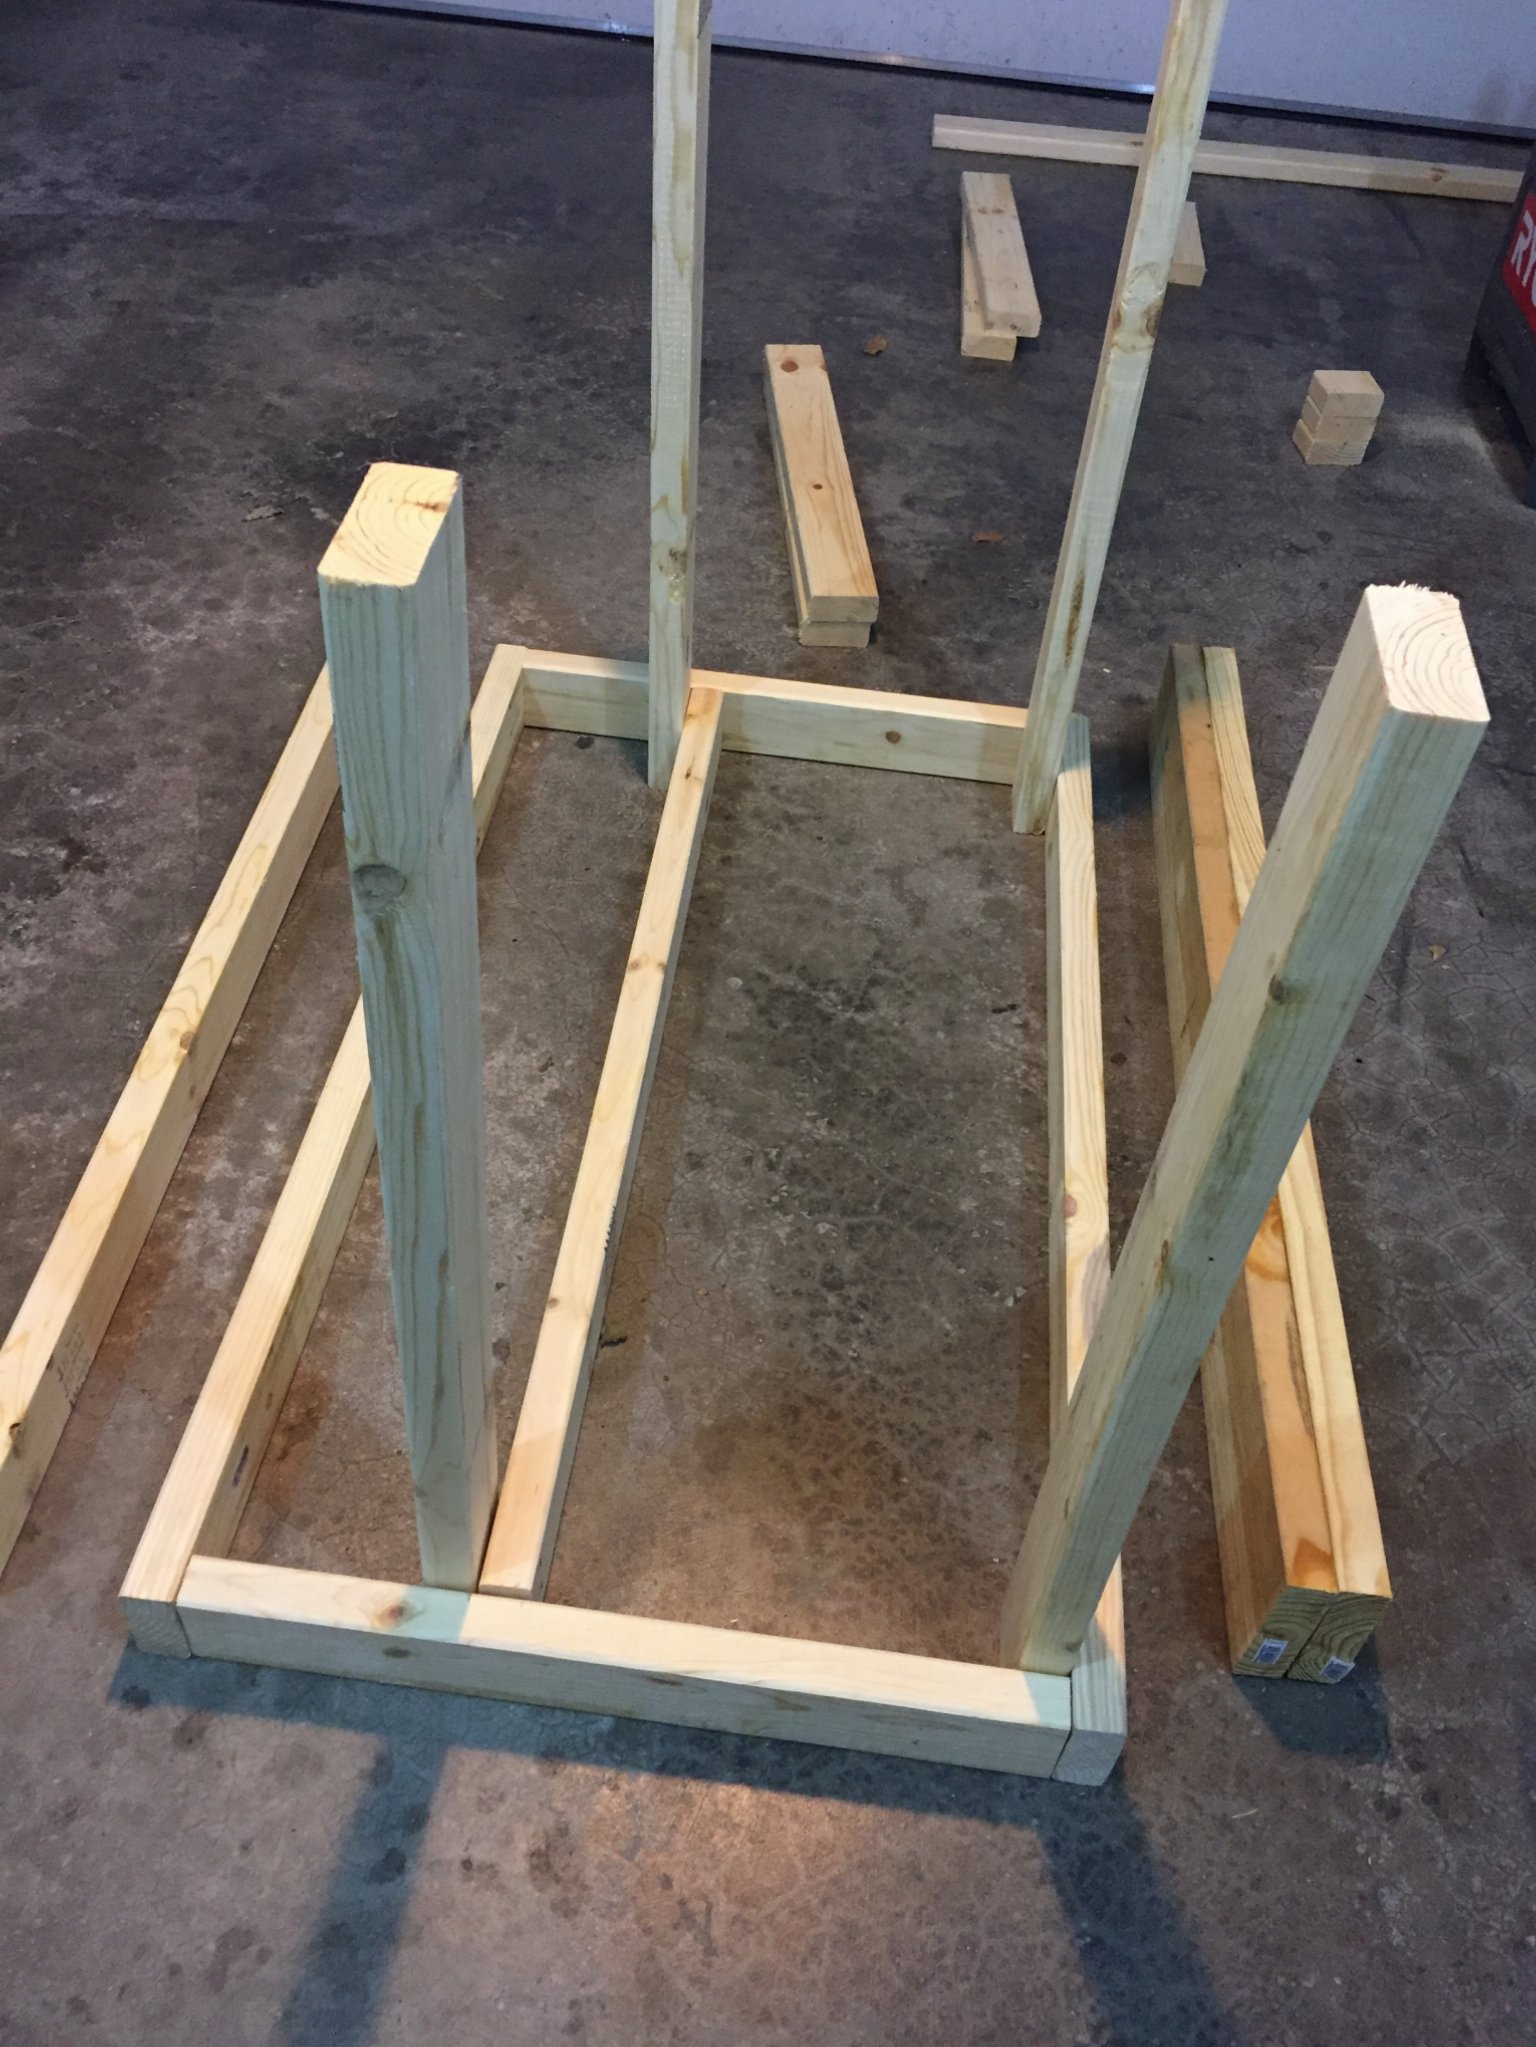
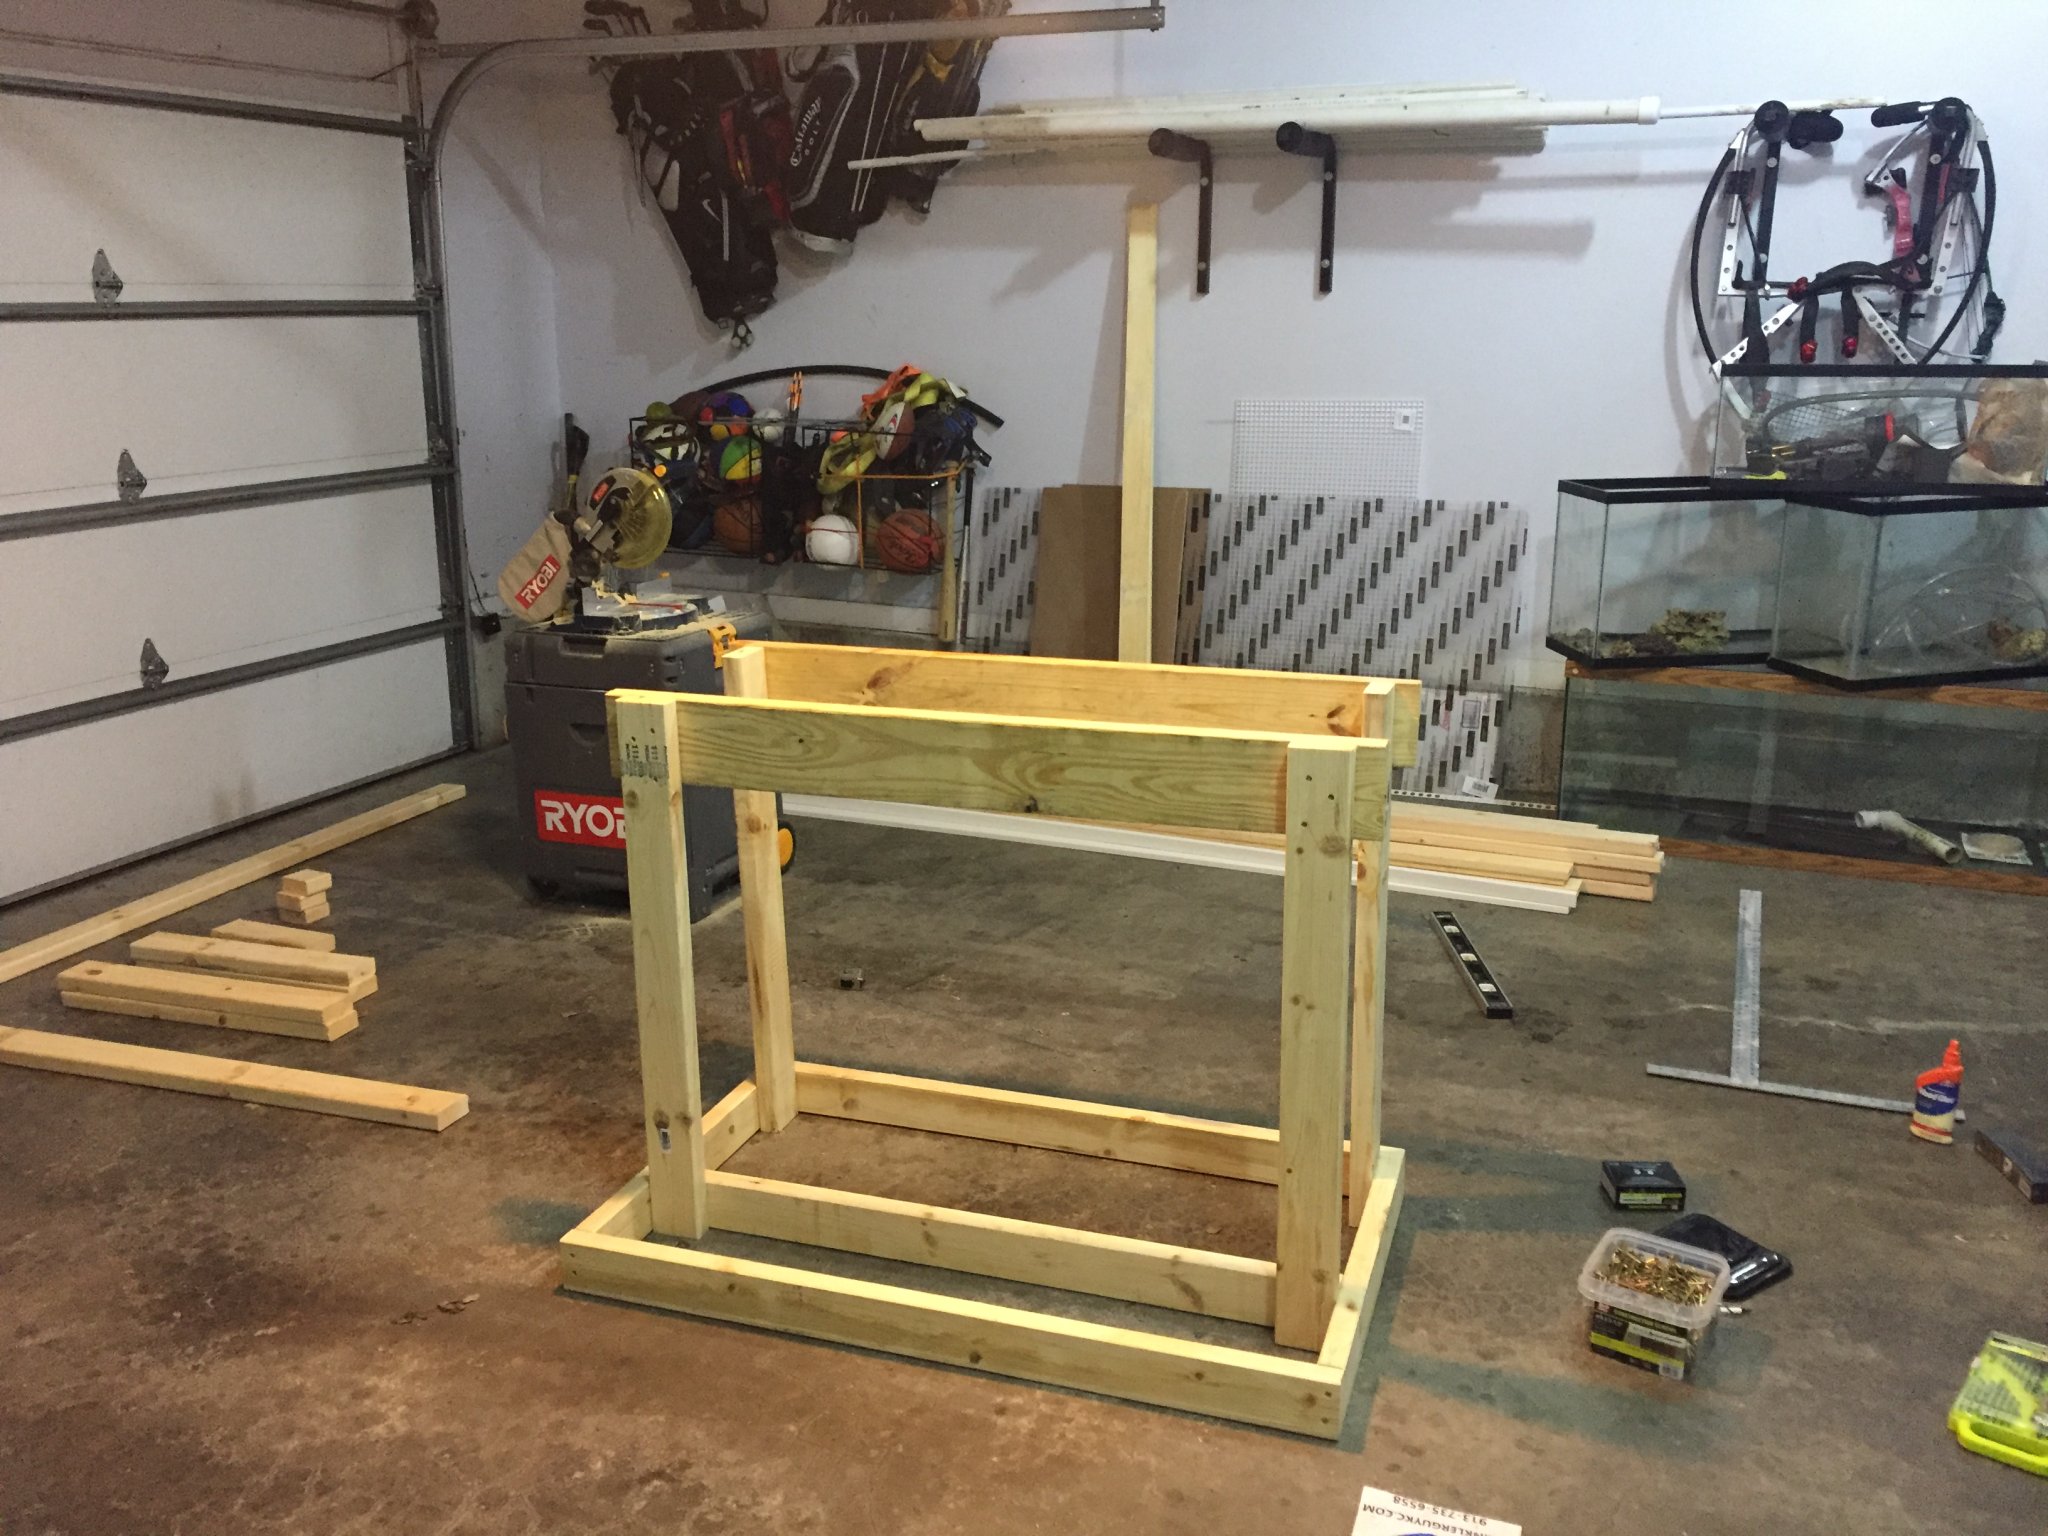
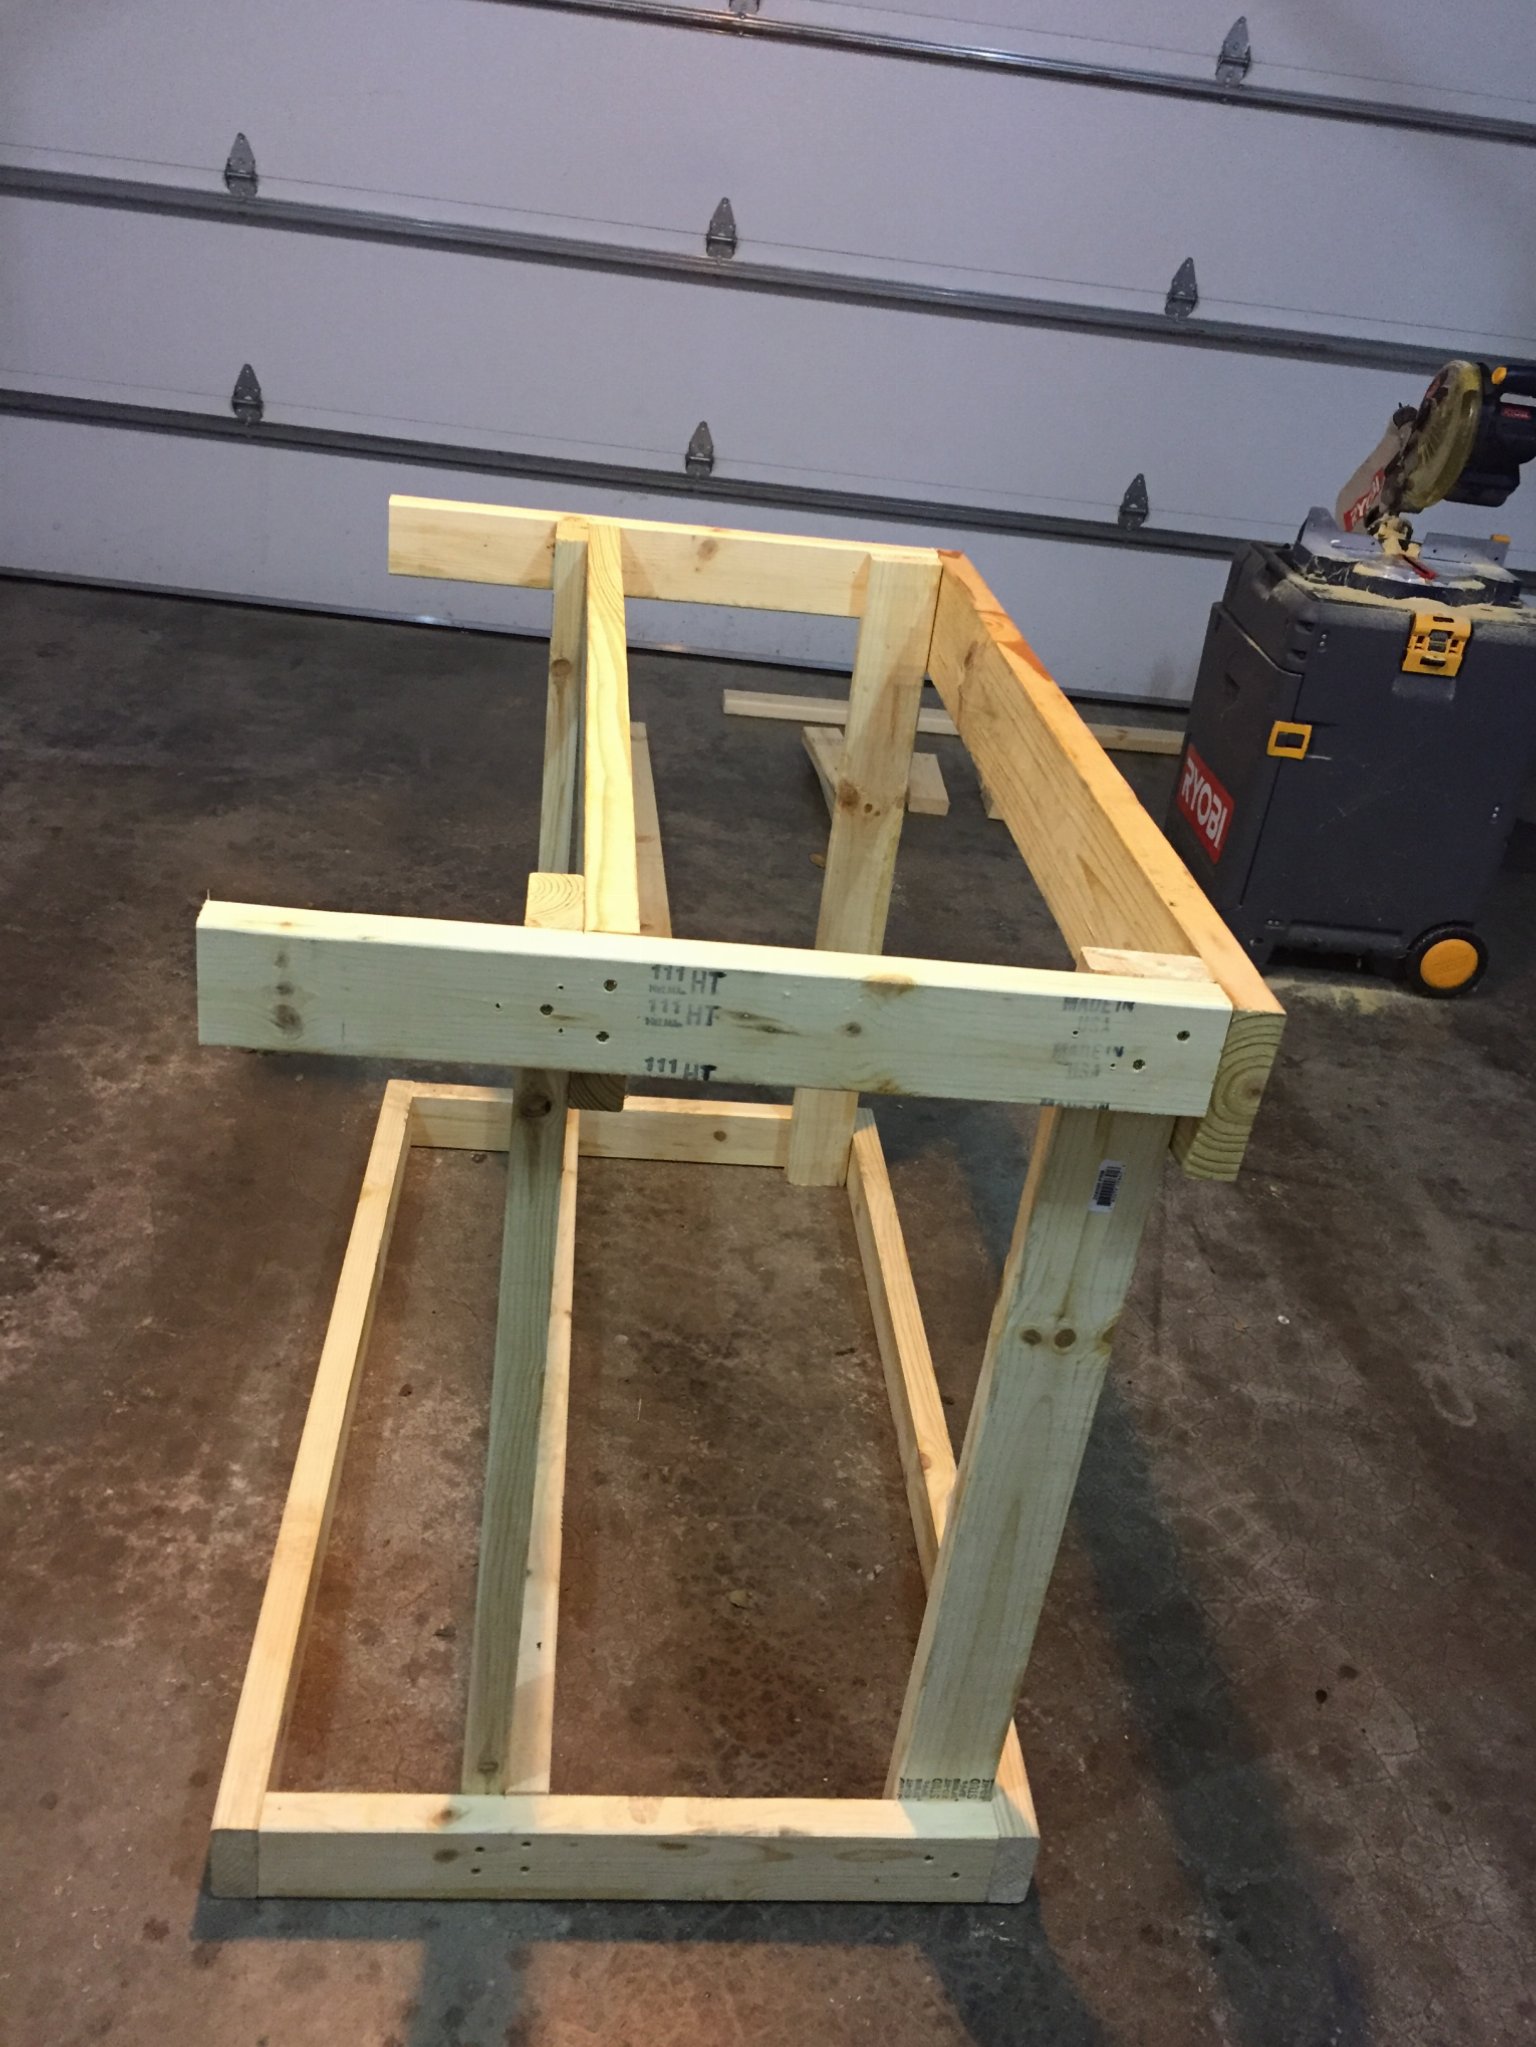
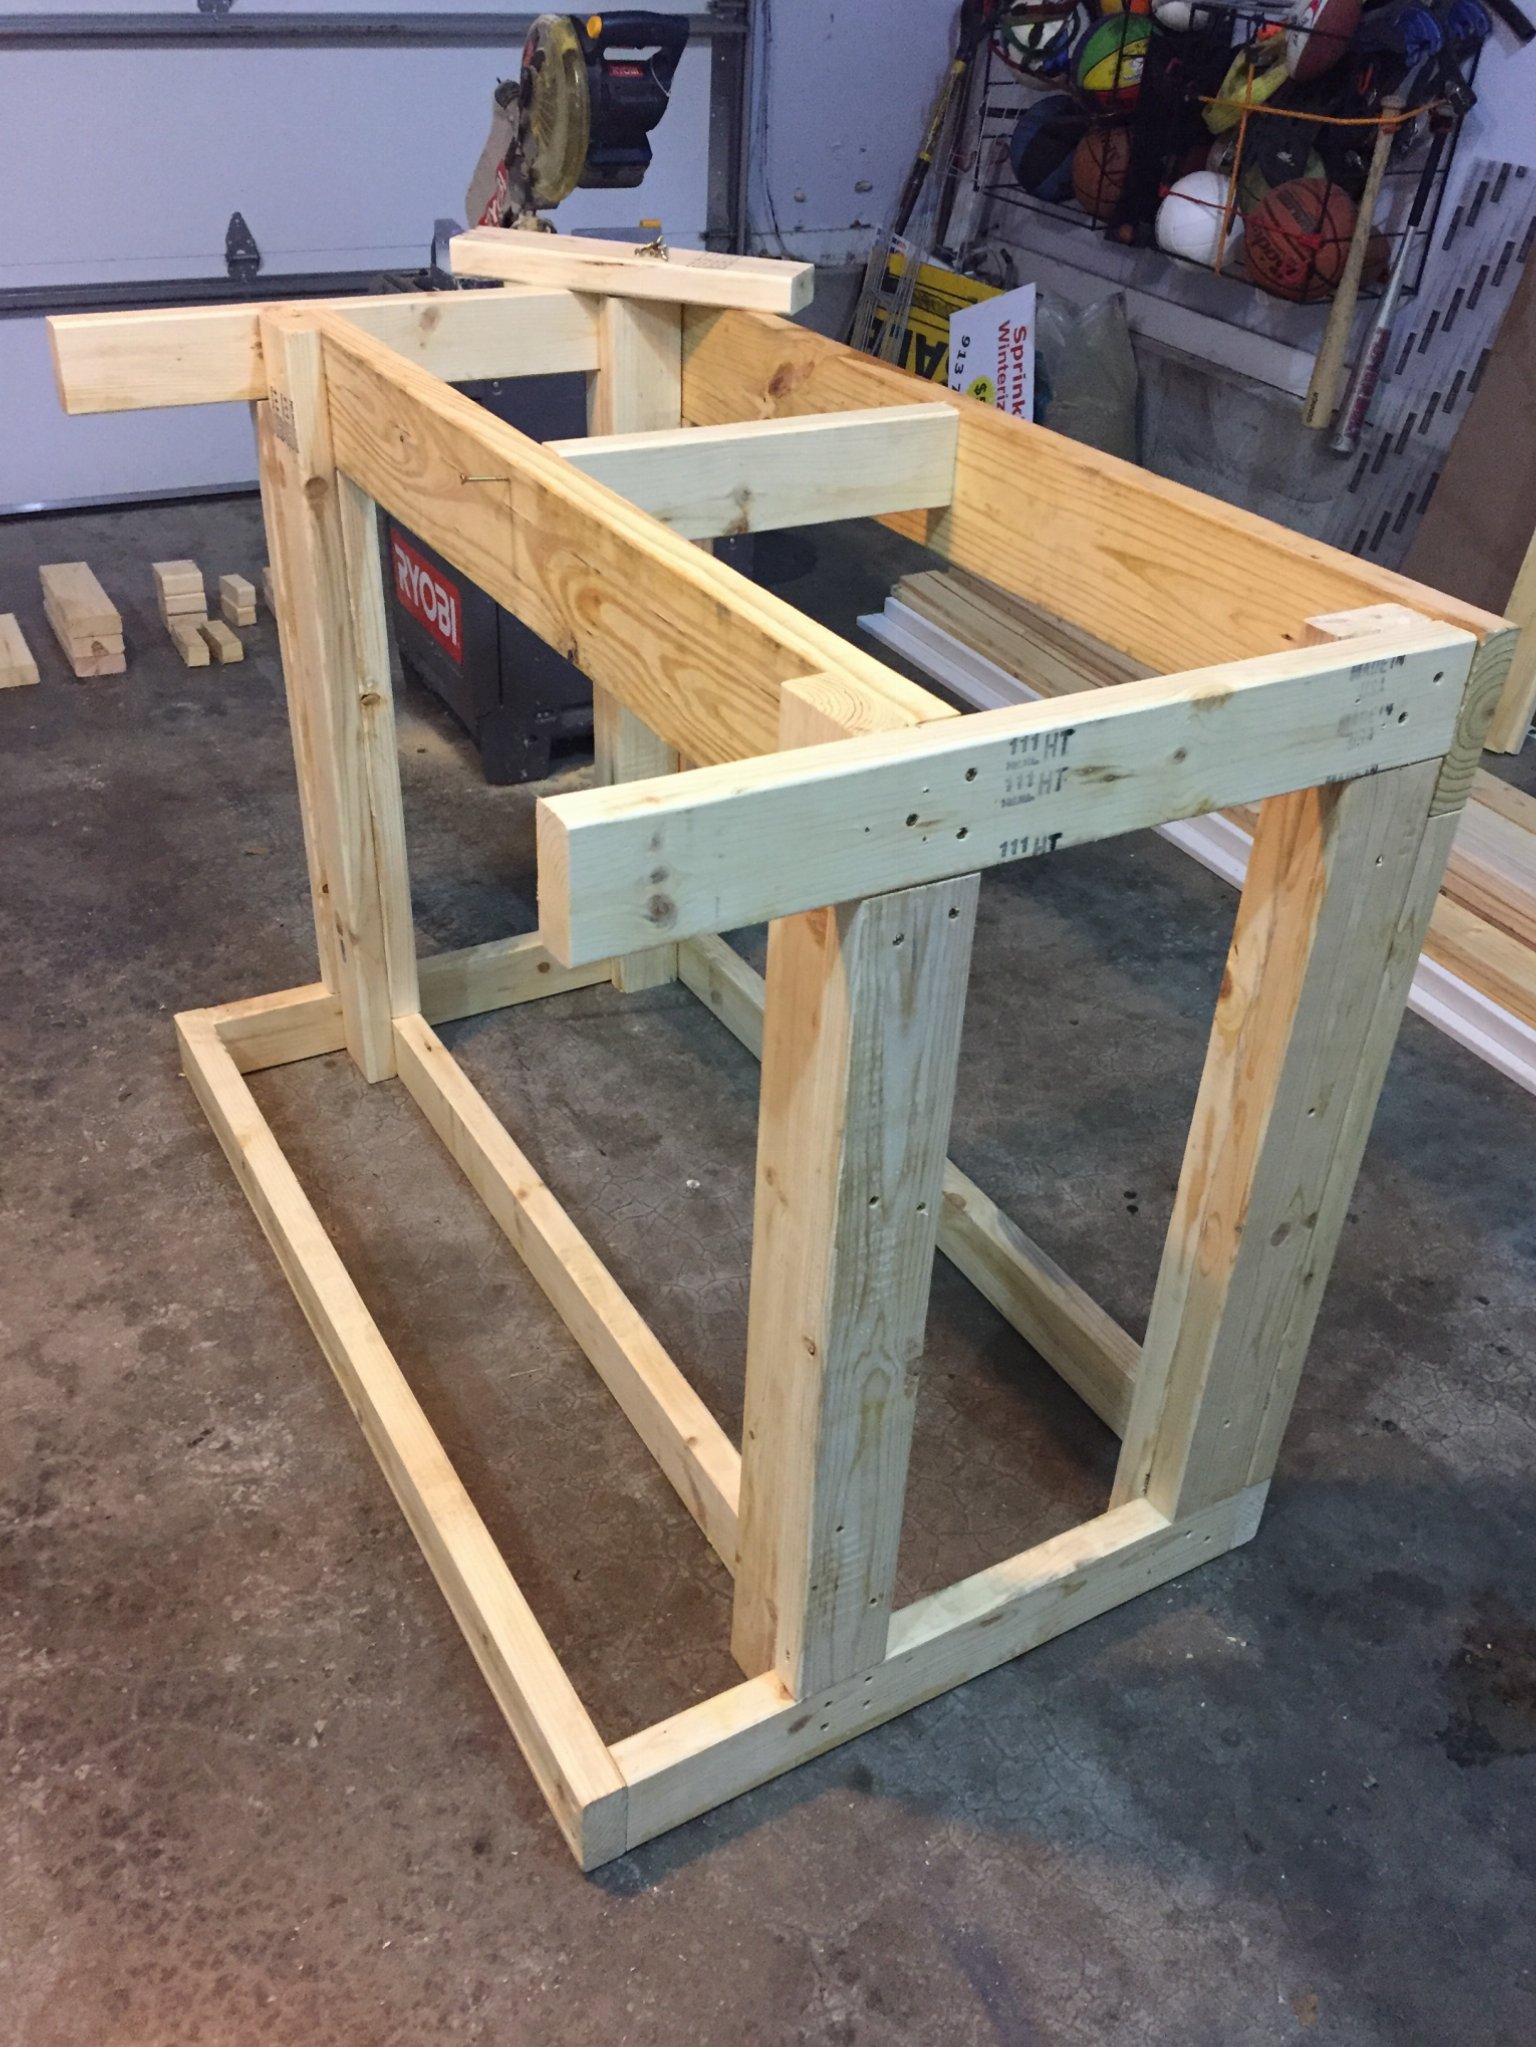
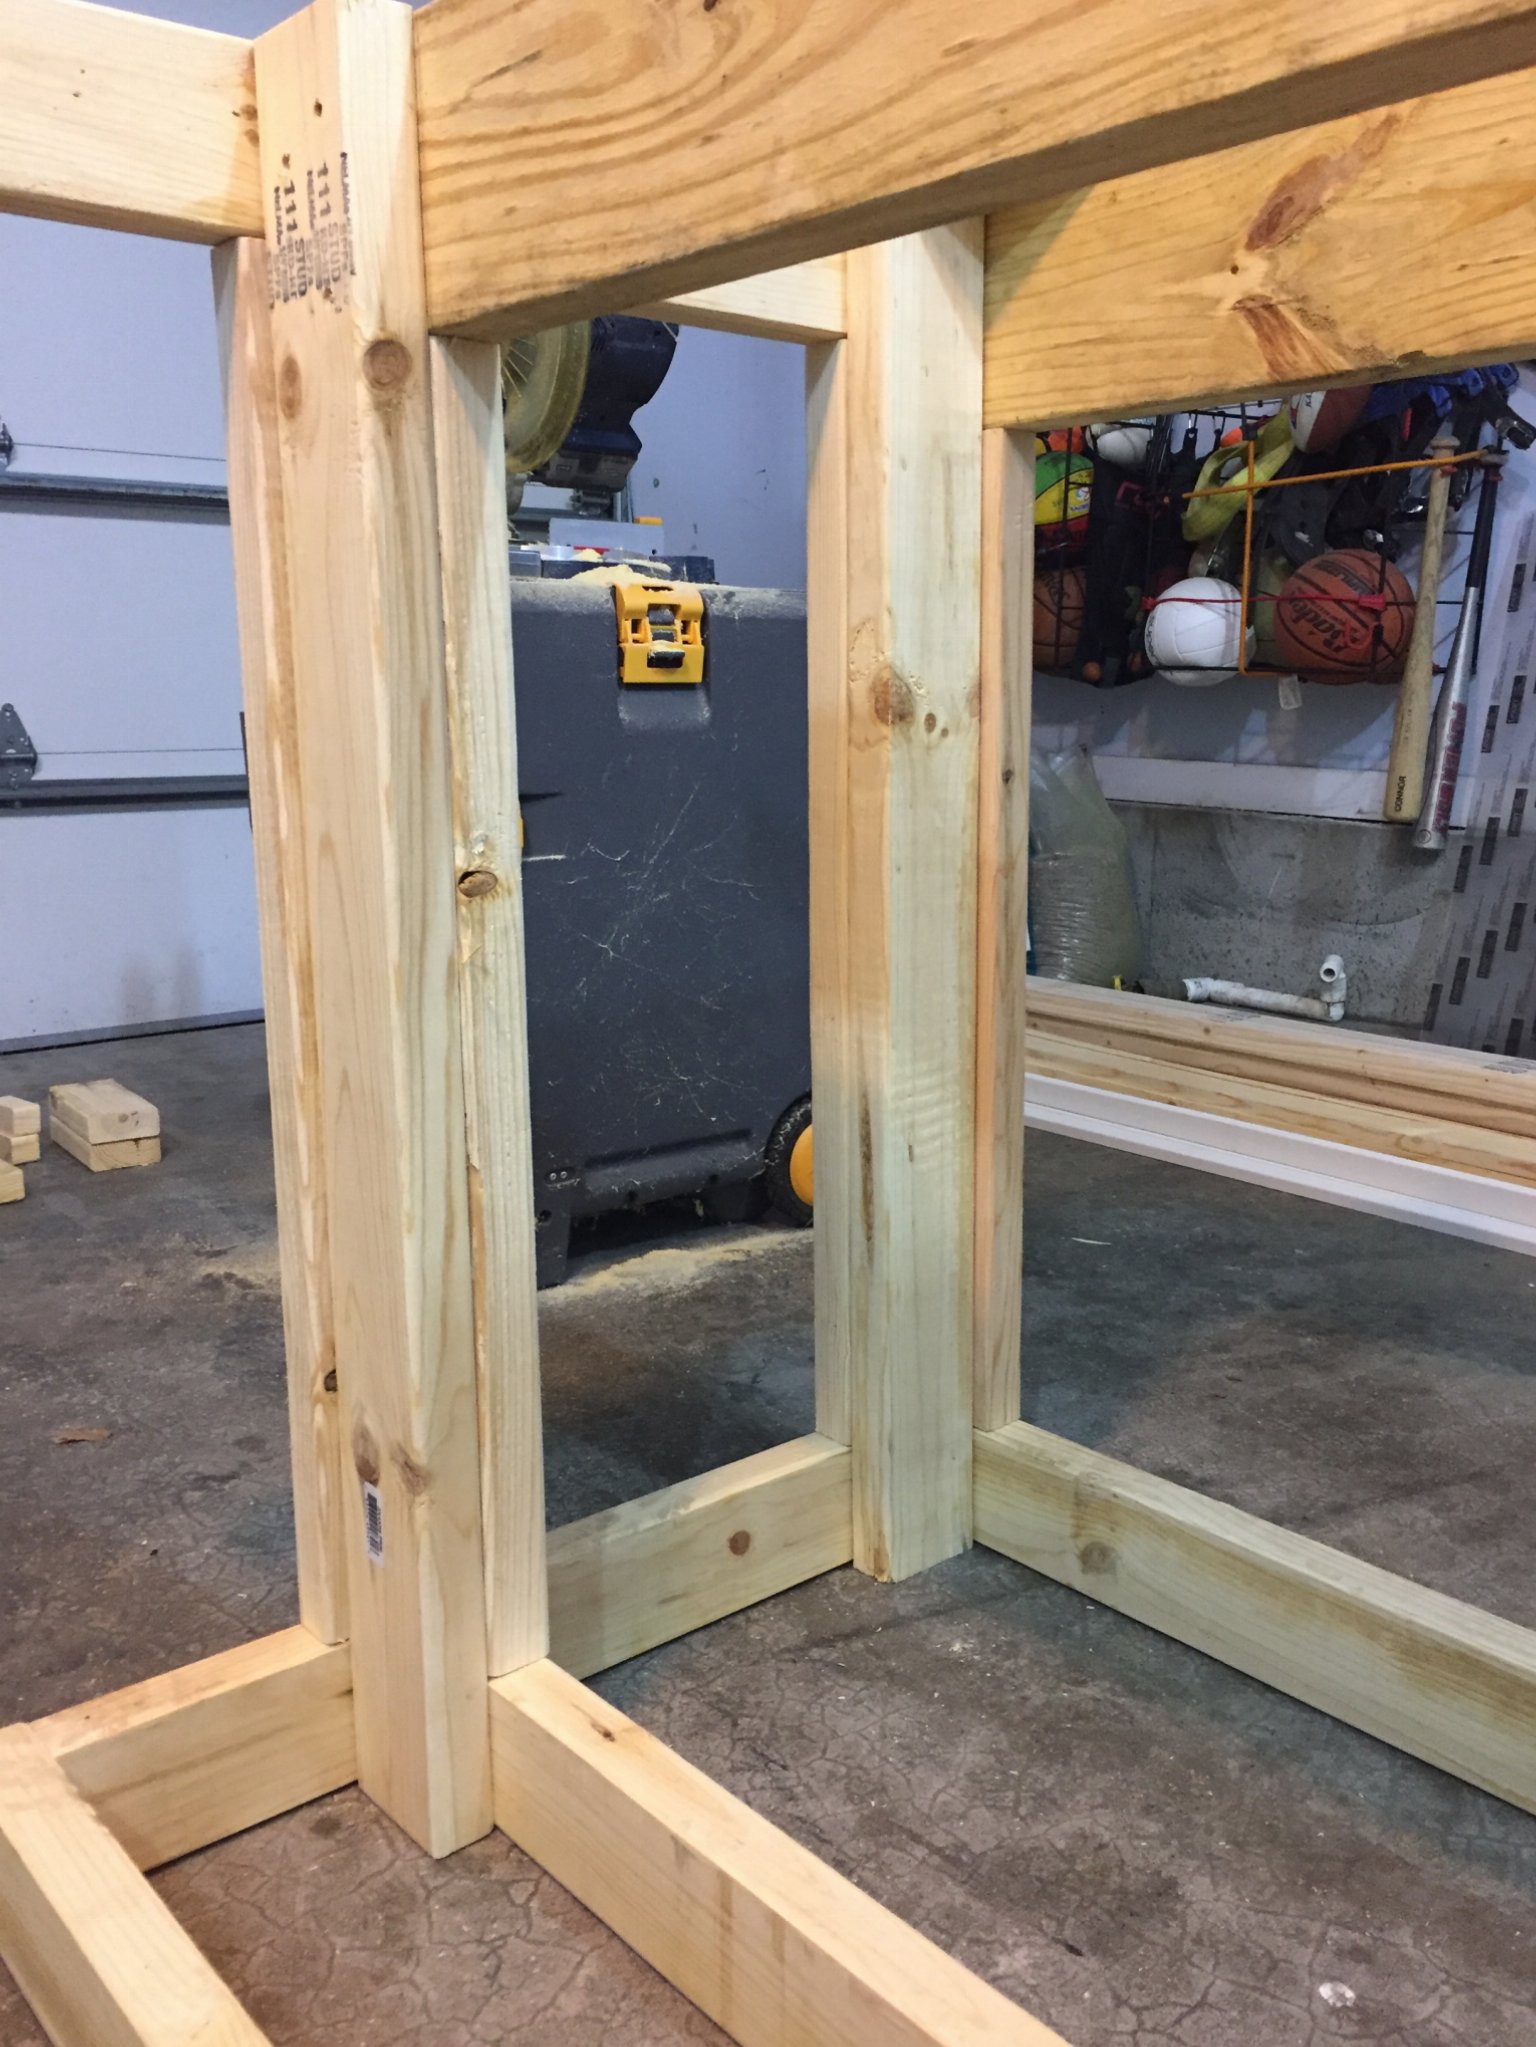
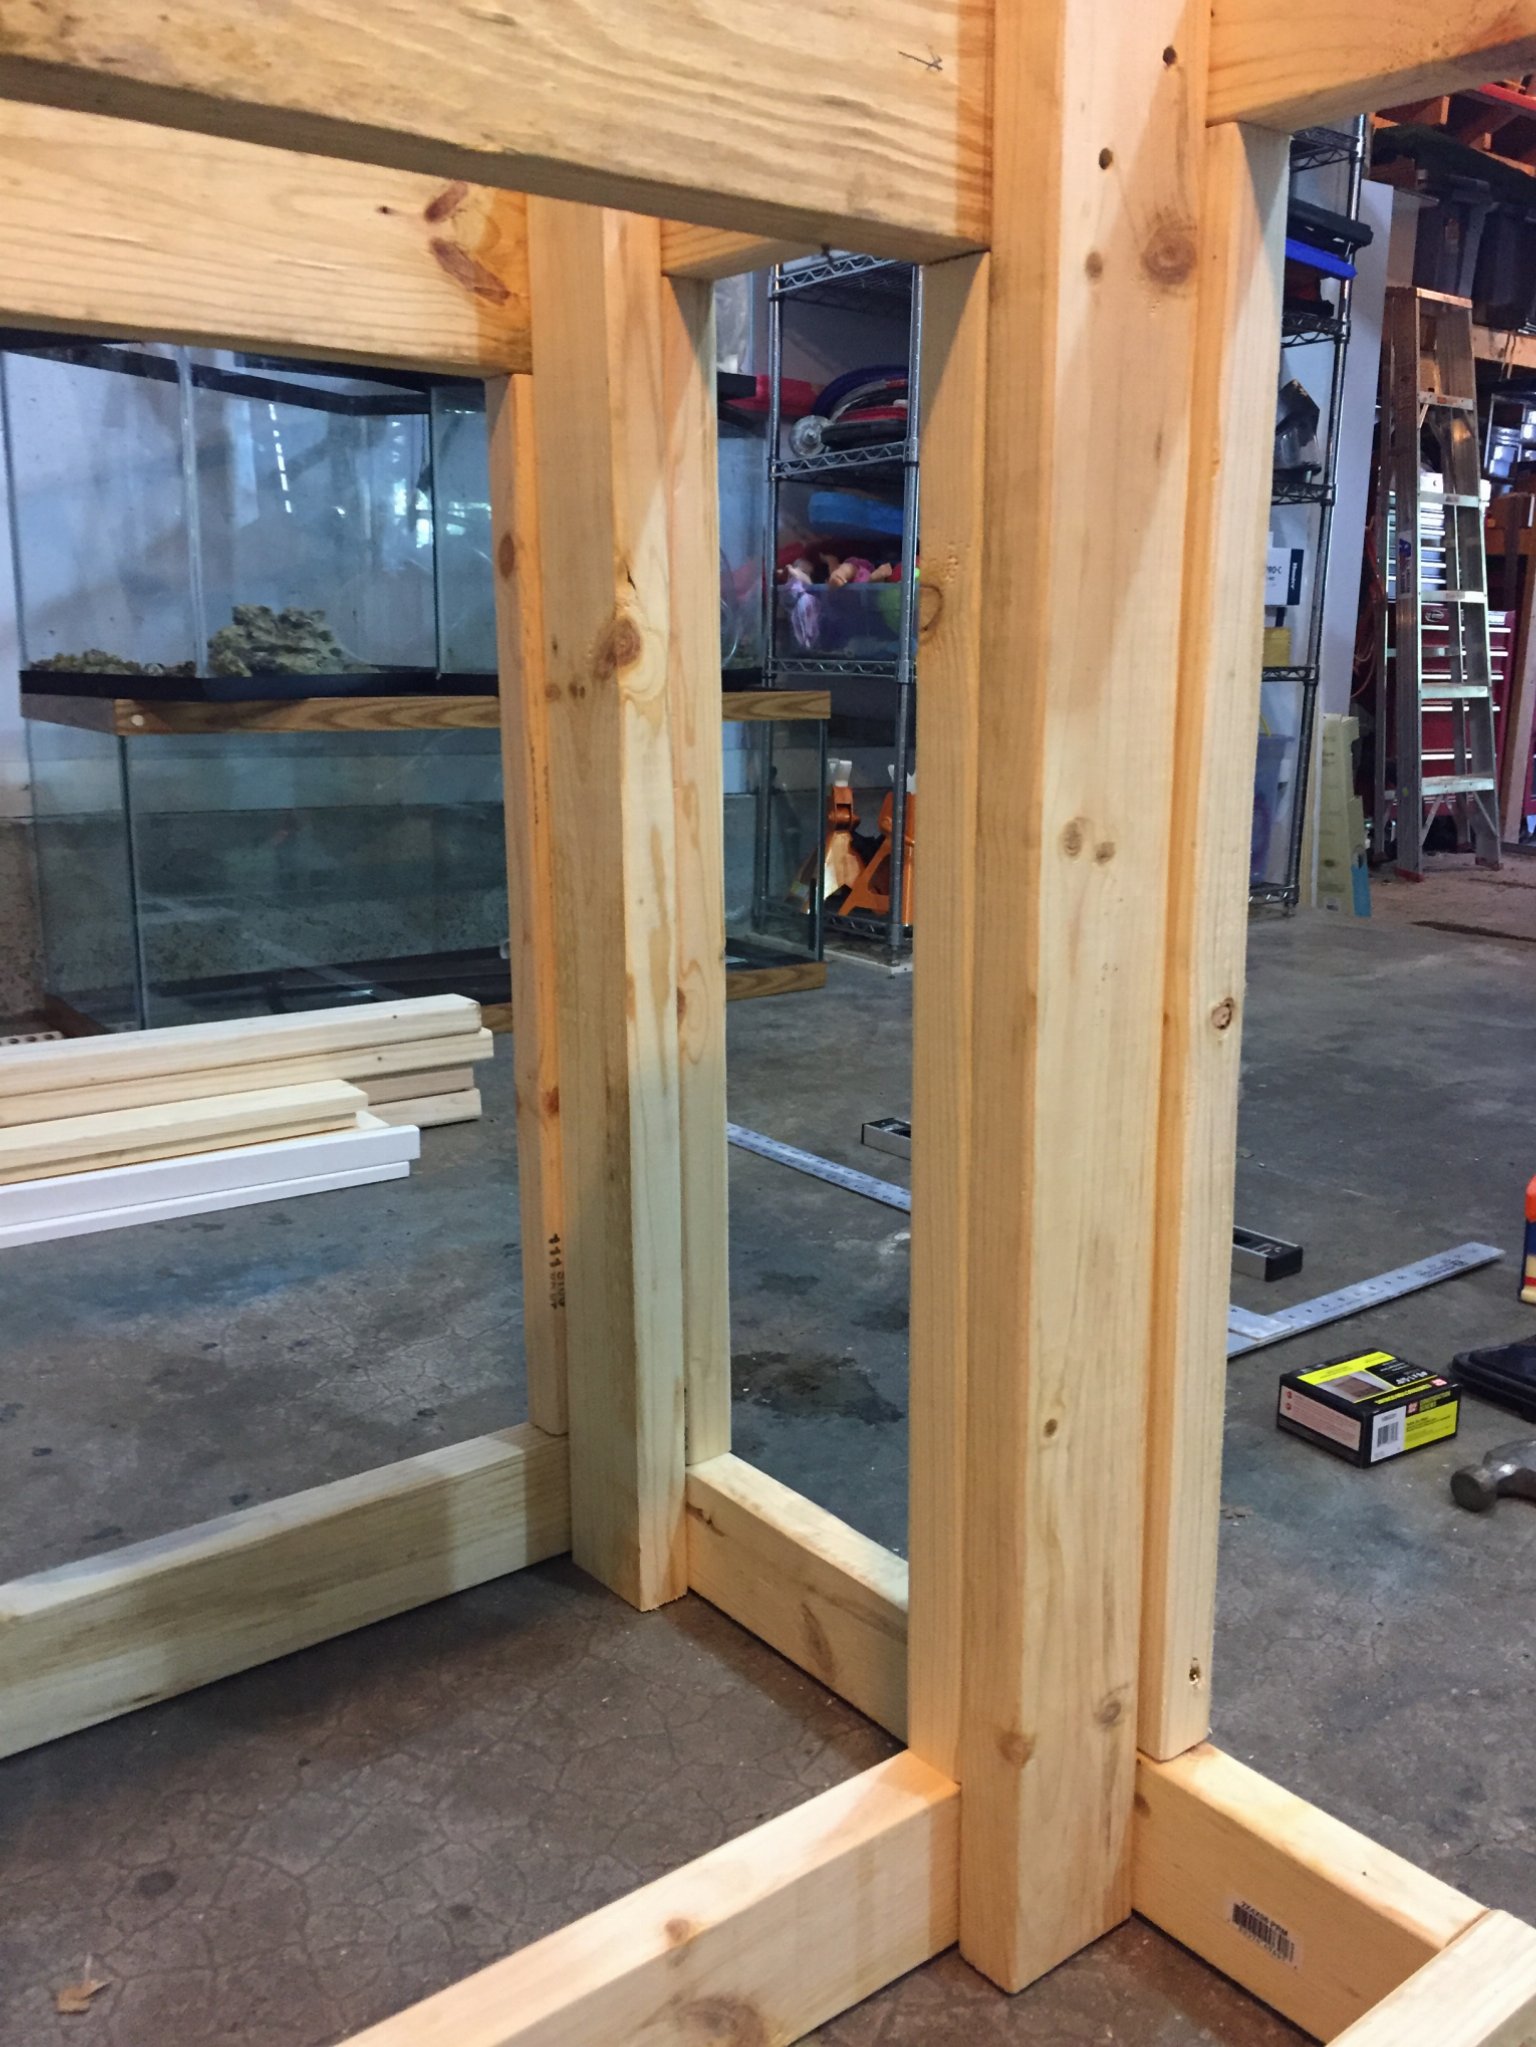
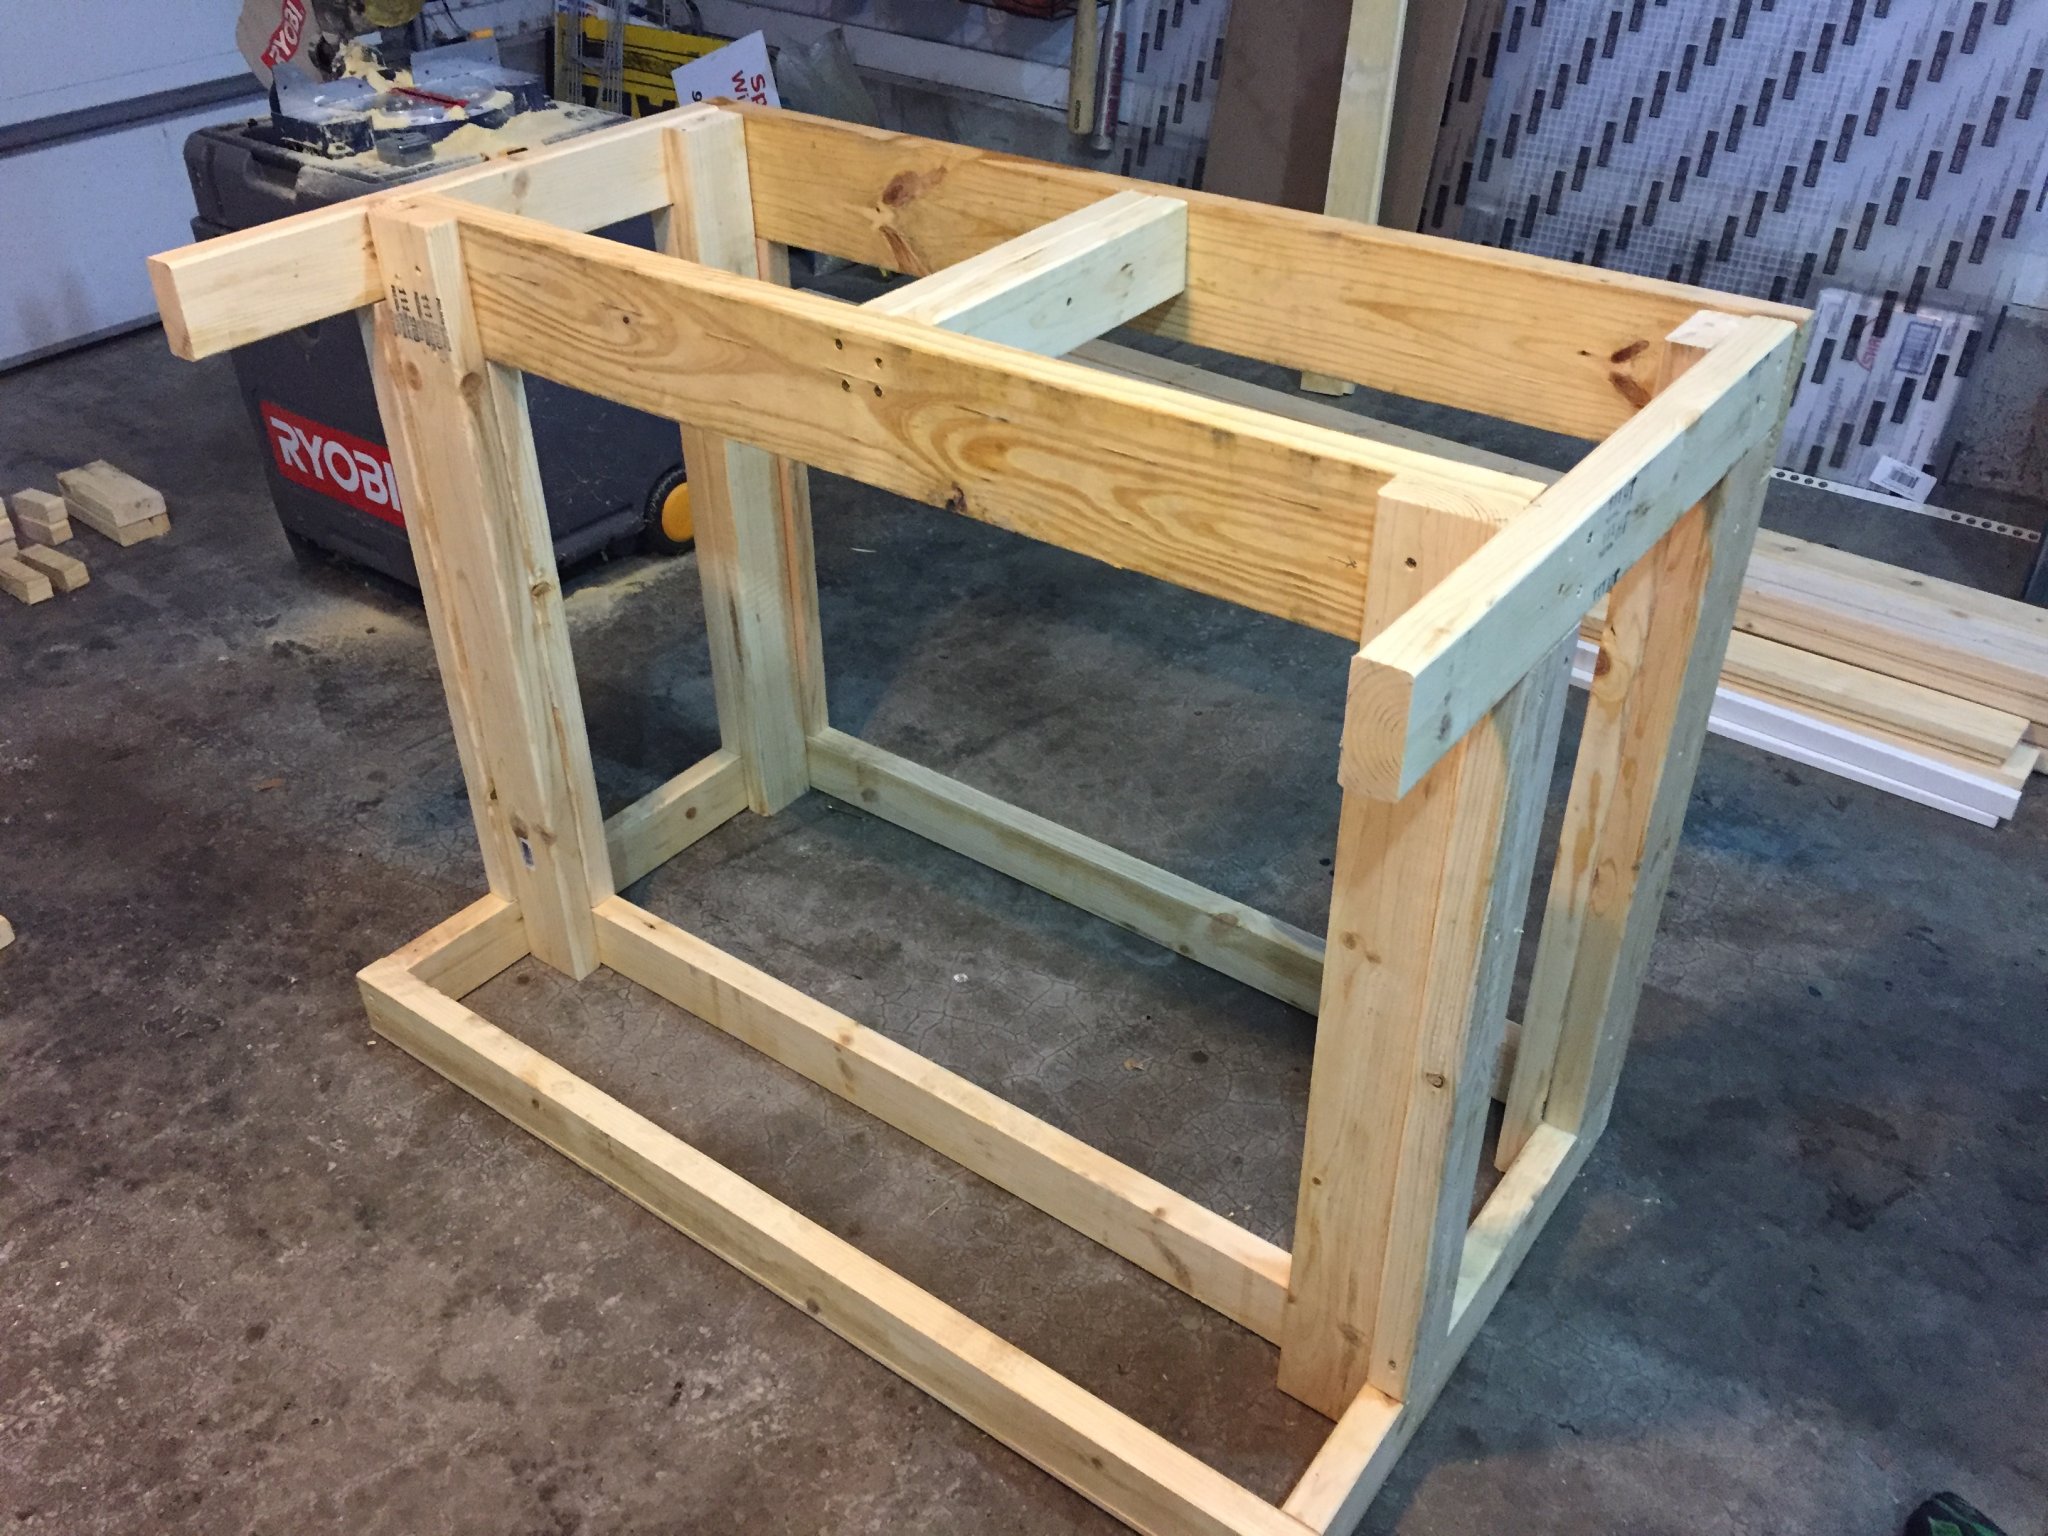
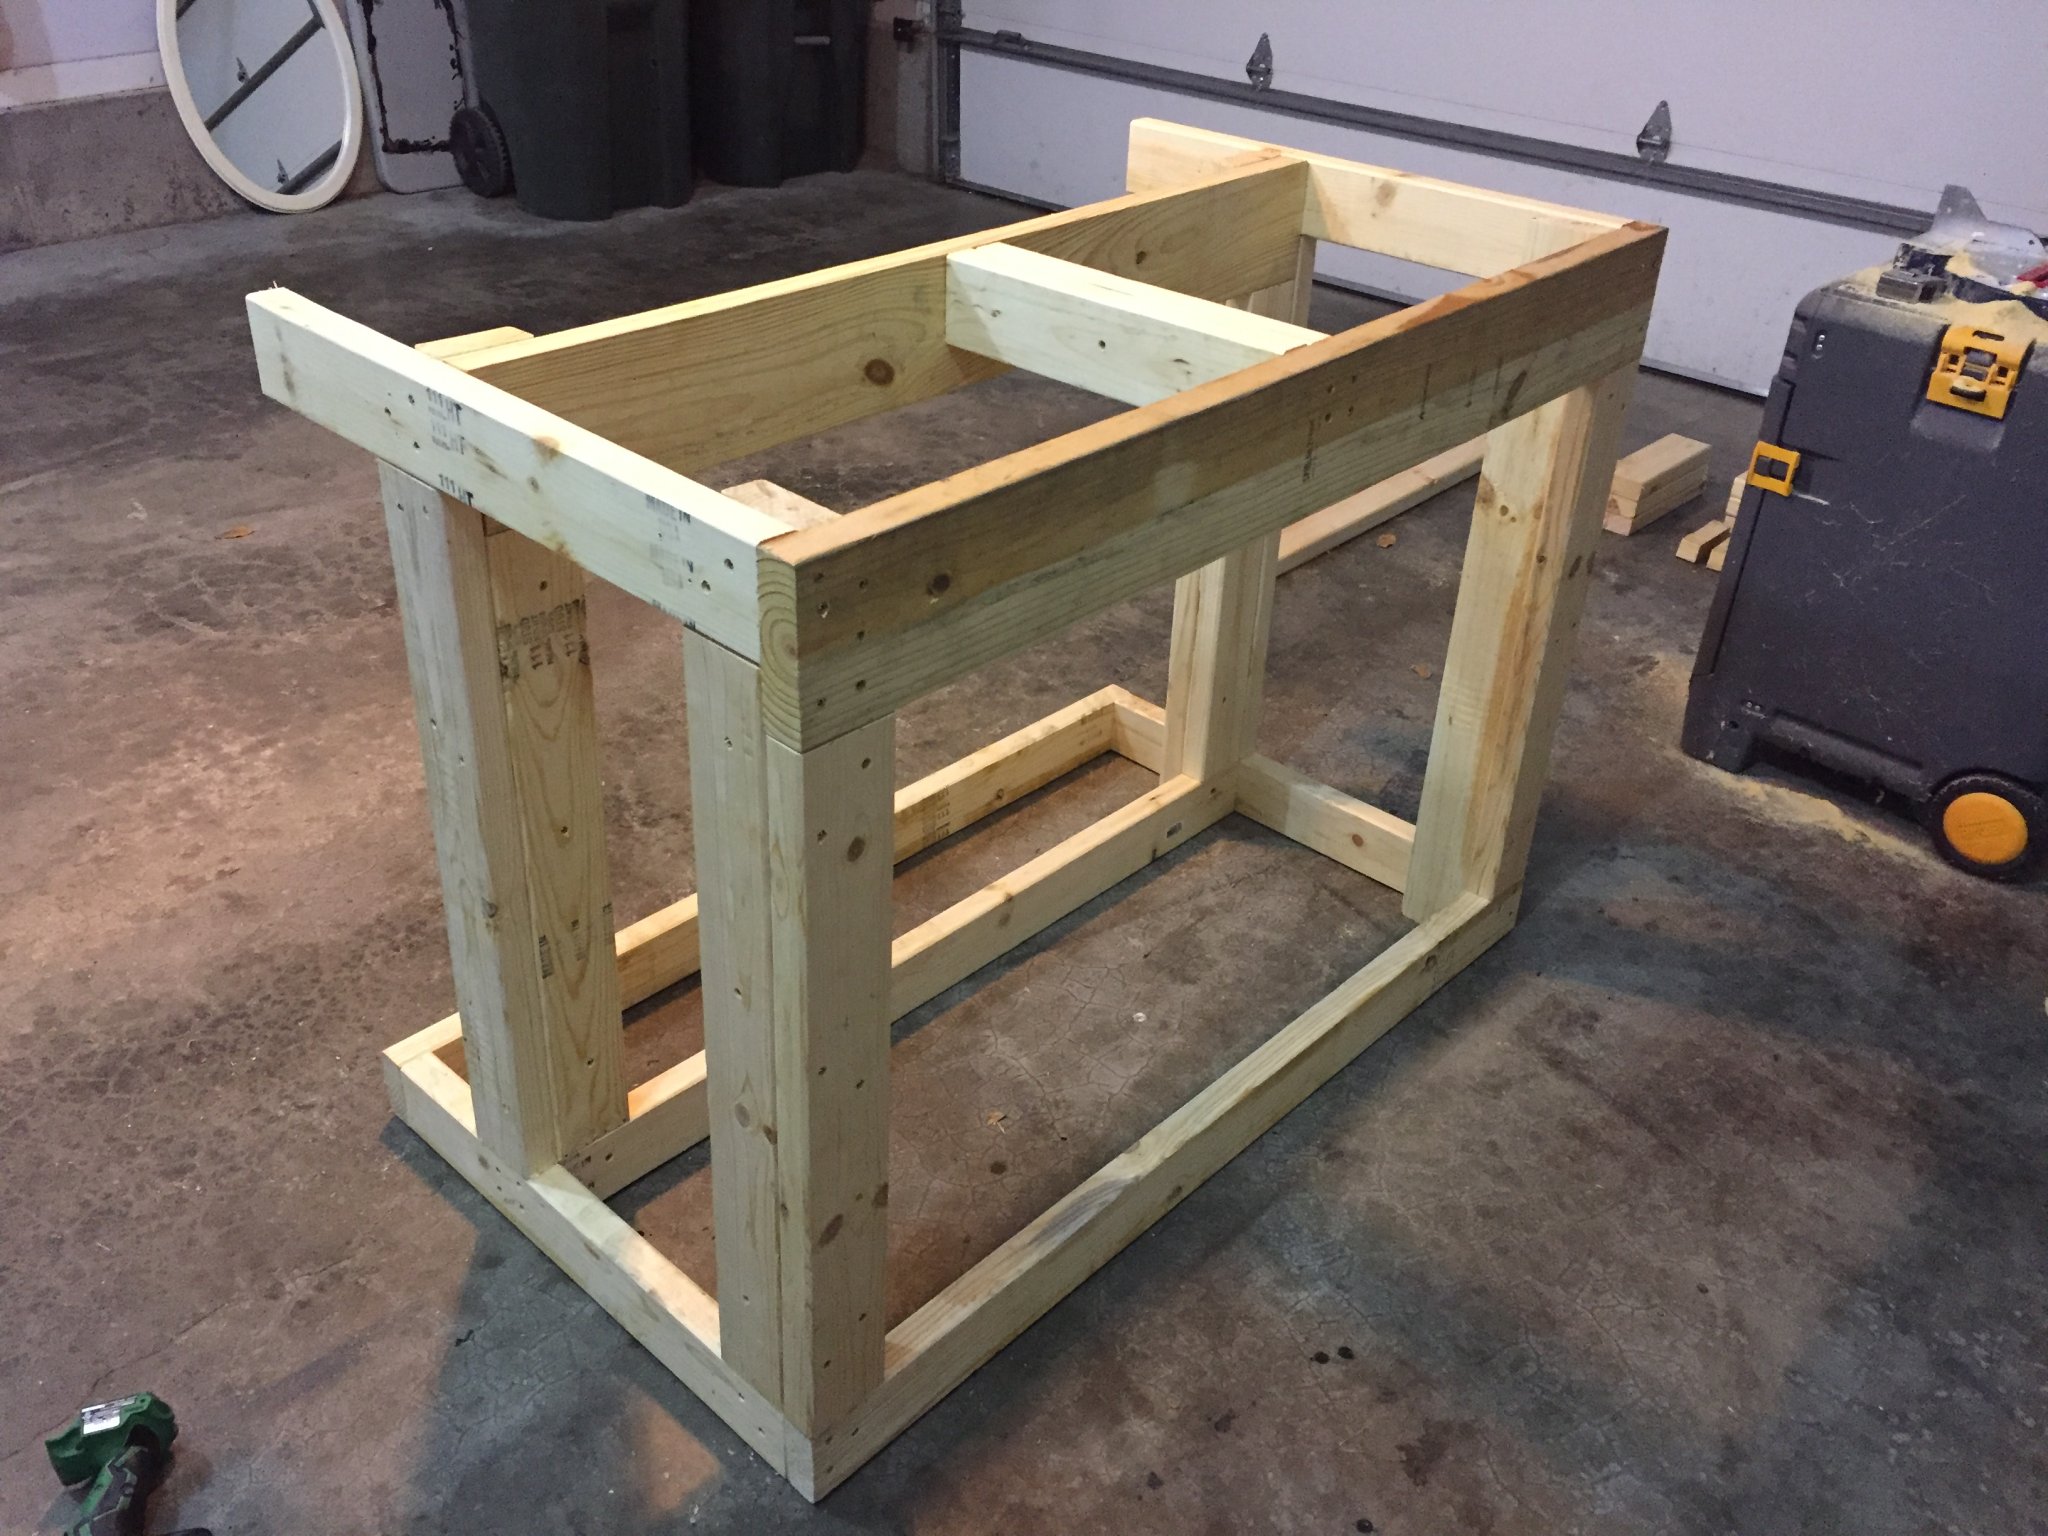
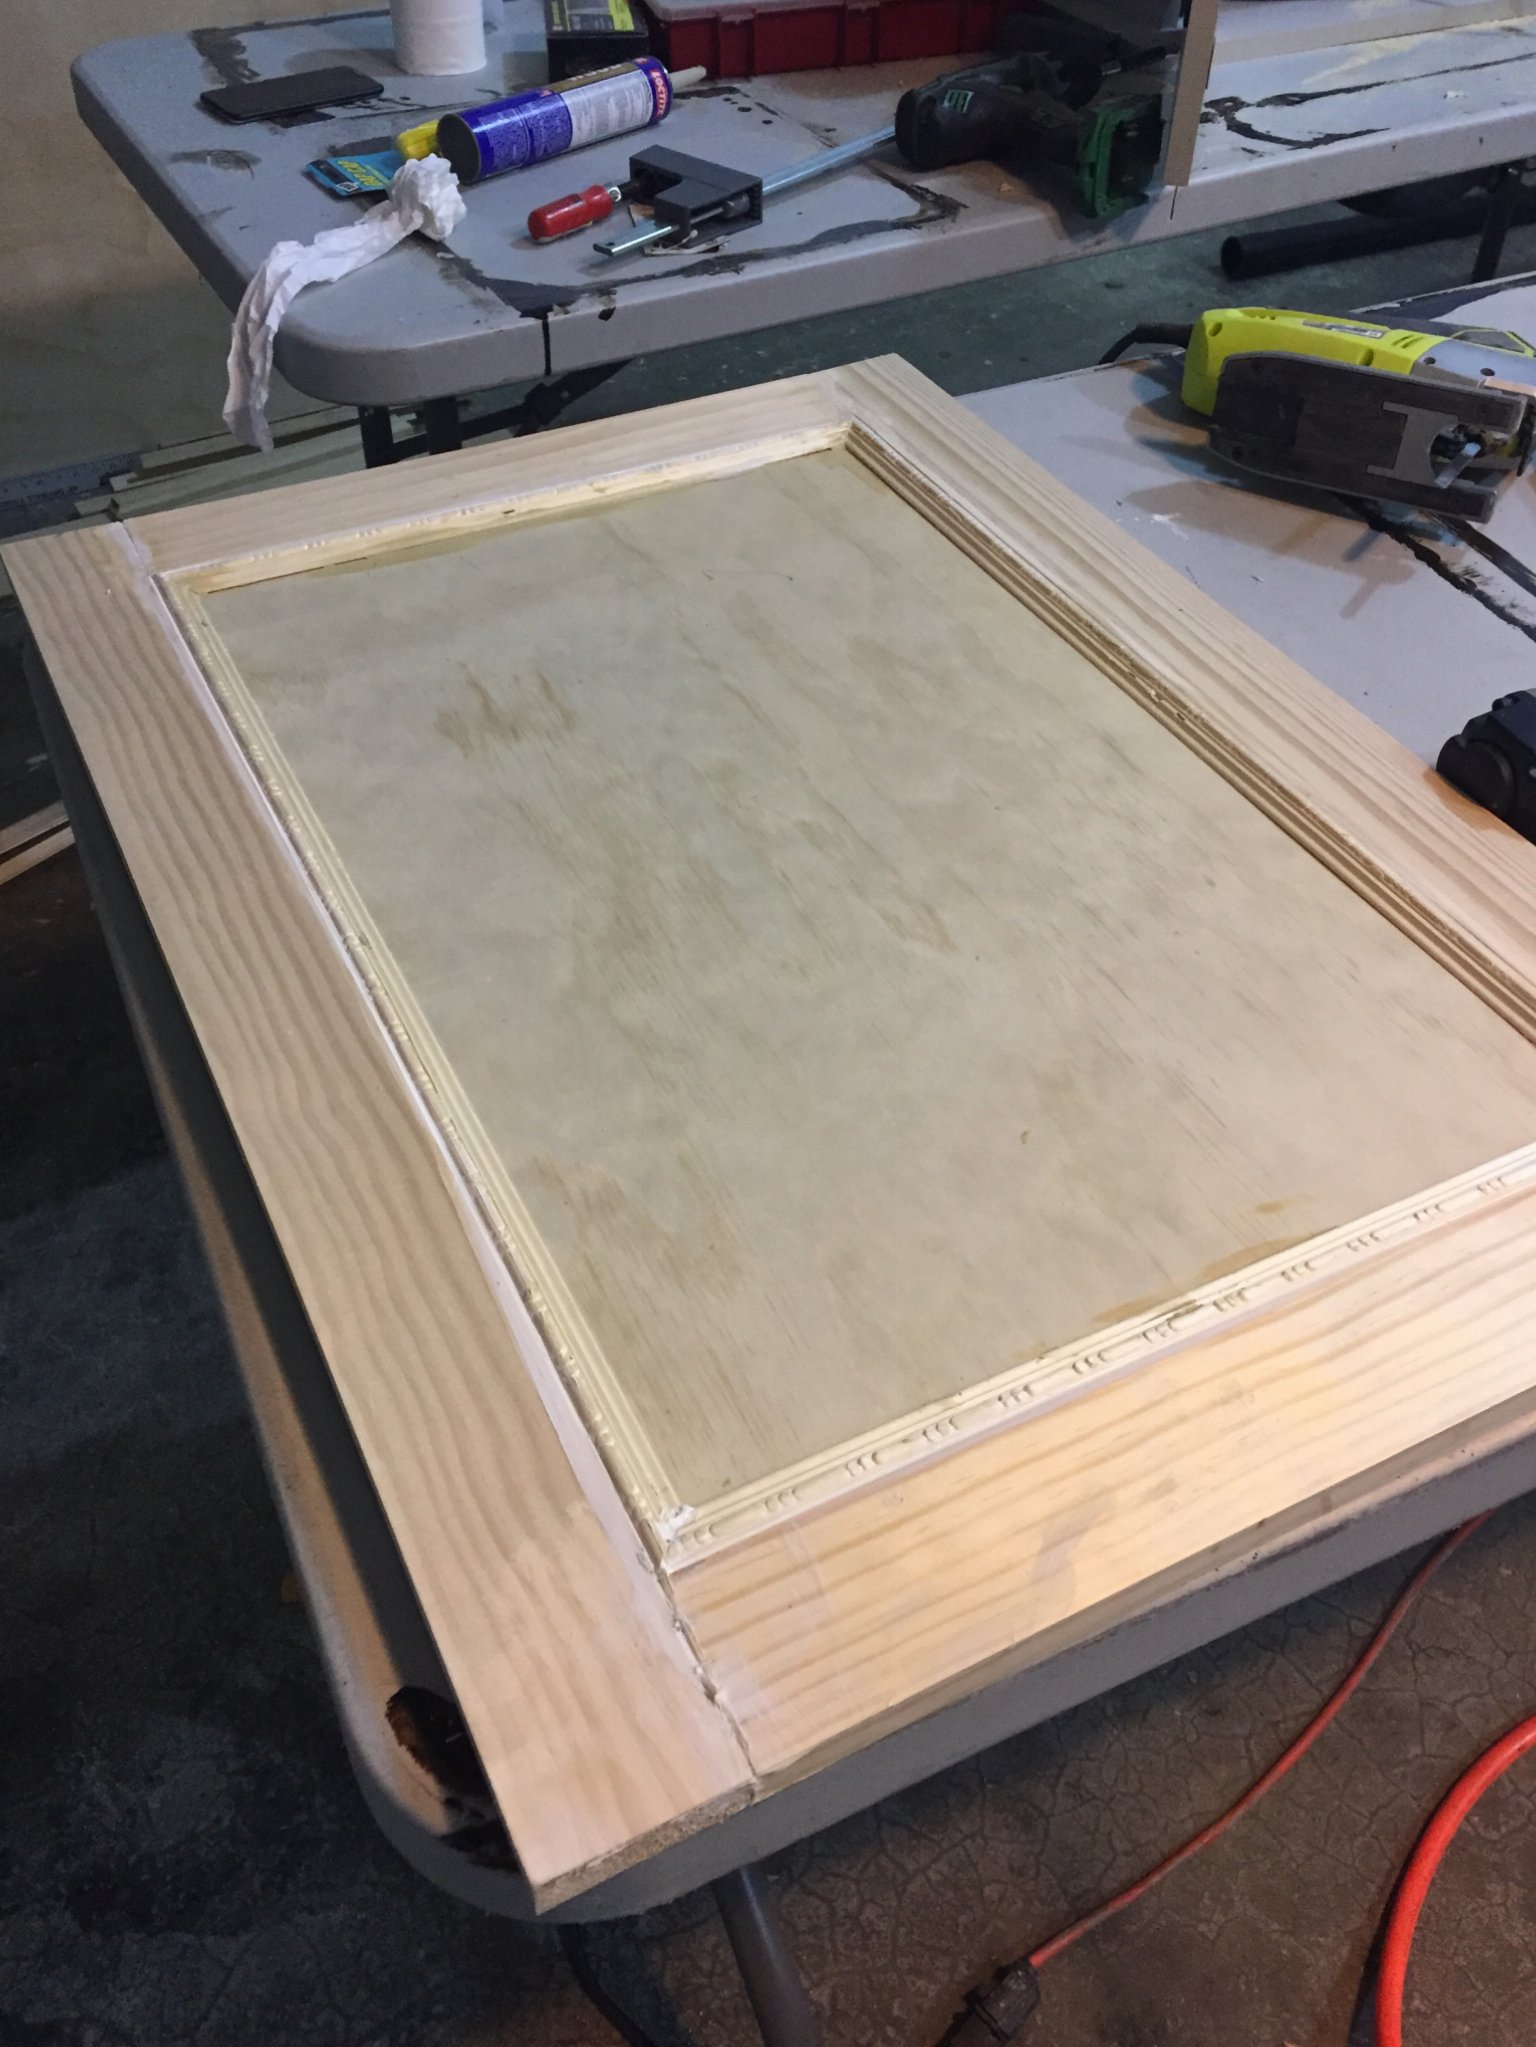
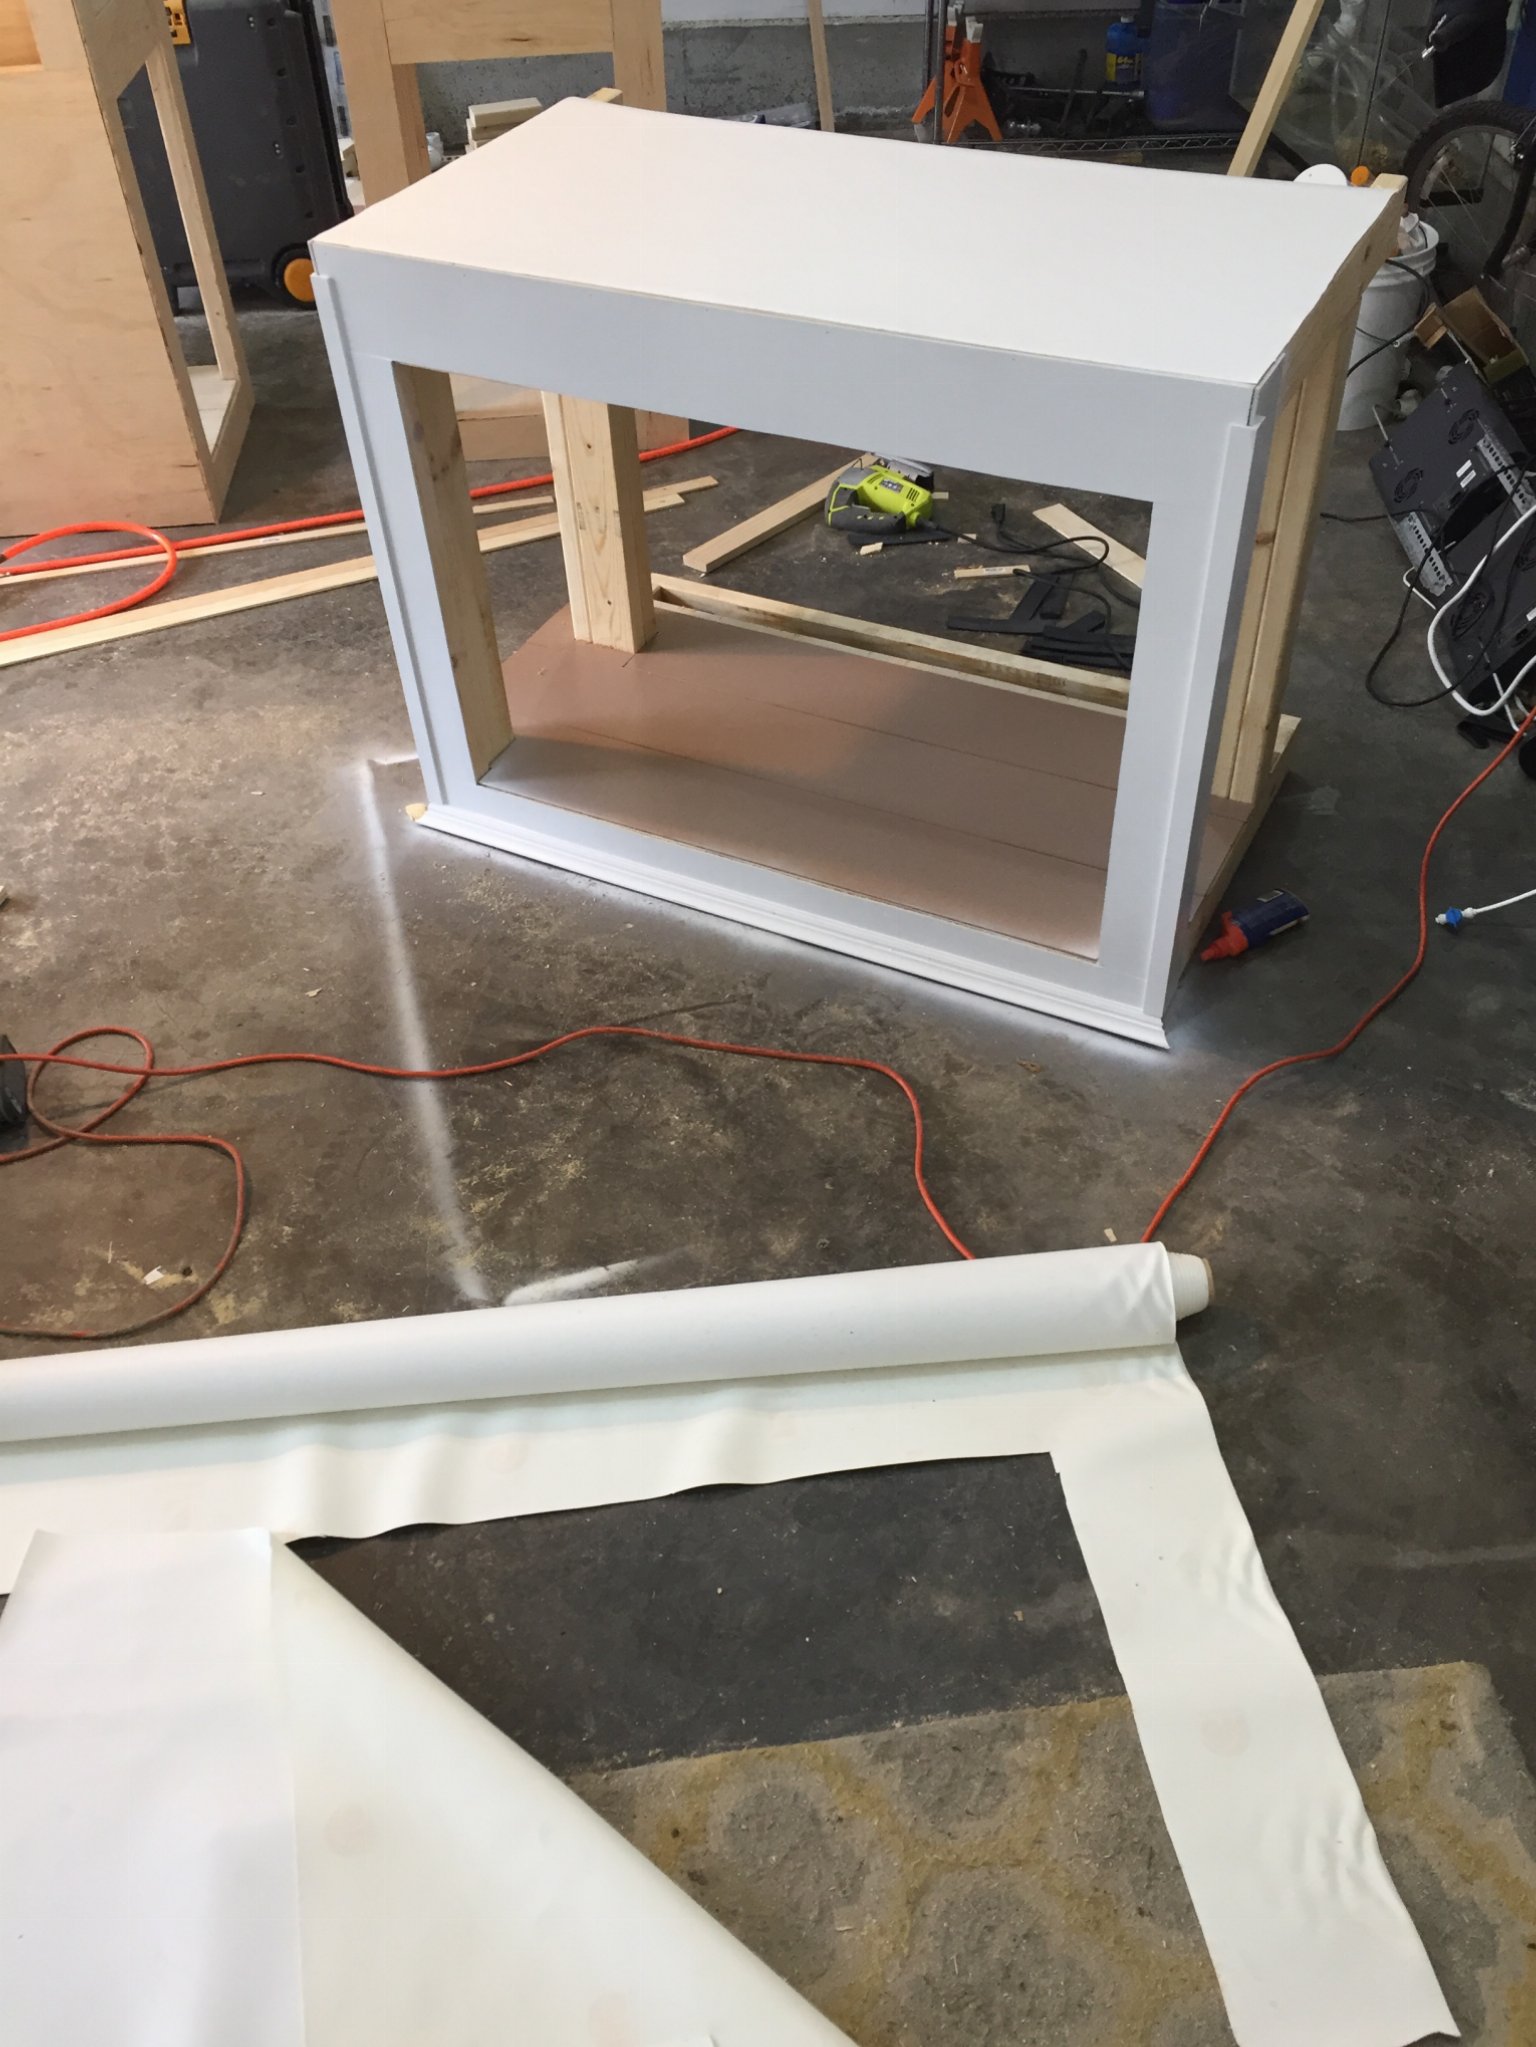
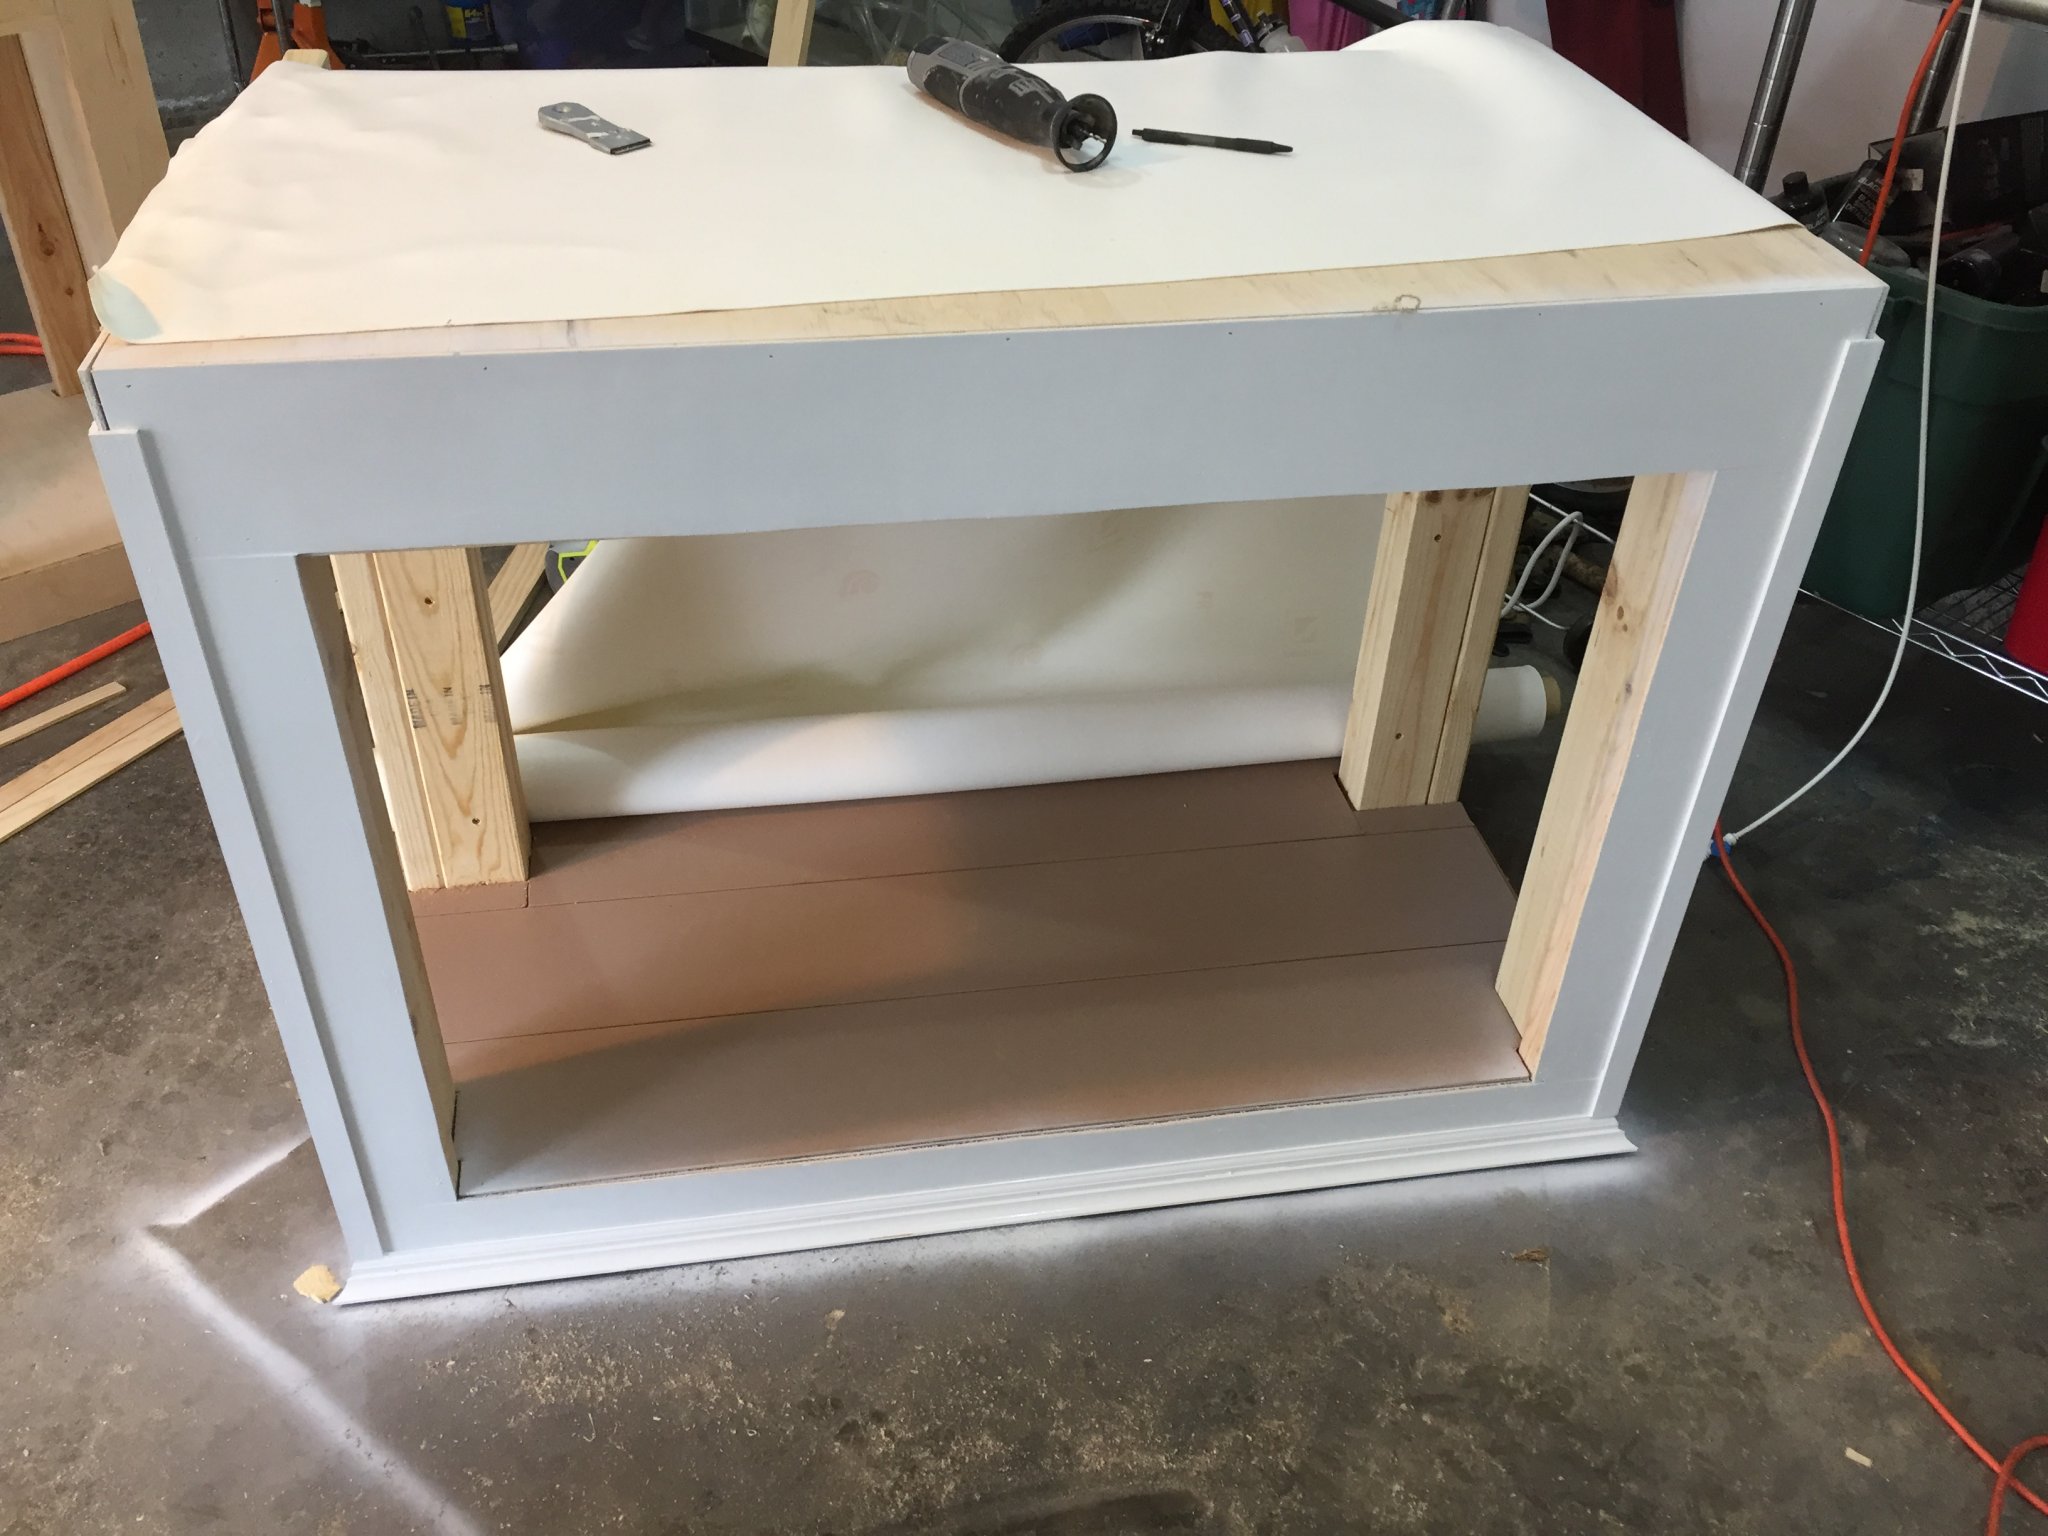
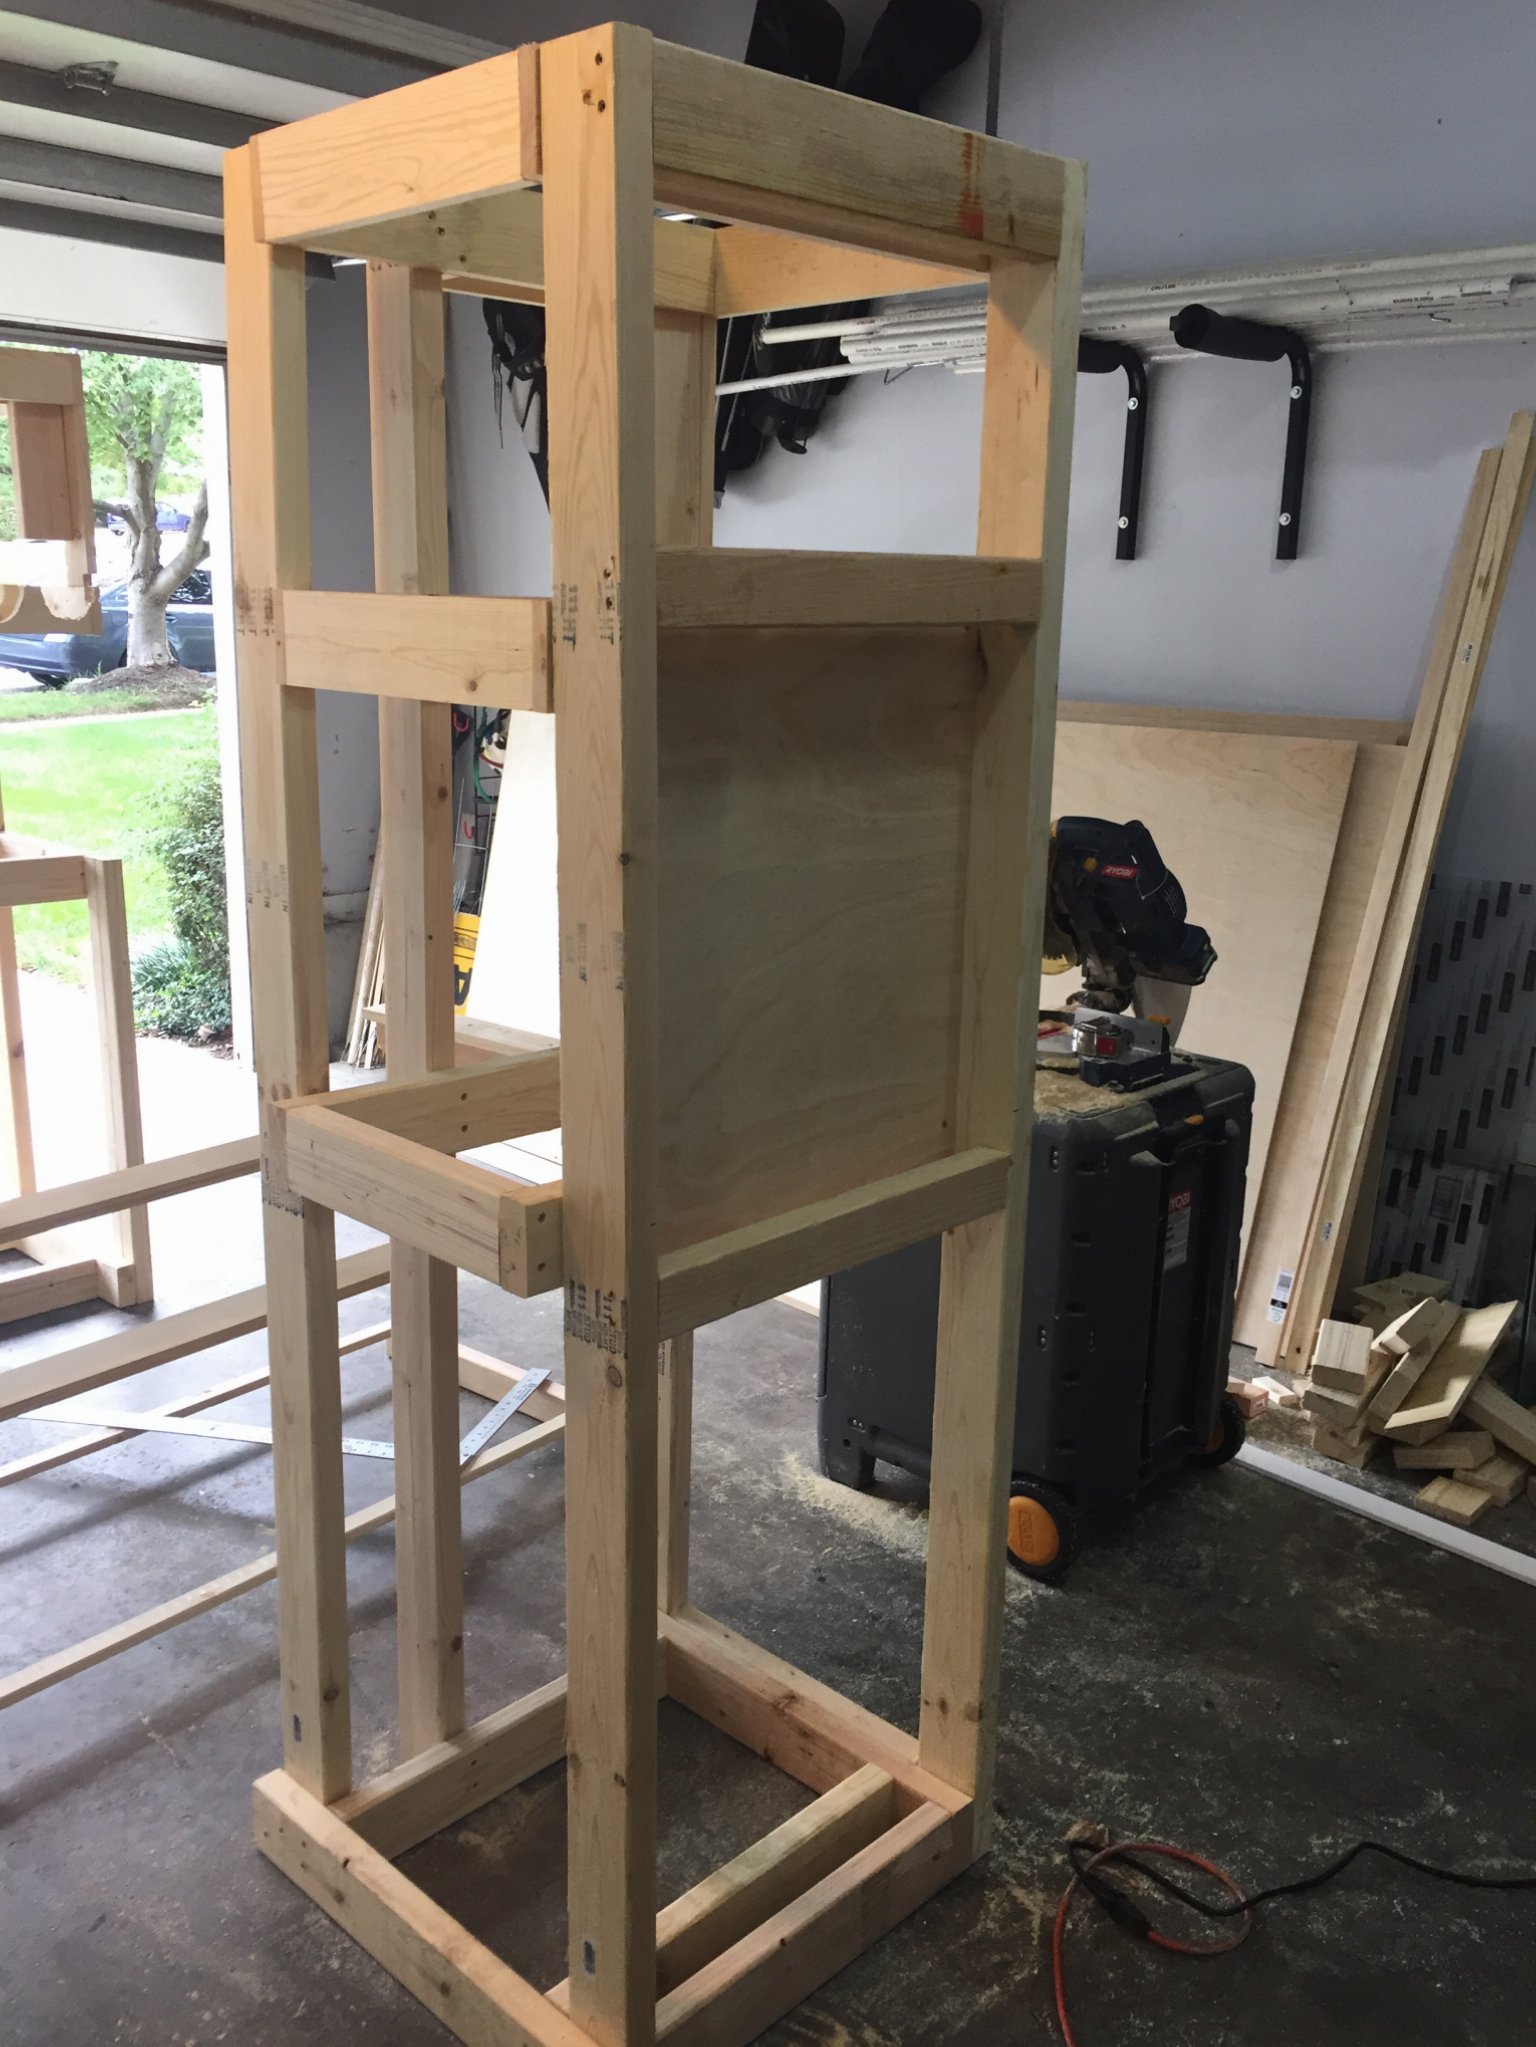
Beginning of the Adventure
Everything has to start somewhere... This is the beginning of my journey
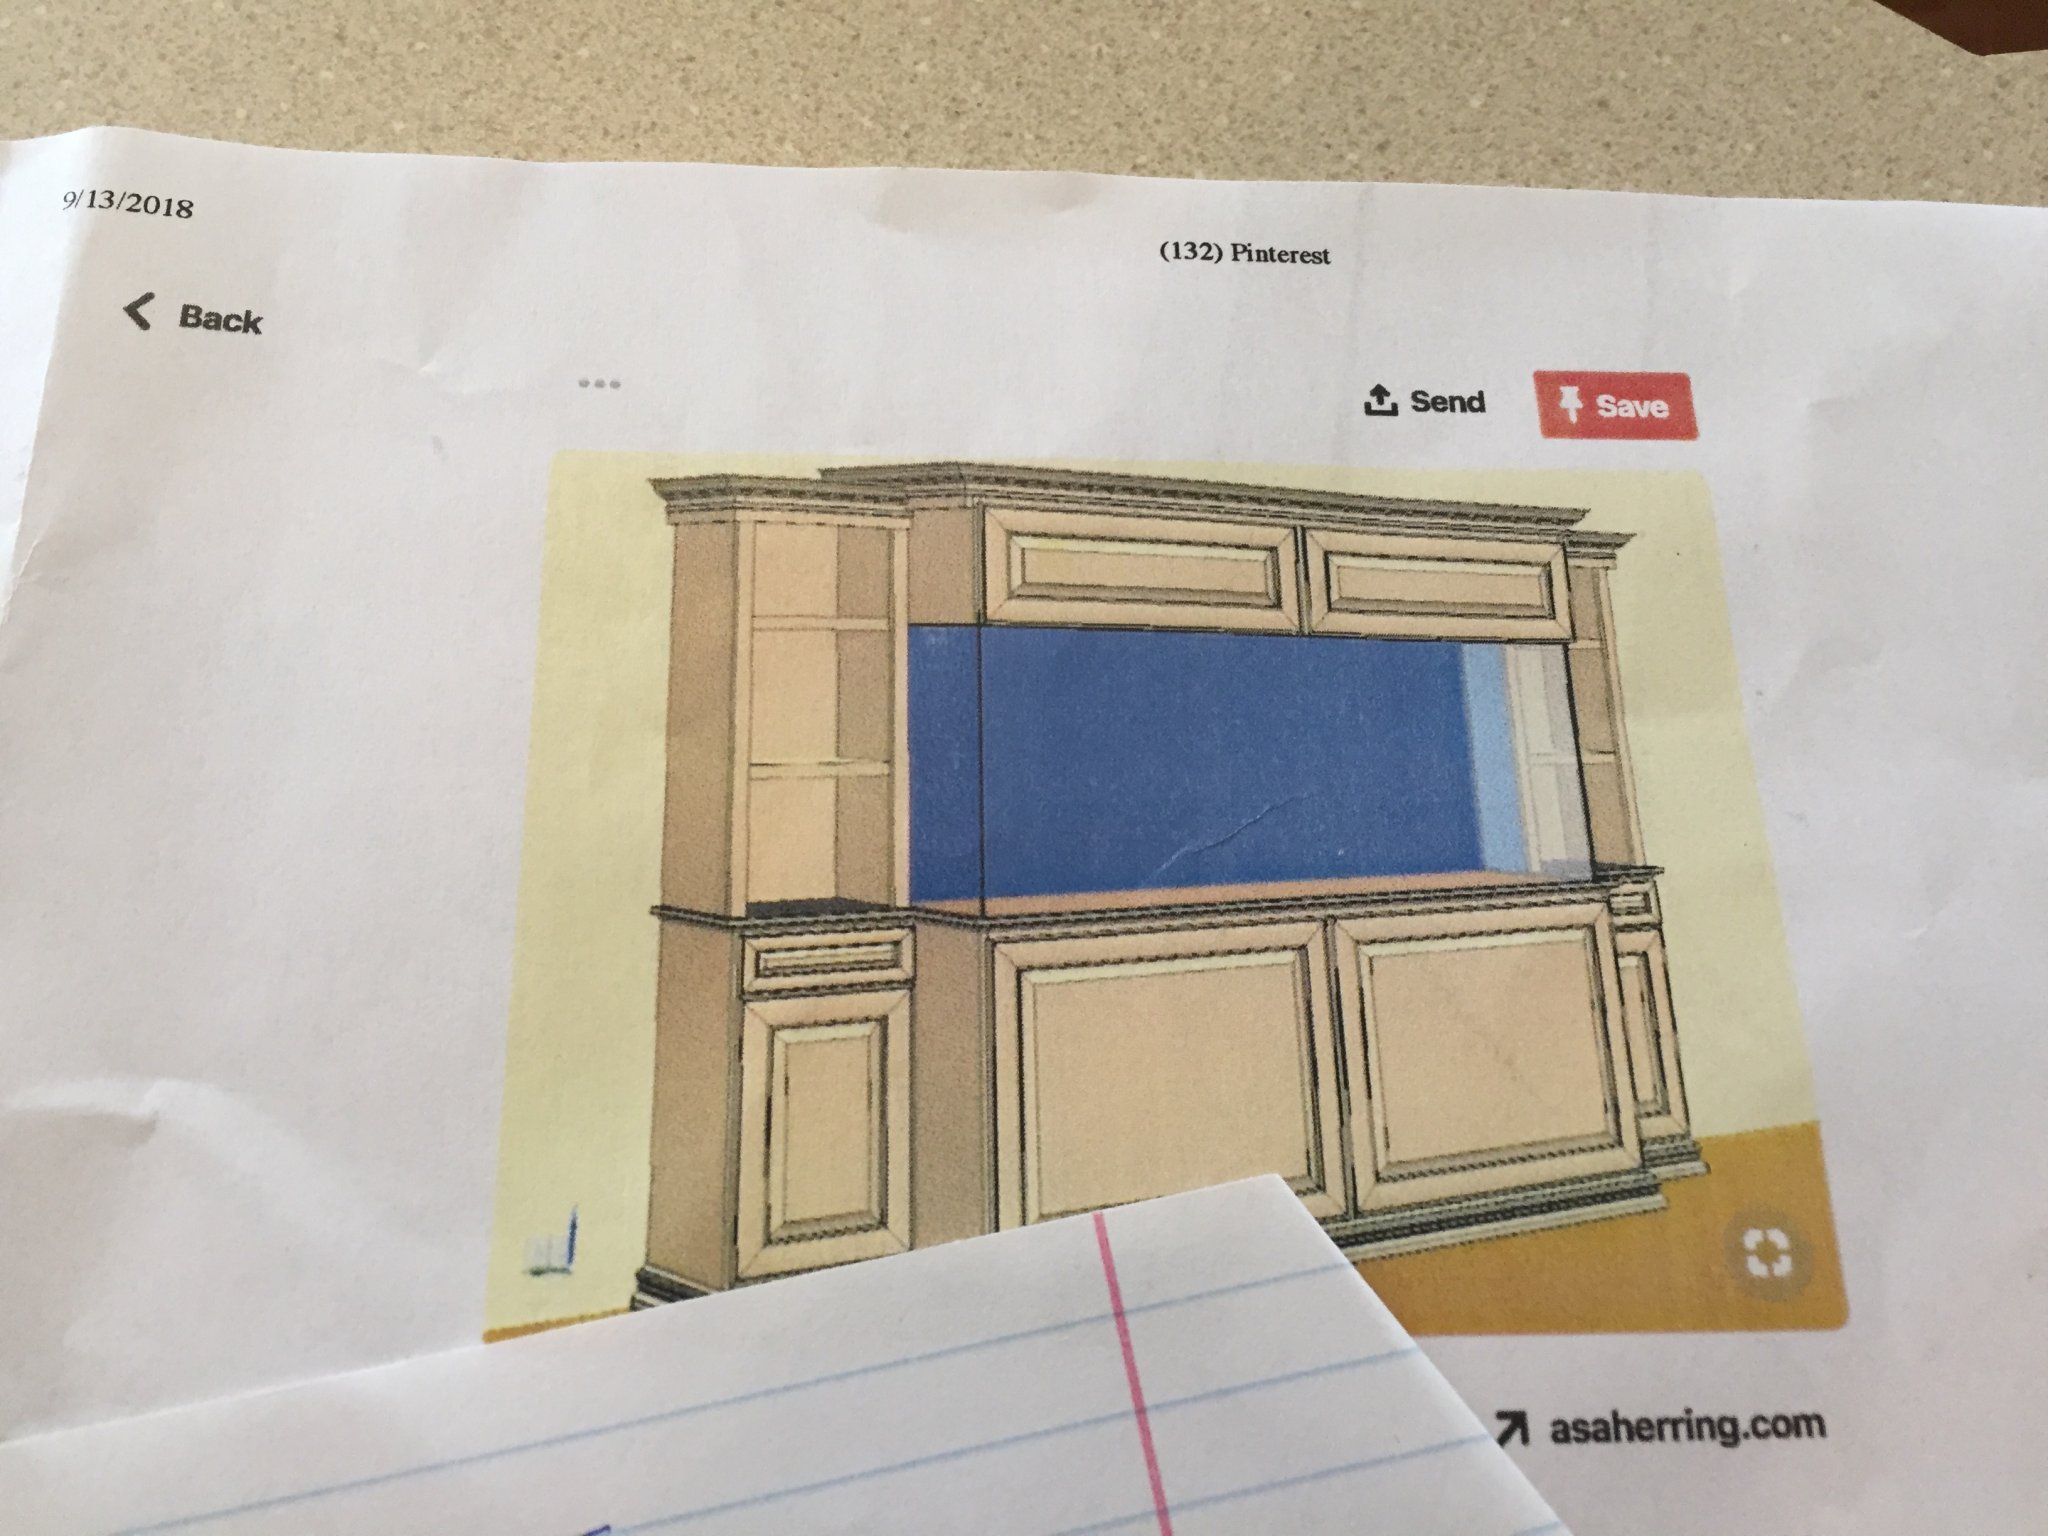
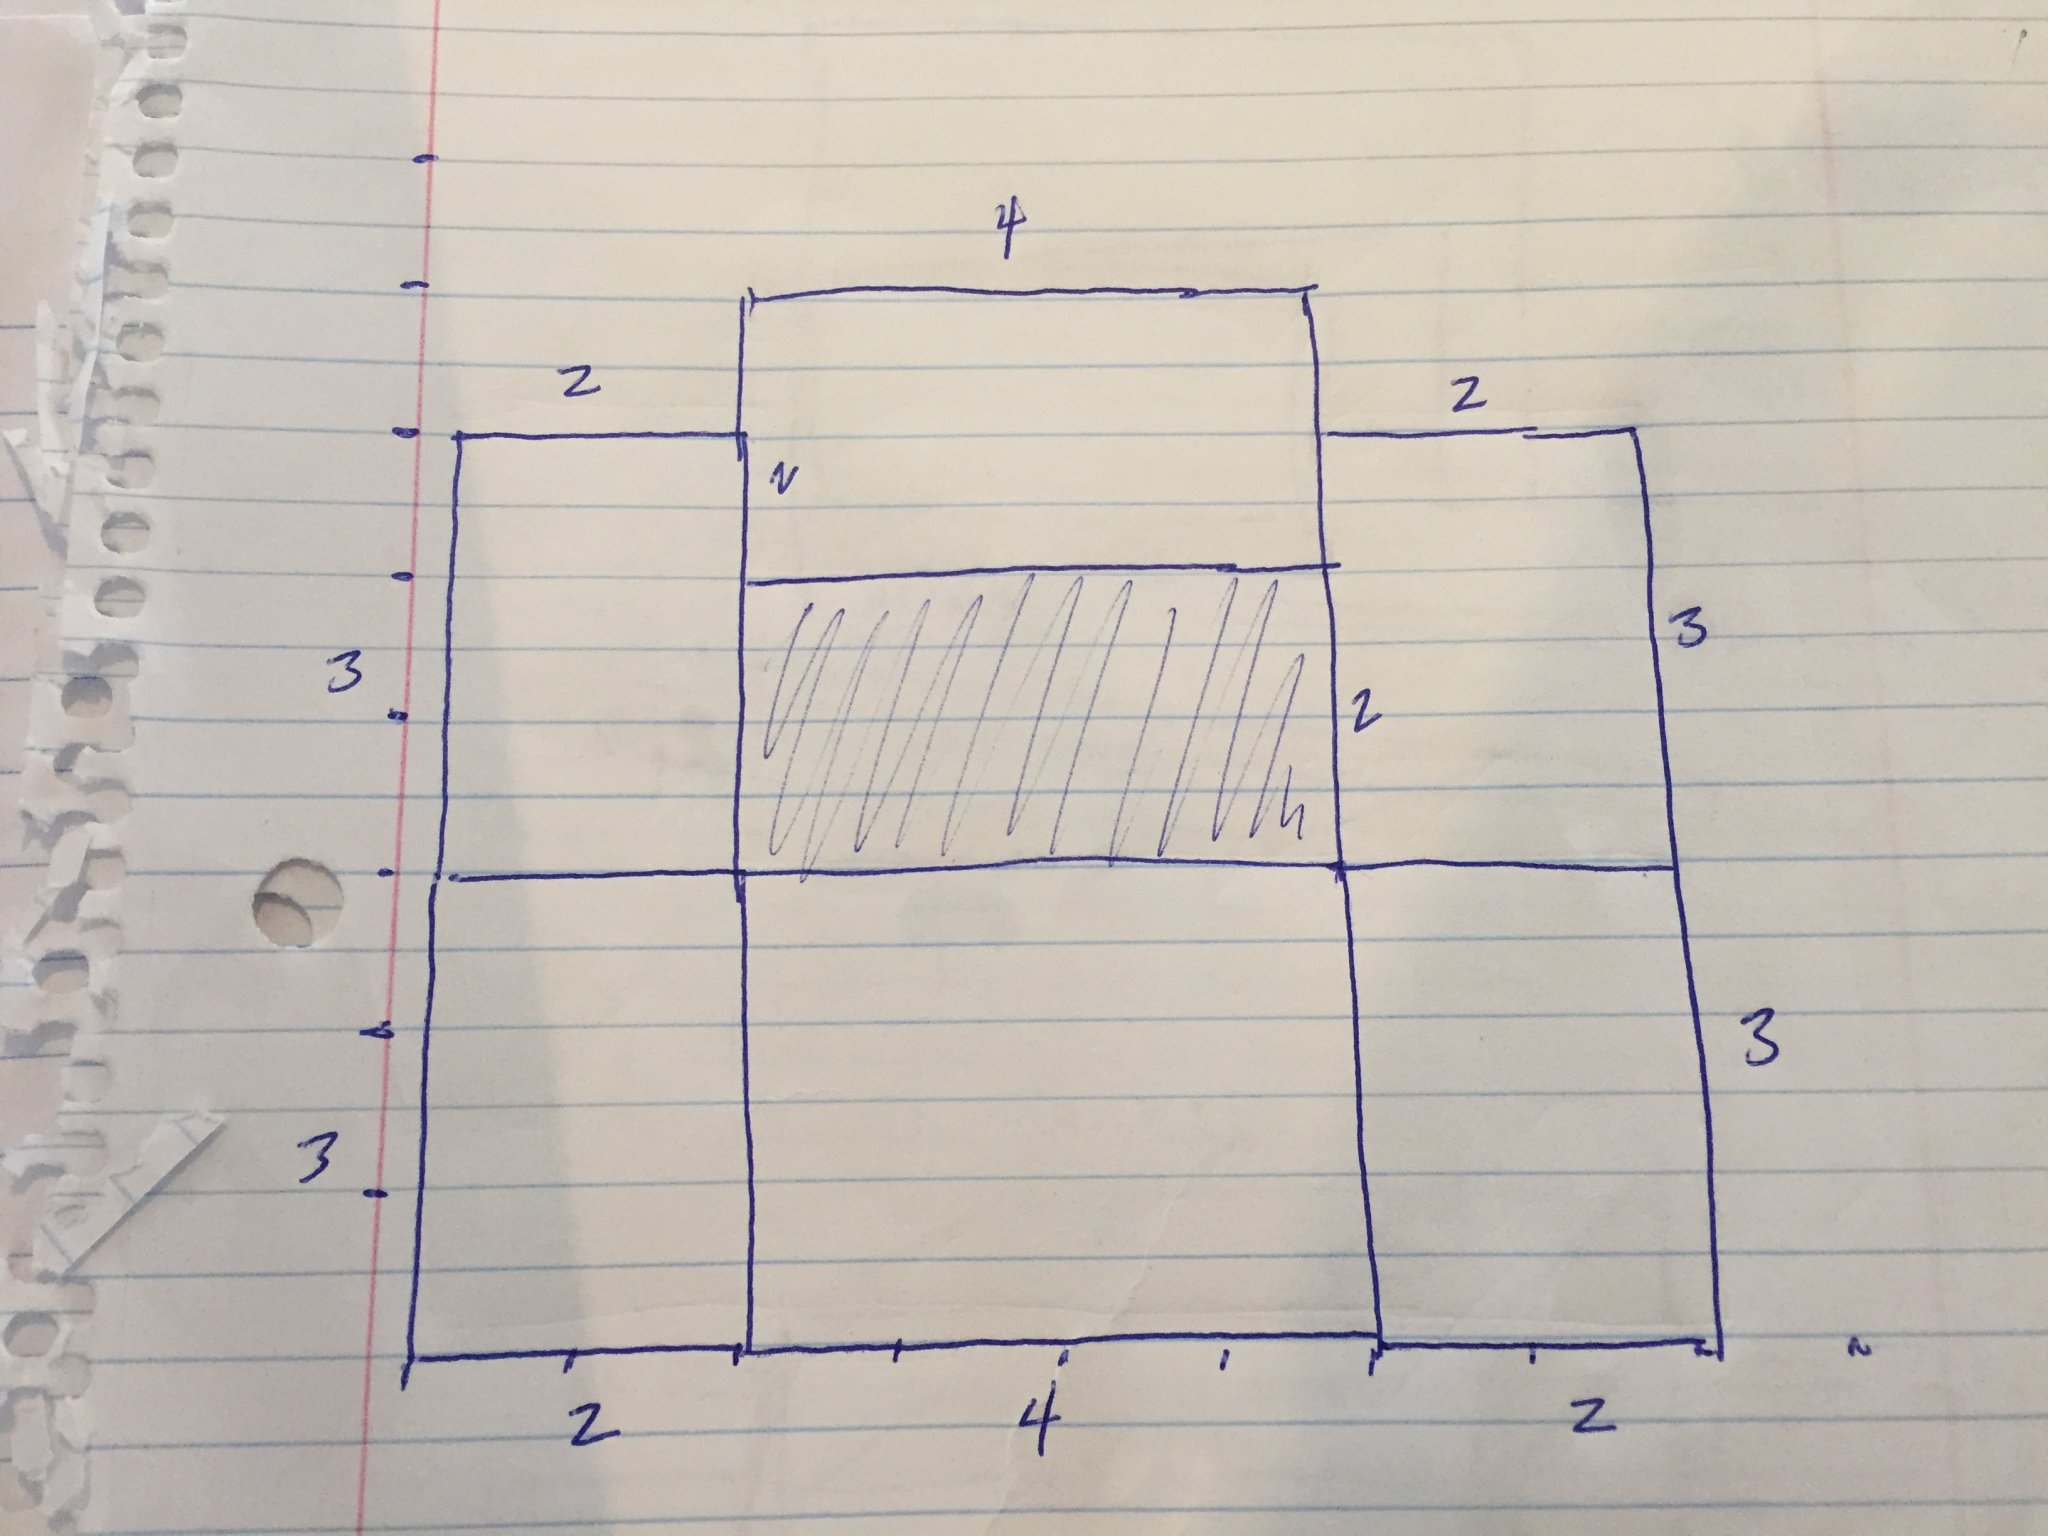
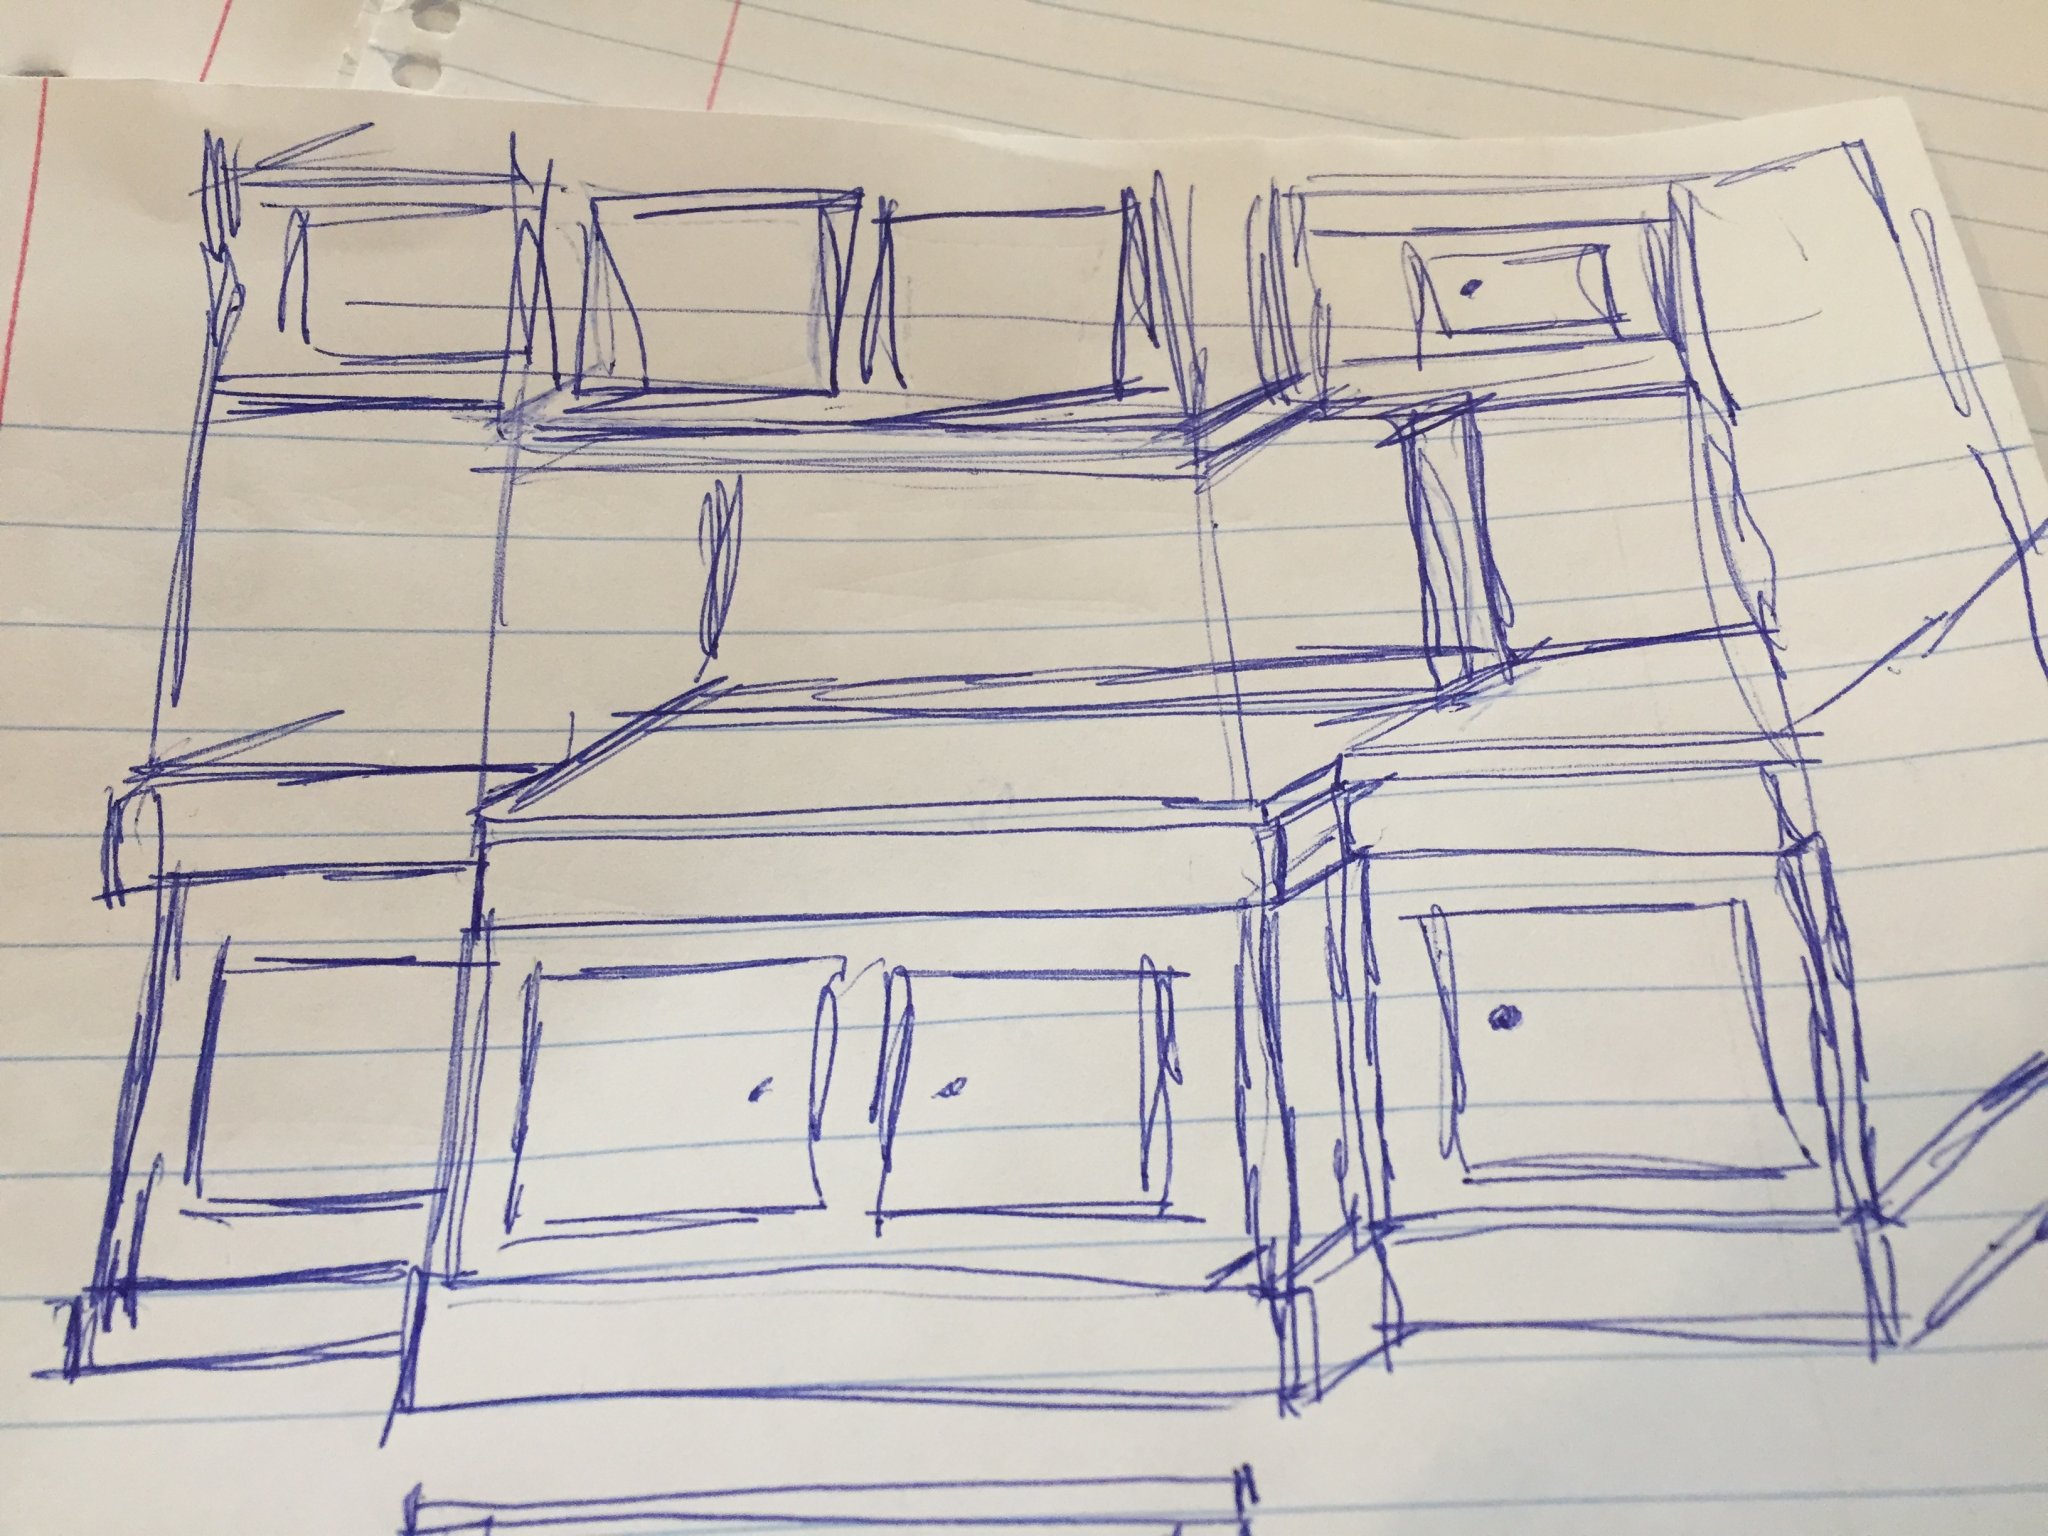
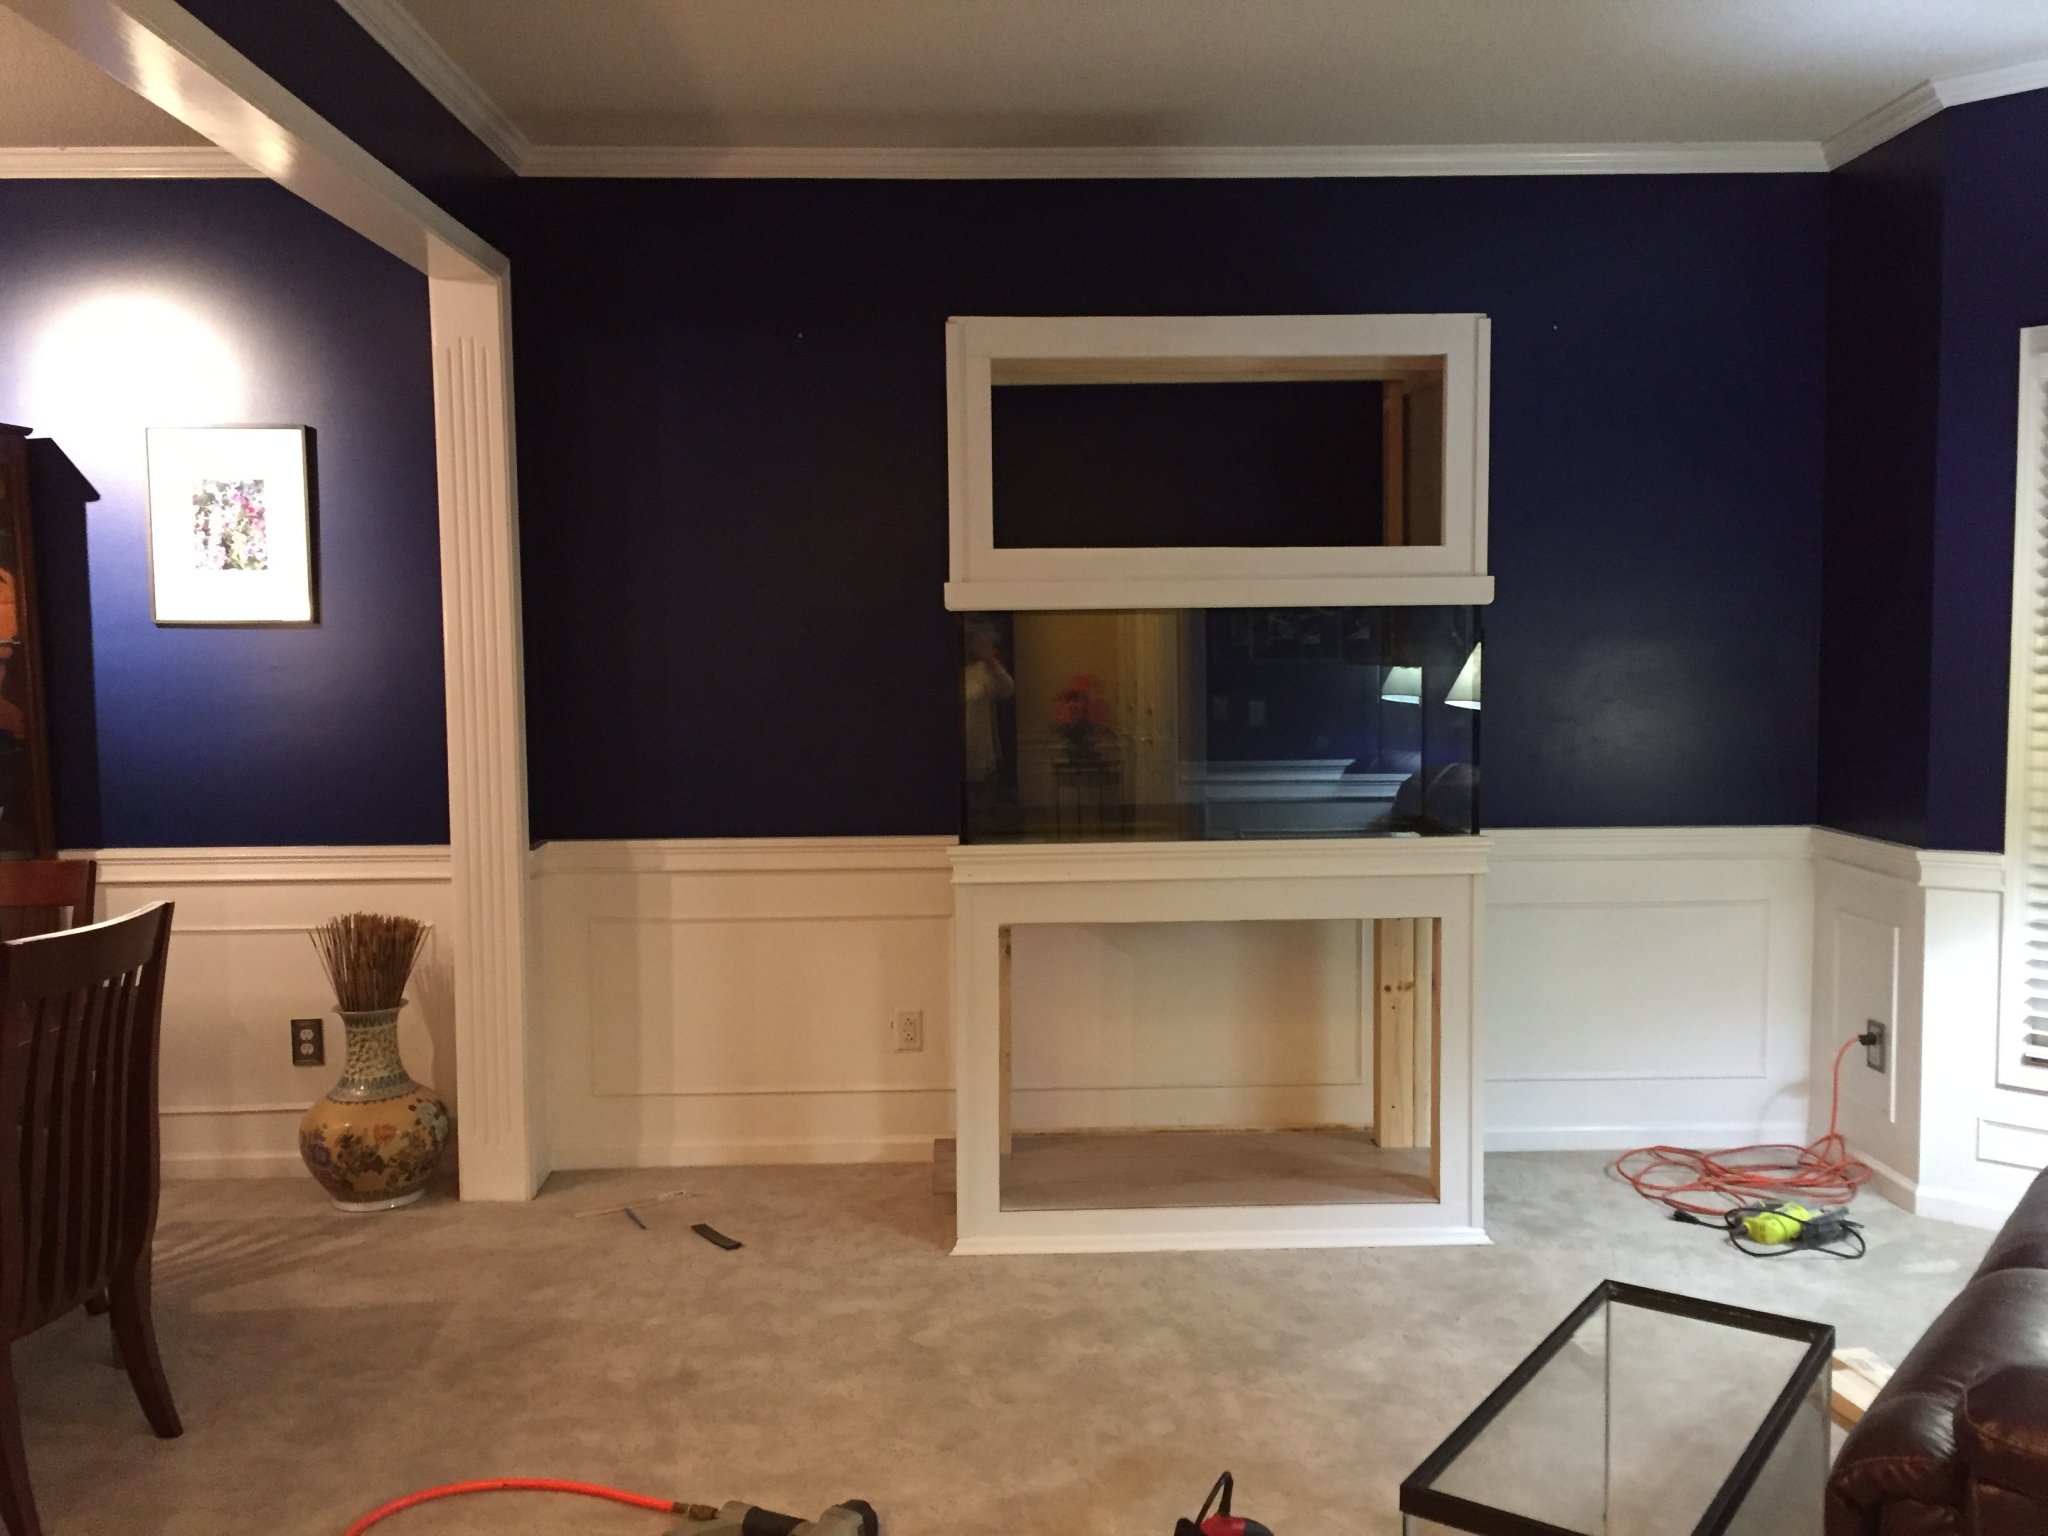
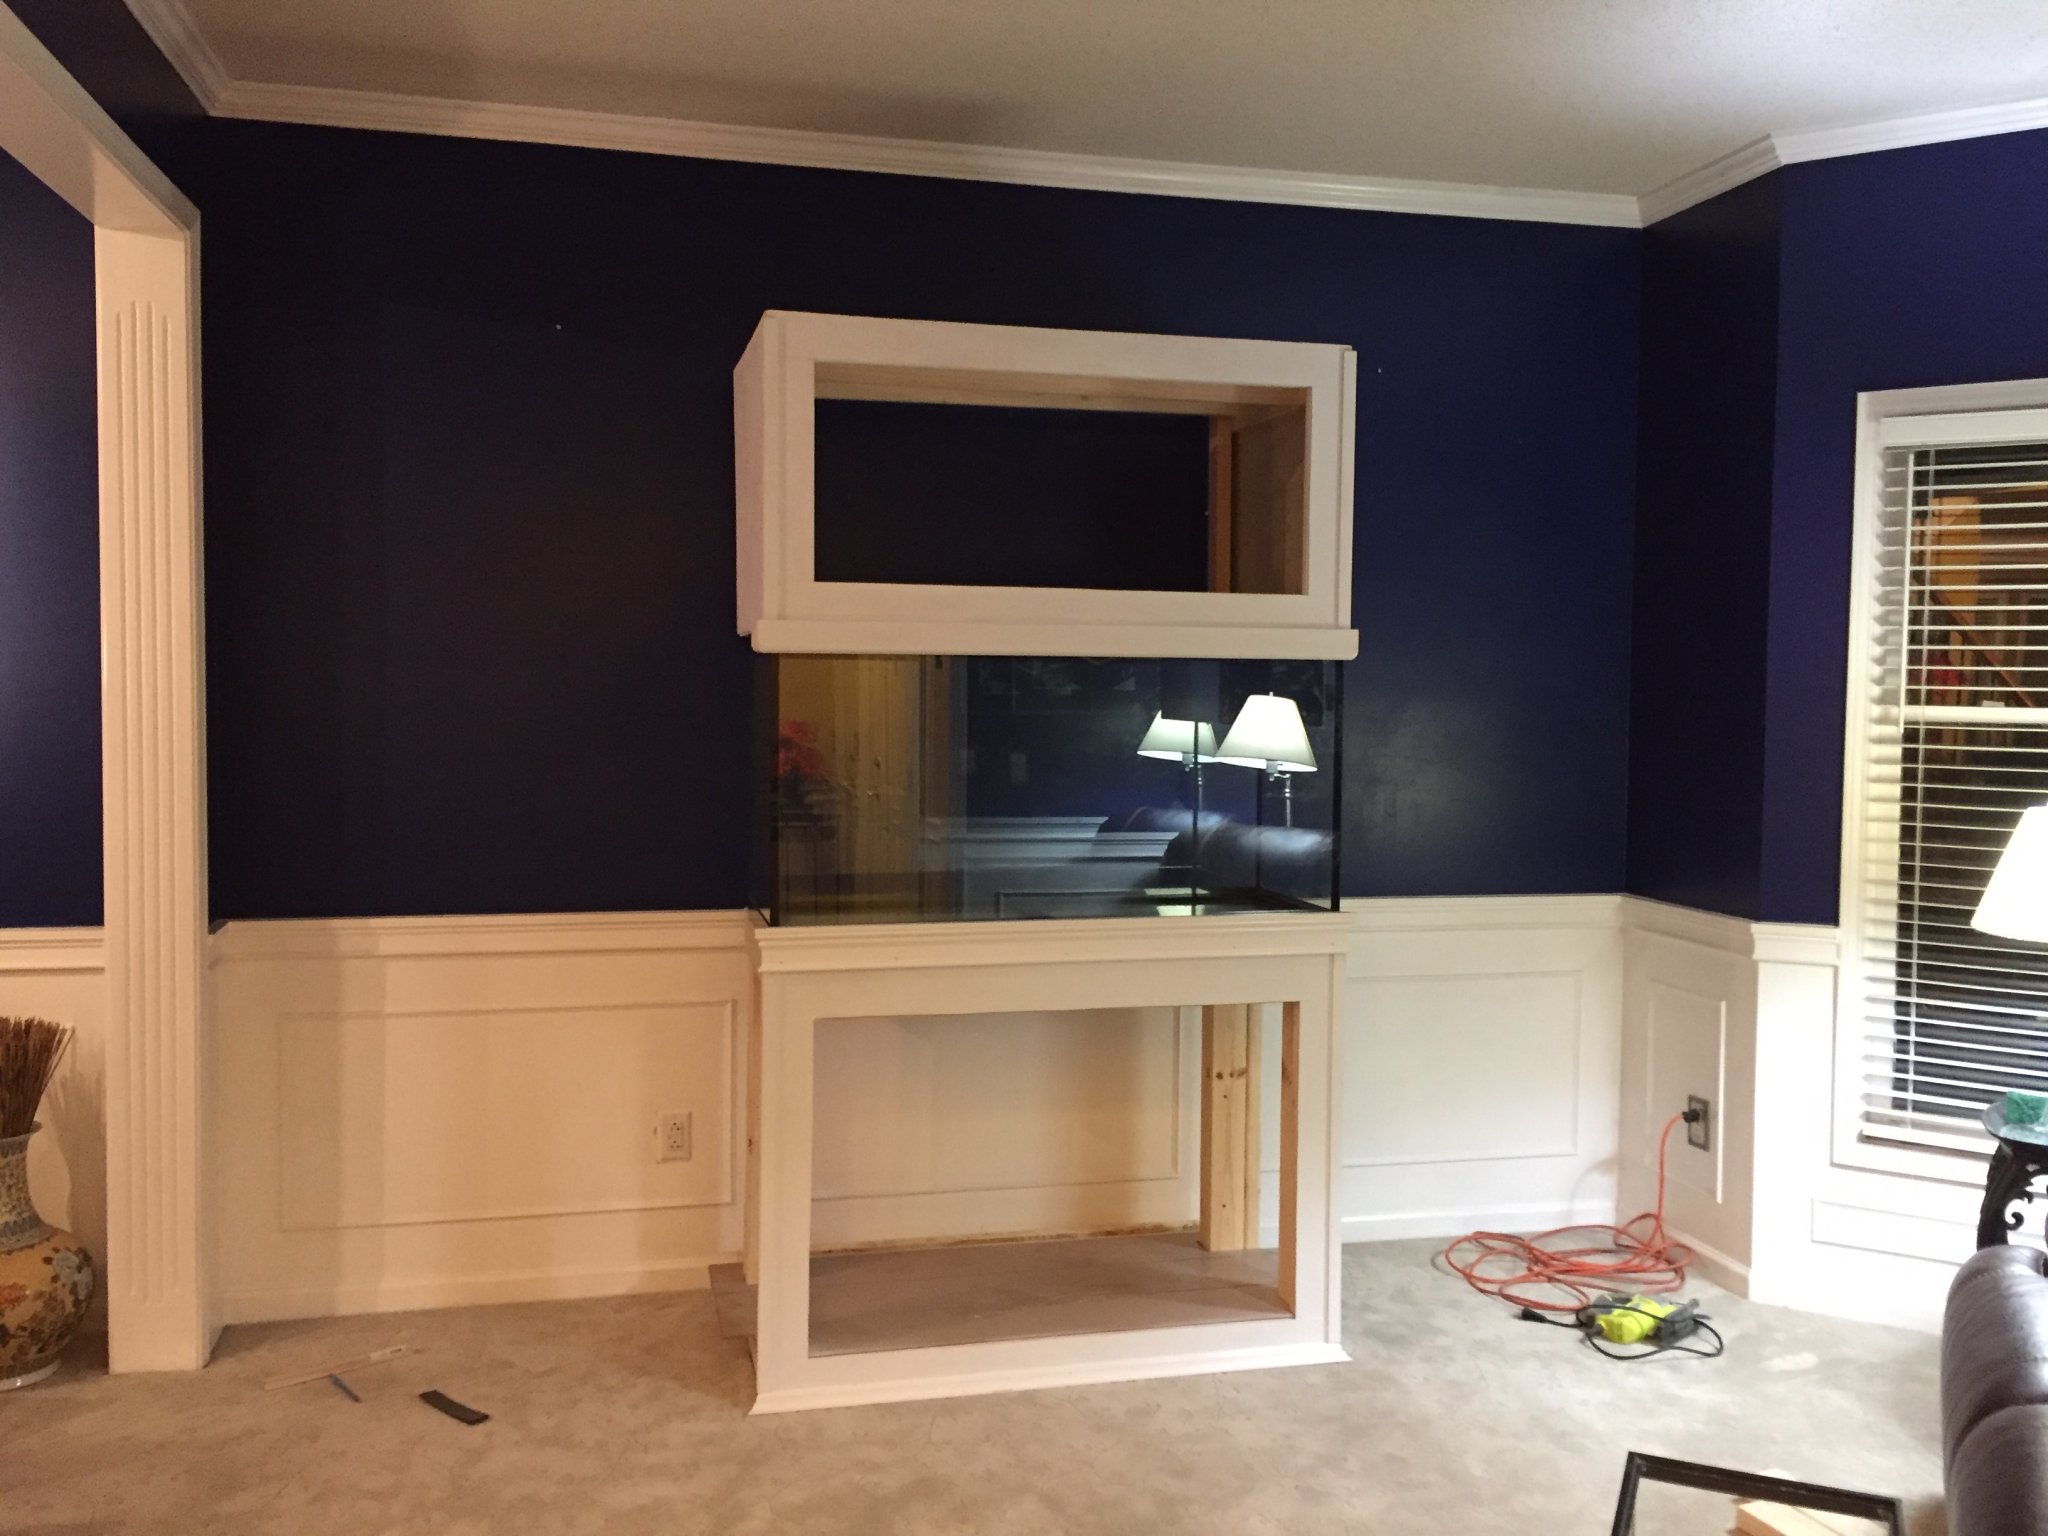
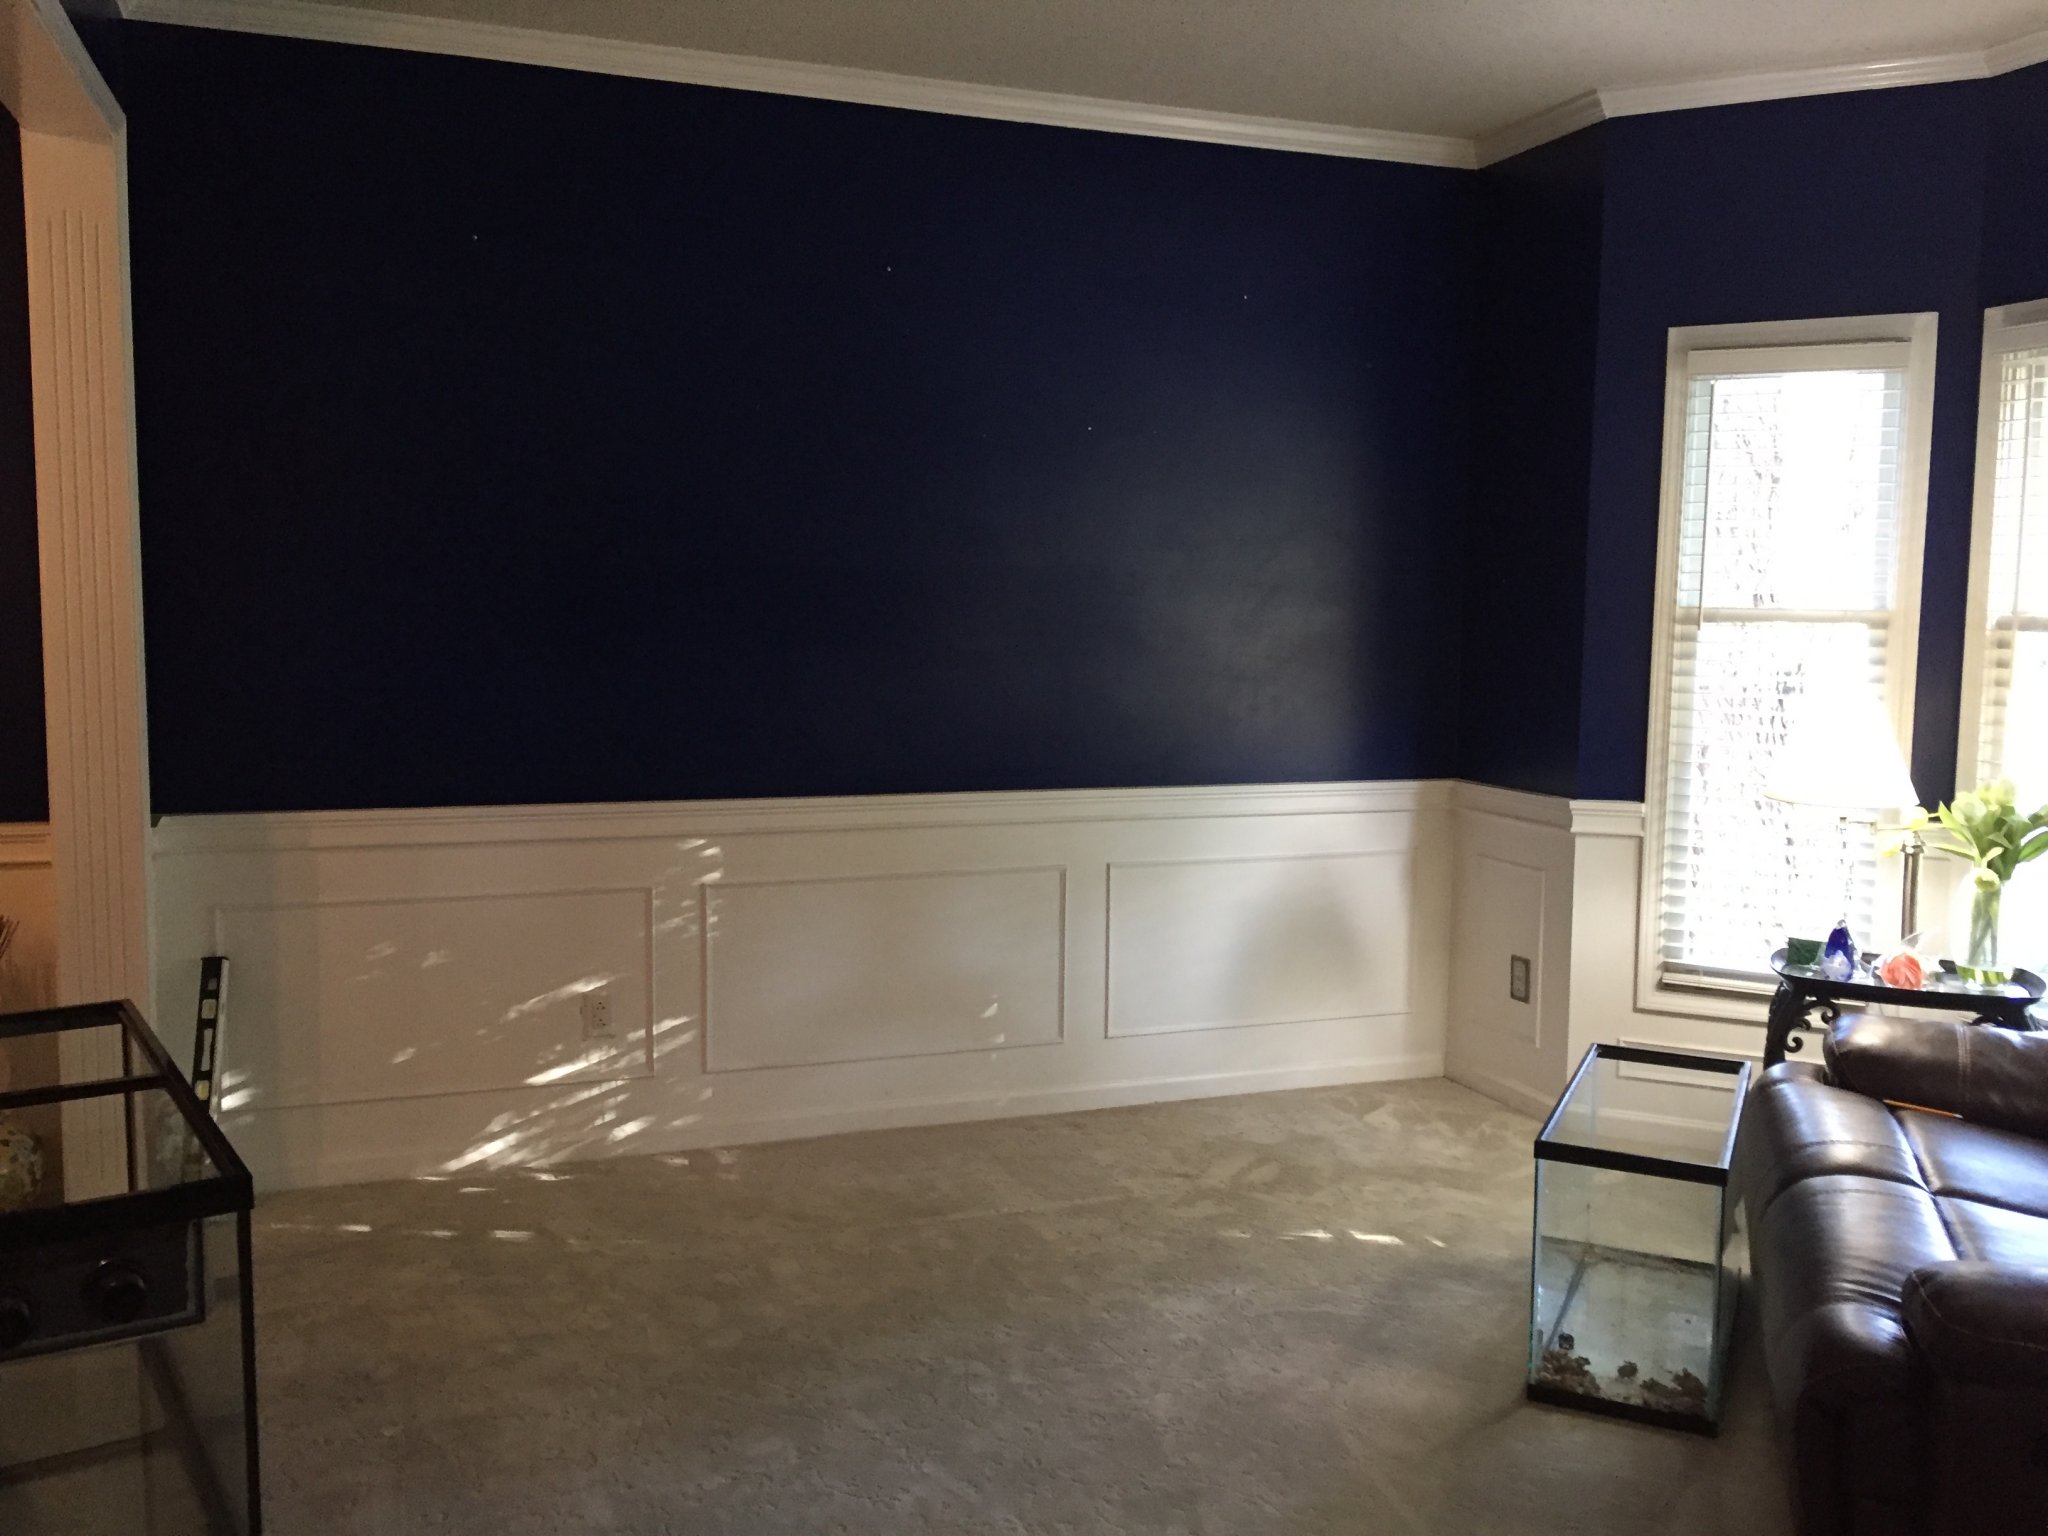
Tank Location Begin the Discussion!
Looking for any advice on my tank location and decisions as I move forward with this 90 Gallon...